2007 MV Agusta factory overheat option-delete research

Originally posted February 2014

IMG_3055Well, it’s a high-strung bike, but over-heating on the street in comfortable temps (70F for example) is just NOT acceptable. I love the bike, but his is major issue. I’ve started work on trying to solve it. Here are some of the research points I’ve found, and lists of things that others have done.

This post will grow over time, and hopefully become a FINDABLE resource on the web, for the next owner of a gorgeous MV Agusta F4 1000R, that needs to solve this problem.

Here is a list of things another owner did, that I piked off of MVAGUSTA.NET:

MV Agusta . NET – 05-06-2010, 04:03 PM

  • Installed Muzzy blades.
  • Add 1098 fan to the left side of the upper rad.
  • Modified the shrouds on the MV fans to eliminate the gap between the stock shrouds and the rads.APR-15: it took me a week to decide how I wanted to attack this. In the end it was much simpler than I’d thought. – read about my experience here
  • The fan switch circuit. All three fans come on with either the switch circuit or the ECU.
  • Opened up the bypass holes in the thermostat.
    9-MAR. & 15-APR This seems like a simple thing to do to the thermo itself. My original plan t was to purchase a new thermostat to drill. In the end, I just modified the original by doubling the diameter the existing 6 bypass holes, which are extremely small due to the very narrow flange. Sorry, I don’t have any photos of this.
  • Engine Ice15-APR: the instructions implied you need to flus the entire system to use the engine ice. Not knowing if any of these tips were working, I opted to simply use Water Wetter from Redline mixed with existing anti-freeze and distilled water. This seemed to help a bit, but didn’t seem to make a dramatic improvement.
  • MV impeller
  • Silicone hoses
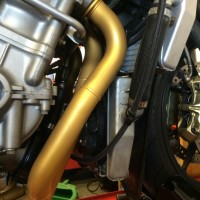
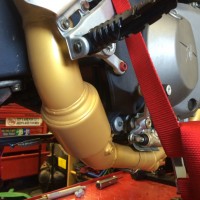
  • Coated the headers – having completed this modification, I’m unsure of how much benefit it really is, but I suspect there is some, considering the pipes are close enough to the cooling components to melt the original fasn! read about my experience, here

I ran the fans continuously below 40 mph. The important thing is to be able to get a jump on the temp before it gets up into the 200’s. It’s much easier to keep it cool than to have to bring it back down and keep it cool. On an average summer day, with the fairings on and the bike idling it would maintain 167F.


Hi-flow Bodywork

Another option found was to get these fairings with big openings to vent out the air. About $300 for the pair, and then of course I’ll need to get them painted too.. BUT it’s an option!

Updated Fairings from Catalyst Racing Composites:

Catalyst Racing Composites – 00-09 F4 Stock Left SideMV F4 vented fairing


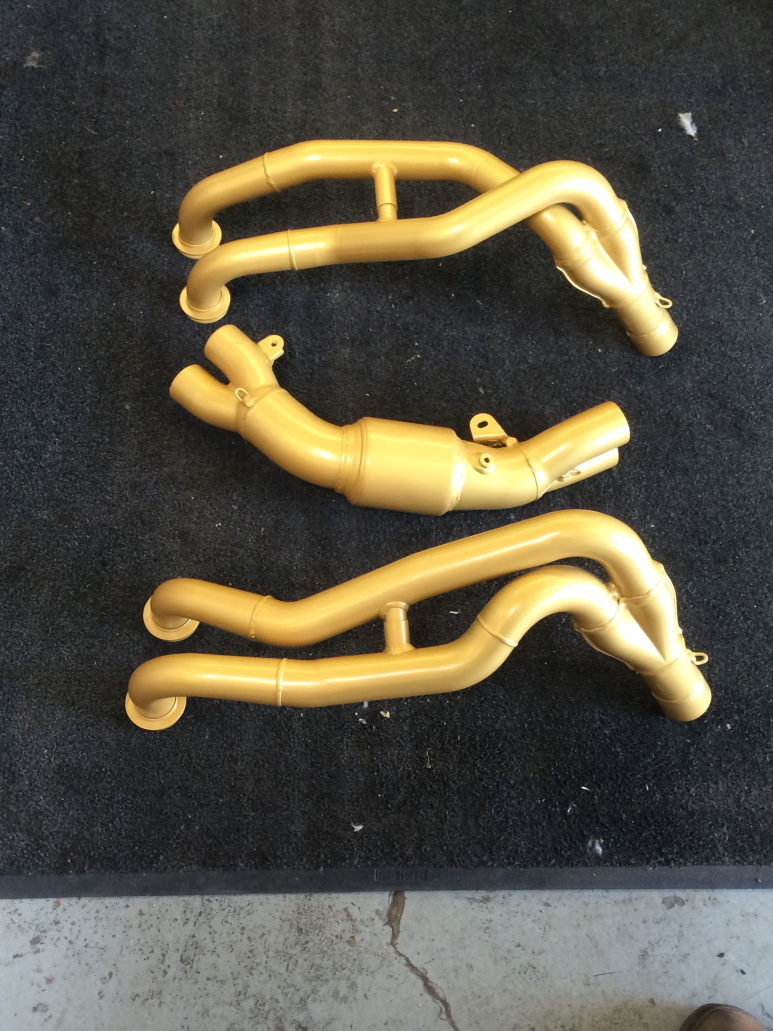
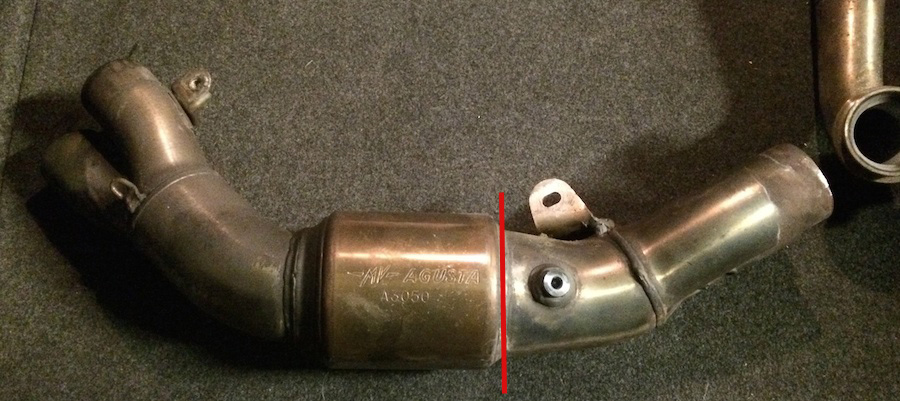
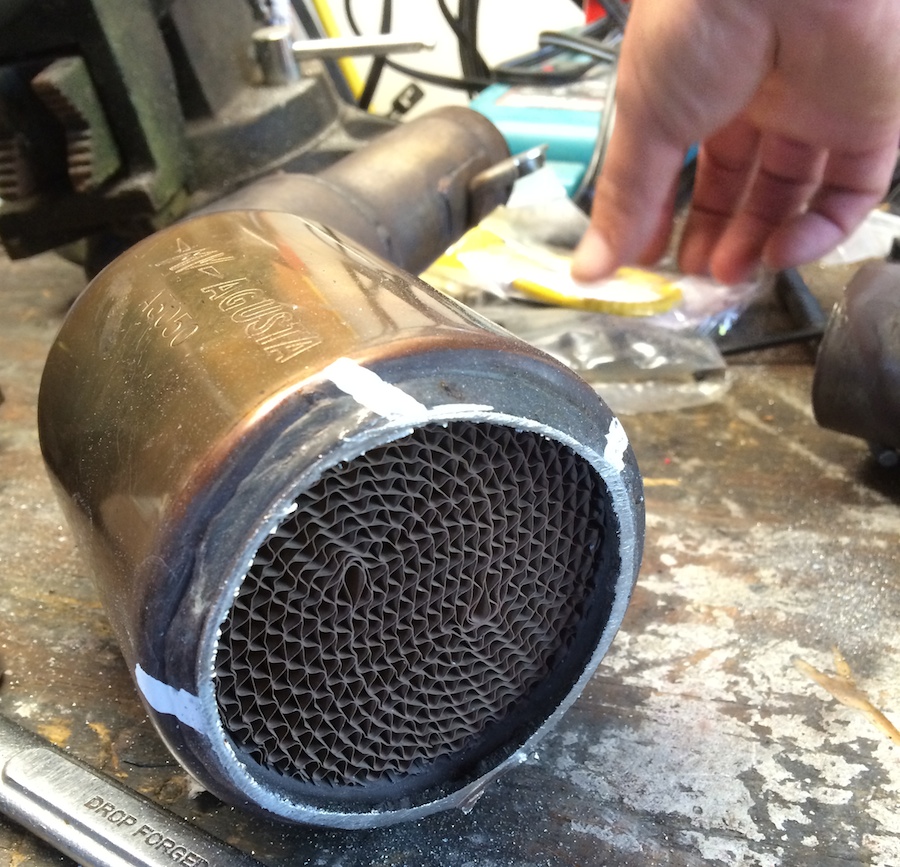
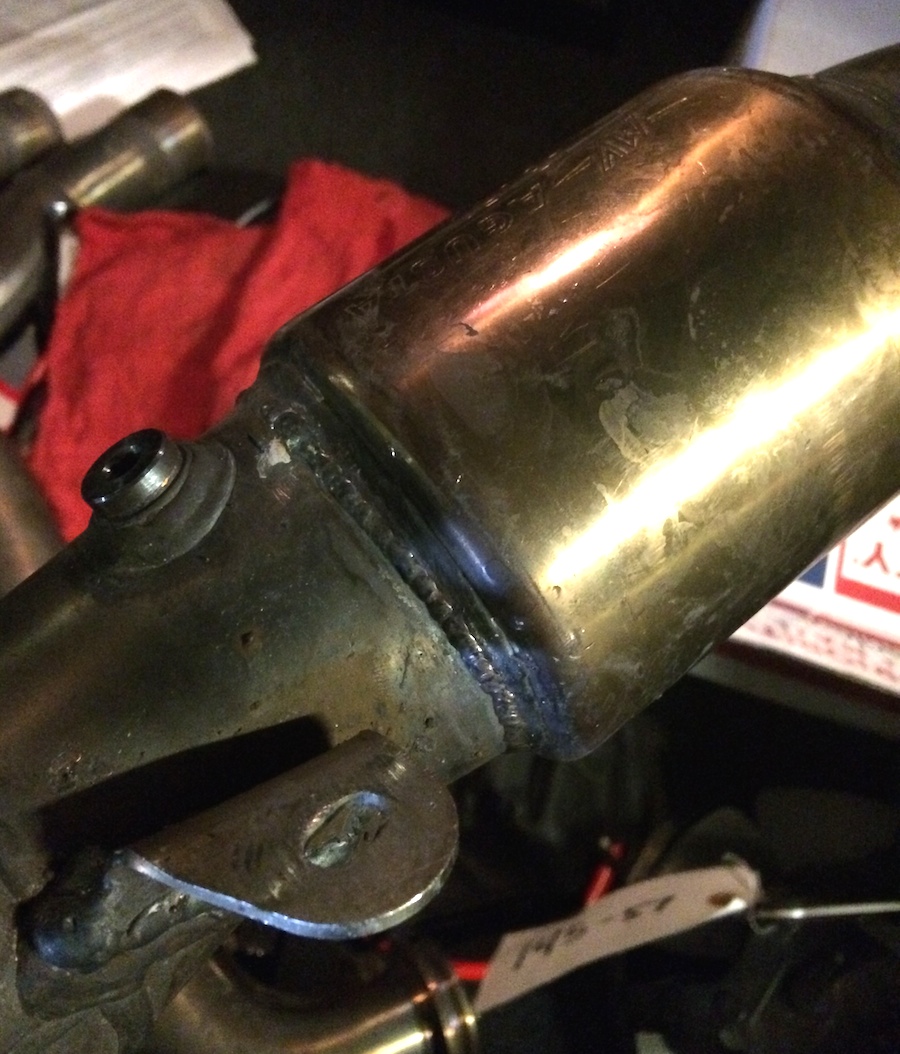
Ceramic Header Coating

I have wanted to get this done to several bikes, for several reasons. Most of those reasons being cosmetic. With this being one of the suggested factors to help in reducing the bike’s overall running temps, it was a no-brainer to get the pipes coated.

UPDATE: 21-MAR-2014

Pipes are now out for coating. I’ve ordered a custom color for the pipes. Once that arrives and they are coated, baked and returned, I’ll post photos of the final results, and the re-installation process.

UPDATE: 14-APR-2014

Pipes are back from coating!
Pipes returned from coating, and re-installed on the bike following 2 weeks to let the finish curing. Coating shop recommended 5 days, but I ended up waiting 2 weeks due to other projects that needed to be completed. Here is what they looked like when picking them up from coating:

New coated MV exhaust

Although they look rather garish on their own, once installed, I think it offers a decent accent:

Pipes installed w/o bodywork:

Pipes with the bodywork installed:

Coated pipes with bodywork installed.


Fan Shrouds

To Be Continued…


Cat Delete

I like the sounds of this improvement…

UPDATE: 10-MAR-2014

It looks like this mod requires me to cut the pipe, remove the contents and re-weld. Not impossible, but it’s not a skill that *I* have. This will take some calls to people I know to see who’s willing to do it and at what cost. At $400 for a replacement mid-pipe I think it’s well worth the effort to at least try this myself. If I do that, I’ll be sure to post pics of how I managed to do it.

UPDATE: 20-MAR-2014

The Cat has been dealt with. It was not the simplest task, by far. In fact, if you don’t have a space that can tolerate A LOT of noise, banging and a cloud of toxic dust, you probably want to re-consider this.

Removal was not easy by any stretch, and doing so without any sort of respiration protection is insane, in my opinion.

The ceramic/metallic material the comprises the potato just can’t be good for you to breath. I complete this portion of the project in my shop.

First step was to cut the pipe apart at the red line here. I used a hacksaw to keep the amount of lost material to a minimum. You can use whatever you want, but the more material you remove, the shorter the pipe gets and that’s probably not going to play well for you.

MV Agusta Exhaust mid-pipe

After opening the pipe, this is the view you get. From here, it was a matter of drilling out the center (drilled out a 2″ diameter with a 1 1/2 HP hammer drill), then hammering chisels along the sides to break up where it was attached to the inside of the section. The final step was using a 1/2″ drive 30″ extension to ram it out the cut-open end. This last part took a couple of hours, but eventually it was removed.
mv.exhause.obstrution.2

Final prep was a die grinder and grinding stones to the walls of removed section to clean up any remaining material. Inside there is a really BAD step section on the exit… and that’s something I was just not prepared for, nor did I deal with. It’s NOT ideal. If I’d known that was there I might have considered simply driving a new section of stainless THROUGH the core. But that might rattle, and I know that the way I did it, rattles are not going to happen. Once that was done, a good friend of mine put his TiG welding skills to use for me and sealed it back up.
mv.exhause.obstrution.3

Finally, the pipes were sent out for ceramic coating. That will be discussed in a separate section.

UPDATE: 14-APR-2014

Pipes are back from coating!see section on coating the pipes

100Oct Cars and Croissants, April 2014 — Menlo Park, CA

Wow, what a great morning for exotic cars! The variety was fantastic, from 1960’s vintage GT40 to the latest from McLaren, the 650S!! And plenty of heavy metal in between (including an epic MBZ SLS Black, in red).

Here is a gallery of the pics… ENJOY!!

Thanks to the organizers, especially Benoit Boningue, fellow car club member and just plane cool dude.