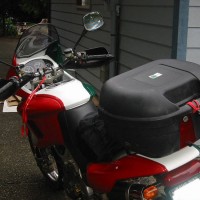
Looking back at 12 years of blog posts, photographs and tech articles, today I’m pulling up some of my favorite photos from years past.
Photo descriptions include a link to the story where it originally appeared.

Looking back at 12 years of blog posts, photographs and tech articles, today I’m pulling up some of my favorite photos from years past.
Photo descriptions include a link to the story where it originally appeared.
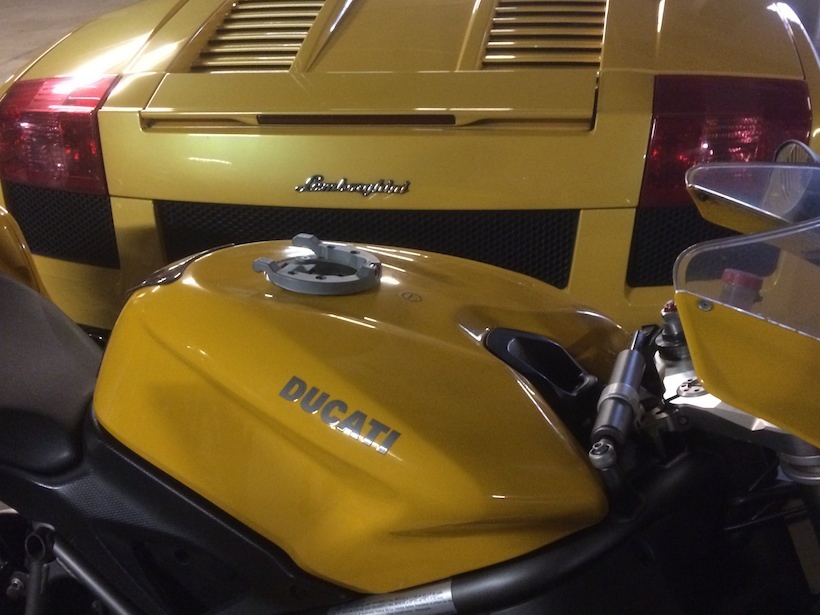
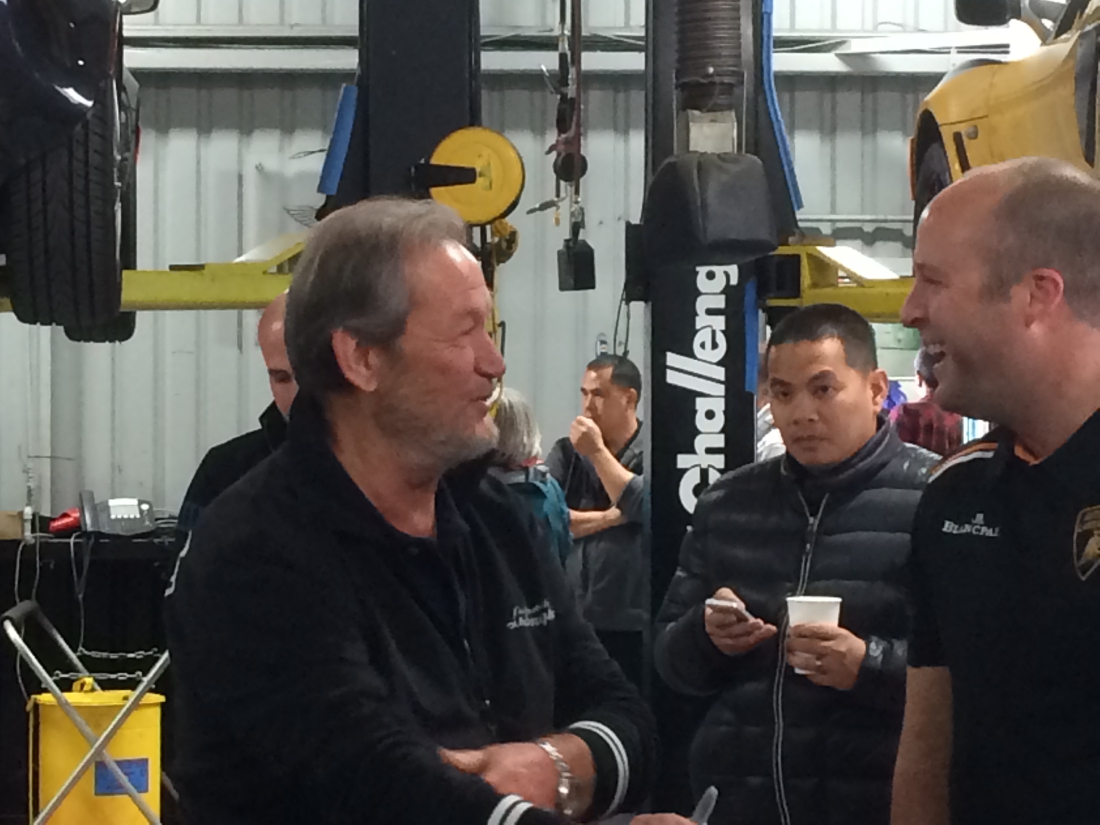
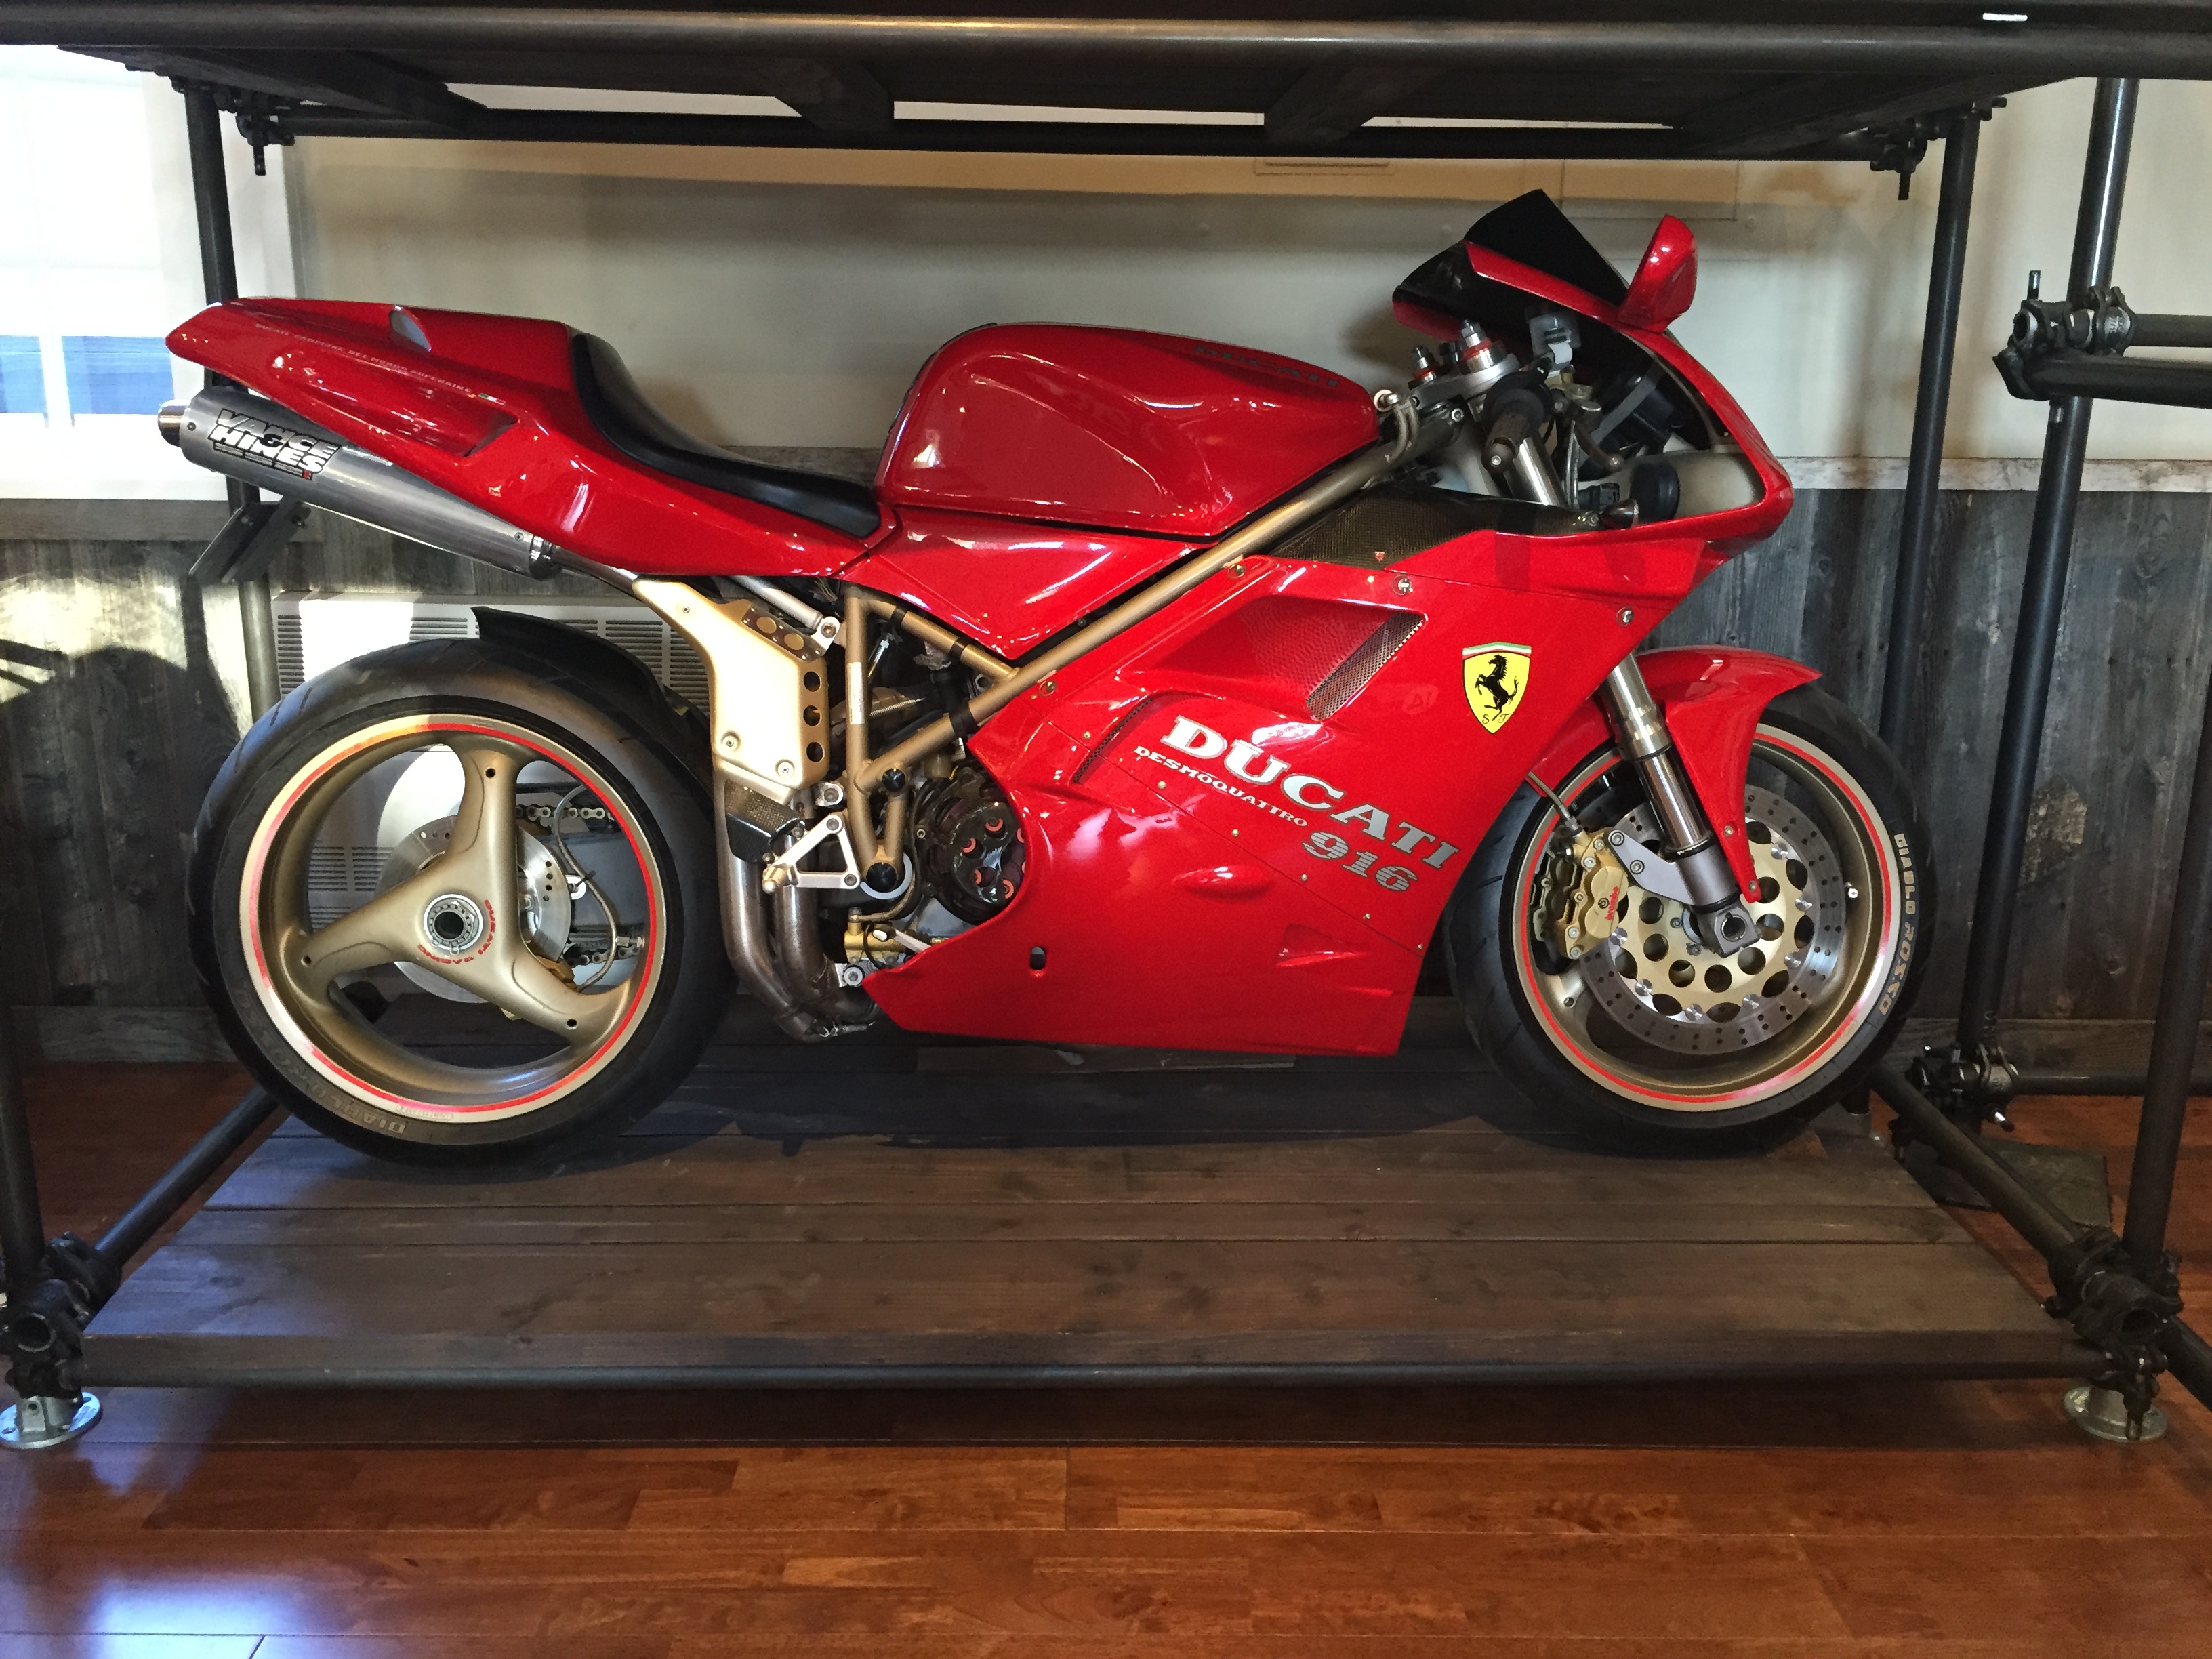
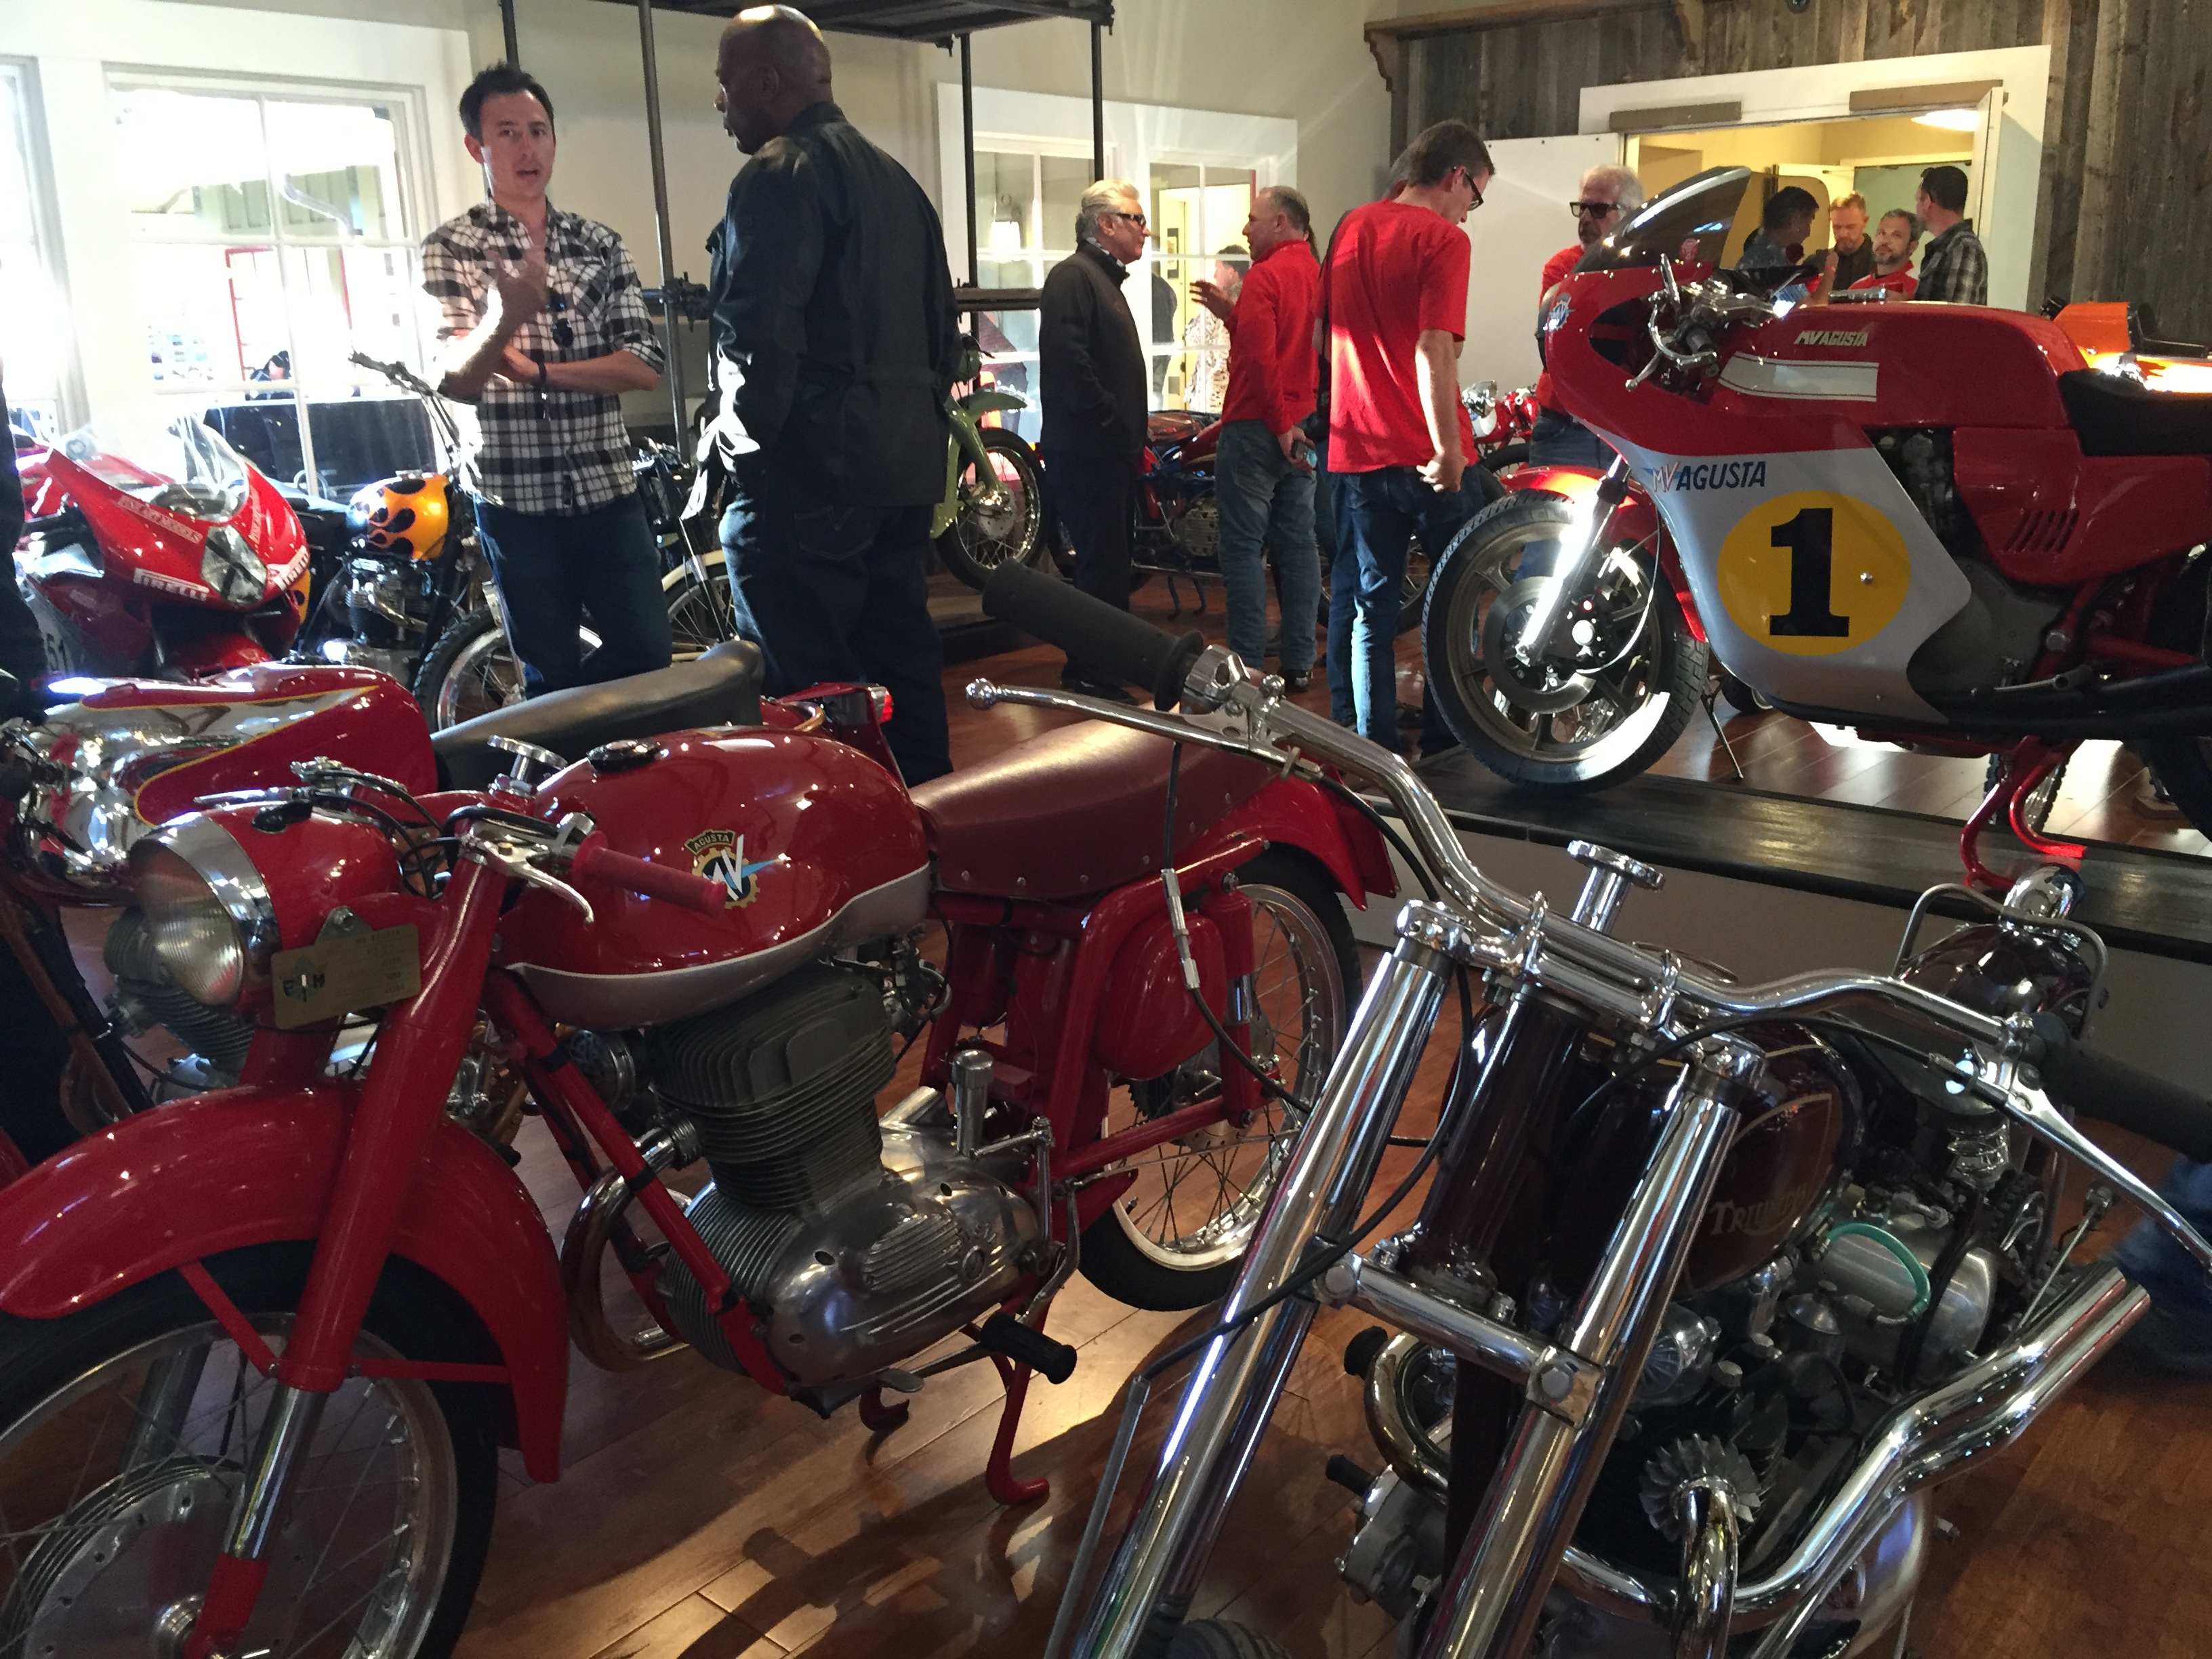
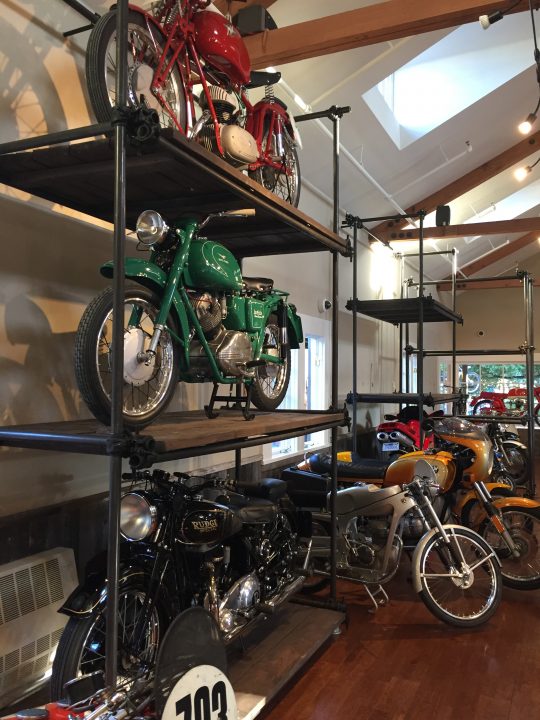
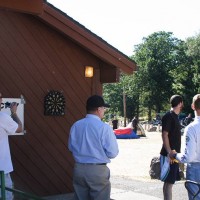
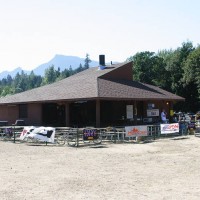
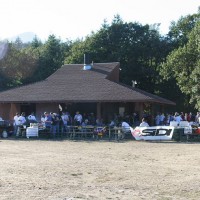
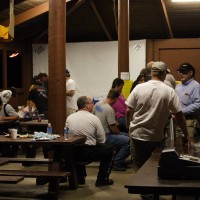
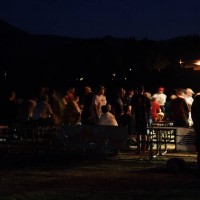
During the US Round of World SuperBike (SBK) Ducati Owners Club, arranged a preview of the Talbot Motorcycle Museum for club members. It was a great, warm and sunny evening in Carmel Valley, amongst some amazing motorcycles!
Here are some photos from the event:
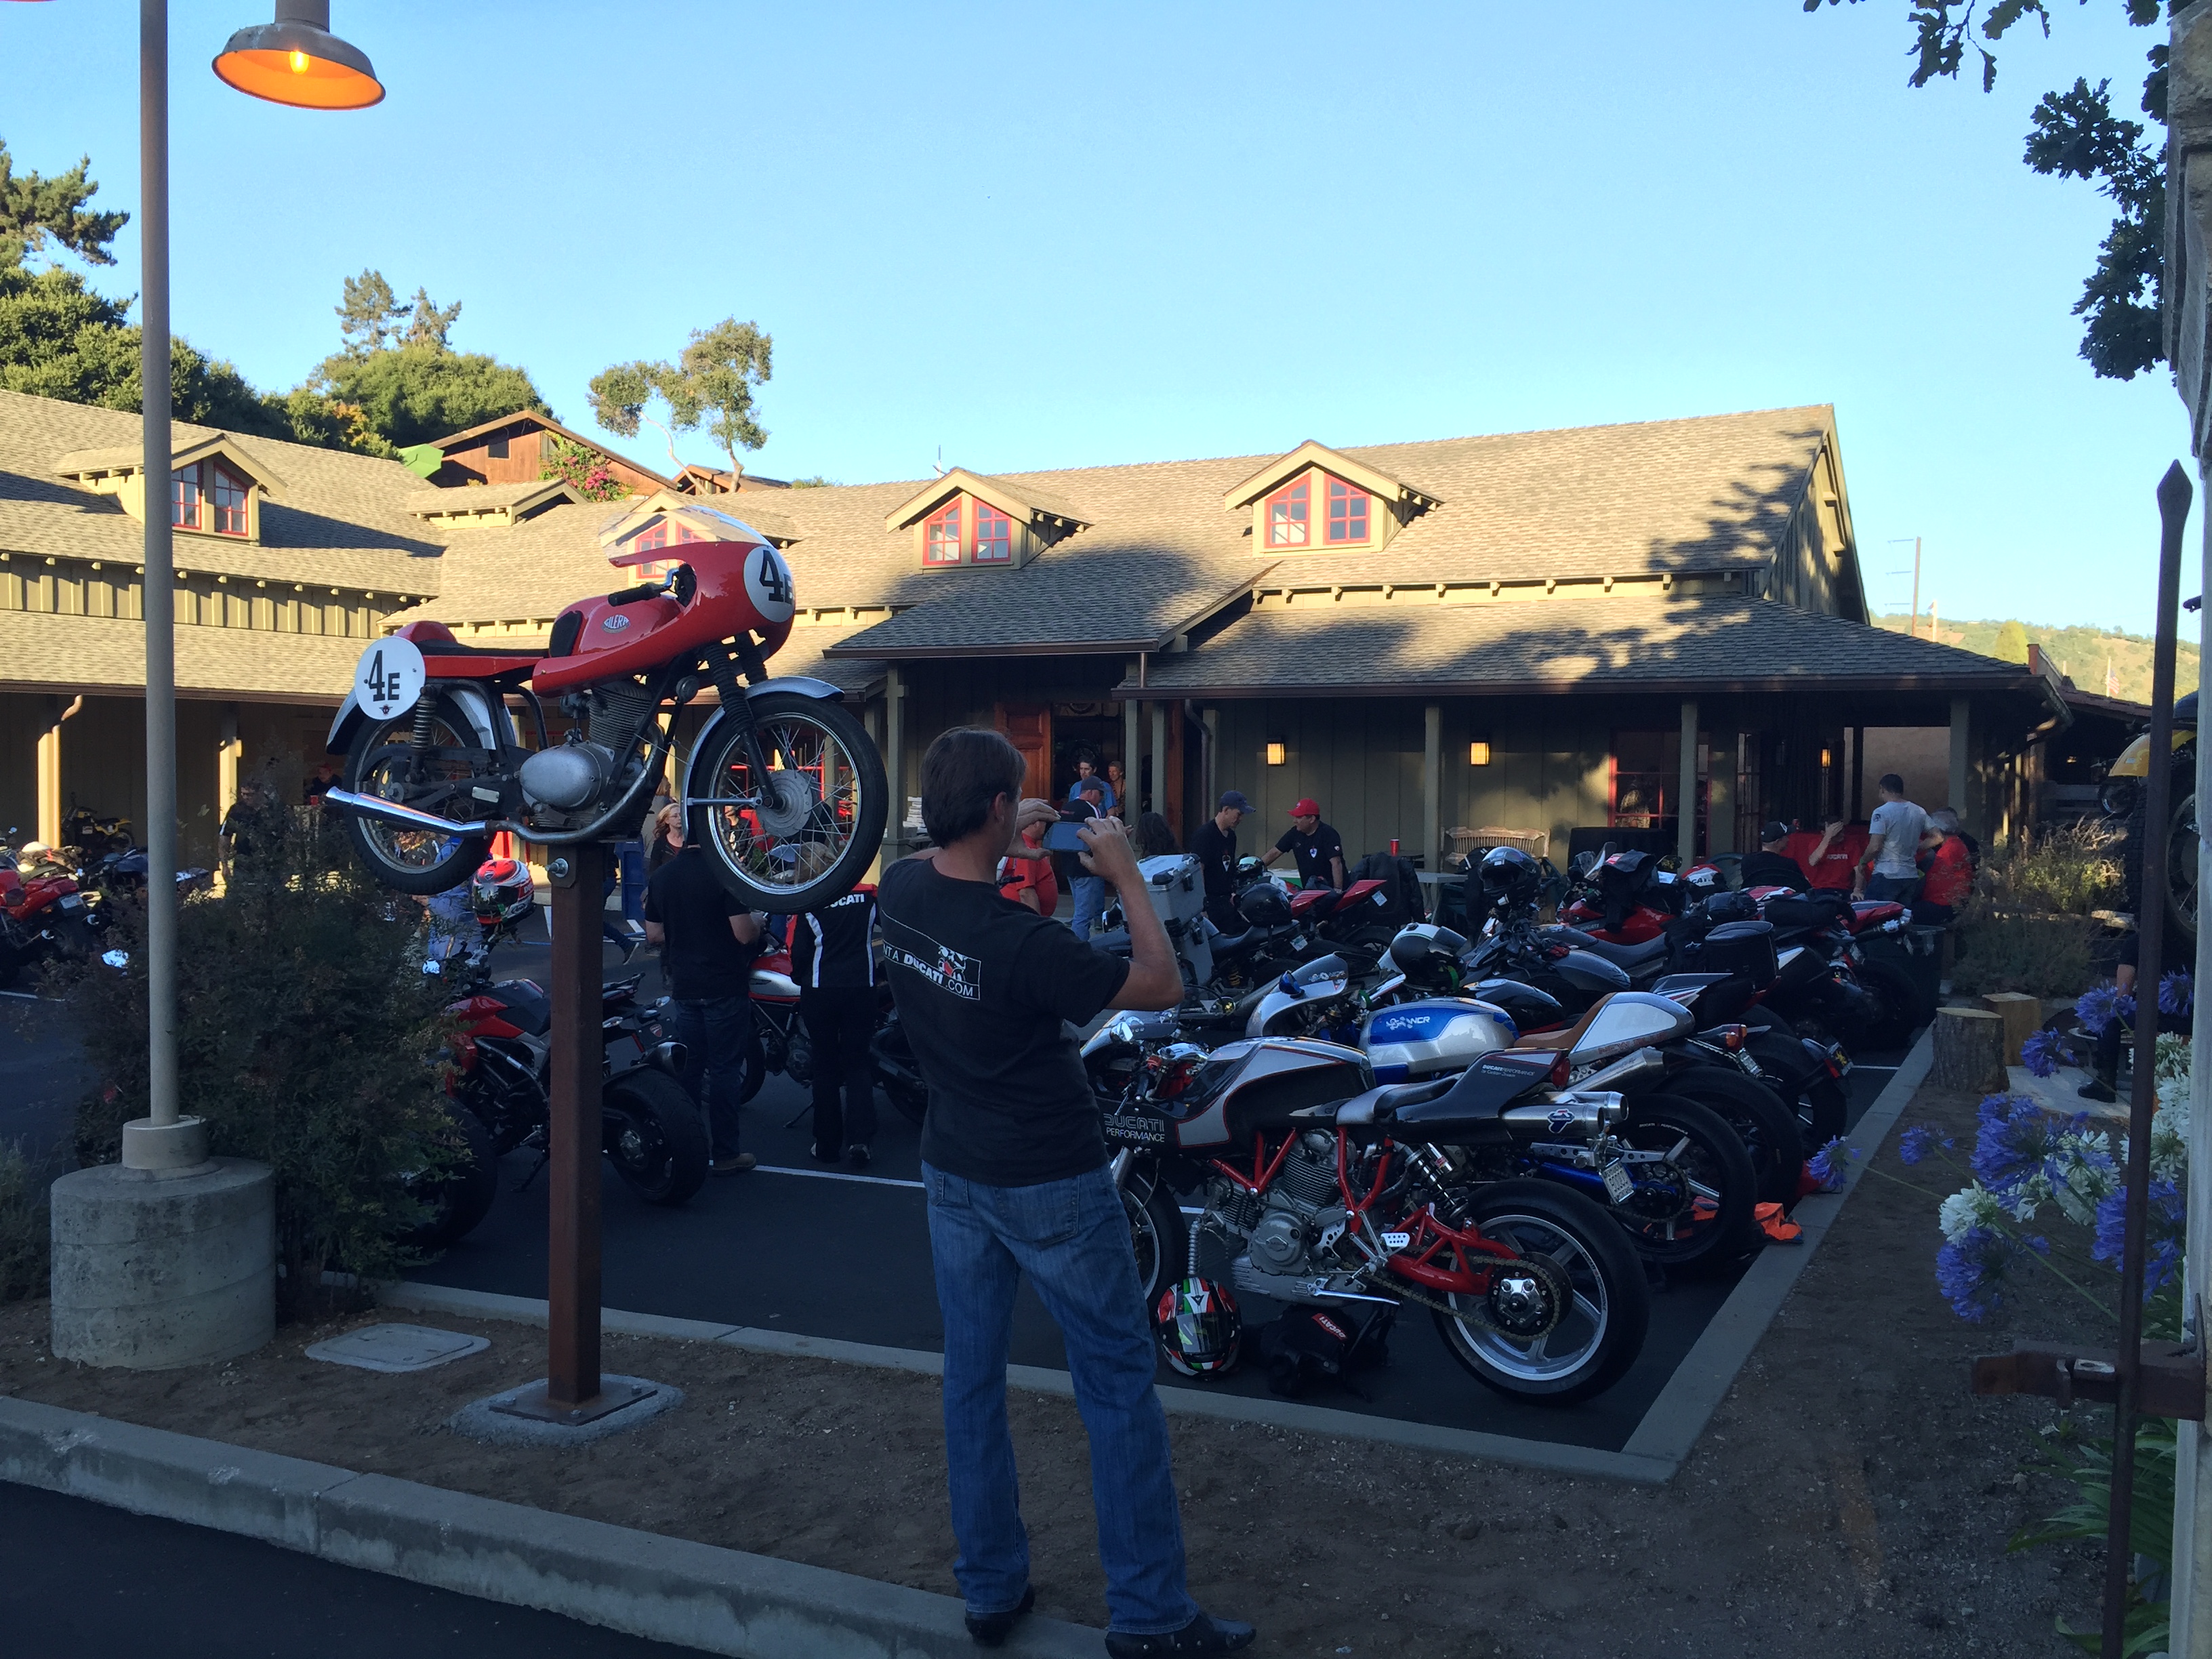
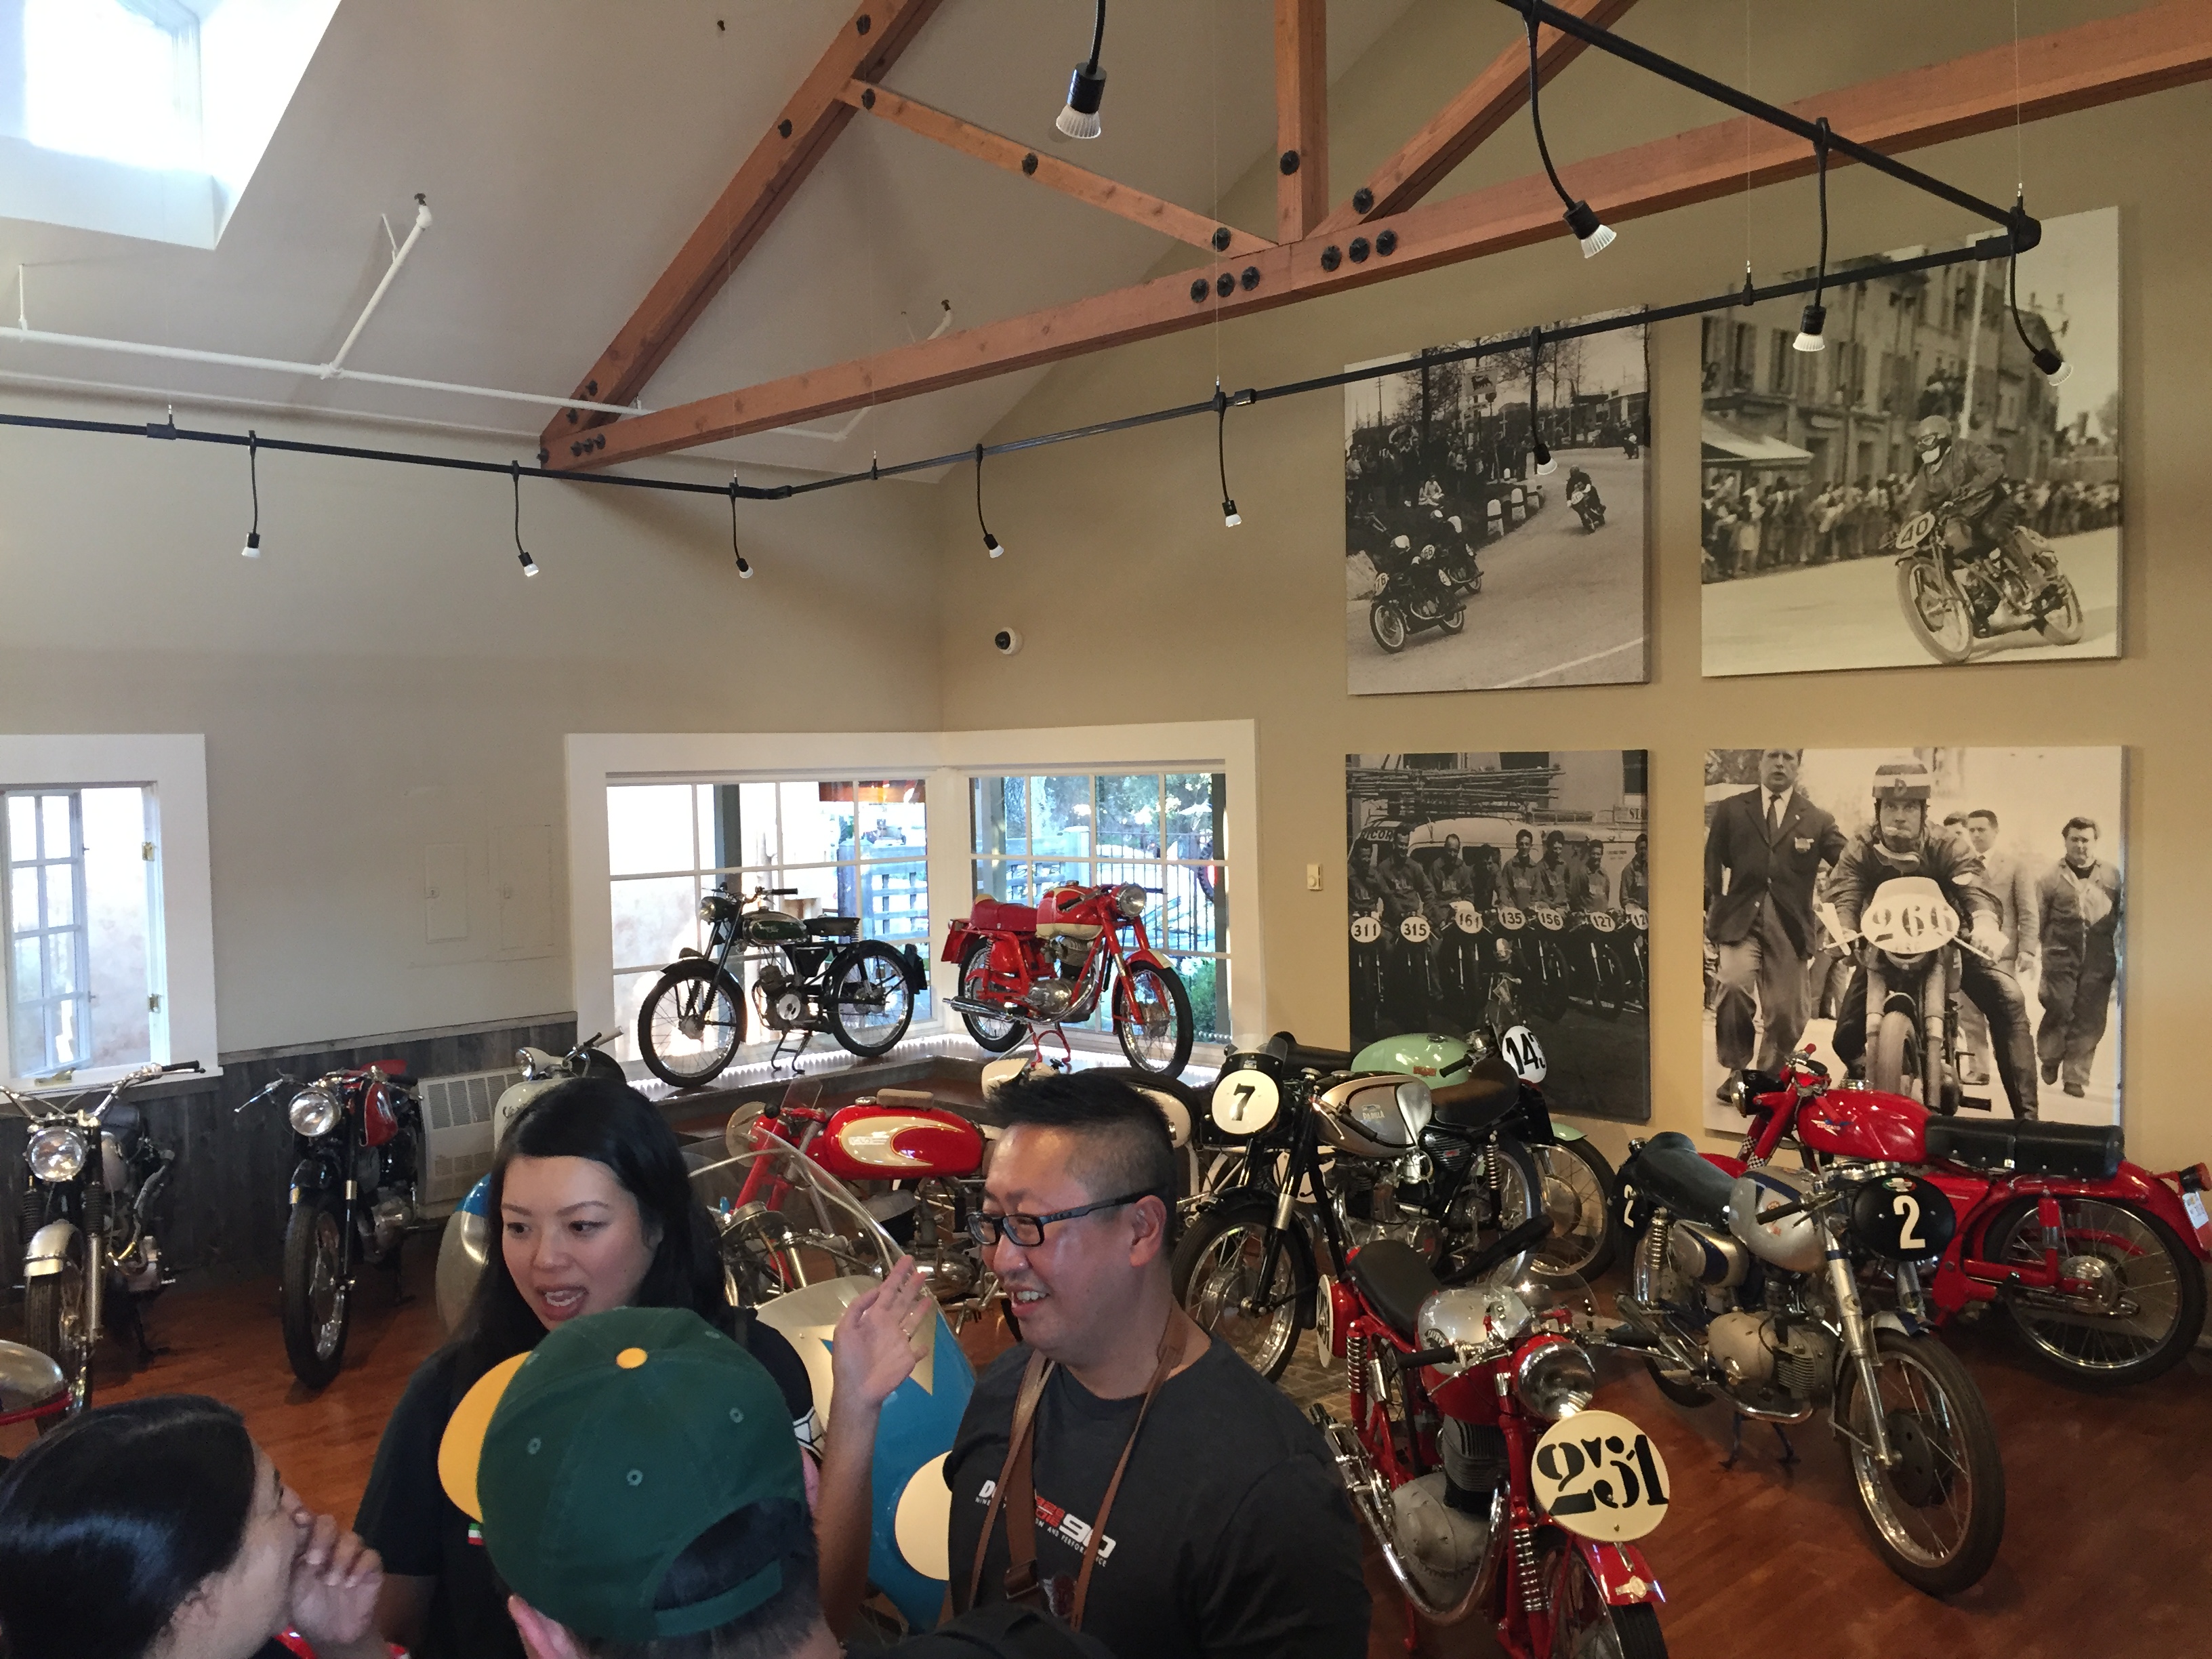
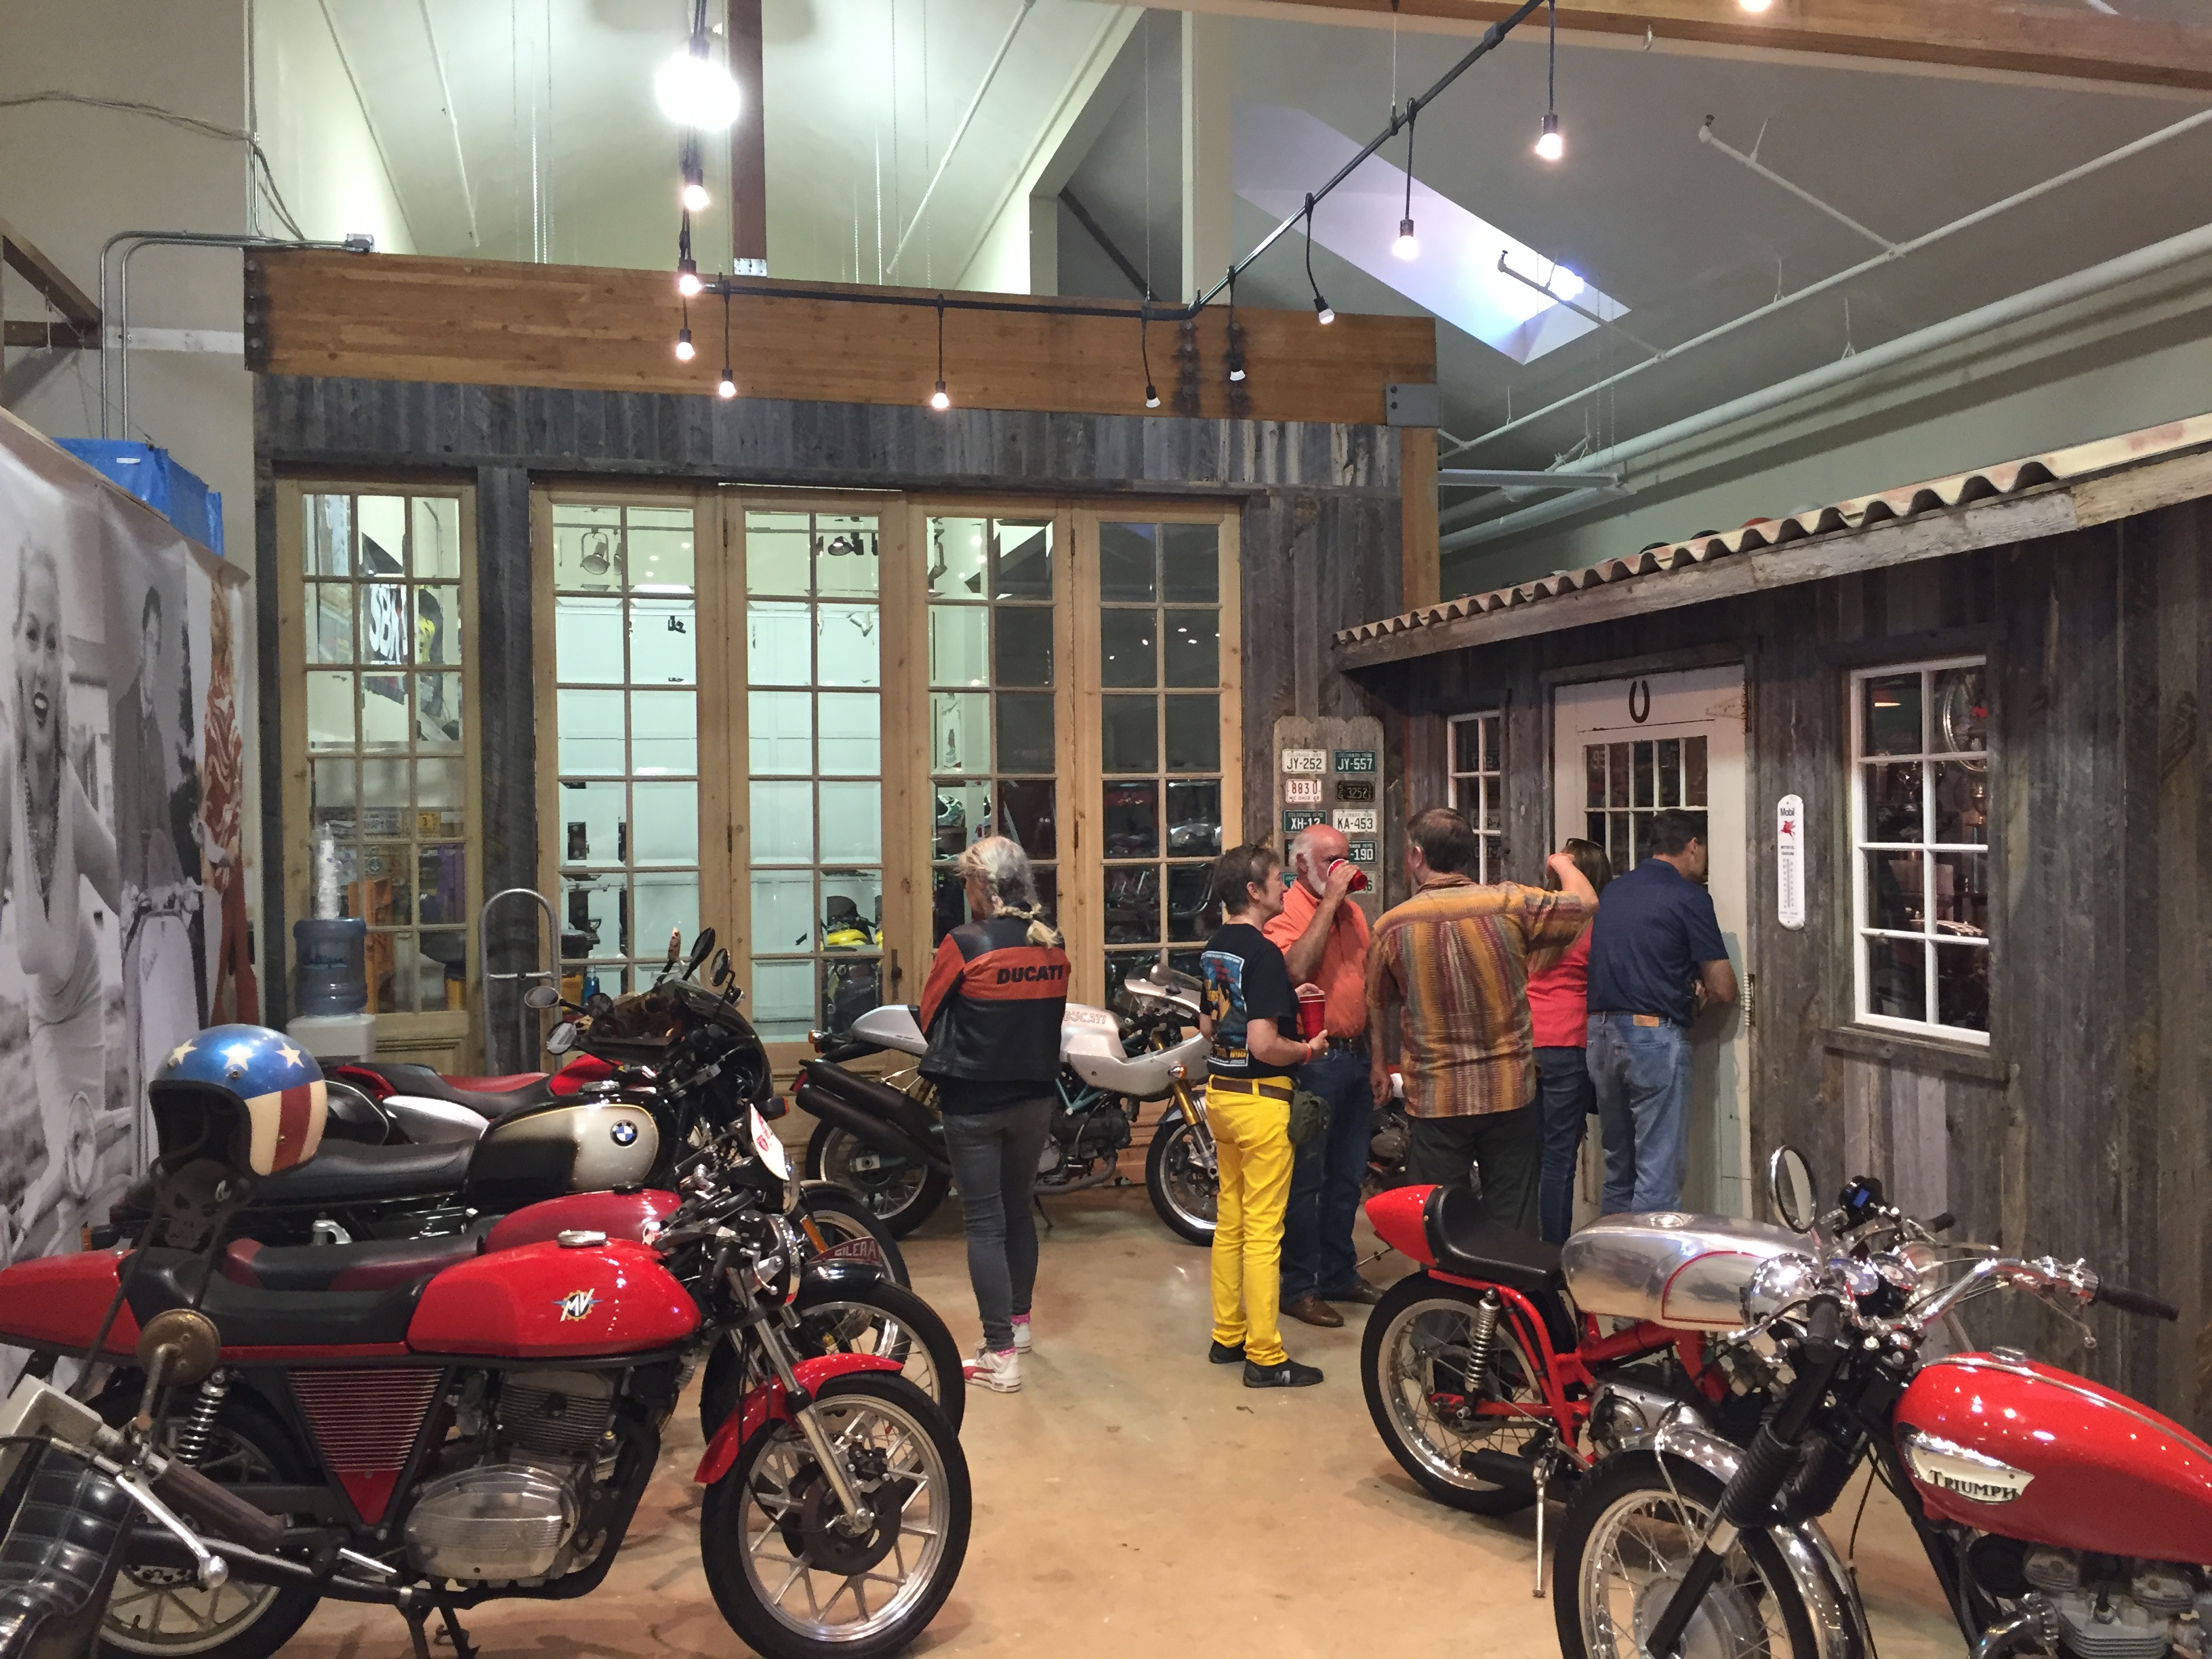
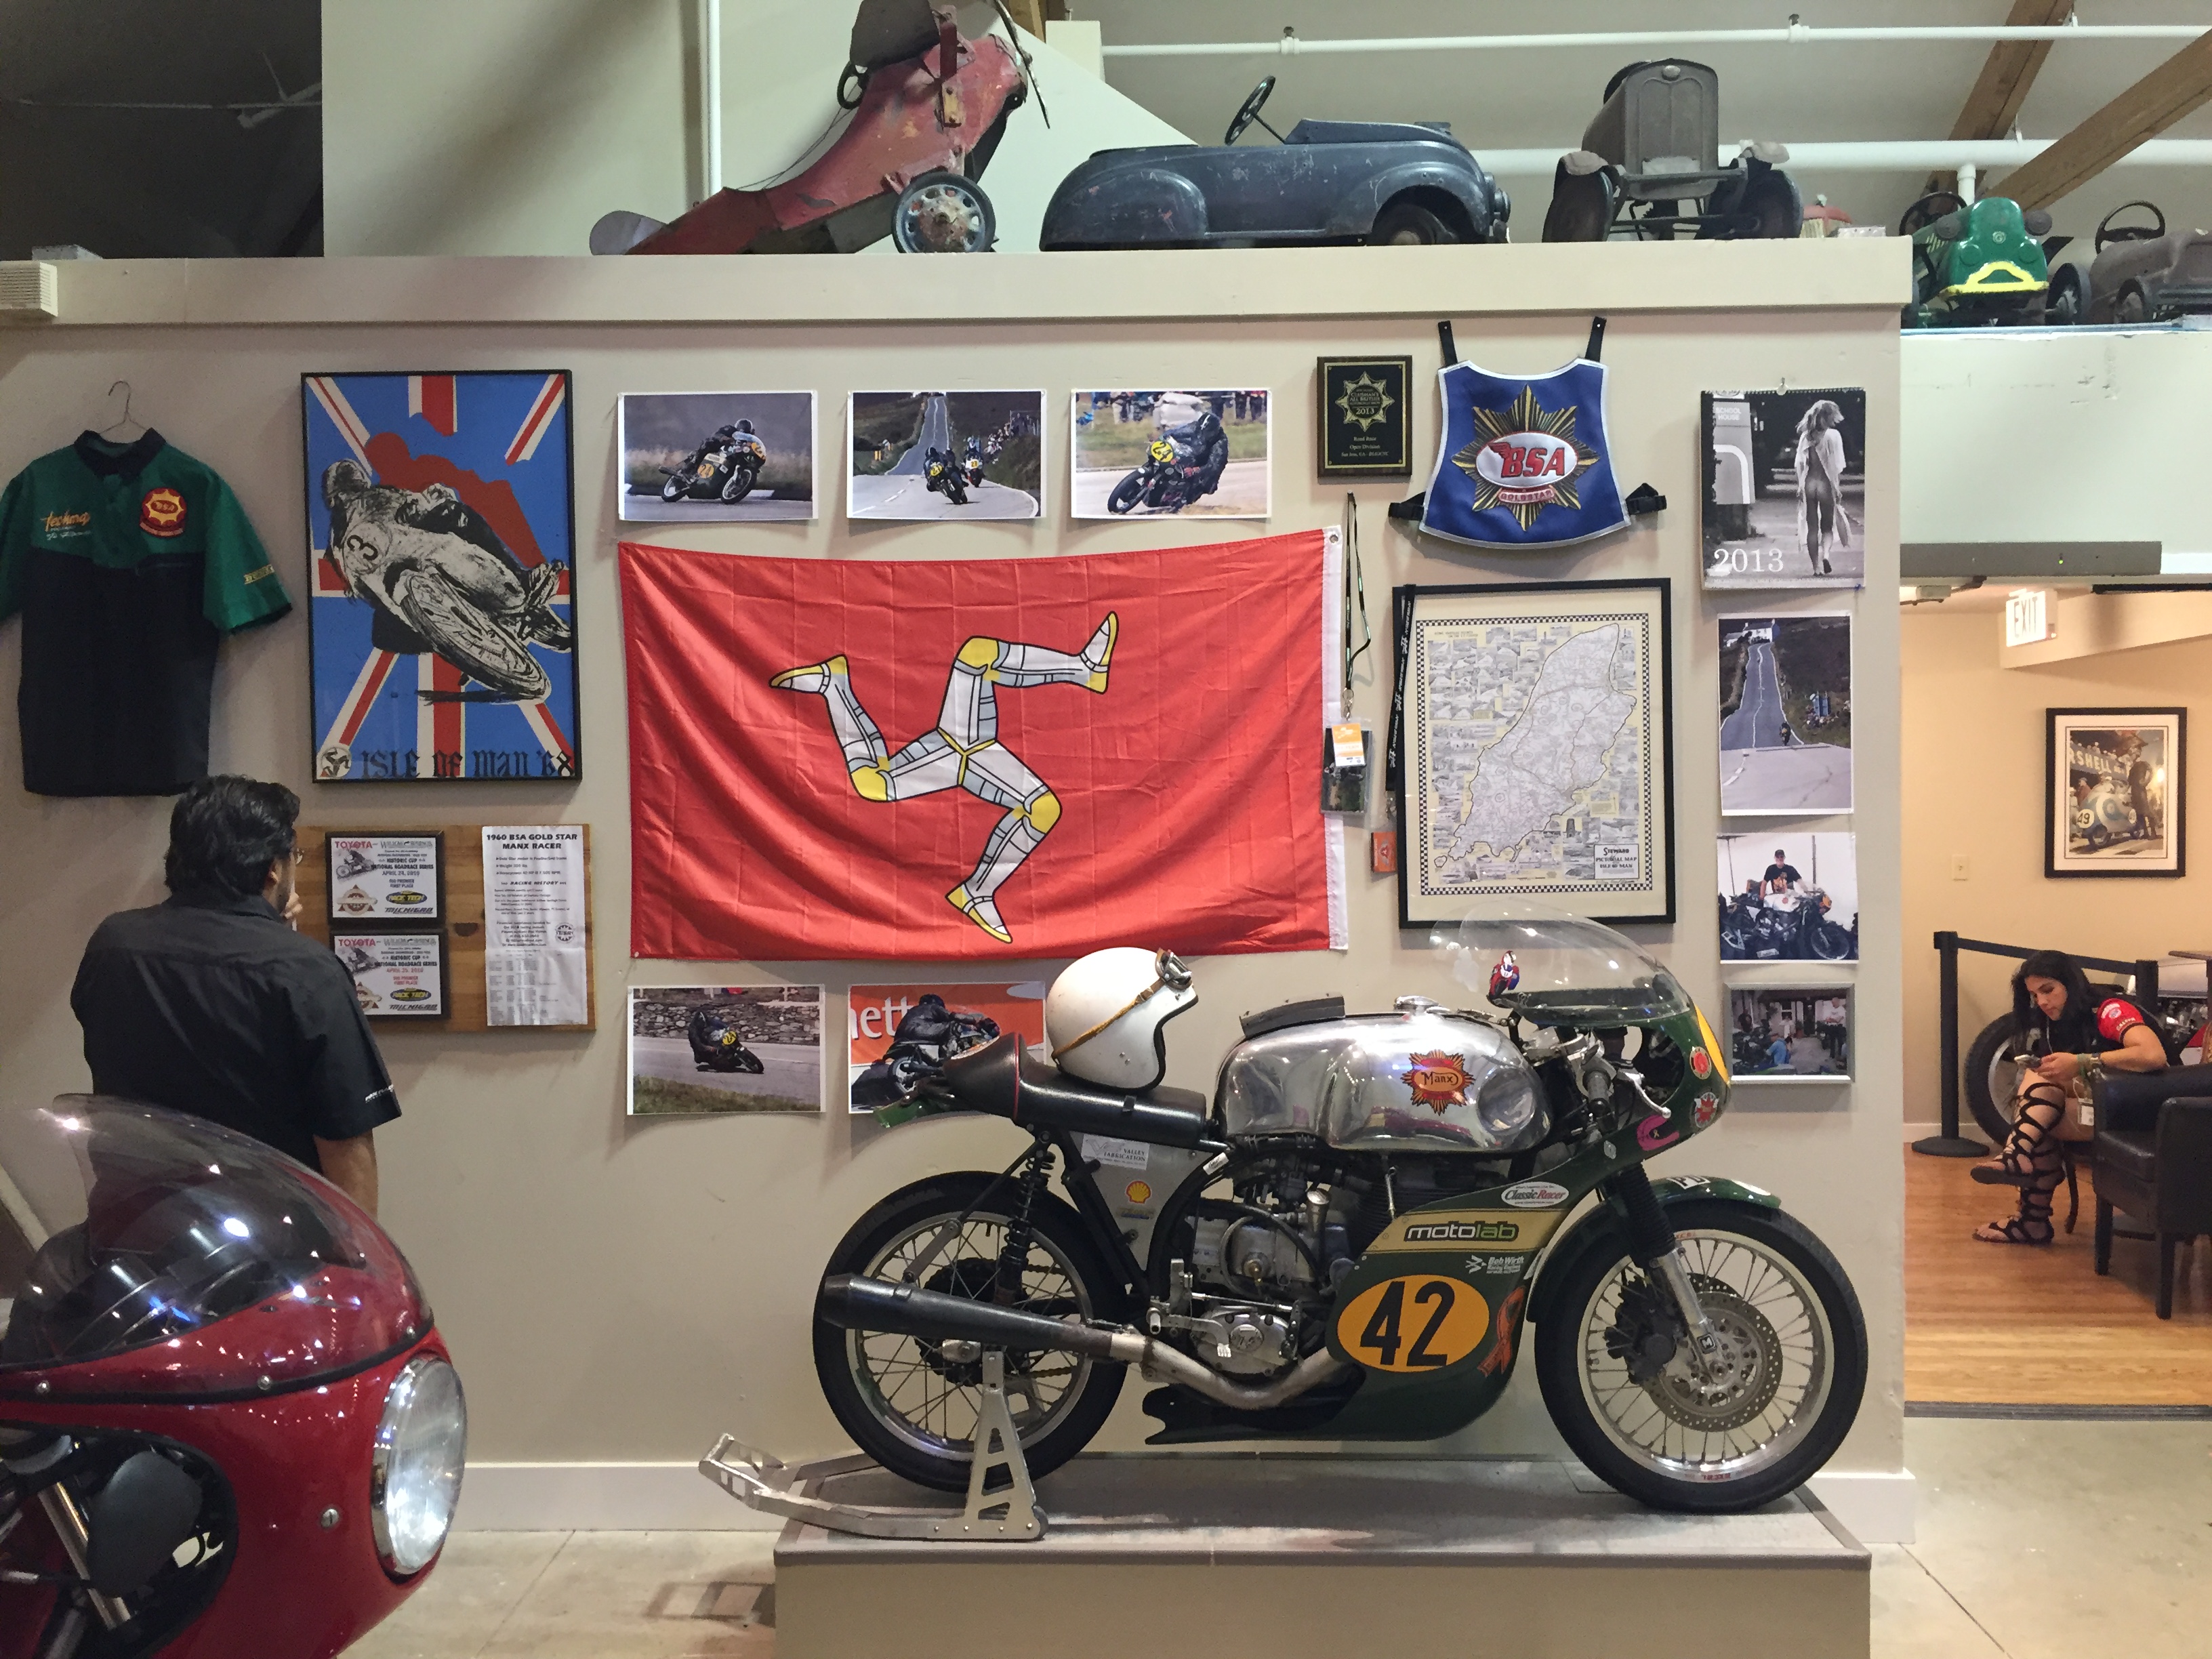
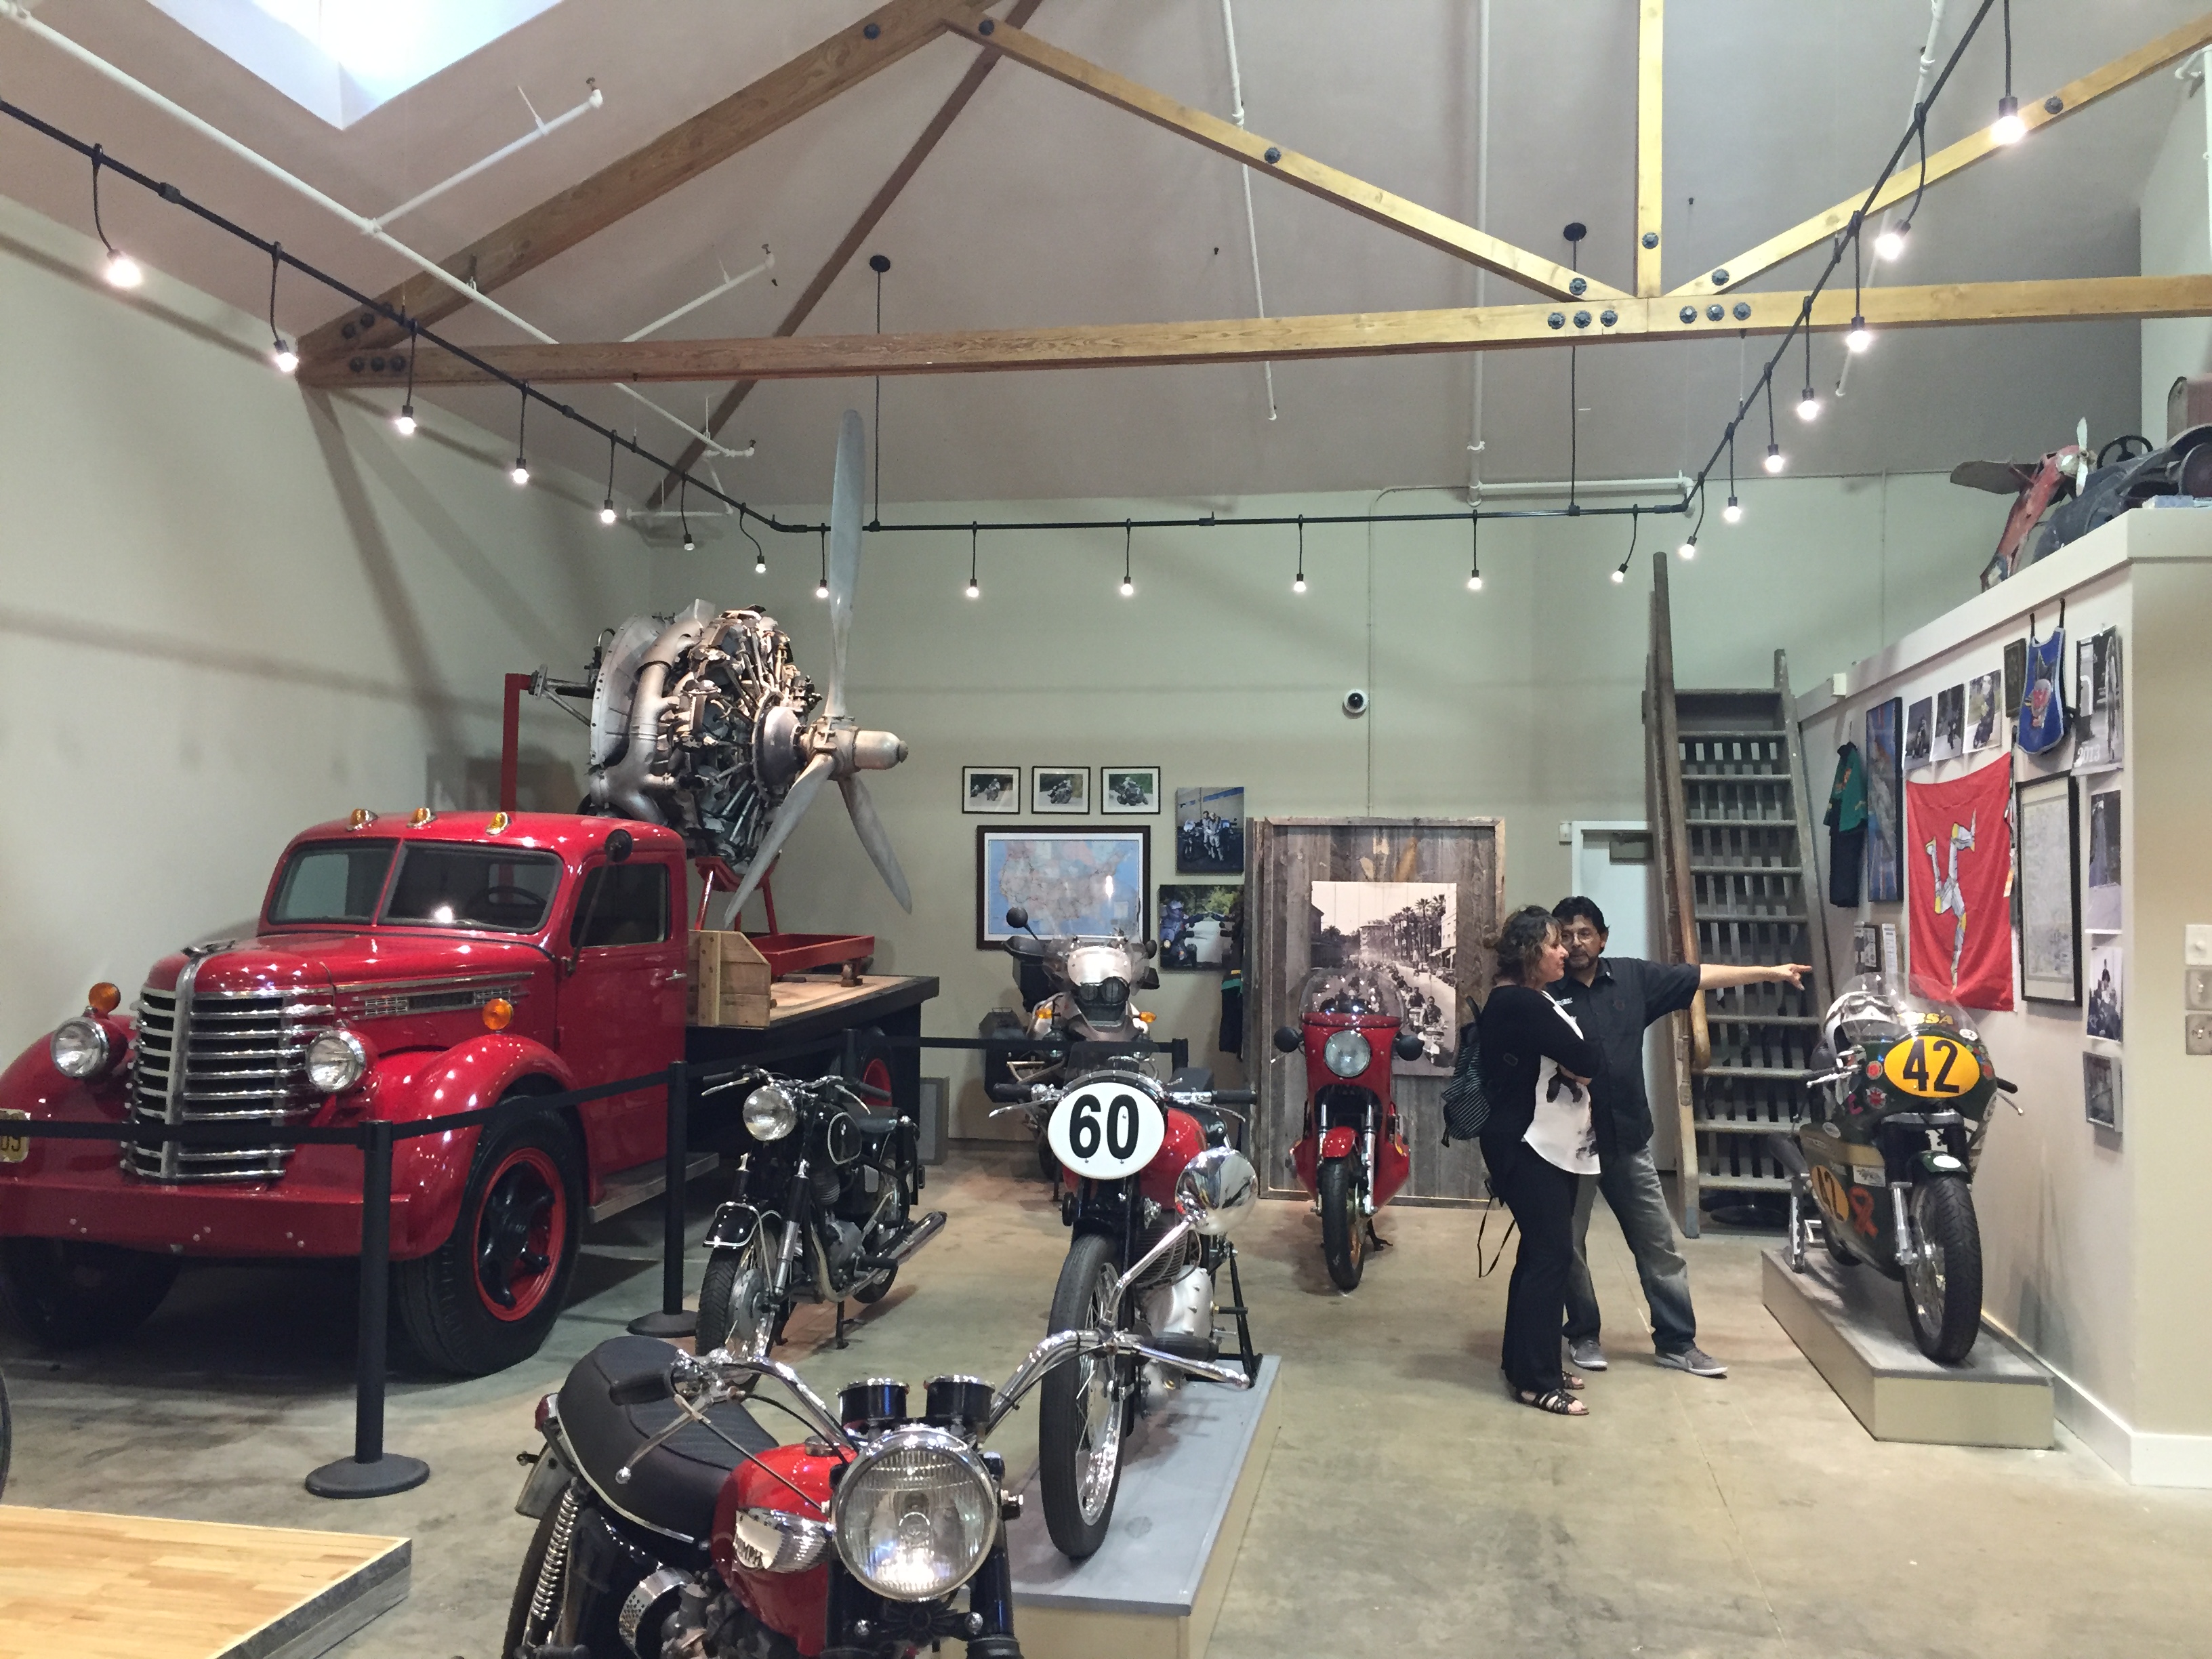
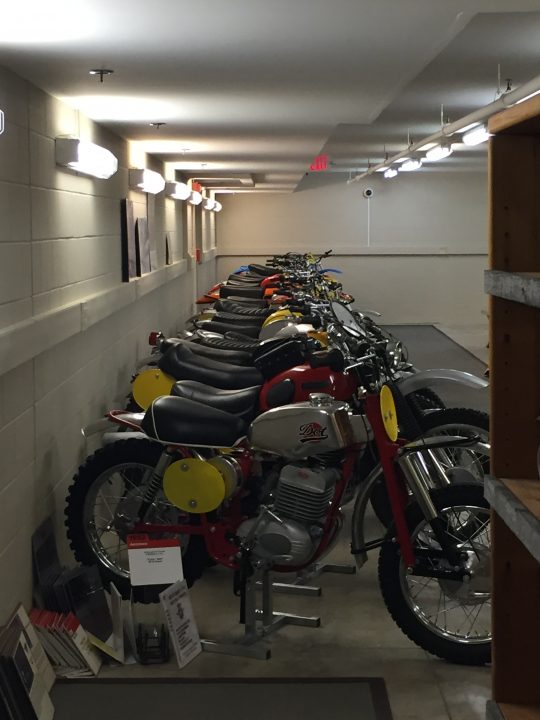
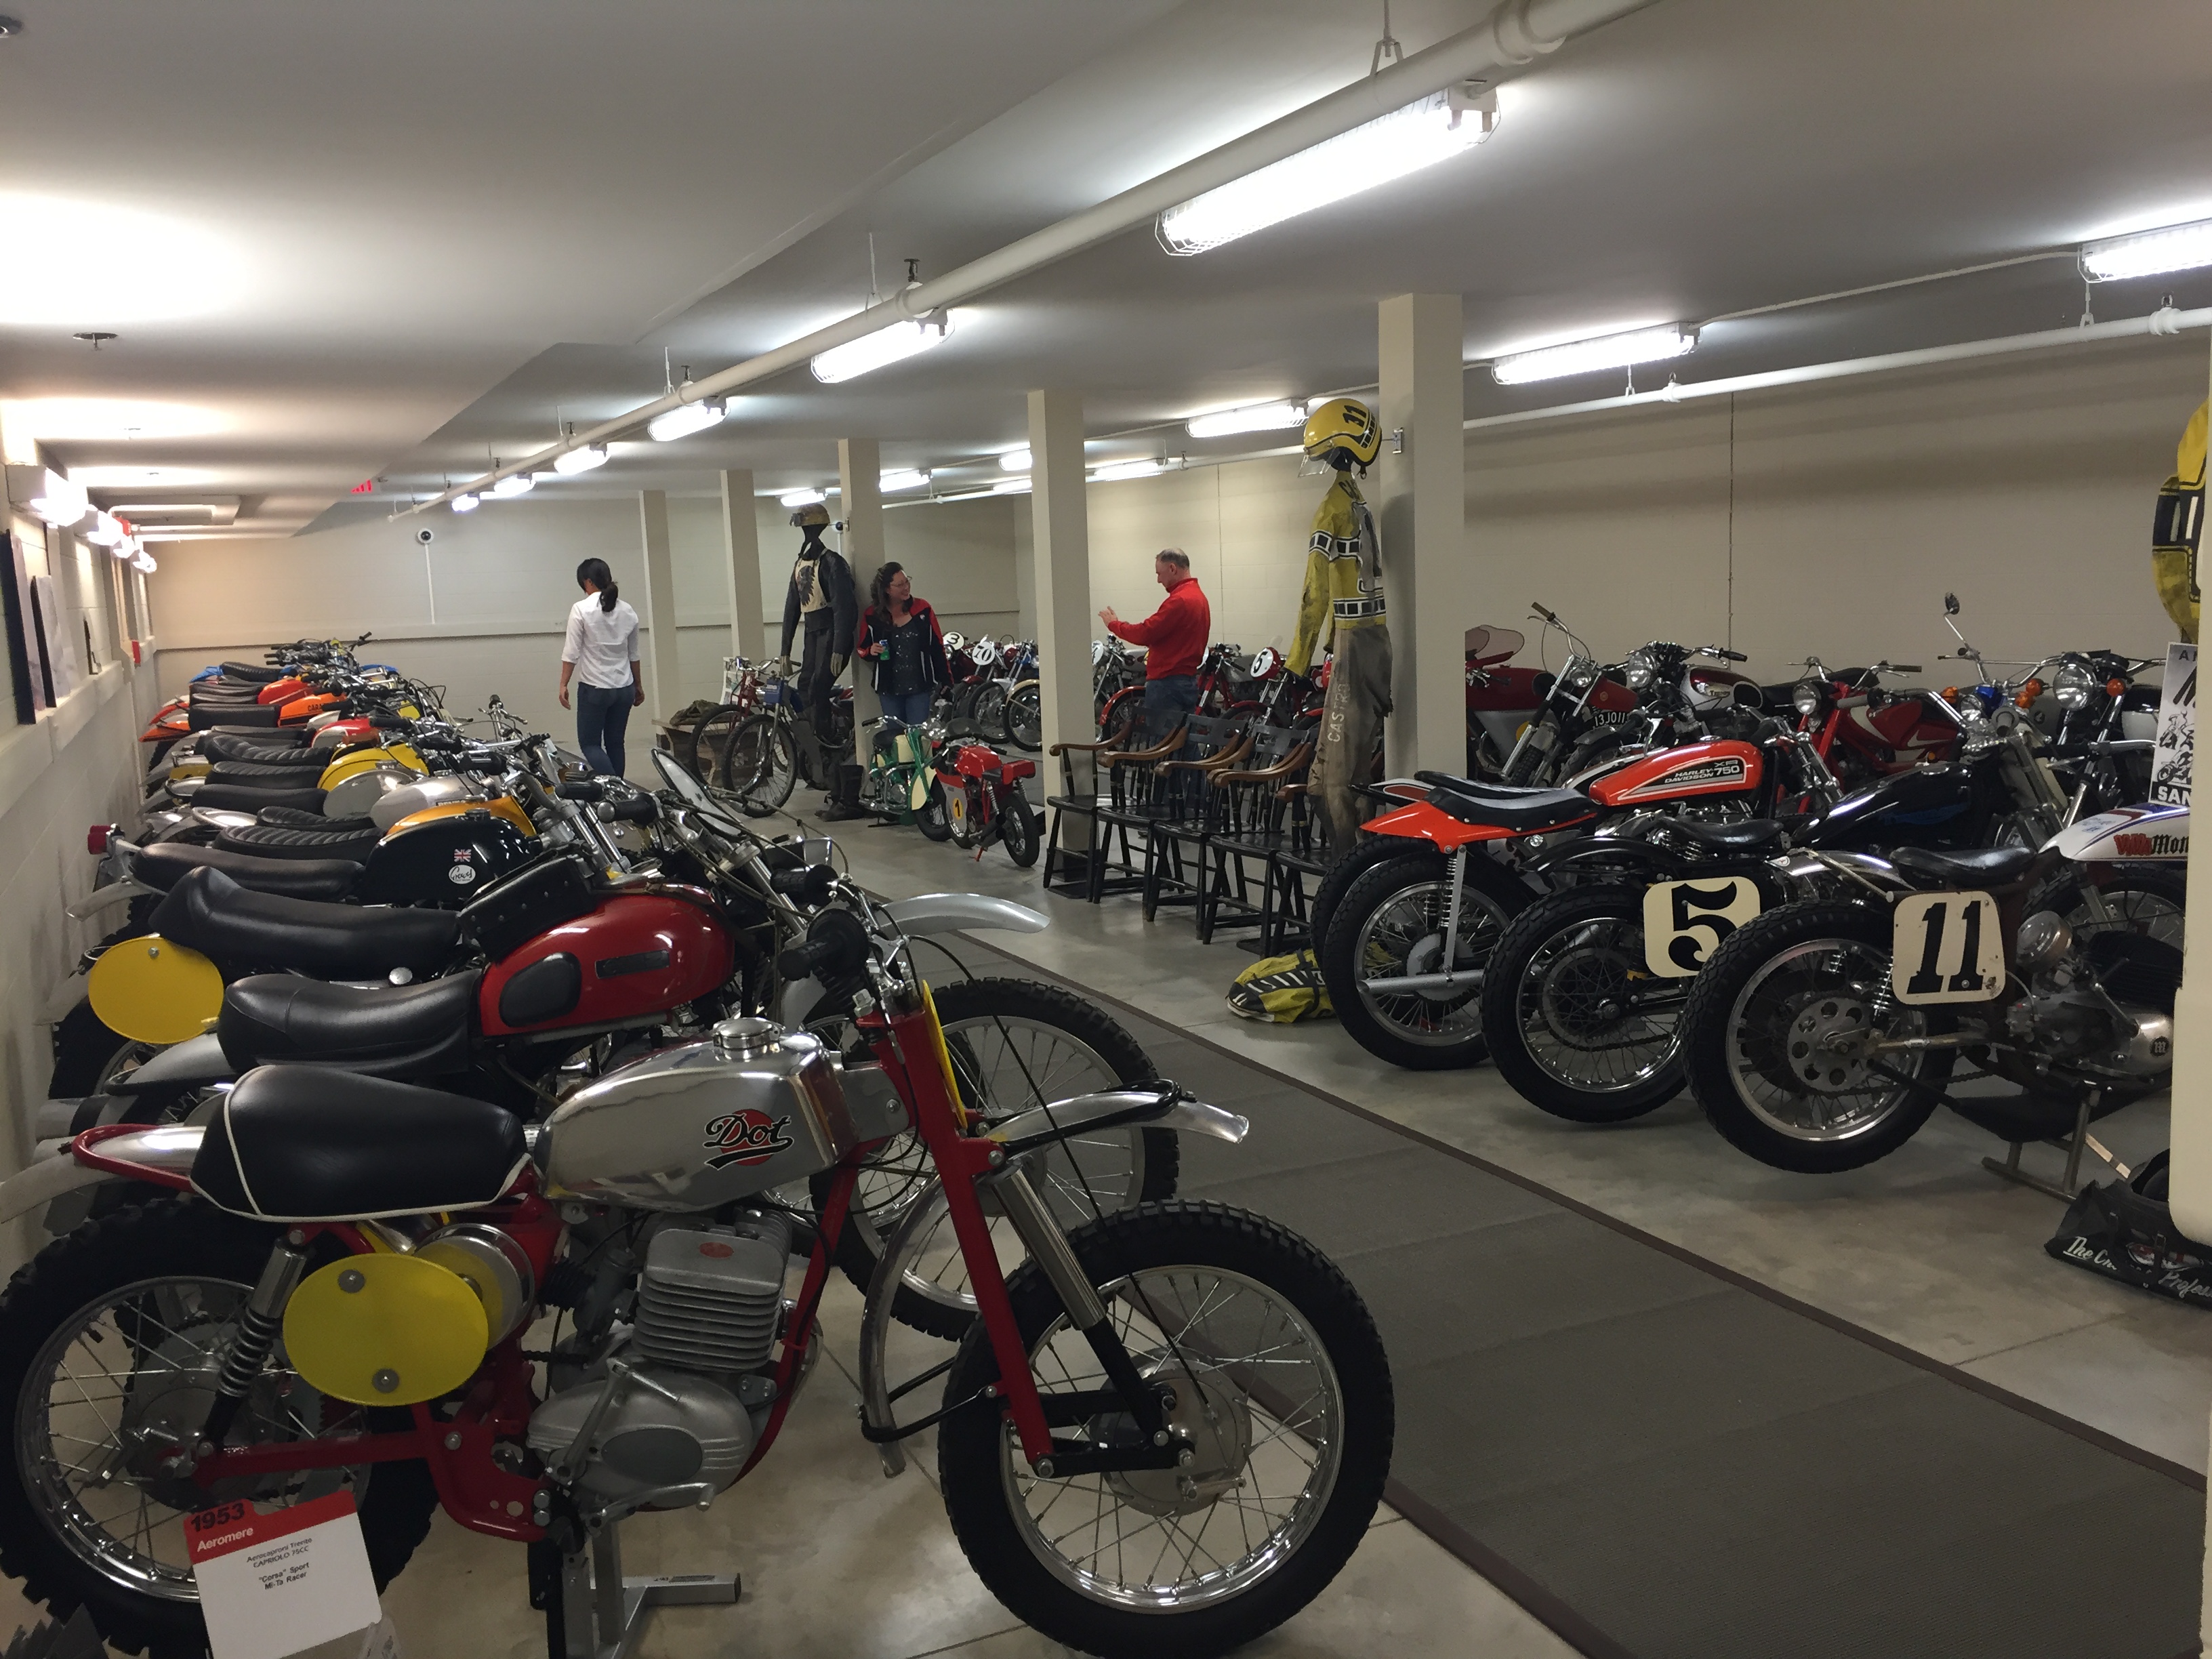
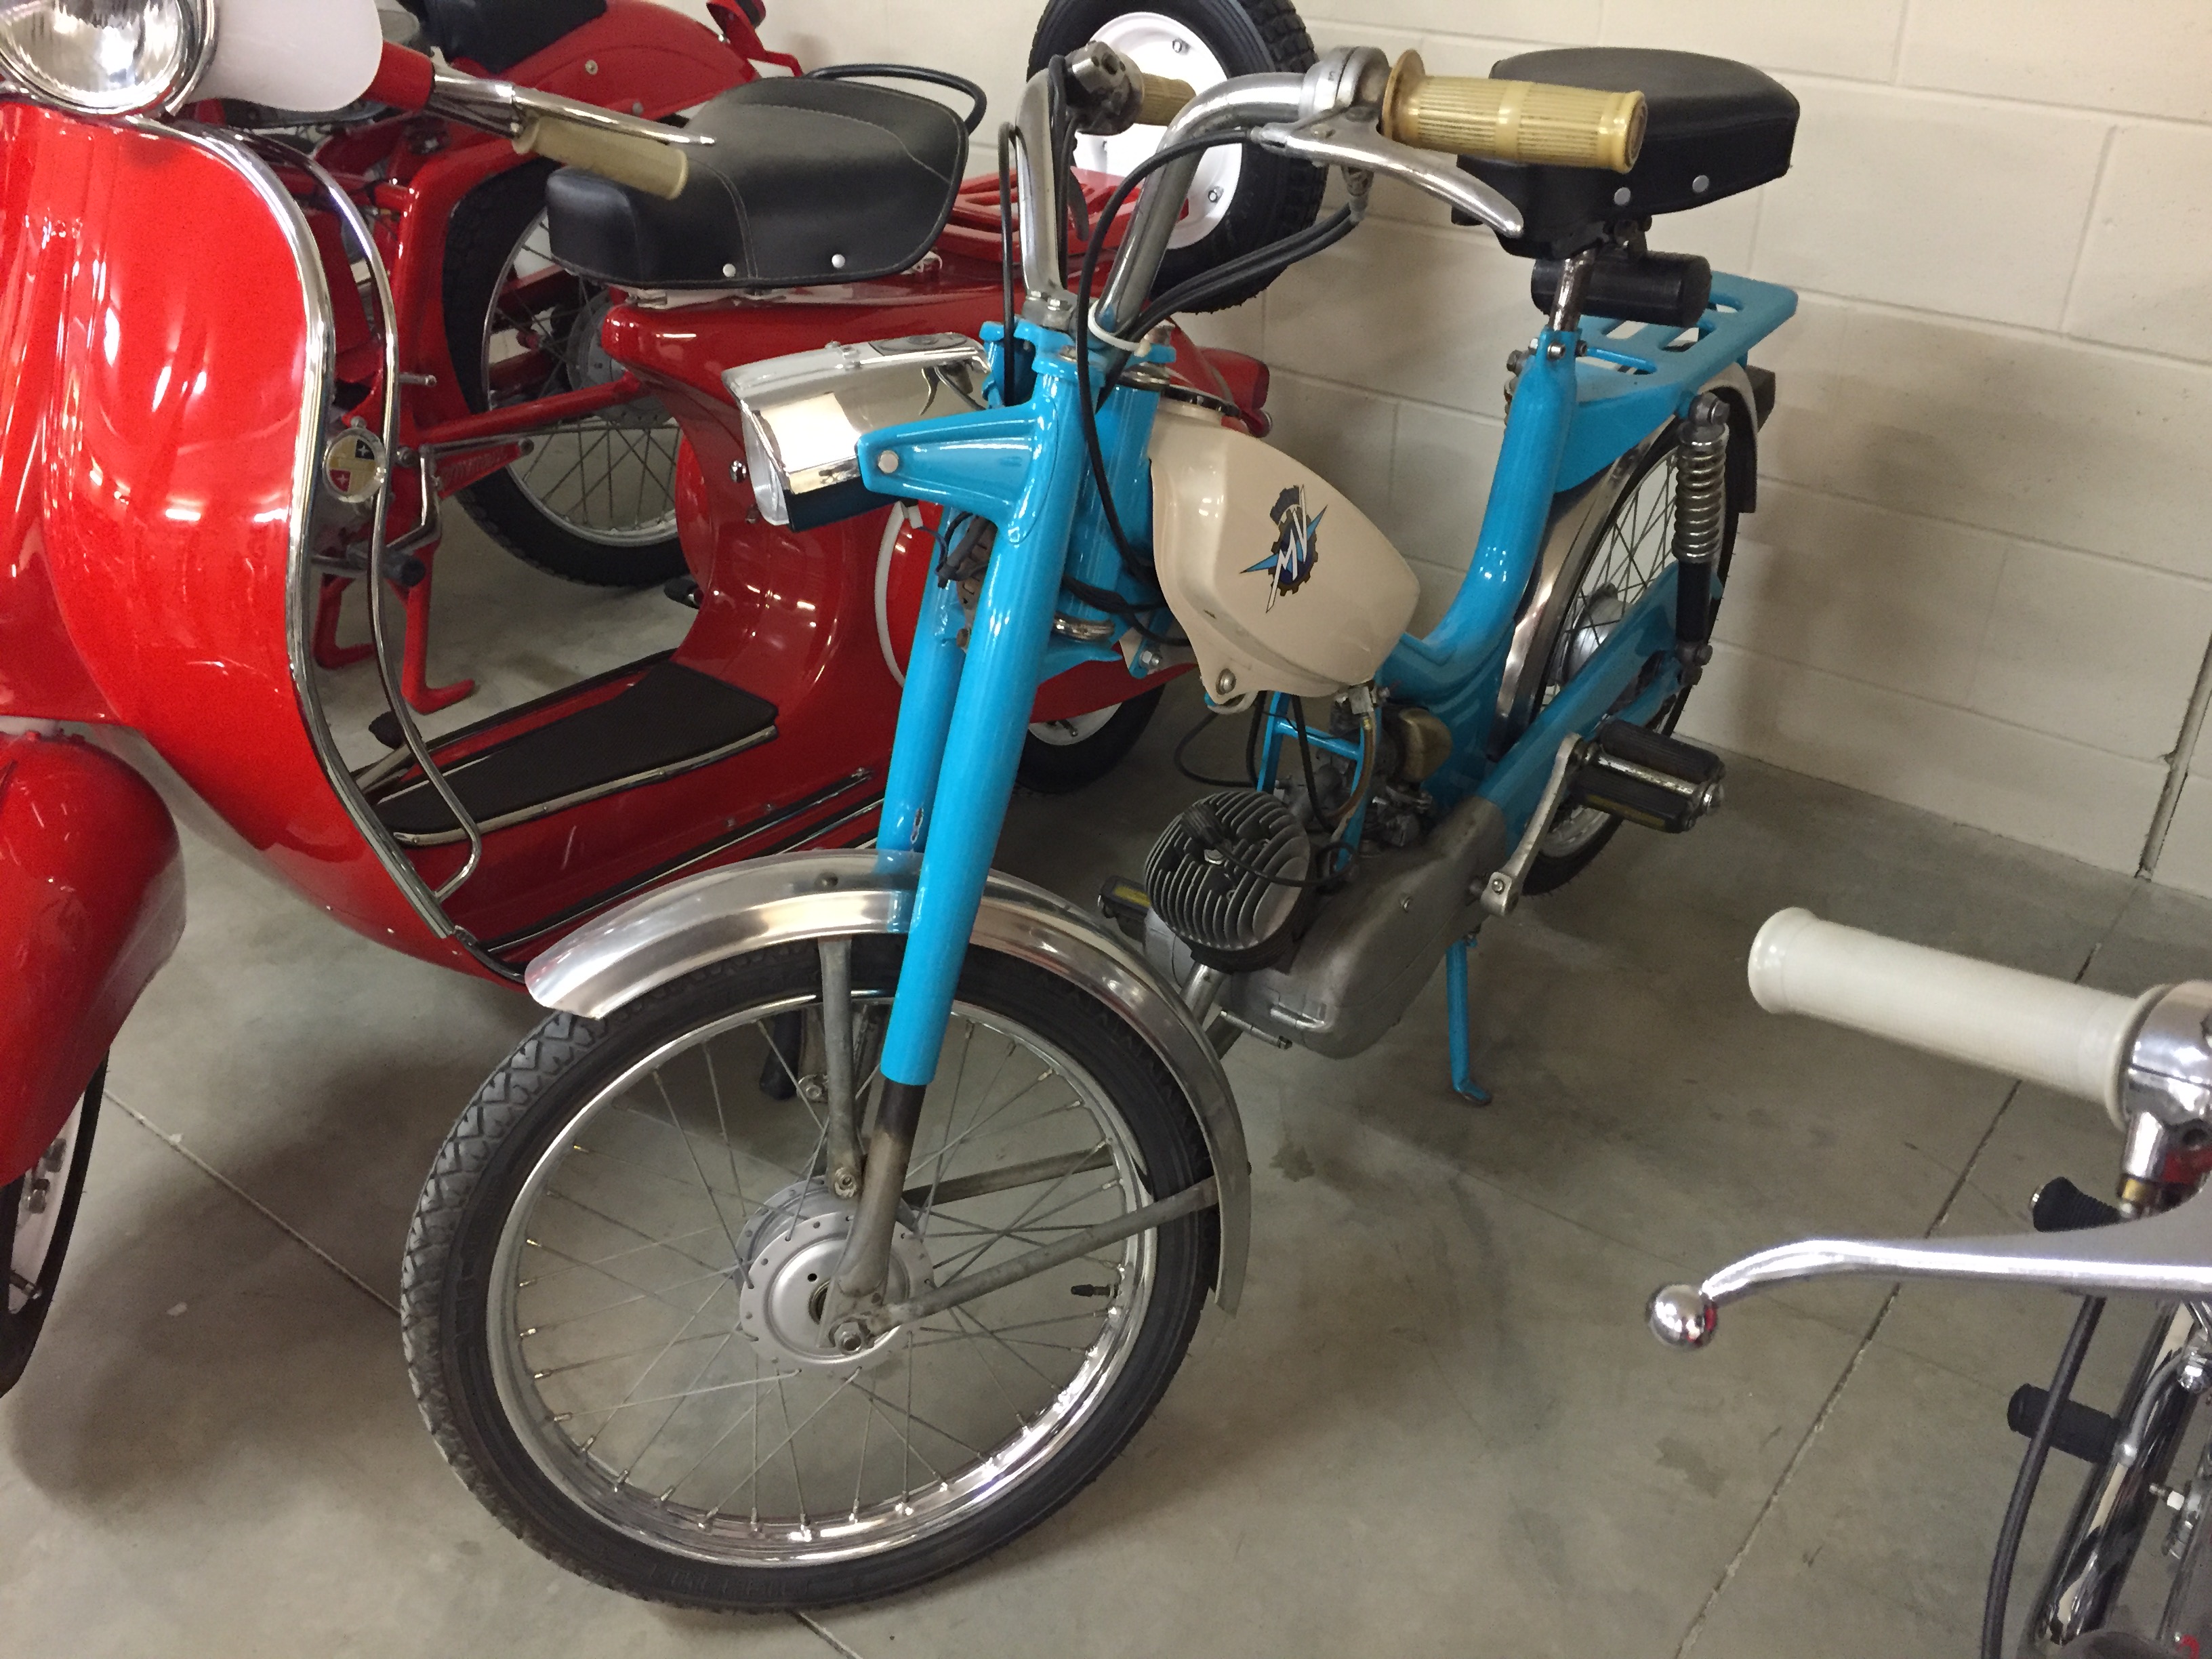
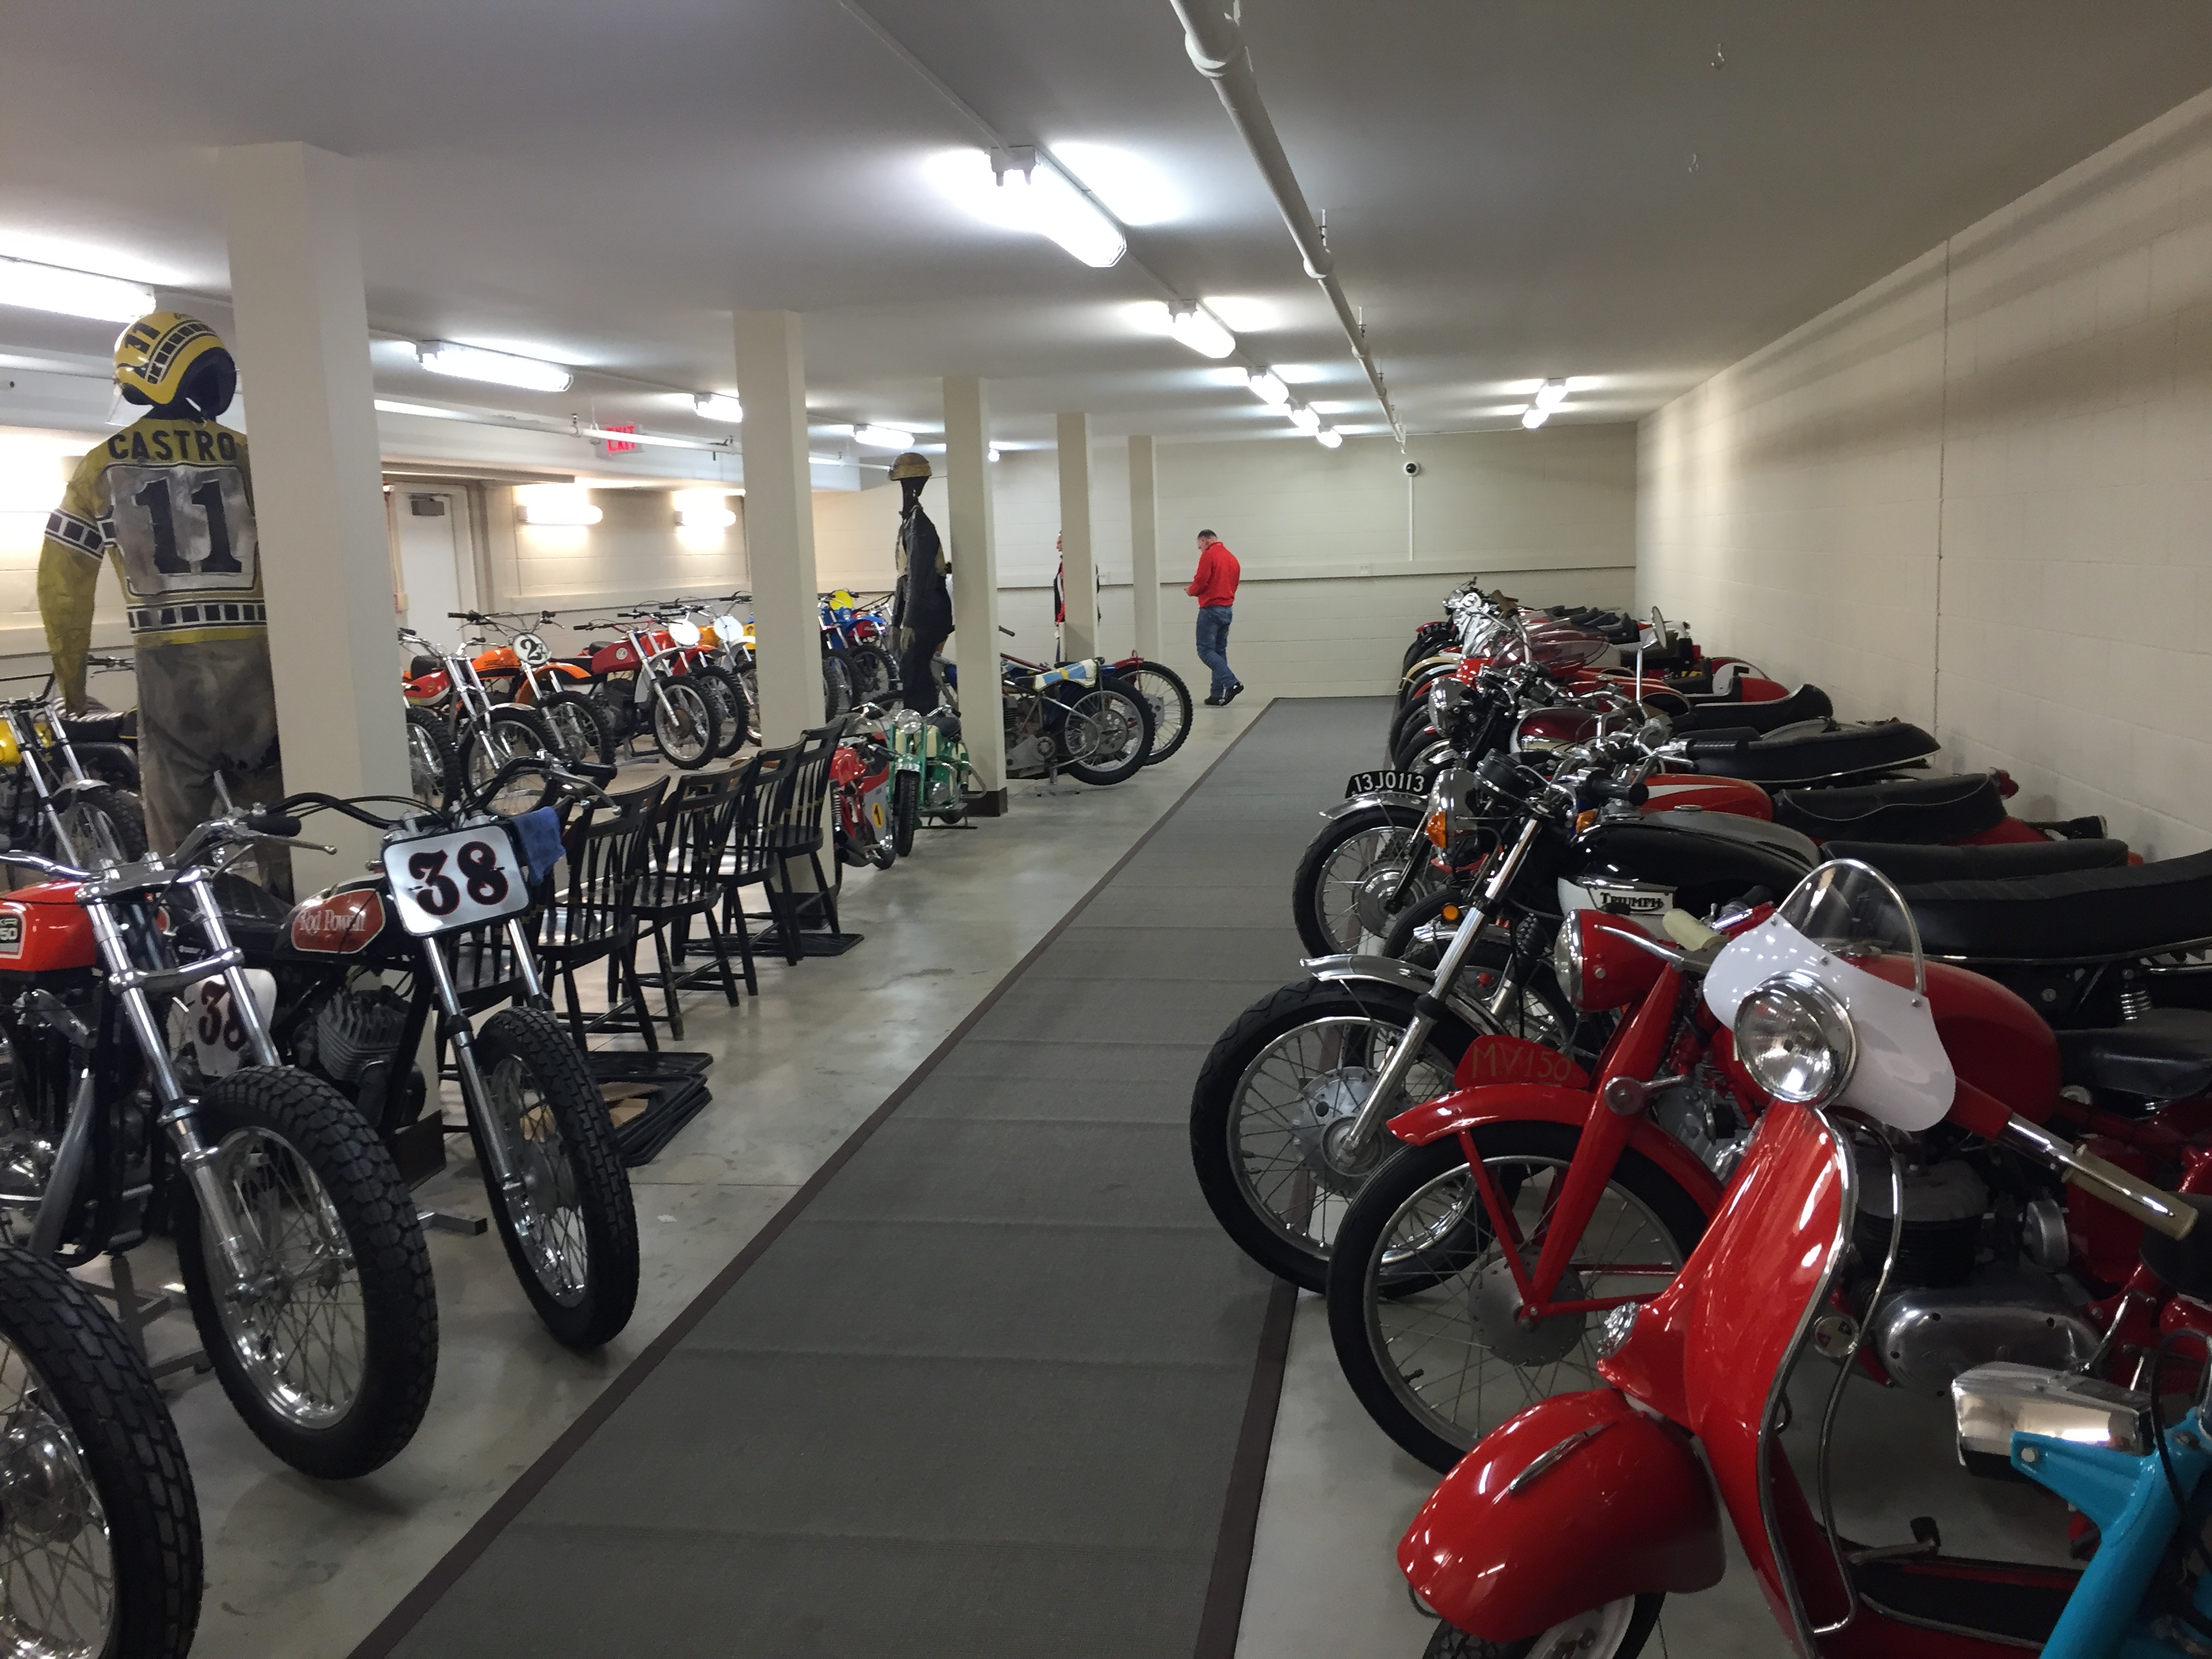
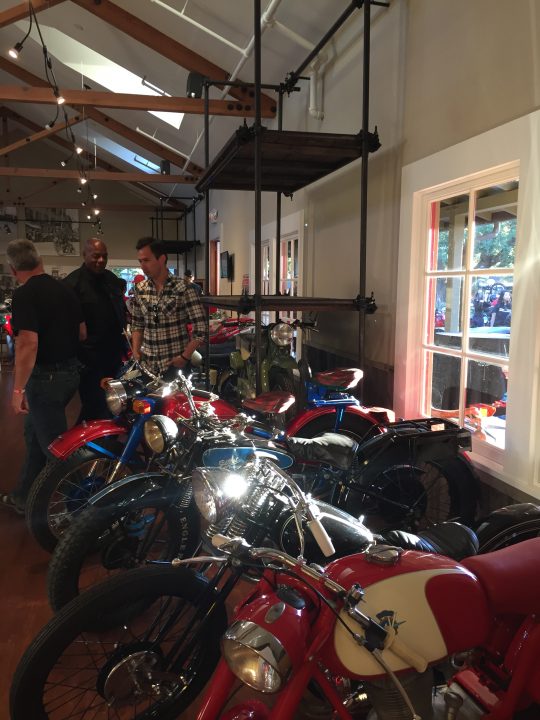

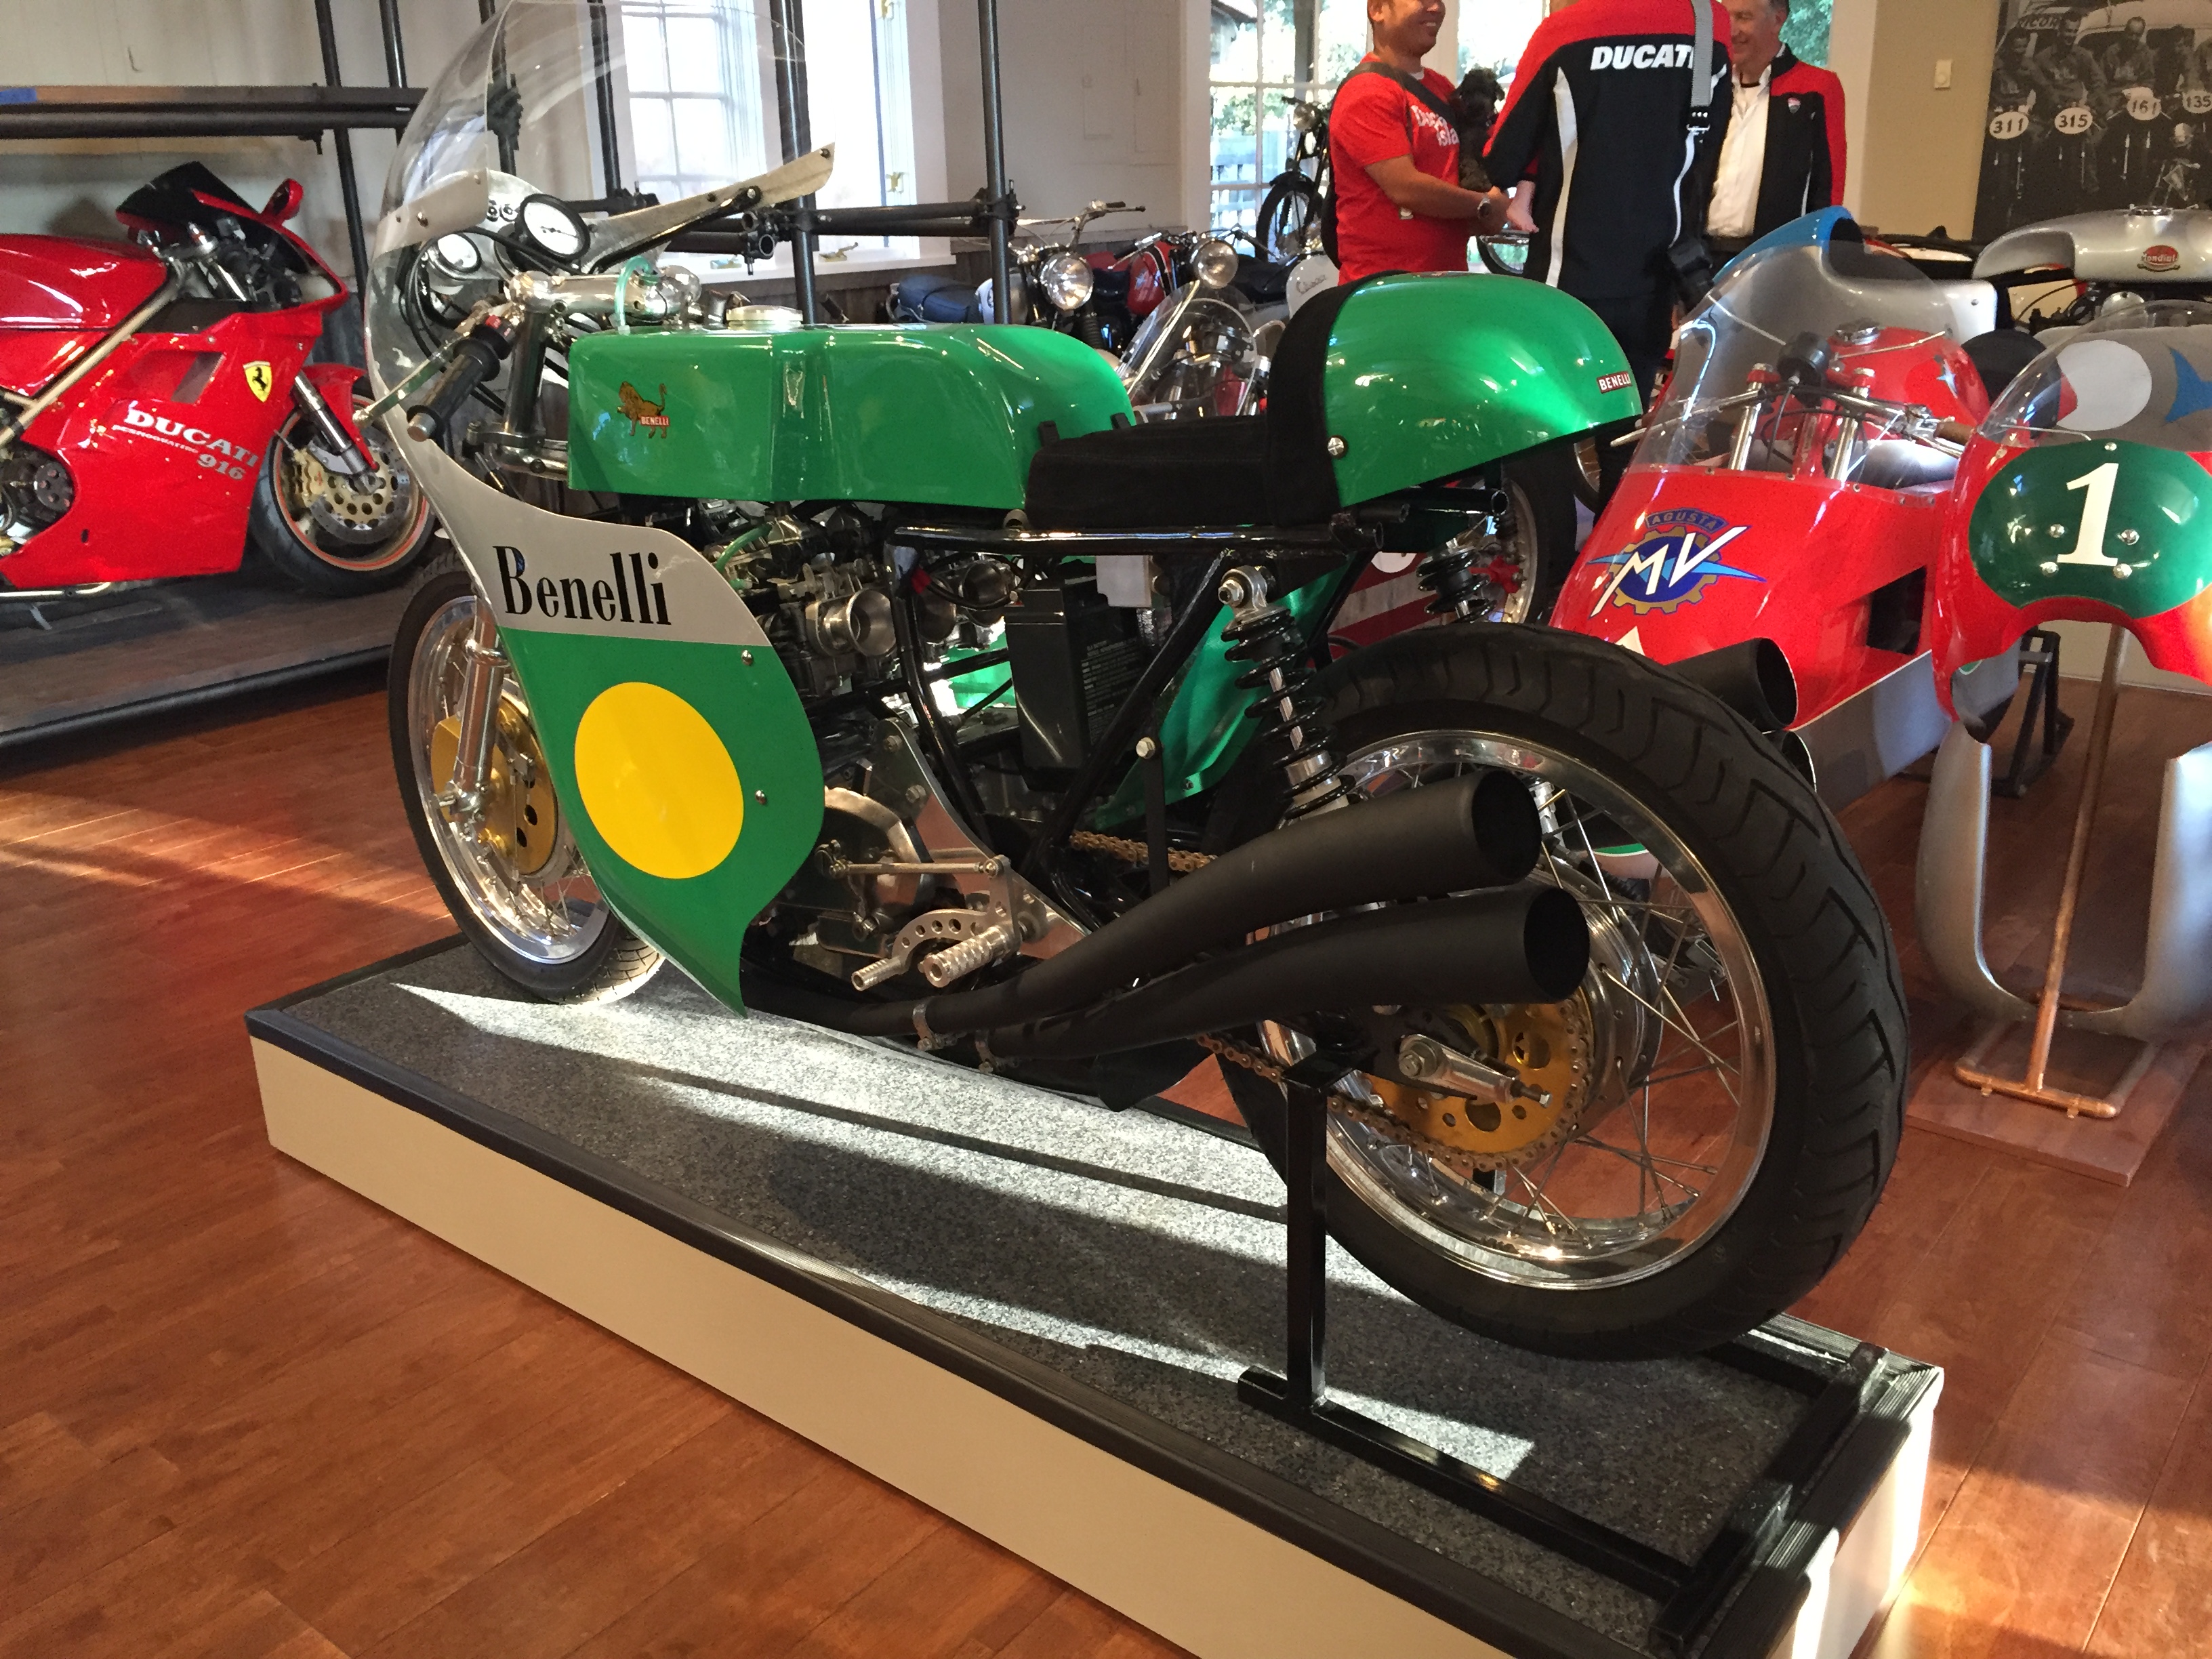
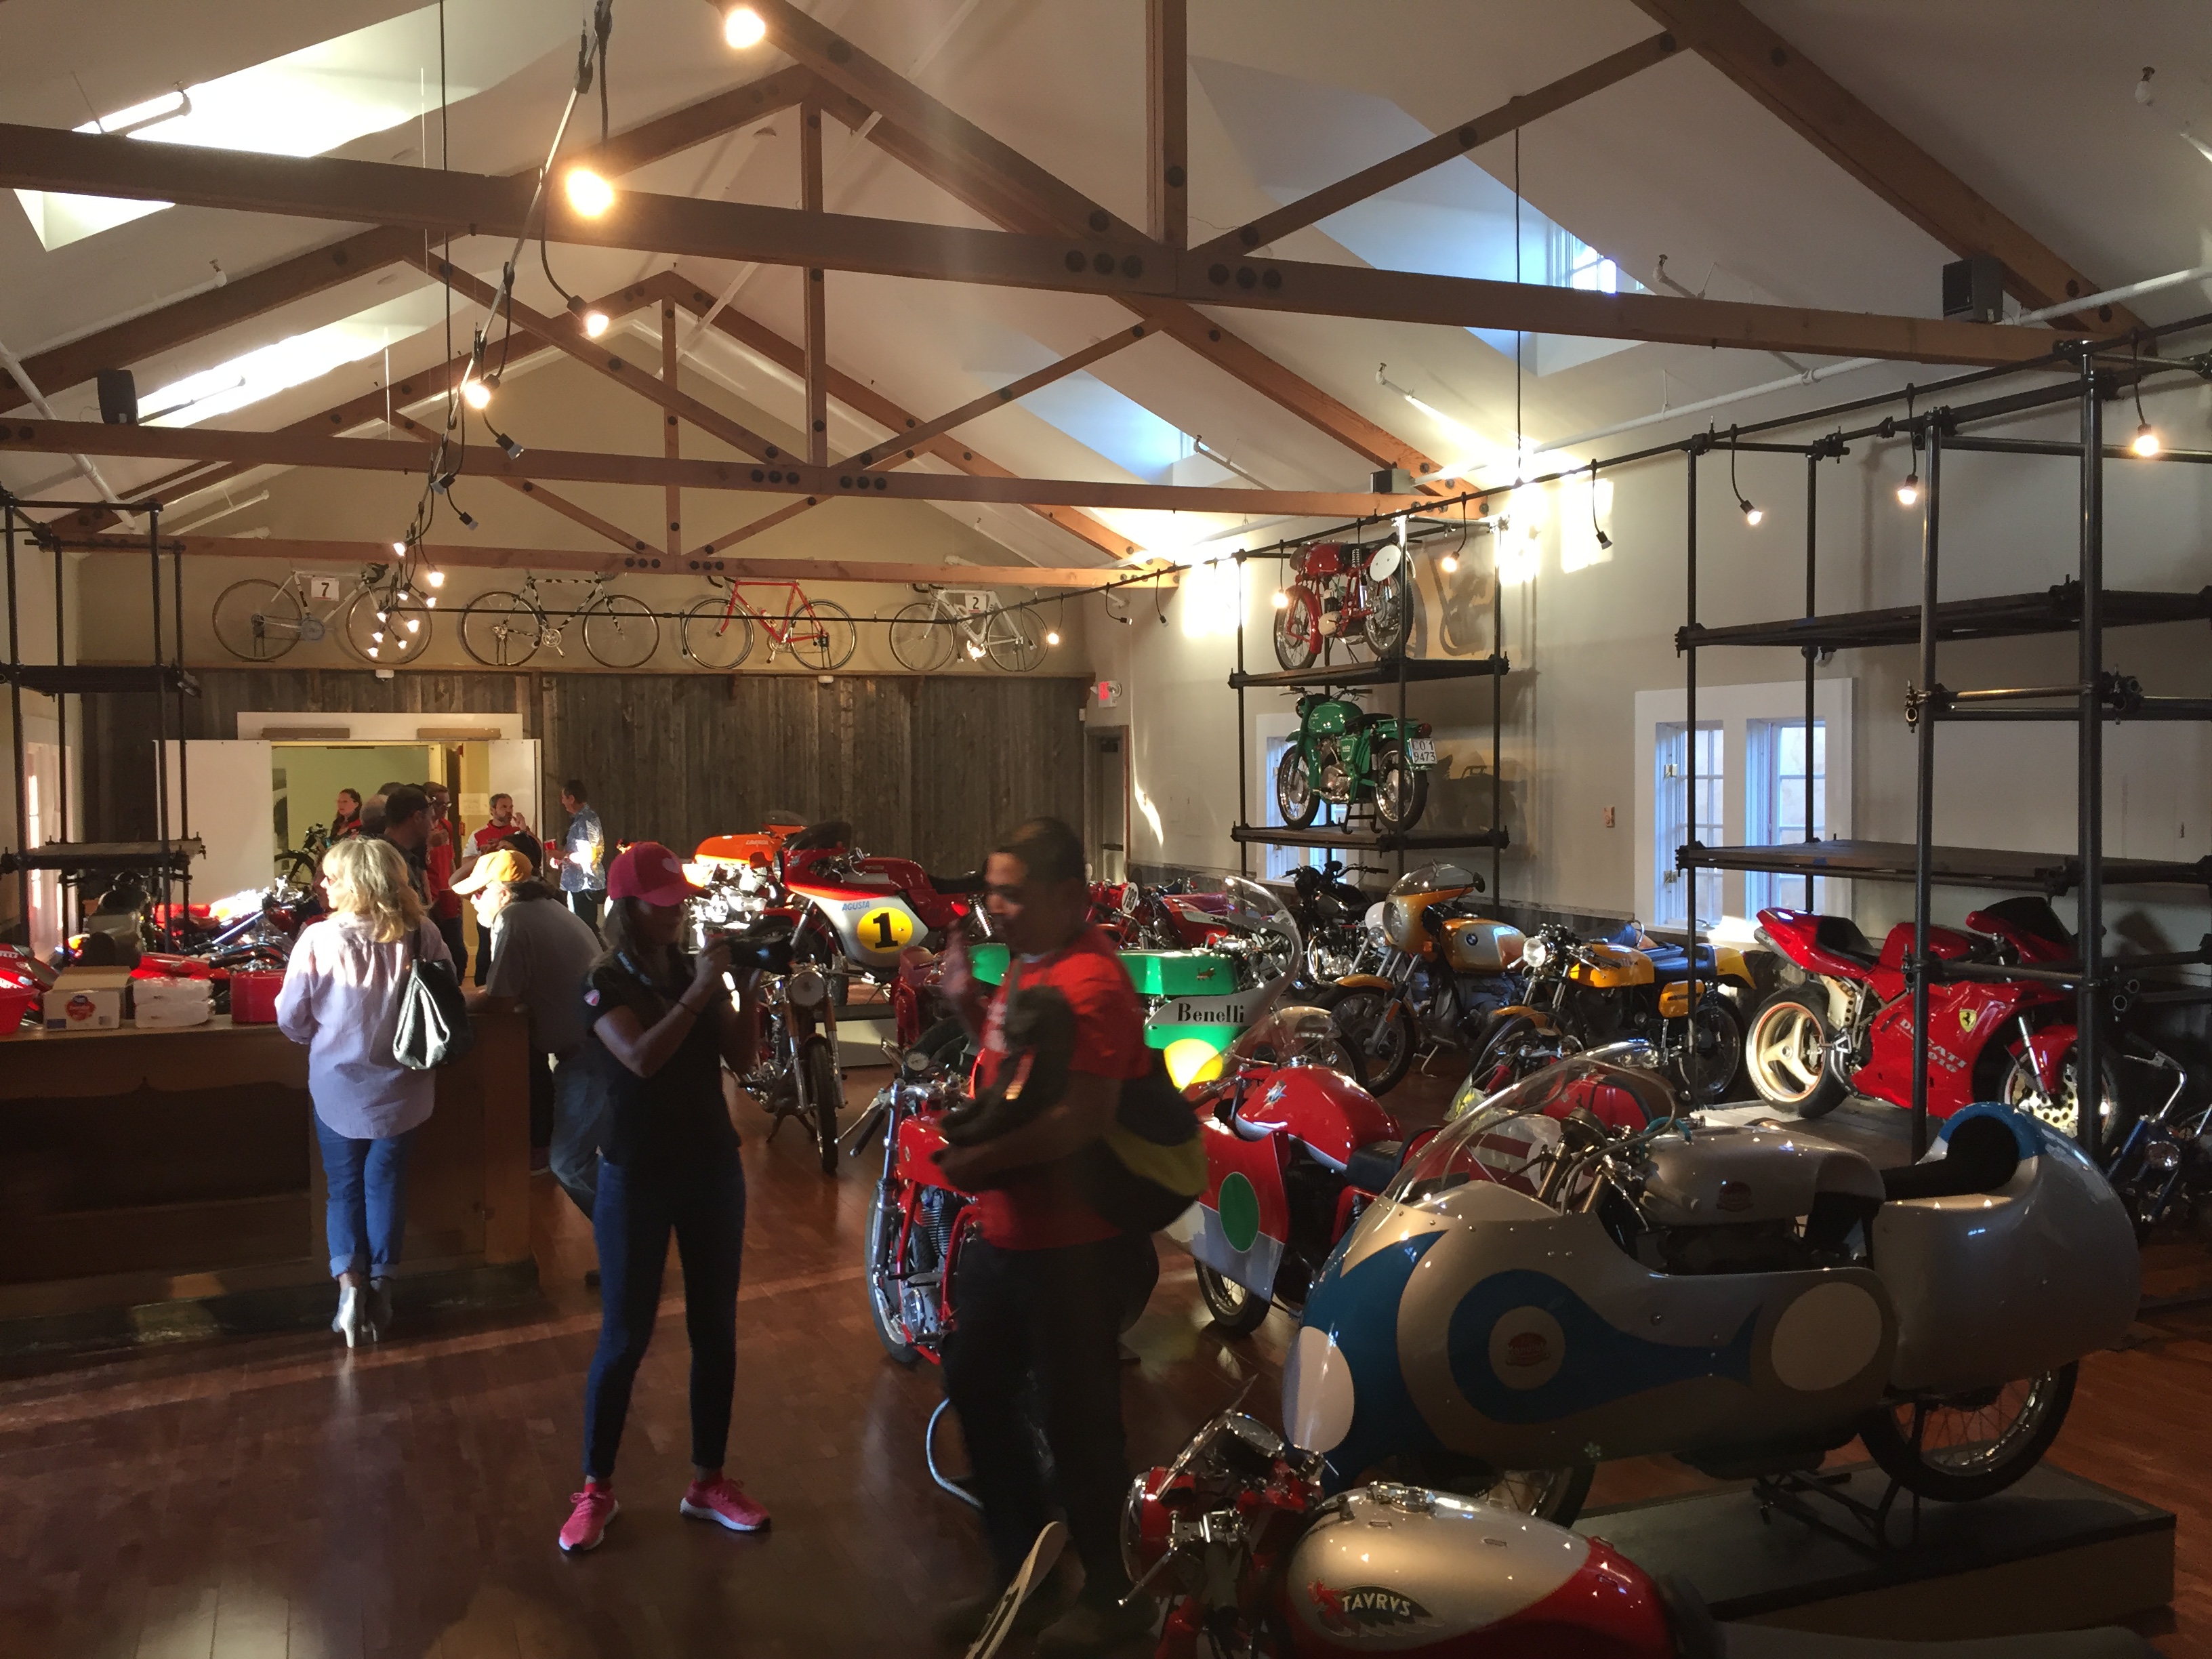
Where you can view these wonderful machines:

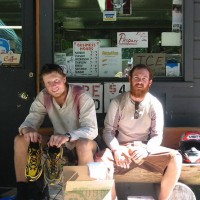
After watching the movie “Wild”, about a hiker on the PCT, I recalled meeting a pair of hikers in WA, who were picking up a shipment of shoes at one of the PCT outposts.
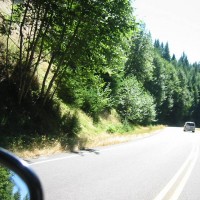
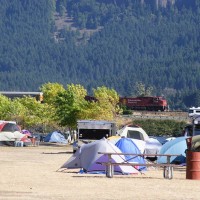
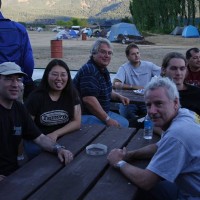
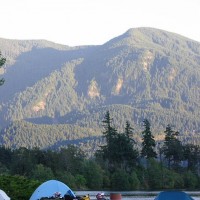
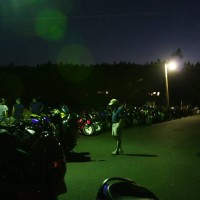
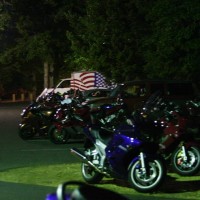
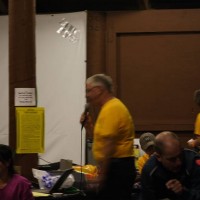
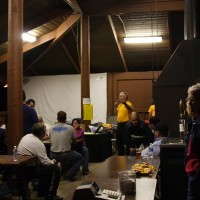
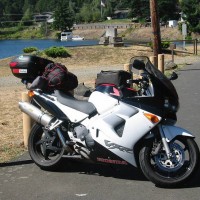
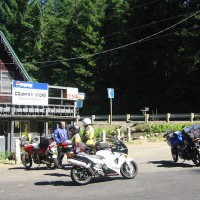
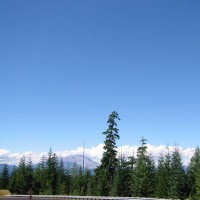
It was August 2005, and I’m pretty sure it was my first trip to a new motorcycle rally event in the Columbia Gorge, called Sportbike Northwest 2005.
It was quite great time, spent with many friends from both the Pacific Northwest VFR and local ADV groups (I’d just purchased my 2nd Ducati powered machine, a Cagiva Gran Canyon). (Side note; in the PNW VFR group page, my yellow 2000 VFR800 is 5th bike from the left)
While looking up references for this post, I found that a few of the pictures that three of the photos I’ve taken at SBNW events are at the summary photos shown by Google.. sorta cool)
I know that I took MANY more photos from the event.. but these are the ones that I’d posted to my original blog (long dead), back in 2005.

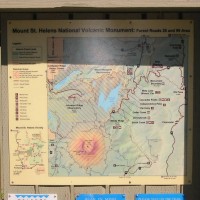


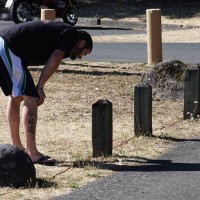
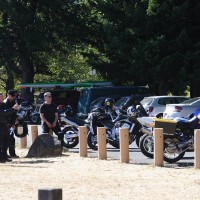
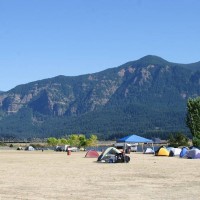
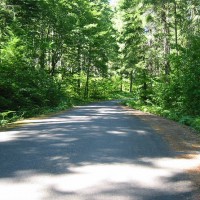
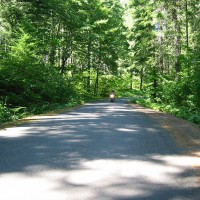
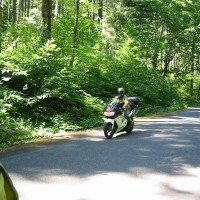
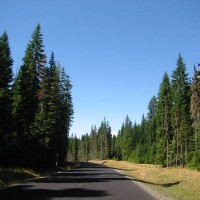
Many things on that Rally were not photographed, for a variety of reasons… Here are a few of the places that were enjoyed on the various rides/tours during SBNW.
Stonehenge
Yeap.. there is a Stonehenge in WA. Created by a visionary man named Sam Hill. [ More Info ]
Maryhill Loops Road
A private road opened just a few times a year to special Motorsports events. Maryhill Loops is an amazing ribbon of tarmac. During SBNW, the road is run one-way only, much like a race track. A similarly paced group of riders ascend; then when all have reached the top, the road is reversed and you descend. This is repeated many times for the small, limited group of people that purchase special tickets for this part of the rally. IMHO, a MUST DO!
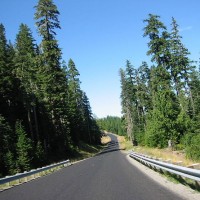
Vista House
Vista House and the amazing section of road to (and from it), provides amazing views of The Gorge. I few years later I was fortunate enough to spend the day here riding with Reg Pridmore, his wife and my friend Mike. It was a great day of riding with a riding legend and a couple of good friends. Check out that road!.
Route 30 Porsche Museum and Ice Cream
What a treat Route 30 is! Literally. :). As a 911 owner in the past, this was a great treat. It’s not very big, but the ice cream is a welcome respite from the often extream temps that time of year in The Gorge. I still have the Valentino Rossi jacket I bought there.
Yes.. this bridge is rather impressive (and also part of the PCT). Bridge of the Gods is a crossing point I used often to get from WA to OR during the rally. There is also a pretty good breakfast joint at the base of the bridge on the OR side. Give it try!
There are more things that I’ve forgotten, than remembered. Maybe I’ll update the blog if/when I do.
It sure was fun looking 11 years back at where I was, the things I did and the people I rode with. Times have changed, yet so many things remain the same. 😀
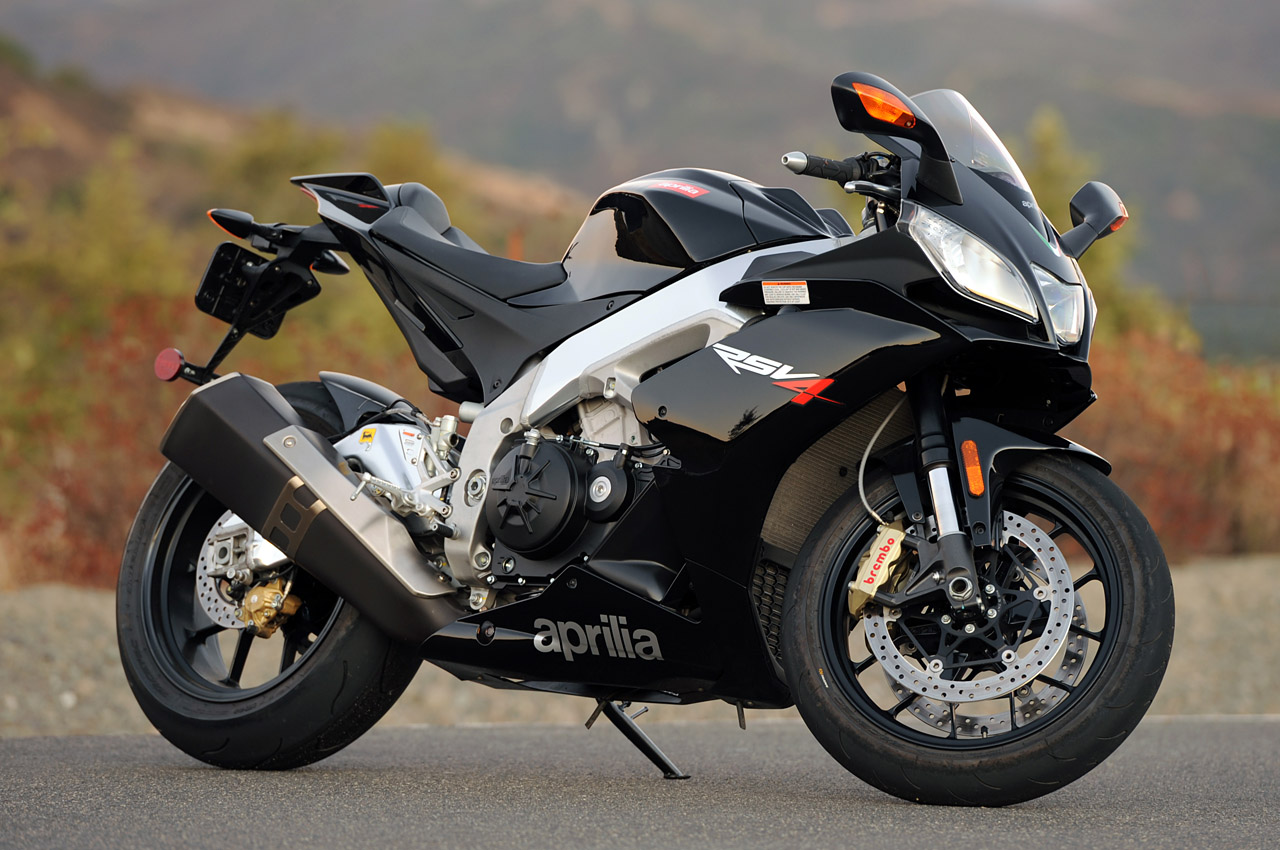
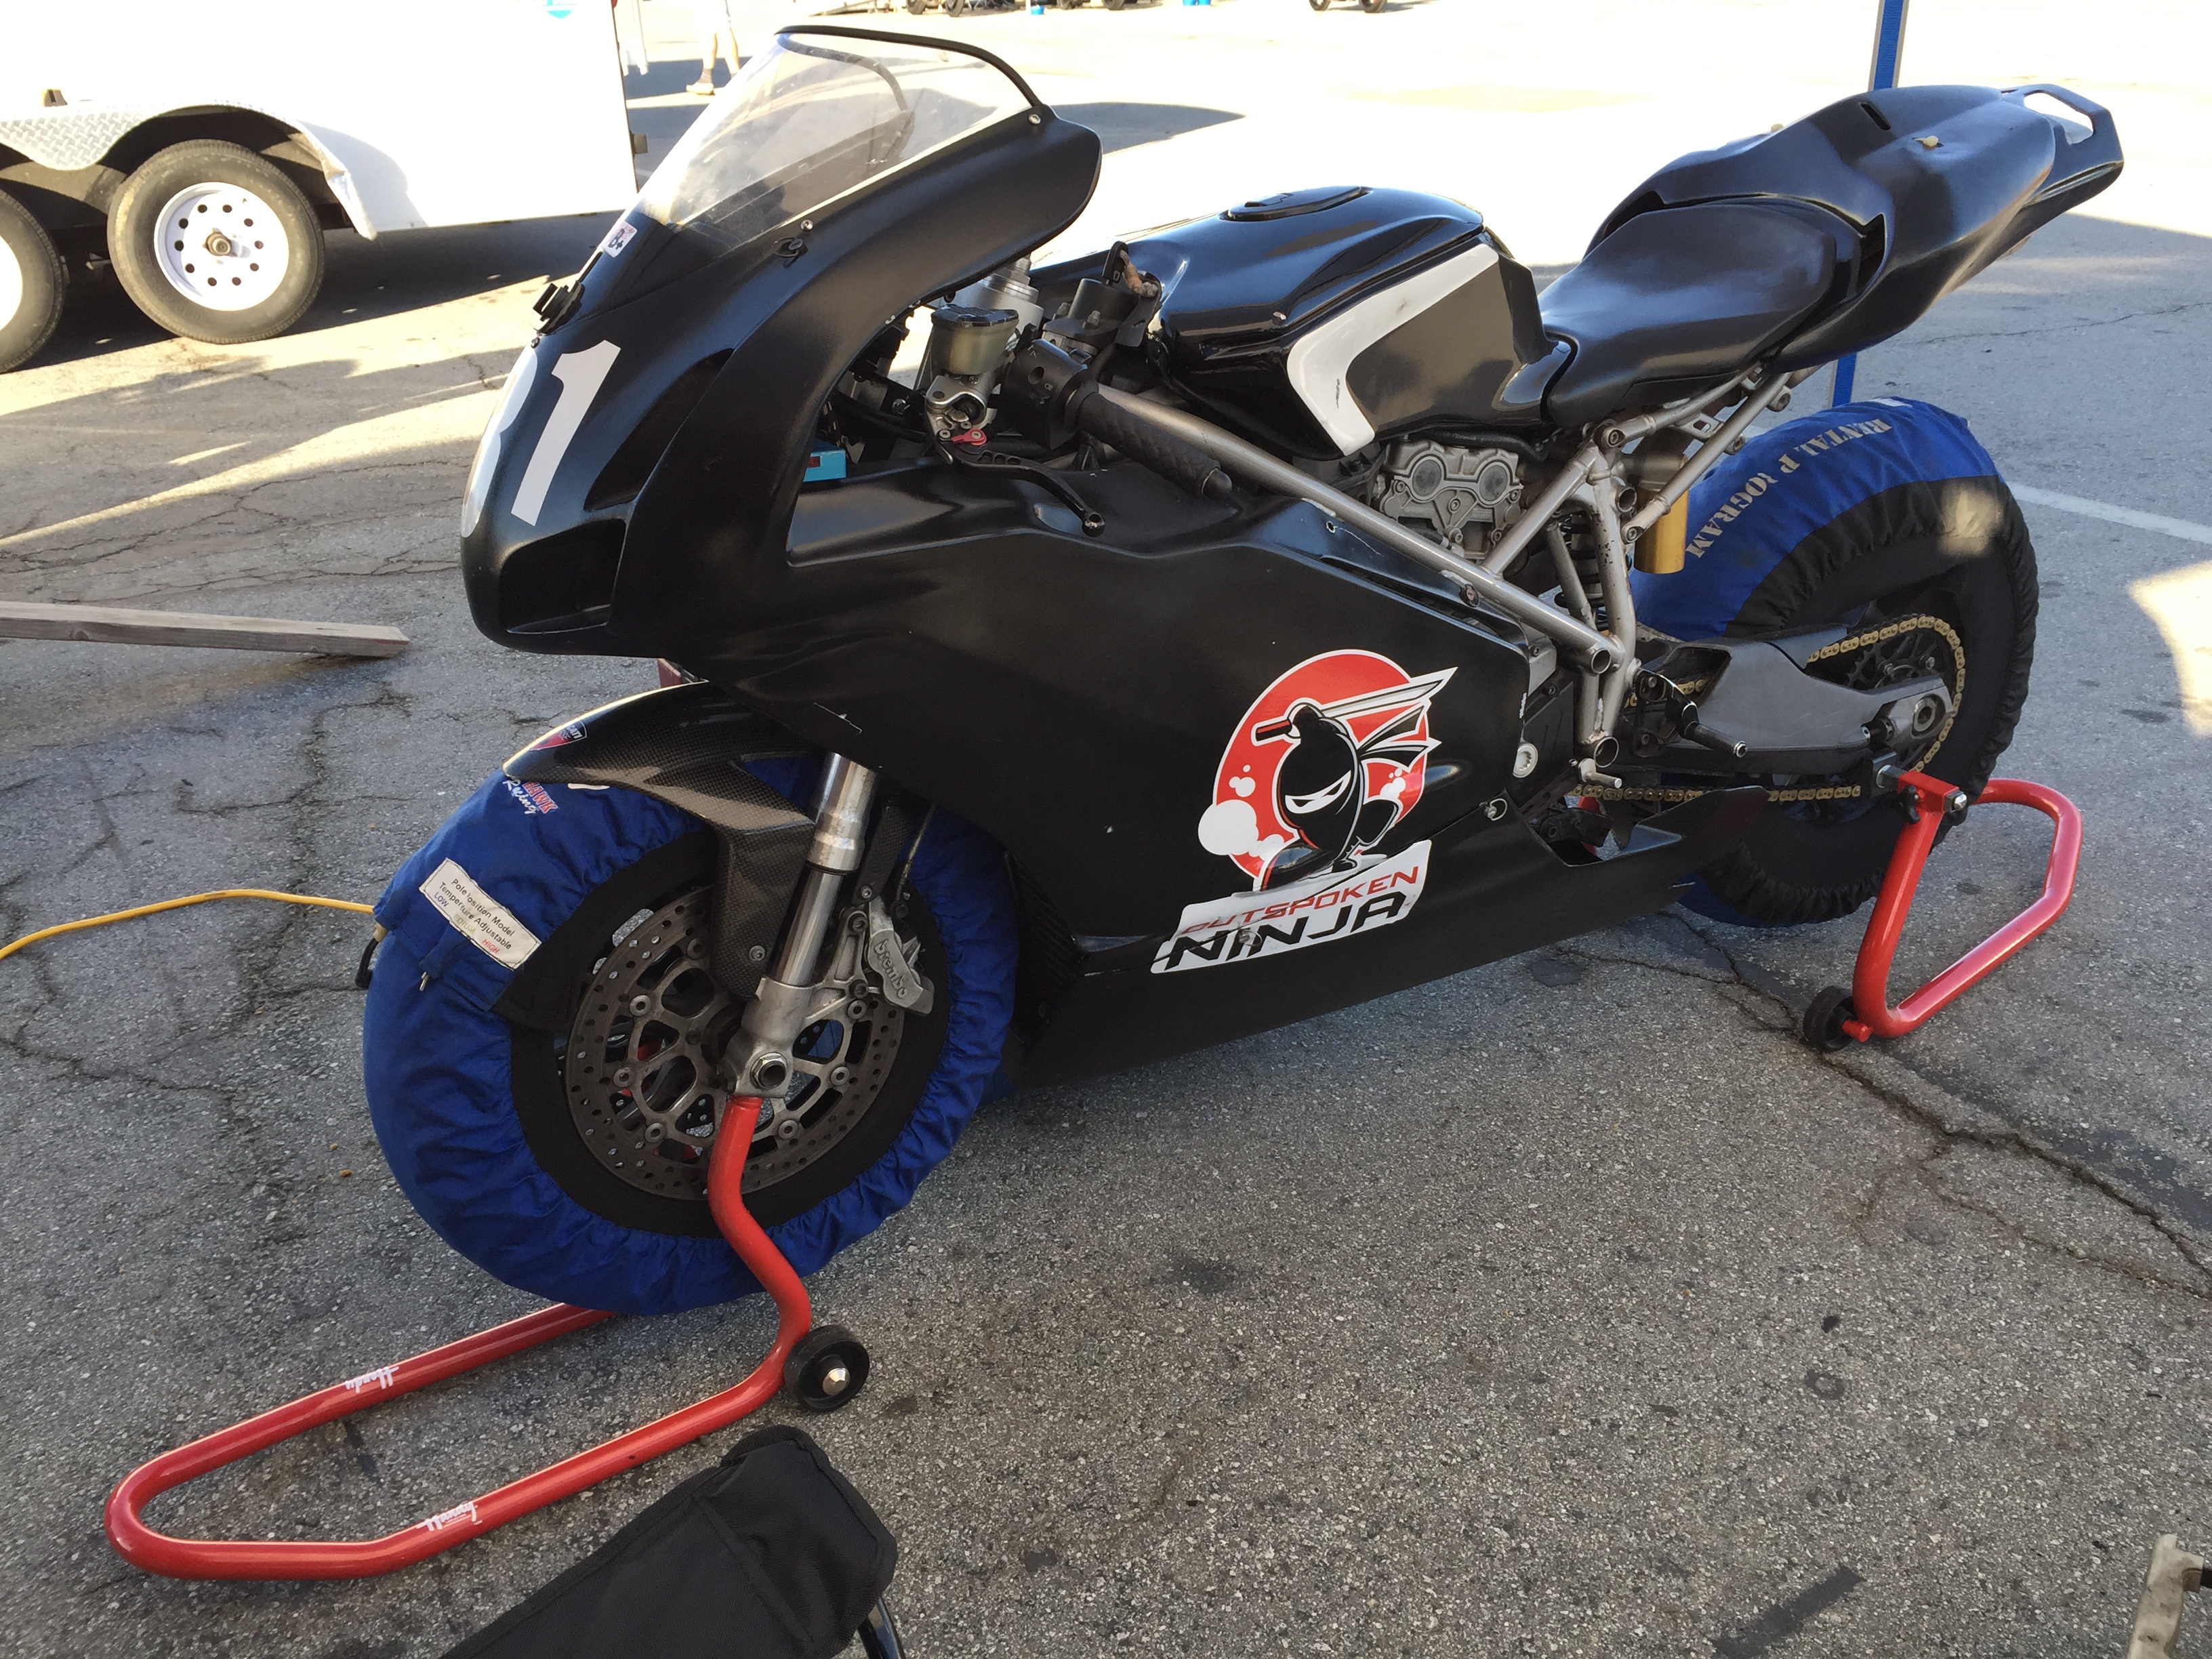
![]() Another track bike has entered this fleet. This time it’s a 2010 Aprilia RSV4.
Another track bike has entered this fleet. This time it’s a 2010 Aprilia RSV4.
Also hailing from Italy, the RSV4 continues my preference for V-engine configurations, but this time with 4 cylinders instead of two. The last time I owned a V4 bike, it was the hefty Honda VRF 800fi (RC46).
Specifications for the RSV4 are impressive:
My Bike:
The bike I picked up in Lancaster CA:
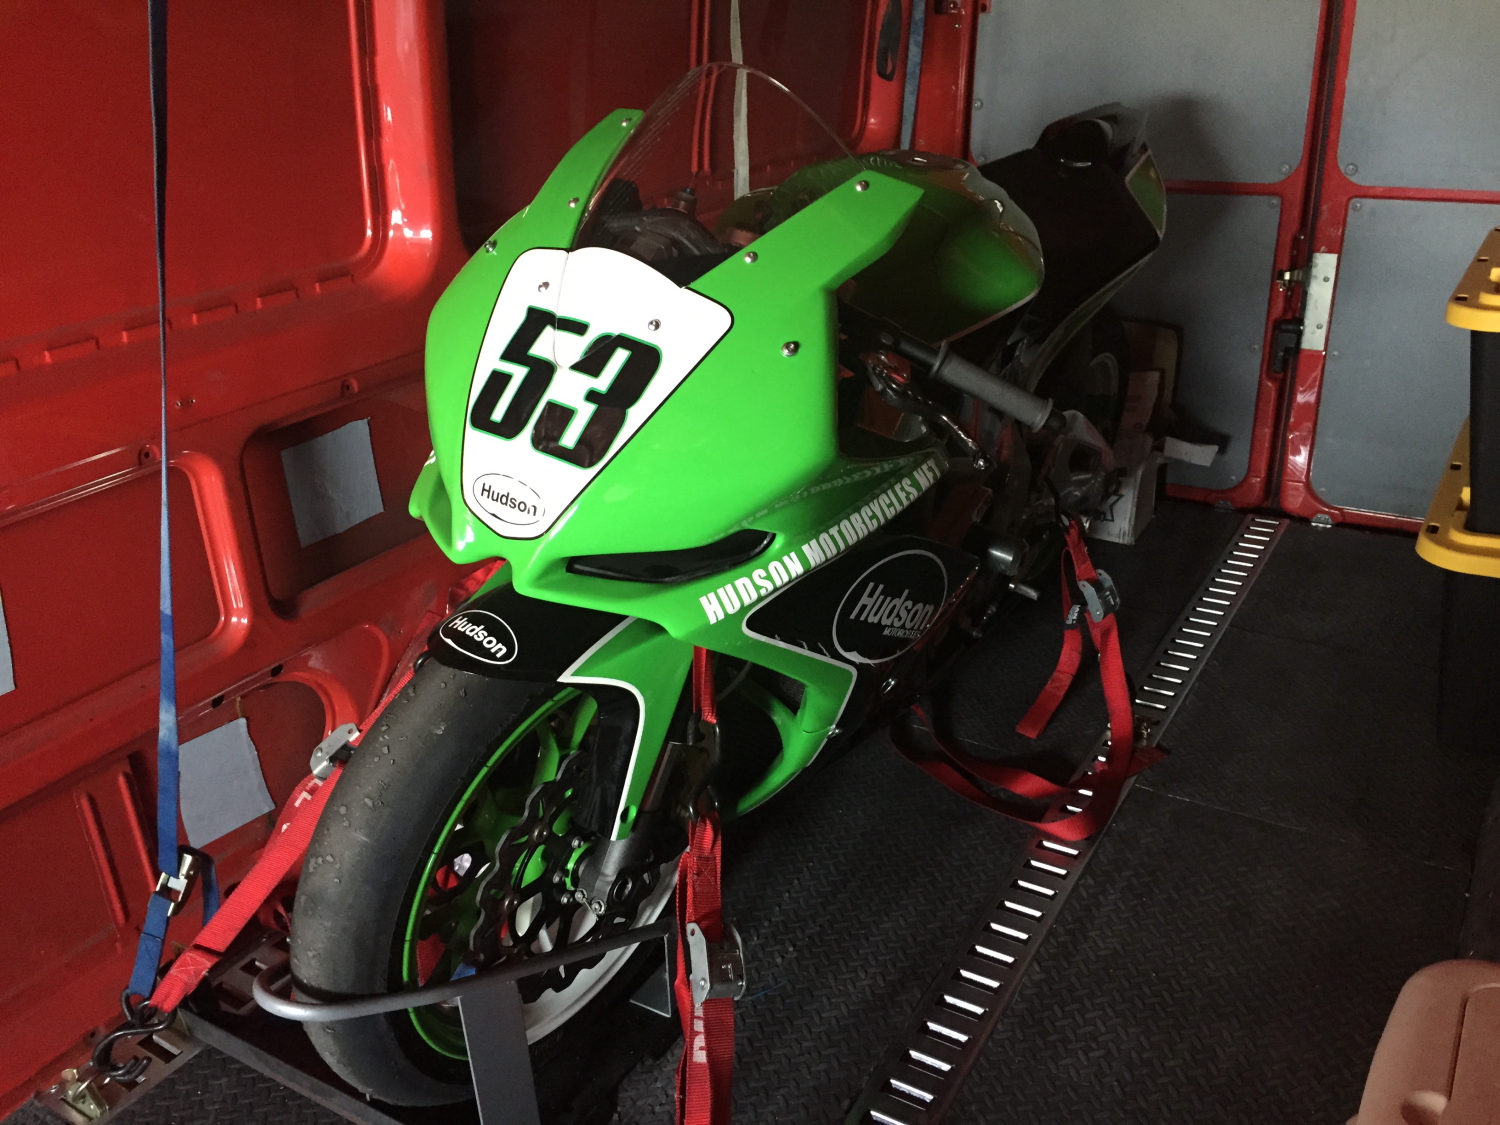
It was already setup for racing, thus perfect for the track-duty I envisioned. Although in great condition, the livery is a little confusing (being Kawaski Green that is).
In the next few days I’ll have more to share about this new Italian machine.
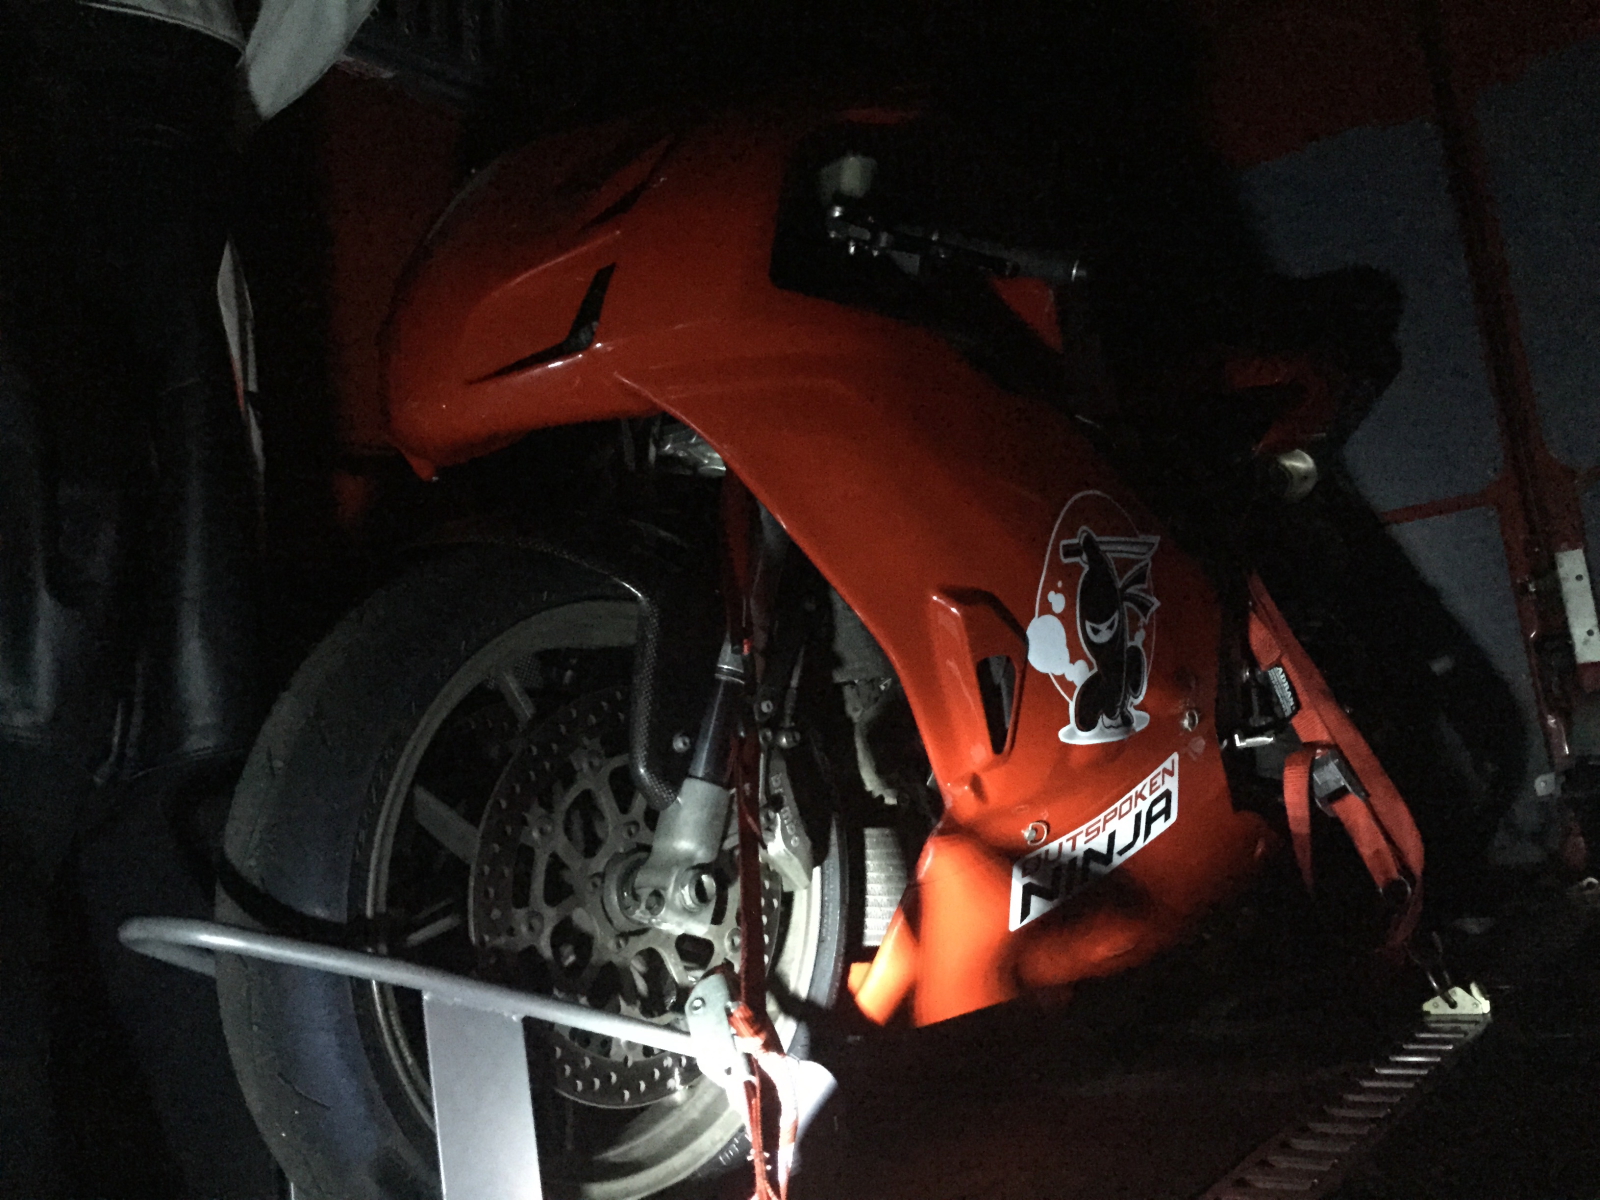
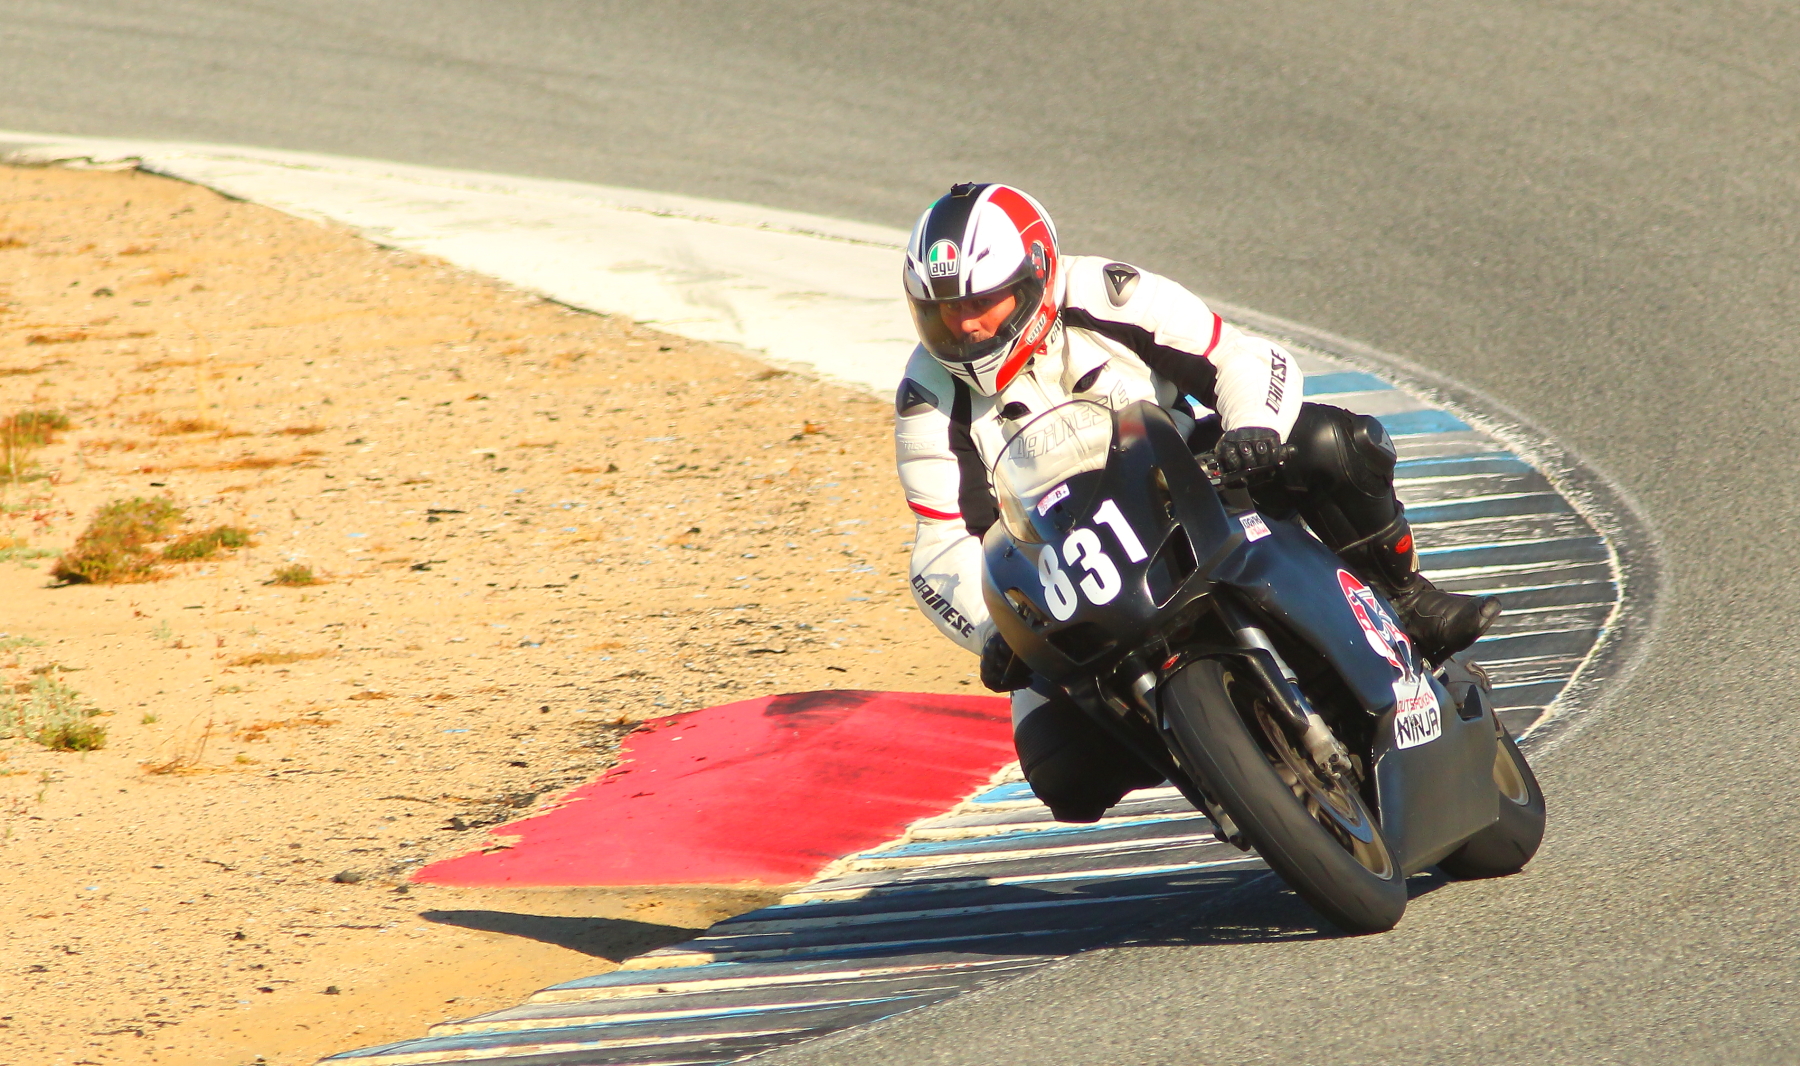
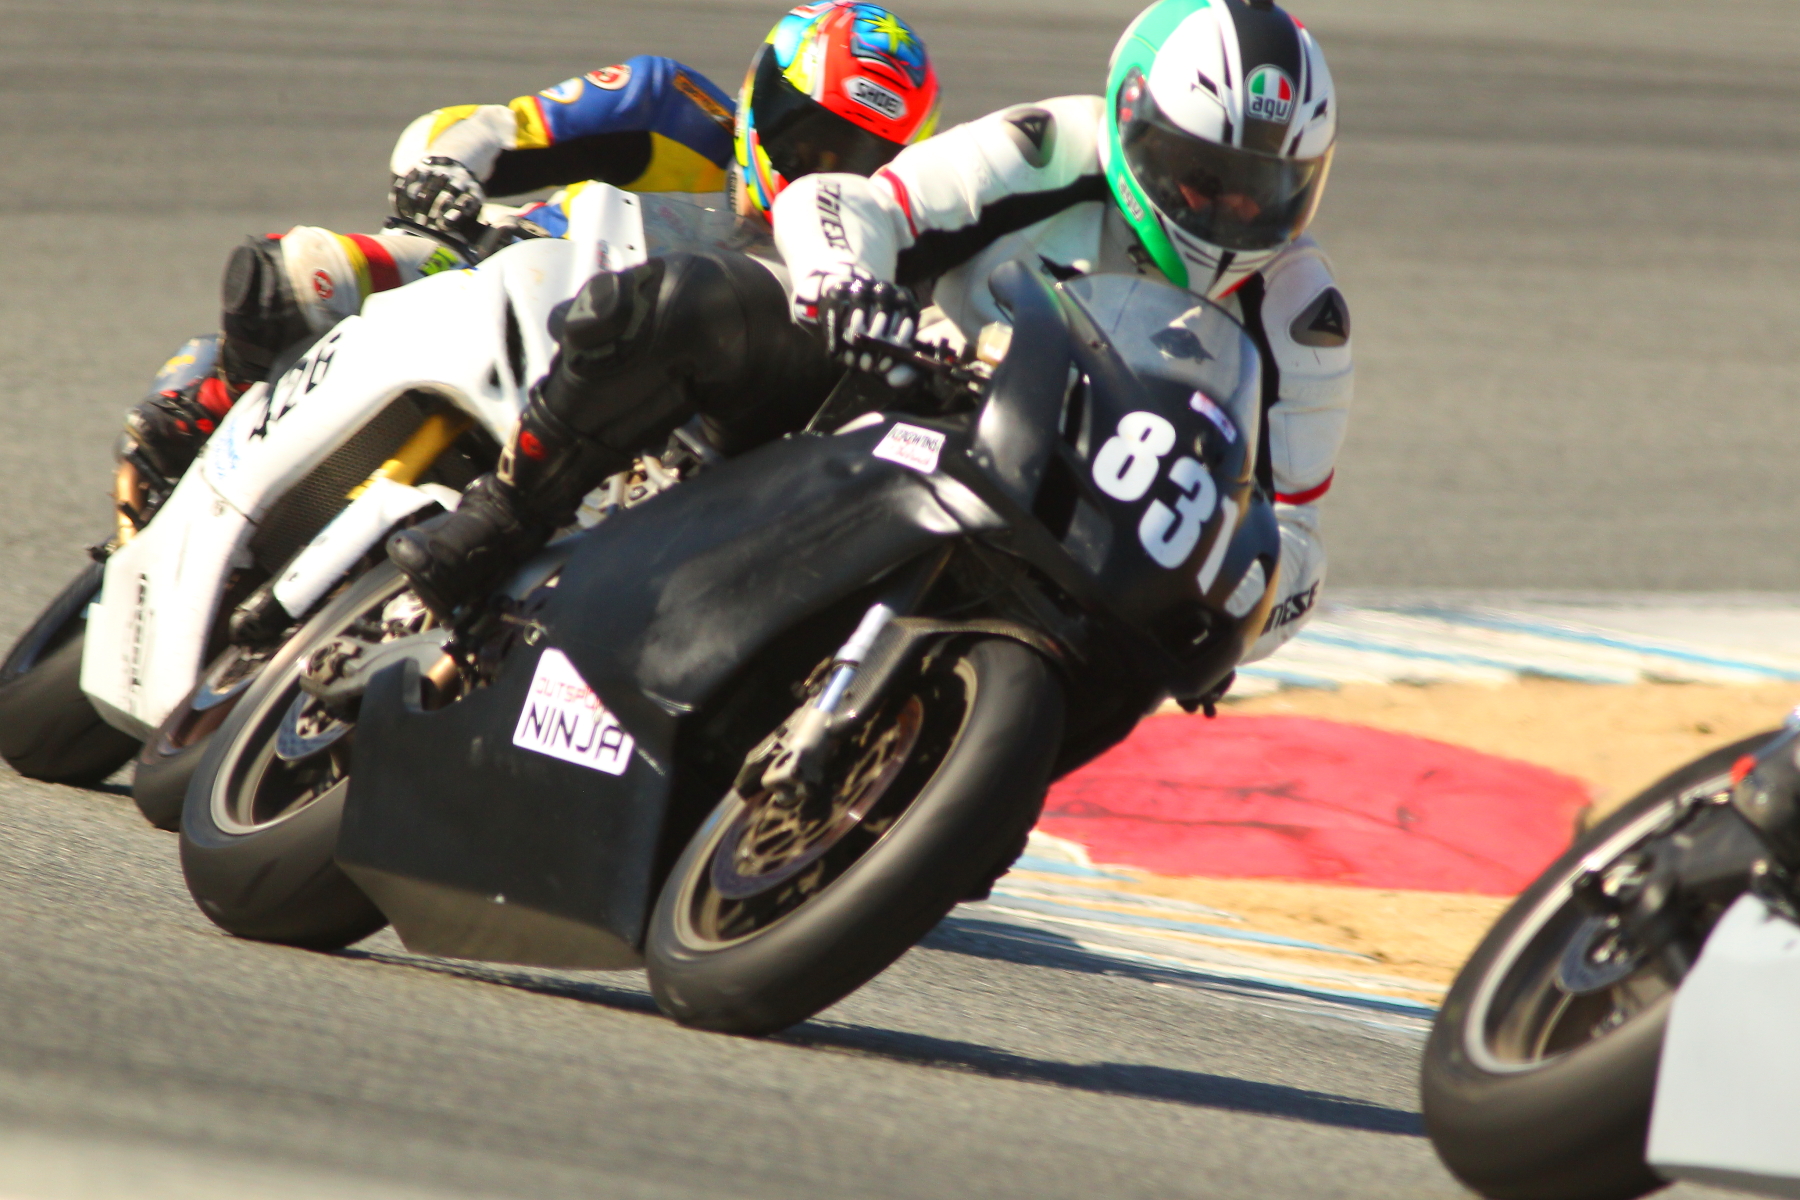
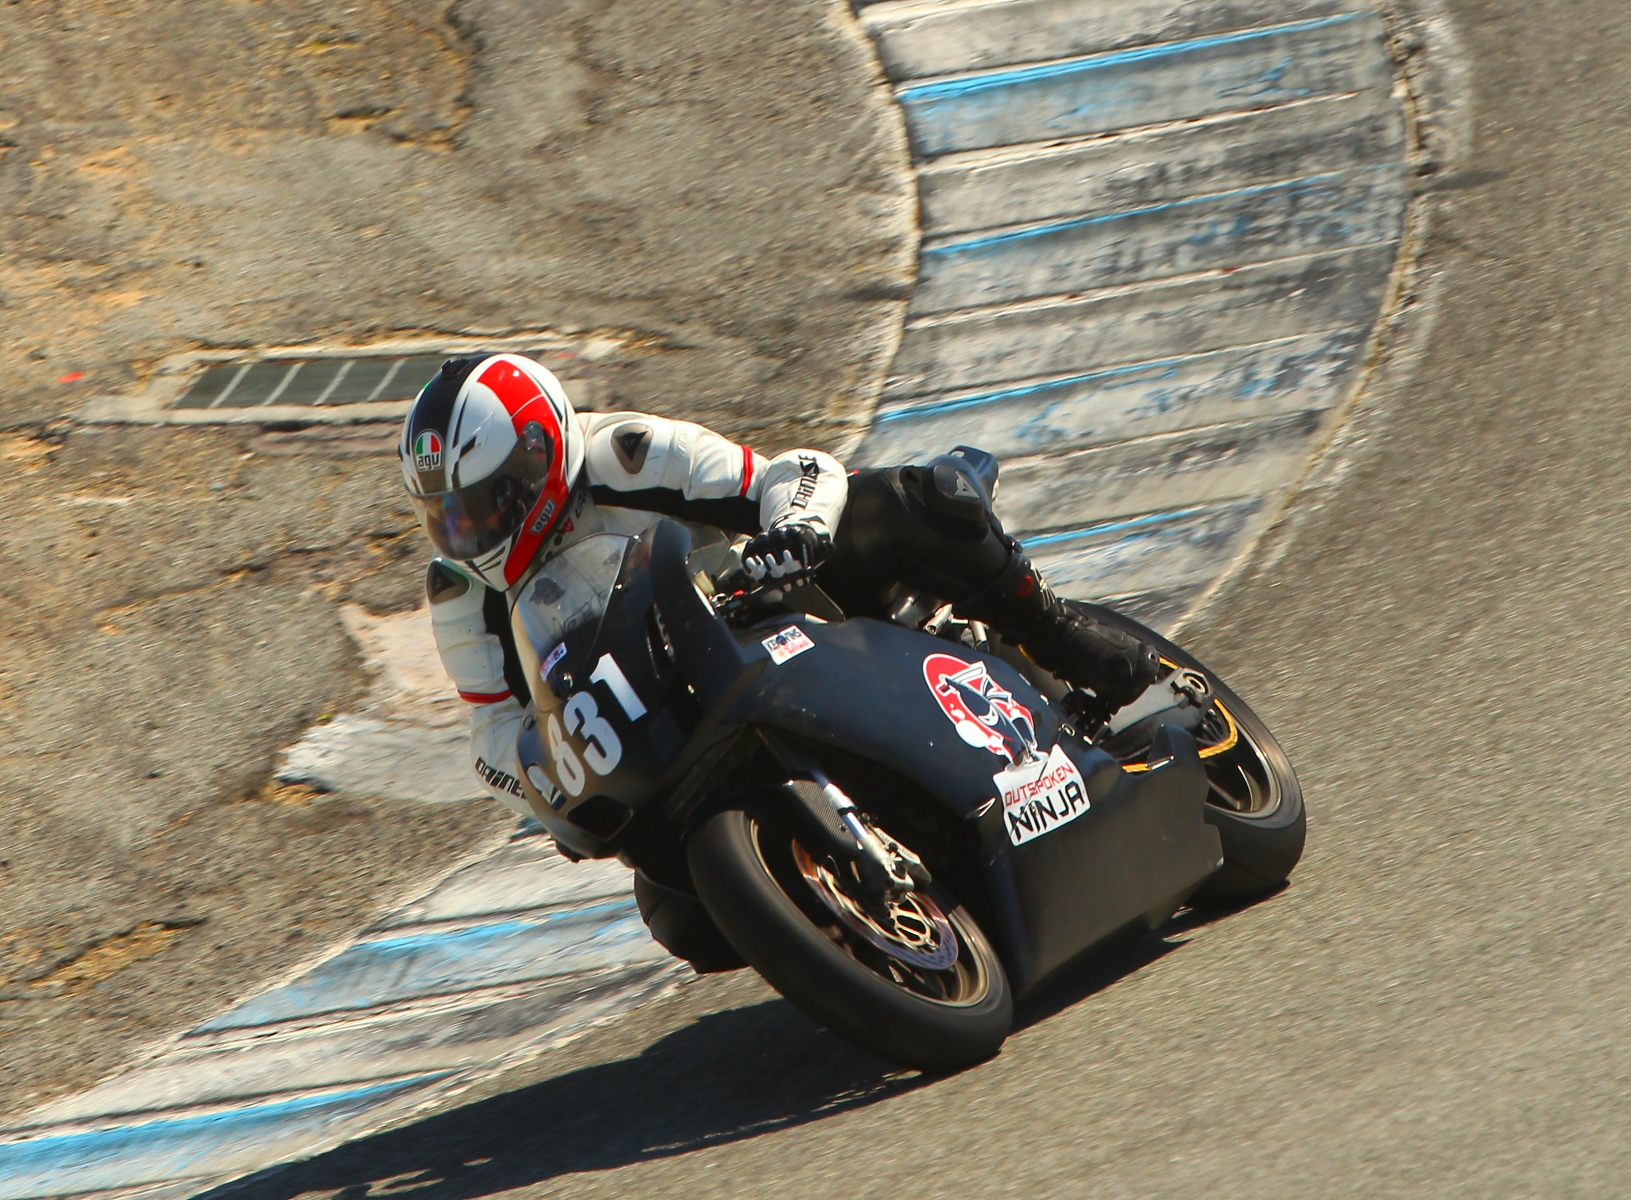
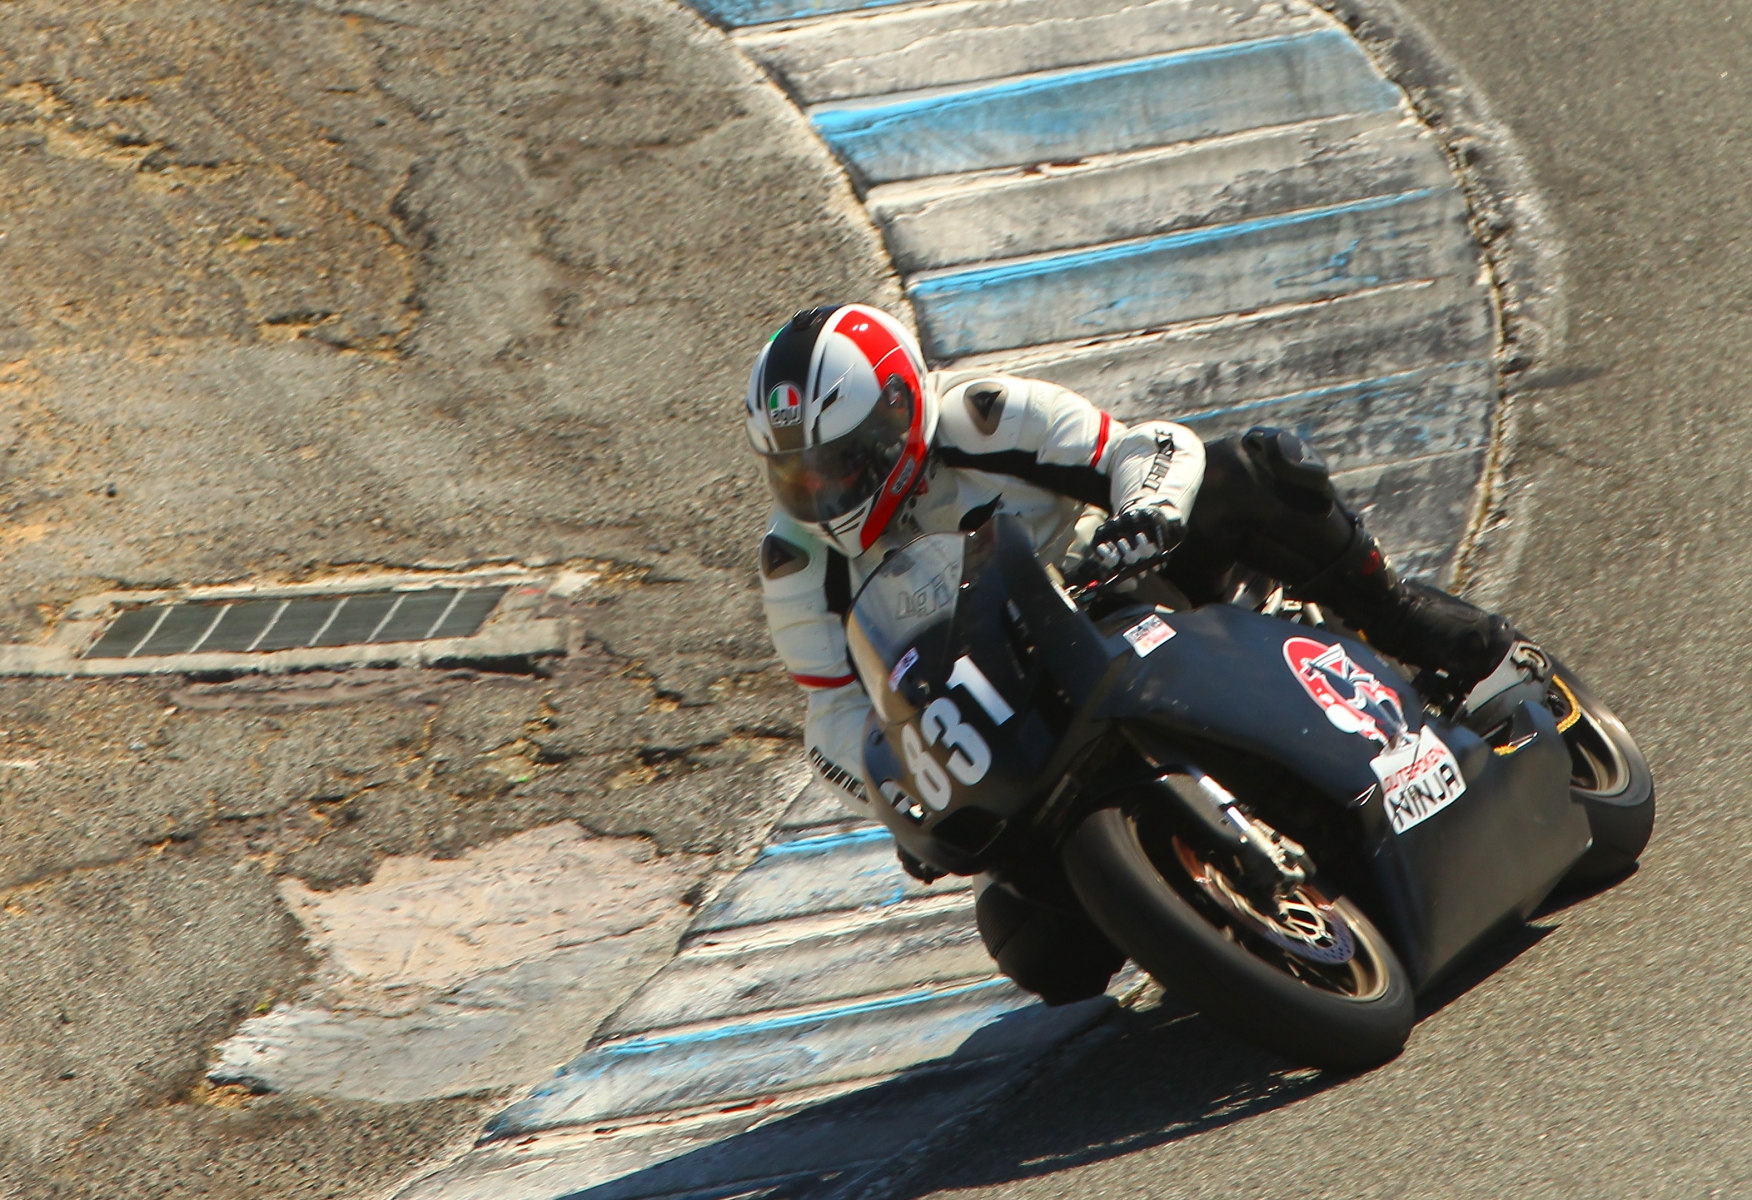
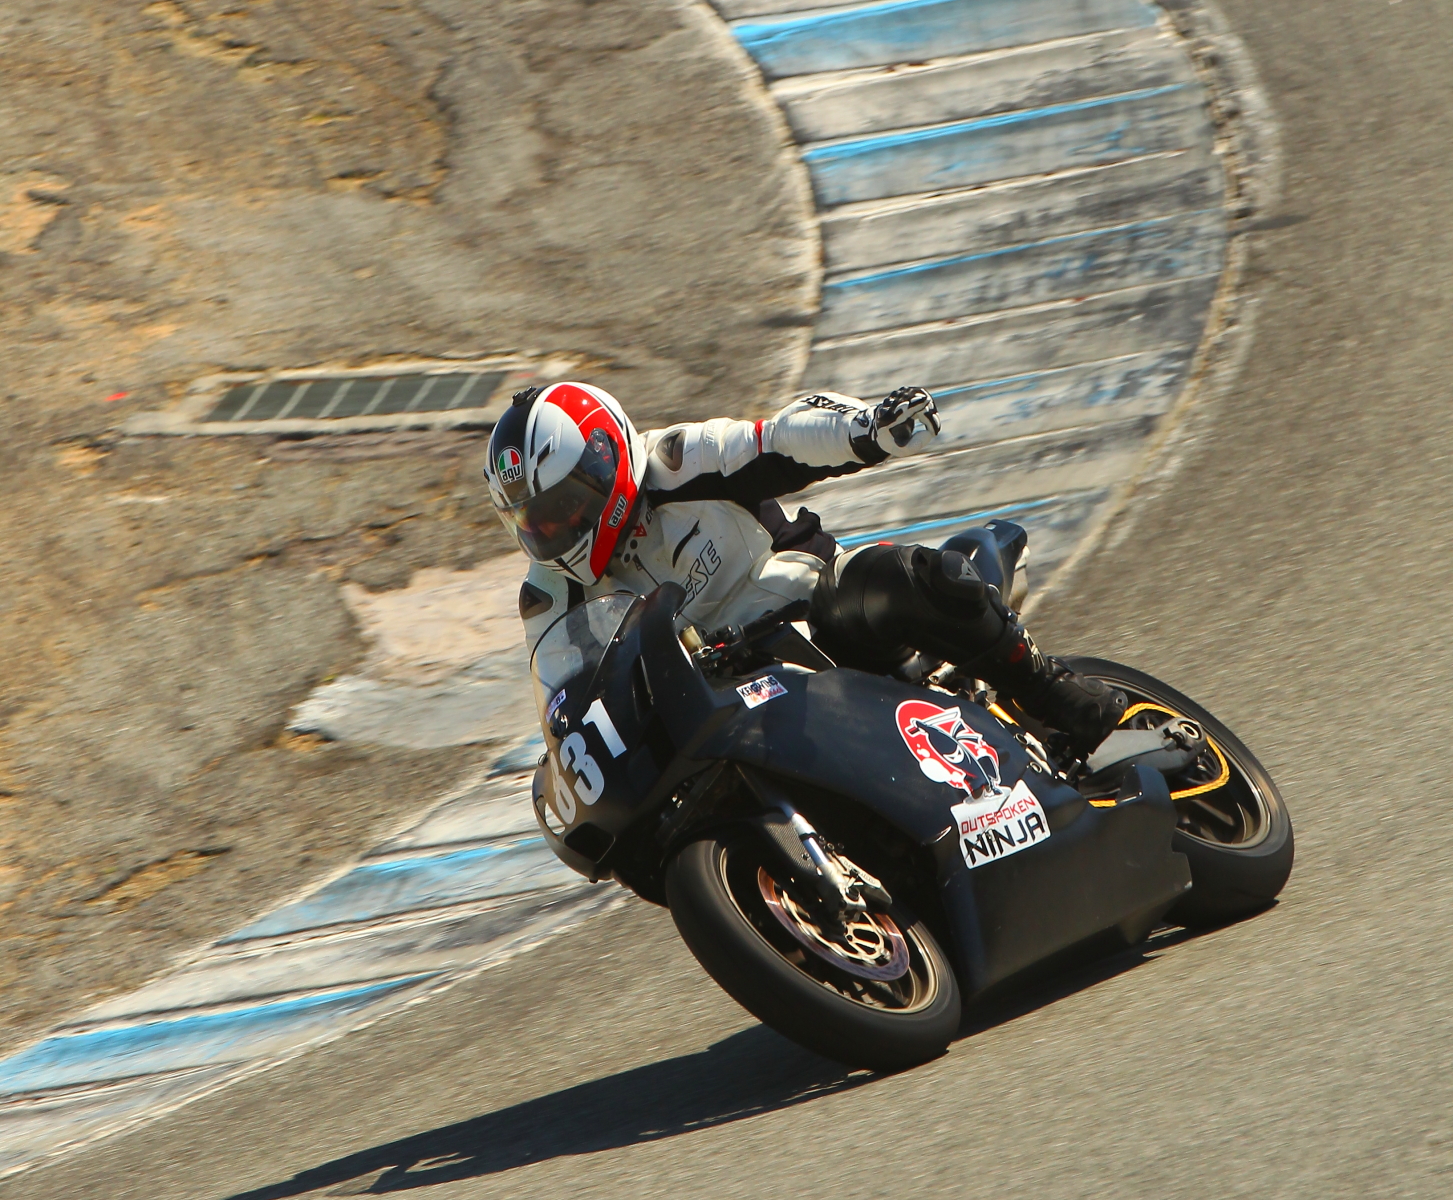
The Ducati 749 wore a new suit to the track this time around. Although it looked great, it’s mechanical state was not quite up to to the image. It was more show than go for Sunday’s track day.
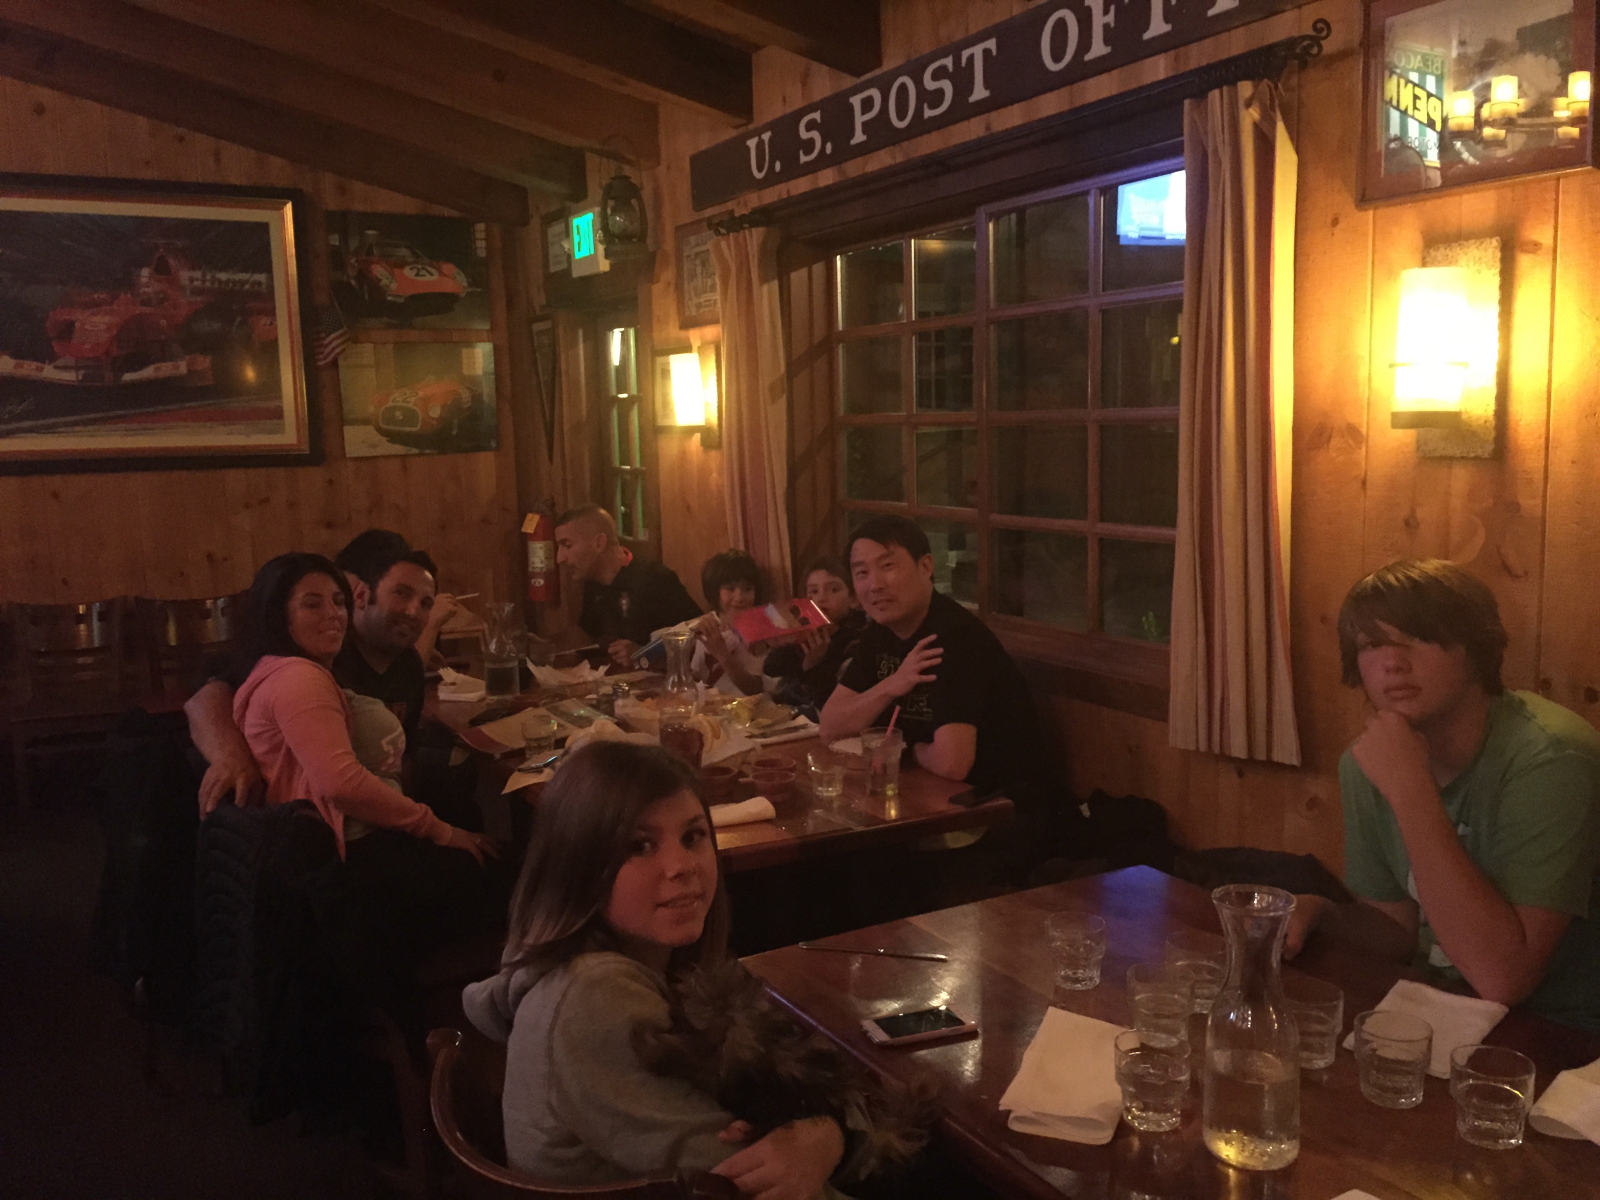
The weekend started rough and it went a little downhill from there. While finishing the dress-up on the bike (the red gas tank arrived late on Friday), Saturday, the fuel tank o-ring was damaged and required a fast trip to San Jose to get a $25 replacement o-ring. At least the dealer had it in stock and I was able to get the bike back together in time to pull into Monterey for our pre-track-day dinner.
The first break in my routing was not unloading my truck on arrival. Once back from dinner it was 10:15 PM, I found that someone had pulled up next to me in the space I’d planned to setup my gear. There didn’t seem to be much point in unloading in the paddock at that point, so.. off to sleep I went:
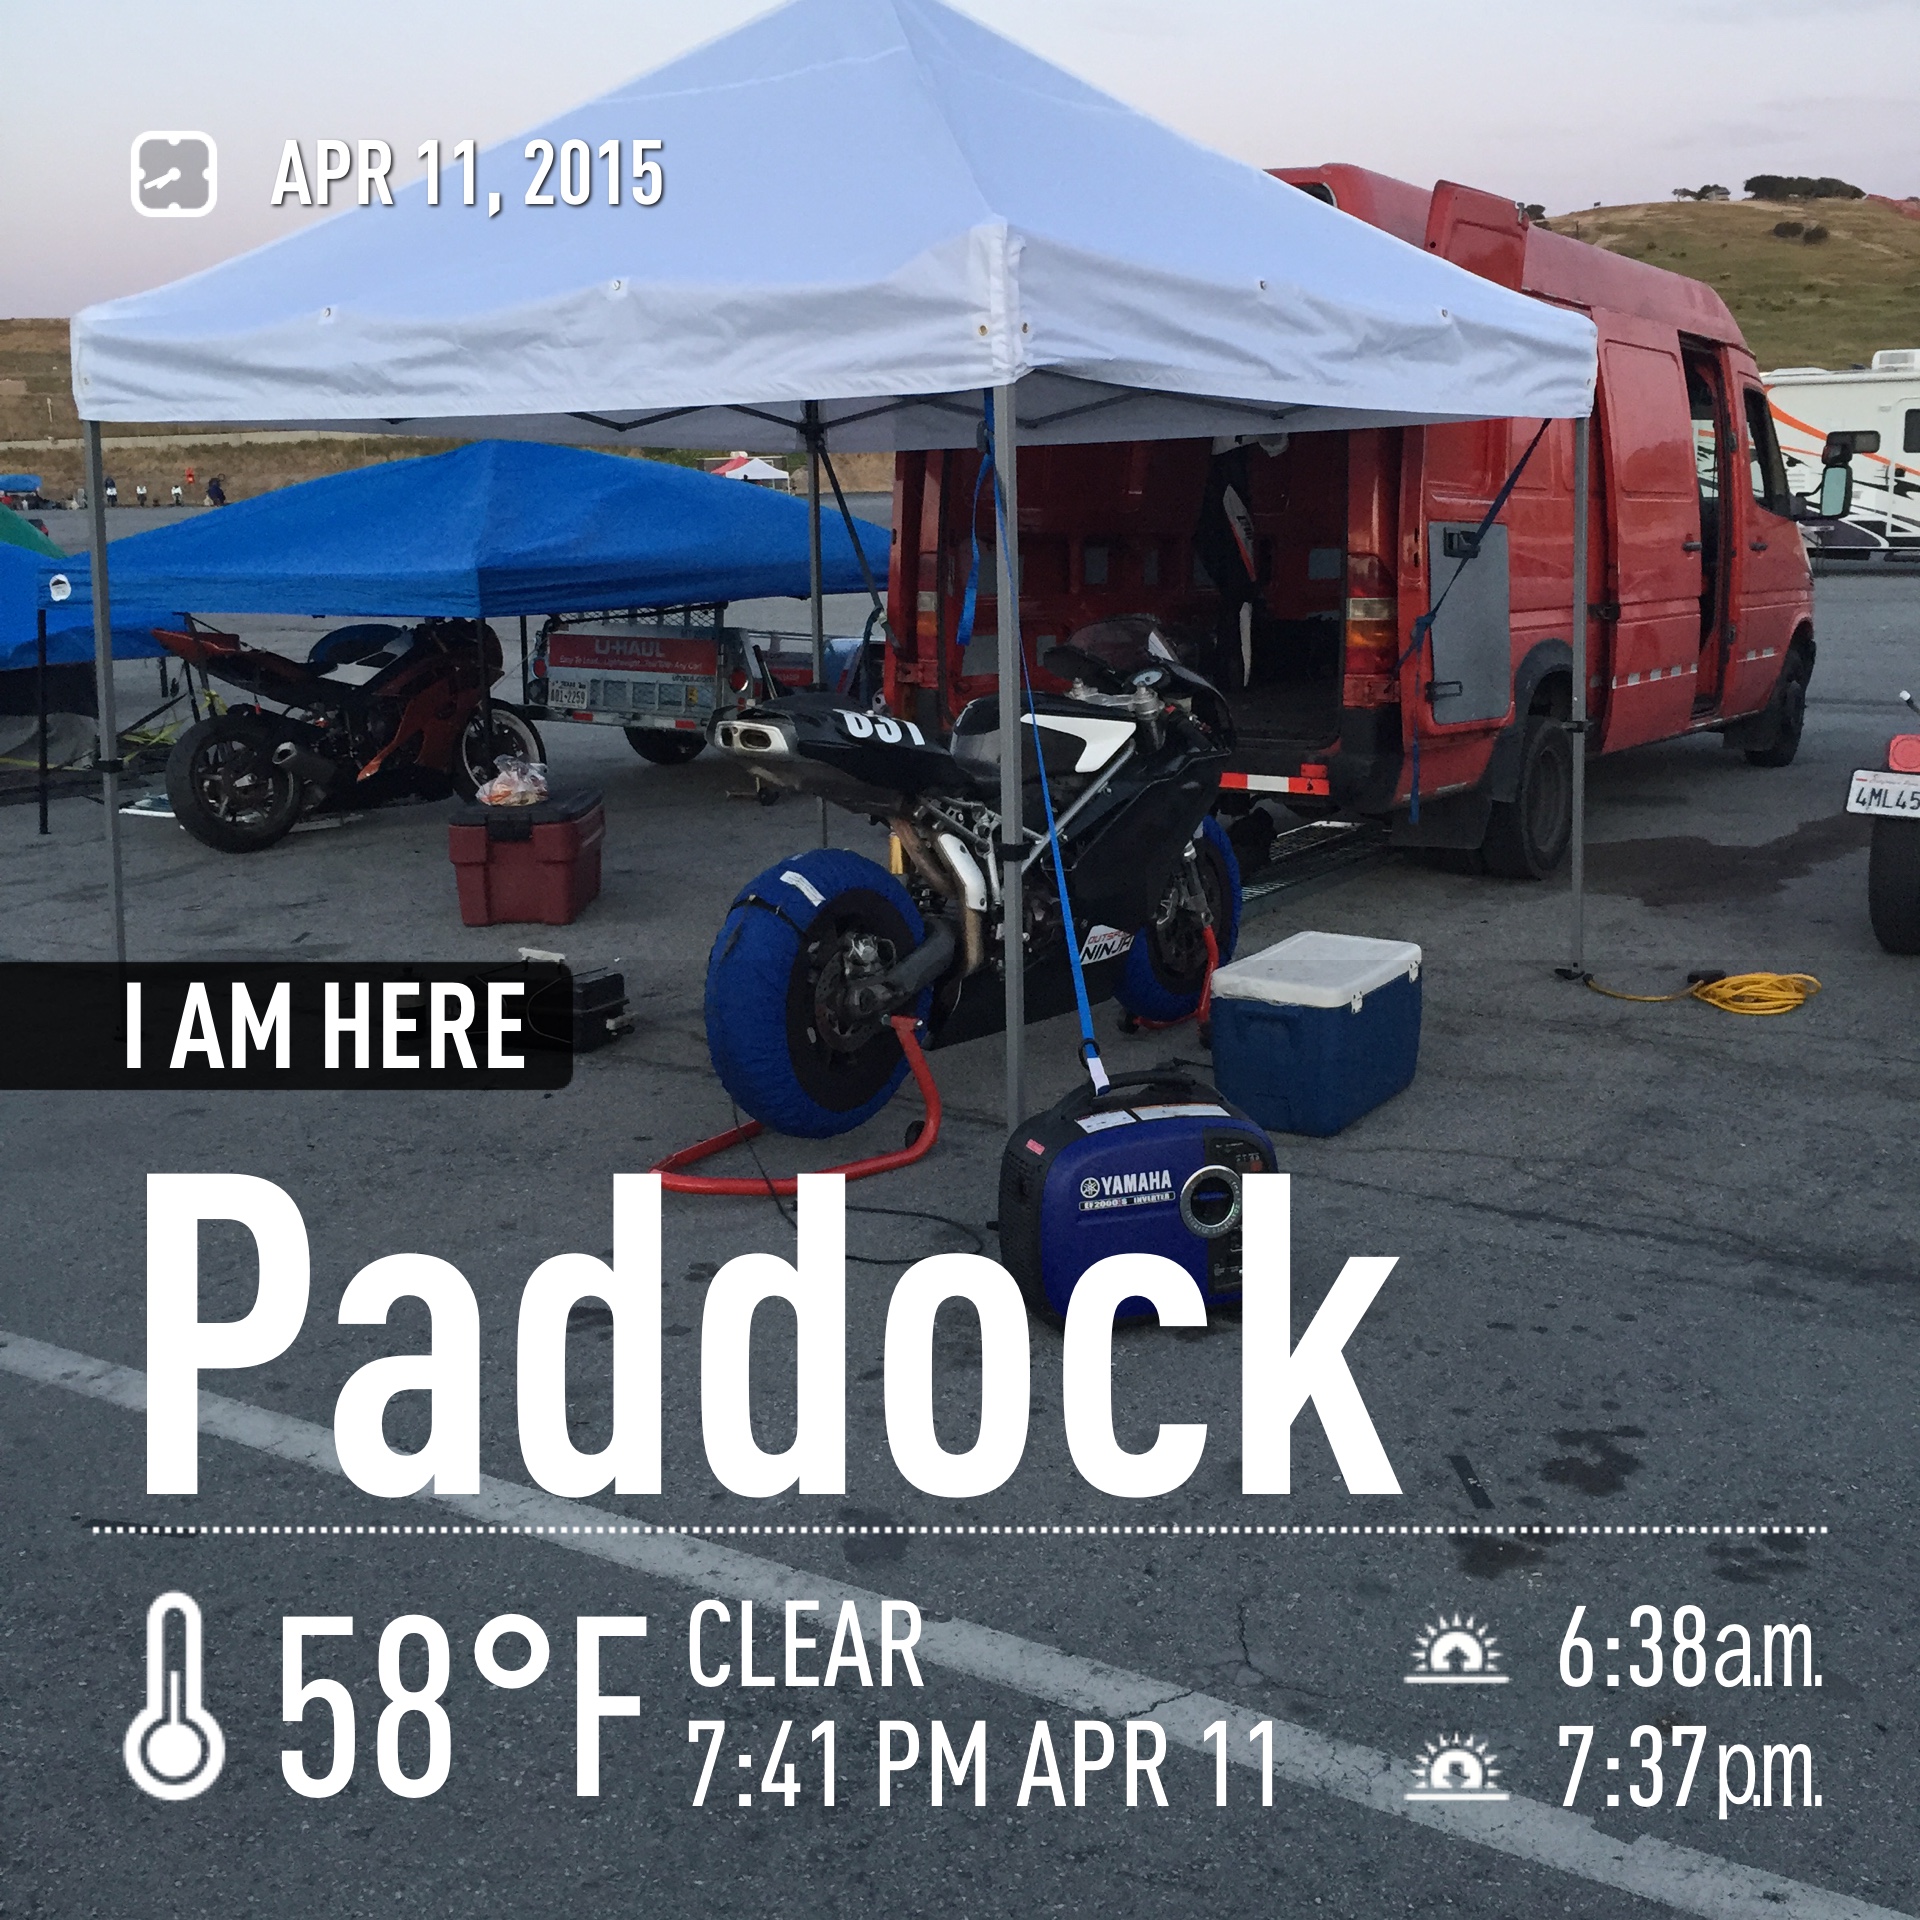
Dawn comes early in Monterey, and despite my original setup plans foiled, equipment was unloaded and the bike was plugged into the generator to start warming up the tires:
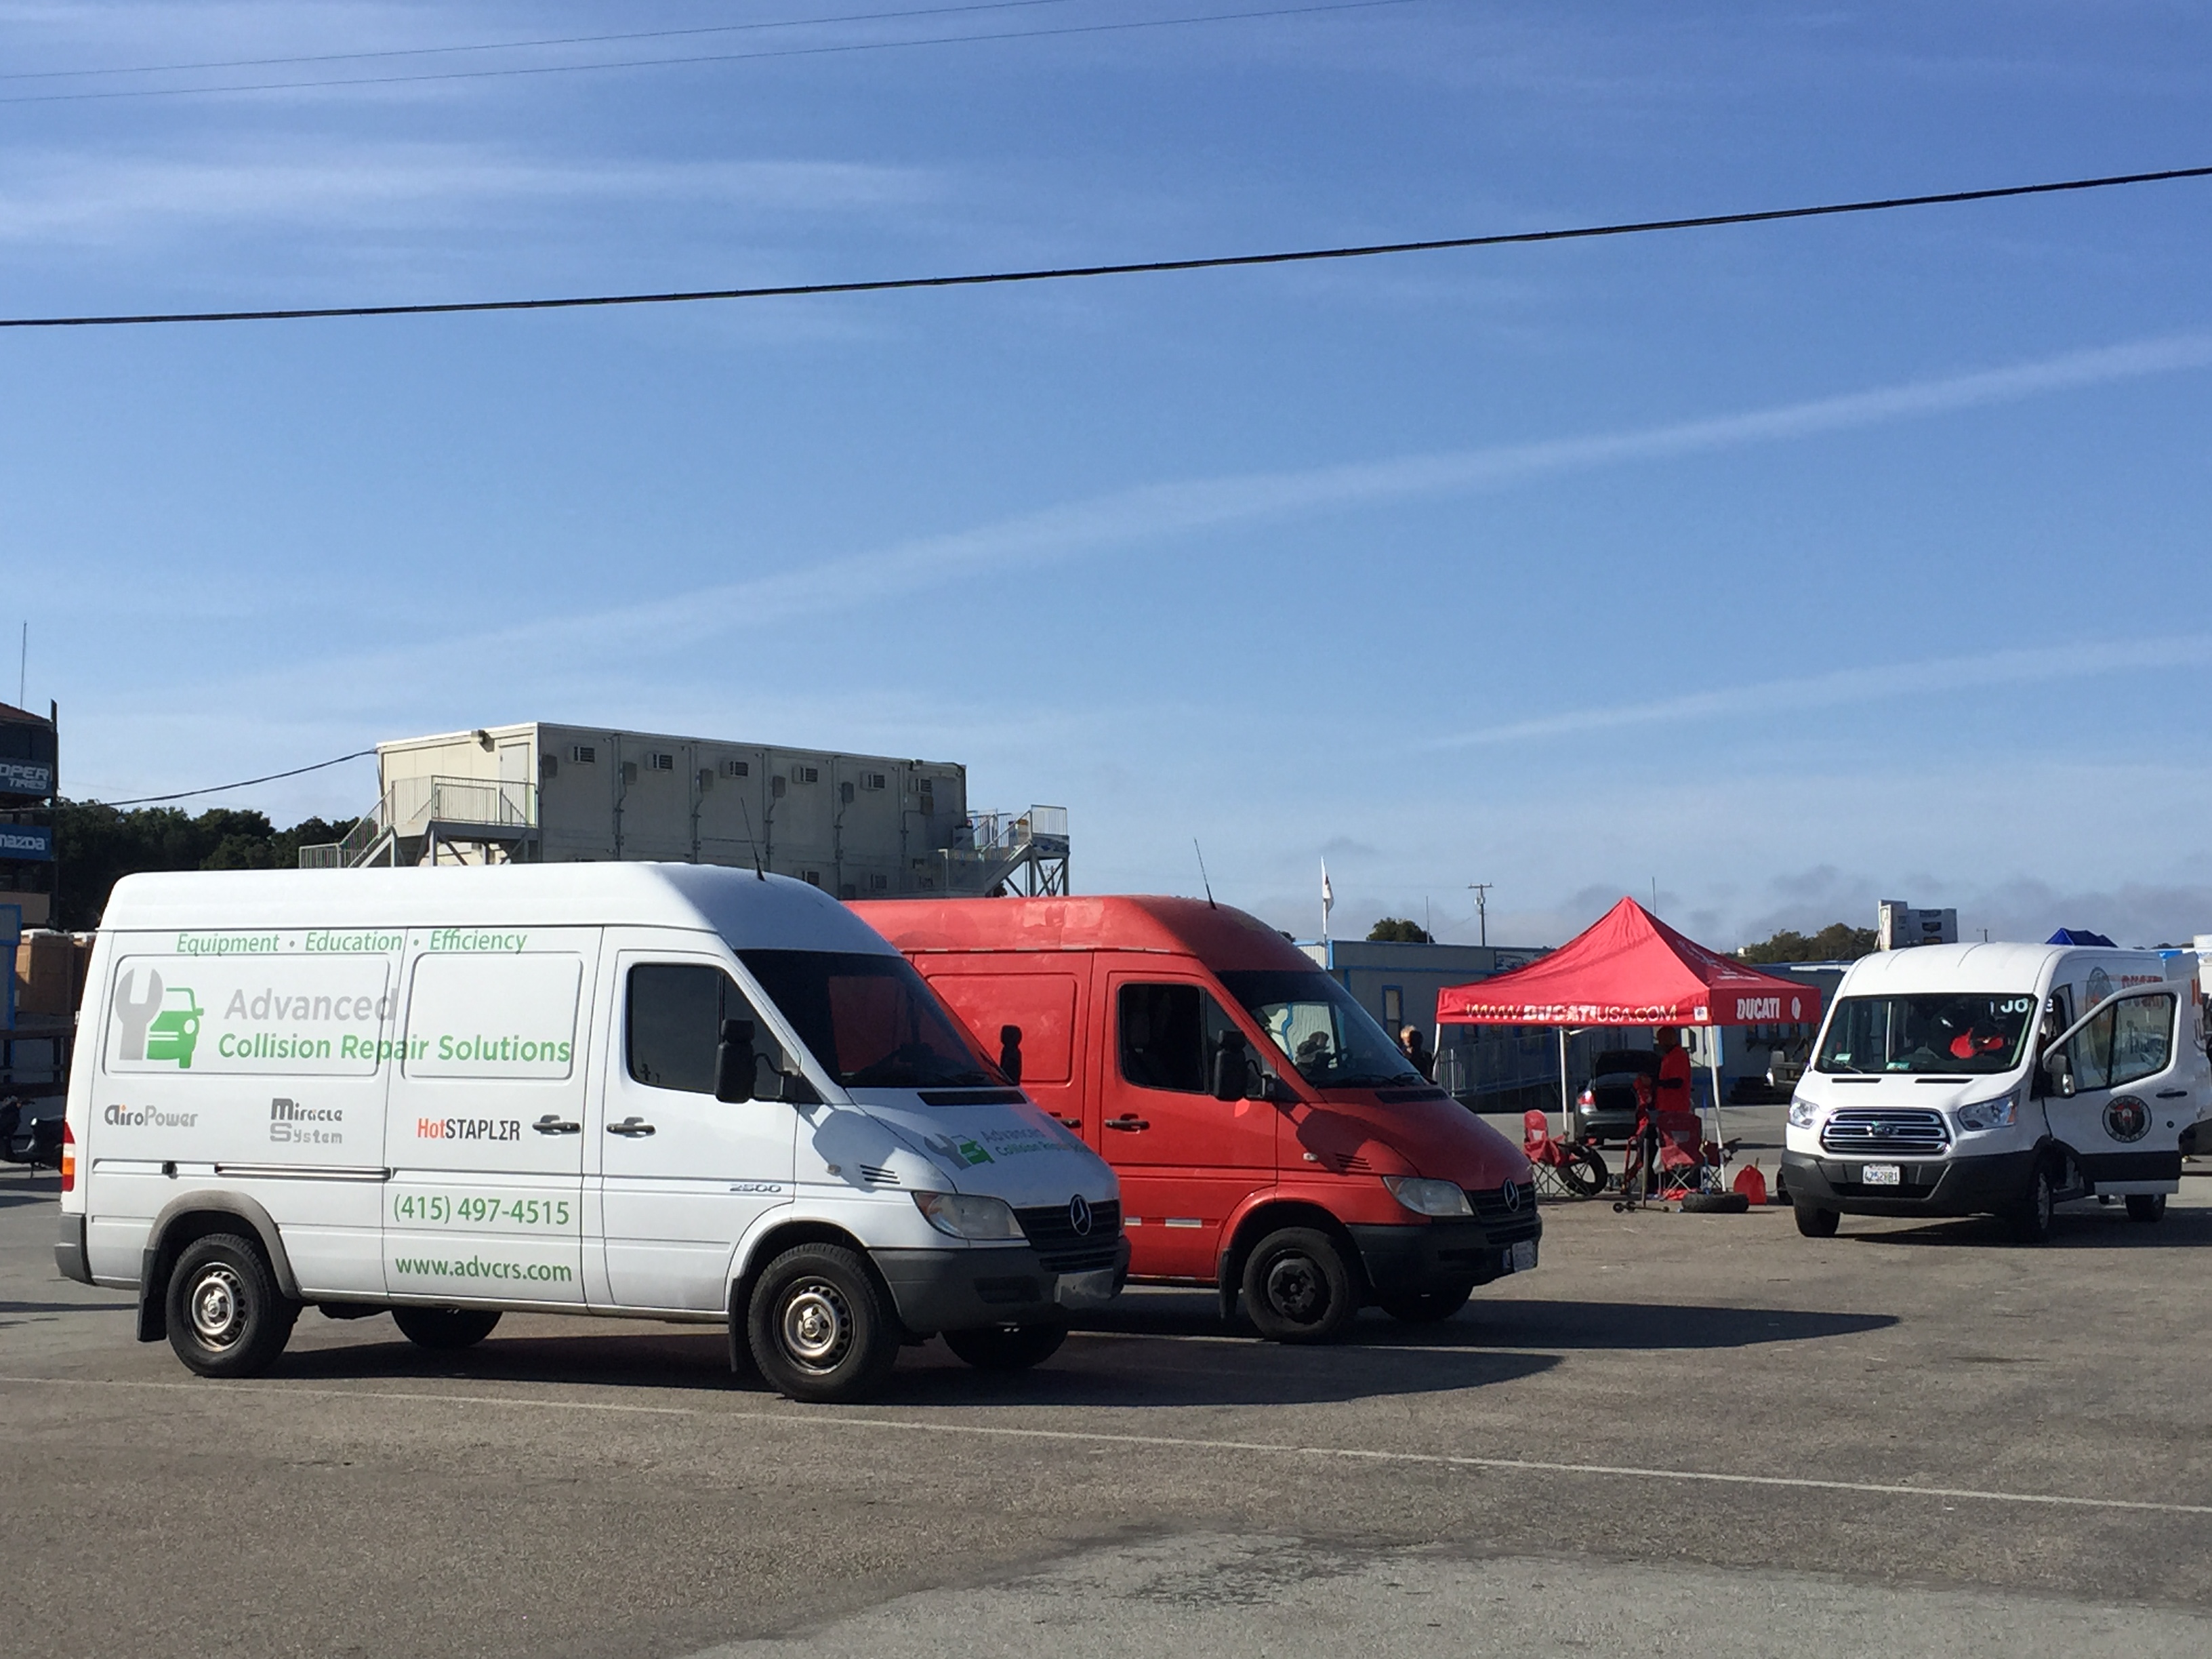

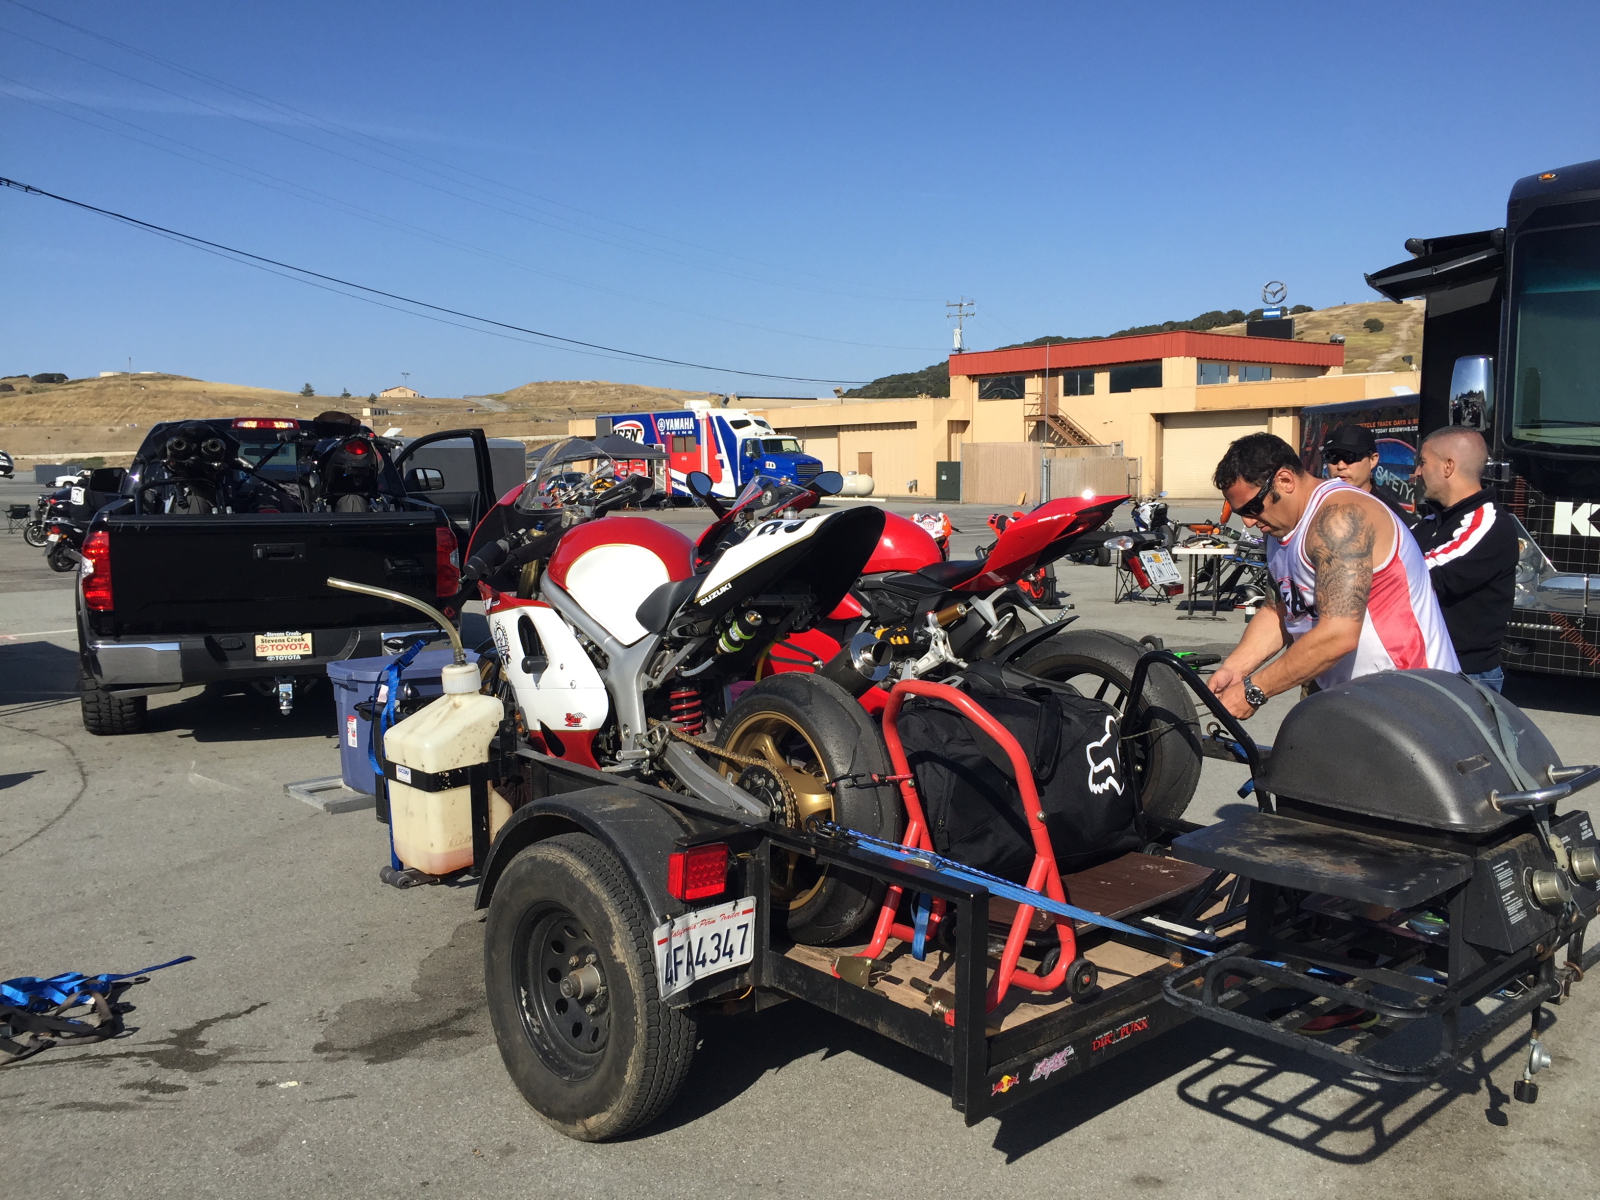
With the rest of the crew arriving, we got the bikes into tech.
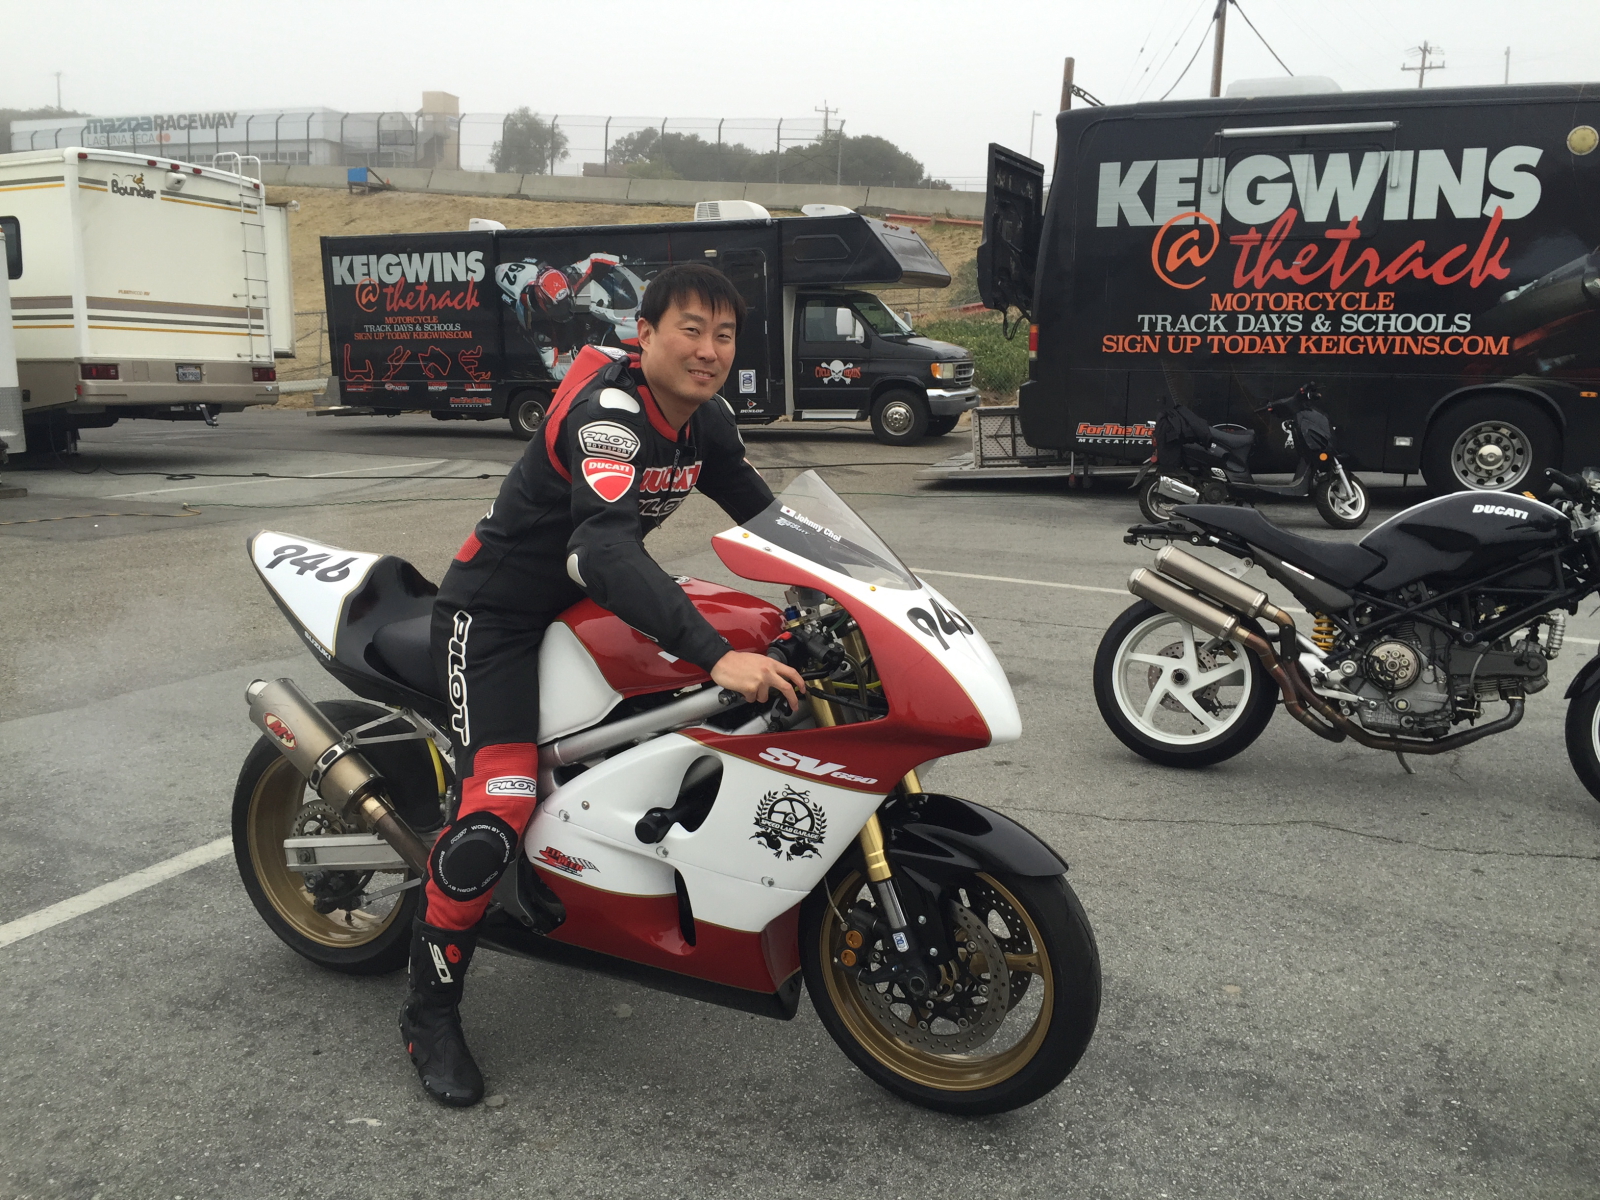
Dr. Johnny debut his newly refurbished track bike. He’s a happy camper, as you can tell!
Unfortunately, when unloading my 749, I noticed that the bike seemed difficult to move around. After some fiddling around we discovered that one of the front brakes was dragging pretty badly. My first session was going to be spent taking apart the left front caliper.
My pal Isaac was able to score a ride on the damn fine SuperLeggera owned by the track organizer. He was very impressed at the handling.. I guess light
I was eventually able to get the brakes handled and the bike on the track for the last couple of sessions of the day. Things went OK, but it seemed the brake was starting to drag again, so I packed it in; we all loaded up and headed for home.
April can mean unpredictable where here Northern California. Last weekend we had a deluge of rain. This weekend was a little different:
The work for this Sunday’s trip to Laguna Seca started in earnest on Thursday, with some upgrades to the Track Van.
First of was constructing a strong anchor system for the motorcycle wheel chock. Using a pair of E-Track 2×4 mounts, and a 36″ long section of 1.5″ angle iron, a secure, yet easily removable mounting system was created.
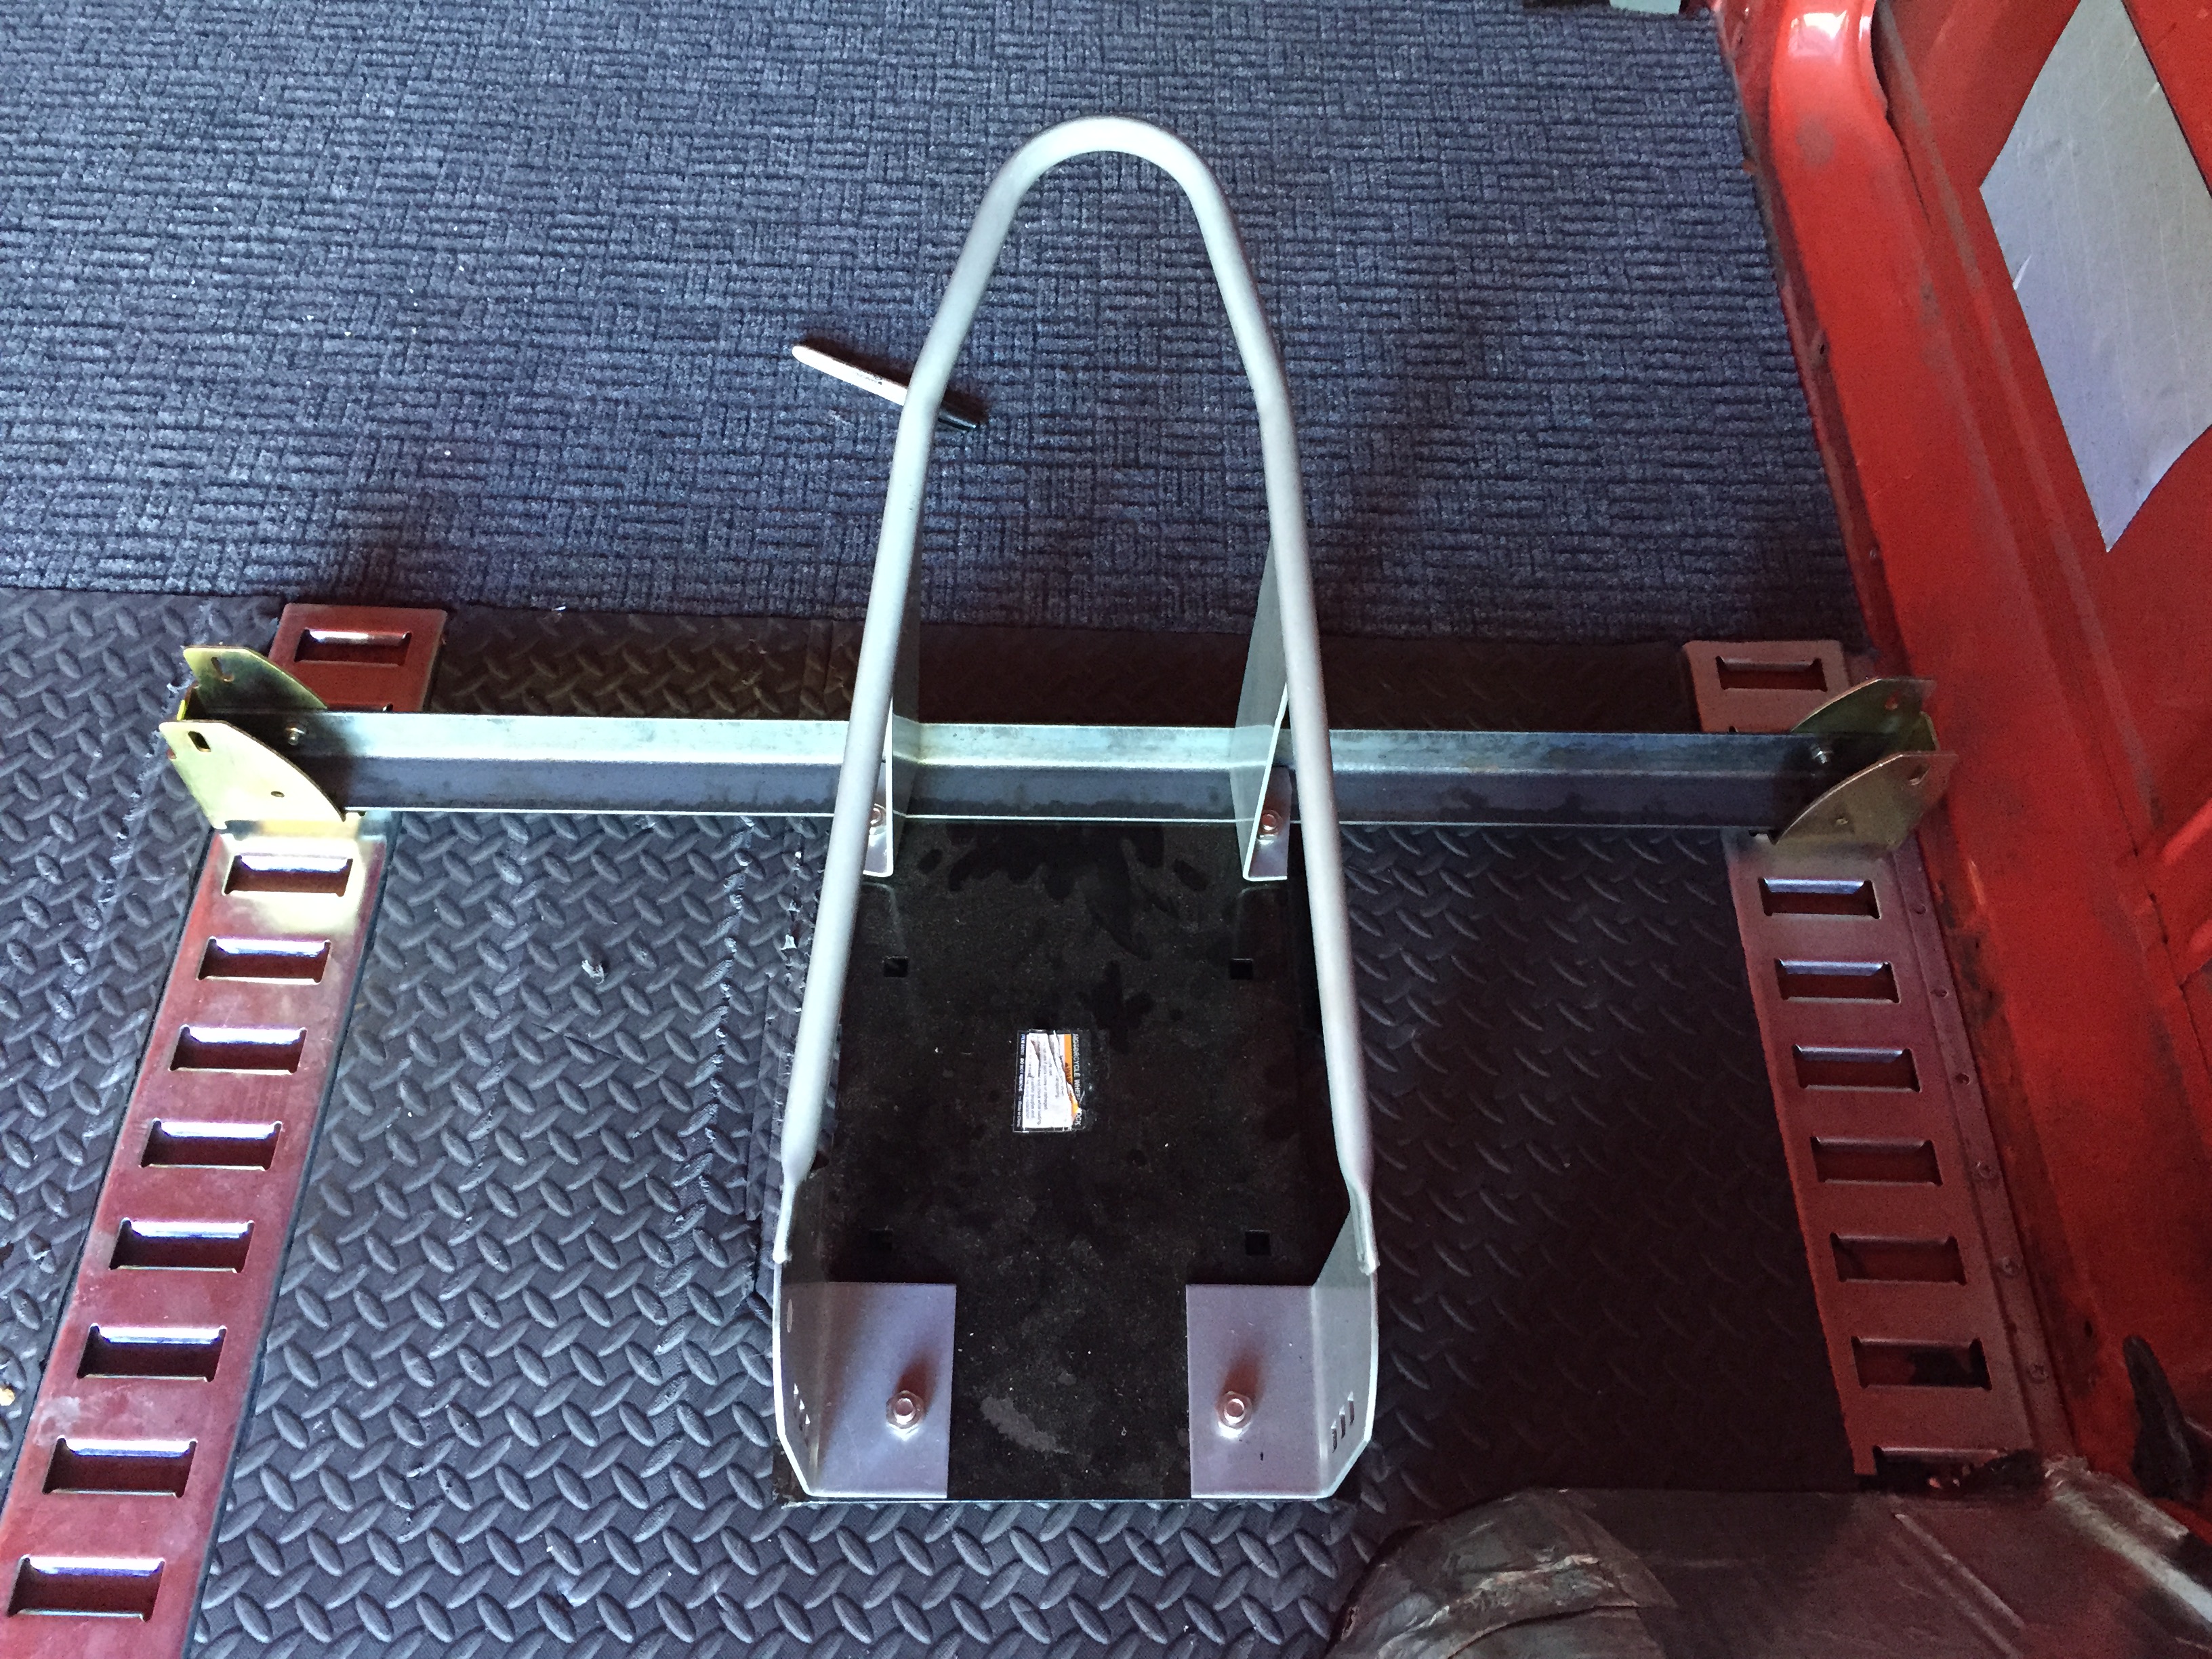
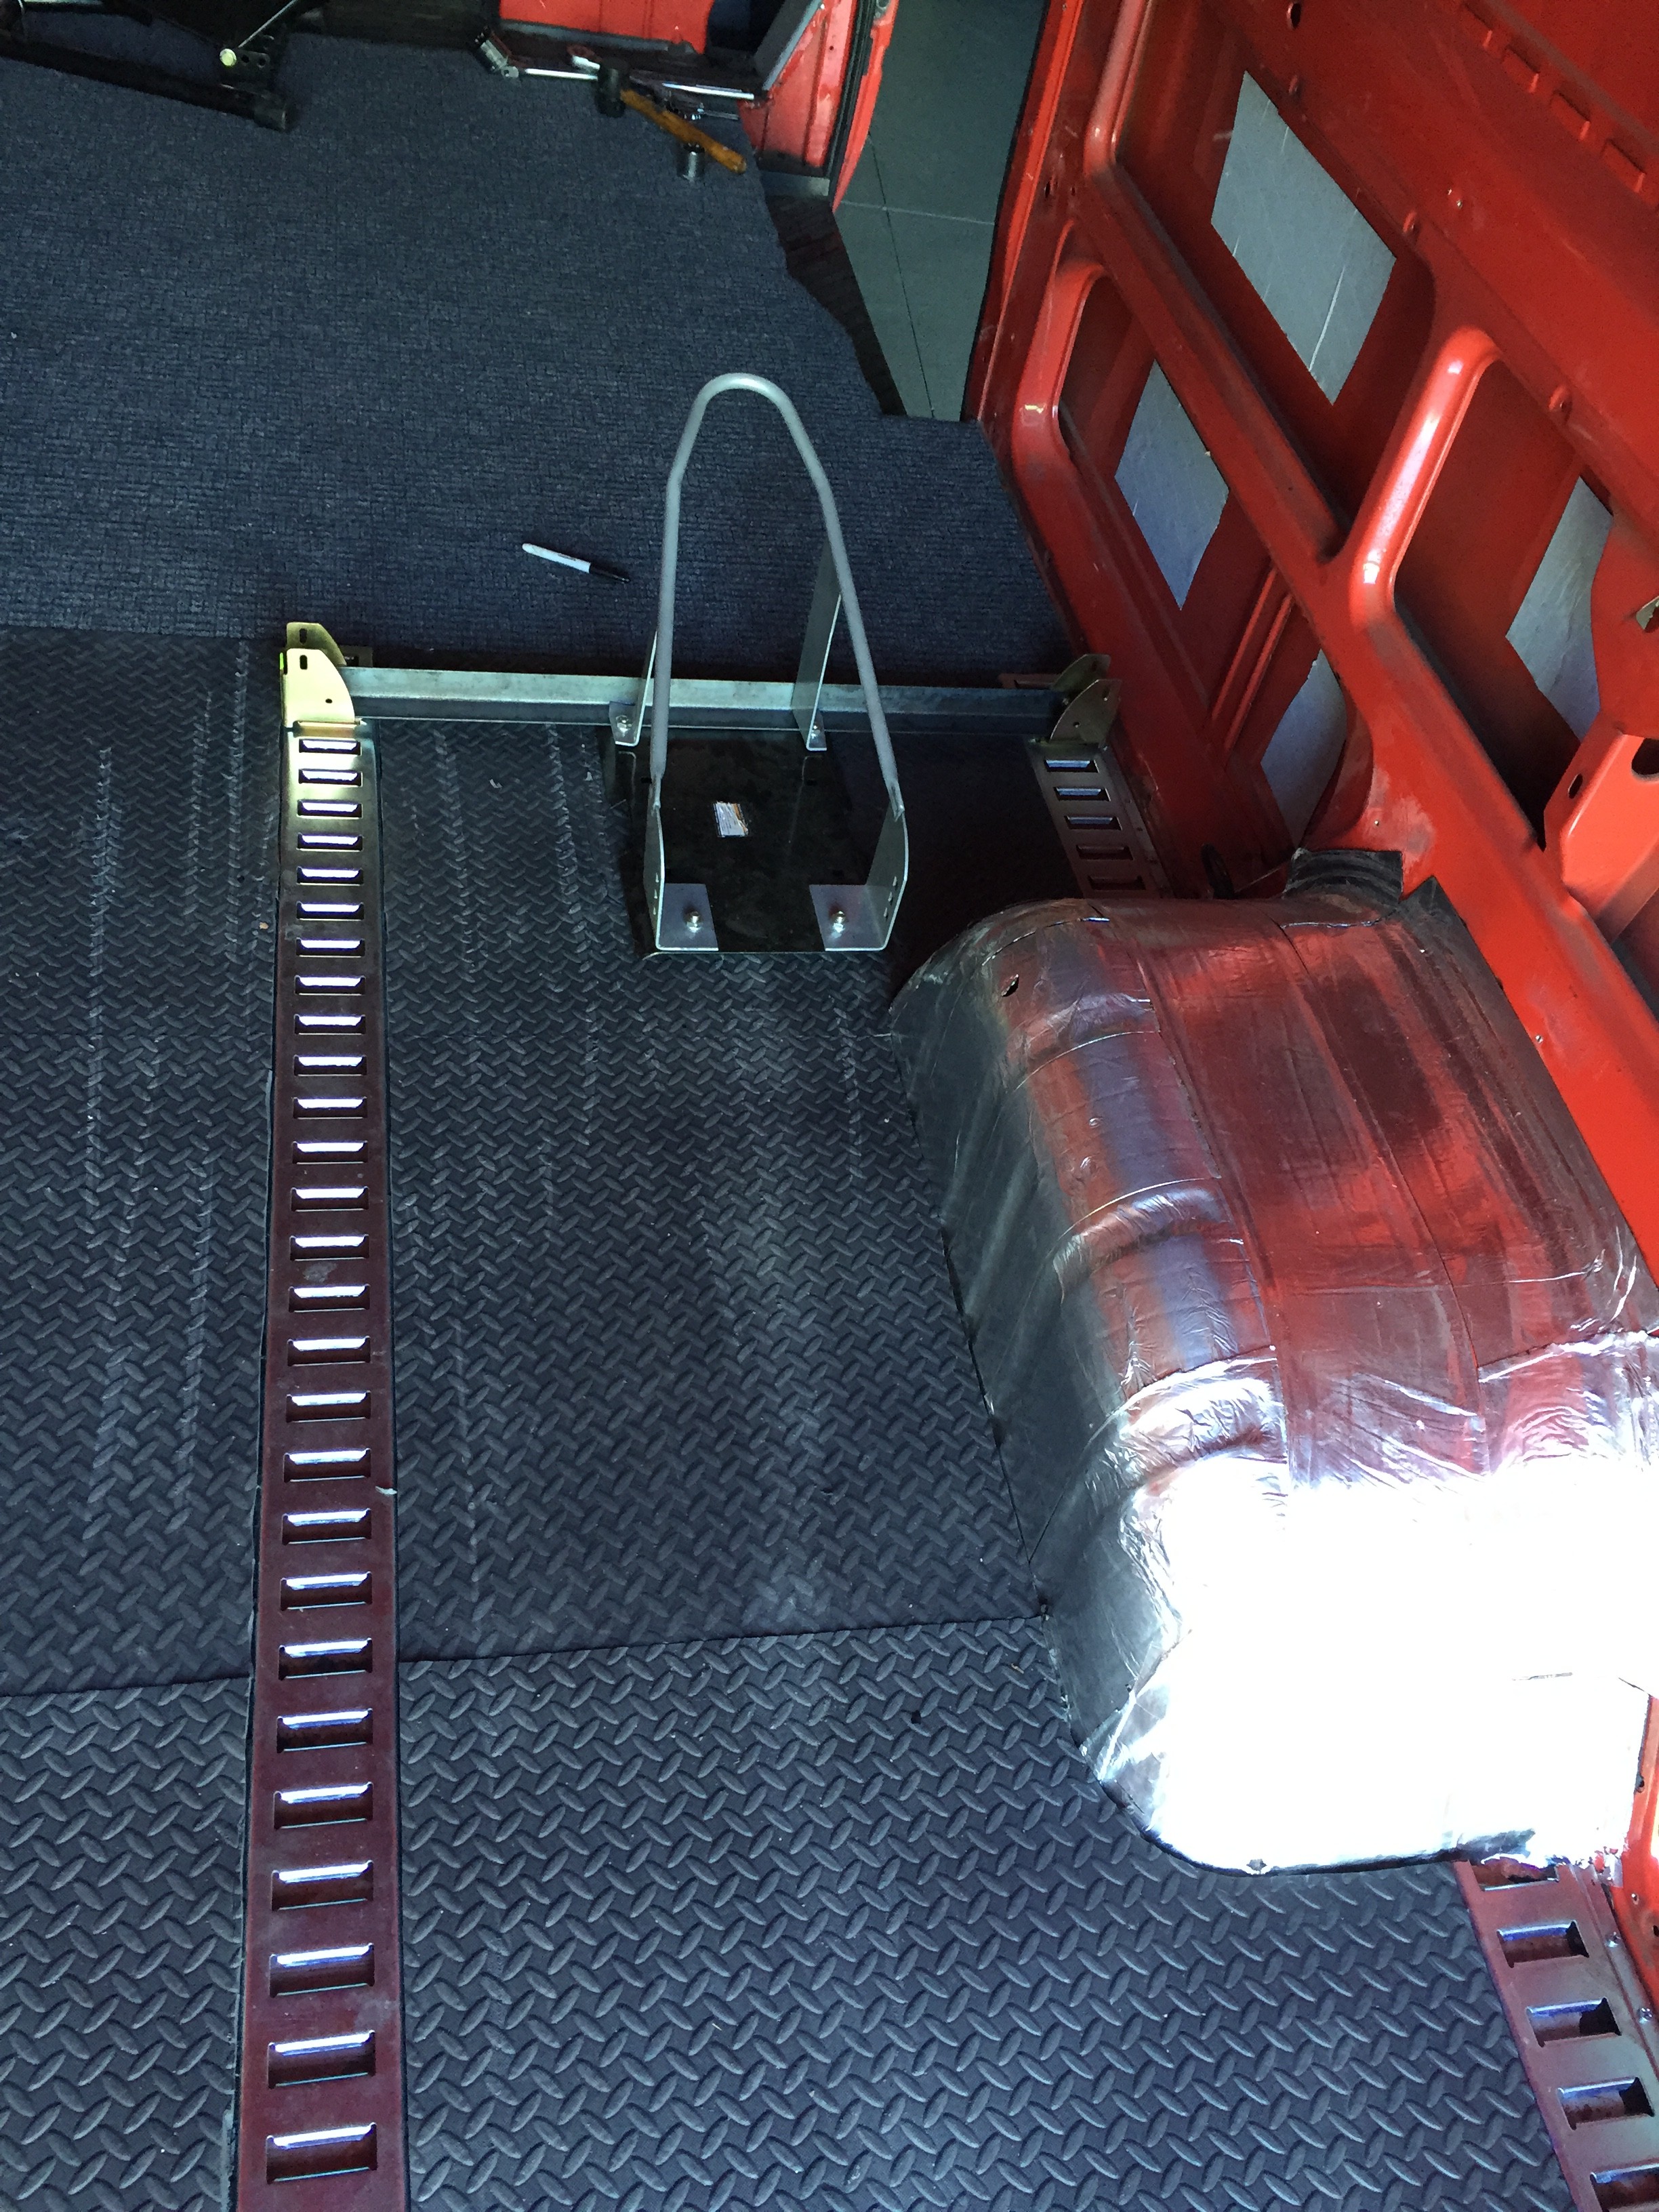
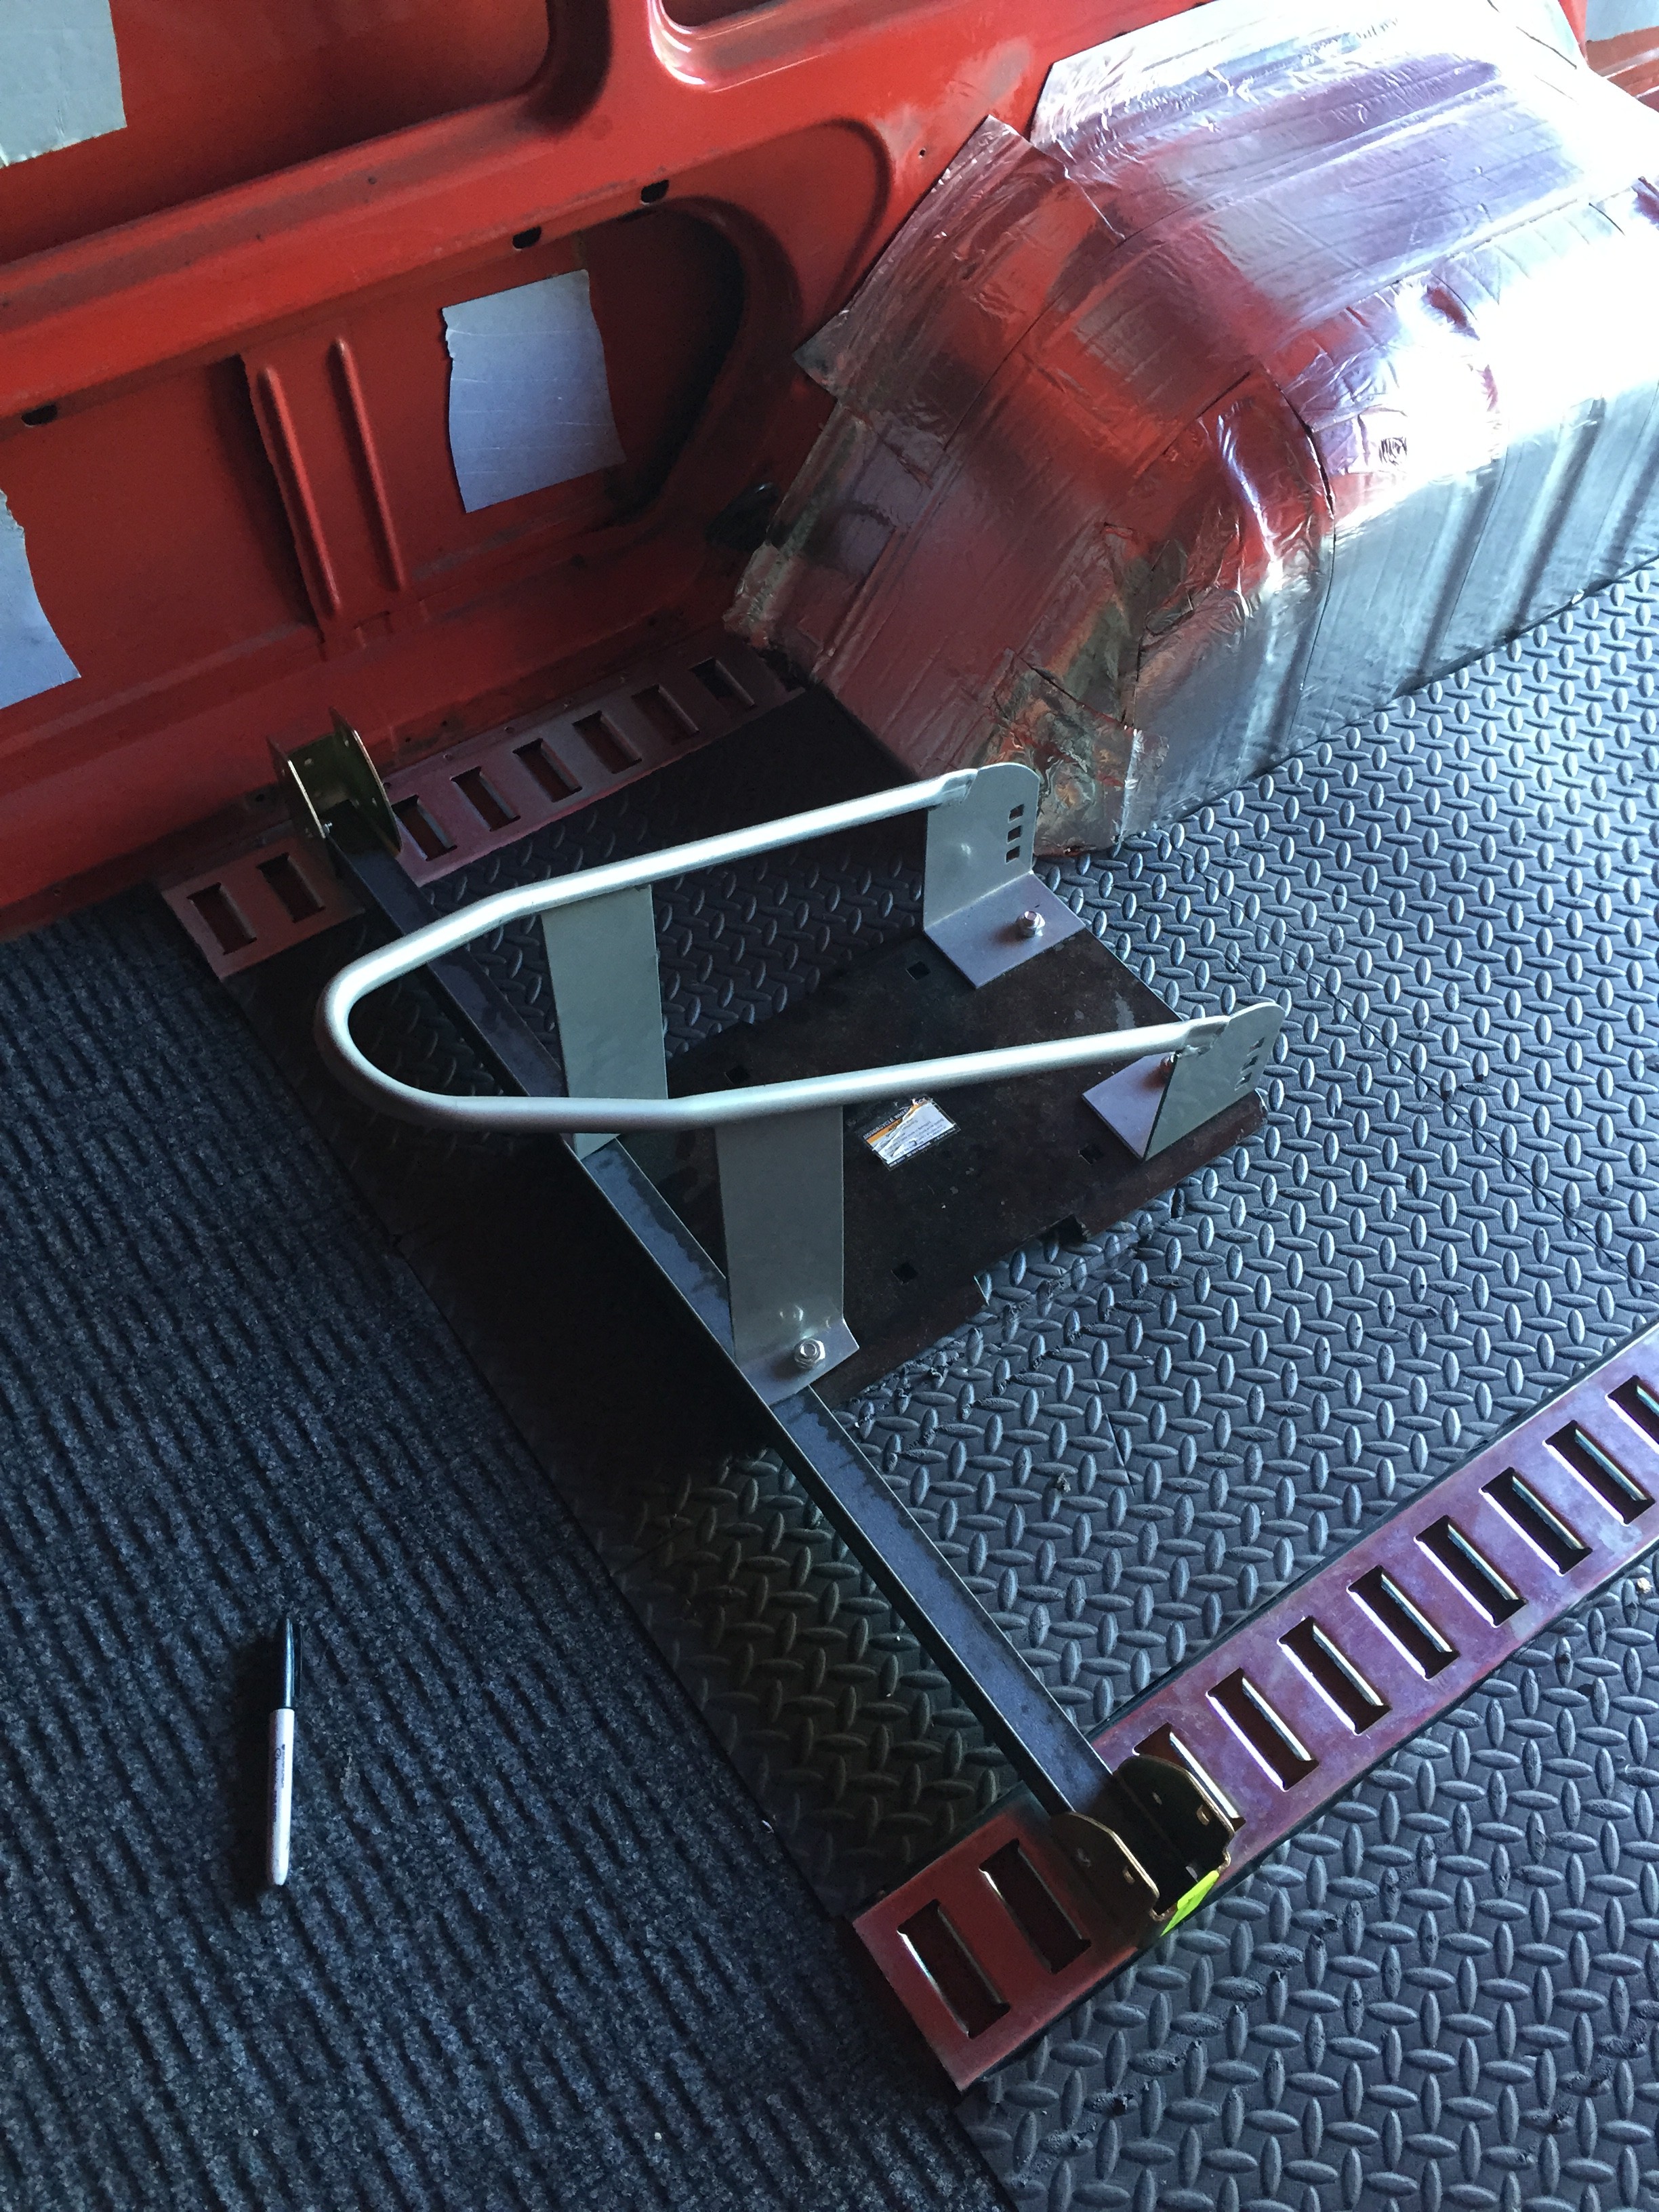
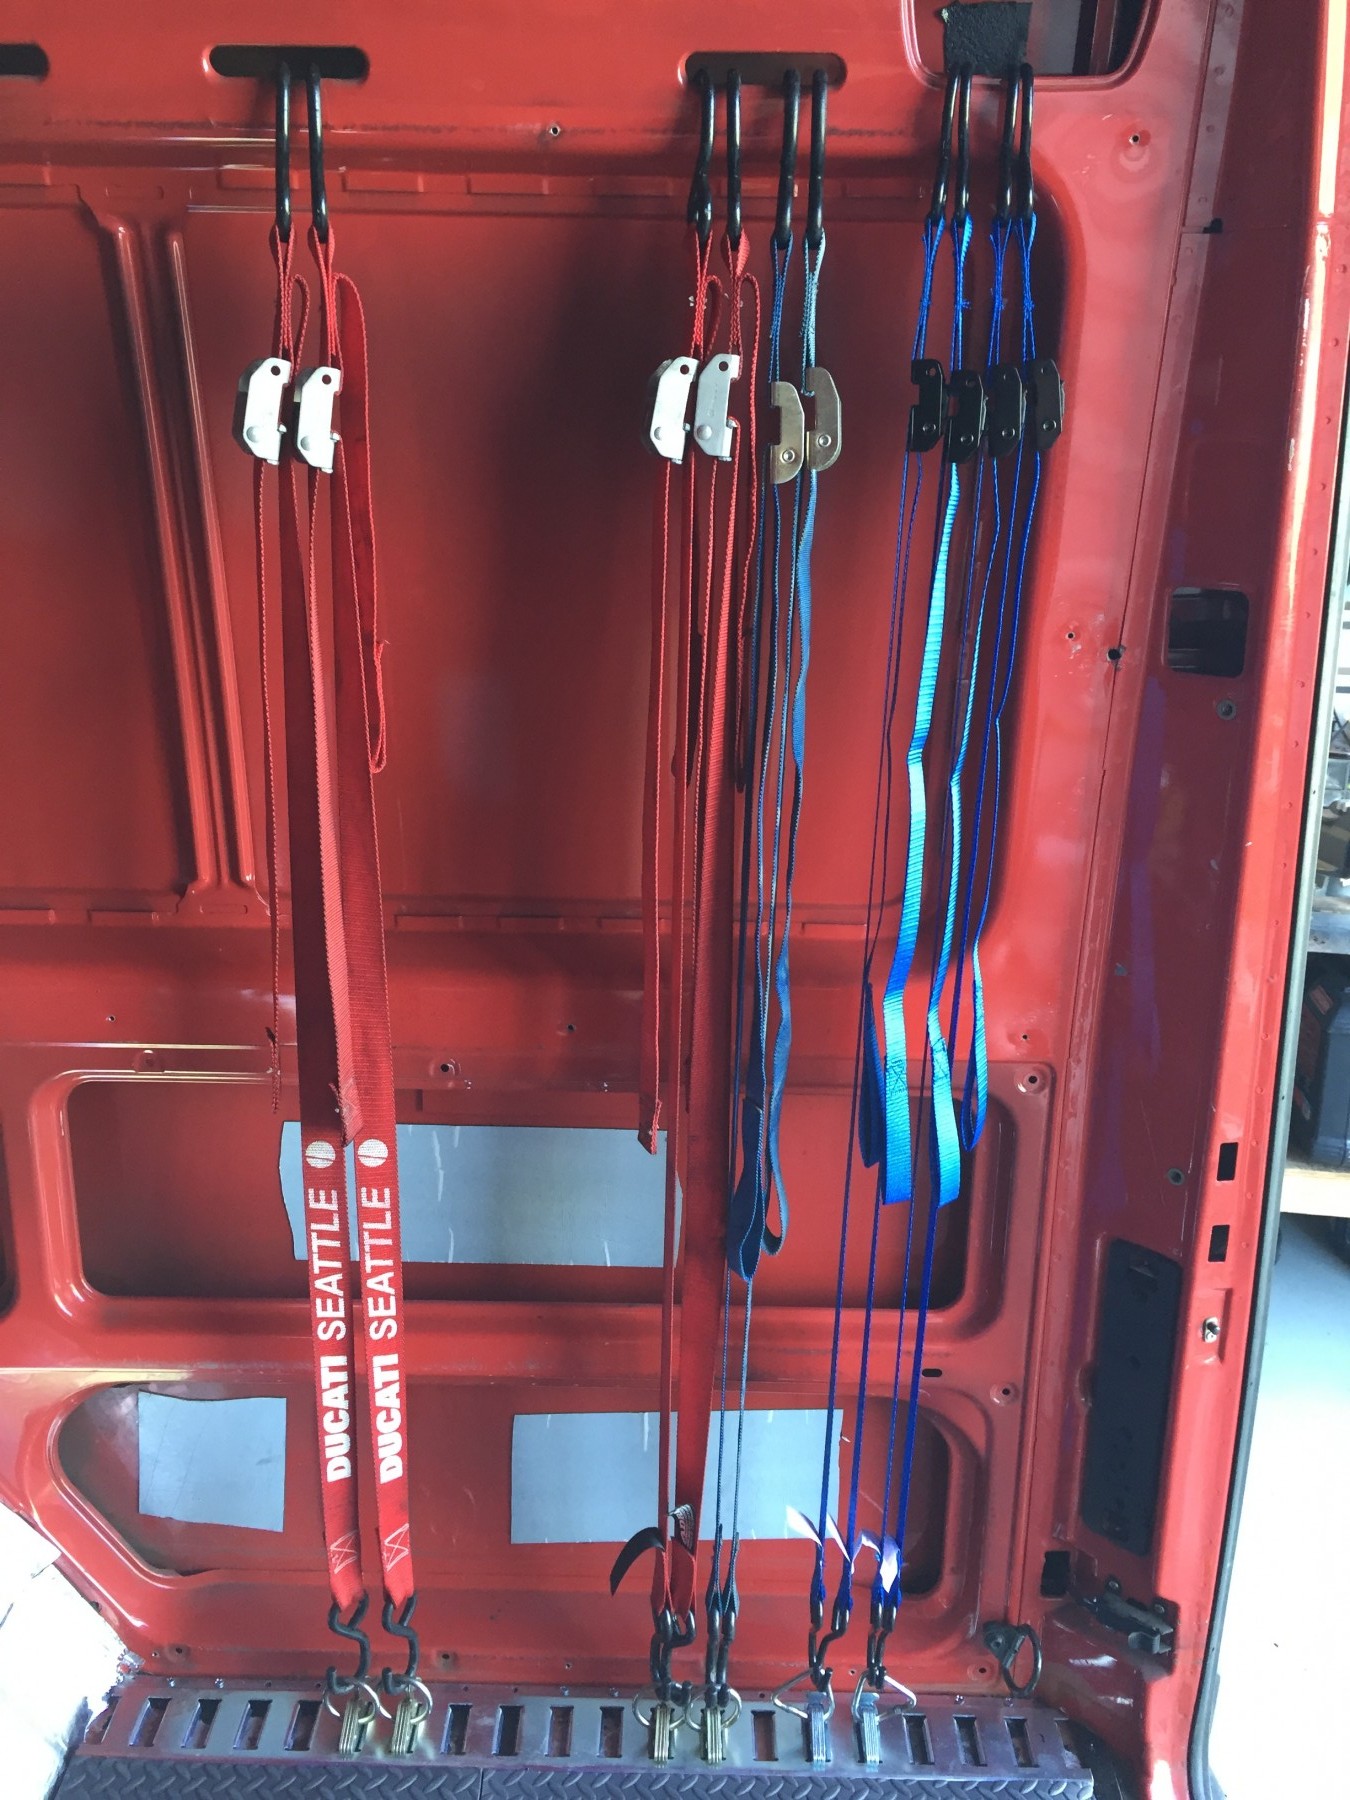
Another pair of E-Track anchors were added to the inventory, along with some more cargo straps for loading additional equipment (which came in handy as I’ll note later).
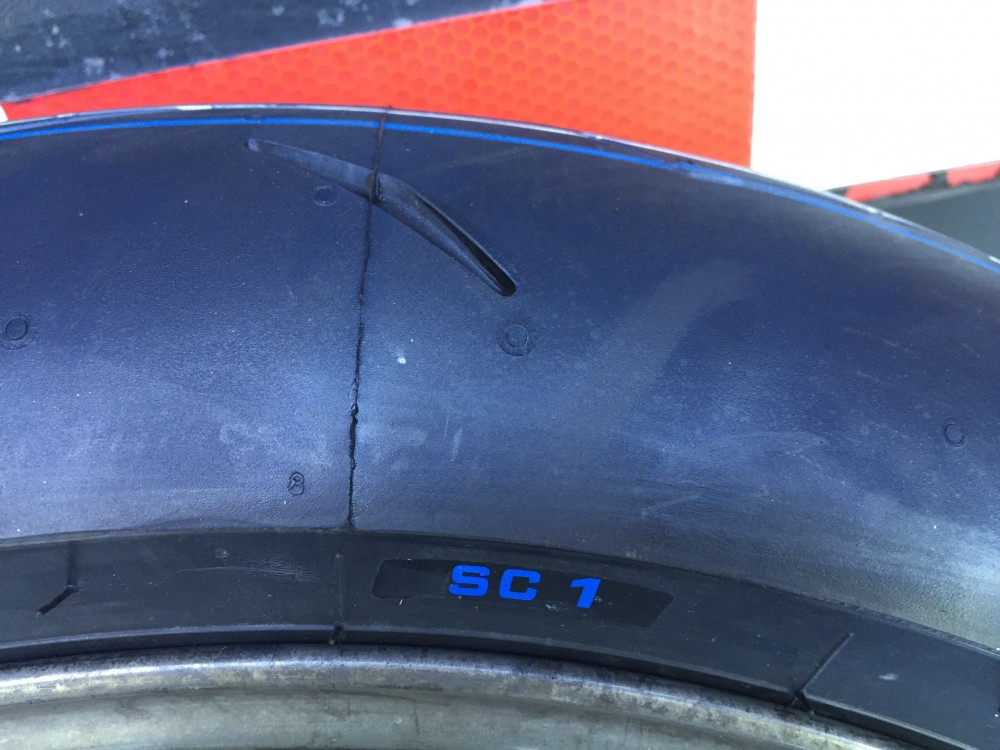
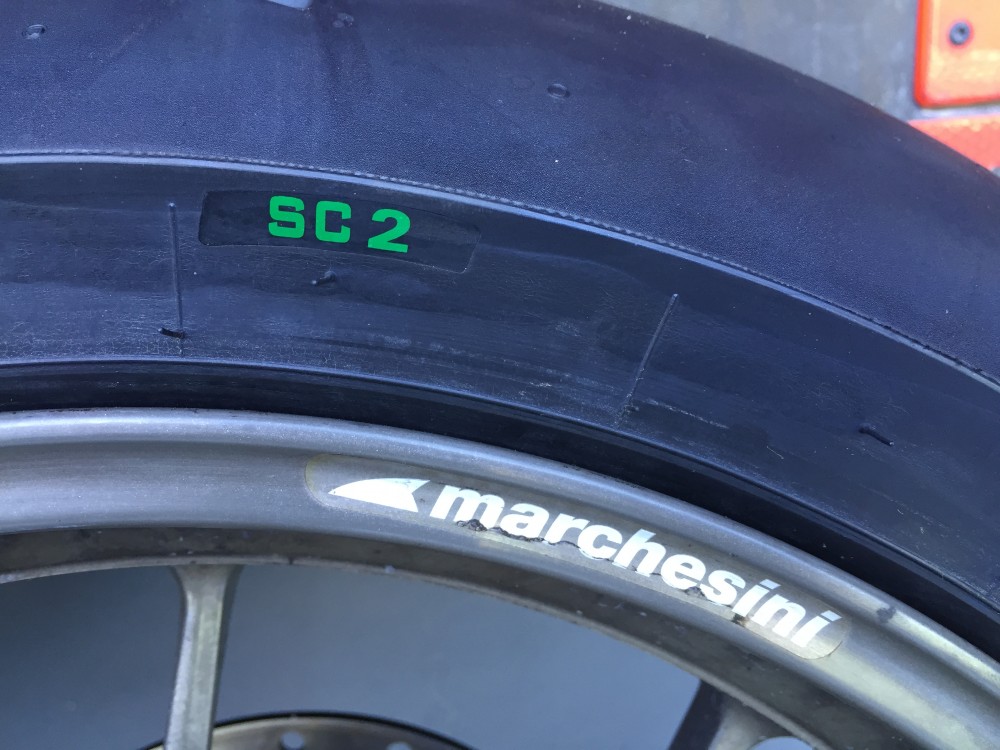
Along with updates to the truck came upgrades to the bike; principally a new set of proper track tires on Friday. The new hides are Pirelli SuperCorsa in medium compound rear, and soft compound front:
Out with the old:
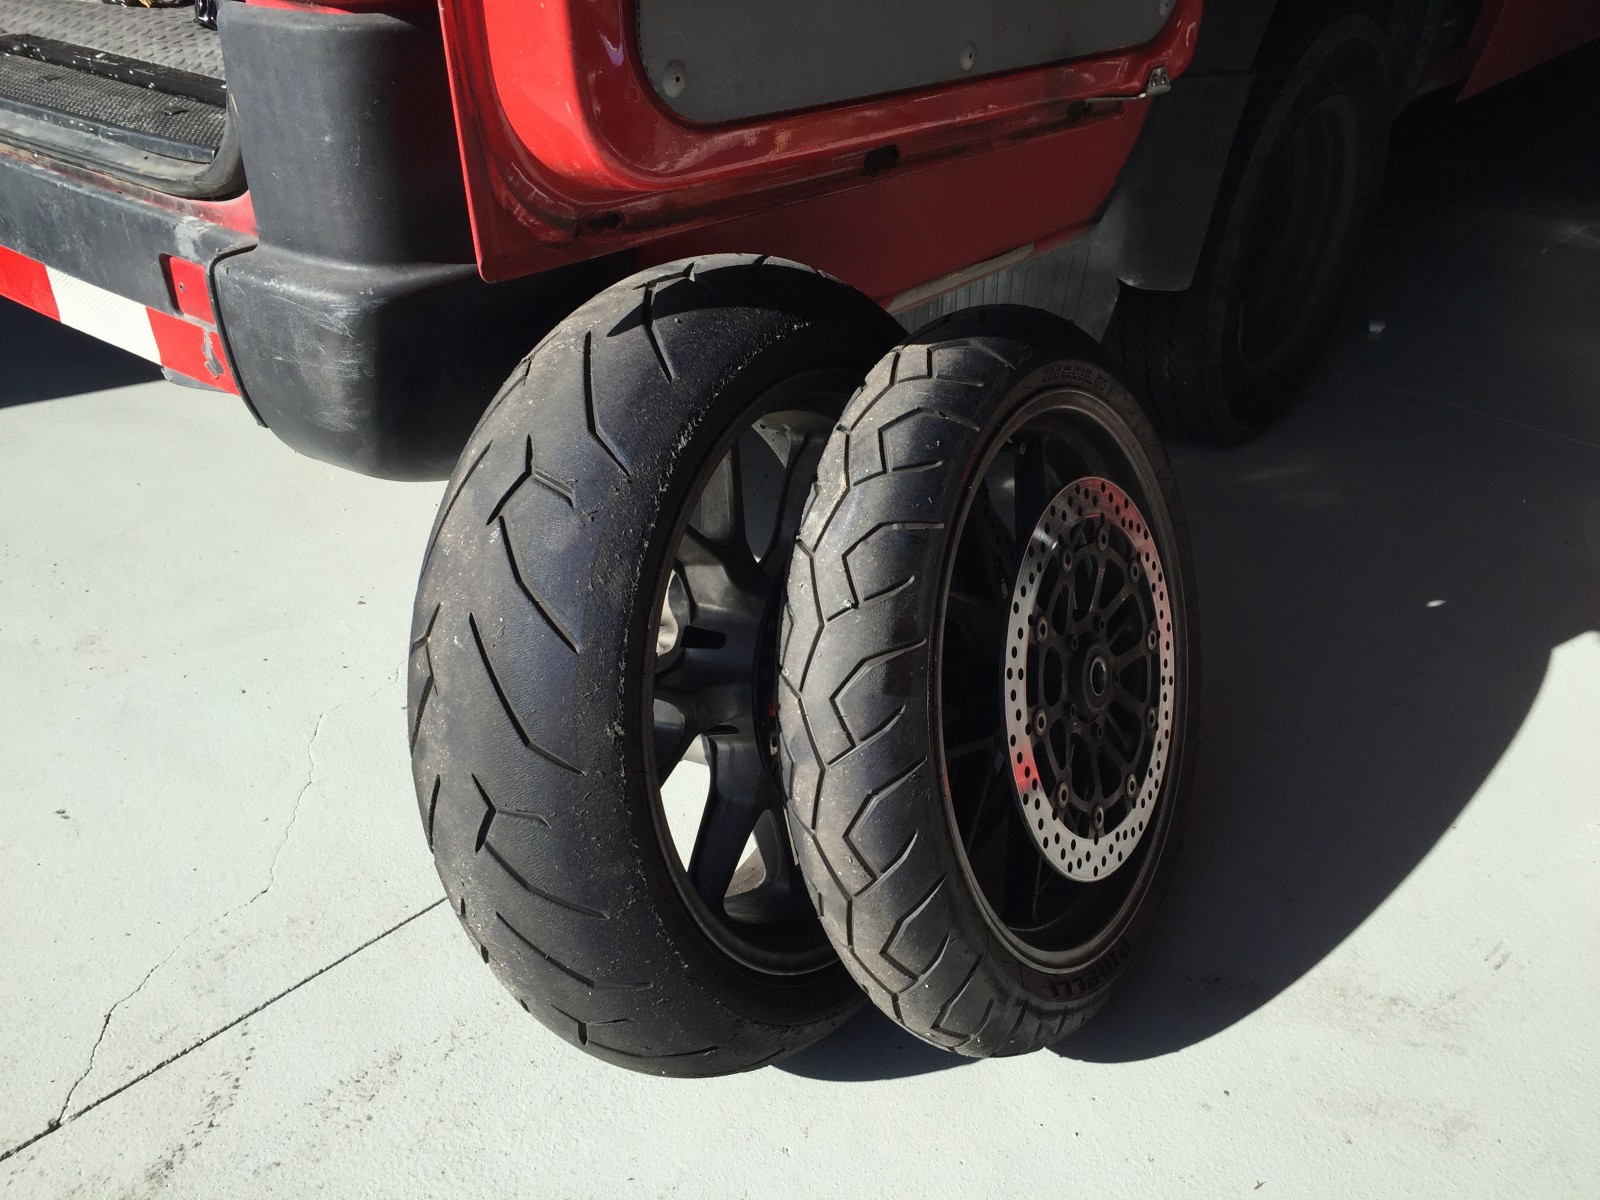
In with the new:
Having done quite a few track days over the last year, I’ve come up with some items that I think are crucial to enjoying your day at the track. First of them is SHADE. Shade is very important here in California (I offer this to my friends in Seattle that I’m not sure have ever seen the sun). In the past I’ve been fortunate enough to have friends with nice easy-up awnings, but this outing was planned to be Solo, so I dropped $200 on a pretty heavy-duty setup at Costco. Although not as ‘easy-up’ as others (I have to remove the top each time to pack it) it’s big, and comes with side panels that were REALLY handy when the wind picks up at Laguna.
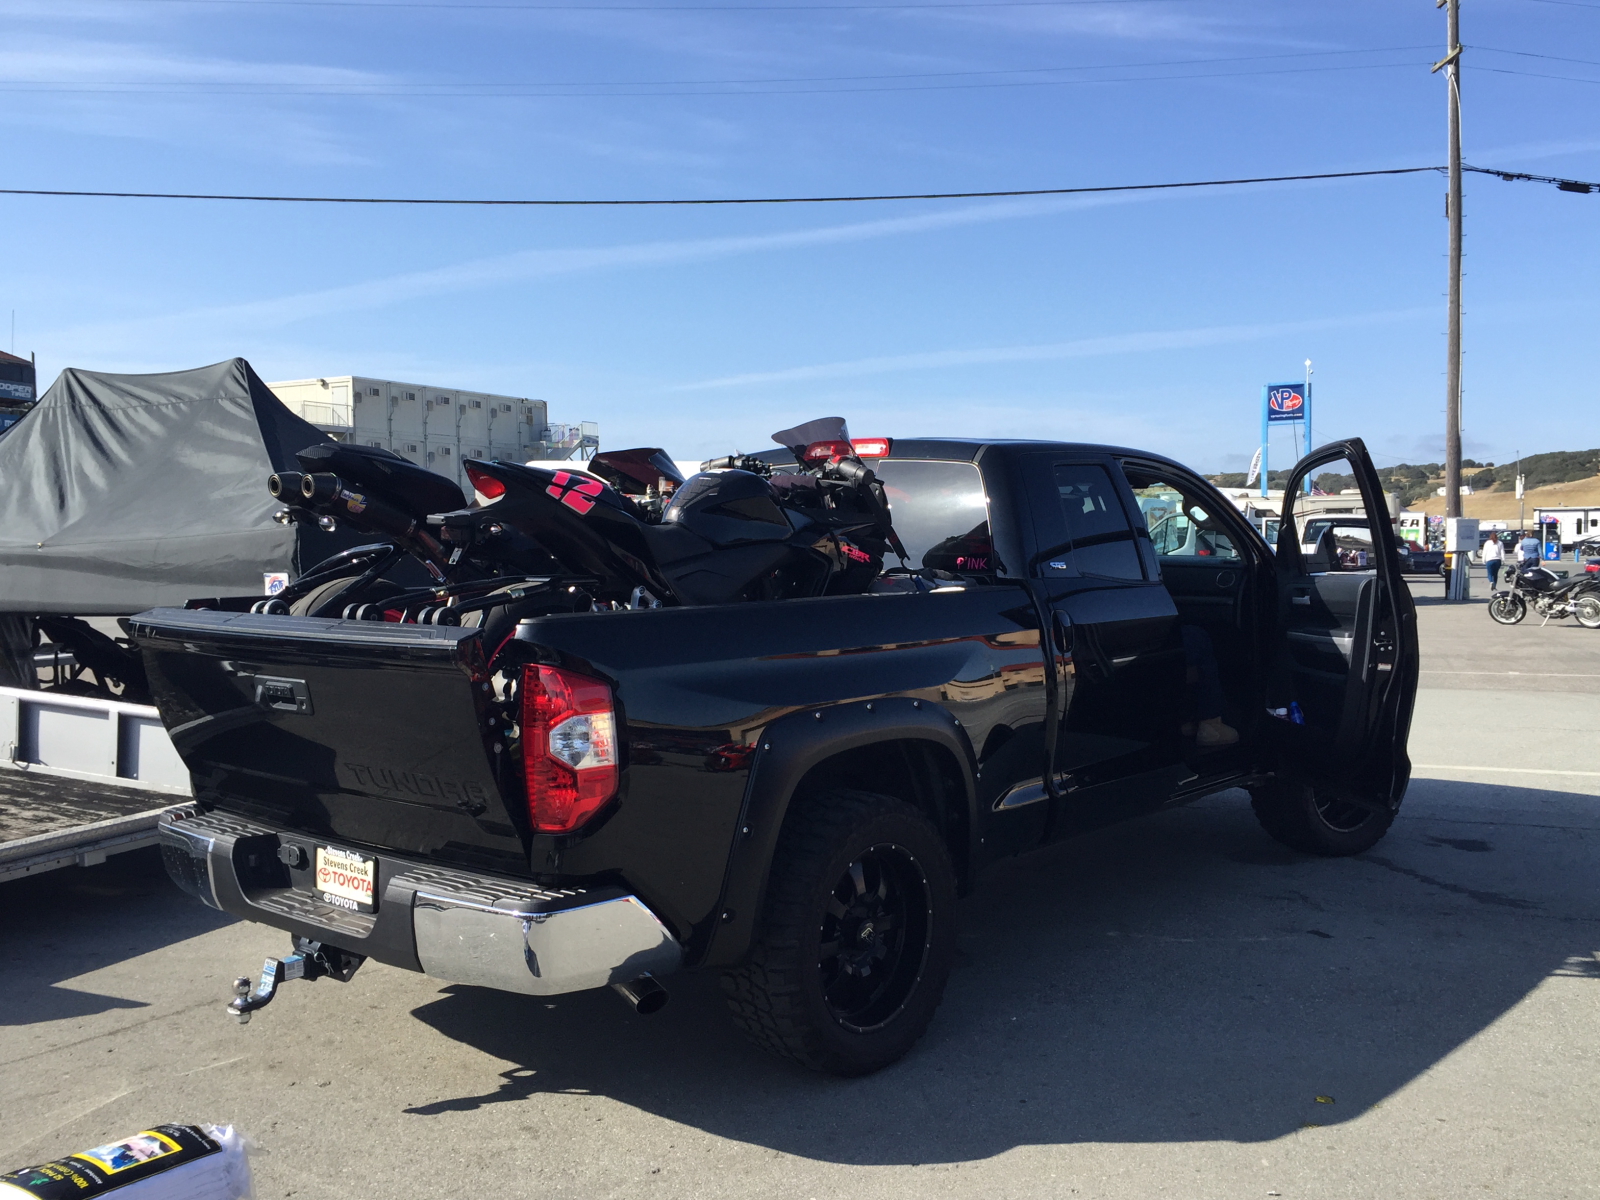
In the truck everything has a place, and everything is packed in it’s place; ready for the quick drive down the road to Laguna:

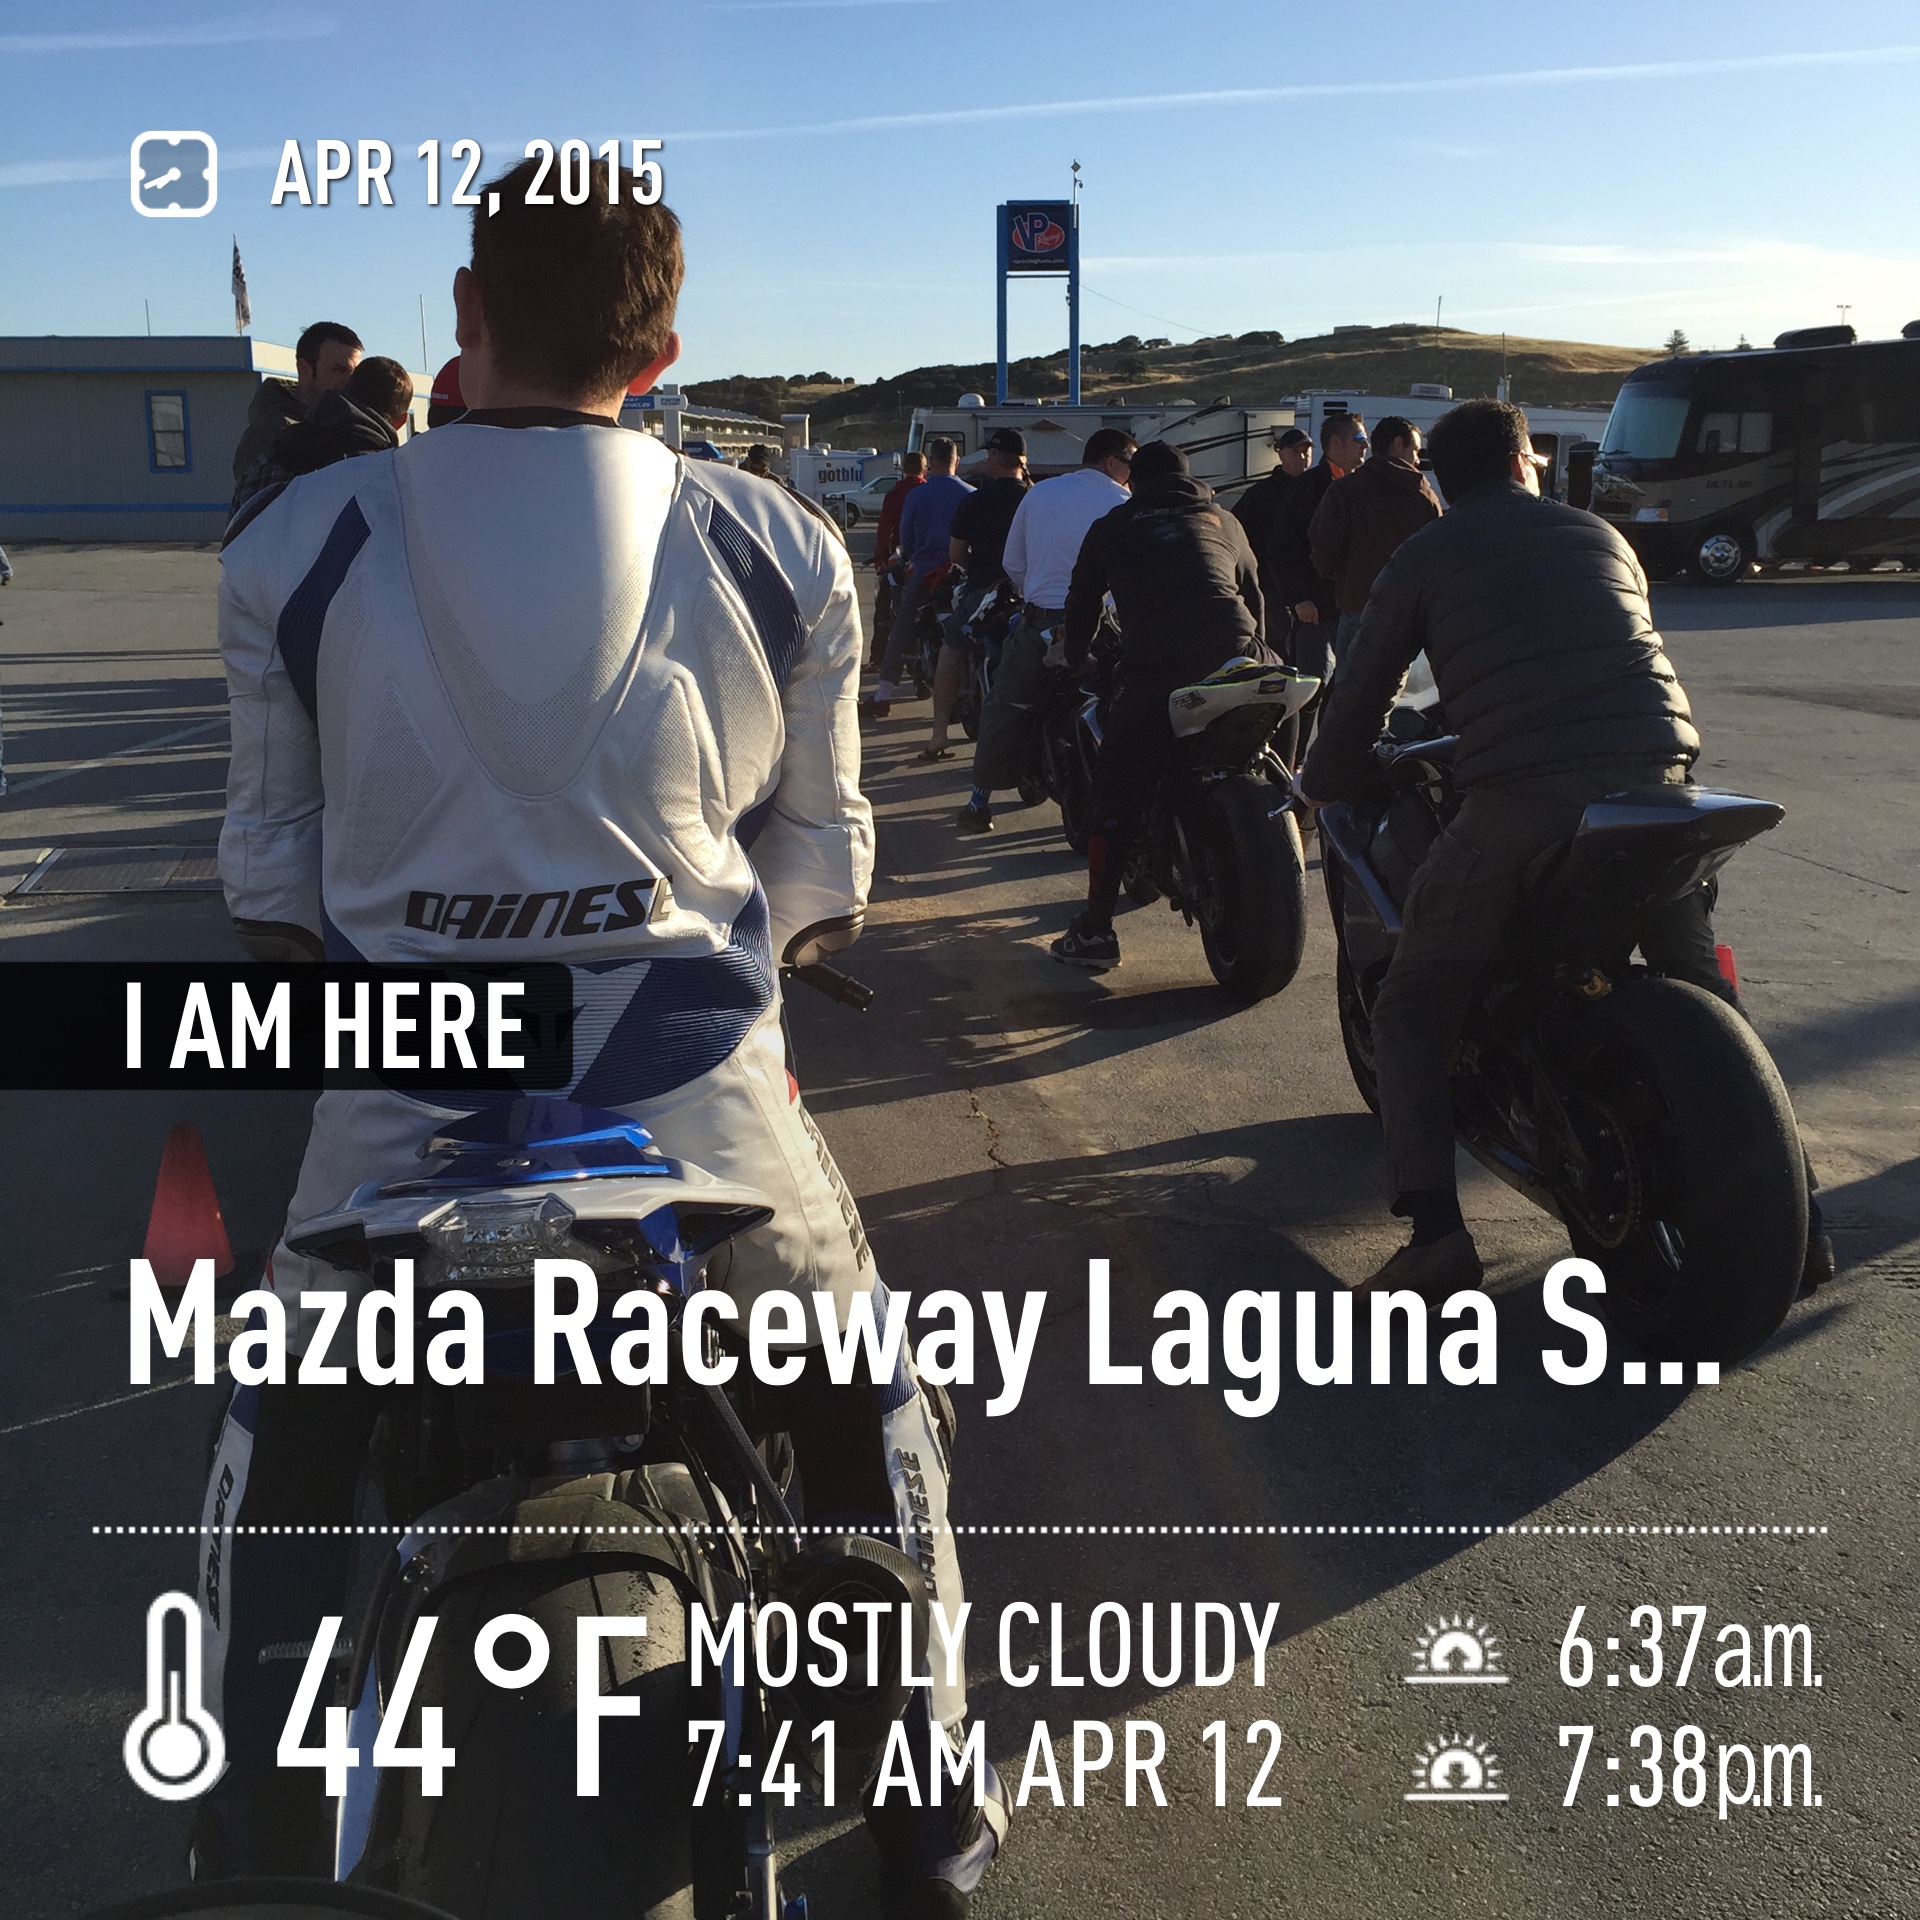
The next morning, it was a short walk to registration and tech inspection. Not sure why the app was showing 44F, it was low 60’s (you might notice people are wearing t-shrts) at 7:45 AM.
Once passed through tech, the generator was fired up so they would properly heat up the tires during the riders meeting, leaving the bike ready to go for the first session.
With the generator and tire warmer setup on loan from CT Racing, it was a great day of riding!
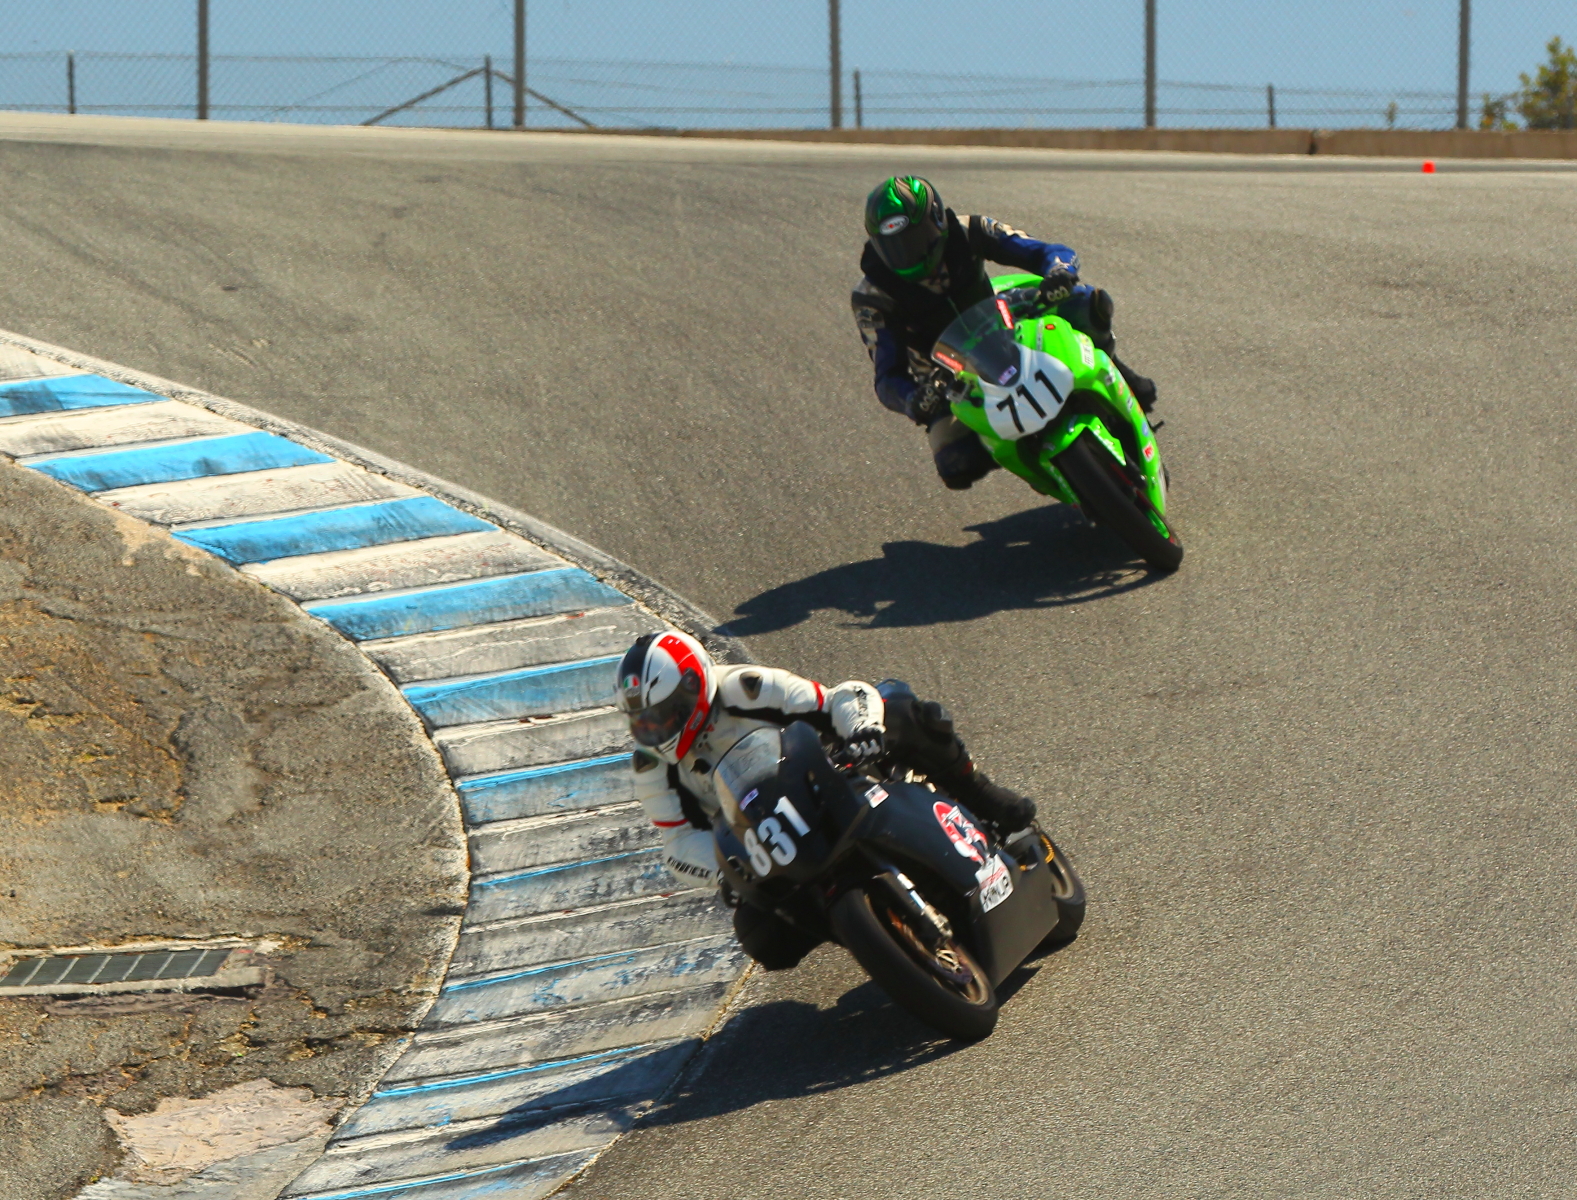
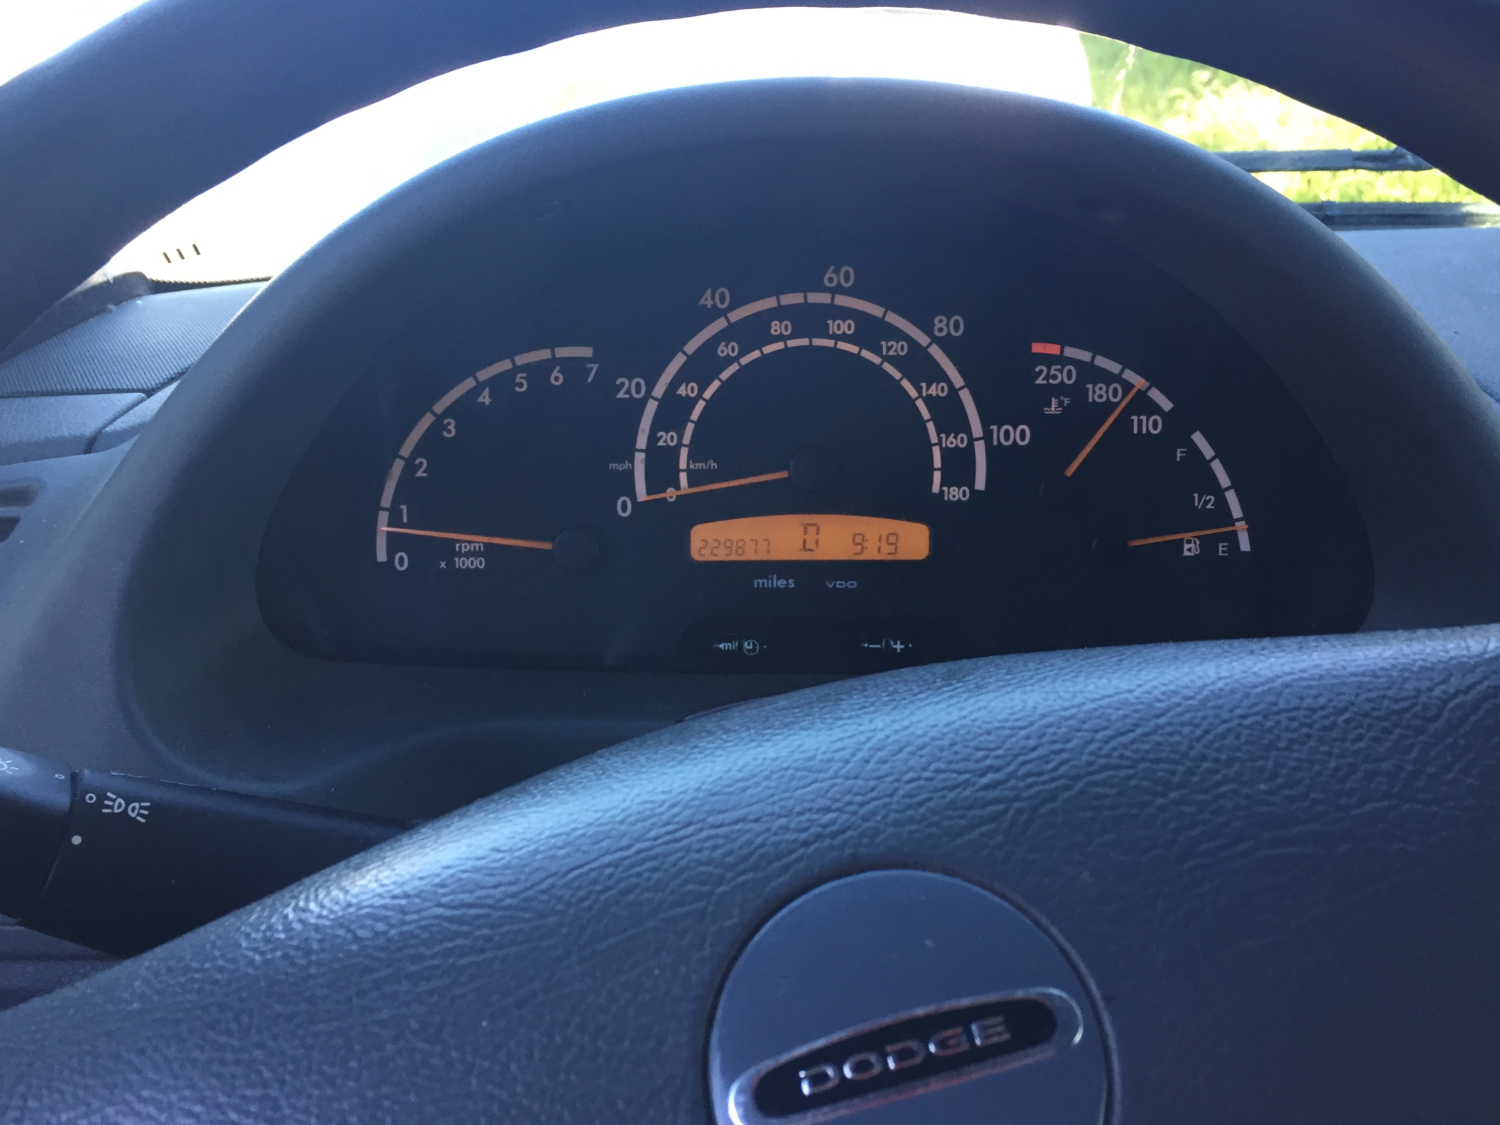
By the last session, I was able to cut 6 seconds off my previous best lap times, clocking a 1:51.34 just before the bike ran out of gas entering turn 2.
A couple of the lessons I took away from this last outing:
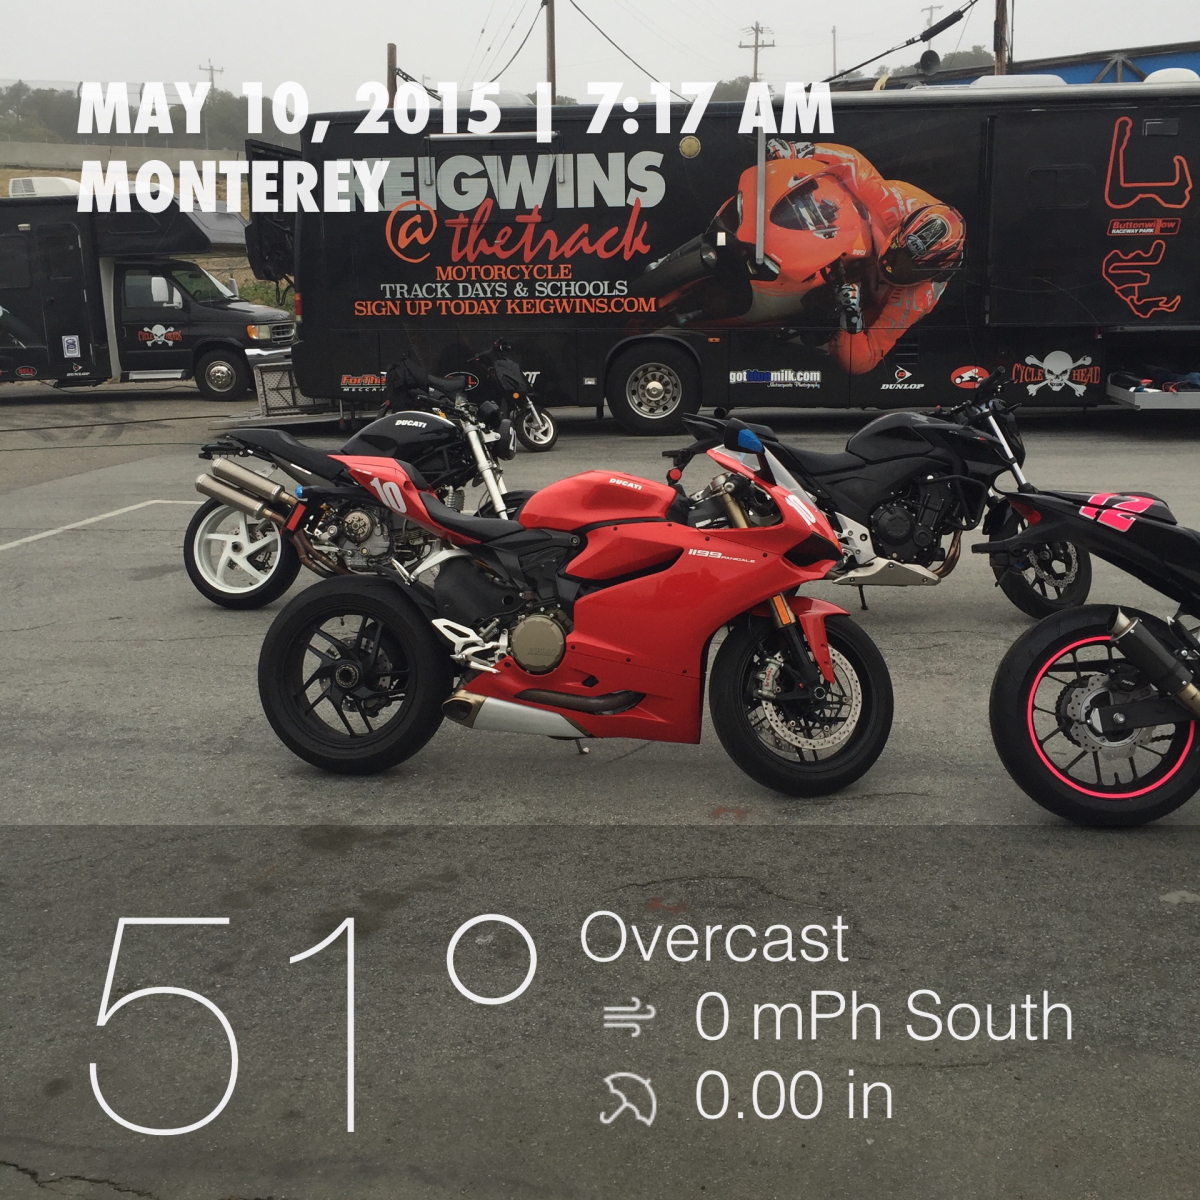
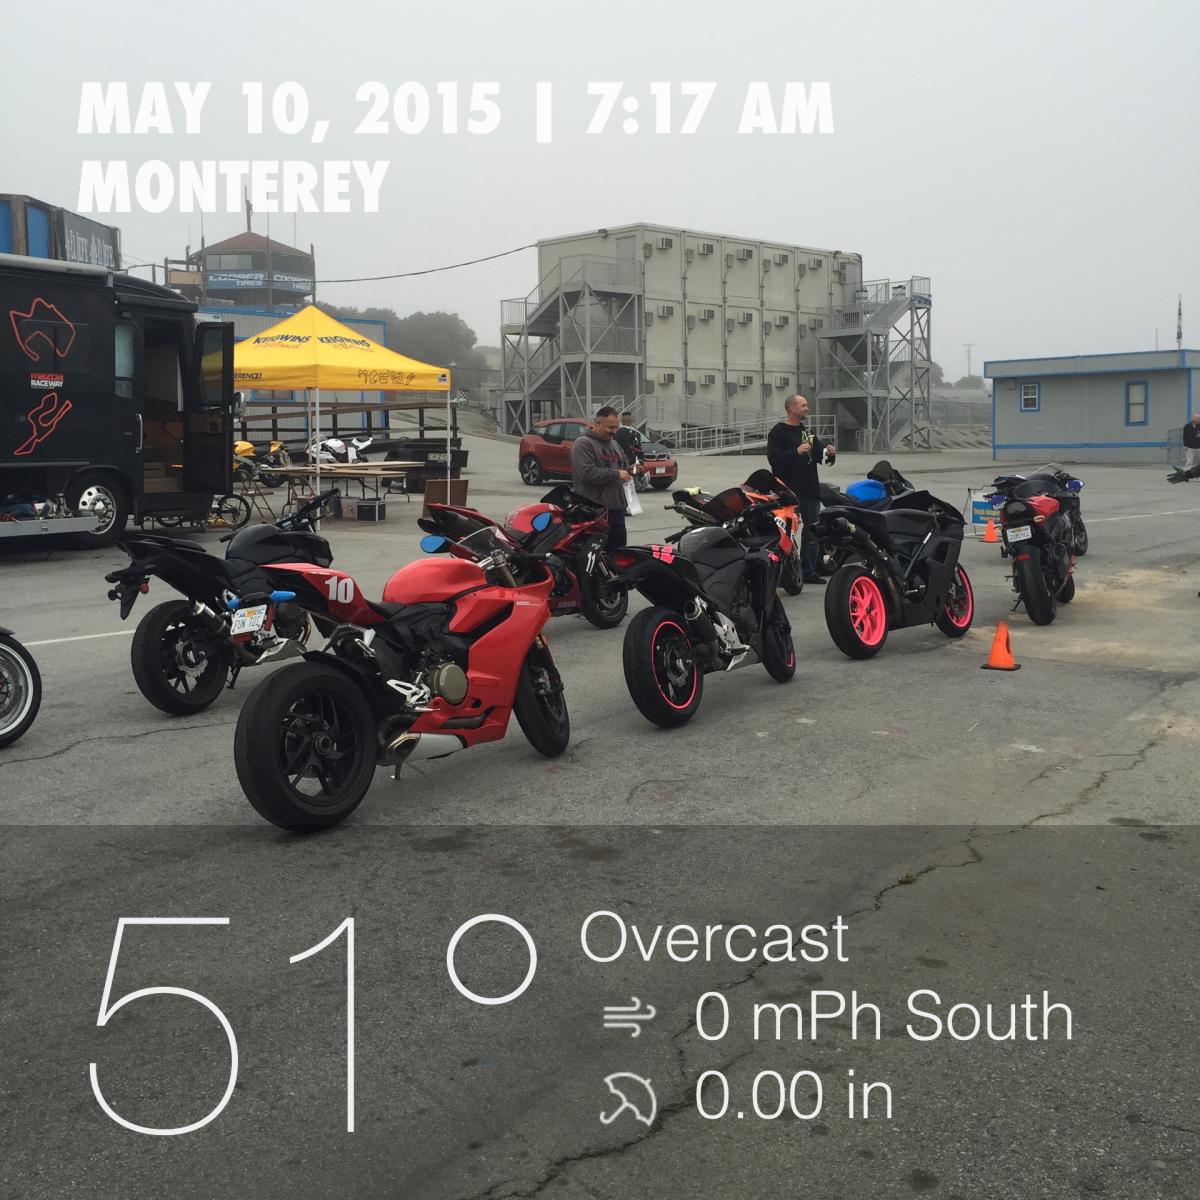
I’ll be doing this all again, May 10th!
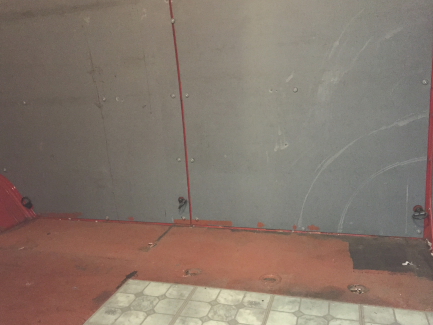
Another day, another pile of pictures. Today was more of a ‘get things done’ day than the rest. Here is how things are looking:
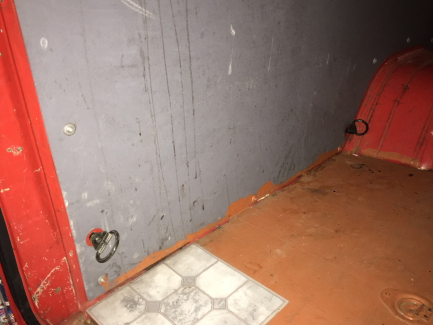
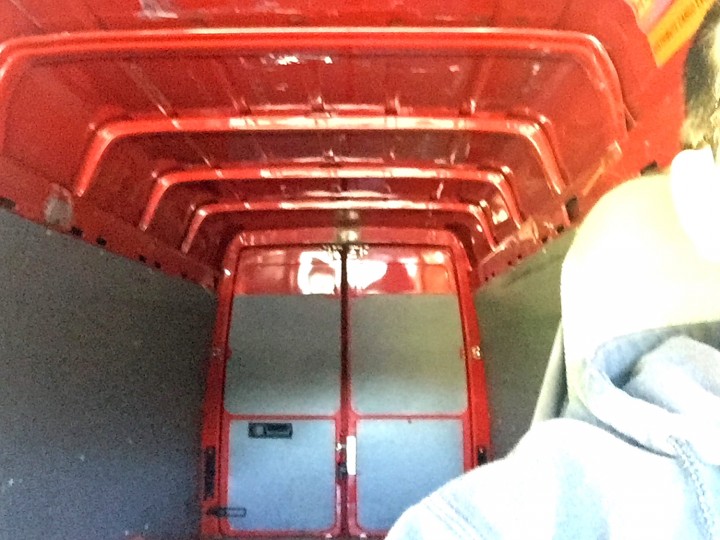
Having already removed the rear 8′ section, to find that the van’s floor already has sound damping material laid out upon it. Awesome! 😀 This means a lot less expense in re-doing the floor, since that won’t have to be done.
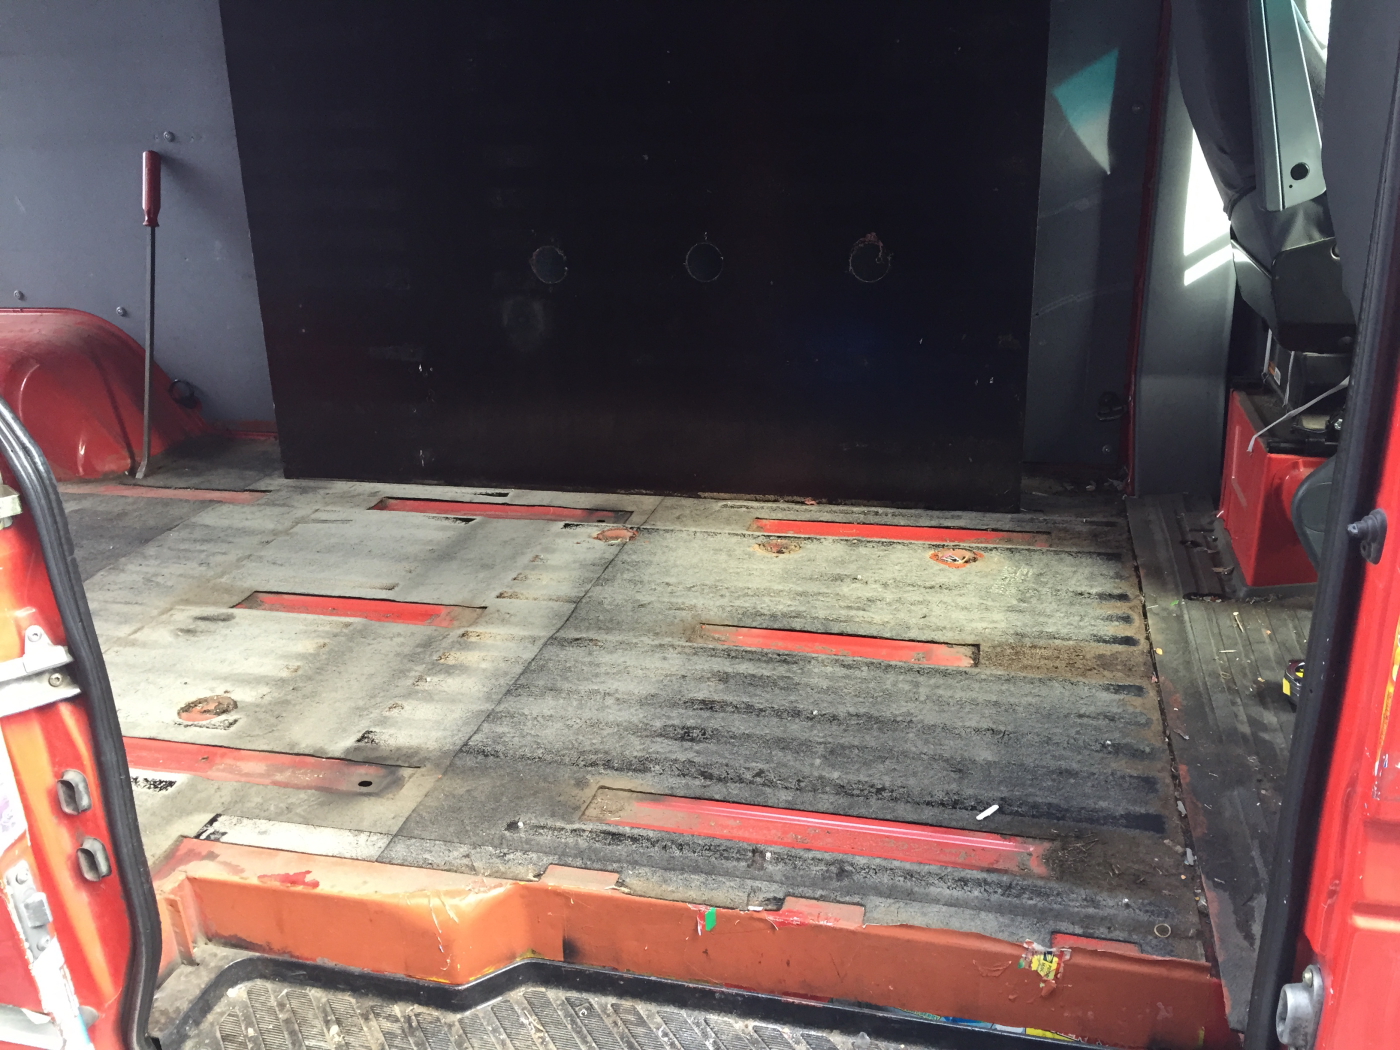
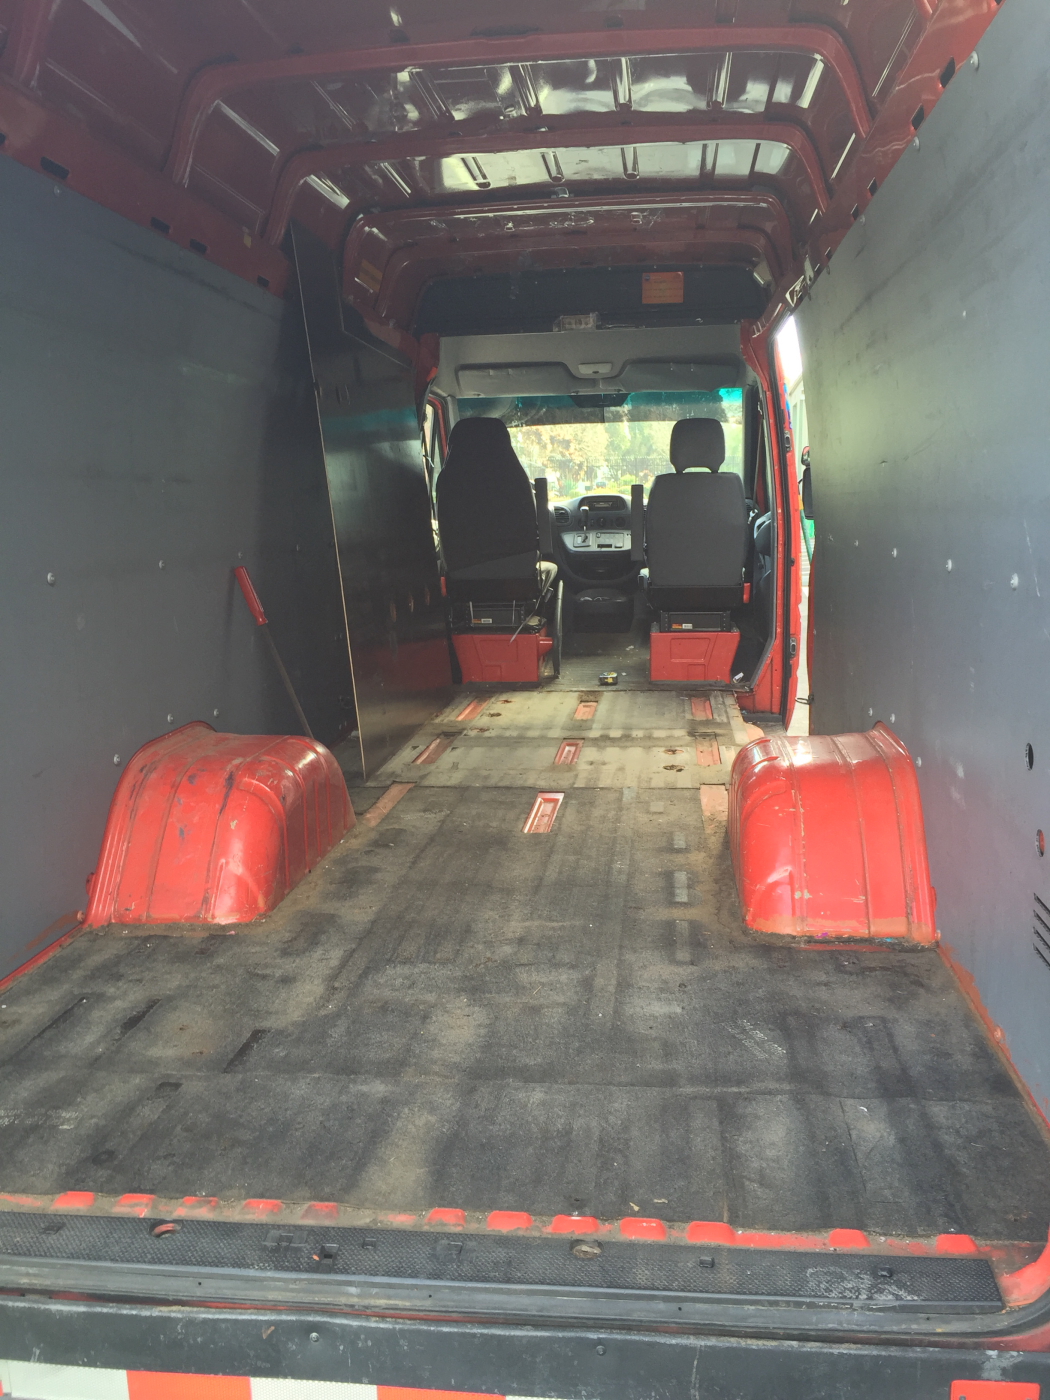
It was quite a mess under the flooring, so some multi-purpose cleaner and brush were put to work cleaning things up.
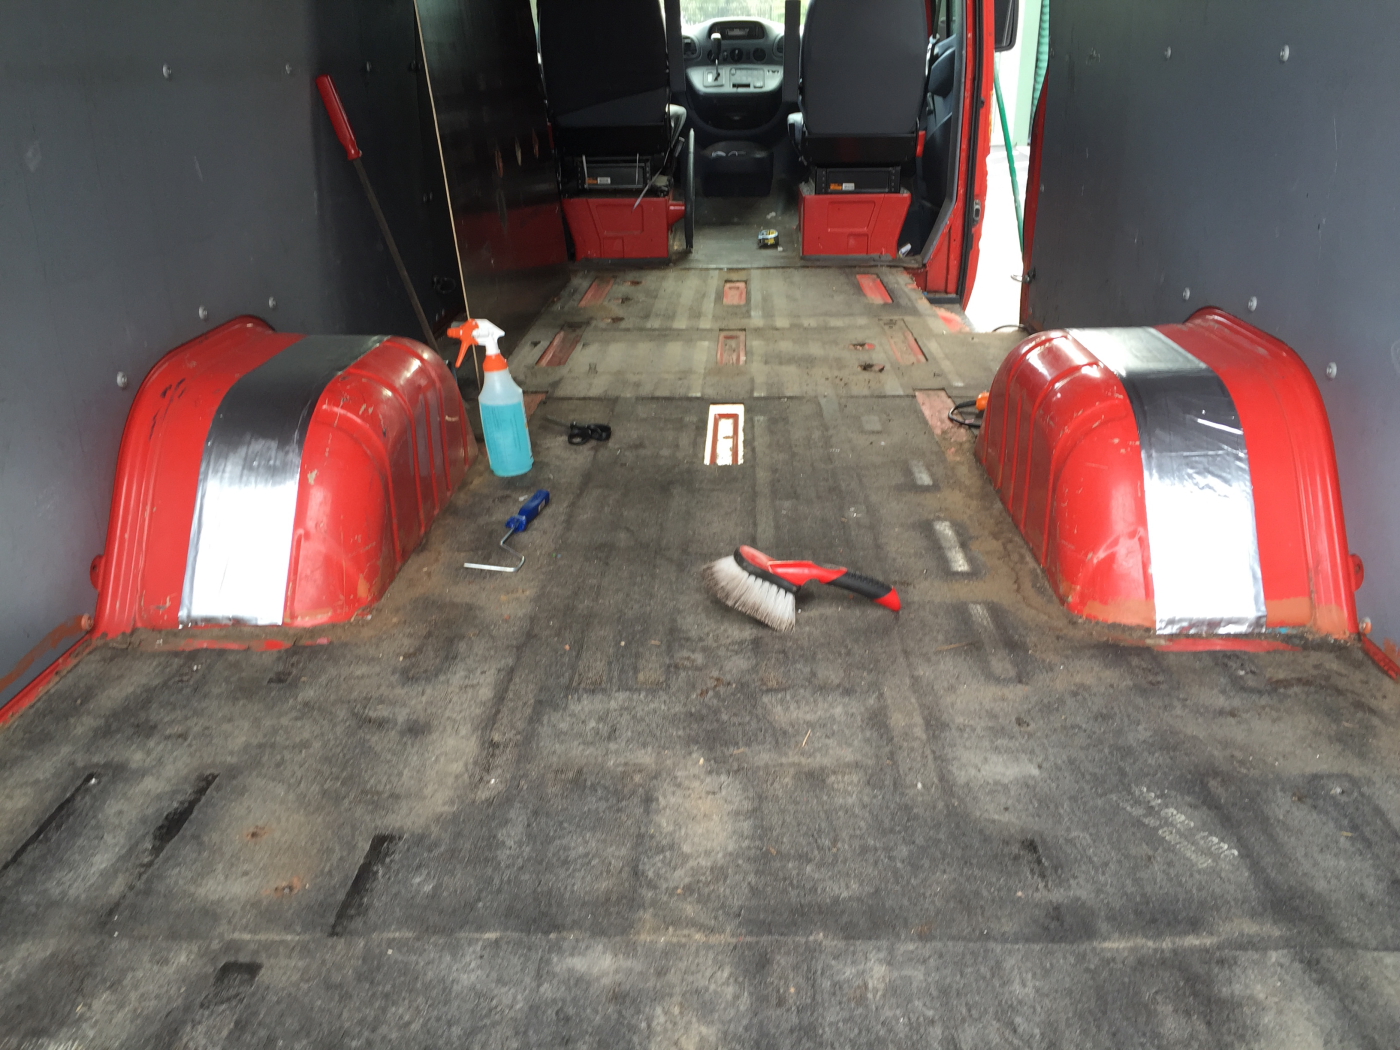
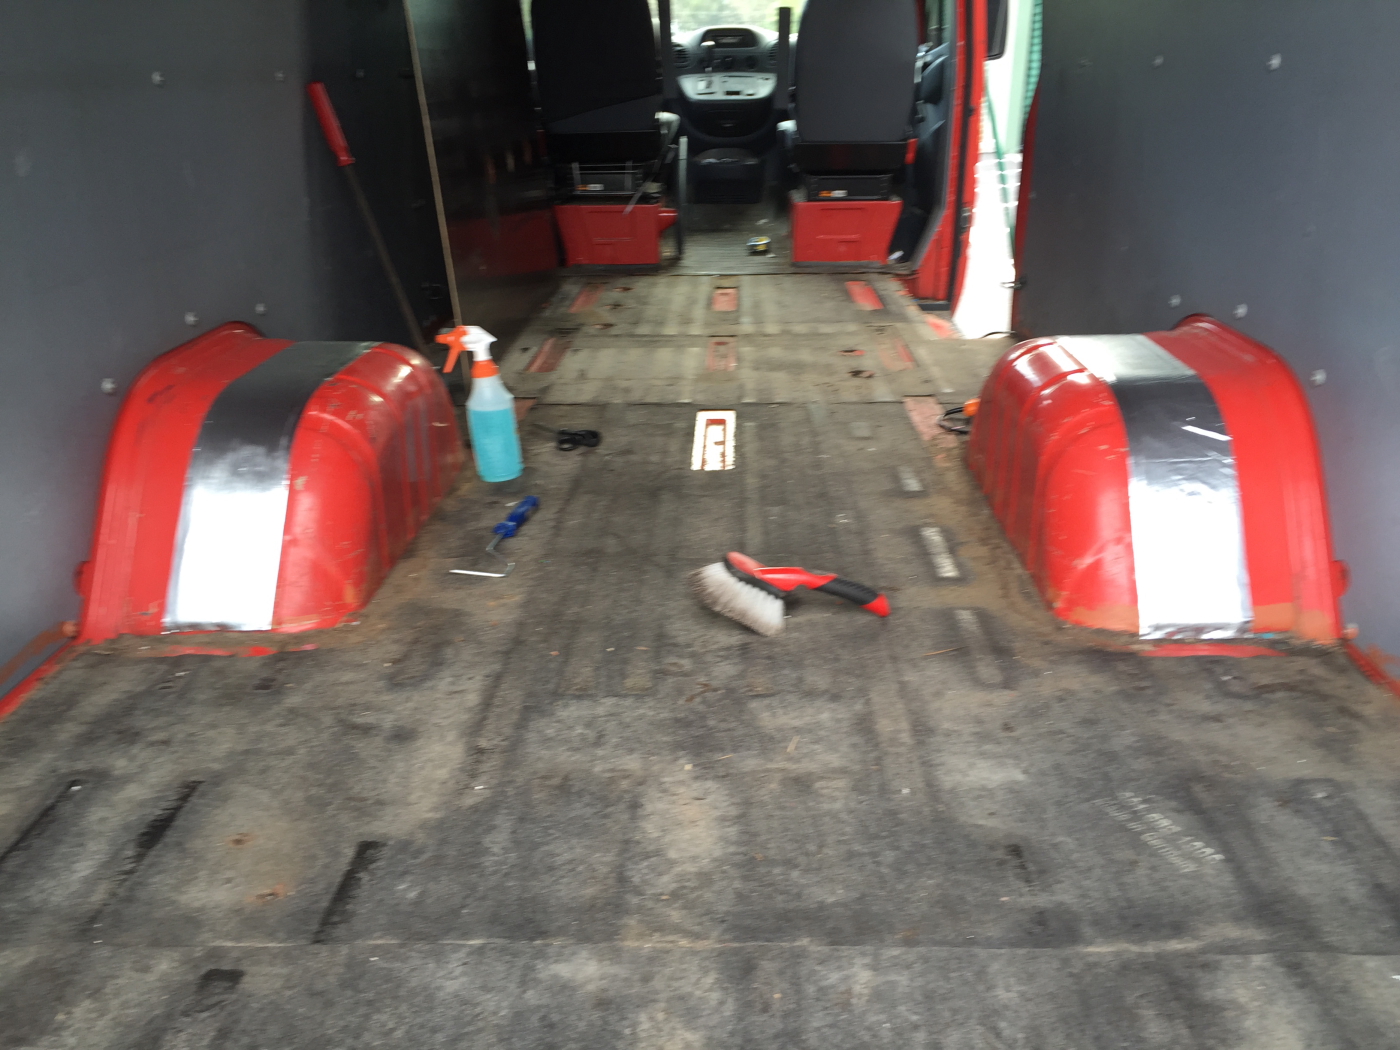
Starting the application of the sound deadening material to the wheel wells. First sections were easy enough, the sides, not so easy though.
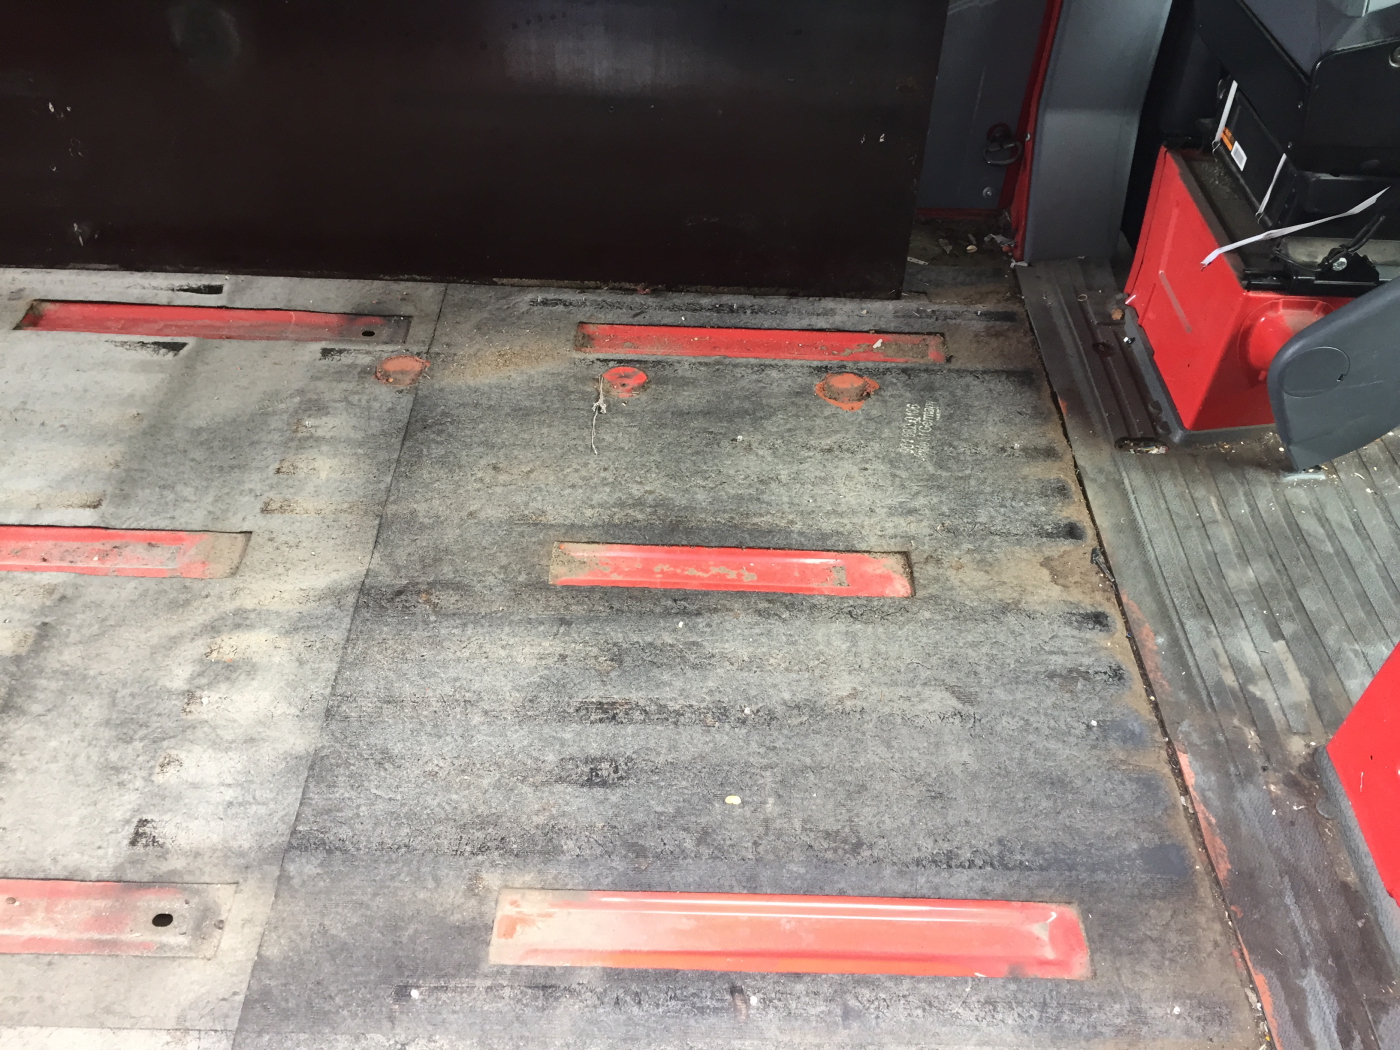
In the following image, you can see the channels where passenger seat brackets would bolt to the floor. A cargo van this is, obviously those parts are not in place. They are on my list of things to do when converting this to my version of a Toy Hauler.
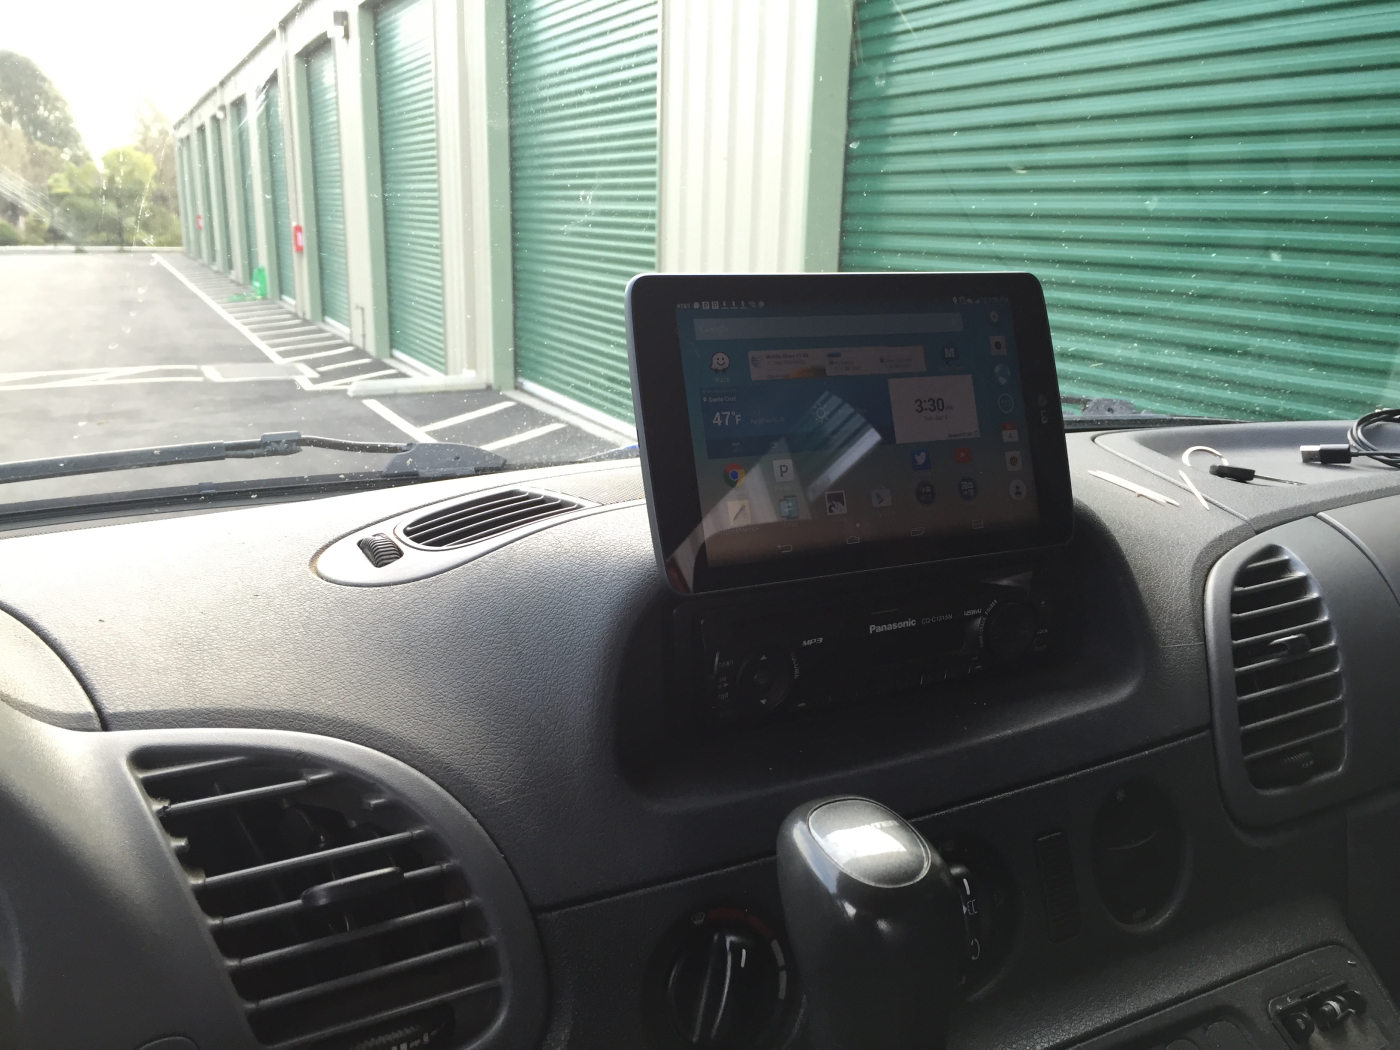
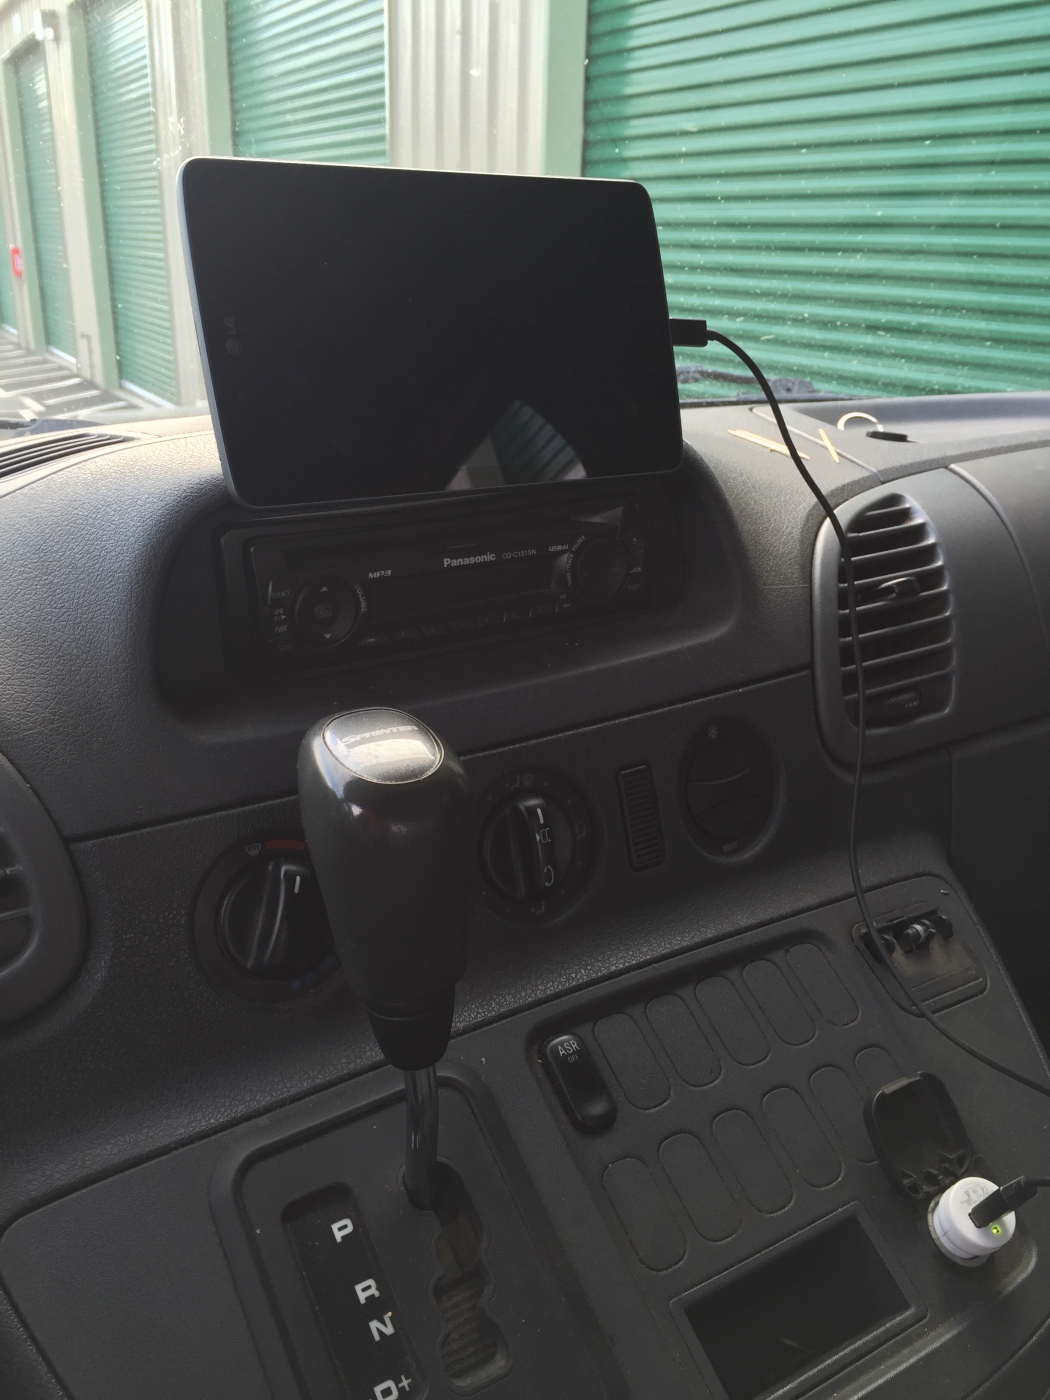
Next up was a mounting system for a navigation solution. I was shown this cool system at a local car audio shop, so I bought 3 (one for each car)!
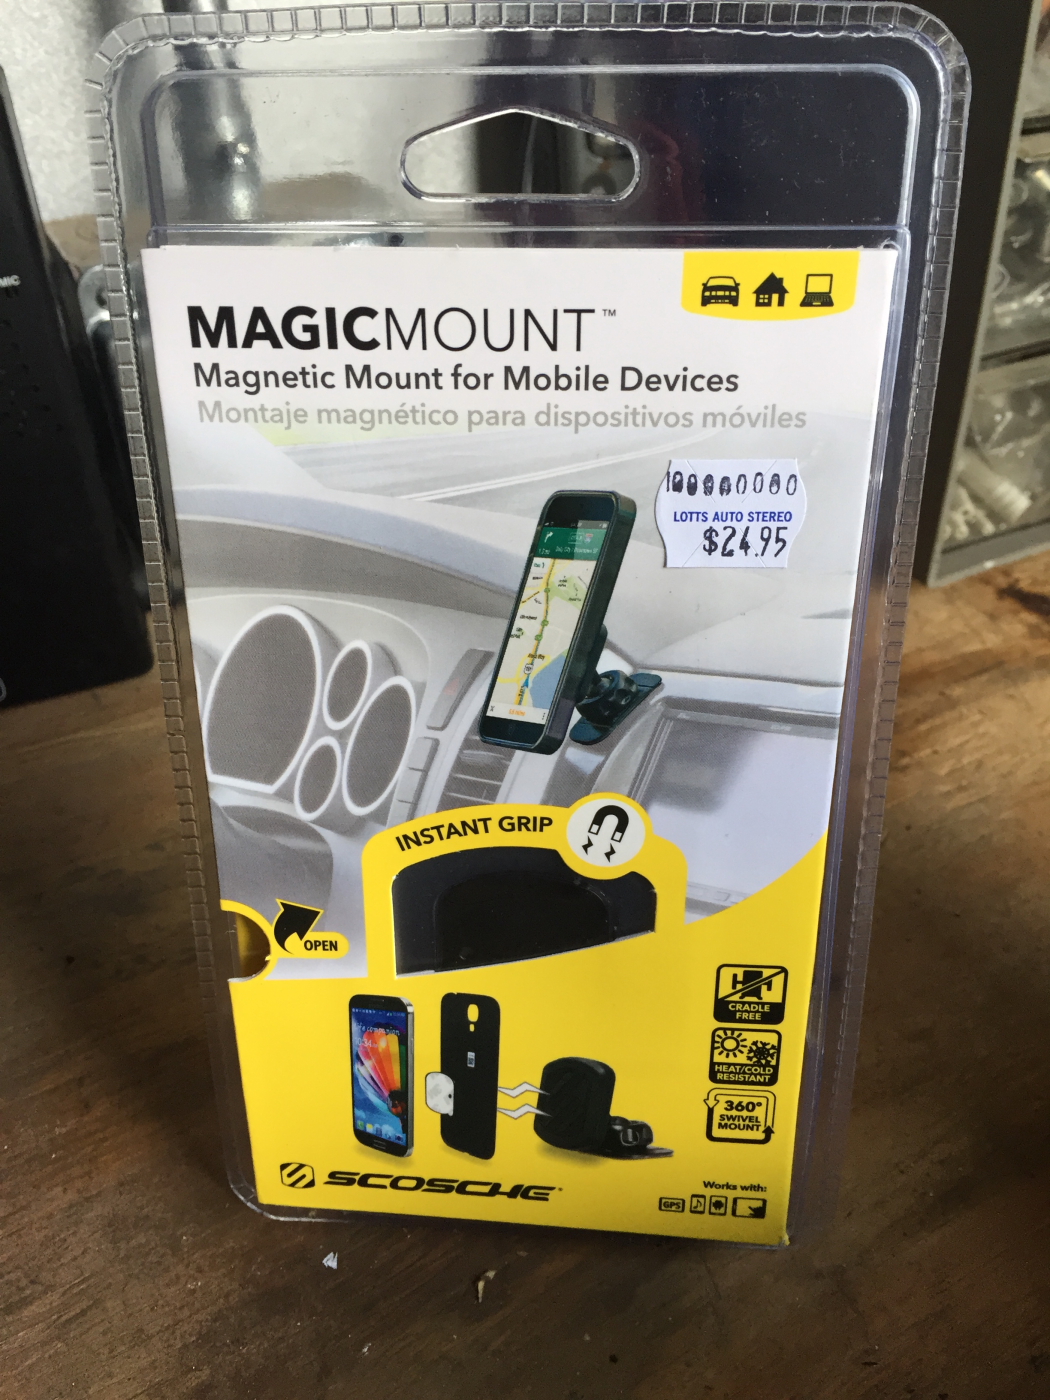
I’m not ready to pony up for dedicated GPS, and I had this Android table with celluare LTE that cost me 99cents… and it was just looking for a good home. Now it will have one.
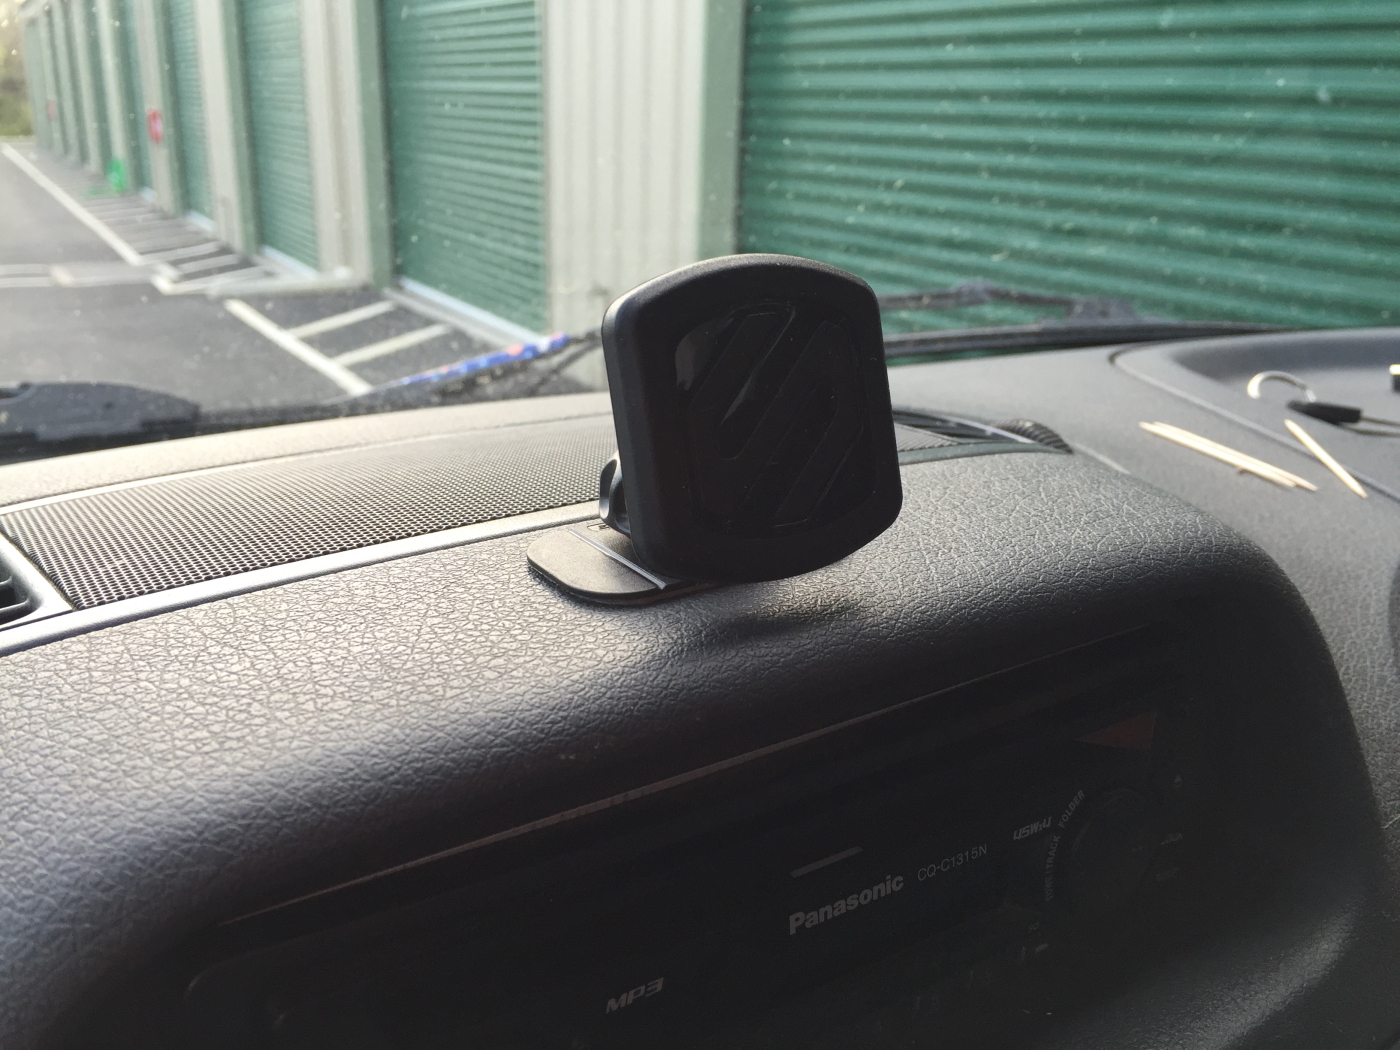
Below is what the mount looks like. Just a magnetic pad with a rubber fact to keep the device from moving around too much.
For now, the Android phablet thingy will be powered from a 12v lighter adapter. When I get a new head unit installed with USB power, this cable will be hard-wired into the dash, or some other more suitable solution. As is, it’s within reach, has power, and is ready to nav!
Adding one of the little steel plates by my iPhone, it too can serve as navigation, audio source, entertainment, whatever need be. This is the coolest product for using mobile devices in a car that I’ve seen yet!
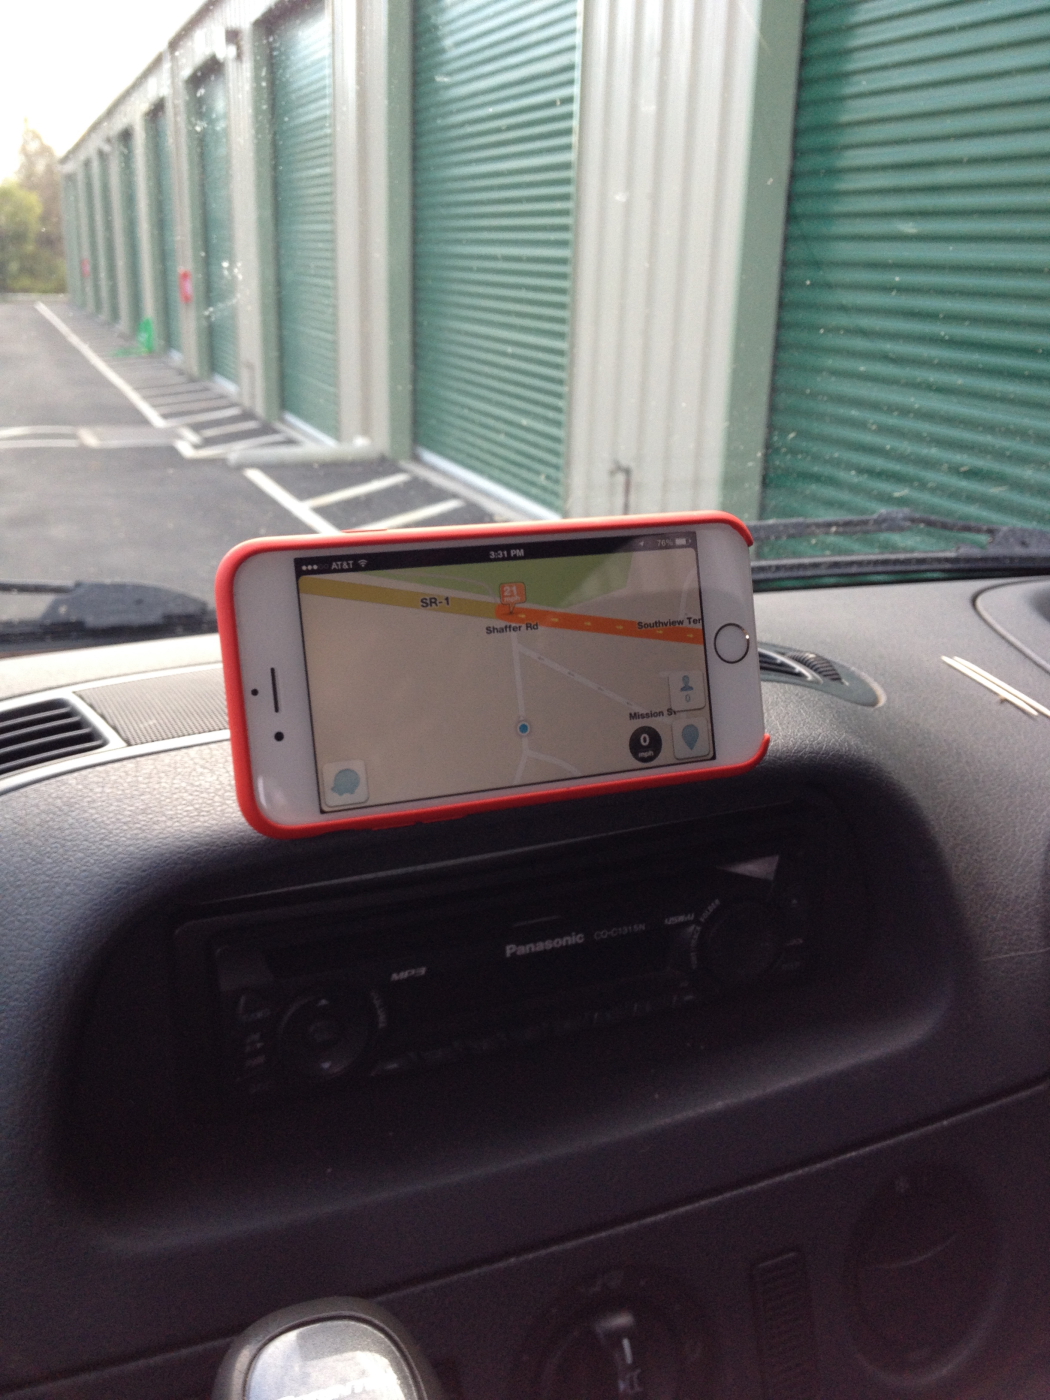
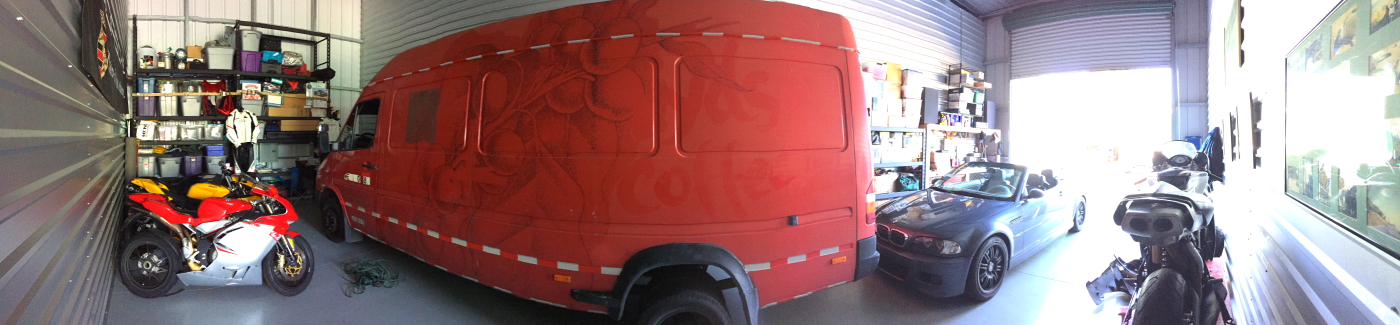
Barely, but it does fit. Now to paraphrase Quinn “You’re going to need a bigger garage.”. It would seem so… or external storage lot (there are a few around).
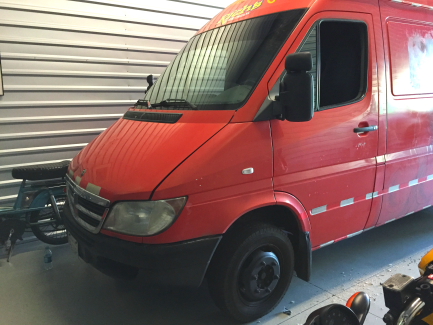
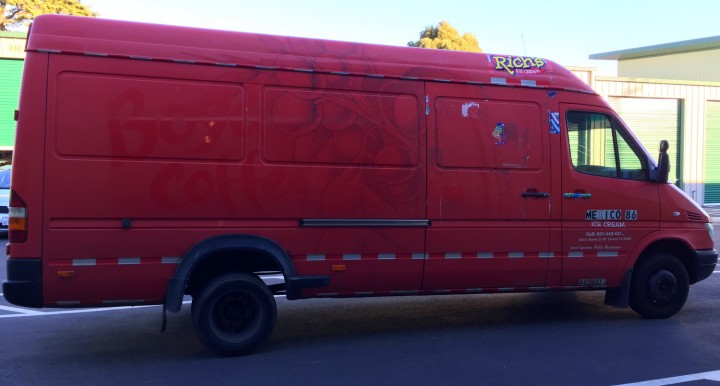
Bought this fancy Magic Eraser thing to try and remove the plethora of hideous graphics on the van. It was $14 at the local auto parts store, I bought both of the ones they had. Sorry, didn’t take a photo of it, yet.
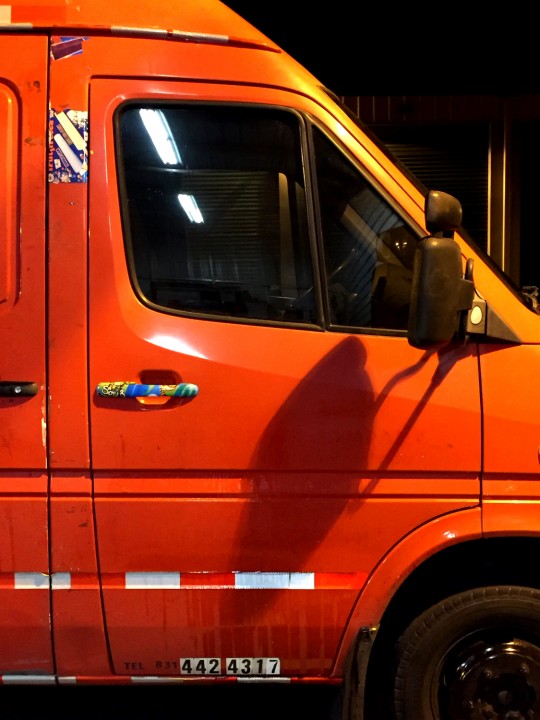
After a few hours of grinding off decals from the driver’s door.. it’s looking just a tiny bit better!
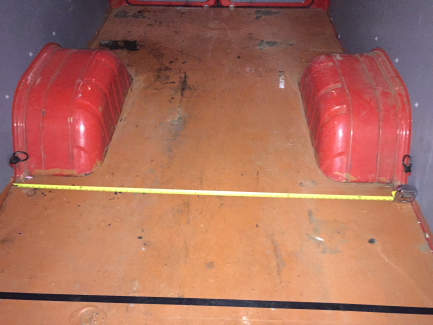
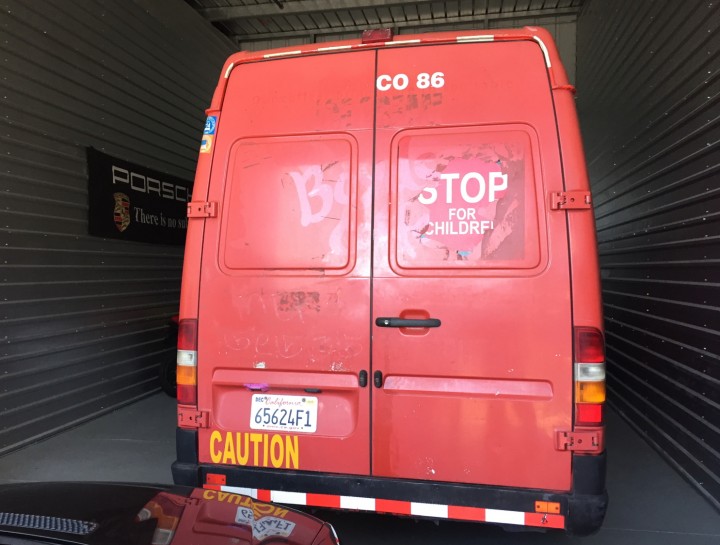
Taking a break from vinyl / decal / sticker removal, I started to measure out the interior of the van for how things are might fit. First was measuring off the back doors to see how far the track bikes will intrude into the cargo area (7′ 6″ minimum). The black line is where it will likely end.
Van has a cargo floor with several anchor points. Good for hauling gear, bad for adding a 2nd seat row as I’m currently planning.

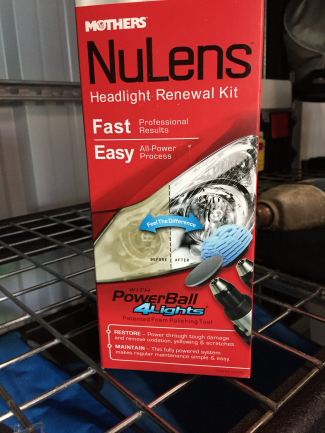
With a lot of 10 year old halogen lighted vehicles, the plastic lenses age, yellow and during into little more than a diffuser. Not good for night time driving. A kit was “On Sale” at a chain auto parts store (I later saw it for the exact same product at another locally owned parts store for the same daily price).
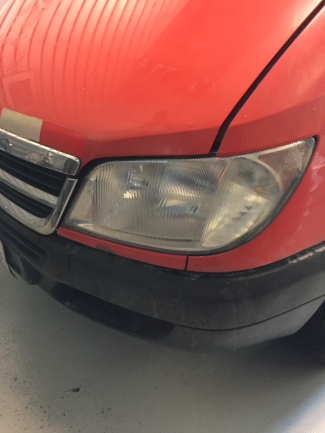
About an hour of sanding on both lights and polishing netted a decent result. I think I need to spend more time working on these lights, it’s still not a like-new effect.

Much more work to be done to bring this thing back to a more presentable condition.
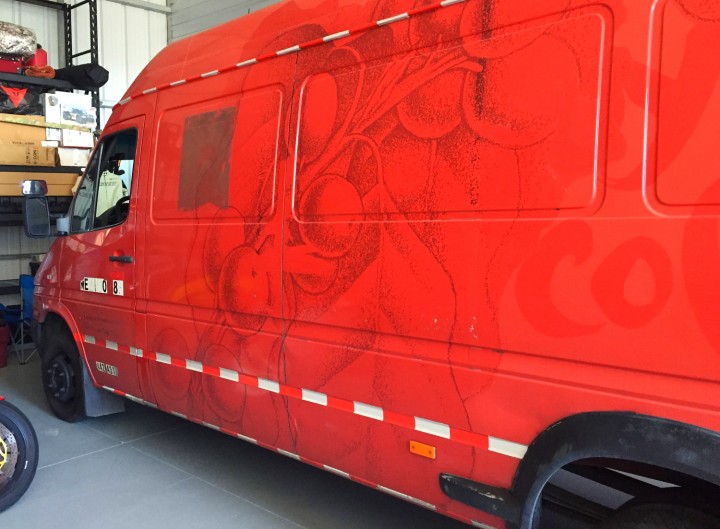
It’s January 1, 2015. Not only is it a new day, and a new year, but a new project.
It’s Project Track Truck. Prepping for the next season of track days begins now, with the end of a 3 month search for the desired track vehicle. After much deliberation, waffling, searching (including writing software to find these elusive beasts at less than insane prices), missing out deals…. I finally (think) I have it.
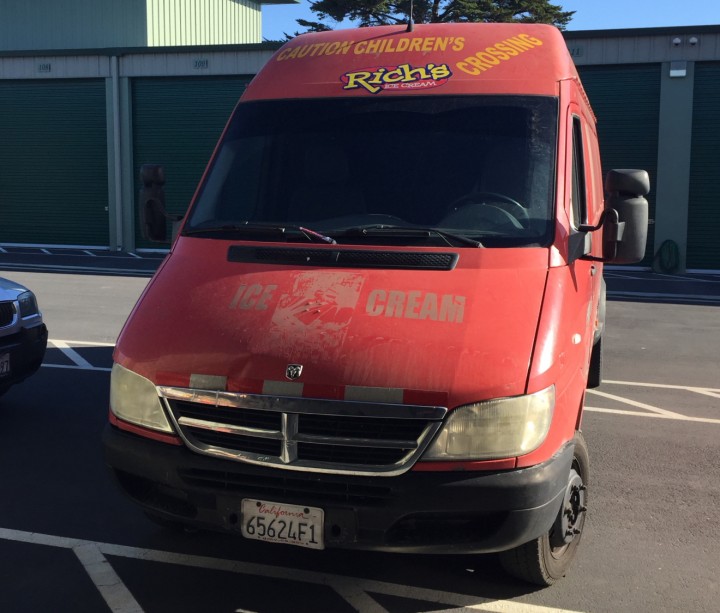
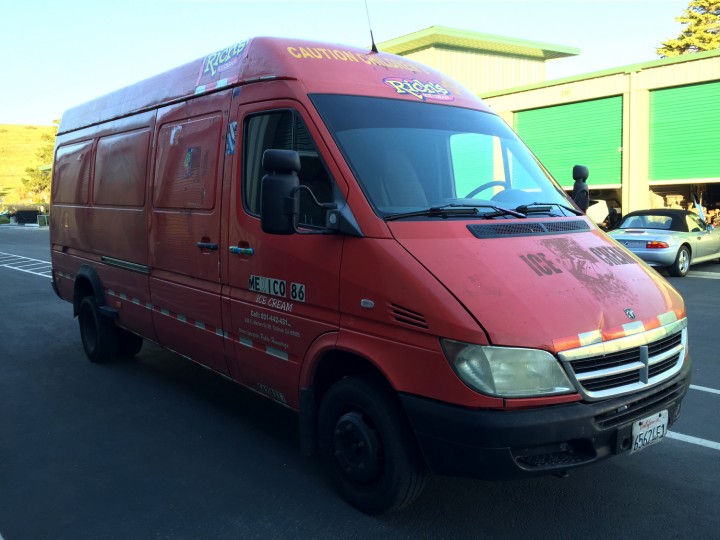
A 2004 Dodge Sprinter 3500 Long WB, High Roof, Extended Box. Yeap, it’s as big as big and heavy duty as they came in 2004.
With a GVW Rating of 9990 lb., this is just a couple of happy meals shy of a commercial vehicle. Powered by a 154 HP, 5-cylinder diesel engine (yes, it’s forced induction by way of turbocharger). It’s no sports car, and it’s also not very pretty. In fact, I believe the first words out of the Mrs. mouth were: “Holy crap, that thing is ugly. Have you lost your mind?”
Perhaps… but it’s my mind to lose (I think), and this is how I plan to do it.
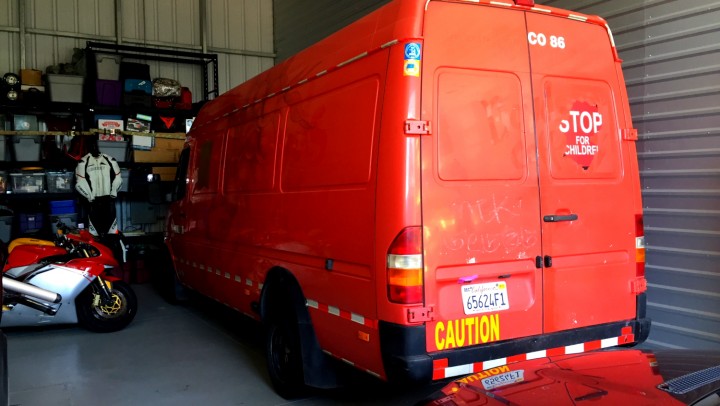
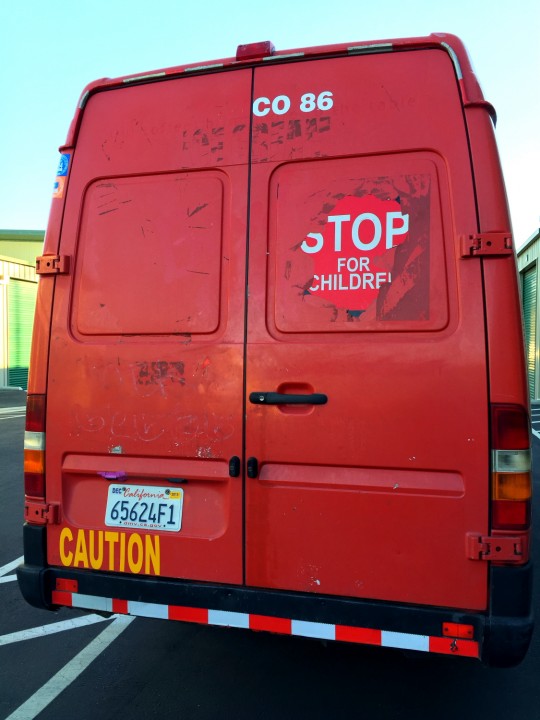

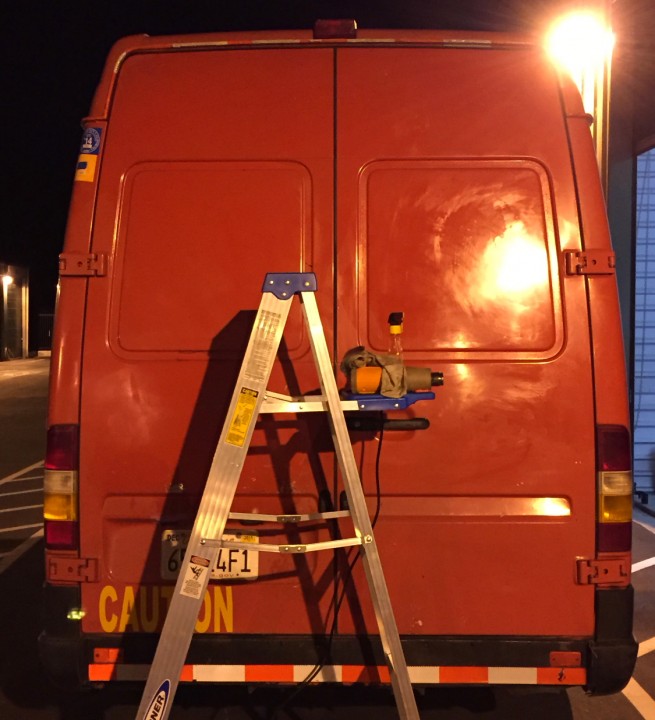
Later in the day, I assembled a crack cleaning crew, consisting of myself and my 12 y.o. son. We embarked upon a clean-up effort to remove the gruesome letting from the van.
After nearly 4 hours of labor, a trip to the hardware store, and some failed ideas.. we were able to mostly clean up the passenger door and the two rear doors.
It might not seem like much, but it was some progress, and even though I might still shudder when visible in daylight, for now, at the moment, at night… with poor lighting.. it almost looks OK.
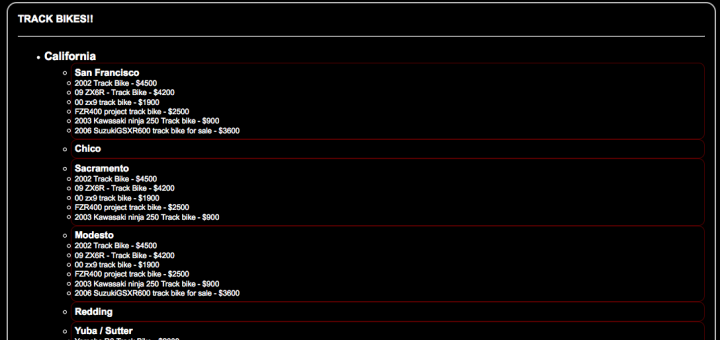
While watching the sky fall here on the California Coast, I decided to hack together a fun little toy for scouring some of the local Craigs List sites for things; such as Track Bikes. 🙂
Using a multi-dimetional array of States, with sub-regions, hostnames were collected recorded. It looks something like this:
/*  Craigs List Stores */
$CLStores = array(
	'California' => array(
		'San Francisco' => 'http://sfbay.craigslist.org',
		'Chico' => 'http://chico.craigslist.org',
		'Sacramento' => 'http://sacramento.craigslist.org',
...
		),
	'Nevada' => array(
		'Reno' => 'http://reno.craigslist.org',
		'Elko' => 'http://elko.craigslist.org',
...
		),
...
This list is iterated upon, with each entry being passed to and AJAX worker bot. When the bot completed the page grab and parsing, the data is returned to the main document, and dynamically inserted.
foreach($CLStores as $state => $center){
        printf('
%s ',$state); ... printf('
- ',$url,$state,$name,$id); ...
%sLoading...
This is all pretty basic stuff, but automation of searches is a specialty of mine, and it’s kept me gainfully employed with many contracts over the last 15 years.
Here is THE TRACK BIKE SEARCH LINK
Final results look like this: