Upon arriving in Texas, one of the first things I had to get used to was the difference in highway design philosophy compared to other states I’ve driven in. Personally, I think it’s a brilliant idea. It even works in the city cores, which is where I clipped this short video from yesterday.
Part of that design, is ability to implement these easy turn-around lanes, and I use these all daily. I like the way the turnarounds (generally, there are a few that do) do not require traffic controls, which improves the overall flow of traffic. Typically, if I needed to change direction on a freeway, you’d have to exit, wait for the right of way to make 2 left turns, and then re-enter the freeway.
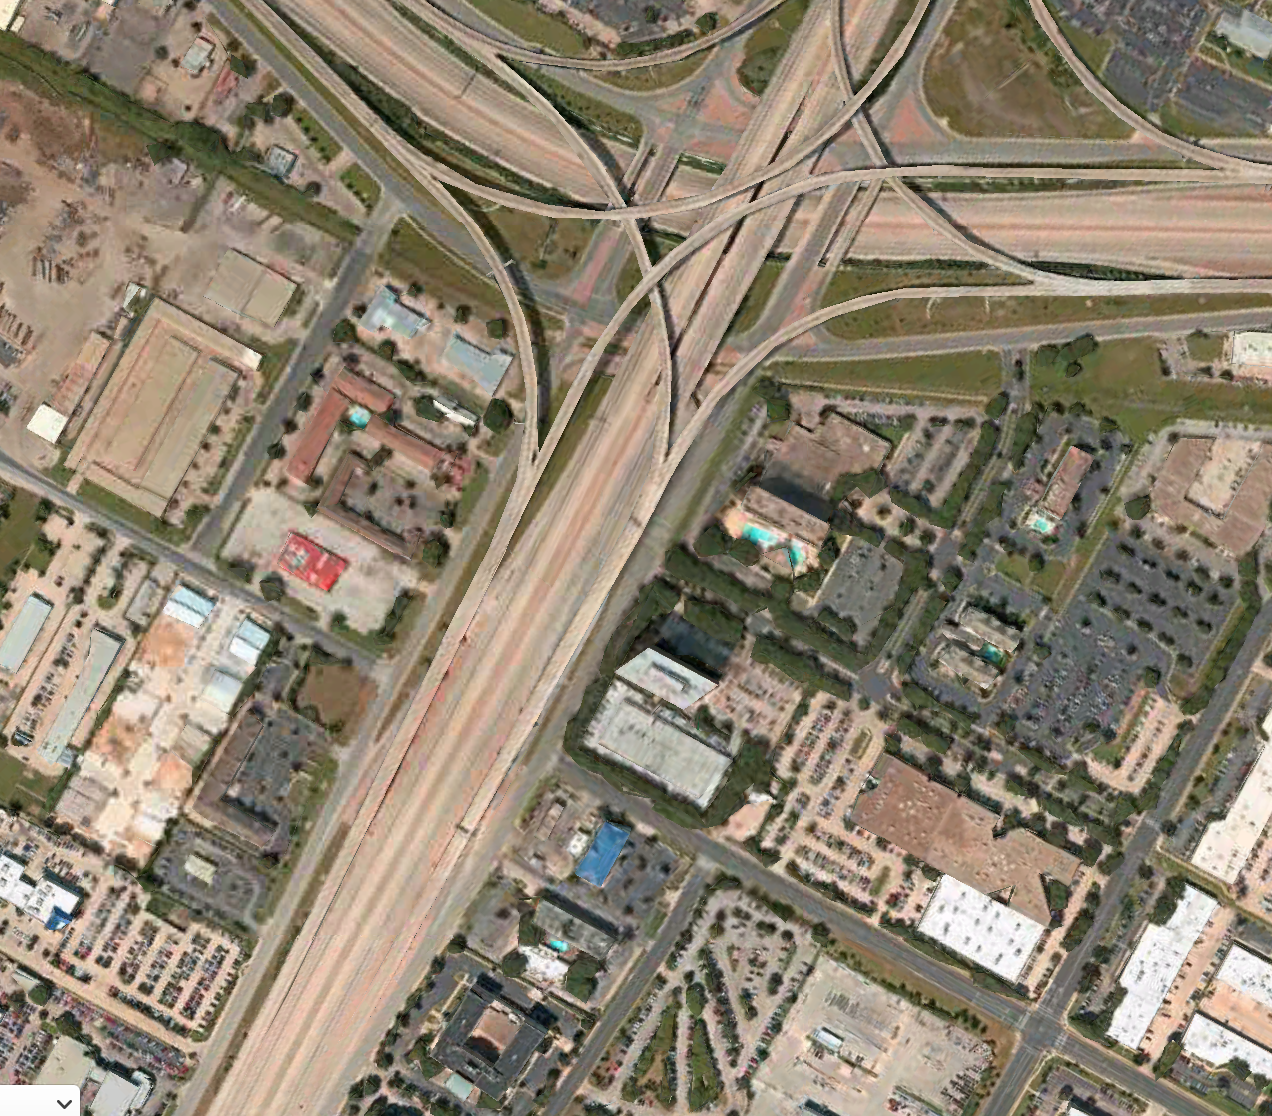
You might be able to see, in this street map, there is a loopback lane that connects the opposing directions of the frontage roads.
These little turn-arounds are dedicated lanes that let you zip under (and sometimes over) the main roadway to return the other direction, either on the frontage road or the main road via a separate onramp. This is what the sat view of this intersection looks like:
Trying to catch up to the year 2010, I’ve finally installed a purpose made dash cam, as opposed to my temporary GoPro installs (which were disappointing at best) of the years past.
After a few days of testing, I feel that the installation location is good, and the amount of dashboard reflections I’m seeing have been minimized to the maximum extent I can.
To date I have clipped a hand full of videos, looking at hte day and nighttime performance. I plan a more informational post in the next week, but for now, his is a short example I shot while getting gas at a local Buc-ee’s station here in Texas.
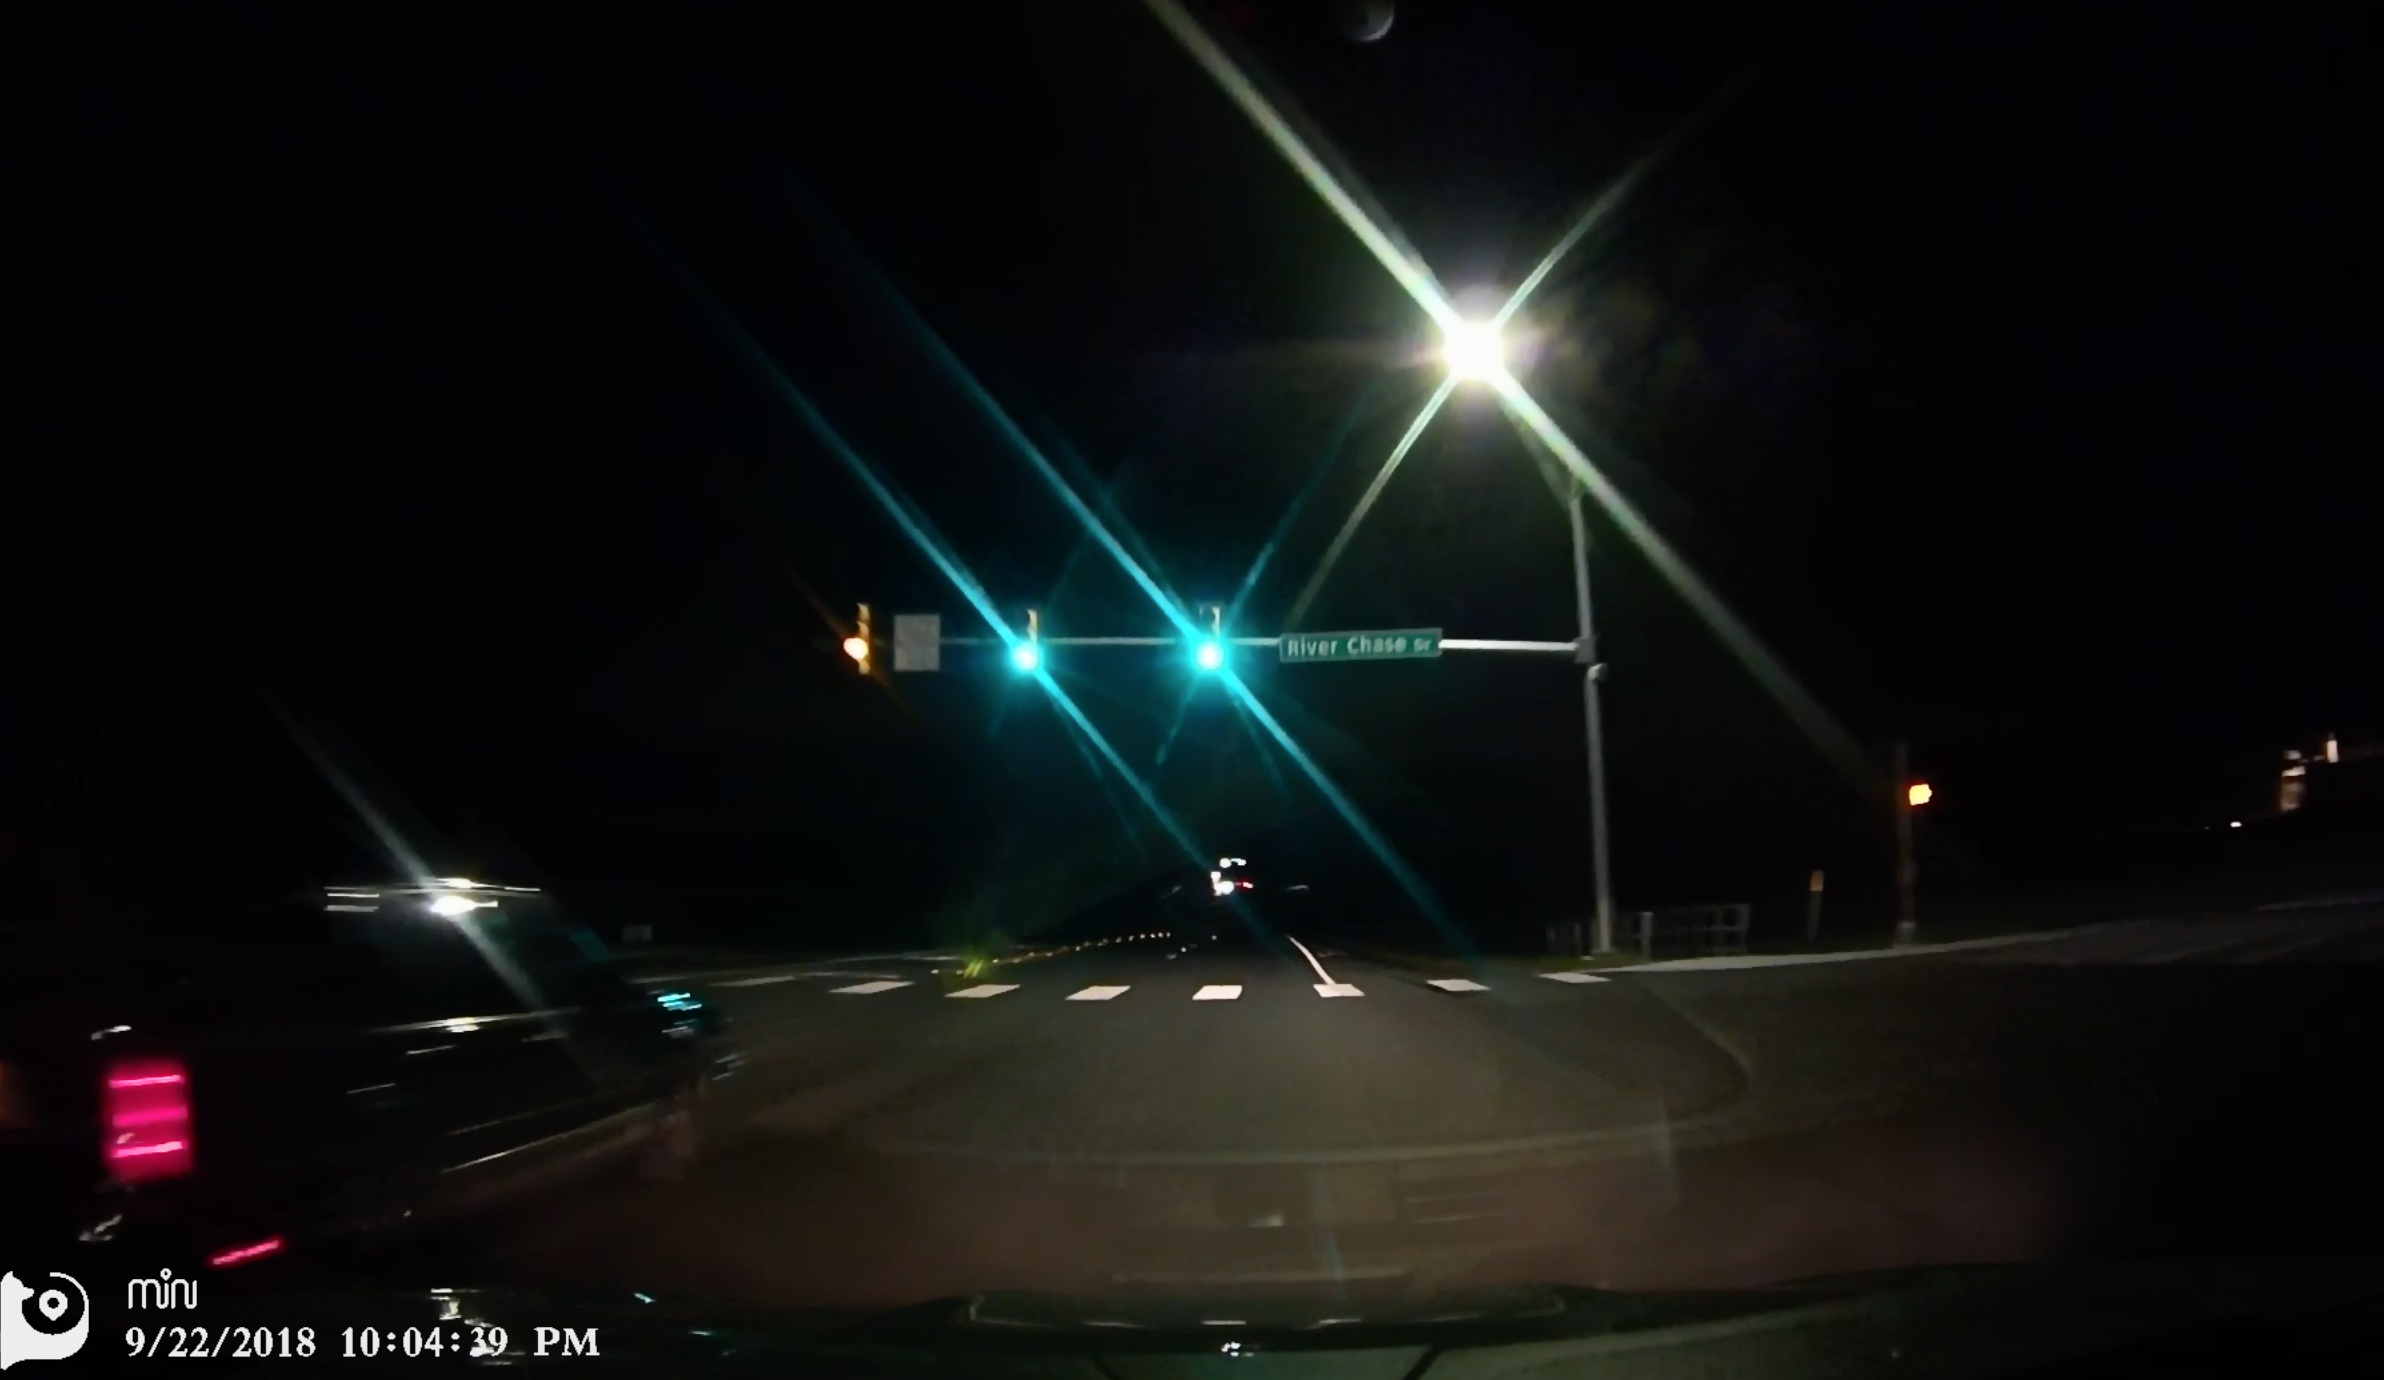
Here is a snapshot for a night time clip. There may be settings I can adjust on the camera to improve night capture. It works OK, but unless headlights are on, it’s able to resolve almost nothing.
A few days ago, I posted the first test video shot using 30 second exposures with a GoPro3 camera, located at our home in the Santa Cruz Mountains.
For my next test series I set the GoPro3 Camera, to fire the photos at 10 second intervals. The number of photos captured before the battery expired was almost 1100, netting a much longer and smoother looking video.
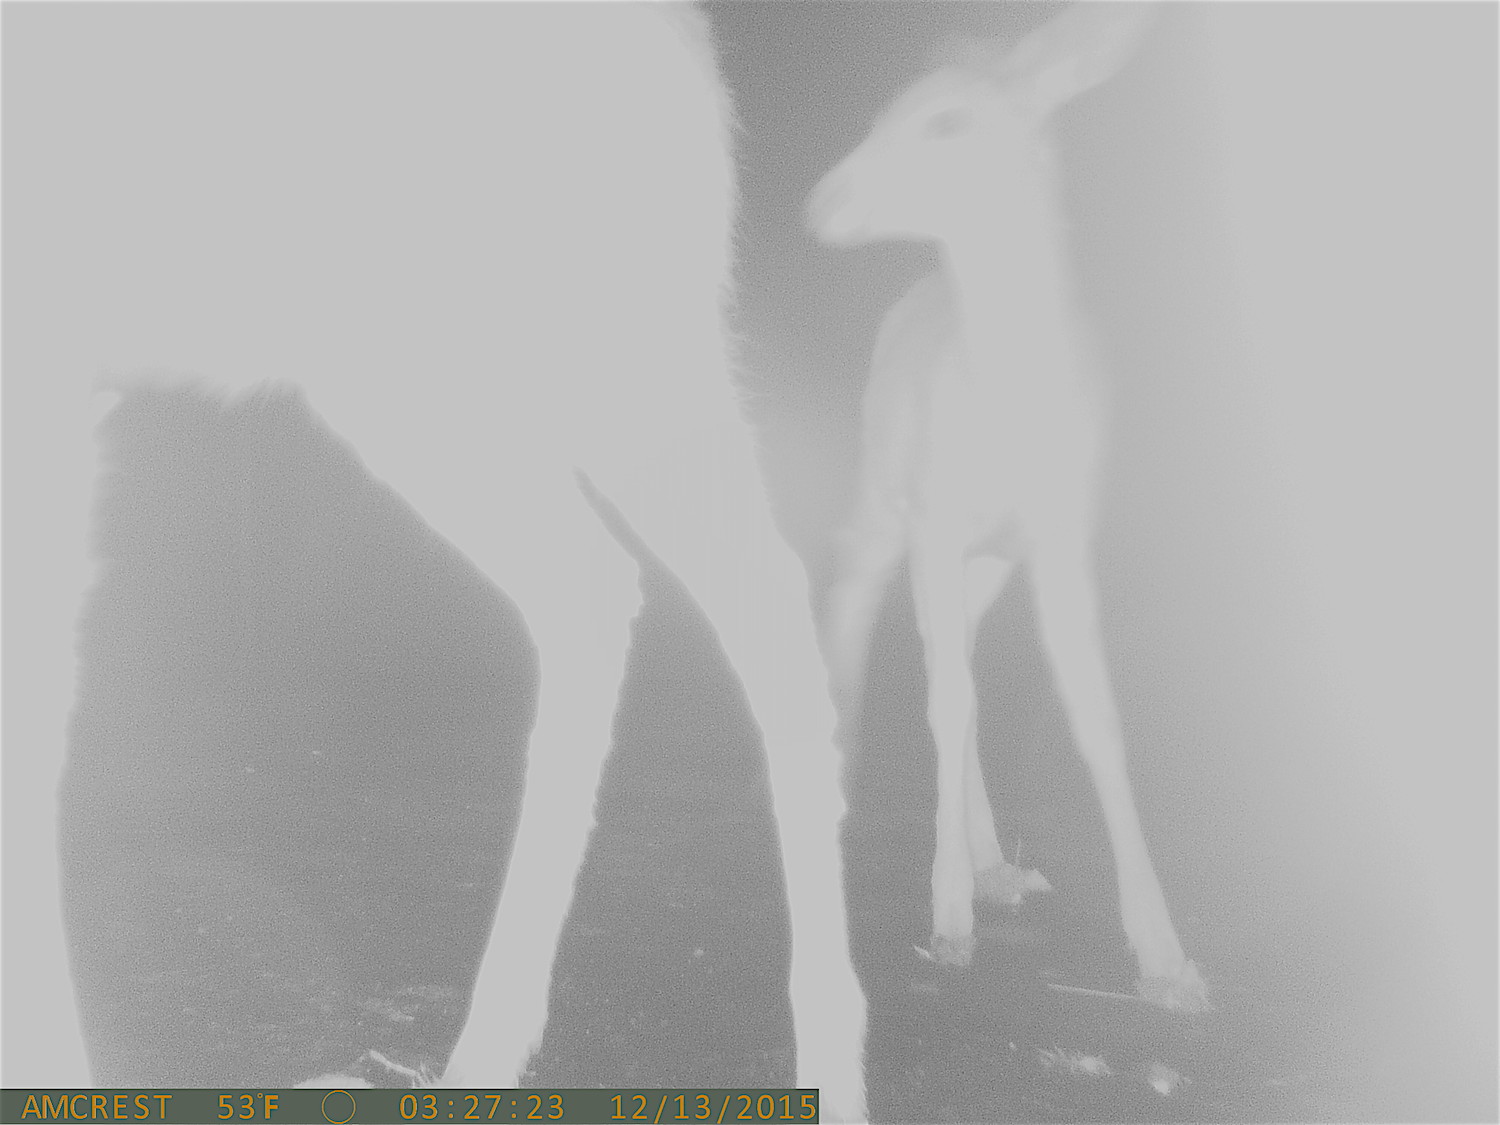
After having so many foggy photos (see blog entry) I decided to fab a quick hood out of cardboard to see if it would help in any way. It’s not pretty. I didn’t want to invest a bunch of time in something nice if this wasn’t going to work. It’s an MVP if you will… with quality to match! LOL cheapo hood experiment
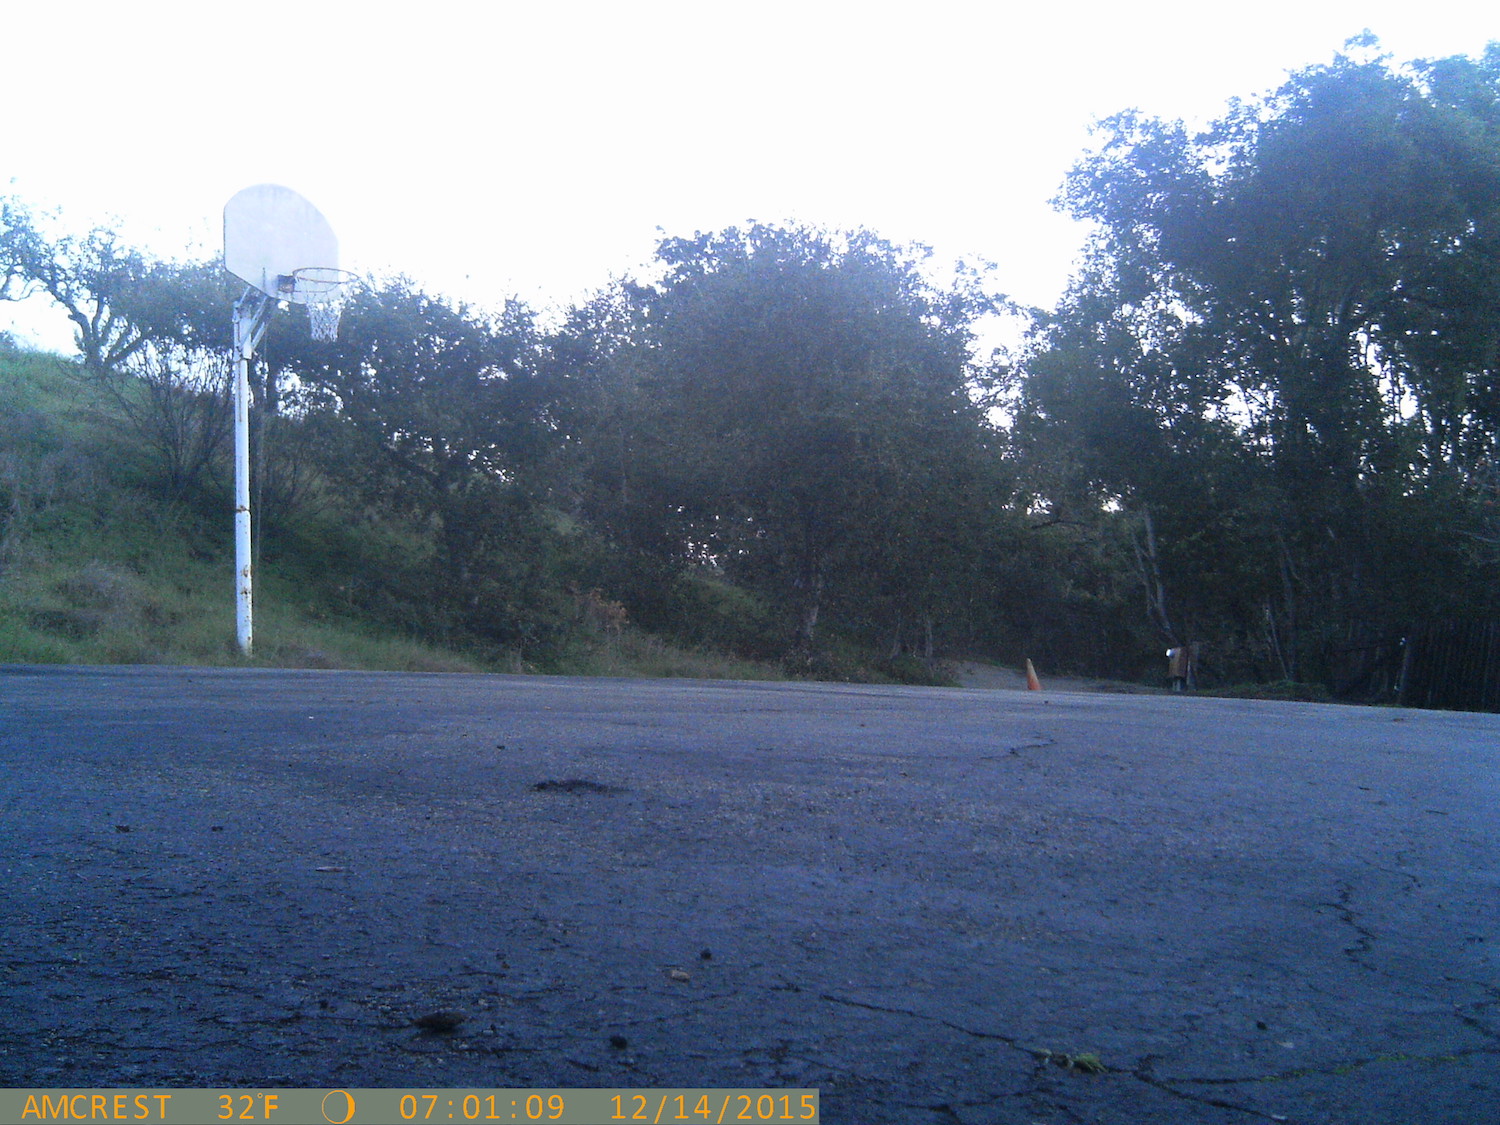
This is what the current camera orientation looks like during daylight hours:
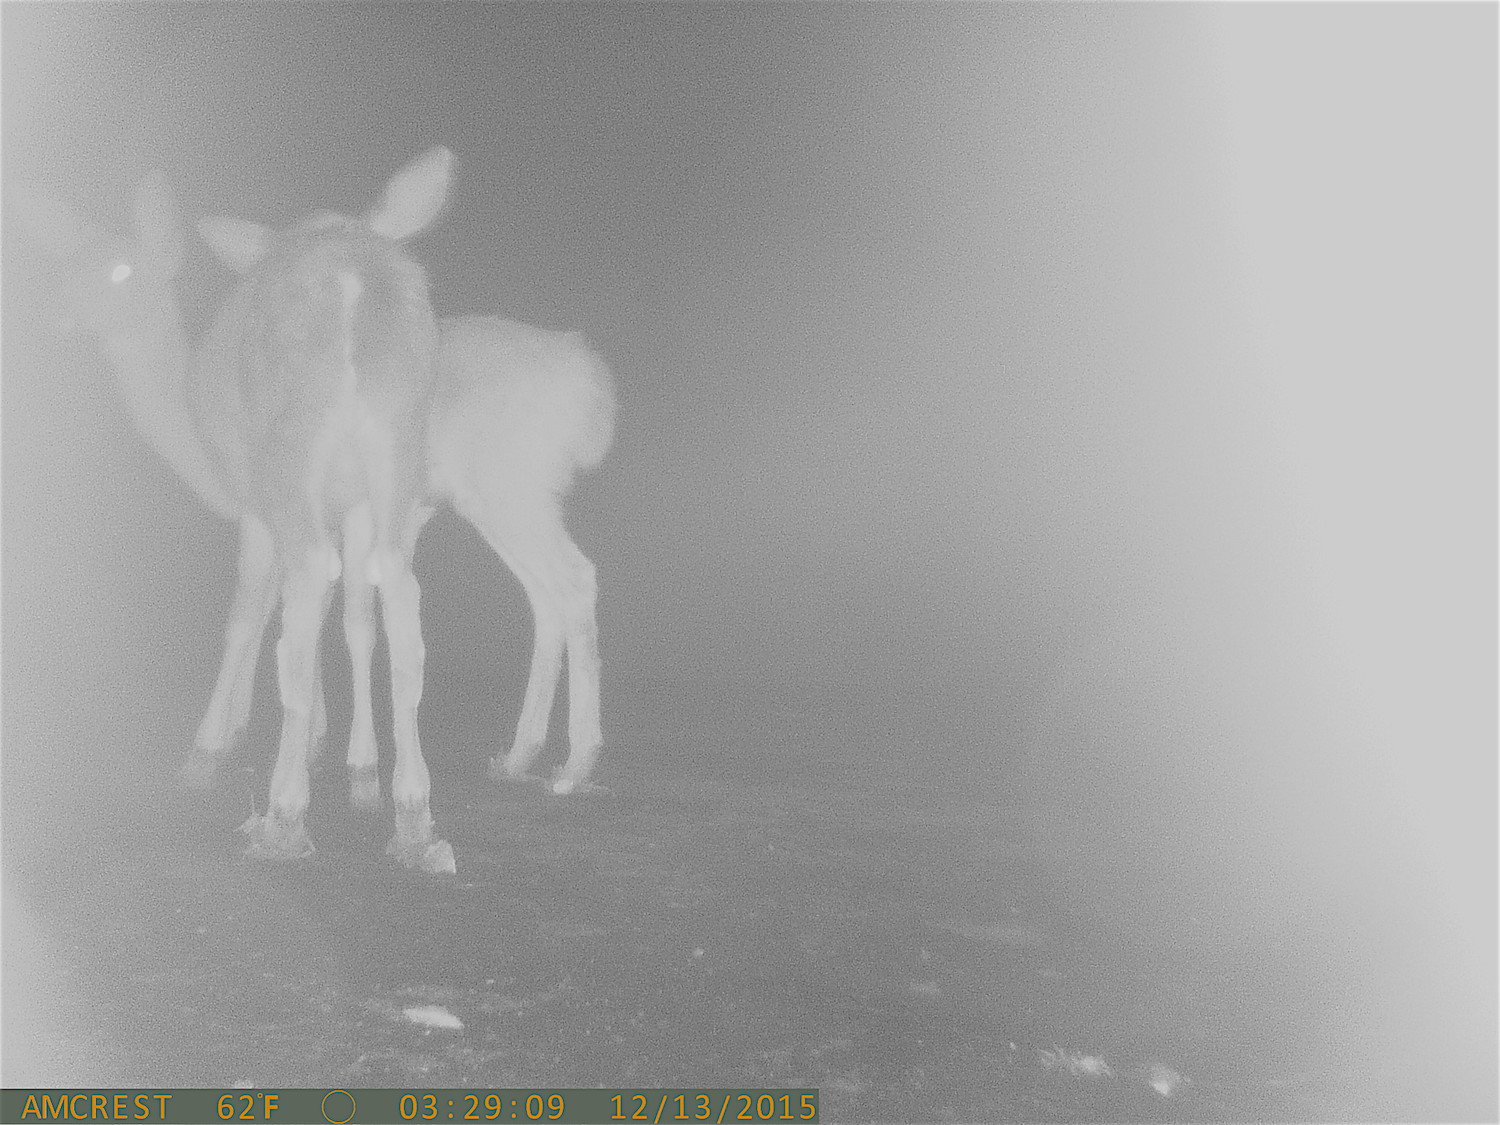
Checking the camera the next morning, it seemed to have helped out quite a bit. We had some deer drop by for about an hour or so. Instead of the normally fuzzy images, these came our a lot better.
My plan is to move the camera again, maybe to a higher point and aim it downward, using the camera body to provide more cover for the lens. So far this is my most favored location, but I’m not done experimenting quite yet.
Each morning that I get up and check the camera, there is a lot of dew upon it, including the lens. It has a small built in cover but it’s not enough to keep it from getting clouded.
Last night around 2:00 AM we had what looks like you coyote visitor again… but.. as you can see, the blur is from the water collected on the face of the lens housing.
Video is the same story. Little 10 second clip shows the animal strolling off. Definitely some sort of canine.
I think the next step is to look for a small birdhouse, and use that to possibly house the camera and keep the dew from forming on the lens. When it was positioned under an overhang, the dew didn’t seem to be an issue. That is my though process regardless.
After moving into the new compound, I’ve started testing out time lapse photography again. Using a GoPro 3, and moving to various locations around the house, I will eventually find the sweet spot I like.
Here is the first short (5 second) test video from these efforts:
The work was not difficult, but it was a little time consuming to get to the upper most rear bolt, and also to remove the turbo resonator. To do so actually required a 1/4″ spanner wrench to operate on the small E8 TORX head bolts.
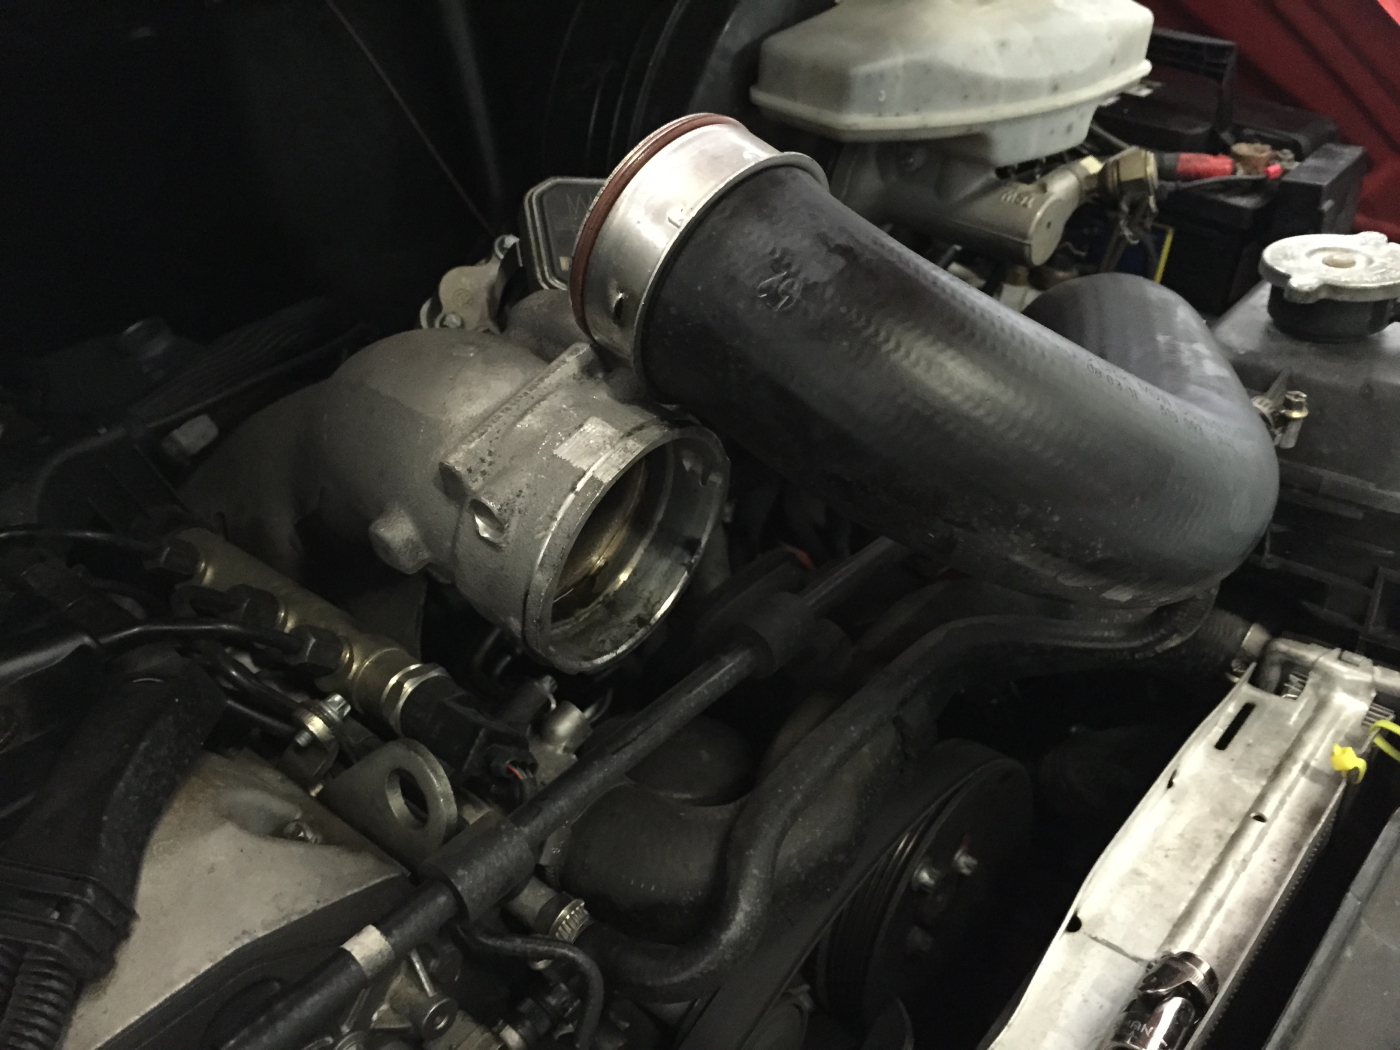
To properly address the repair, intake tract has to be removed from the passenger (right) side of the engine. Here you see the parts removed, which include the intake hose, turbo resonator and output hose to intercooler, along with the heat shield.
Here is the intake hose and turbo resonator that were removed.
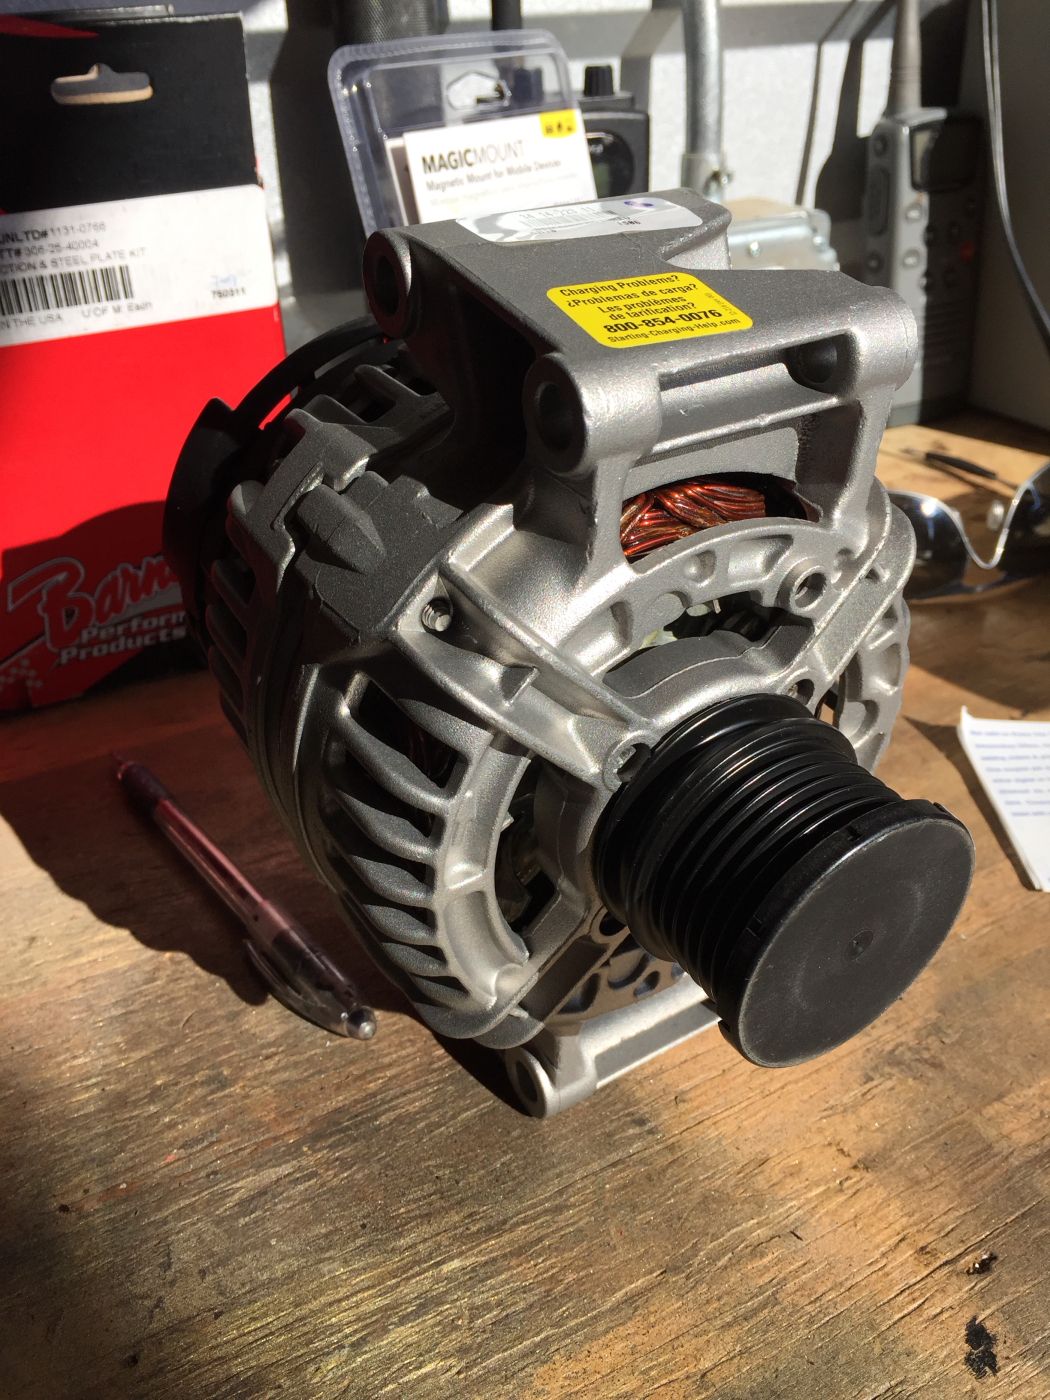
Replacement rebuilt alternator, ready to install! BOSCH Alternator ready to be installed.
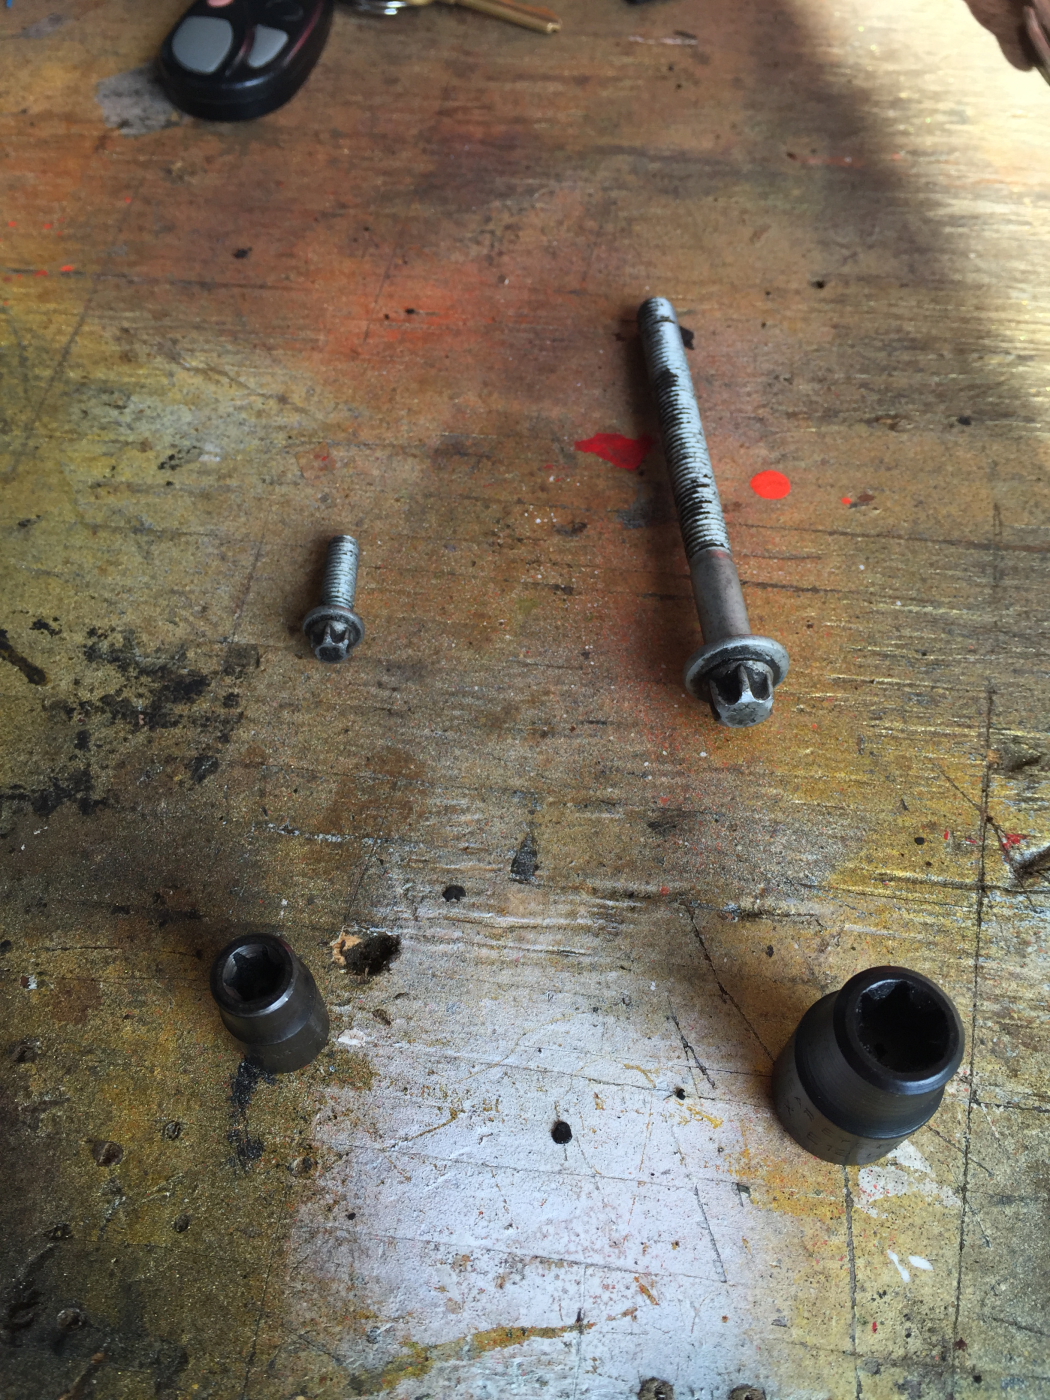
Close up of the “fiddly bolts” you will encounter doing this work. The larger of the two (there are 4 of these to deal with) use and E12 TORX Socket (seen below the bolt). The smaller of them (there are 2 of these) use an E6 TORX socket, however a 1/4″ wrench works better due to the confined space. Fiddly TORX head bolts
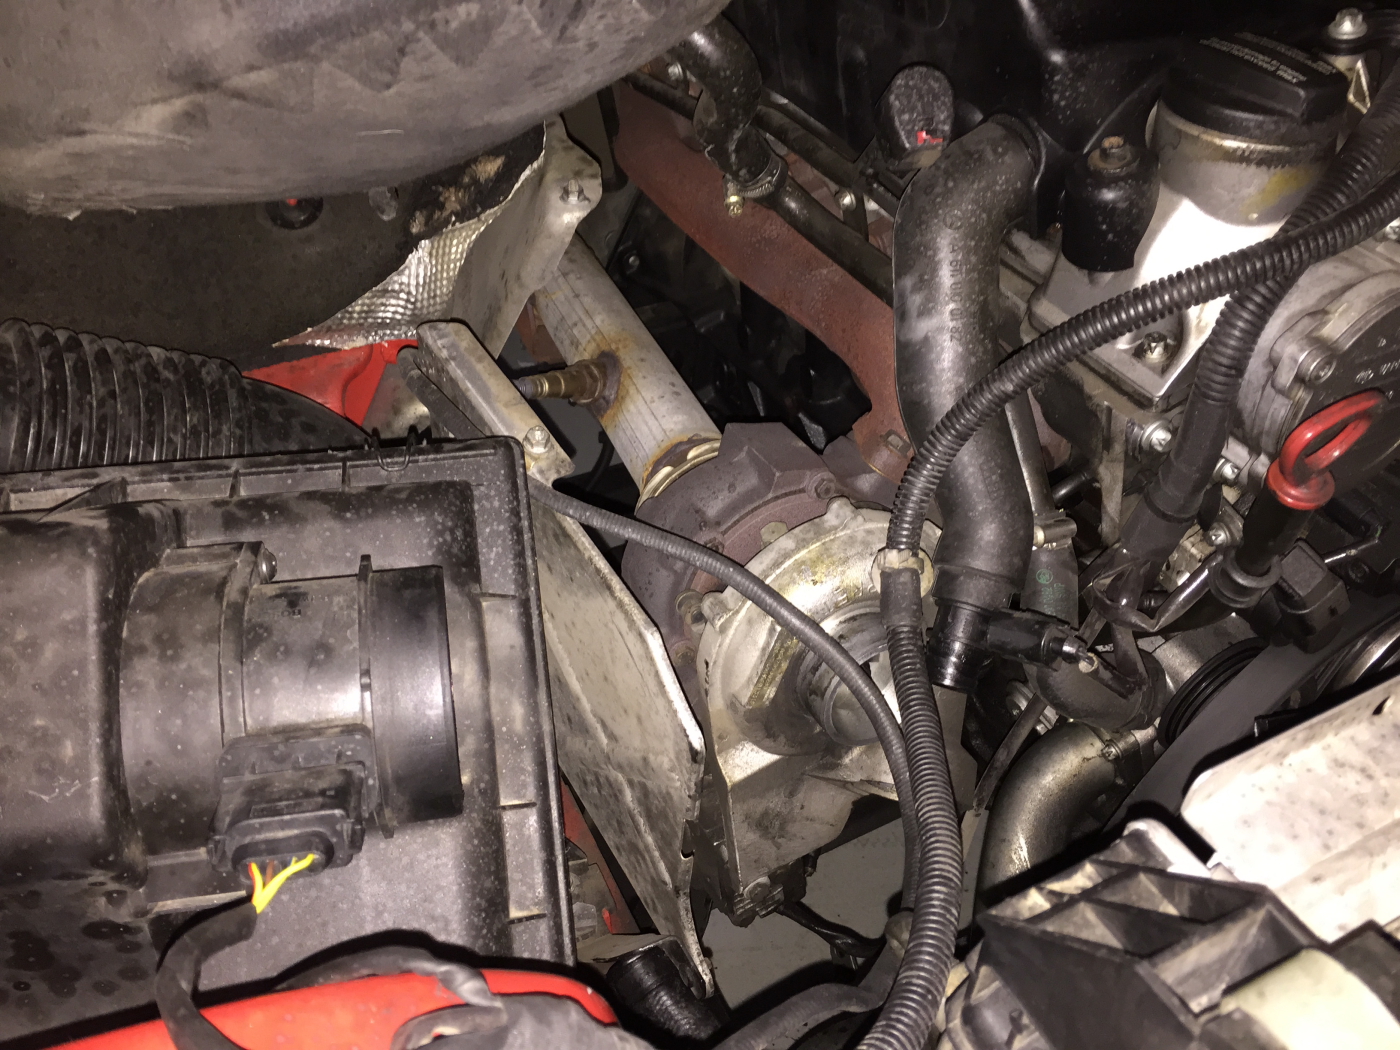
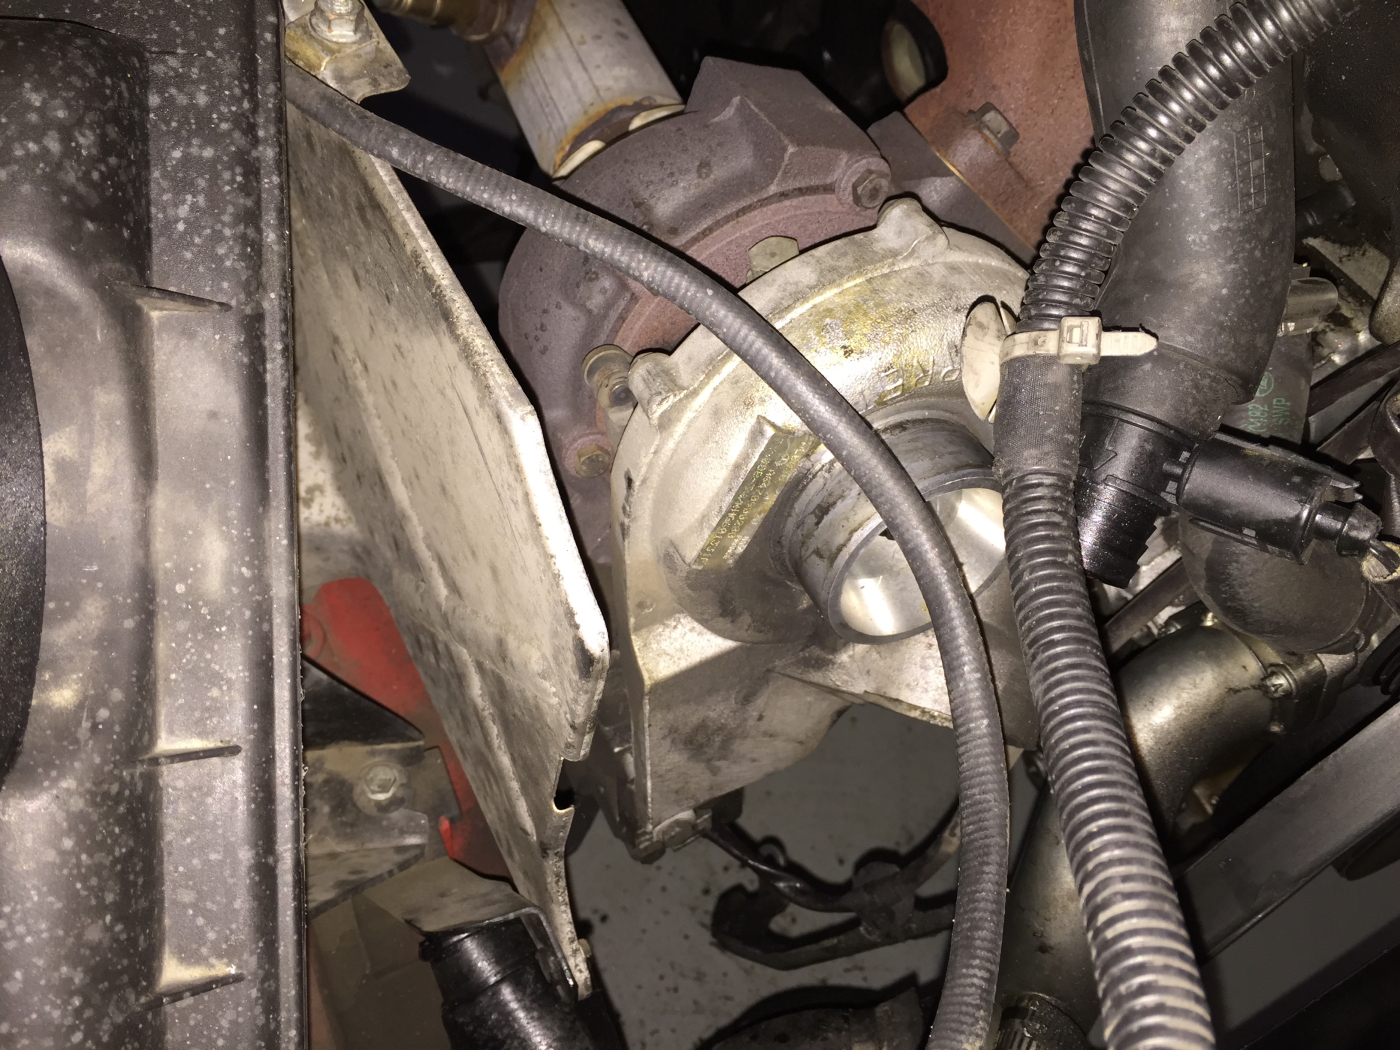
A little closer picture of the turbo sands intake hoses. Turbo, topside.
To easily move the belt tensioner, I found it simplest to just disconnect this hose at the intake (don’t lose the locking clip!), making the turning of the socket wrench on tensioner stud much less of a hassle. Intake tract and post-intercooler high-pressure hose.
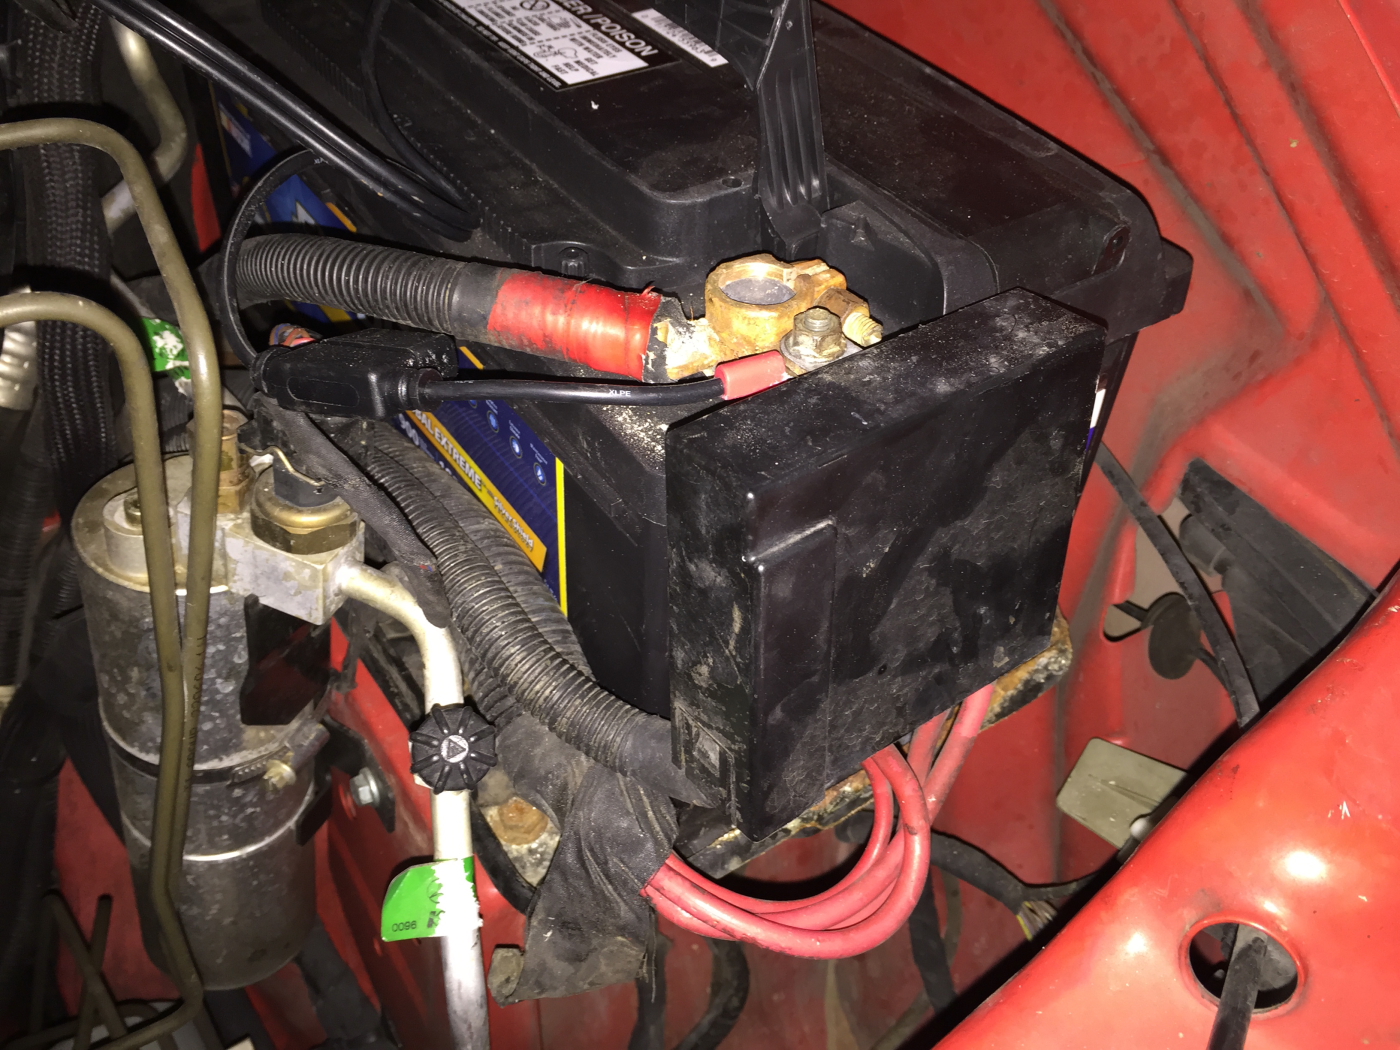
Another part of the system that can fail, are the high-AMP fuses that are located in a black box next to the battery. Here is that box. Location of high-AMP fuses for T1N Dodge Sprinter
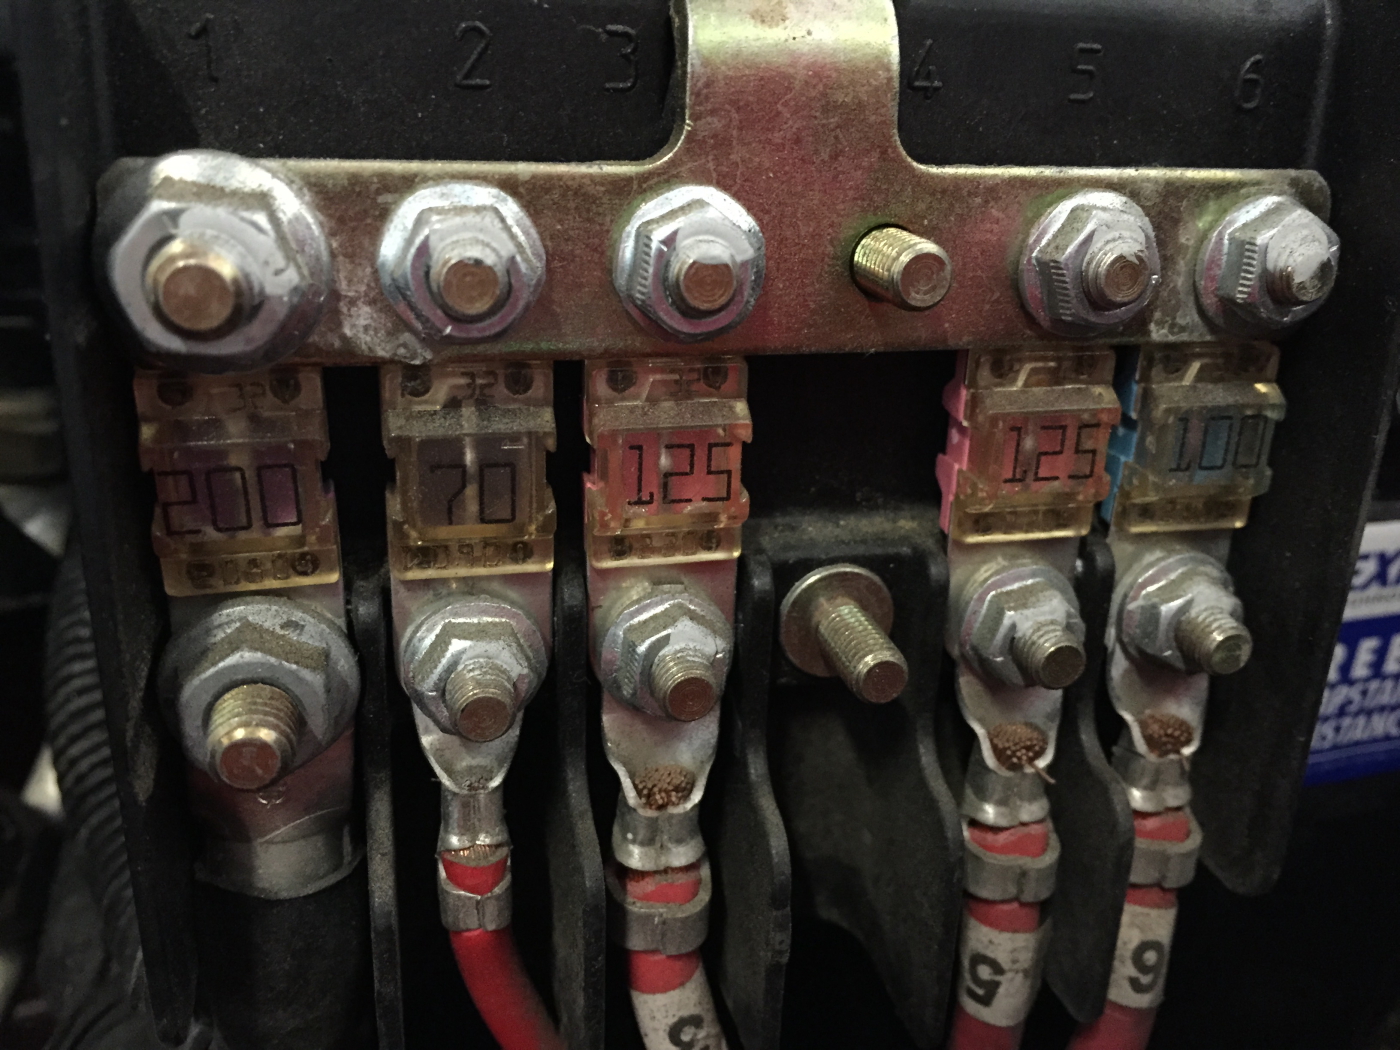
Inside the high-AMP box are a set of specialty fuses. It’s generally reported that the dealership is the only source of these fuses, and they are not commonly stocked, so it might be a good idea to order a few ahead of time “just in case” as this is not an rare failure point. High-AMP fuses for Dodge Sprinter (T1N)
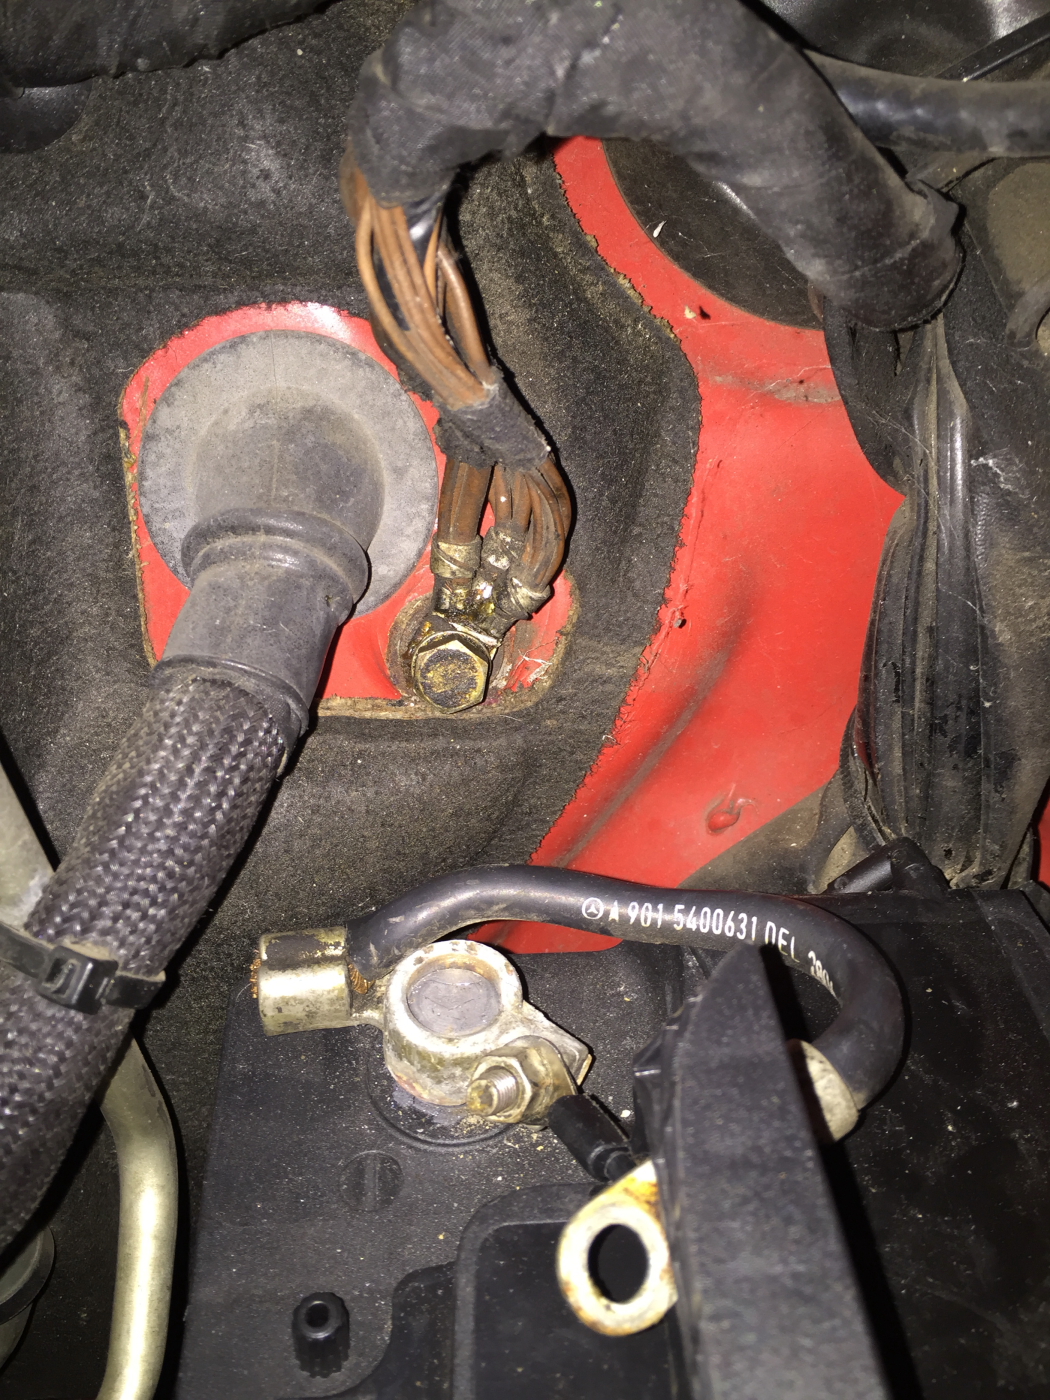
Grounds are also an issue on these trucks. This is a main body ground, located right above the battery. In this photo the negative ground is still disconnected from the Alternator replacement service. Chassis groun; one of the many possible causes of a failing electrical system.
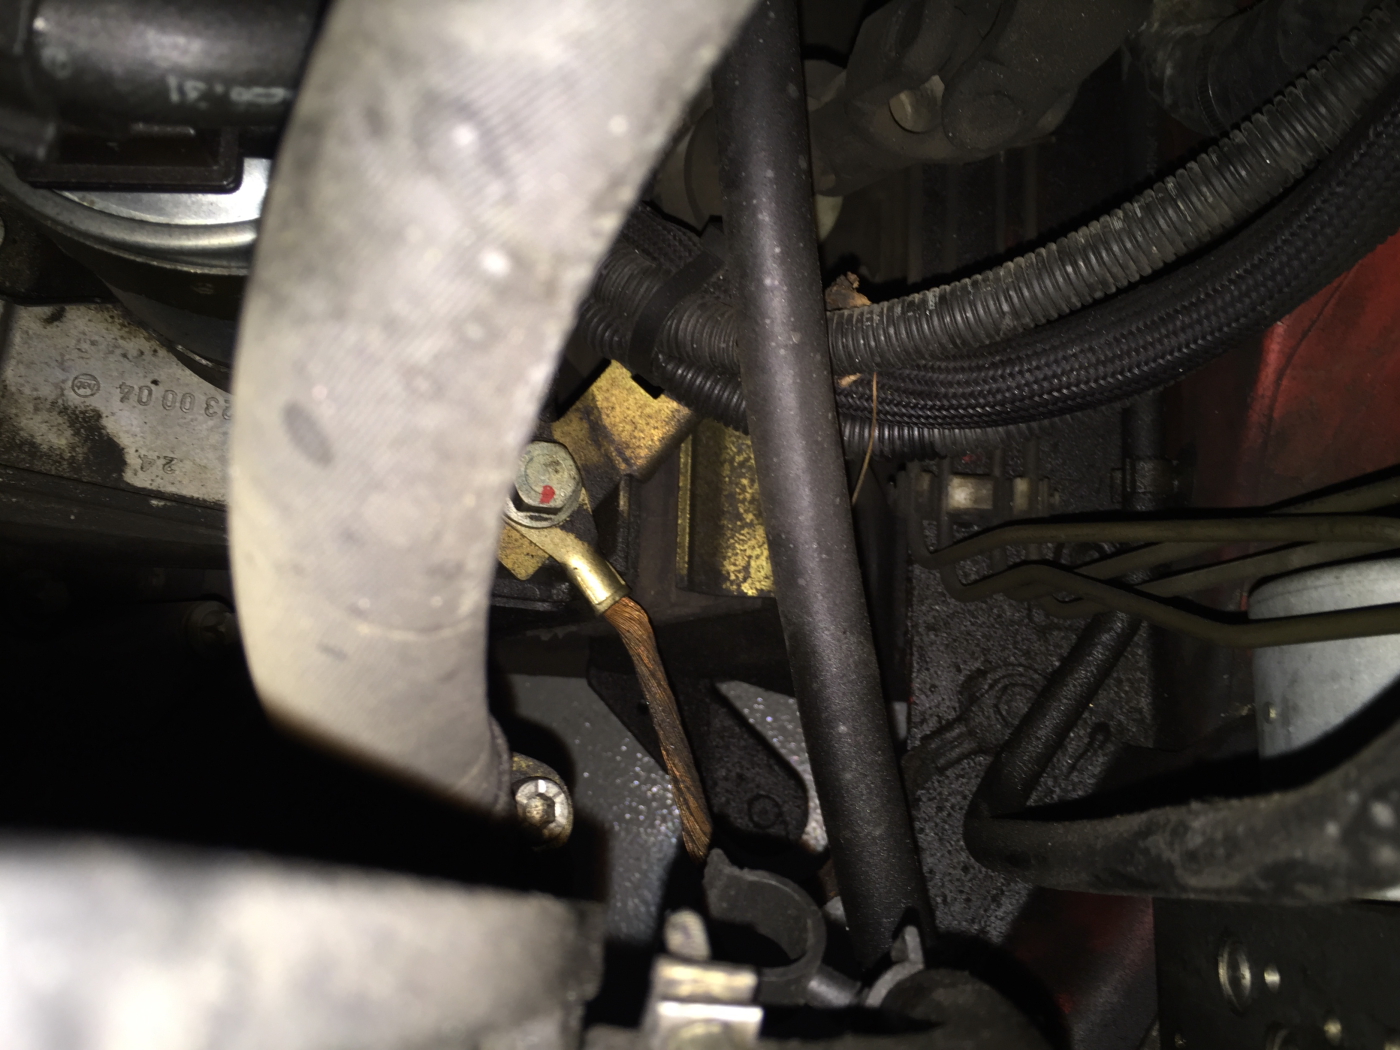
Another of the highly suspect grounds can be found (again on the driver side) down at the engine mount, and connecting back to the chassis. Both of these grounding points should be carefully examined. Engine ground strap; one of the various possible causes of Dodge Sprinter electrical maladies.
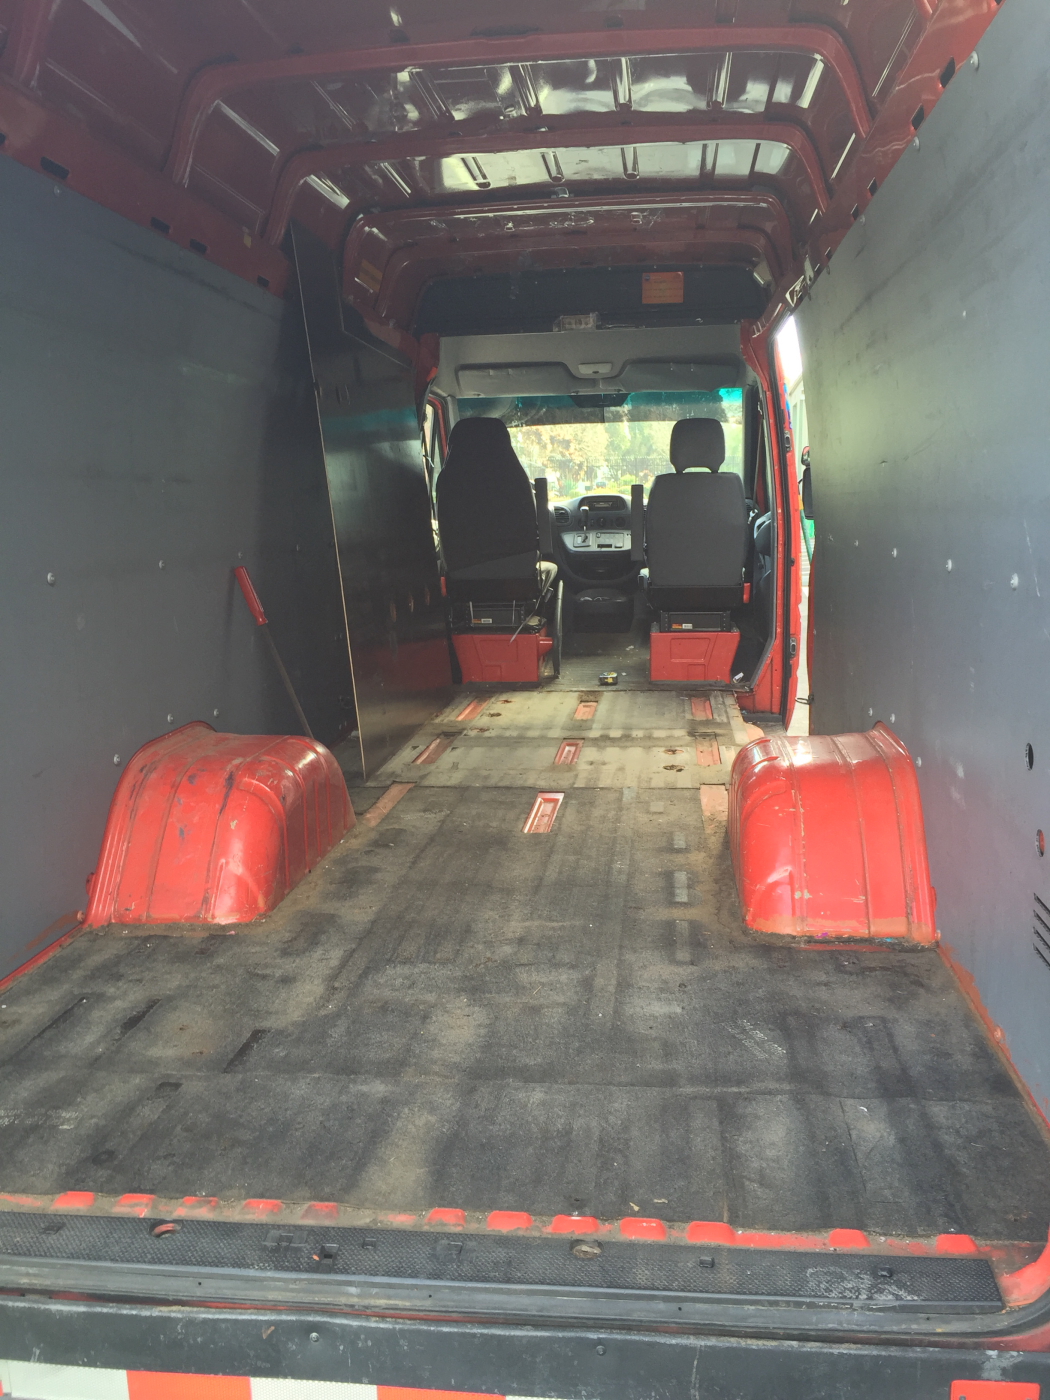
Another day, another pile of pictures. Today was more of a ‘get things done’ day than the rest. Here is how things are looking:
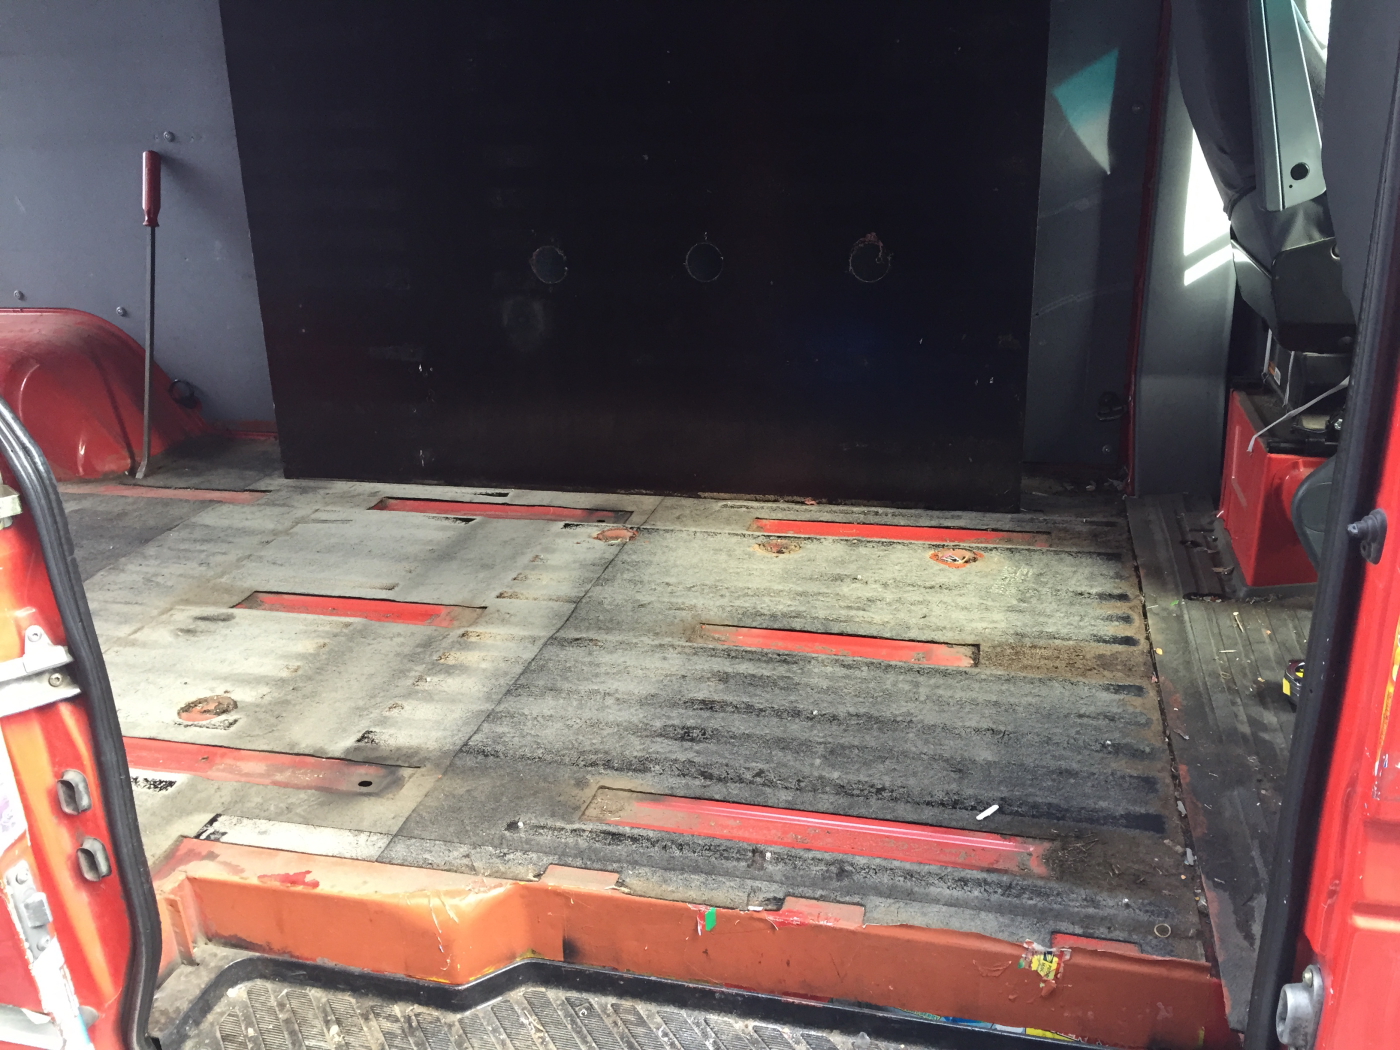
Removing the flooring
Having already removed the rear 8′ section, to find that the van’s floor already has sound damping material laid out upon it. Awesome! 😀 This means a lot less expense in re-doing the floor, since that won’t have to be done.
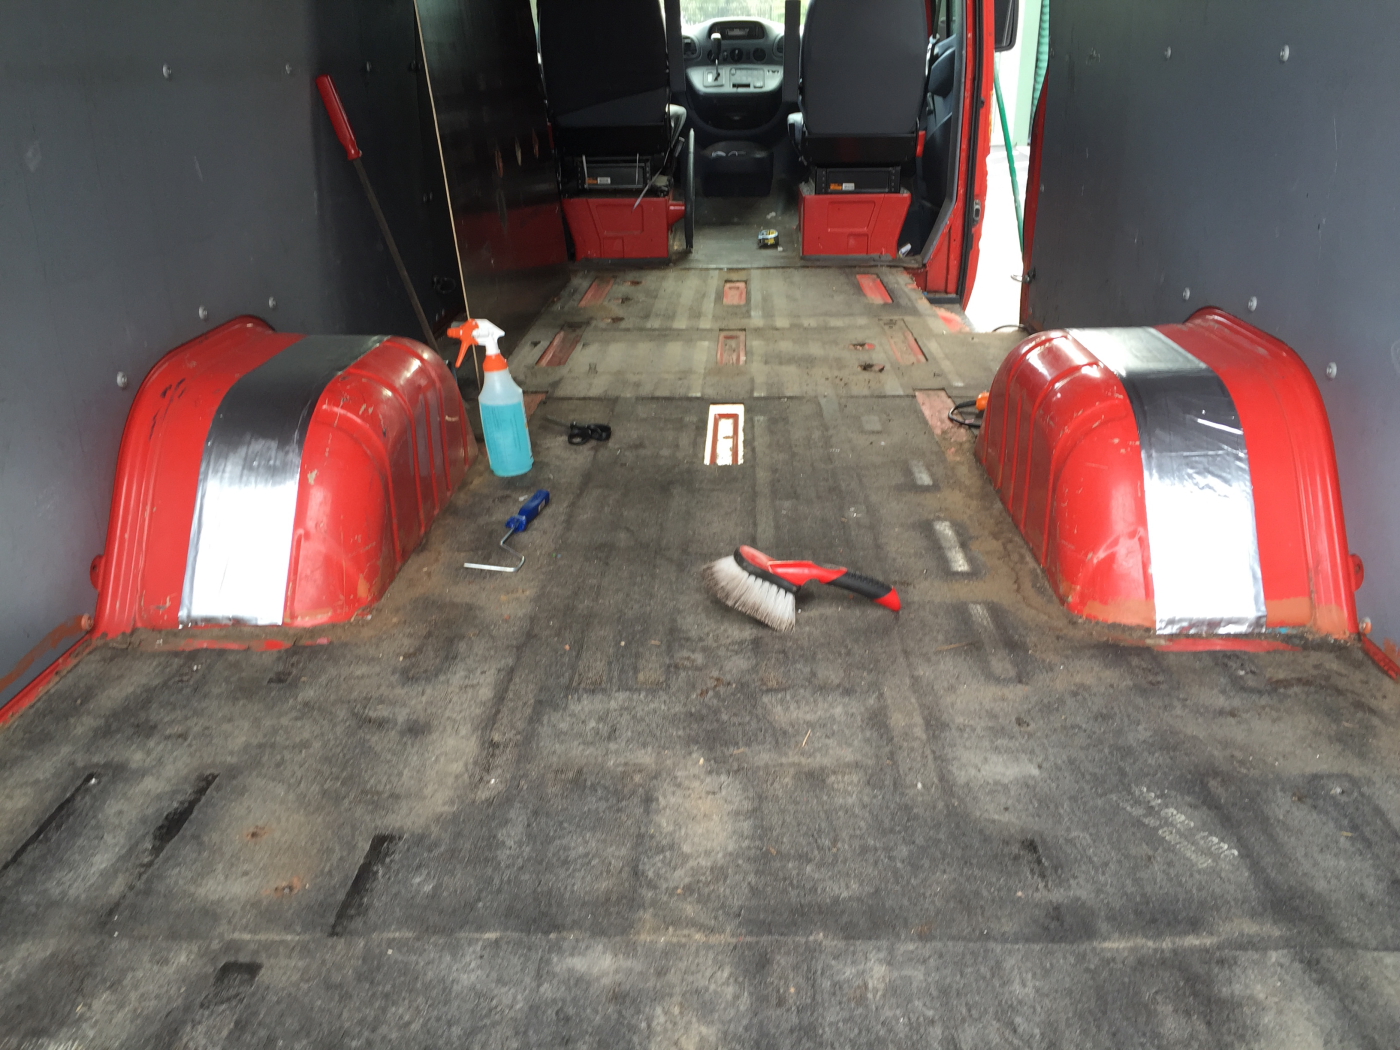
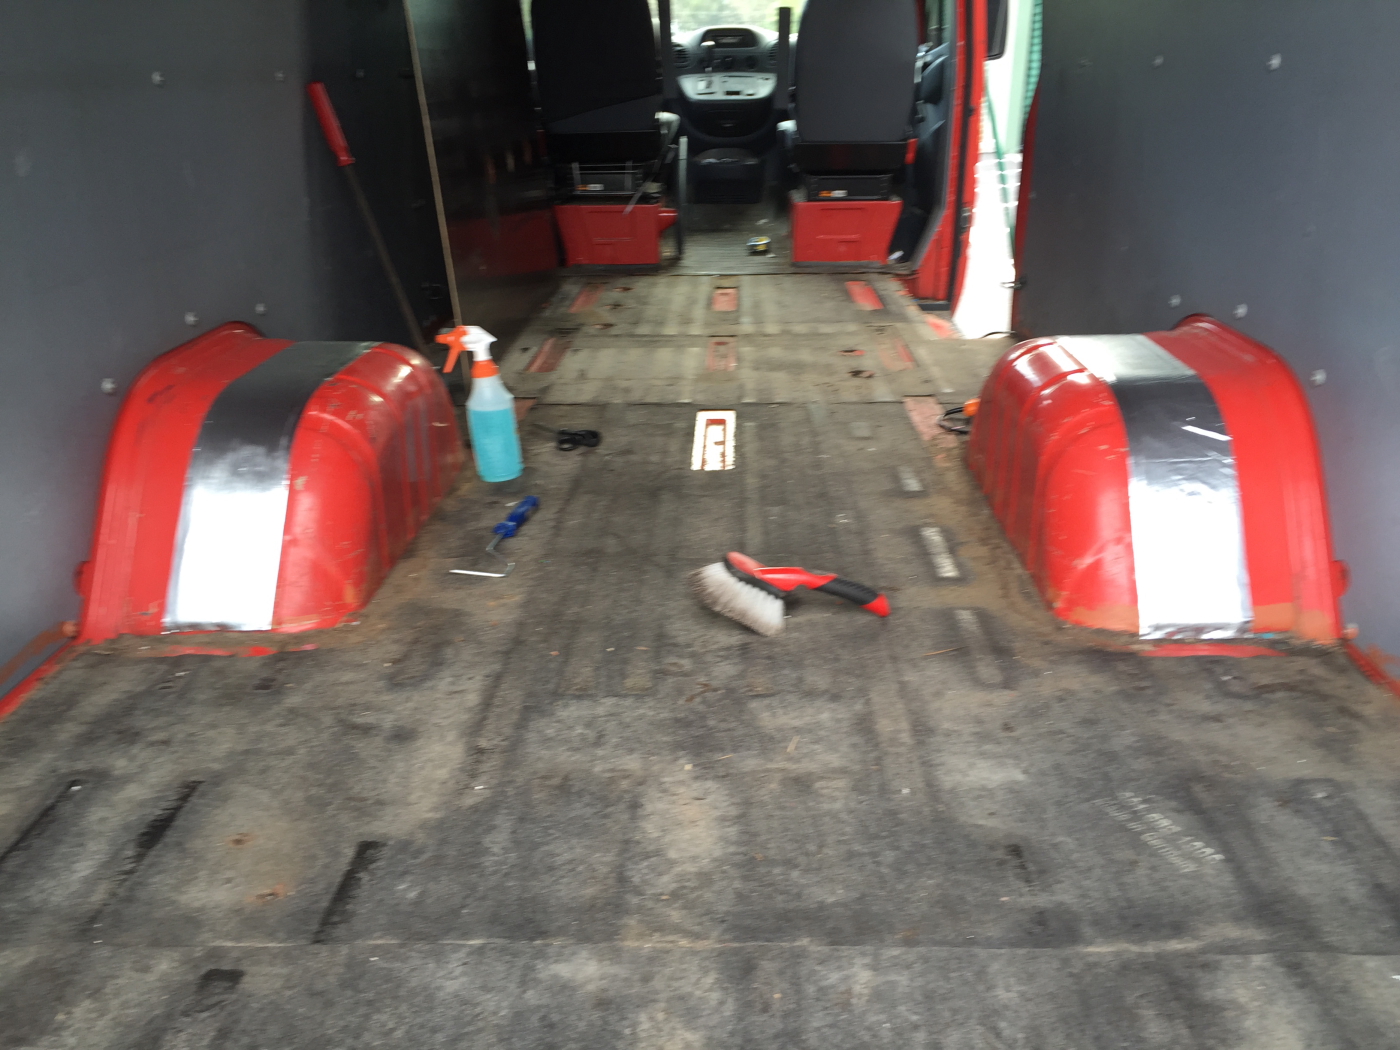
It was quite a mess under the flooring, so some multi-purpose cleaner and brush were put to work cleaning things up.
Starting the application of the sound deadening material to the wheel wells. First sections were easy enough, the sides, not so easy though.
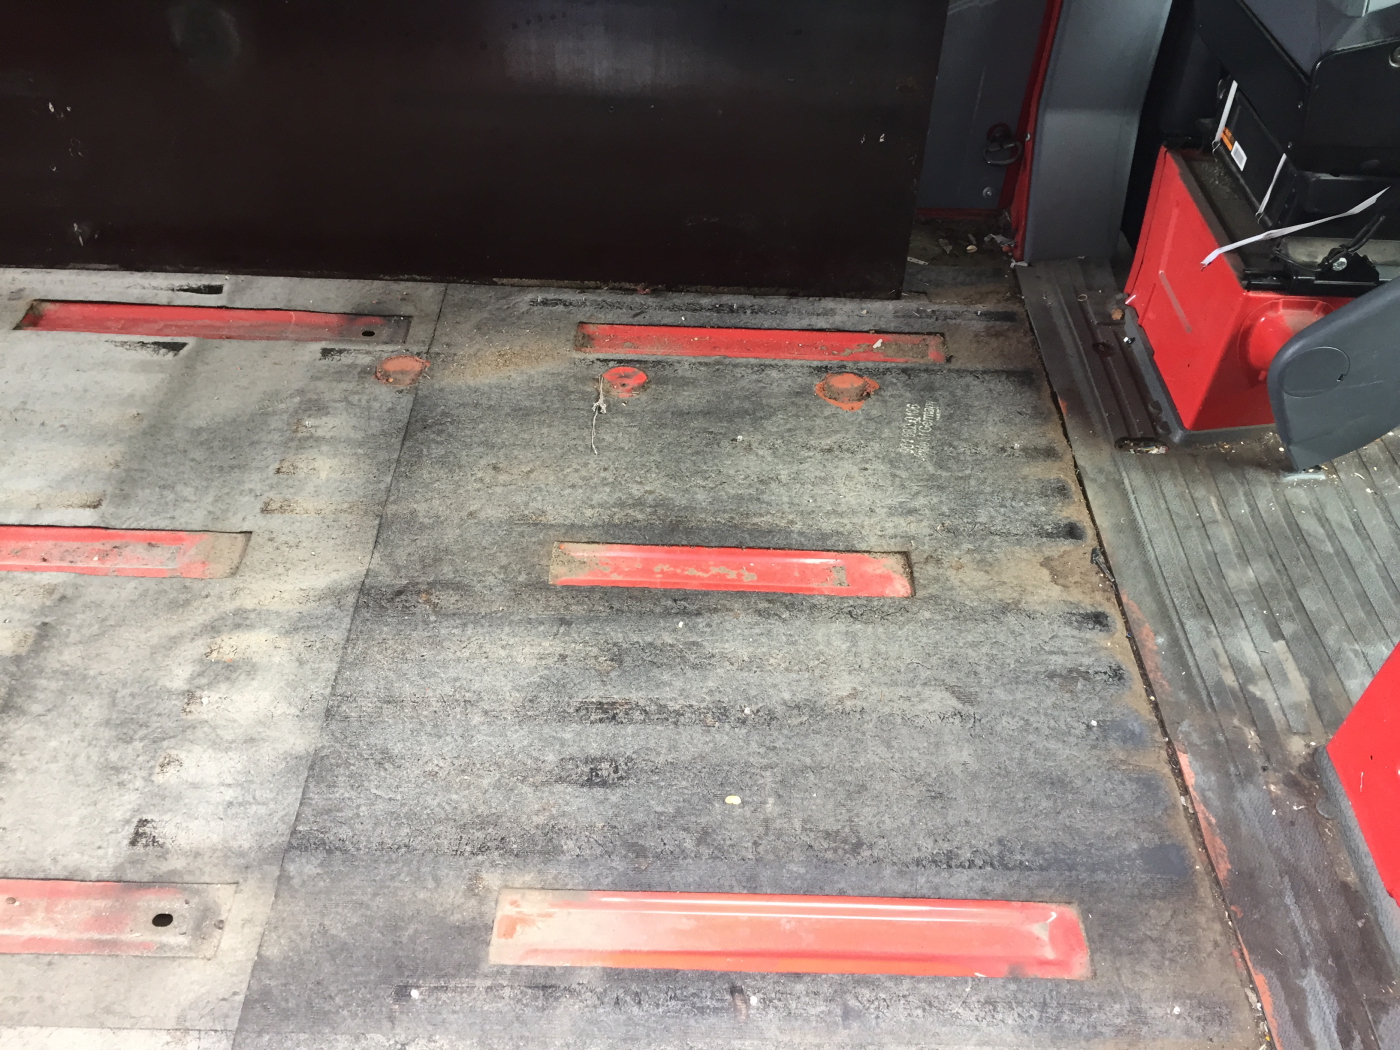
In the following image, you can see the channels where passenger seat brackets would bolt to the floor. A cargo van this is, obviously those parts are not in place. They are on my list of things to do when converting this to my version of a Toy Hauler.
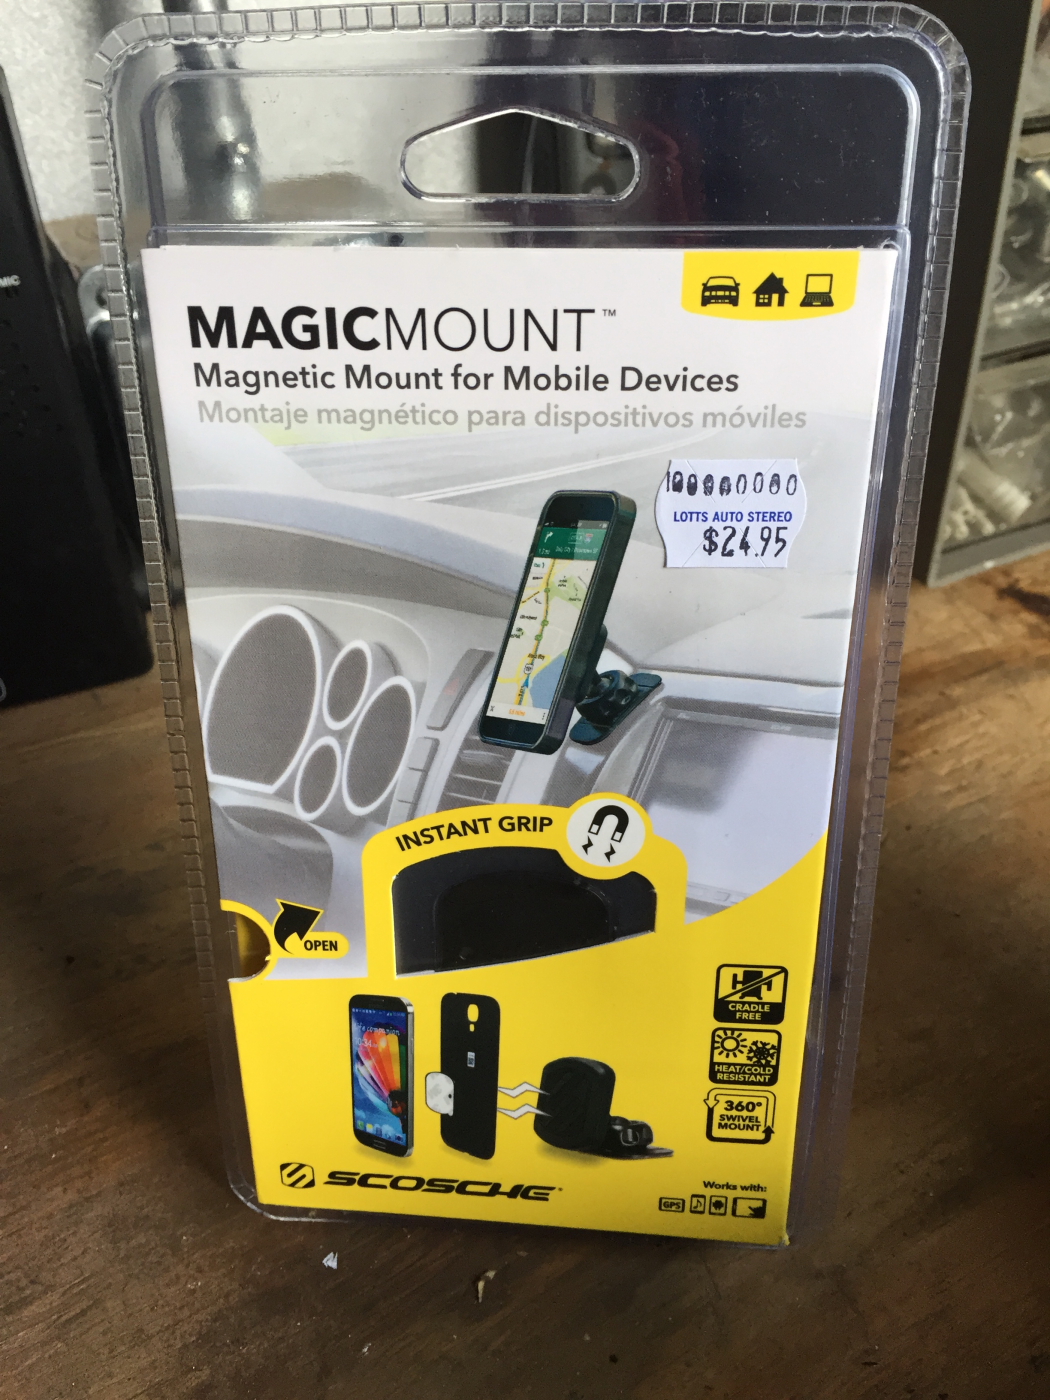
Next up was a mounting system for a navigation solution. I was shown this cool system at a local car audio shop, so I bought 3 (one for each car)!
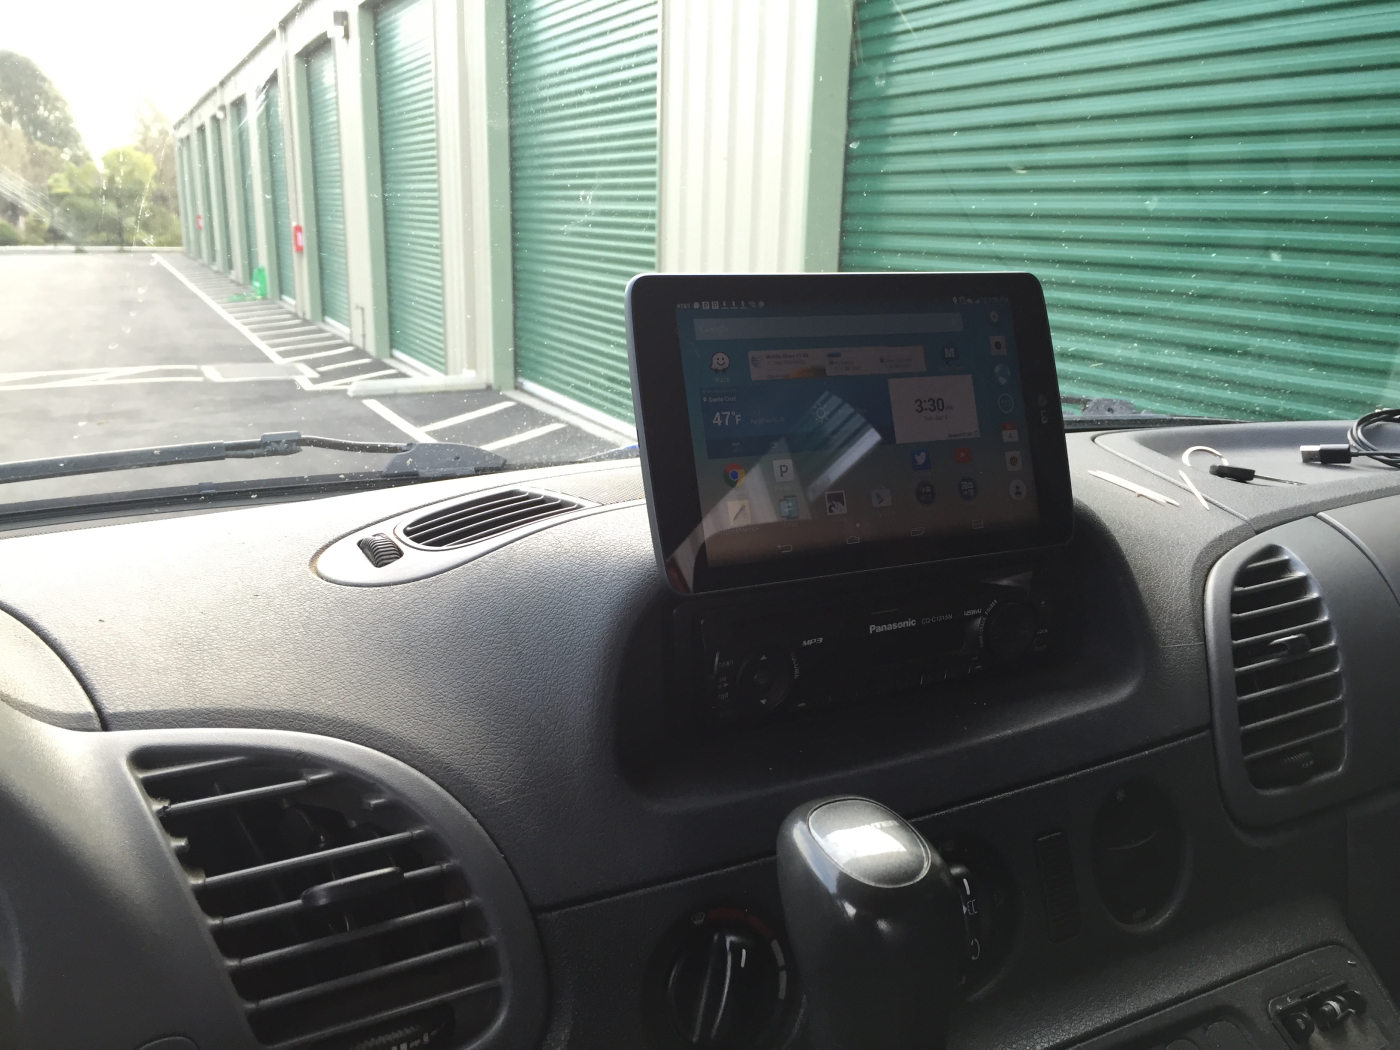
I’m not ready to pony up for dedicated GPS, and I had this Android table with celluare LTE that cost me 99cents… and it was just looking for a good home. Now it will have one.
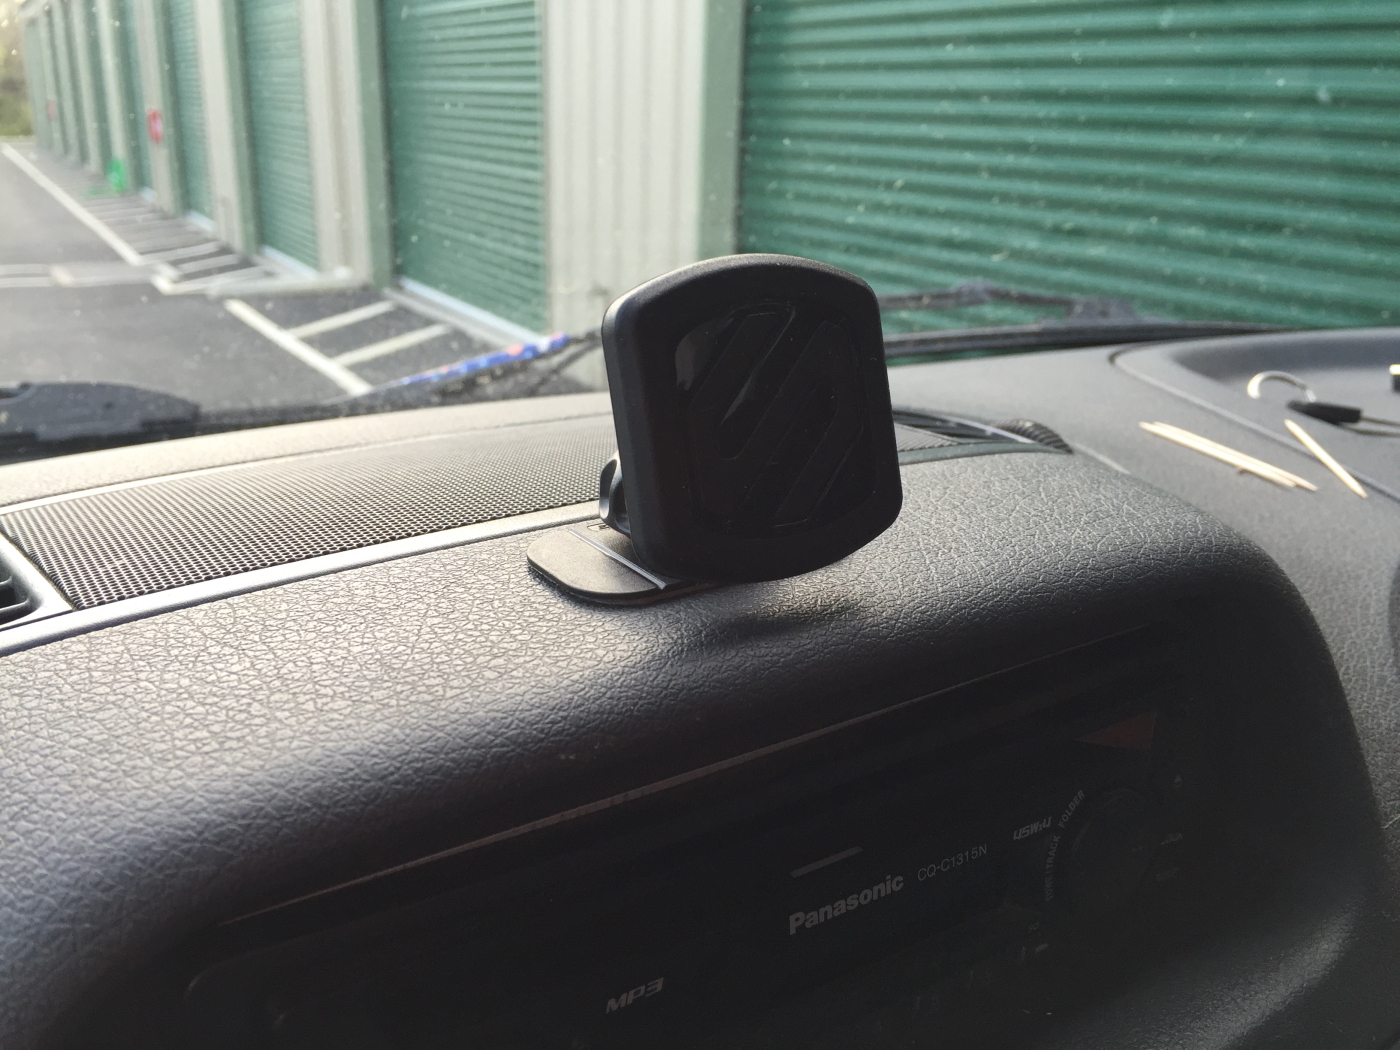
Below is what the mount looks like. Just a magnetic pad with a rubber fact to keep the device from moving around too much.
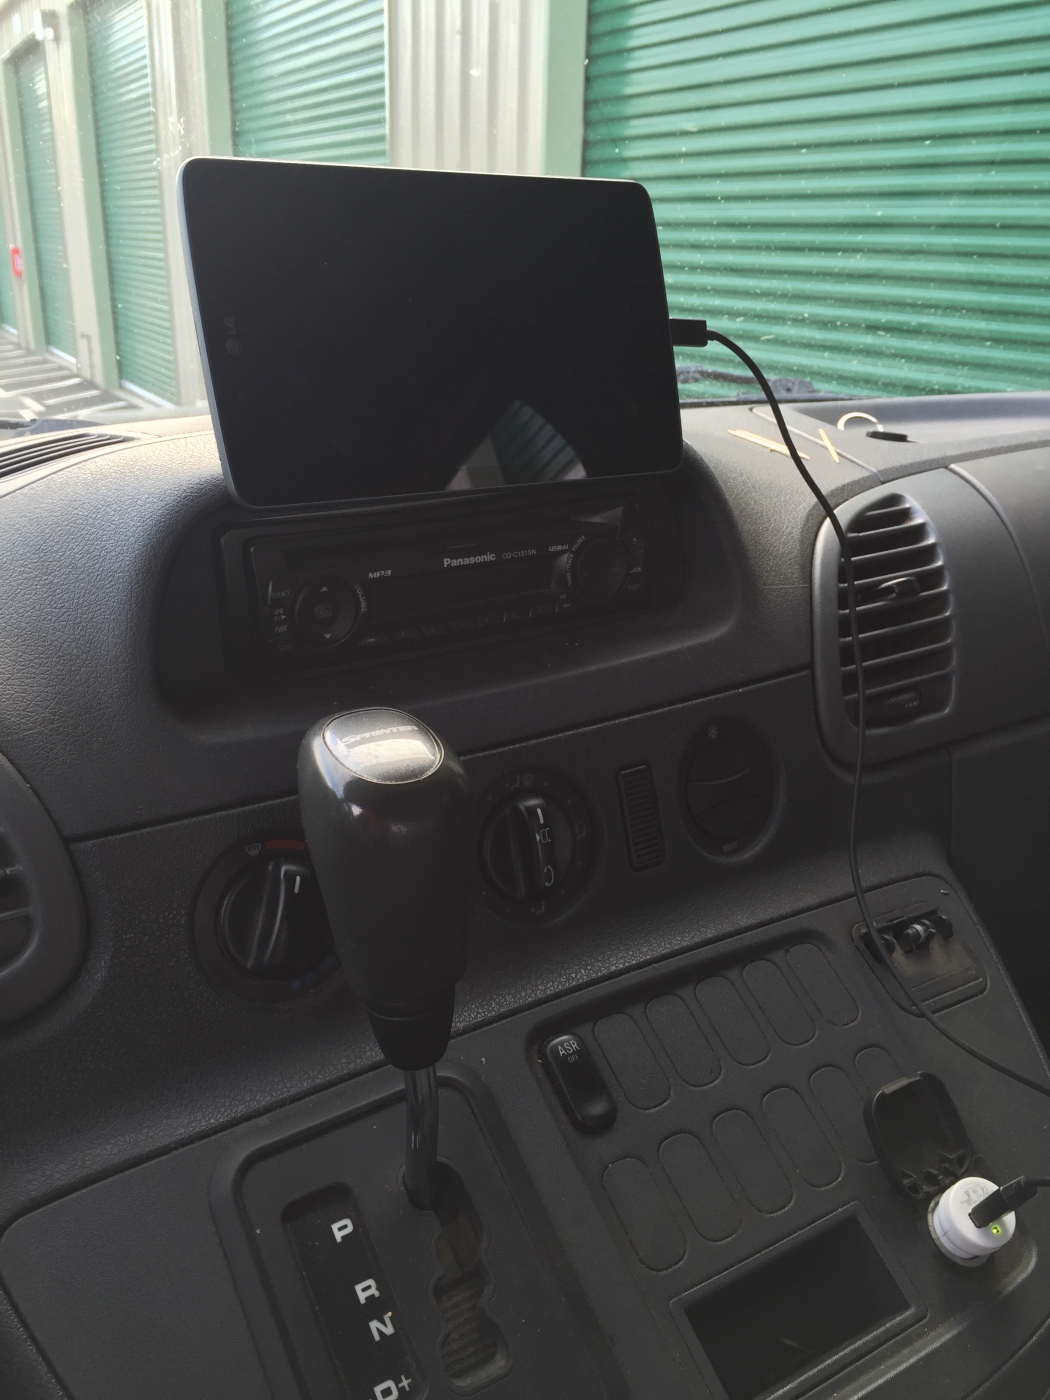
For now, the Android phablet thingy will be powered from a 12v lighter adapter. When I get a new head unit installed with USB power, this cable will be hard-wired into the dash, or some other more suitable solution. As is, it’s within reach, has power, and is ready to nav!
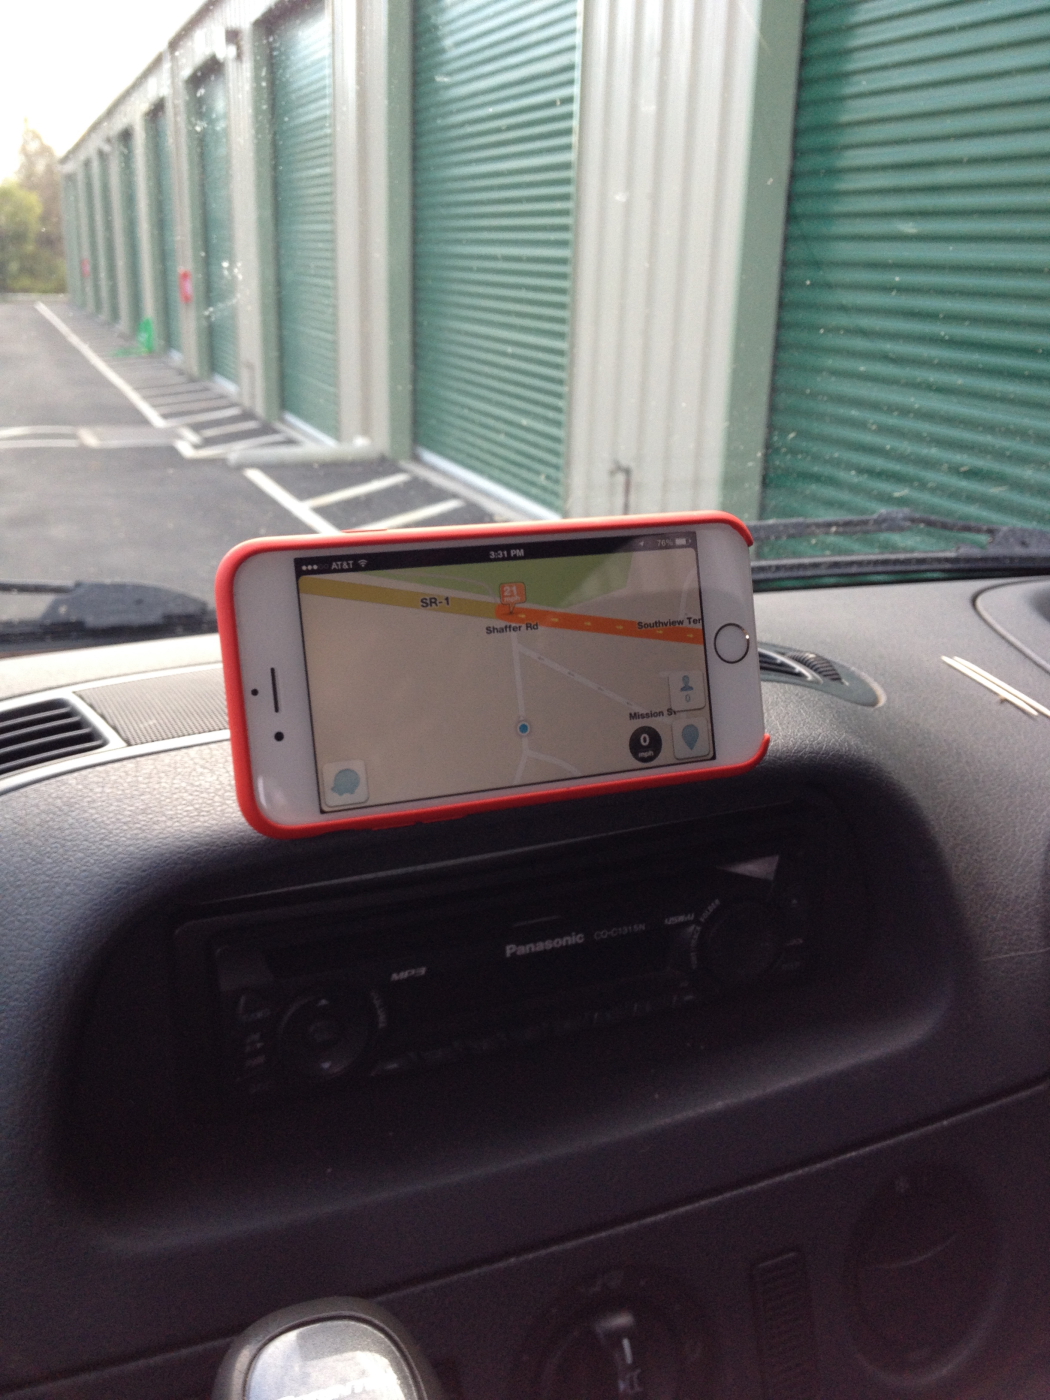
Adding one of the little steel plates by my iPhone, it too can serve as navigation, audio source, entertainment, whatever need be. This is the coolest product for using mobile devices in a car that I’ve seen yet!