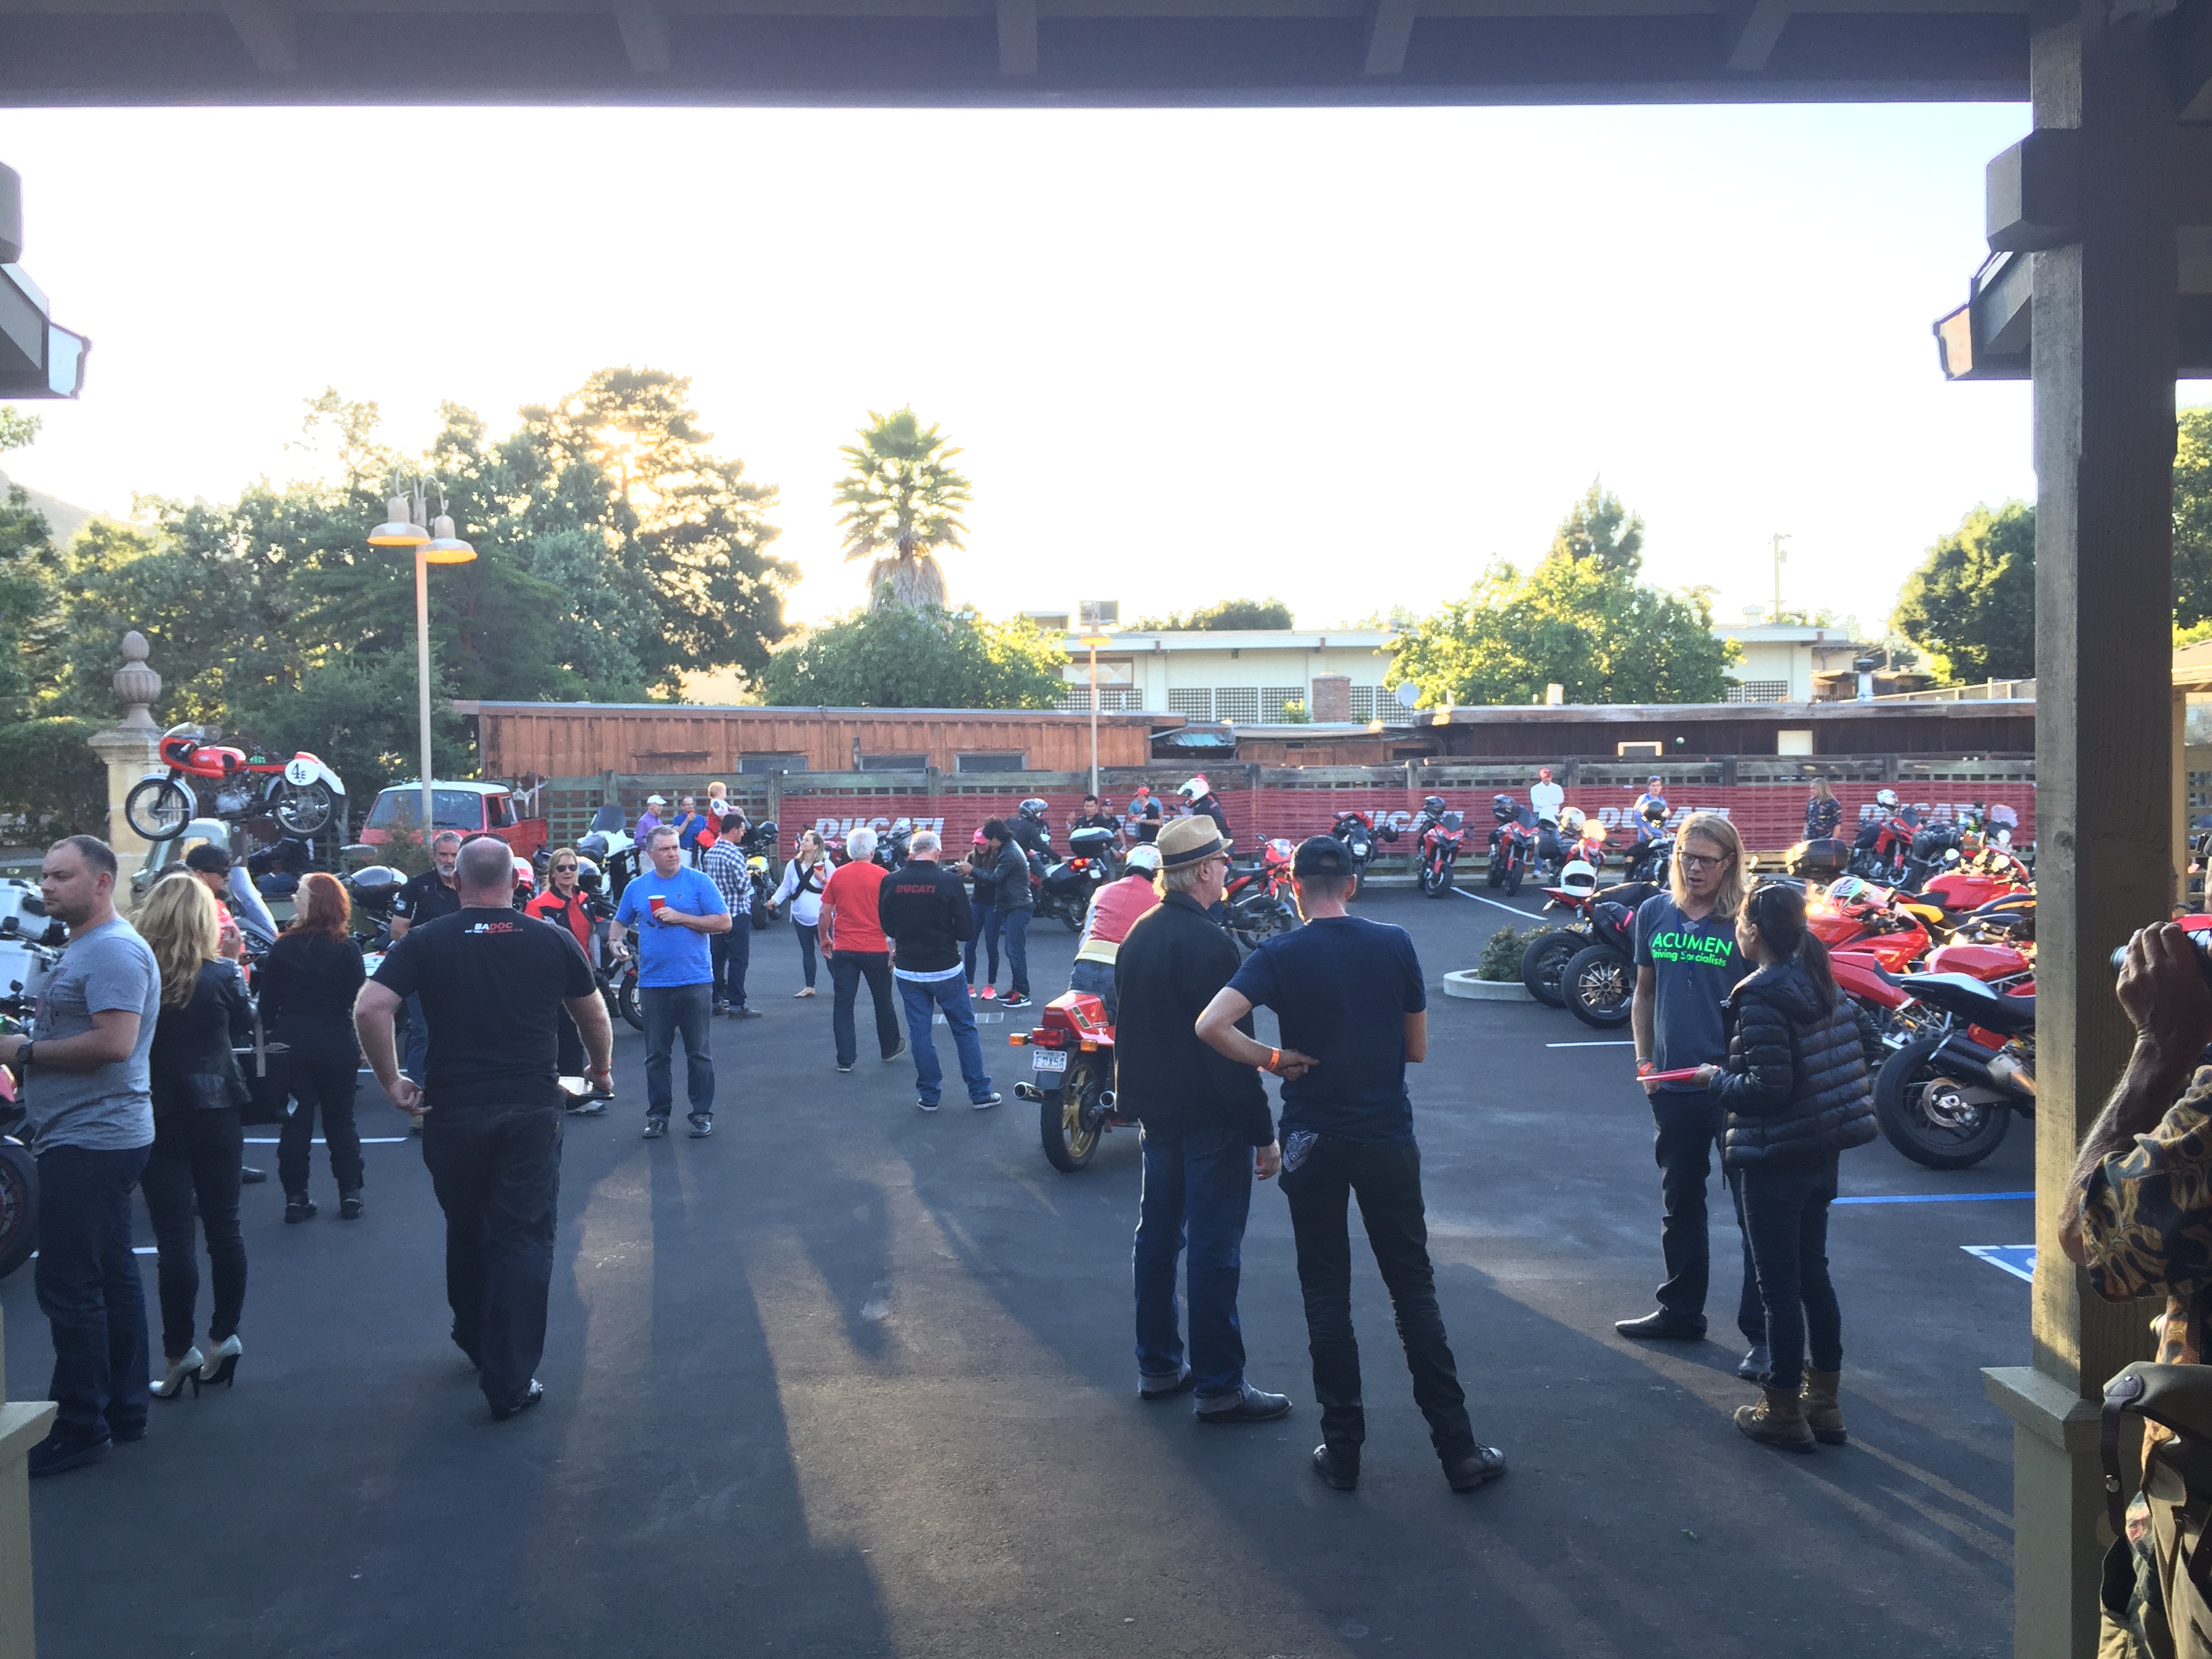
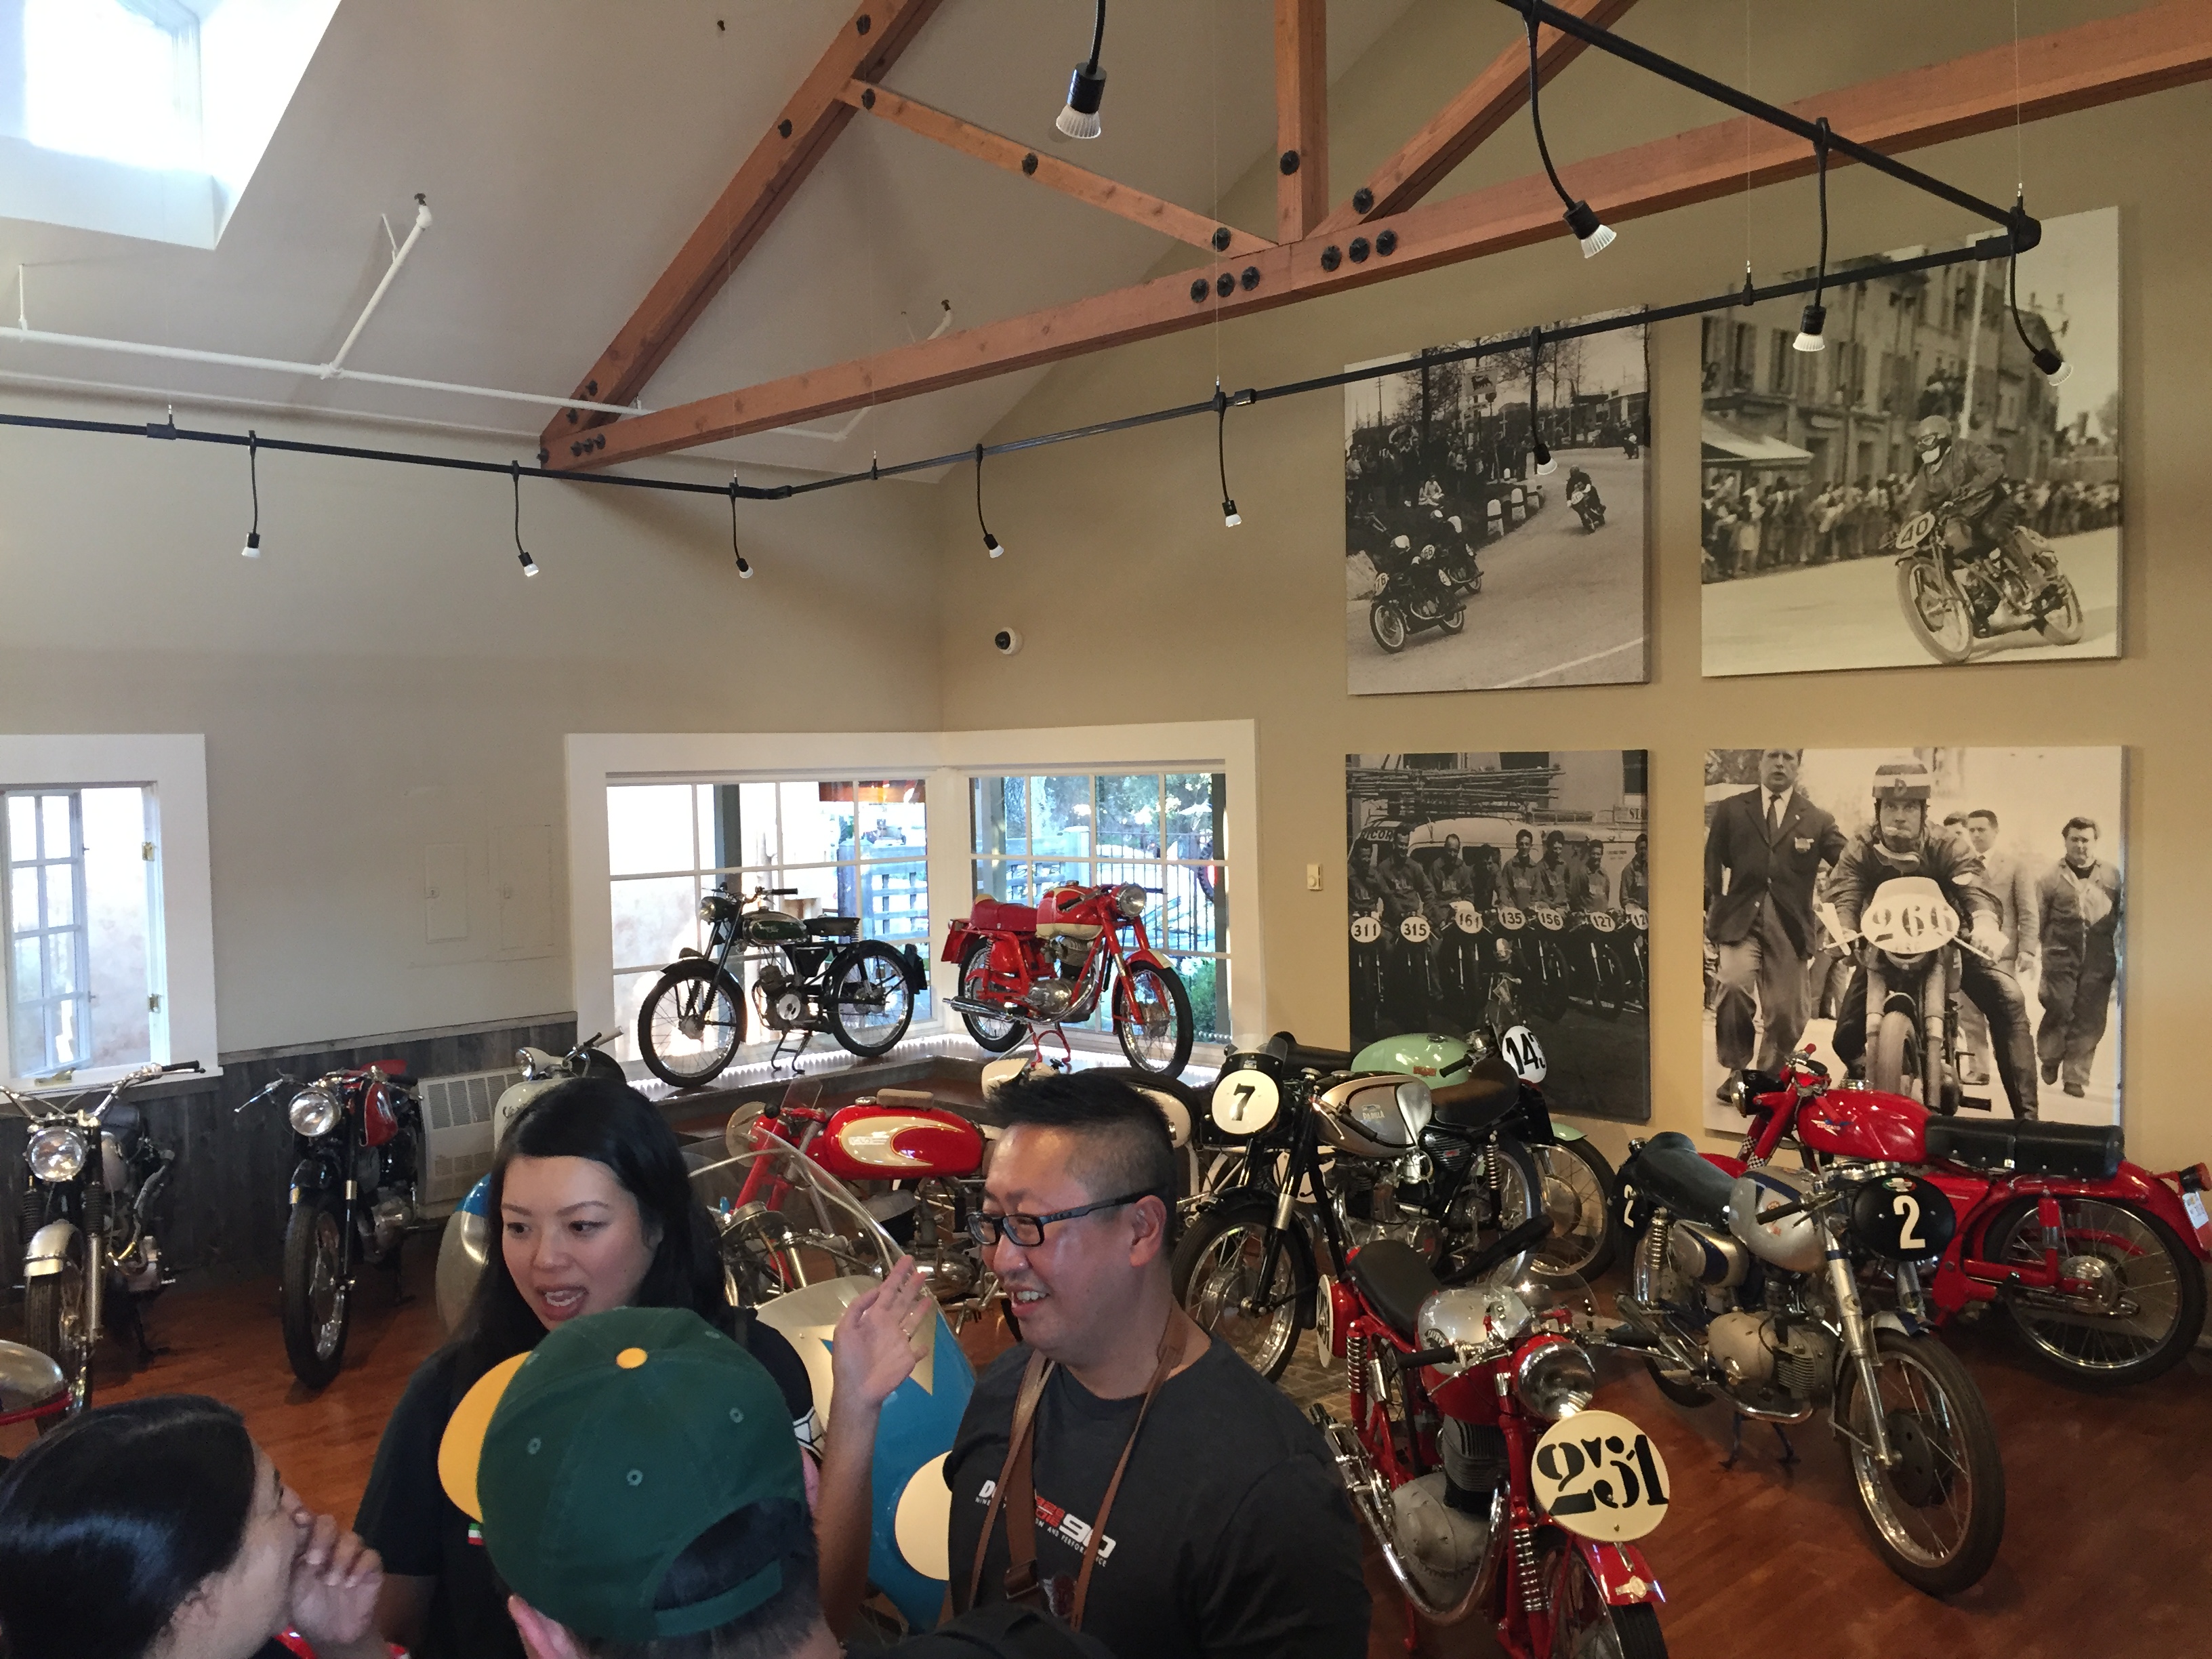
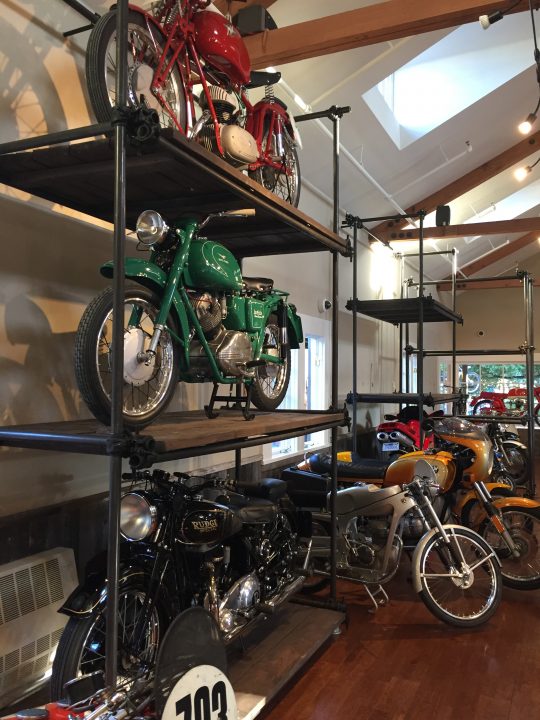
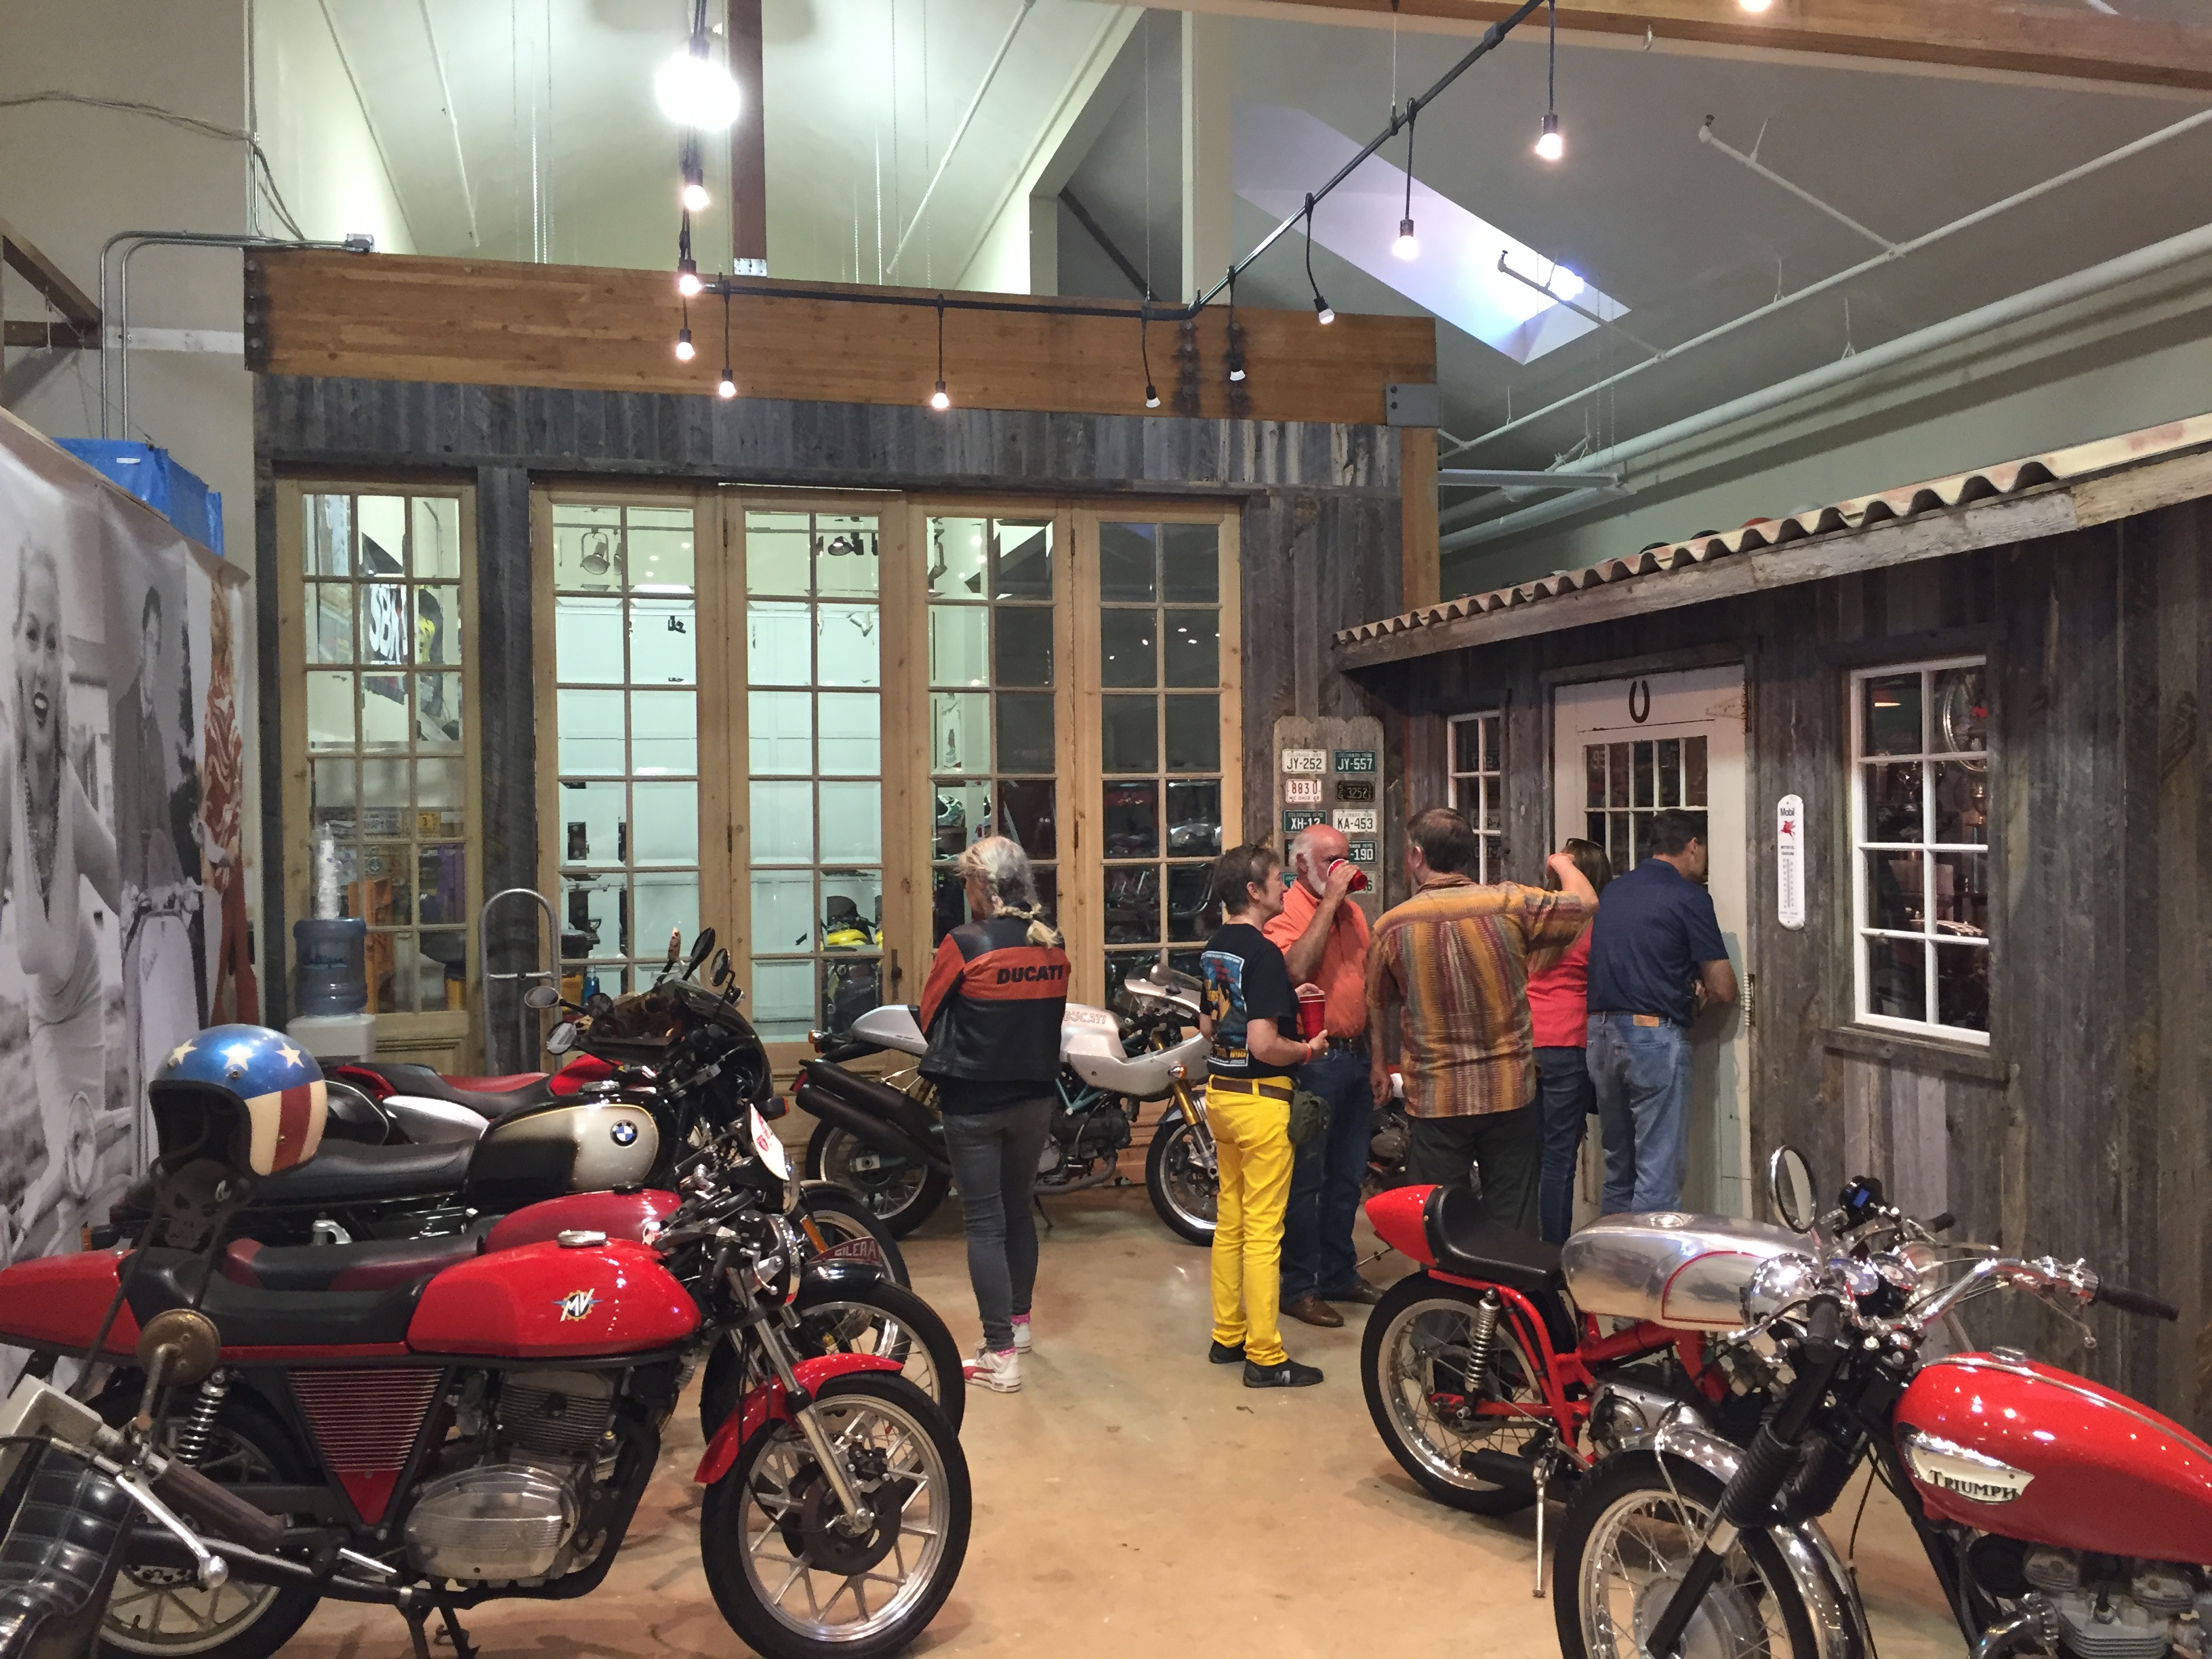
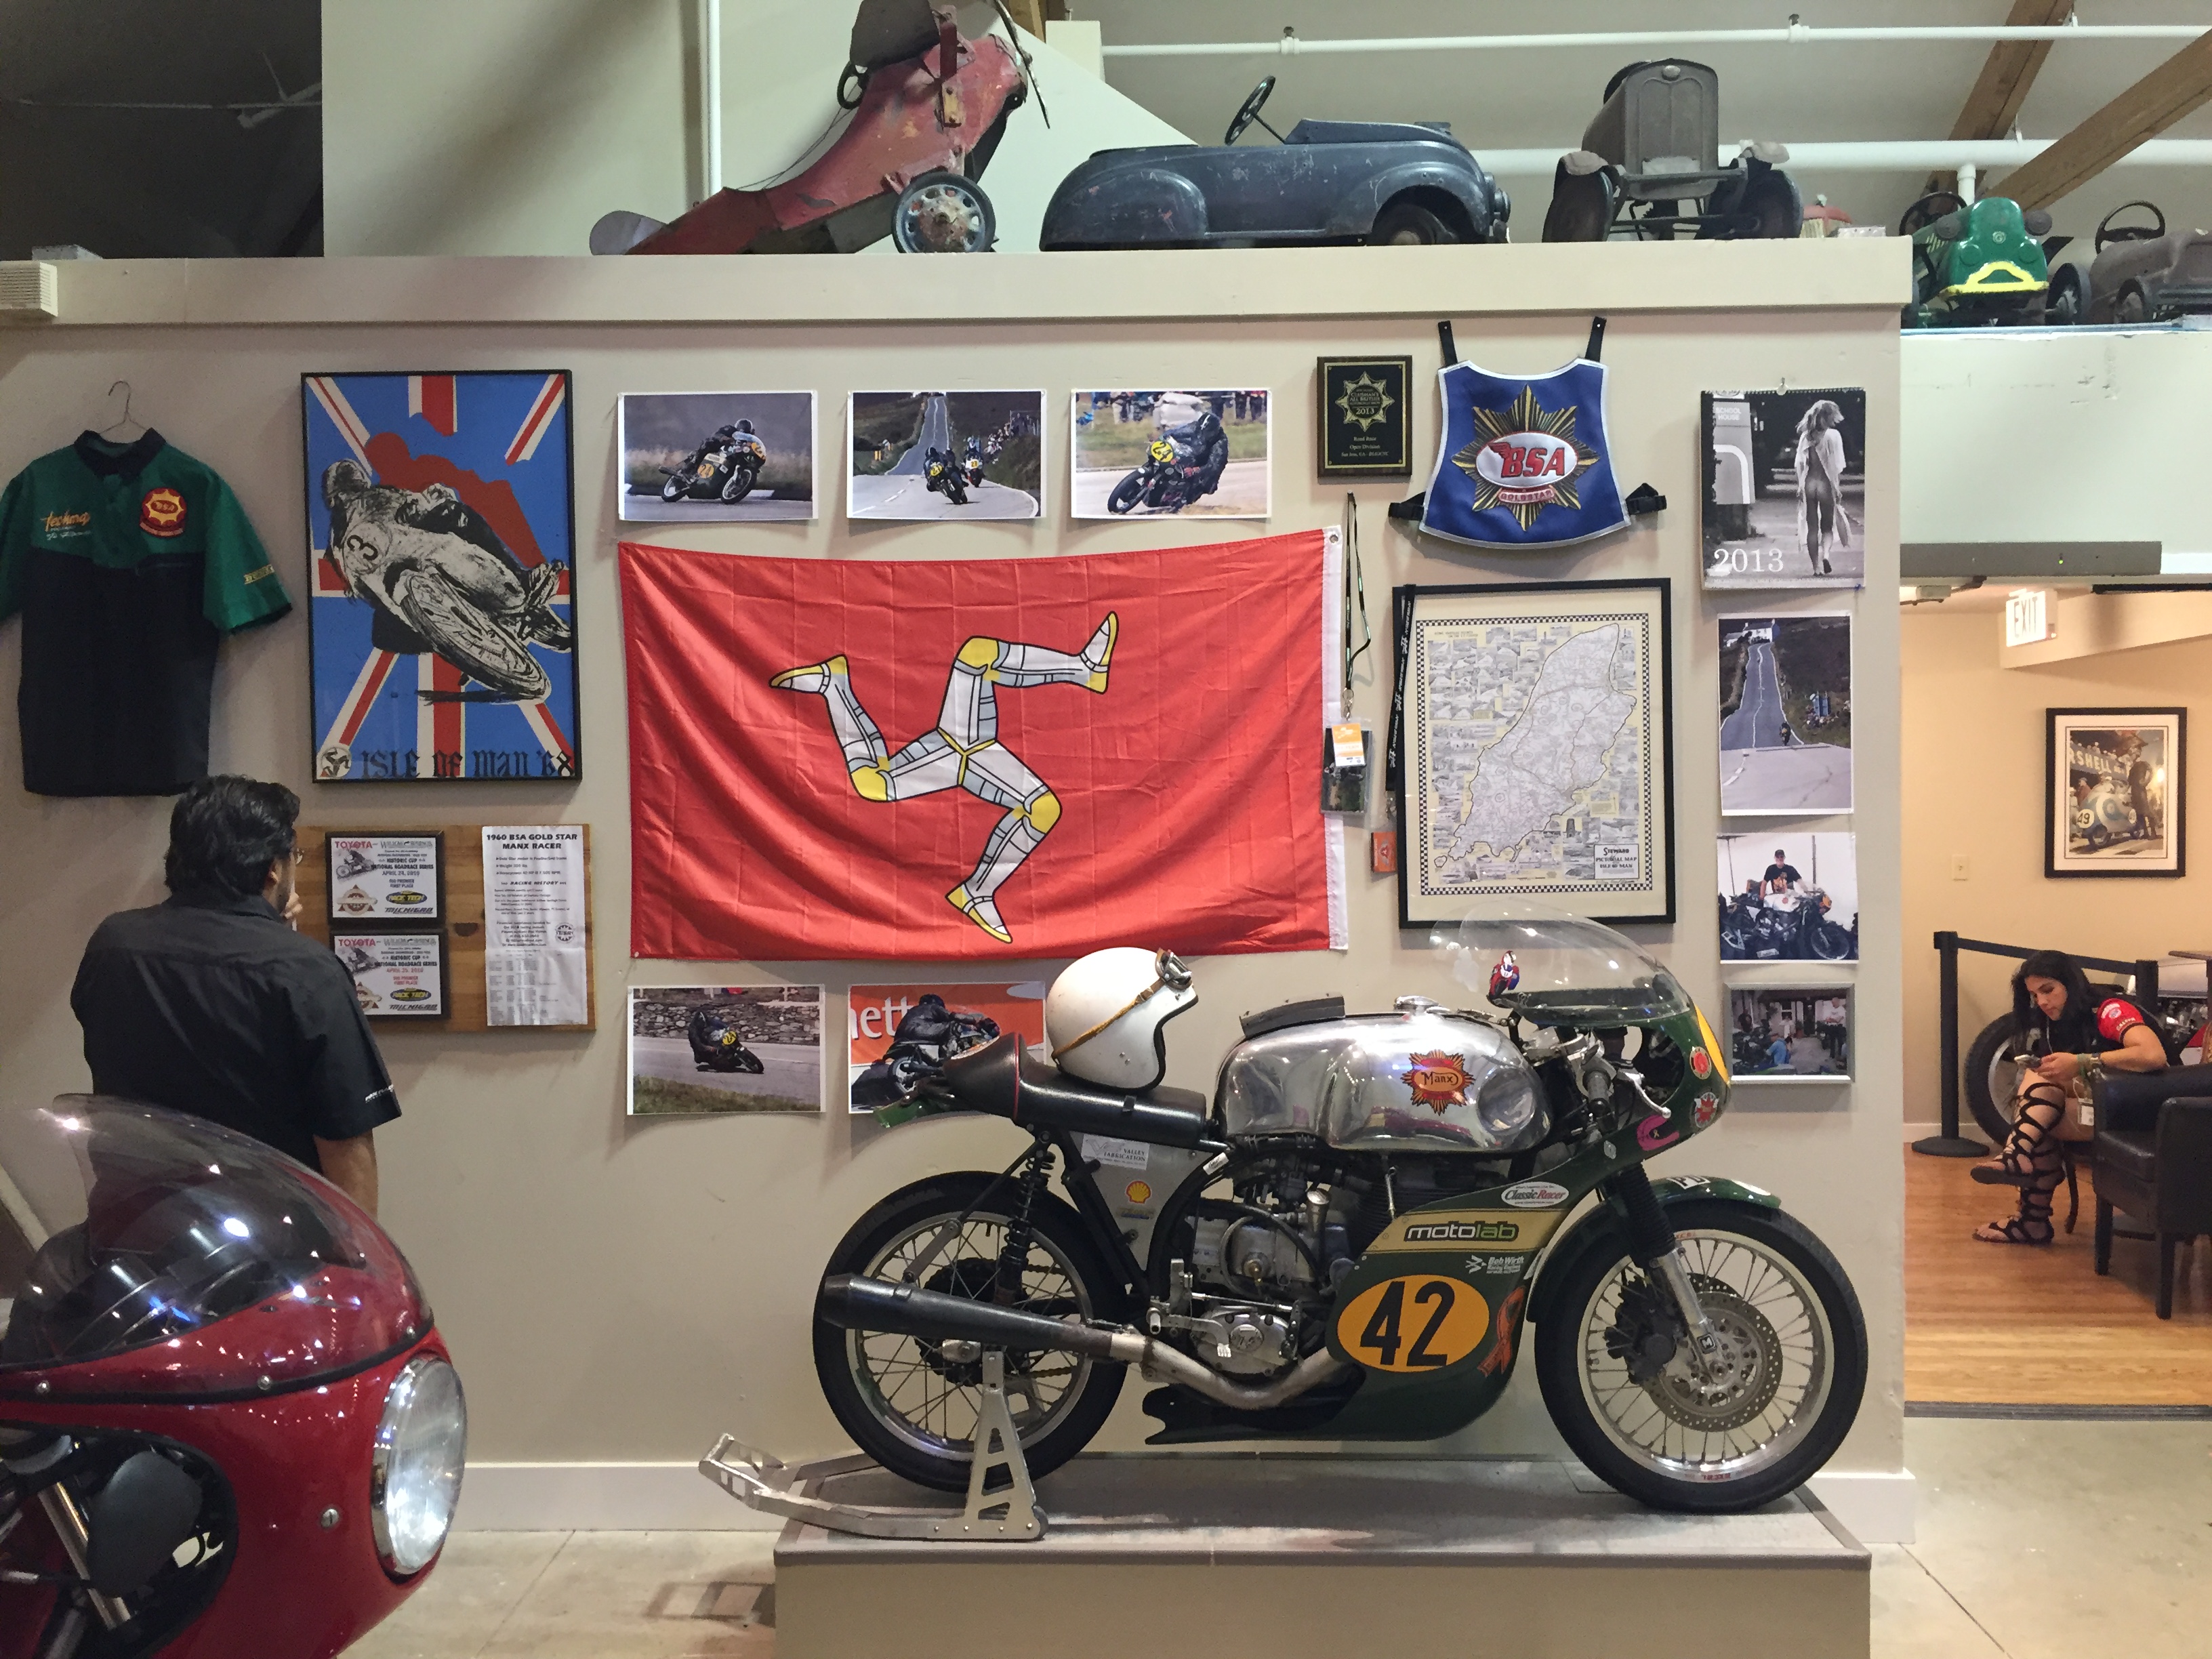
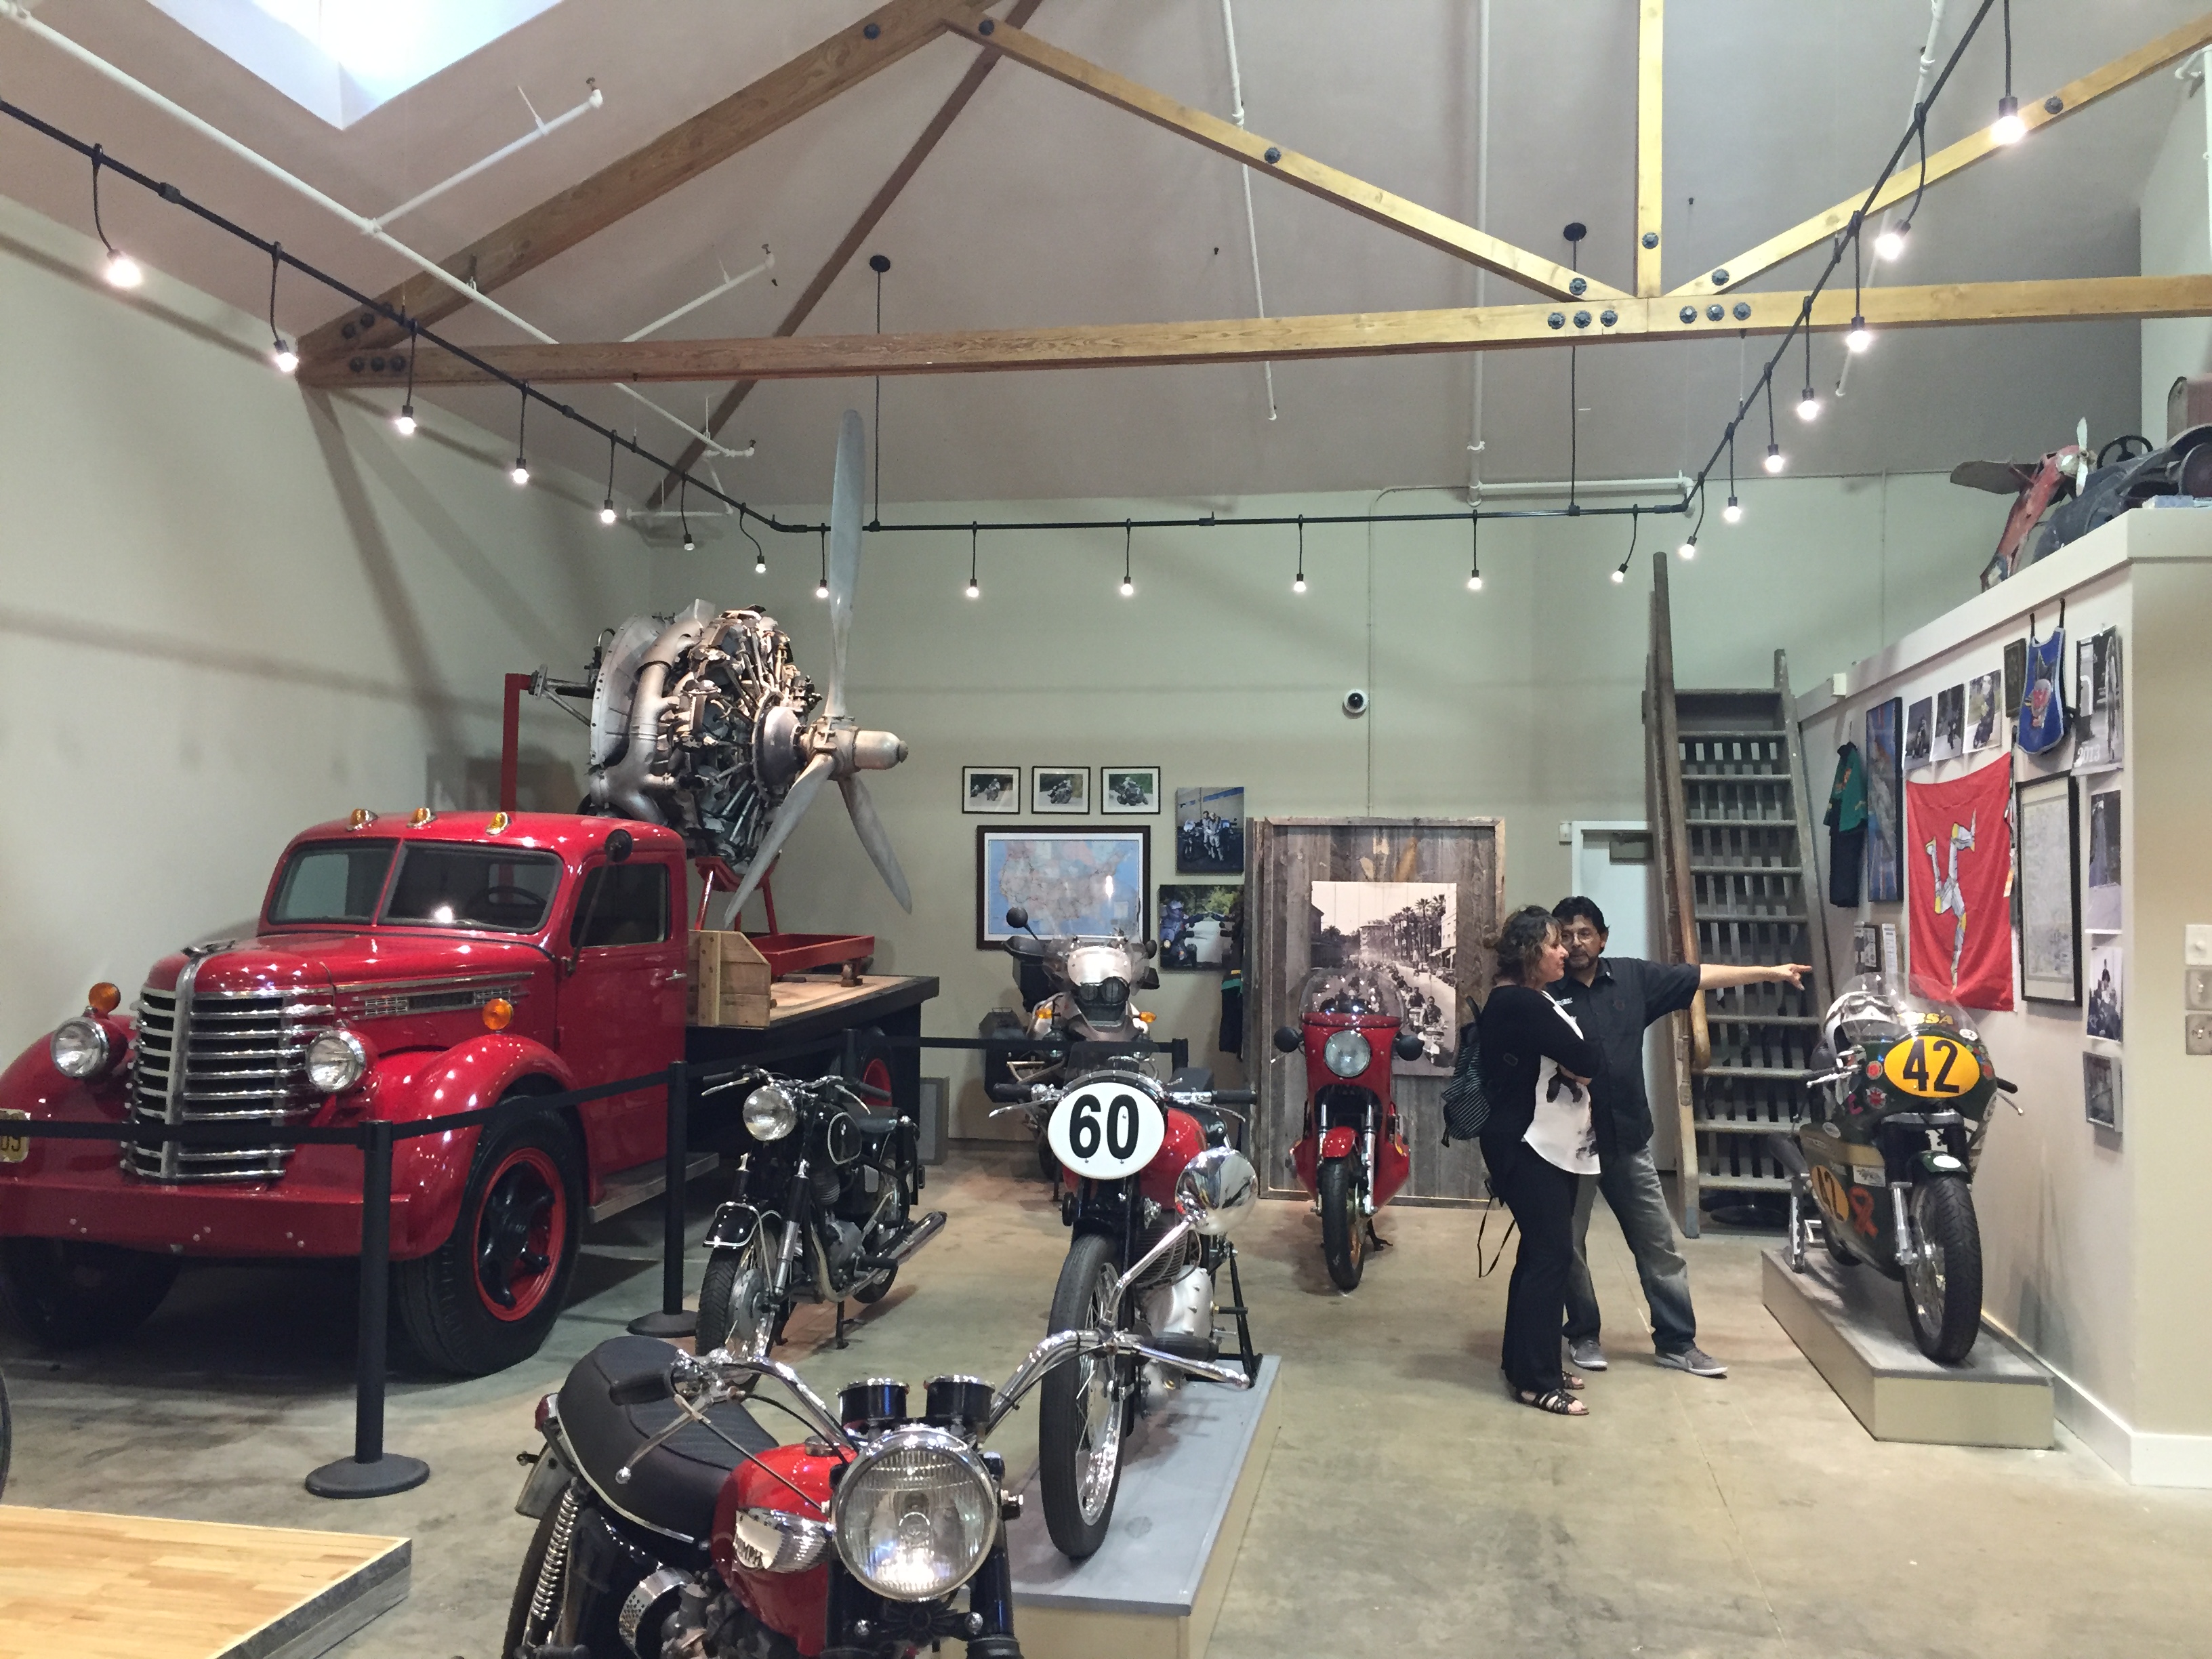
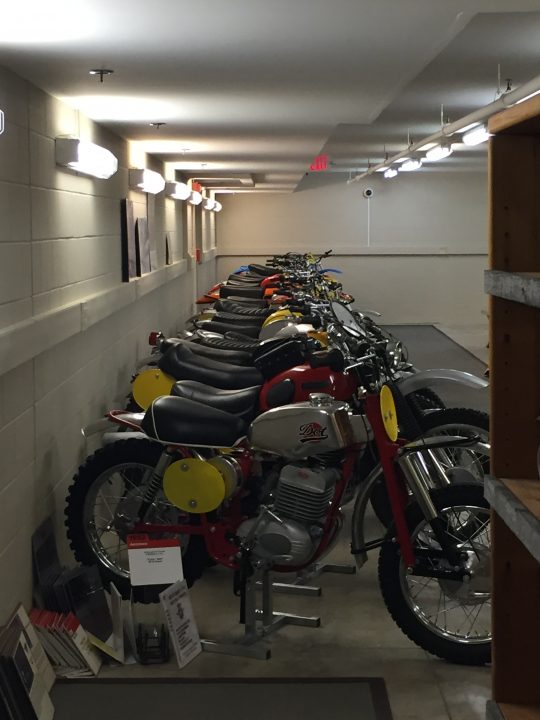
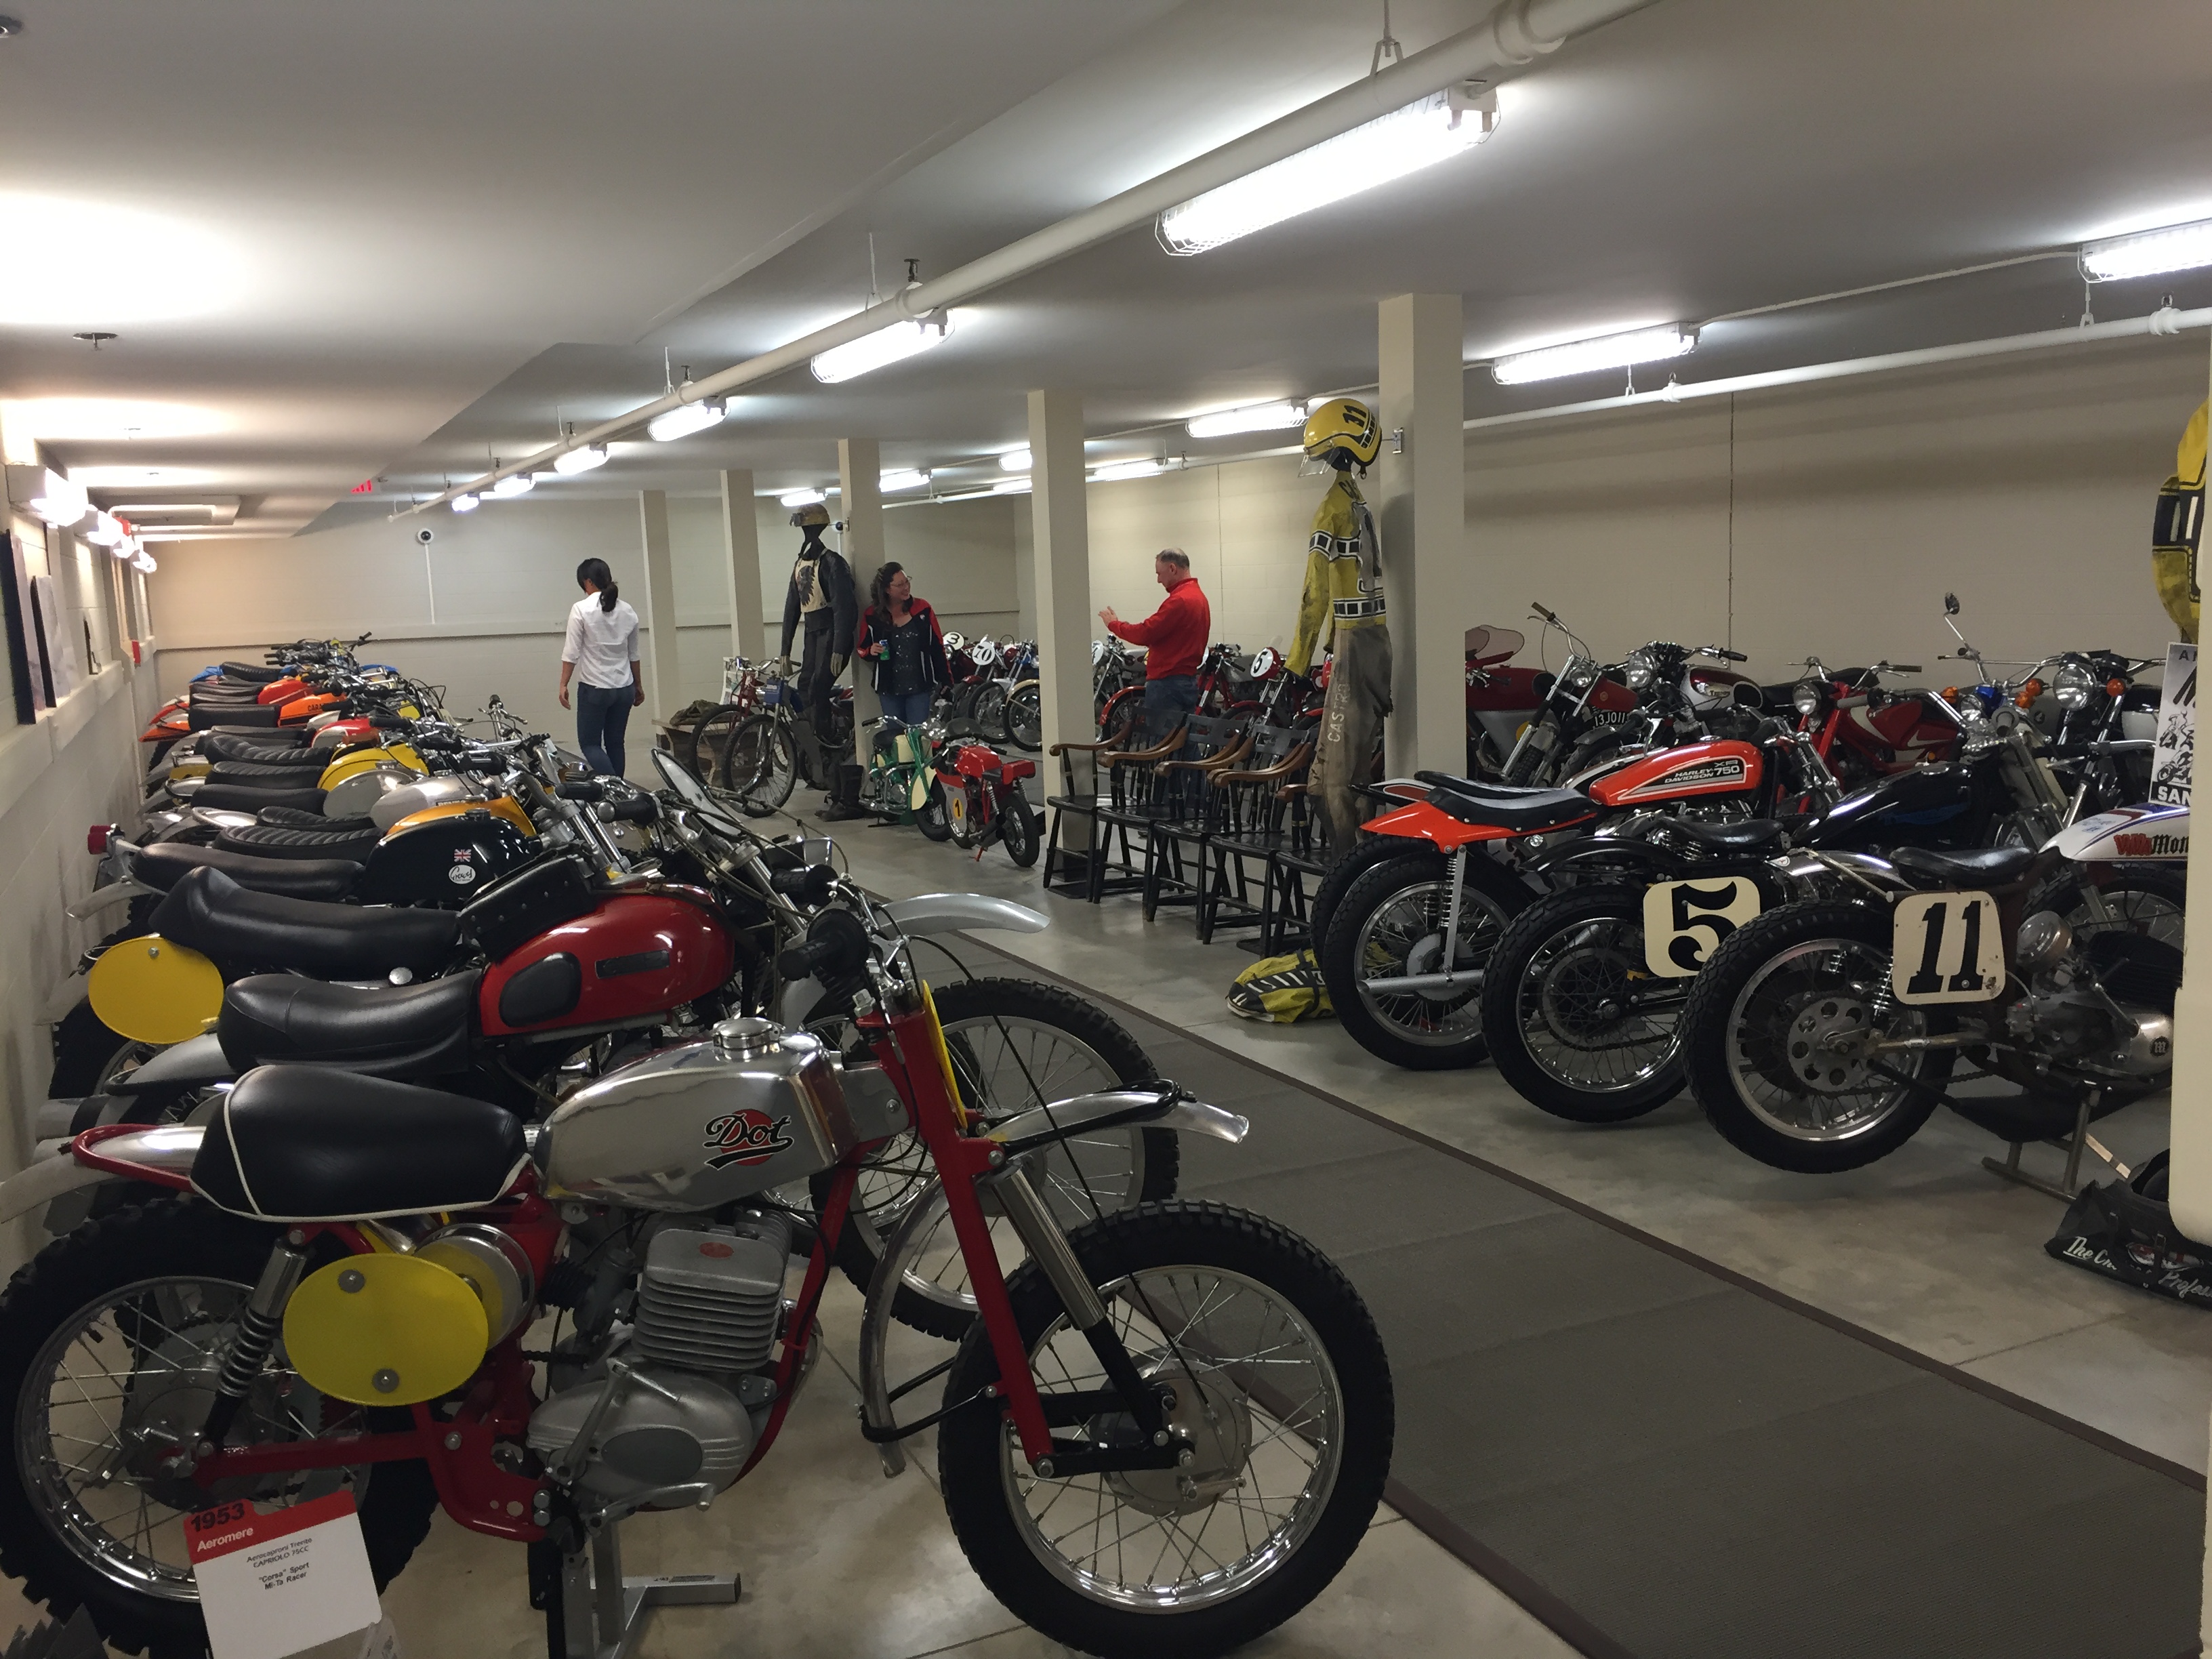
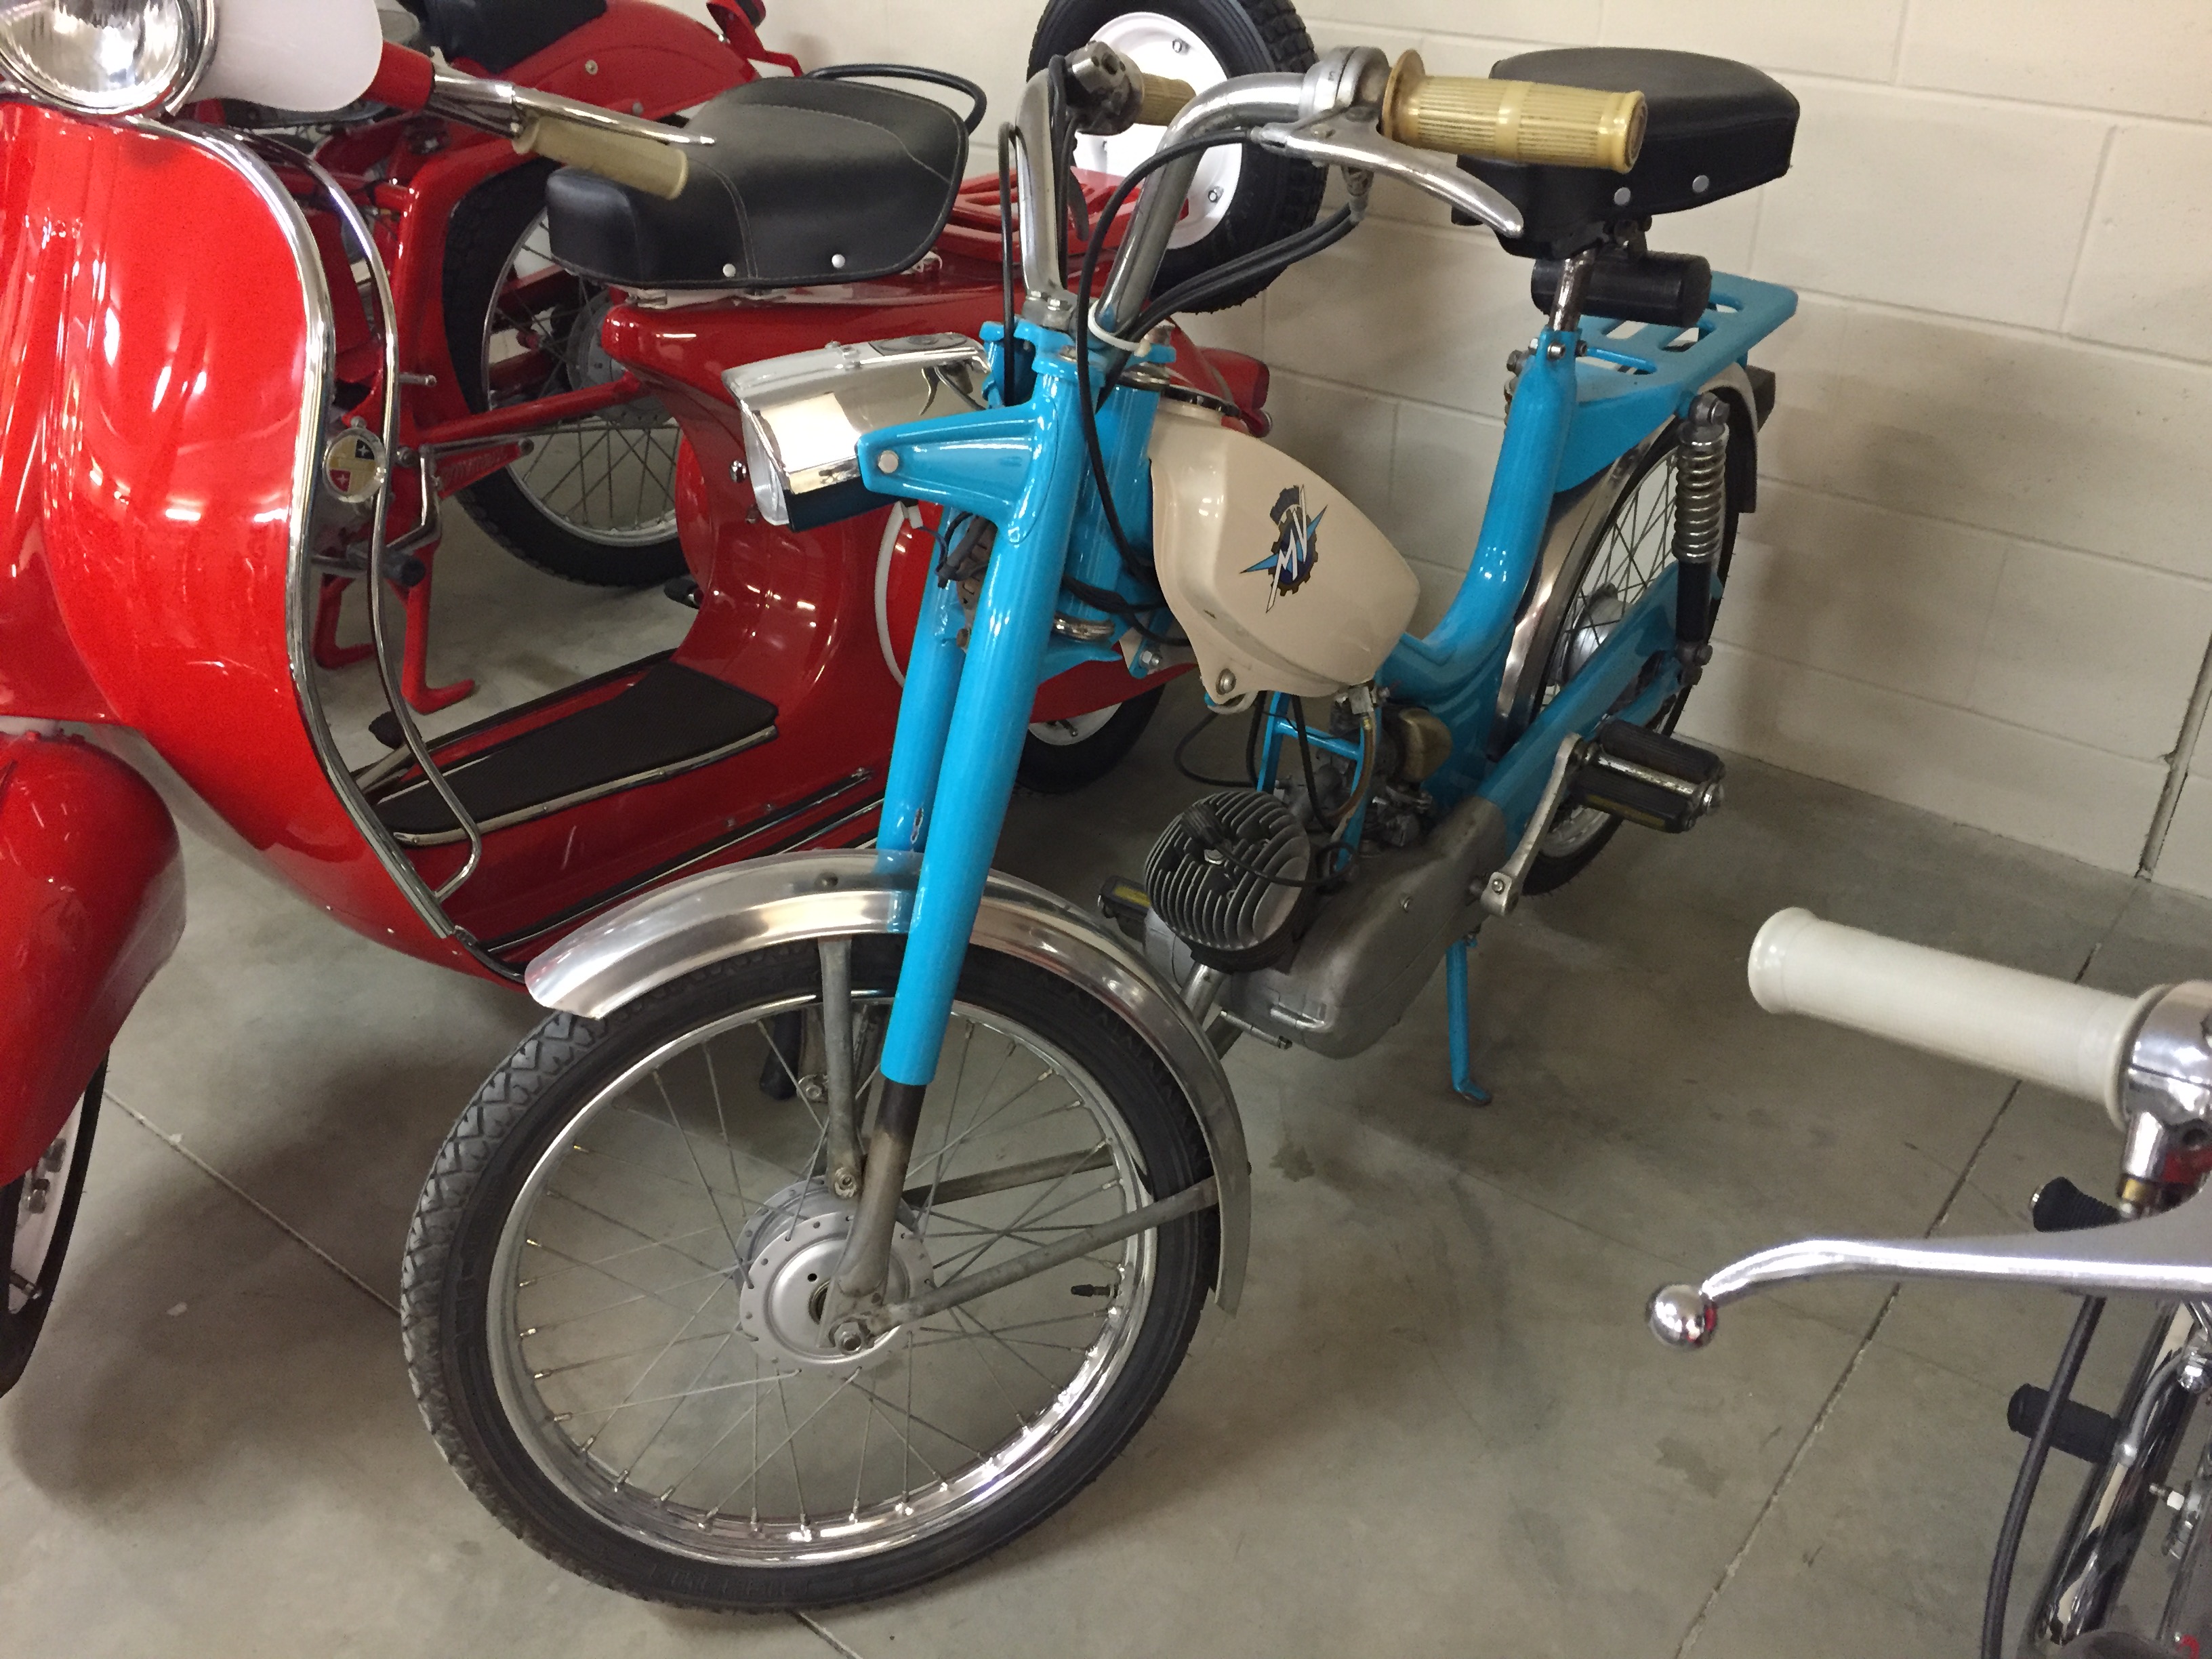
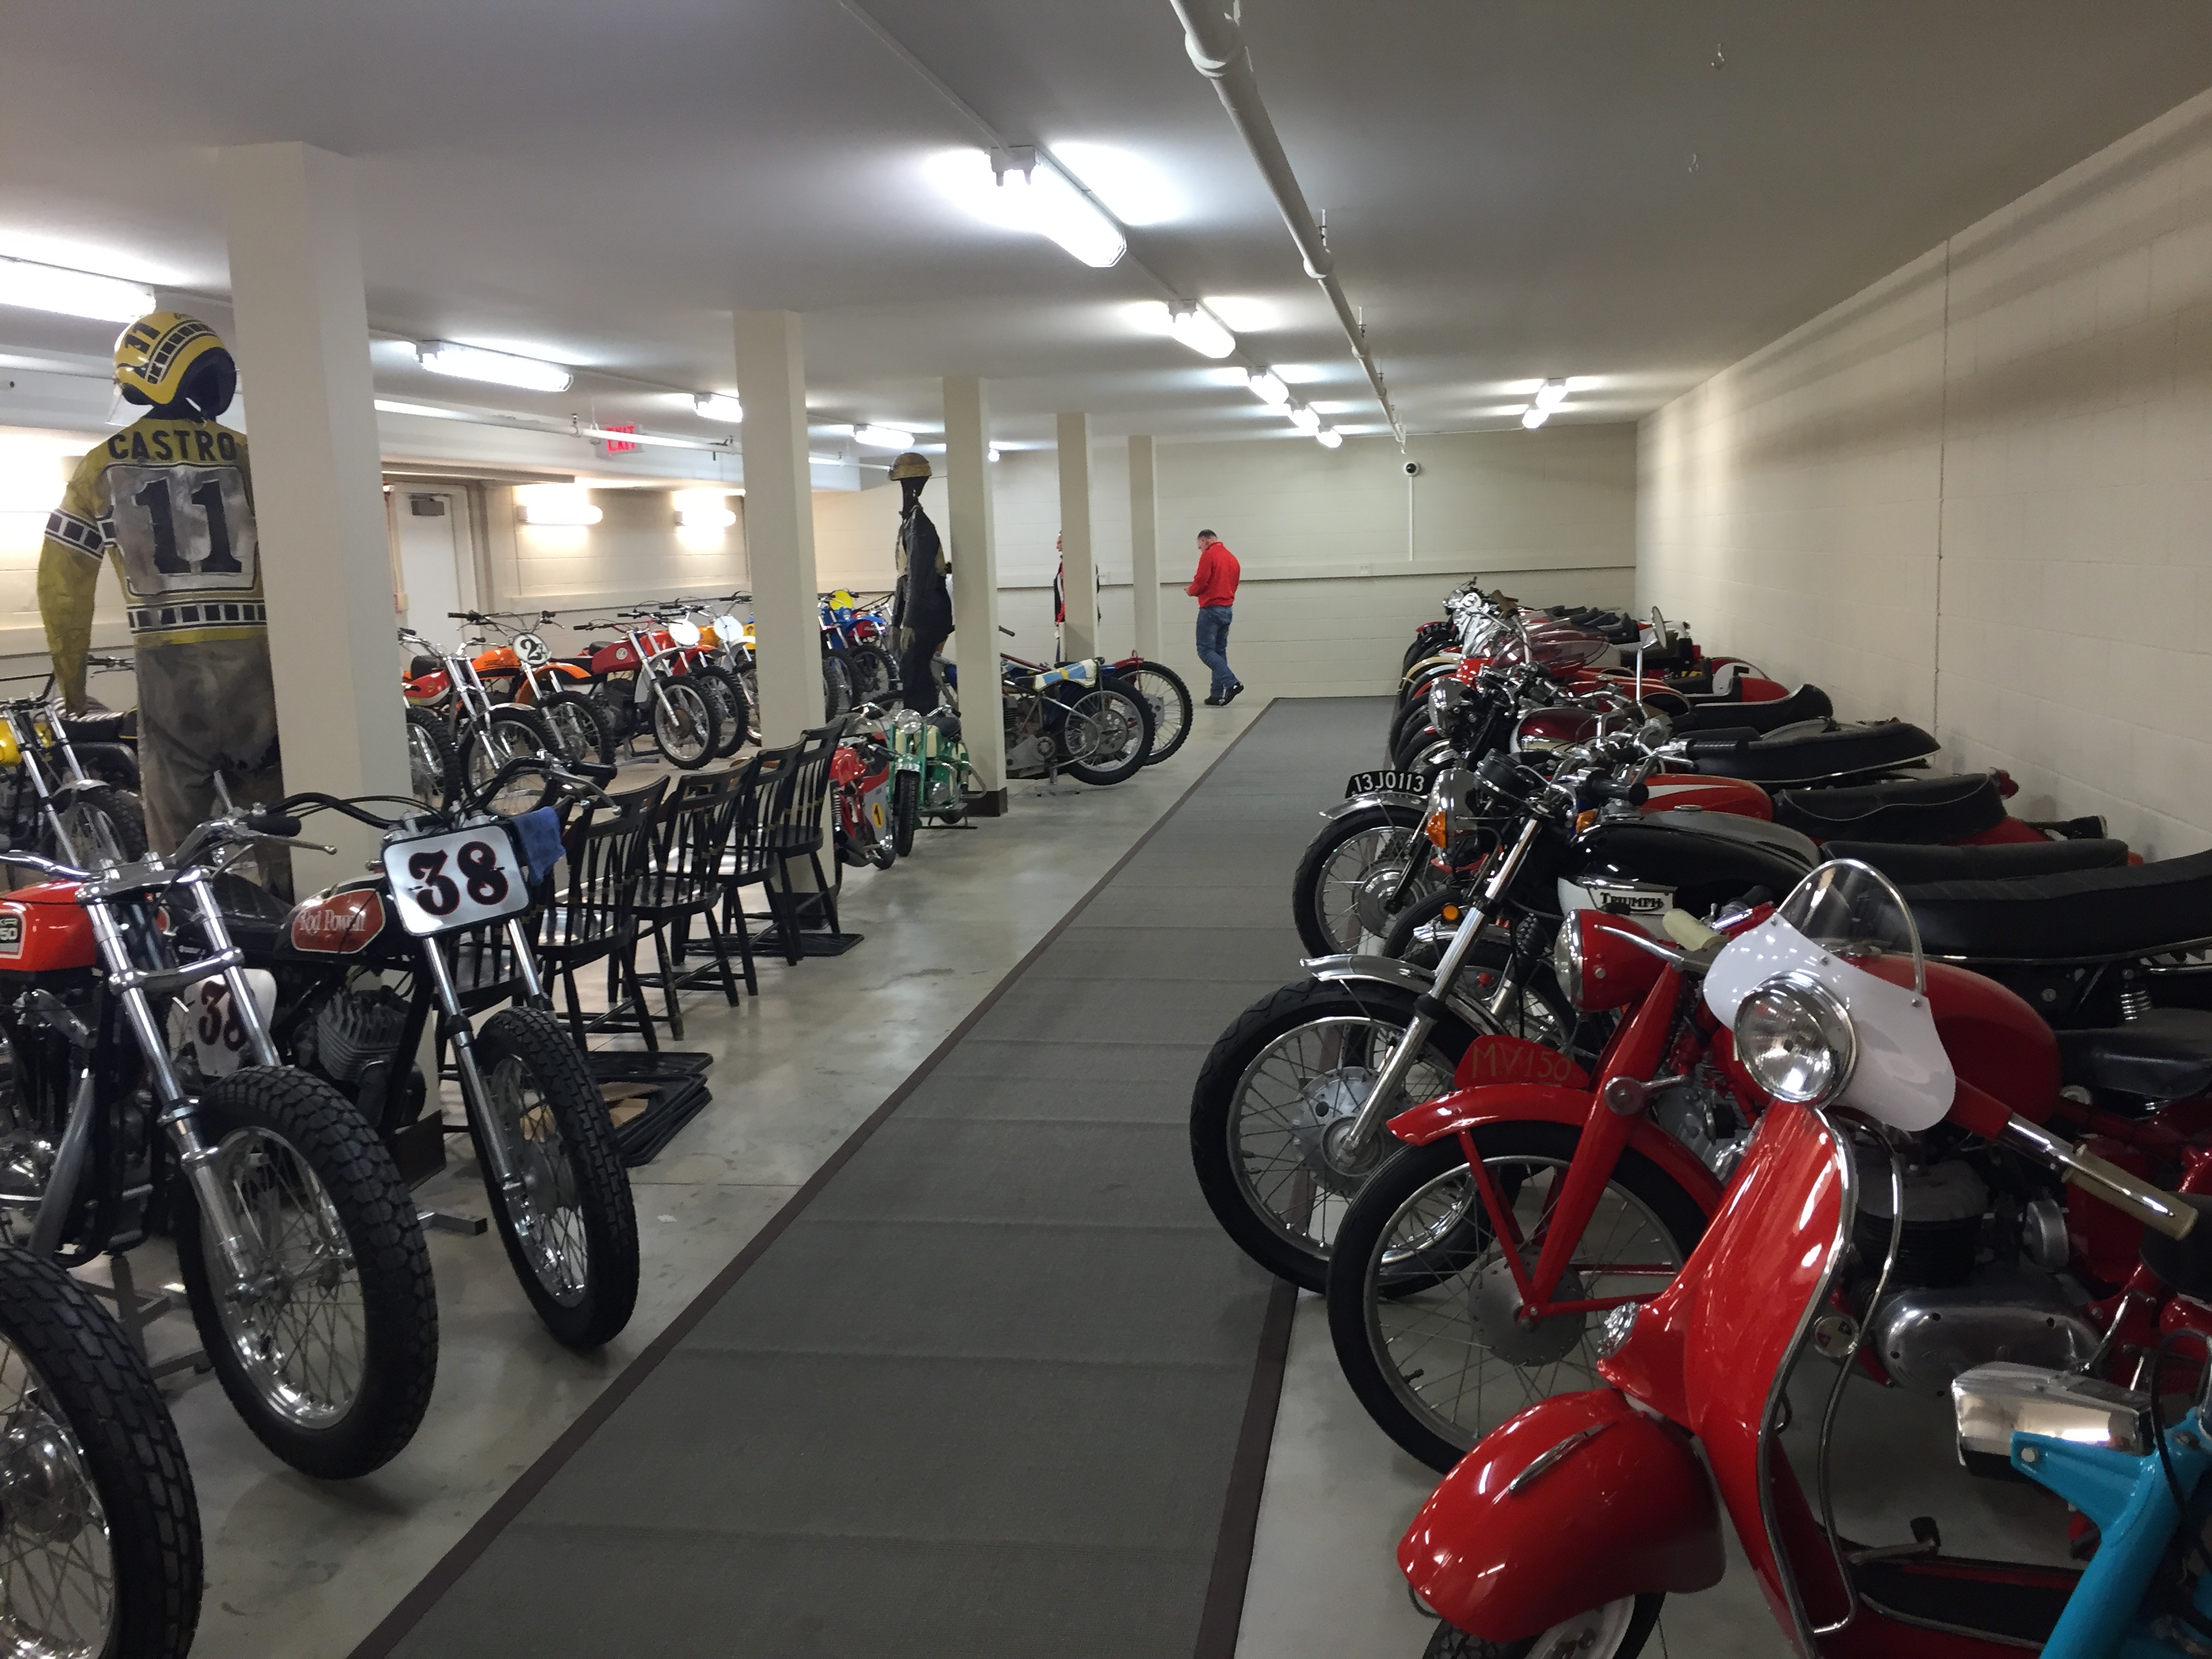
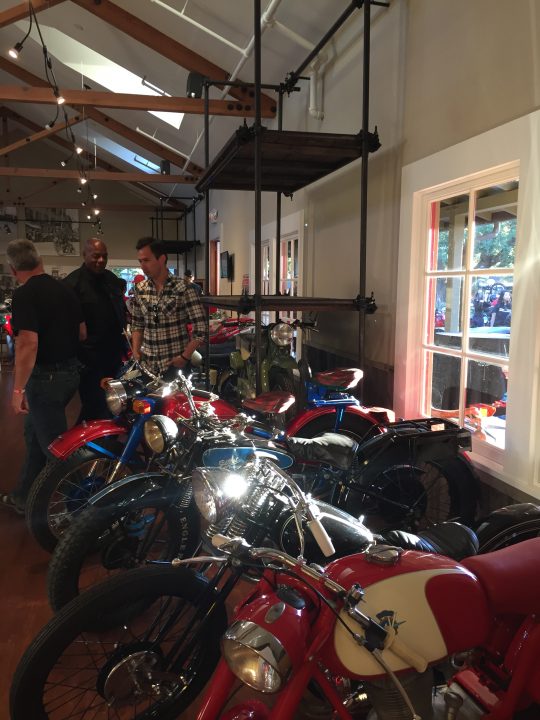
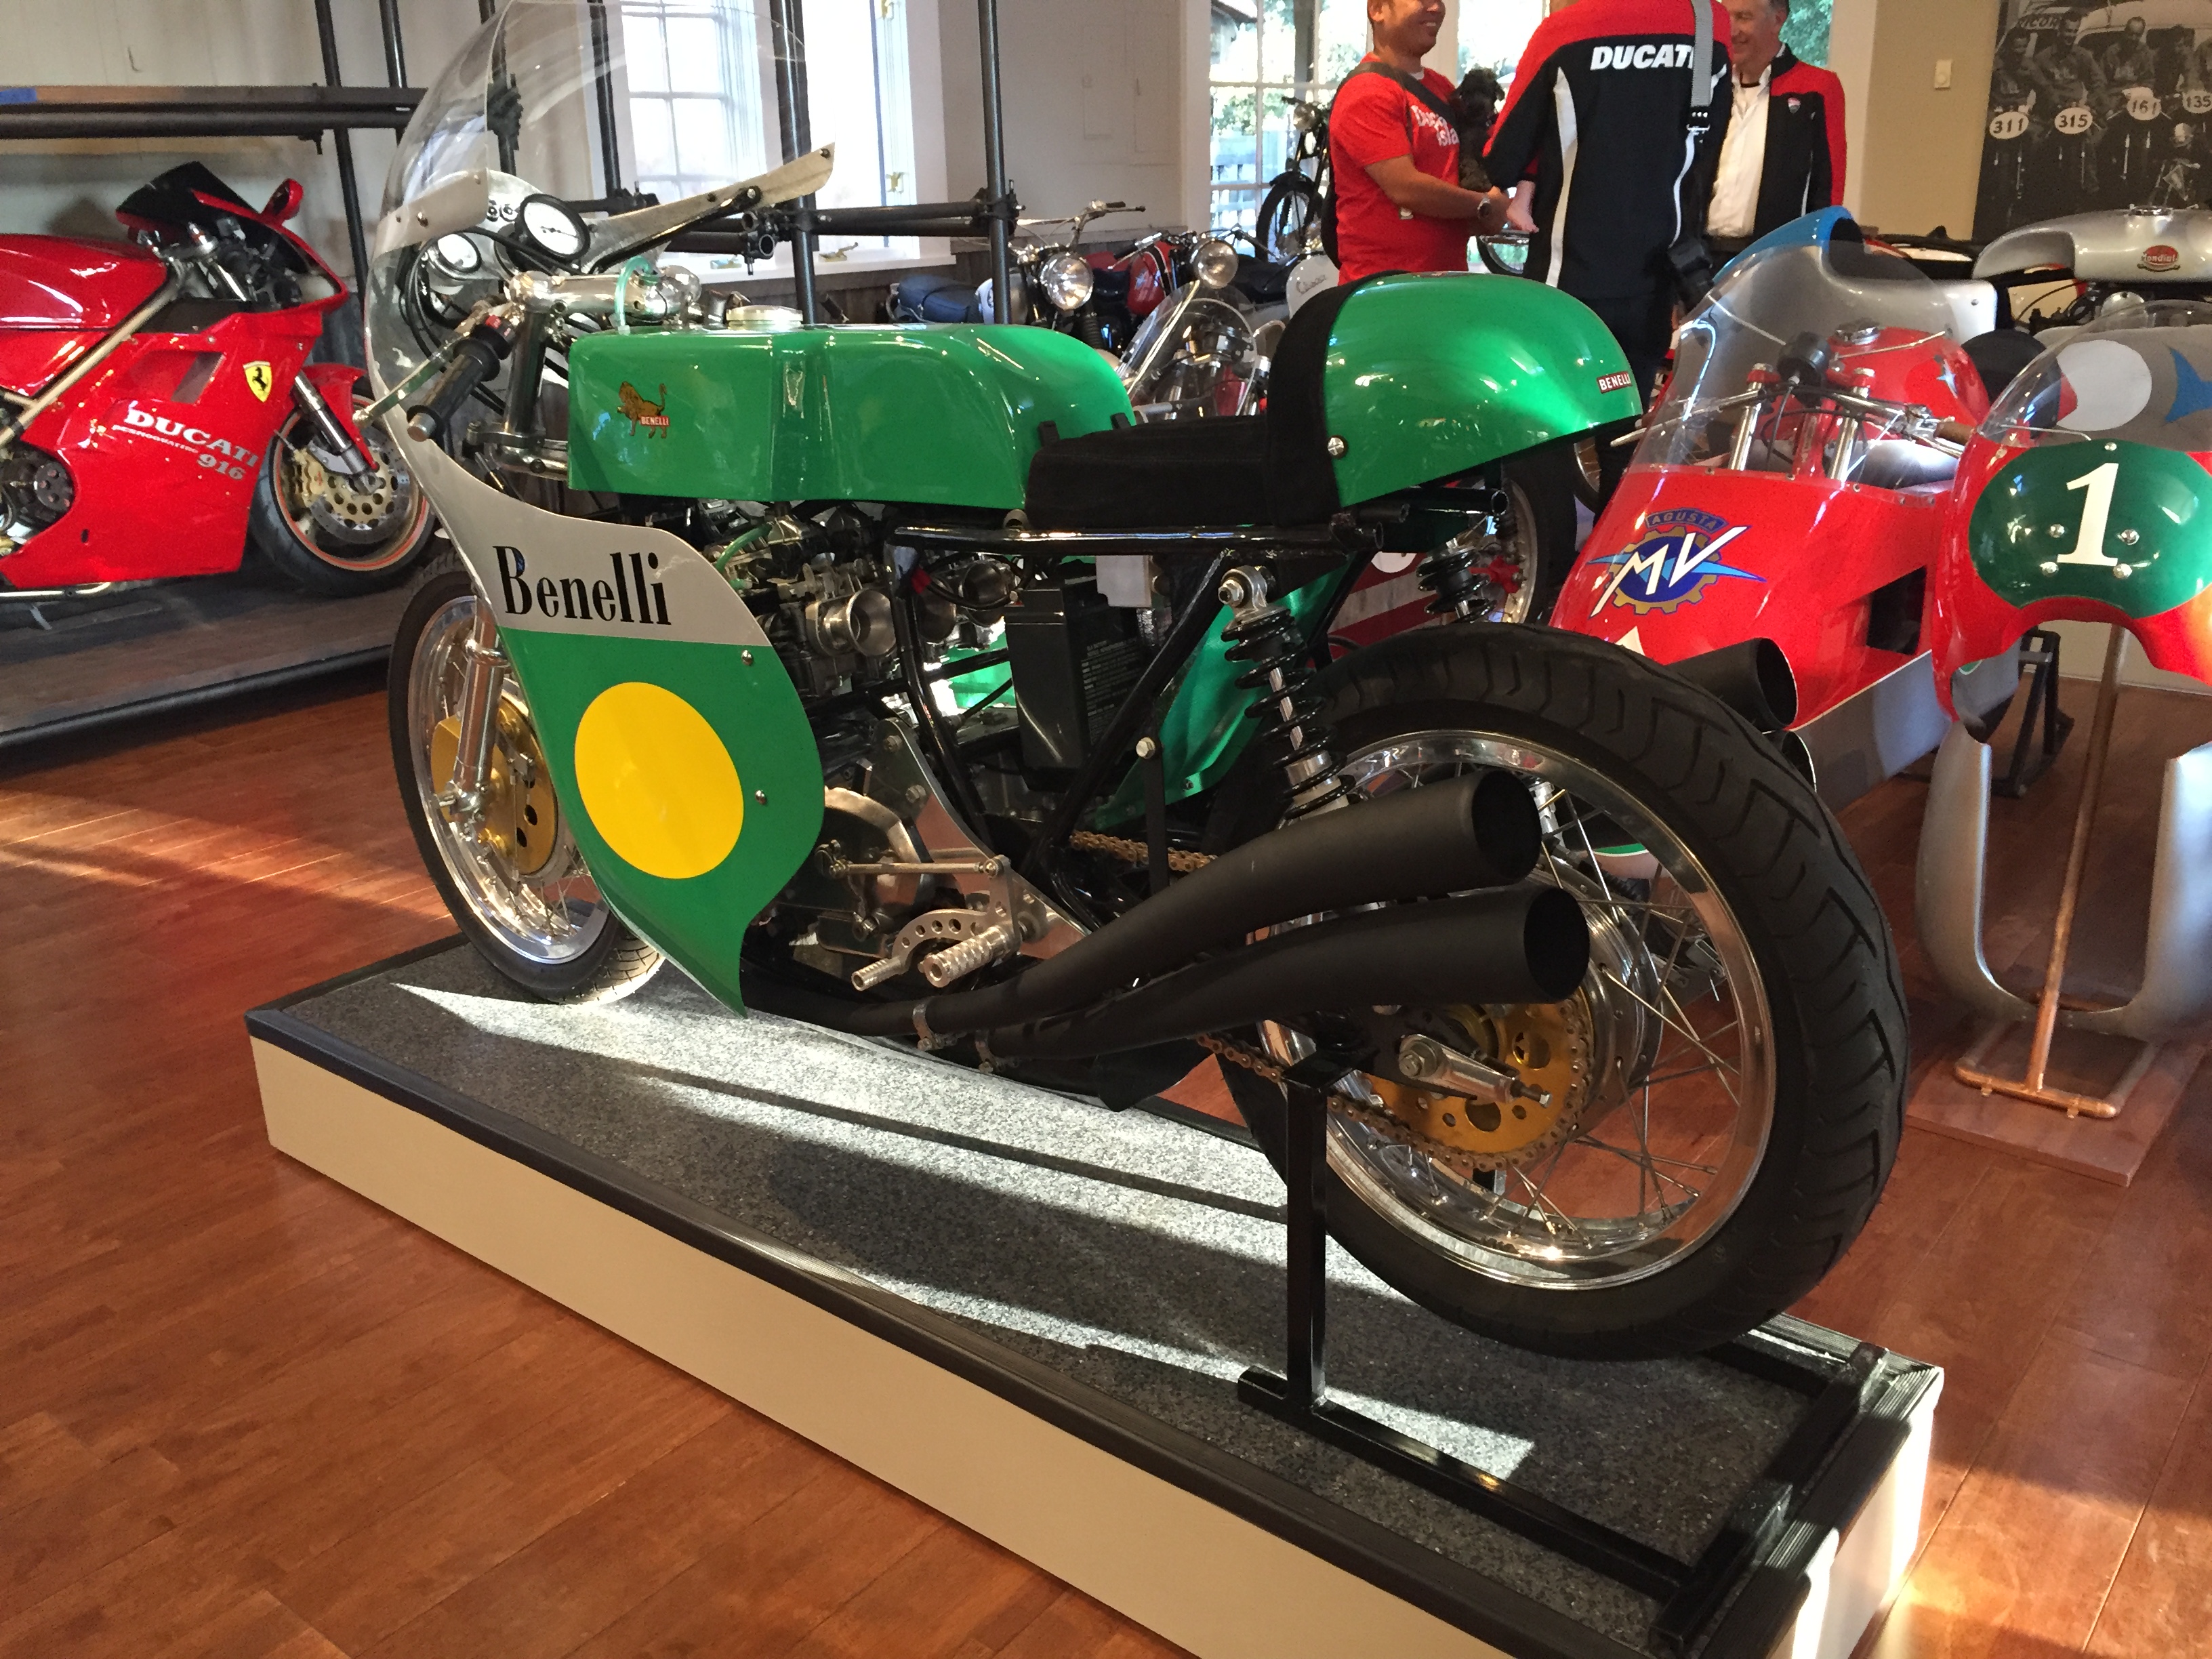
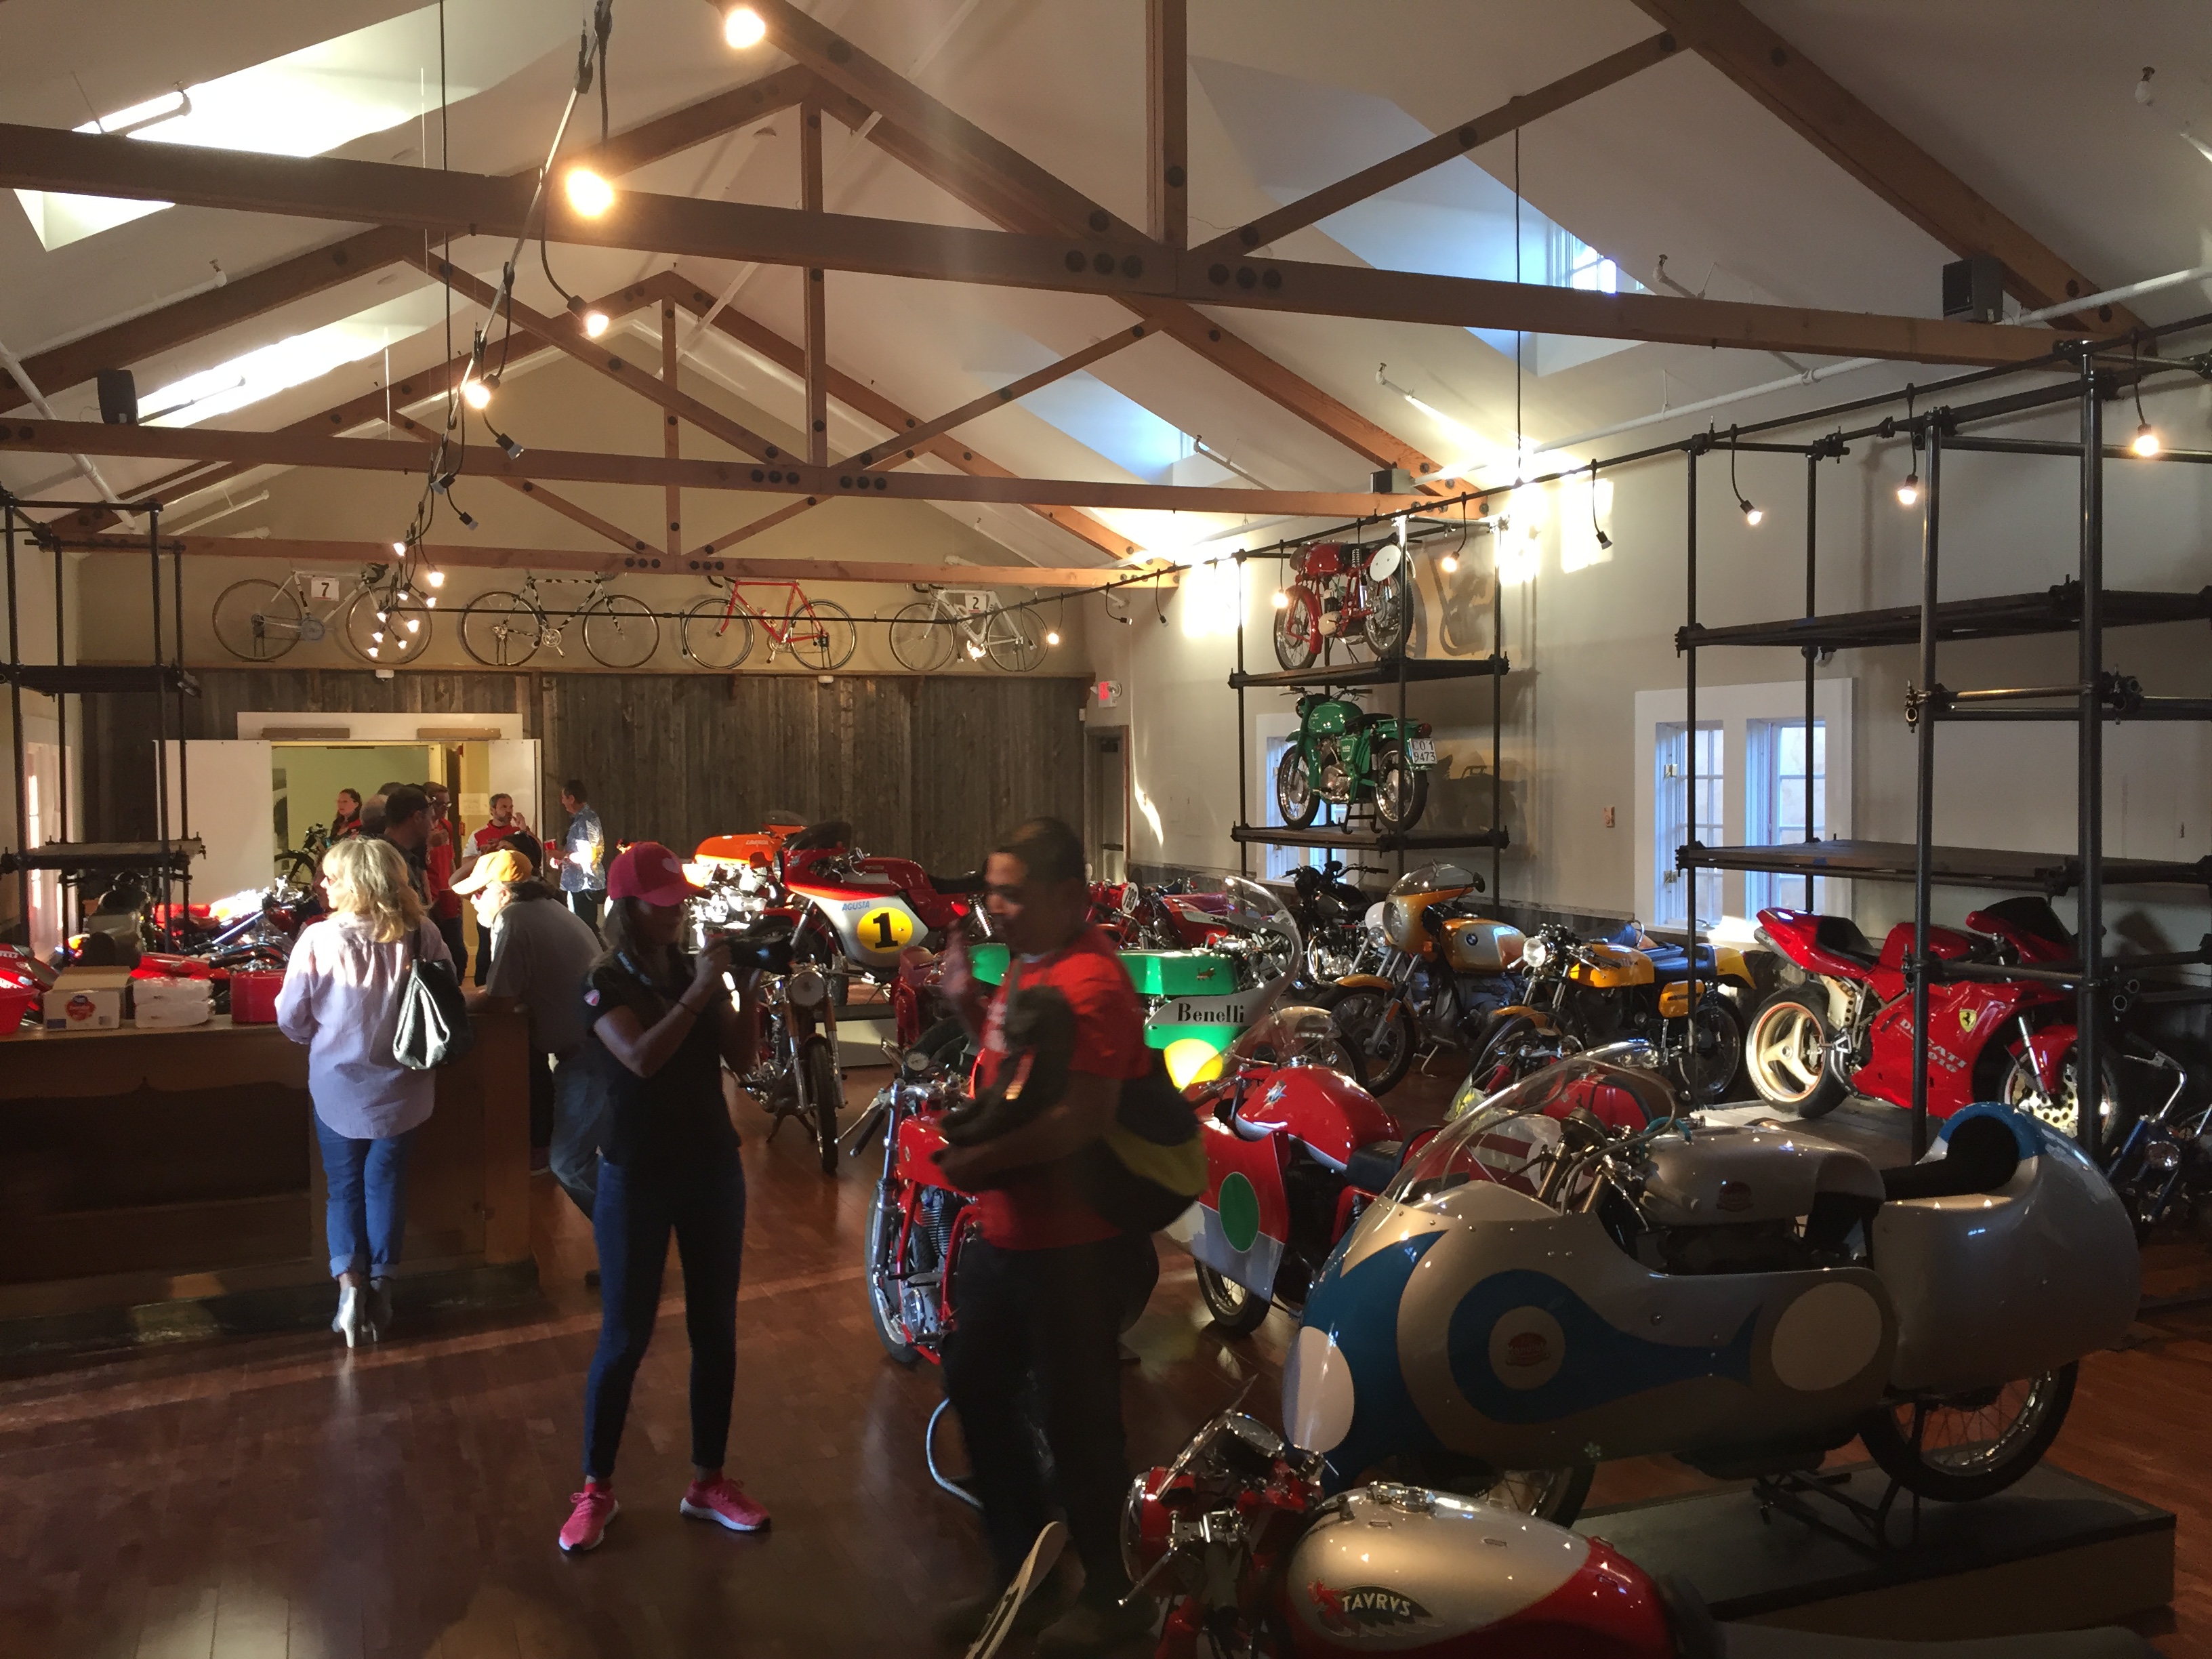
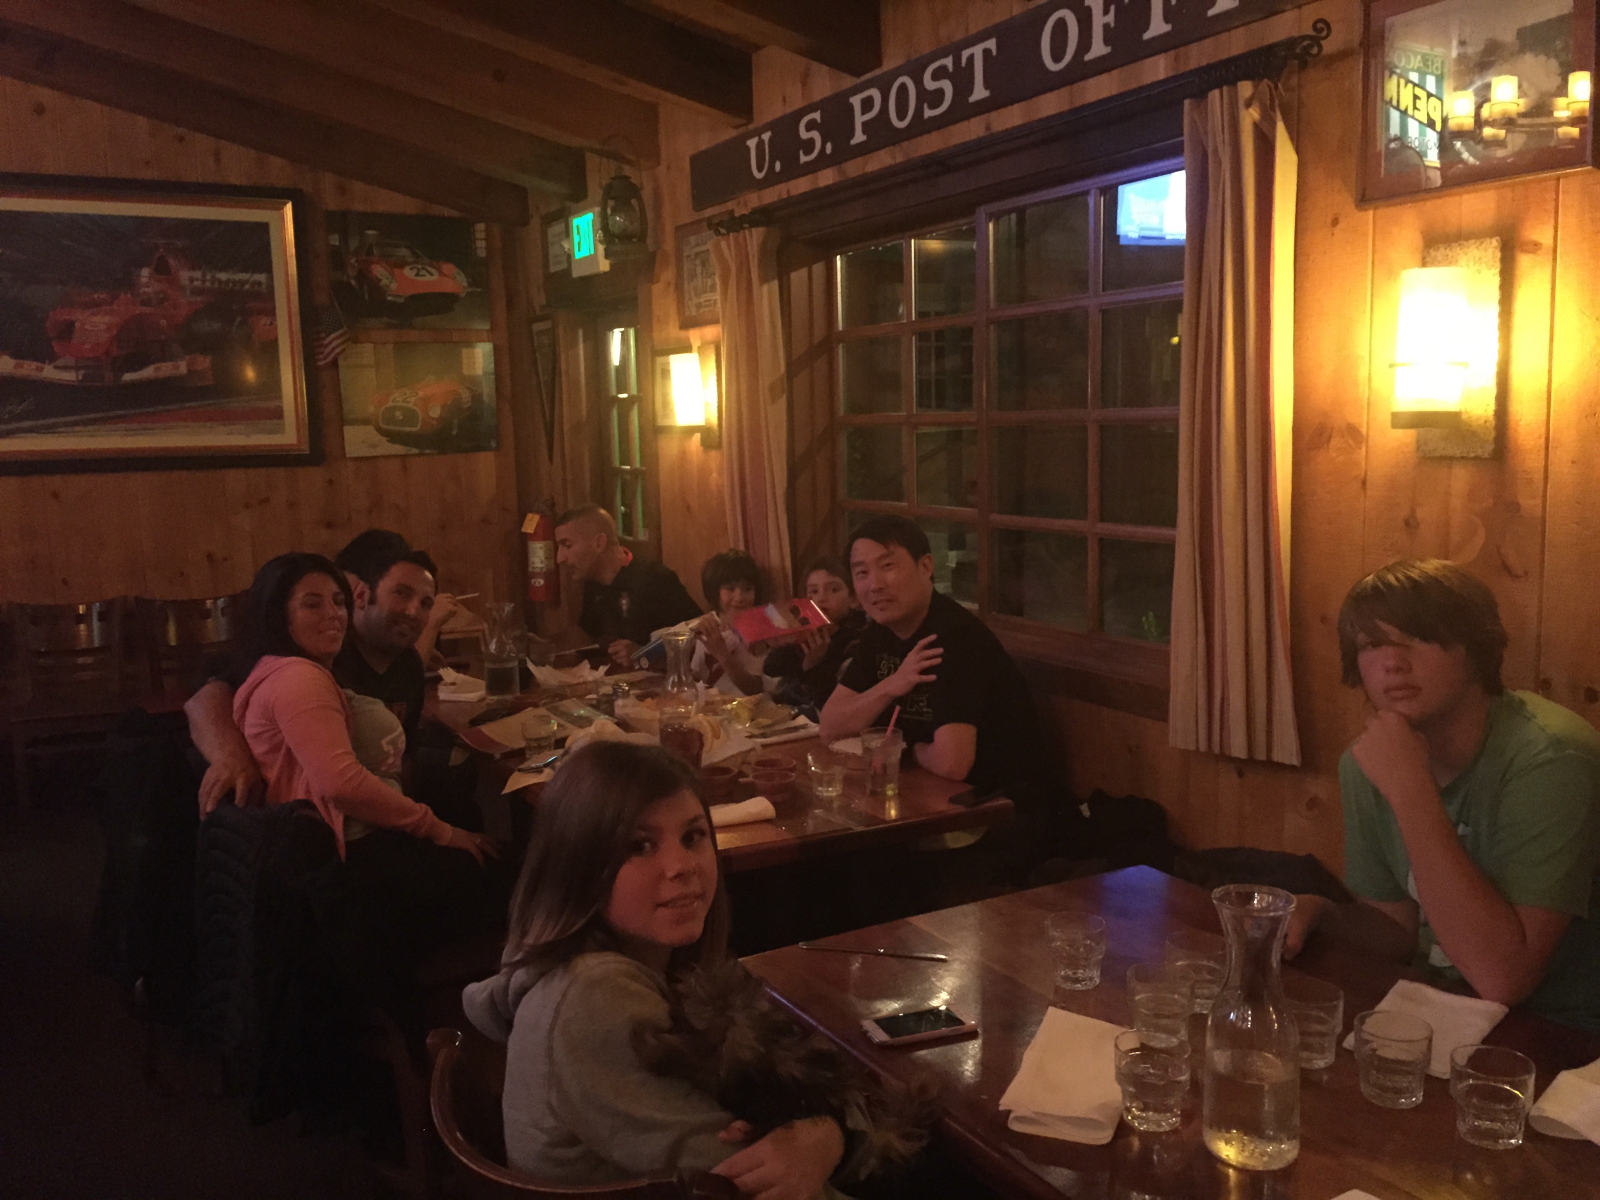
During the US Round of World SuperBike (SBK) Ducati Owners Club, arranged a preview of the Talbot Motorcycle Museum for club members. It was a great, warm and sunny evening in Carmel Valley, amongst some amazing motorcycles!
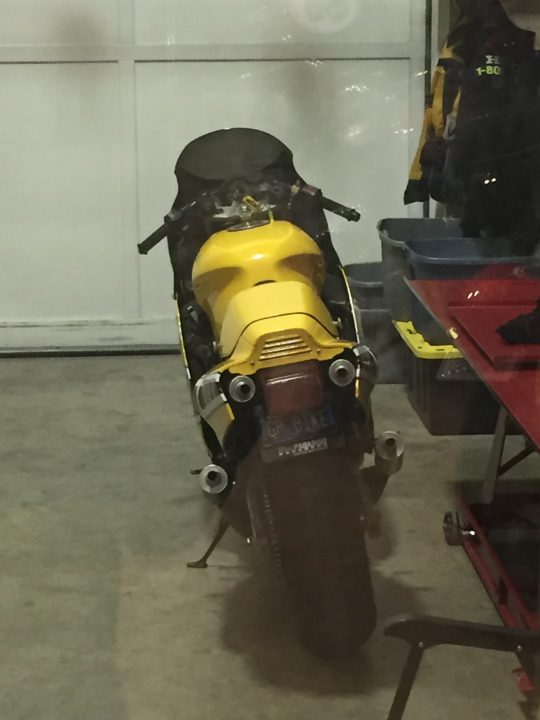
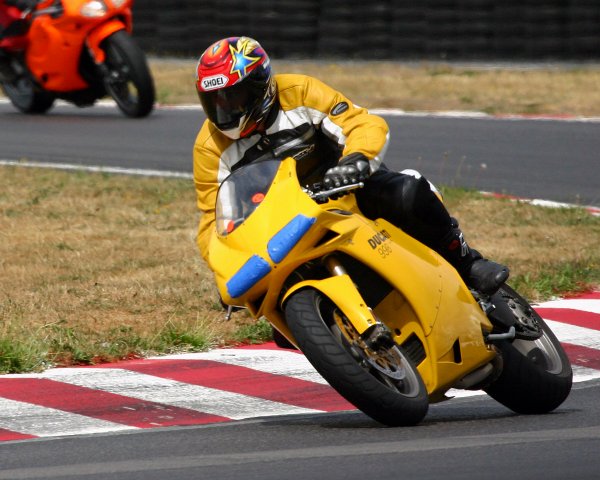
The Ducati 749 wore a new suit to the track this time around. Although it looked great, it’s mechanical state was not quite up to to the image. It was more show than go for Sunday’s track day.
The weekend started rough and it went a little downhill from there. While finishing the dress-up on the bike (the red gas tank arrived late on Friday), Saturday, the fuel tank o-ring was damaged and required a fast trip to San Jose to get a $25 replacement o-ring. At least the dealer had it in stock and I was able to get the bike back together in time to pull into Monterey for our pre-track-day dinner.
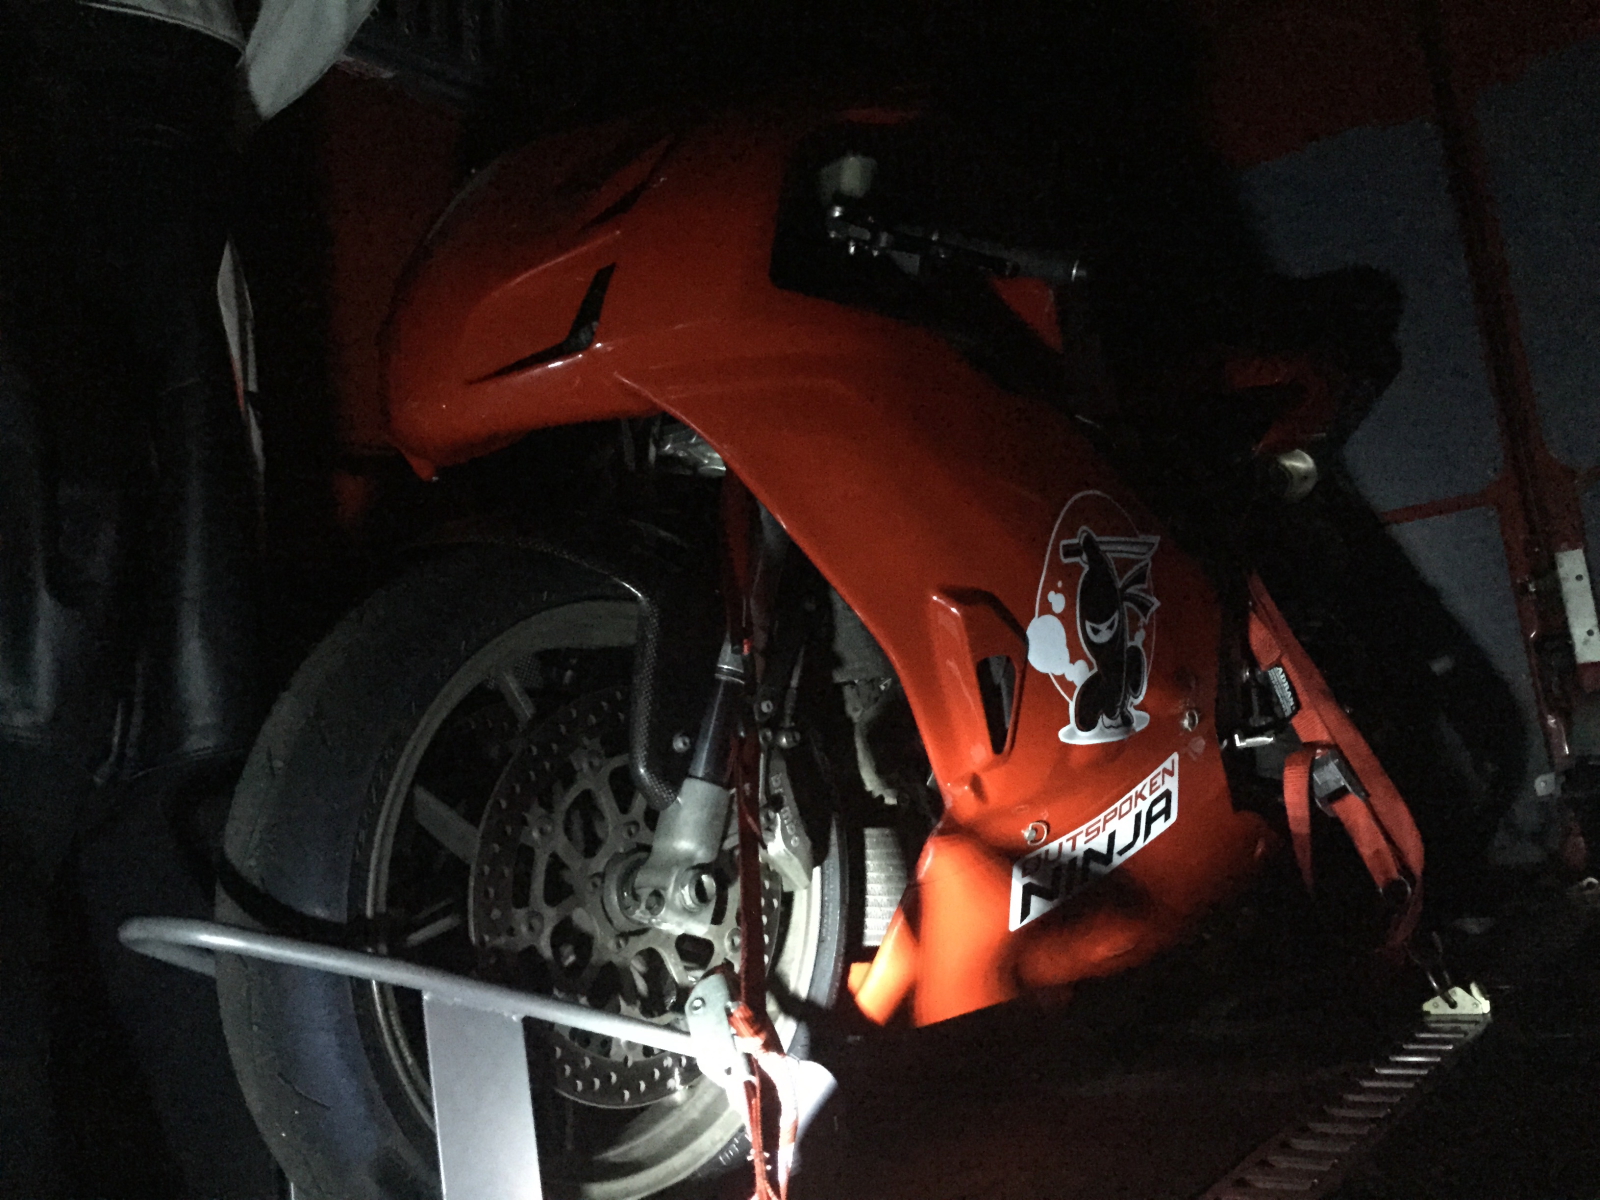
The first break in my routing was not unloading my truck on arrival. Once back from dinner it was 10:15 PM, I found that someone had pulled up next to me in the space I’d planned to setup my gear. There didn’t seem to be much point in unloading in the paddock at that point, so.. off to sleep I went:
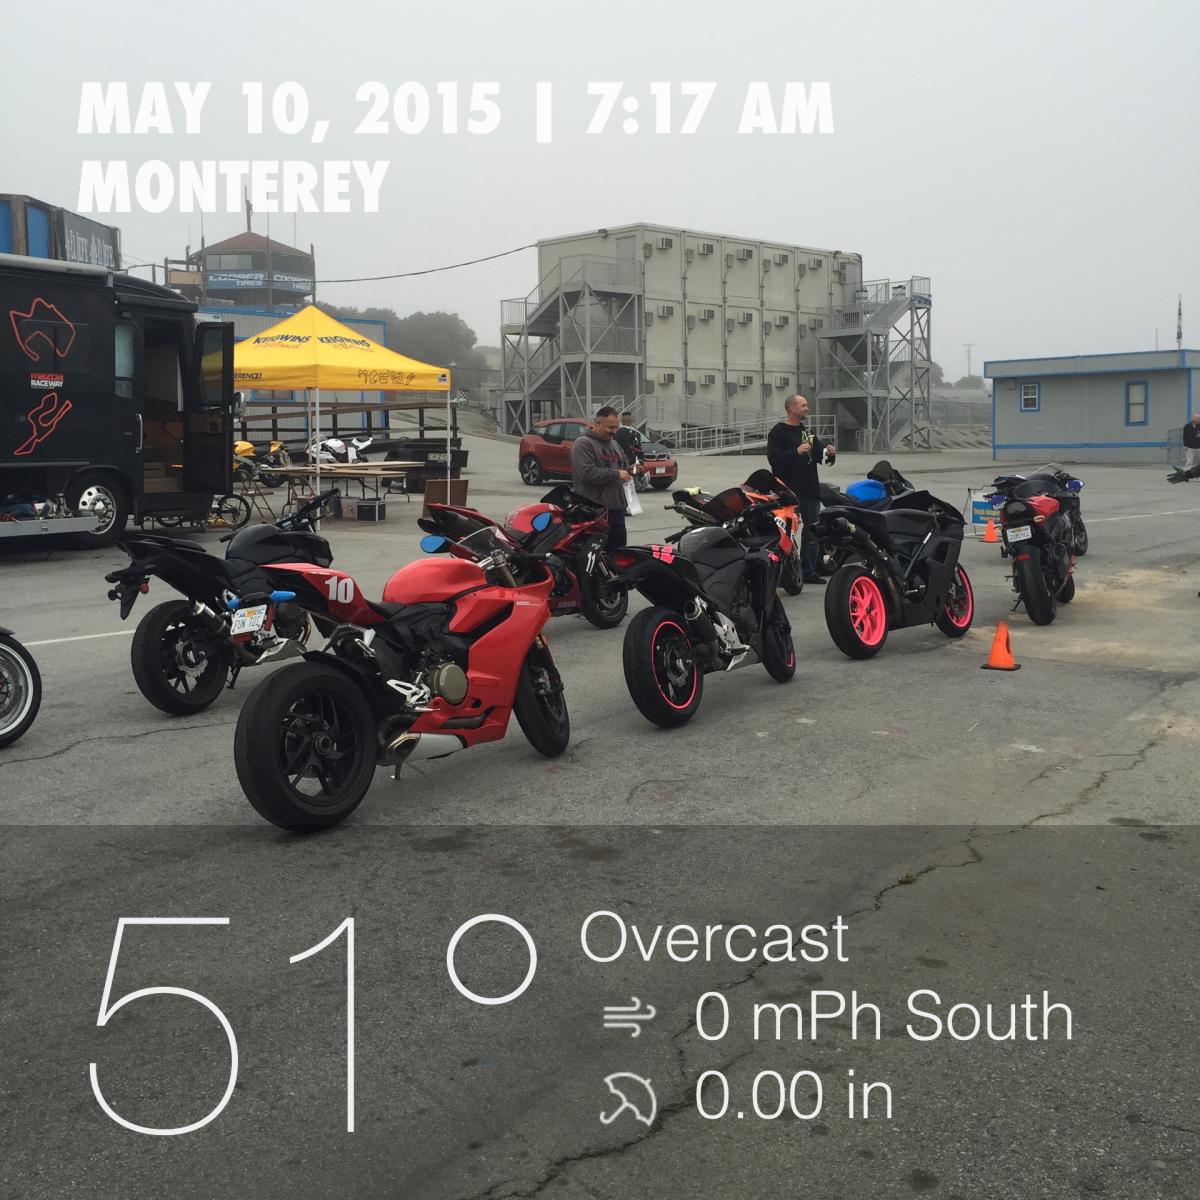
Dawn comes early in Monterey, and despite my original setup plans foiled, equipment was unloaded and the bike was plugged into the generator to start warming up the tires:
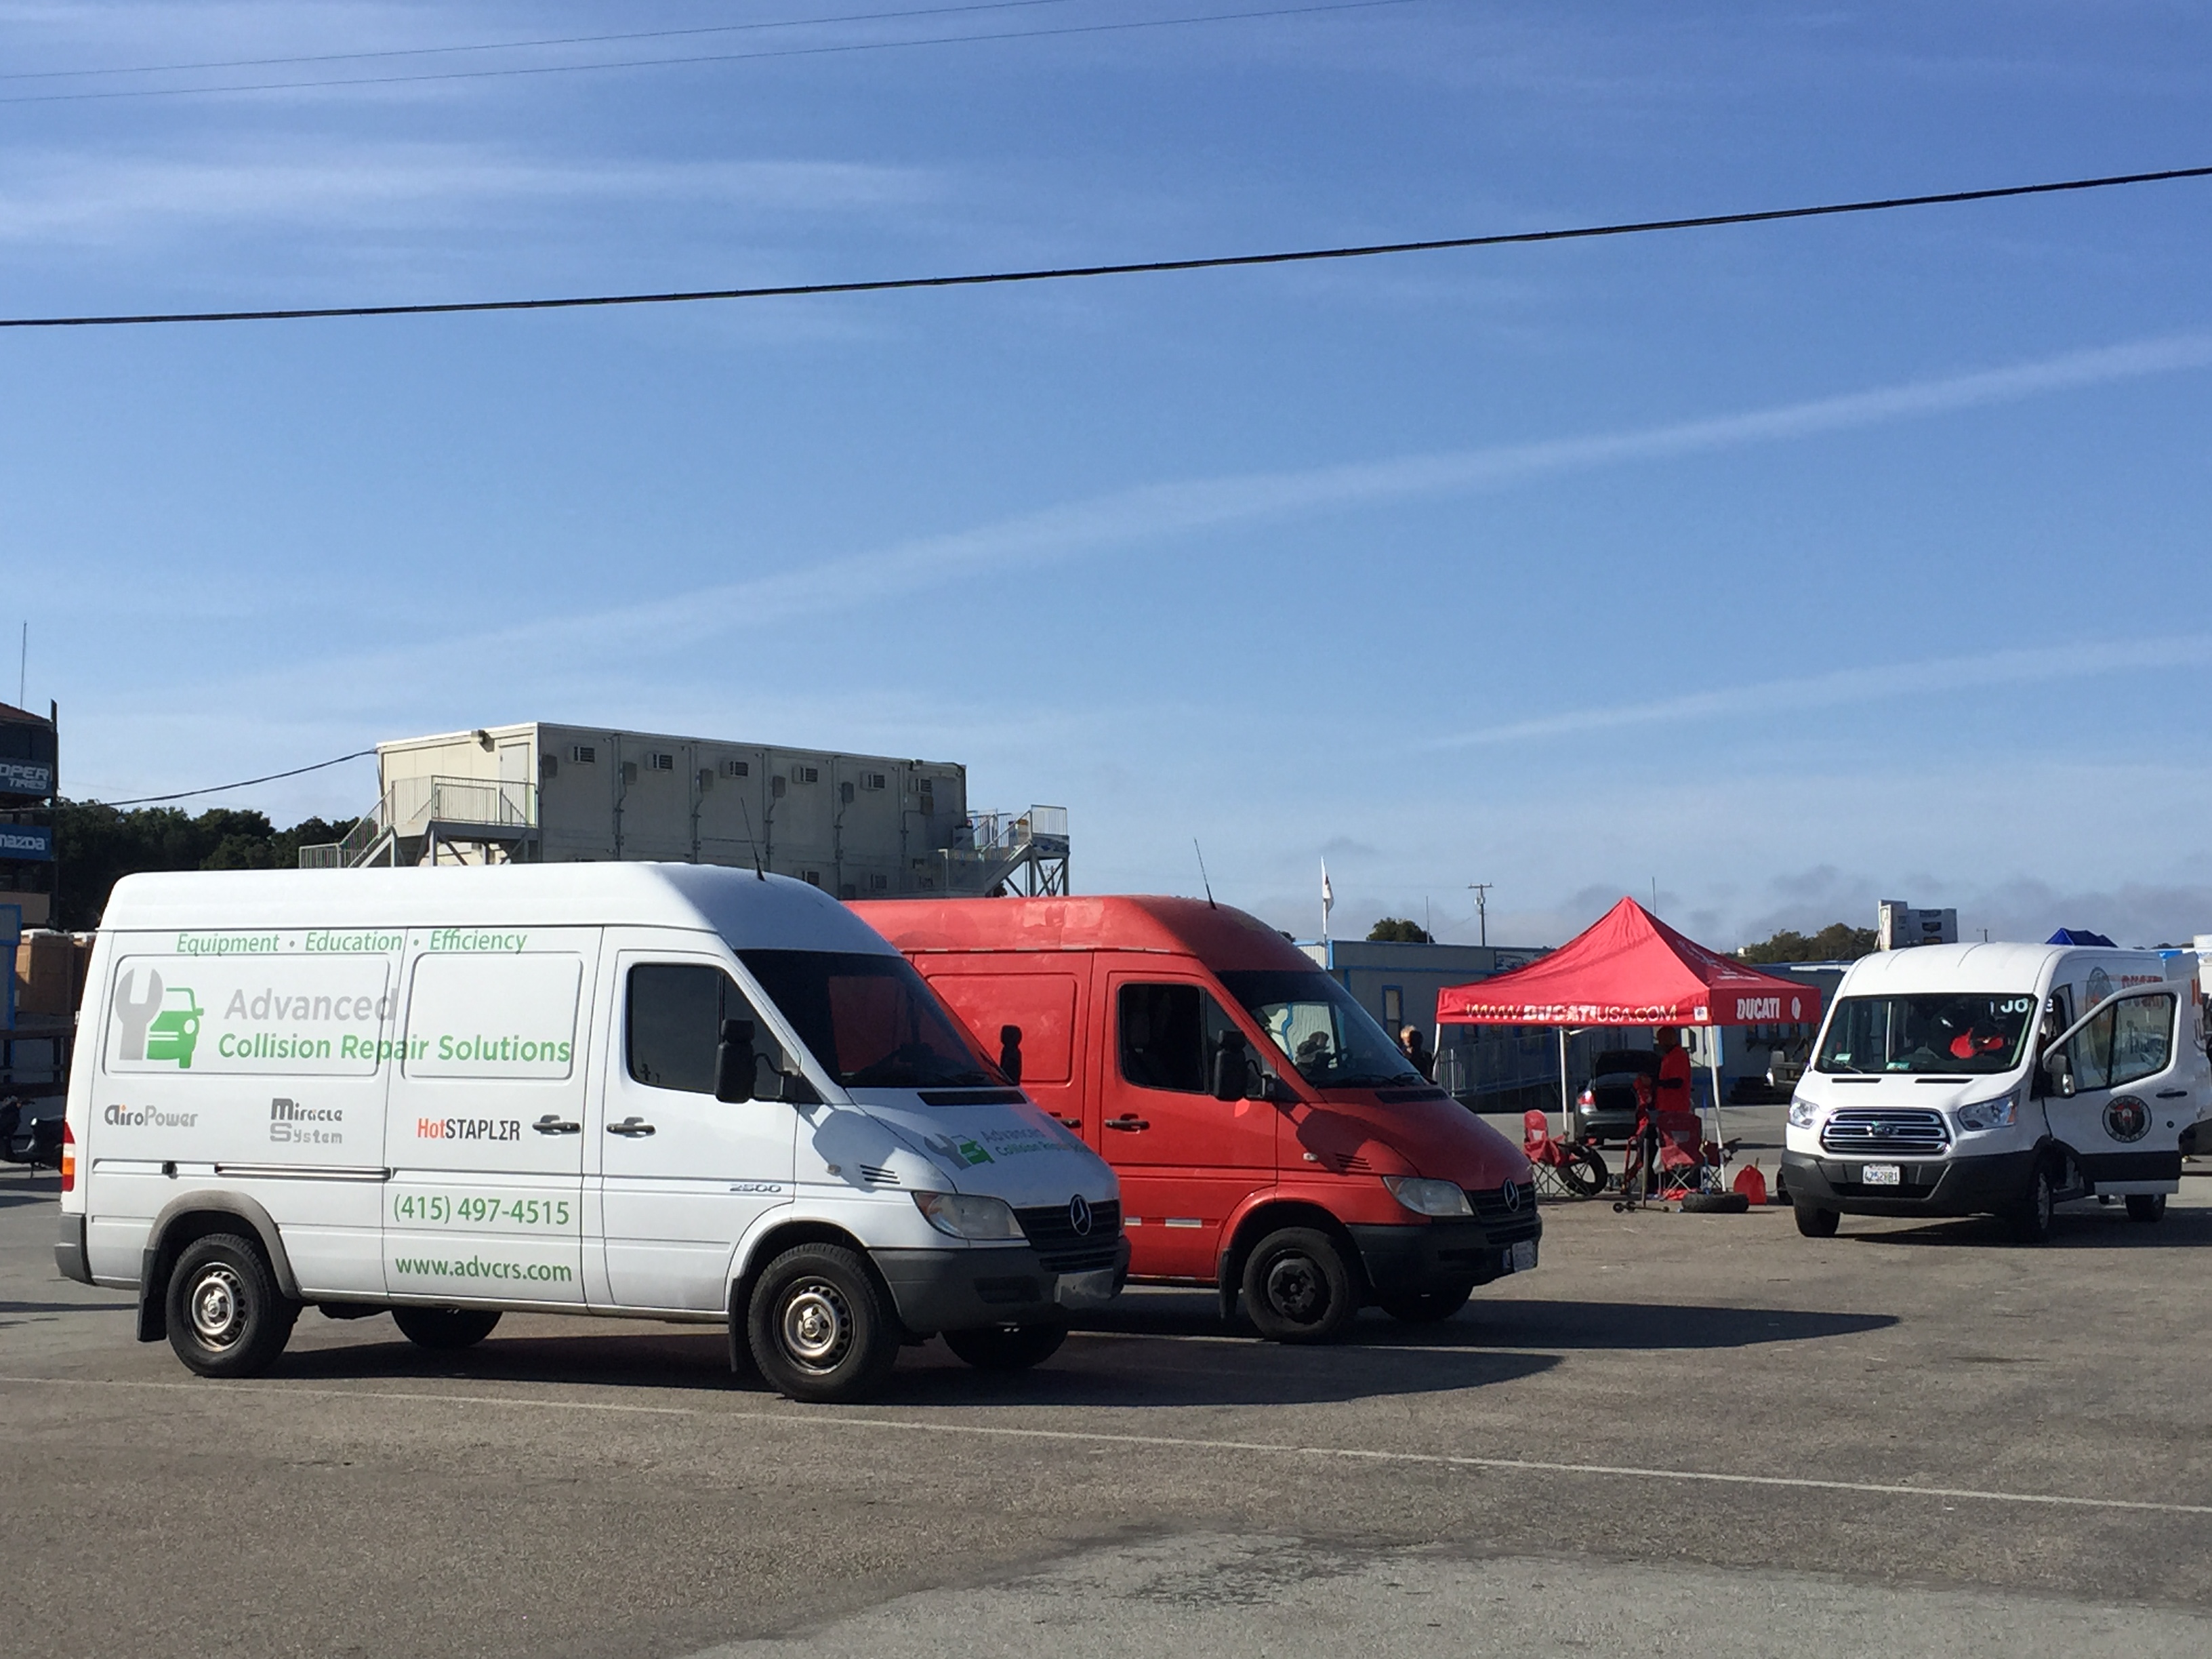
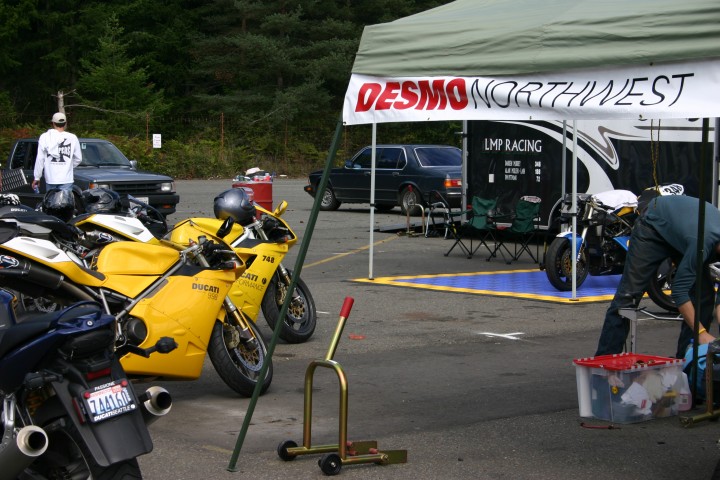
With the rest of the crew arriving, we got the bikes into tech.
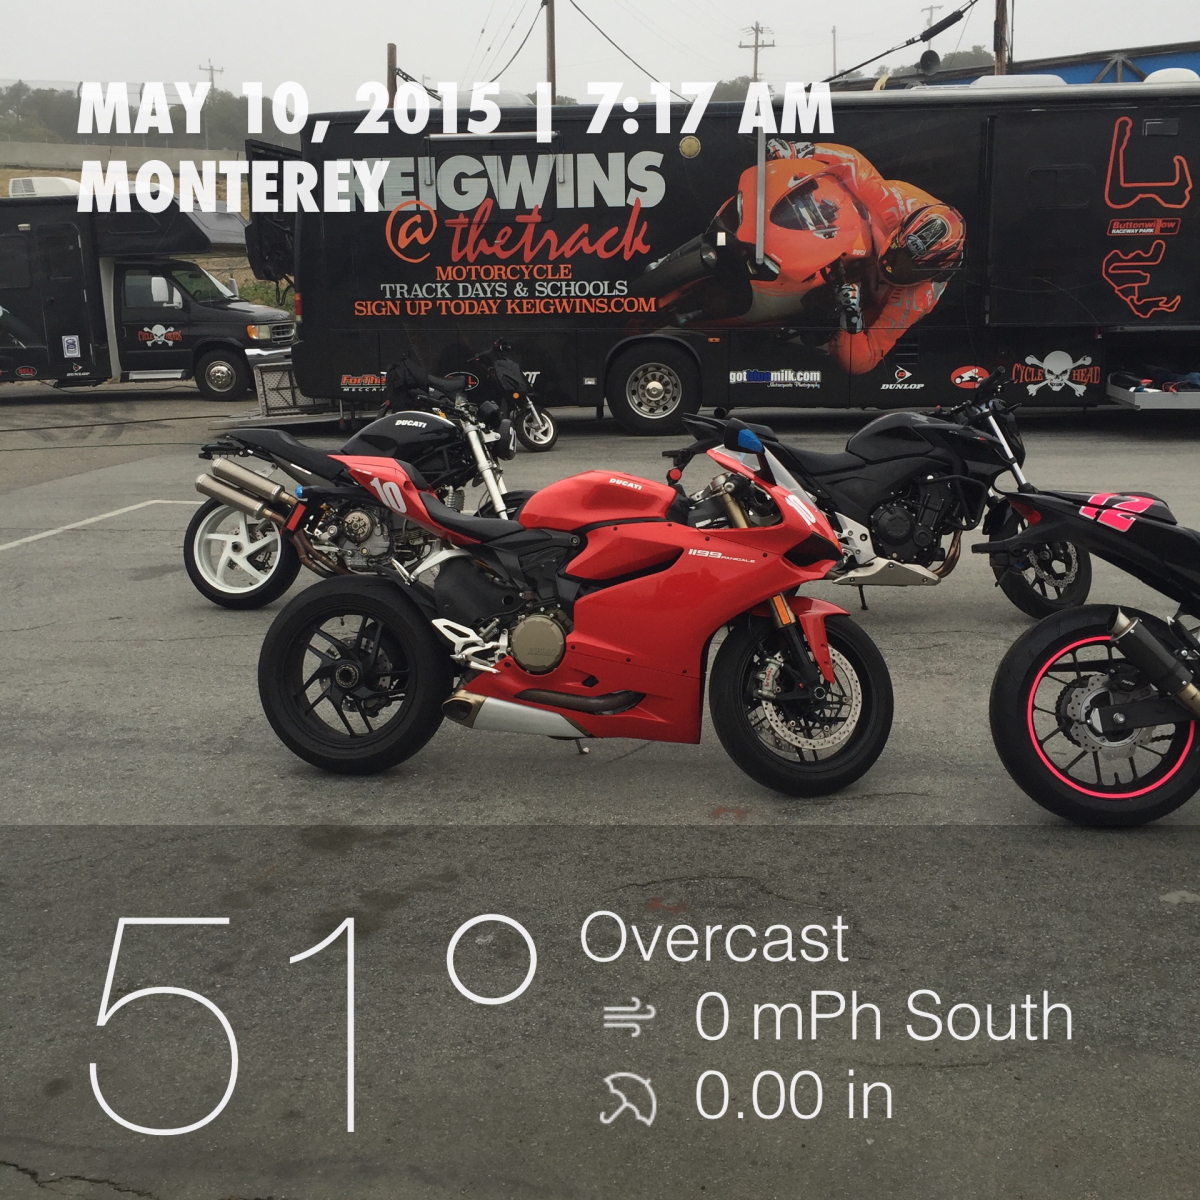
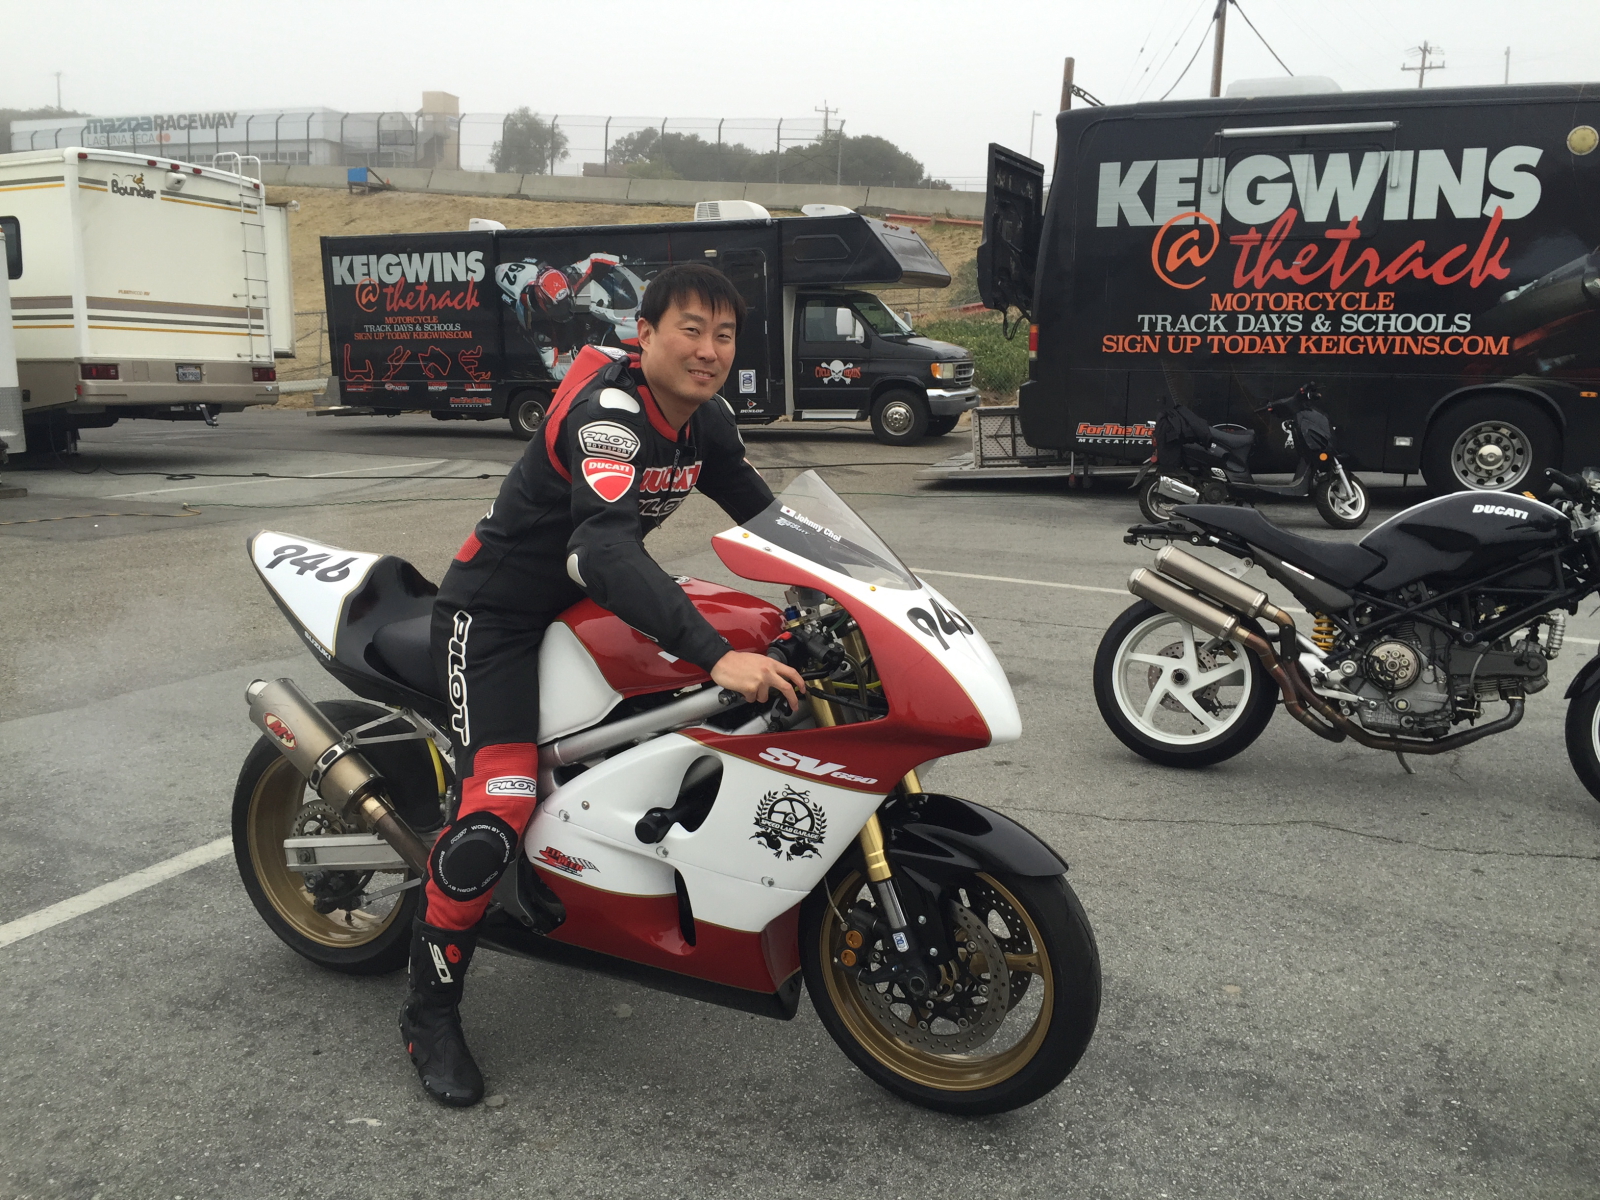
Dr. Johnny debut his newly refurbished track bike. He’s a happy camper, as you can tell!
Unfortunately, when unloading my 749, I noticed that the bike seemed difficult to move around. After some fiddling around we discovered that one of the front brakes was dragging pretty badly. My first session was going to be spent taking apart the left front caliper.
My pal Isaac was able to score a ride on the damn fine SuperLeggera owned by the track organizer. He was very impressed at the handling.. I guess light
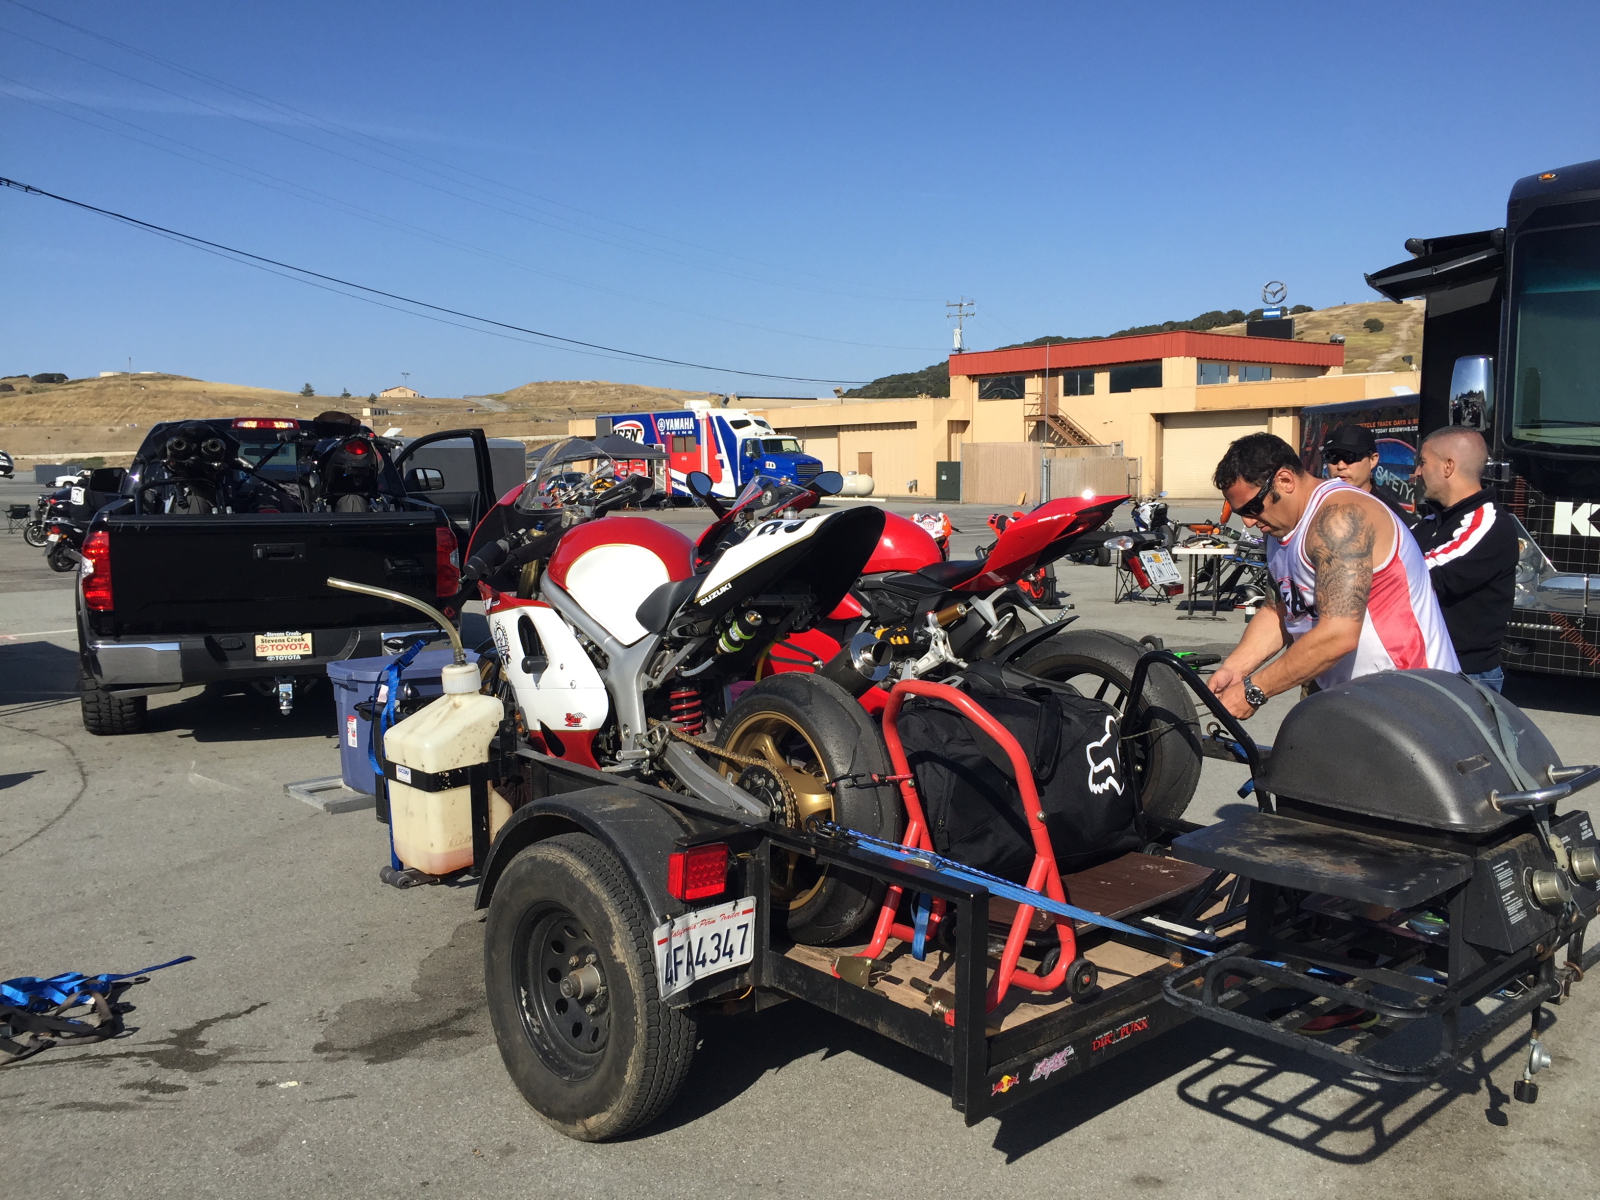
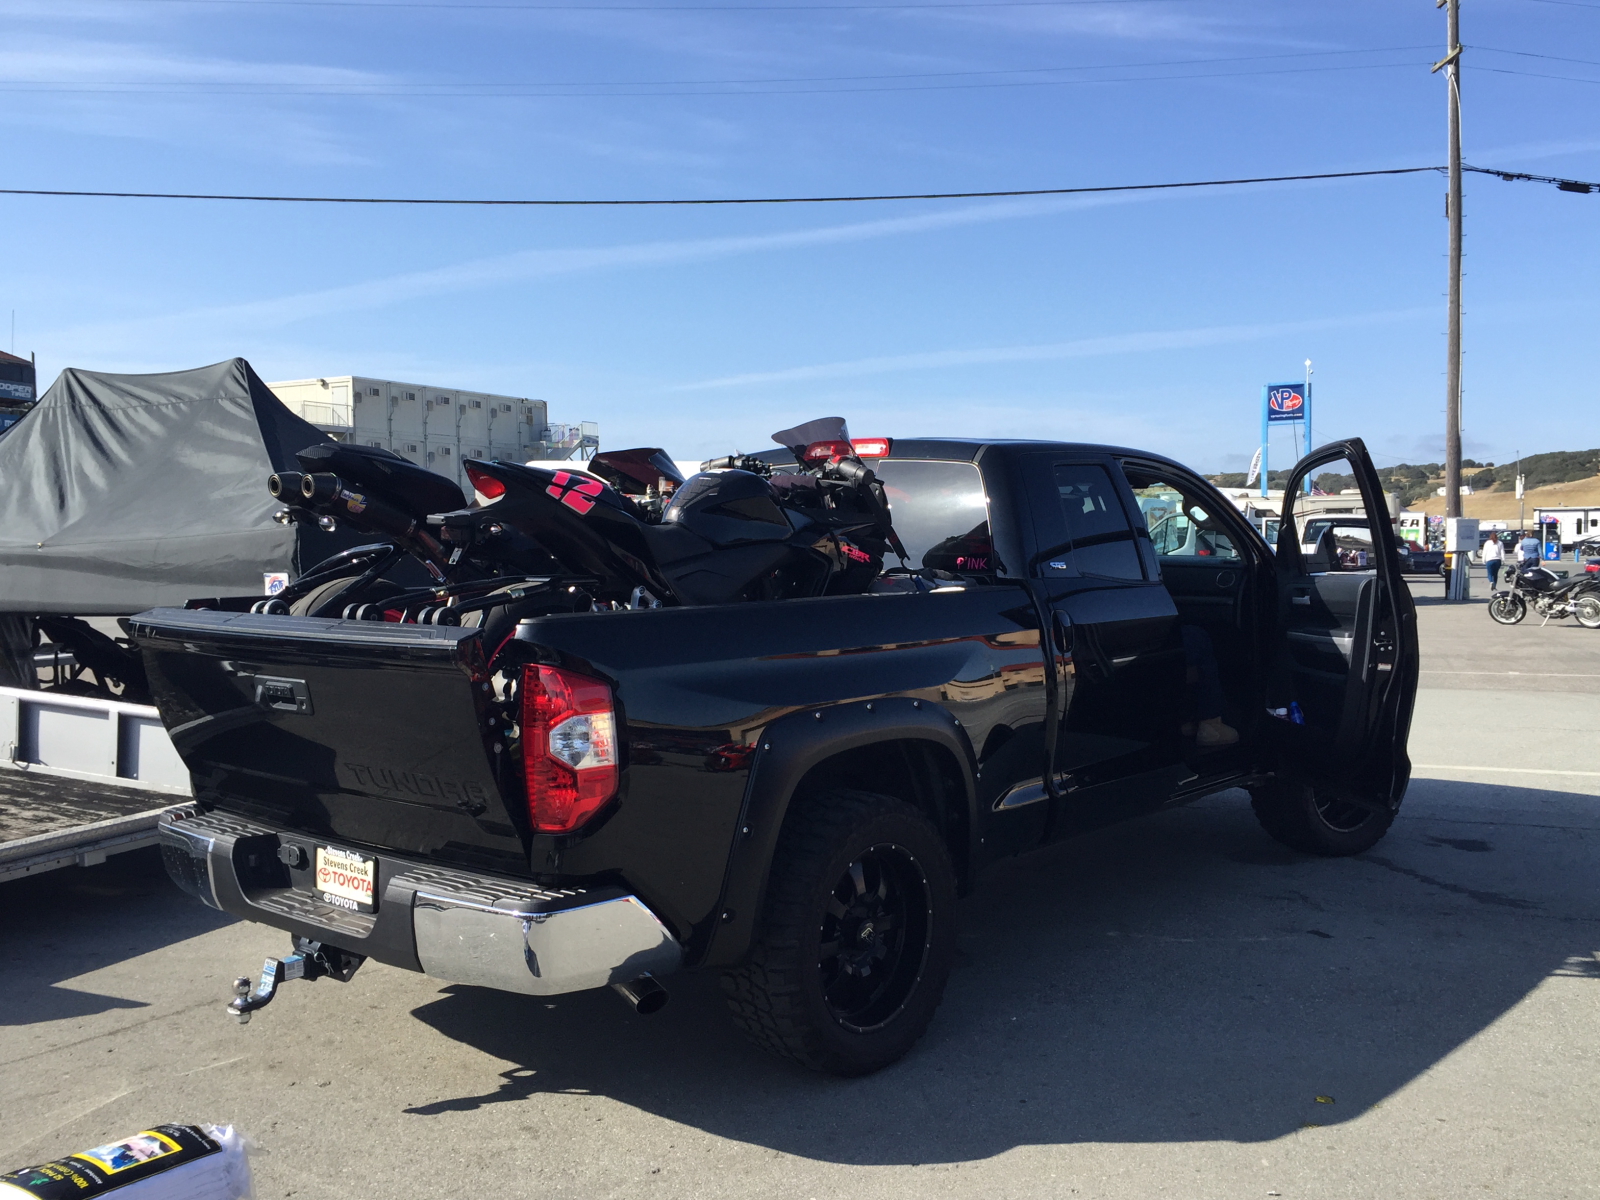
I was eventually able to get the brakes handled and the bike on the track for the last couple of sessions of the day. Things went OK, but it seemed the brake was starting to drag again, so I packed it in; we all loaded up and headed for home.
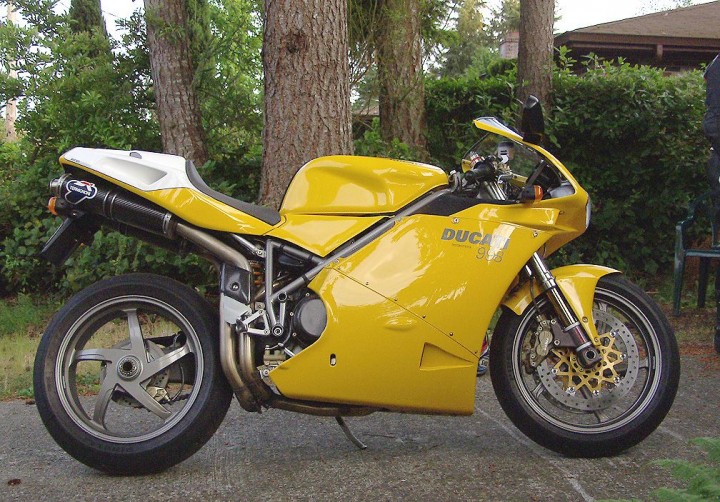
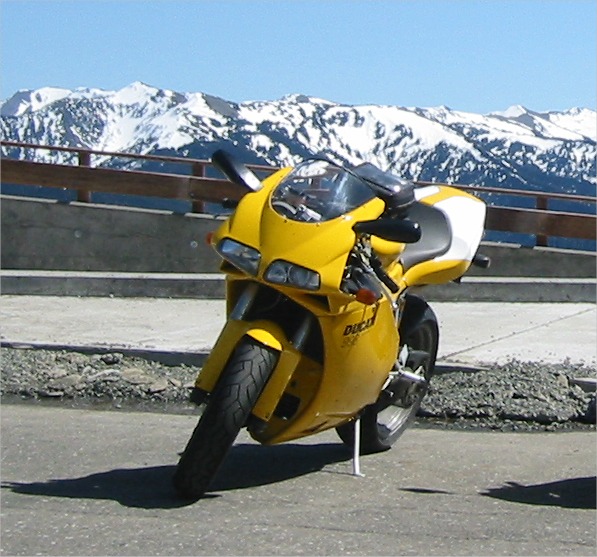
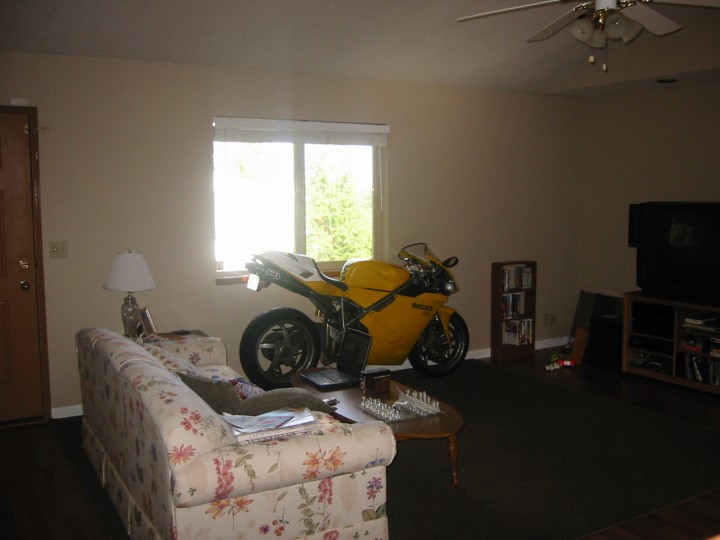
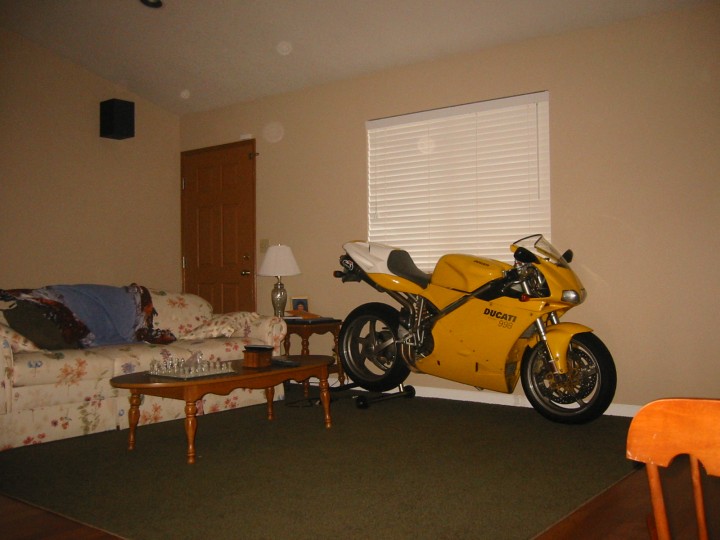
Yes, it’s been a GREAT many years, but there is a special place in my heart for this girl.. and I’d like to see if I can track here down. We sure had a lot of good times together!:
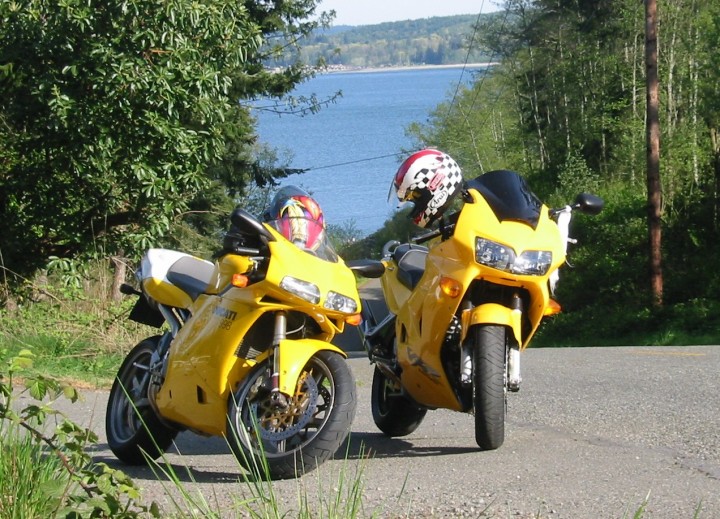
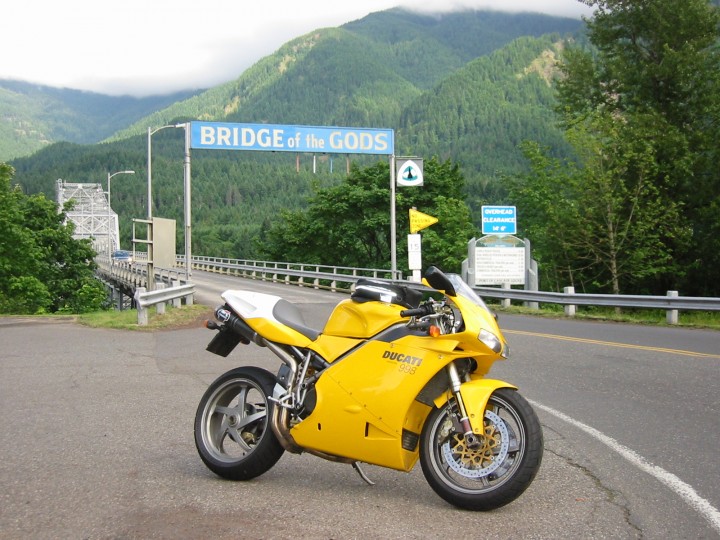
Goofing around on the best roads in the the Pacific North Wet;
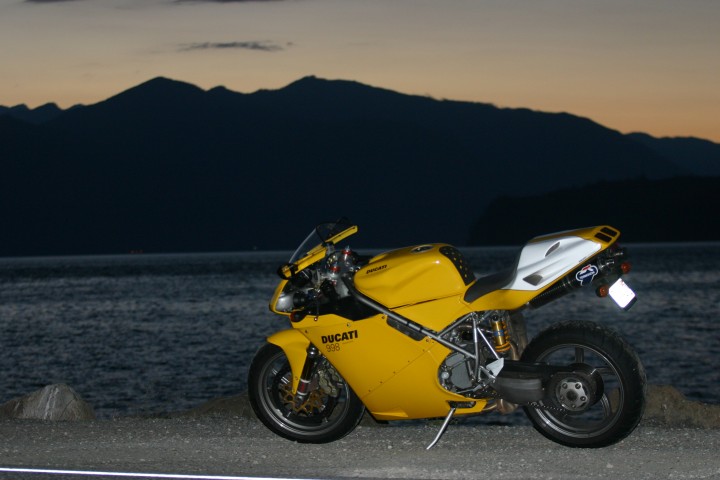
Riding was not limited to the PNW either, I rode her all the way to the World Superbike Races in California one year!
Had some fun out on the race track too!!
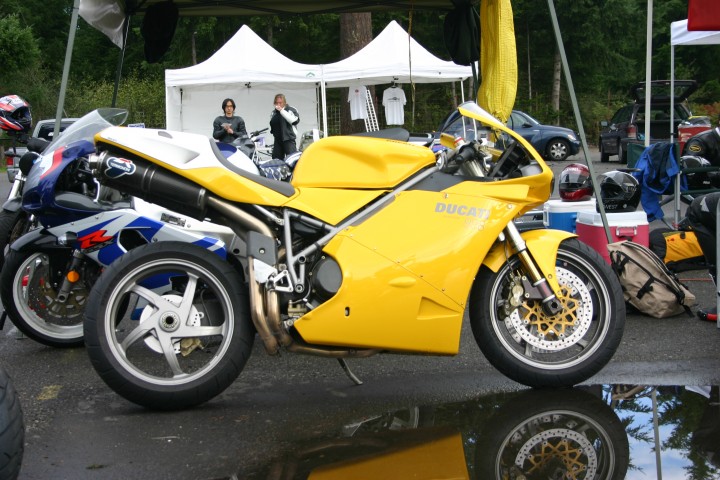
The bike always held a special place:
I’m going to see what I can do to find her. I hope it survived over the years, and maybe I’ll get lucky enough to see her (and maybe own her) again. Only time will time.
UPDATE 1: 13-NOV-2014
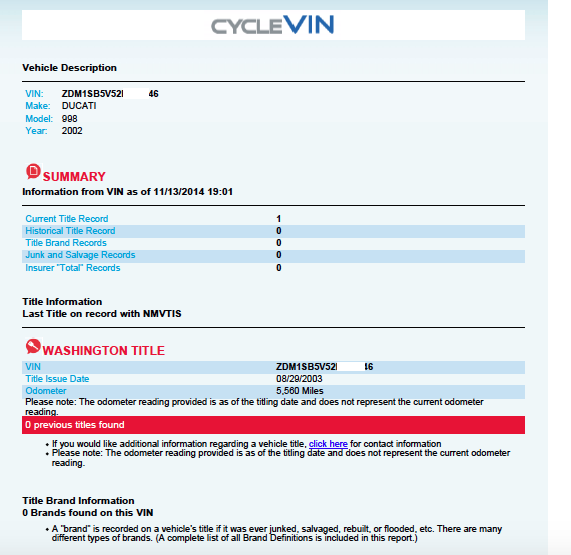
So, looking for something like CarFax for bikes, I found this website https://www.cyclevin.com/ and ran a report. $25.00 later I find the first resale of the bike in 2003, and NOTHING after that! True, they had a record, but it’s basically worthless. 🙁 Lesson learned… technically they provided the info they said they would.. but it’s totally incomplete.
CycleVin BUYER BEWARE!
UPDATE 2: 12-DEC-2014
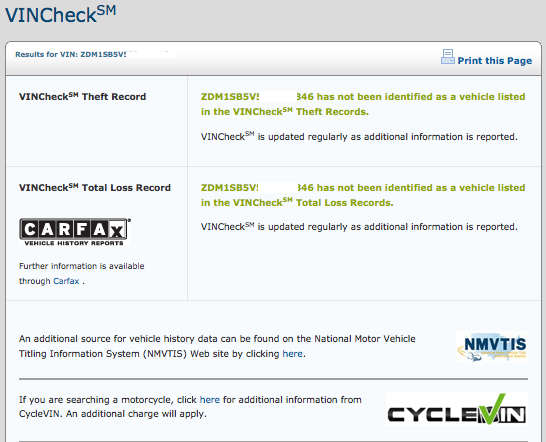
Stumbled across this site, while looking at some Track Bike posts on Craig’s List. It’s the National Insurance Crime Bureau Running a VIN check on that indicates that the bike has not been reported a stolen or a total loss. More evidence that she’s still out there.. somewhere… waiting to be found.
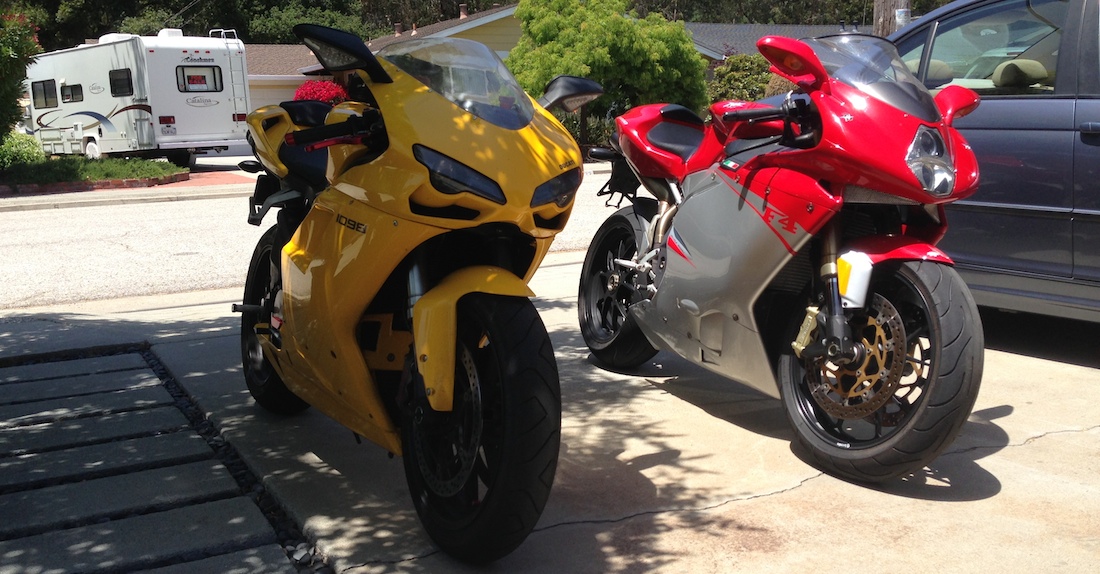
Awaking this morning, I decided to put together this little rundown of my two liter-class Italians. For a pair of bikes with remarkably similar style, their characters are vastly different.
While filling dings and dents in the gas tank, I applied a few guide coats (primer applied with the intent of sanding all of it all to surface level, which will leave any high or low spots easy to identify) and was relocating the tank on the painting table, at which point the worn out (unknown to me until this point) seal on the gas cap let fuel leak out onto me, my clothes and the tank.
The raw primer was immediately bubbled and lifted off the paint underneath.
Gas and paint not playing nice with each other. Not a big deal, not totally shocking but.. wow.. if I spend all this time painting a tank, only to have my first fueling mishap (and it will happen) bubble up all the paint.. I’ll be sad.
Here is the good news (I think). What happened is perfectly normal. I don’t have the ‘wrong’ primer, I just need to be careful with raw unsealed primer around fuel. The paint shop where I’m buying supplies indicated that the rest of the guide coat would likely have been damaged by the spill and I should be sure to sand ALL of it off, then re-prime when ready.
Progress continues on the KZ400 project. Today’s work was focused around using my new plastic welder to fill in holes on the side panel.
The plastic welder came with a number of welding sticks, to use with a variety of plastics. After quite a bit of melting, and trying the PVC, ABS and PP welding sticks, the results looked less than ideal. None of the plastics seemed to flow well, but they eventually did bind with the stock plastic (type unknown).
The back side of the panel, having used the green ABS welding sticks
I later discovered that the plastic I have for model building (a poly styrene blend) seemed to weld a lot easier than any of the supplied welding sticks. I’ll be trying them again in the future.
Once the plastic welding was complete, I used a sharp exacto blade to trim off most of the plastic above the surface of original panel. That was followed by wet sanding with 400 grit sandpaper until the welding ‘slag’ was level with the surrounding plastic.
The last step was several rounds of glazing putty application, followed by more wet sanding with the 400 grit. I later found that switching to the 220 grit dry paper did not produce significant scratches and, obviously, let me complete the rough sanding quicker.
Finally, another ‘current state’ photo of the bike. It’s slow going but that’s OK, it’s all part of the plan.
Speachless. I know I wont’ hit this high-water mark with my first try. I’m OK with that, but getting this sort of result in the furture would be fantastic! This is VERY impressive work!!
I’ve been looking at a number of vintage bikes, and some cafe racer bikers. Going to save these for reference, and what about each one I really like. It will be interesting to come back to these articles once I finally finish the bike and see what I was thinking.
Bike 1 – Honda twin
Bike idea 01
Elements I like about this Honda.
black painted forks
cool custom high routed exhaust. The wrapping adds a nice effect
chopped off tail
stripped off fenders, front and rear
it’s also a parallel twin
Bike 2 – Honda twin
bike idea 2
Elements I like about this Honda.
black paint with gold pinstripe
chrome megaphone exhaust in polished stainless looks cool
short bars
it still has the fenders but they are minimalist and painted.
nice steel braided oil cooler lines
painted branding (no cast emblems)
Bike 3 – Honda CR550F
Elements I like about this Honda.
red and yellow paint, with black side panels is a nice look.
black painted exhaust might be easier to achieve than fixing the pitted stock chrome system
again, the bobbed tail
Bike 4 – Honda (looks like an old Silverwing)
Elements I like about this Honda.
I was originally considering silver paint for the bike, not sure about the blue stripe.
like idea of the painted frame
one thing that I really liked is the flat metal cover below the seat, instead of the stock curved piece.
Bike 5 – Norton
Elements I like about this Norton.
gloss black paint, and stripe.
rubber boots on the forks
silver painted forks (I think)
color matched hub on the rear brake
Bike 6 – Norton
Elements I like about this Norton.
nice custom job
modern front inverted forks and brakes
cool high-mount megaphone exhaust
also looks like a mono-shock rear end, very trick.
Bike 7 – Honda (I think its an old XR400)
Not really relevant to my current project but.. cool idea!
looks like a dirtbike single converted to a street cafe racer
cool chopped rear end
Bike 09 – Kawasaki, maybe?
what’s cool
paint, love the flat olive retro-vintage WWII paint scheme
site exit mega-can exhaust, in black
top mounted bars (no clipons) but sort of inverted looking!
front still has fender, not so sure about that..
rubber boots on forks
Bike 9
real deal KZ400 cafe
what’s cool
flat black paint. I can do that right now.
know official name for those bars, ‘clubmans’ it would be the place to start!
Somewhere it was, but not here. It was rather warm, and the coolness of my subterranean shop was a blessing. It turned out that I would spend the better part of a weekend in there, wrestling the carburetors into the very tight, very new, KZ900 carb holder boots. Stock KZ400 boots are harder to find than Spanish treasure, so based on information on the KZ400 forums, with a little work, carb holders from it’s newer and larger brother would fit. And fit they did, but just barely.
The primary challenges, beyond having to modify the mounting holes on the carb holders (at $45 EACH that was not an easy decision in itself), was that the carb mouth I.D.’s were the same as the carb holder (boot) O.D. Obviously.. that is going to make for a tough install. If you have ever held one of these thick, hard, rubber boots, you’d understand the trepidation that kept this project on my ToDo list for 3 months!
Alas, I finally got motivated enough (gas prices and the fact the 3 week Washington Summer was upon us) to tackle the project last weekend. Here are some thoughts and photos. A quick thanks goes out to my 7 year old boy for taking the ‘action’ shots of dad working on the bike. You’re one in a million, kid!
Now, the size of the carbs is not the whole story. About 2 months prior, with a lot of soap, and pressing with most of my weight, I was able to force the carbs into the rubber boots. That’s where they remained for a long time. The concept being, to stretch them out into a static state that was larger than manufactured size, hopefully making the final install a little easier. And frankly, I think it helped out a lot!
Battlefield recon - before the fray. Look at how much larger the carb mouth is than the holder
What I tried to illustrate in photos, but clearly did not convey, is that even WHEN you get a single carb in the boot, the other carbs mouths is them 1/4″ off-center. The carbs are mounted to a thick aluminum flange. That flange forces the specific spacing of the carburetors. There is not play, no give, so the only thing that could possibly allow the successful installation of the carbs was REALLY forcing in one carb, then trying to pry it off center line while forcing in the other. All while holding up the carb set. If I’d had 4 hands it would likely have still been impossible.
Thinking about decades of home auto repair, I decided to use a not-often employed tactic of taking things further apart, to make it easier to put back together again. Often it’s an access issue, and although it looks like there is a lot of space, I was having one here.
I finally got the grand idea that if I dismounted the carbs from the mounting flange itself, it would be easier to manipulate than the entire carb set. So I set about unscrewing the carbs from the flange. In the end, it was what I needed to do, to get this project moving again.
Carb flange seperated and installed.
Now, that was still a huge struggle to get the flange shoved into the boots, but I was able to get it done! Victory was at hand!!! Now, what remained was to tighten down the holder flange bolts. In what I was say was a stroke of genius, I had purchased round head Allen set bolts to replace the Philips head screws that, normally used. the heads are actually wider, and flatter, but the big bonus was being able to use an Allen key wrench to tighten them down. The brilliance comes in that I knew I might have try just this to get the carbs mounted, and these bolts were part of my plan.
Tightening down the carb holder mounting bolts
I do not think I would have been able to do that with the Philips head, as the holes in the flange I used to access them were off-axis from the mounting bolts. Using a universal headed Allen tool, I was able to tighten down the bolts using the carb mounting holes in the flange.
Now of course, comes another challenge. The carb mounting bolts are THROUGH bolts from the BACK of the flange into the carbs. So, I would once again be working in the very confined space between the flange and the cylinder head.
One carb mounted, screws for last carb visible (near side).
Using a very neat tool I picked up at Harbor Freight for $3.00 (small right-angle multi-bit ratcheting wrench) combined with a #2 Phillips bit from another kit, I was able to get the screws that mount the carbs to the flange, tightened down. It took a little while for me to determine exactly what which of the bits were short enough to fit in there, but once that problem was solved, carb #1 was mounted!
As with most mechanical projects where some repetitive work is involved, the subsequent processes generally go much faster. And that was the case here. Viola.. CARB ARE INSTALLED!!!
Carbs Installed!
In the last photo here, I think you can see (I can see it, but I know what I think I see) the degree of stretch required to get the carbs into the boots, and also the off center line mounting of the carbs in the holders themselves.
Final dispossition of the carbs
What remains to be tested:
Carb holder to cylinder head seal
Carb flange to carb seal
Reliability of the carb to holder frictionToday, I plan to get the fuel tank remounted, and if I’m feeling really brave, try to start it up.