Tag Archives: ducati

Preview of the Talbot Museum in Carmel Valley, CA

During the US Round of World SuperBike (SBK) Ducati Owners Club, arranged a preview of the Talbot Motorcycle Museum for club members. It was a great, warm and sunny evening in Carmel Valley, amongst some amazing motorcycles!

Here are some photos from the event:
IMG_5117

IMG_5118

IMG_5119

IMG_5120

IMG_5121

IMG_5122

IMG_5123

IMG_5124

IMG_5125

IMG_5126

IMG_5127

IMG_5128

IMG_5129

IMG_5130

IMG_5131

IMG_5132

IMG_5133

IMG_5134

IMG_5135

IMG_5136

IMG_5137

Where you can view these wonderful machines:

Screen Shot 2016-09-01 at 8.20.02 AM

May at Laguna Seca

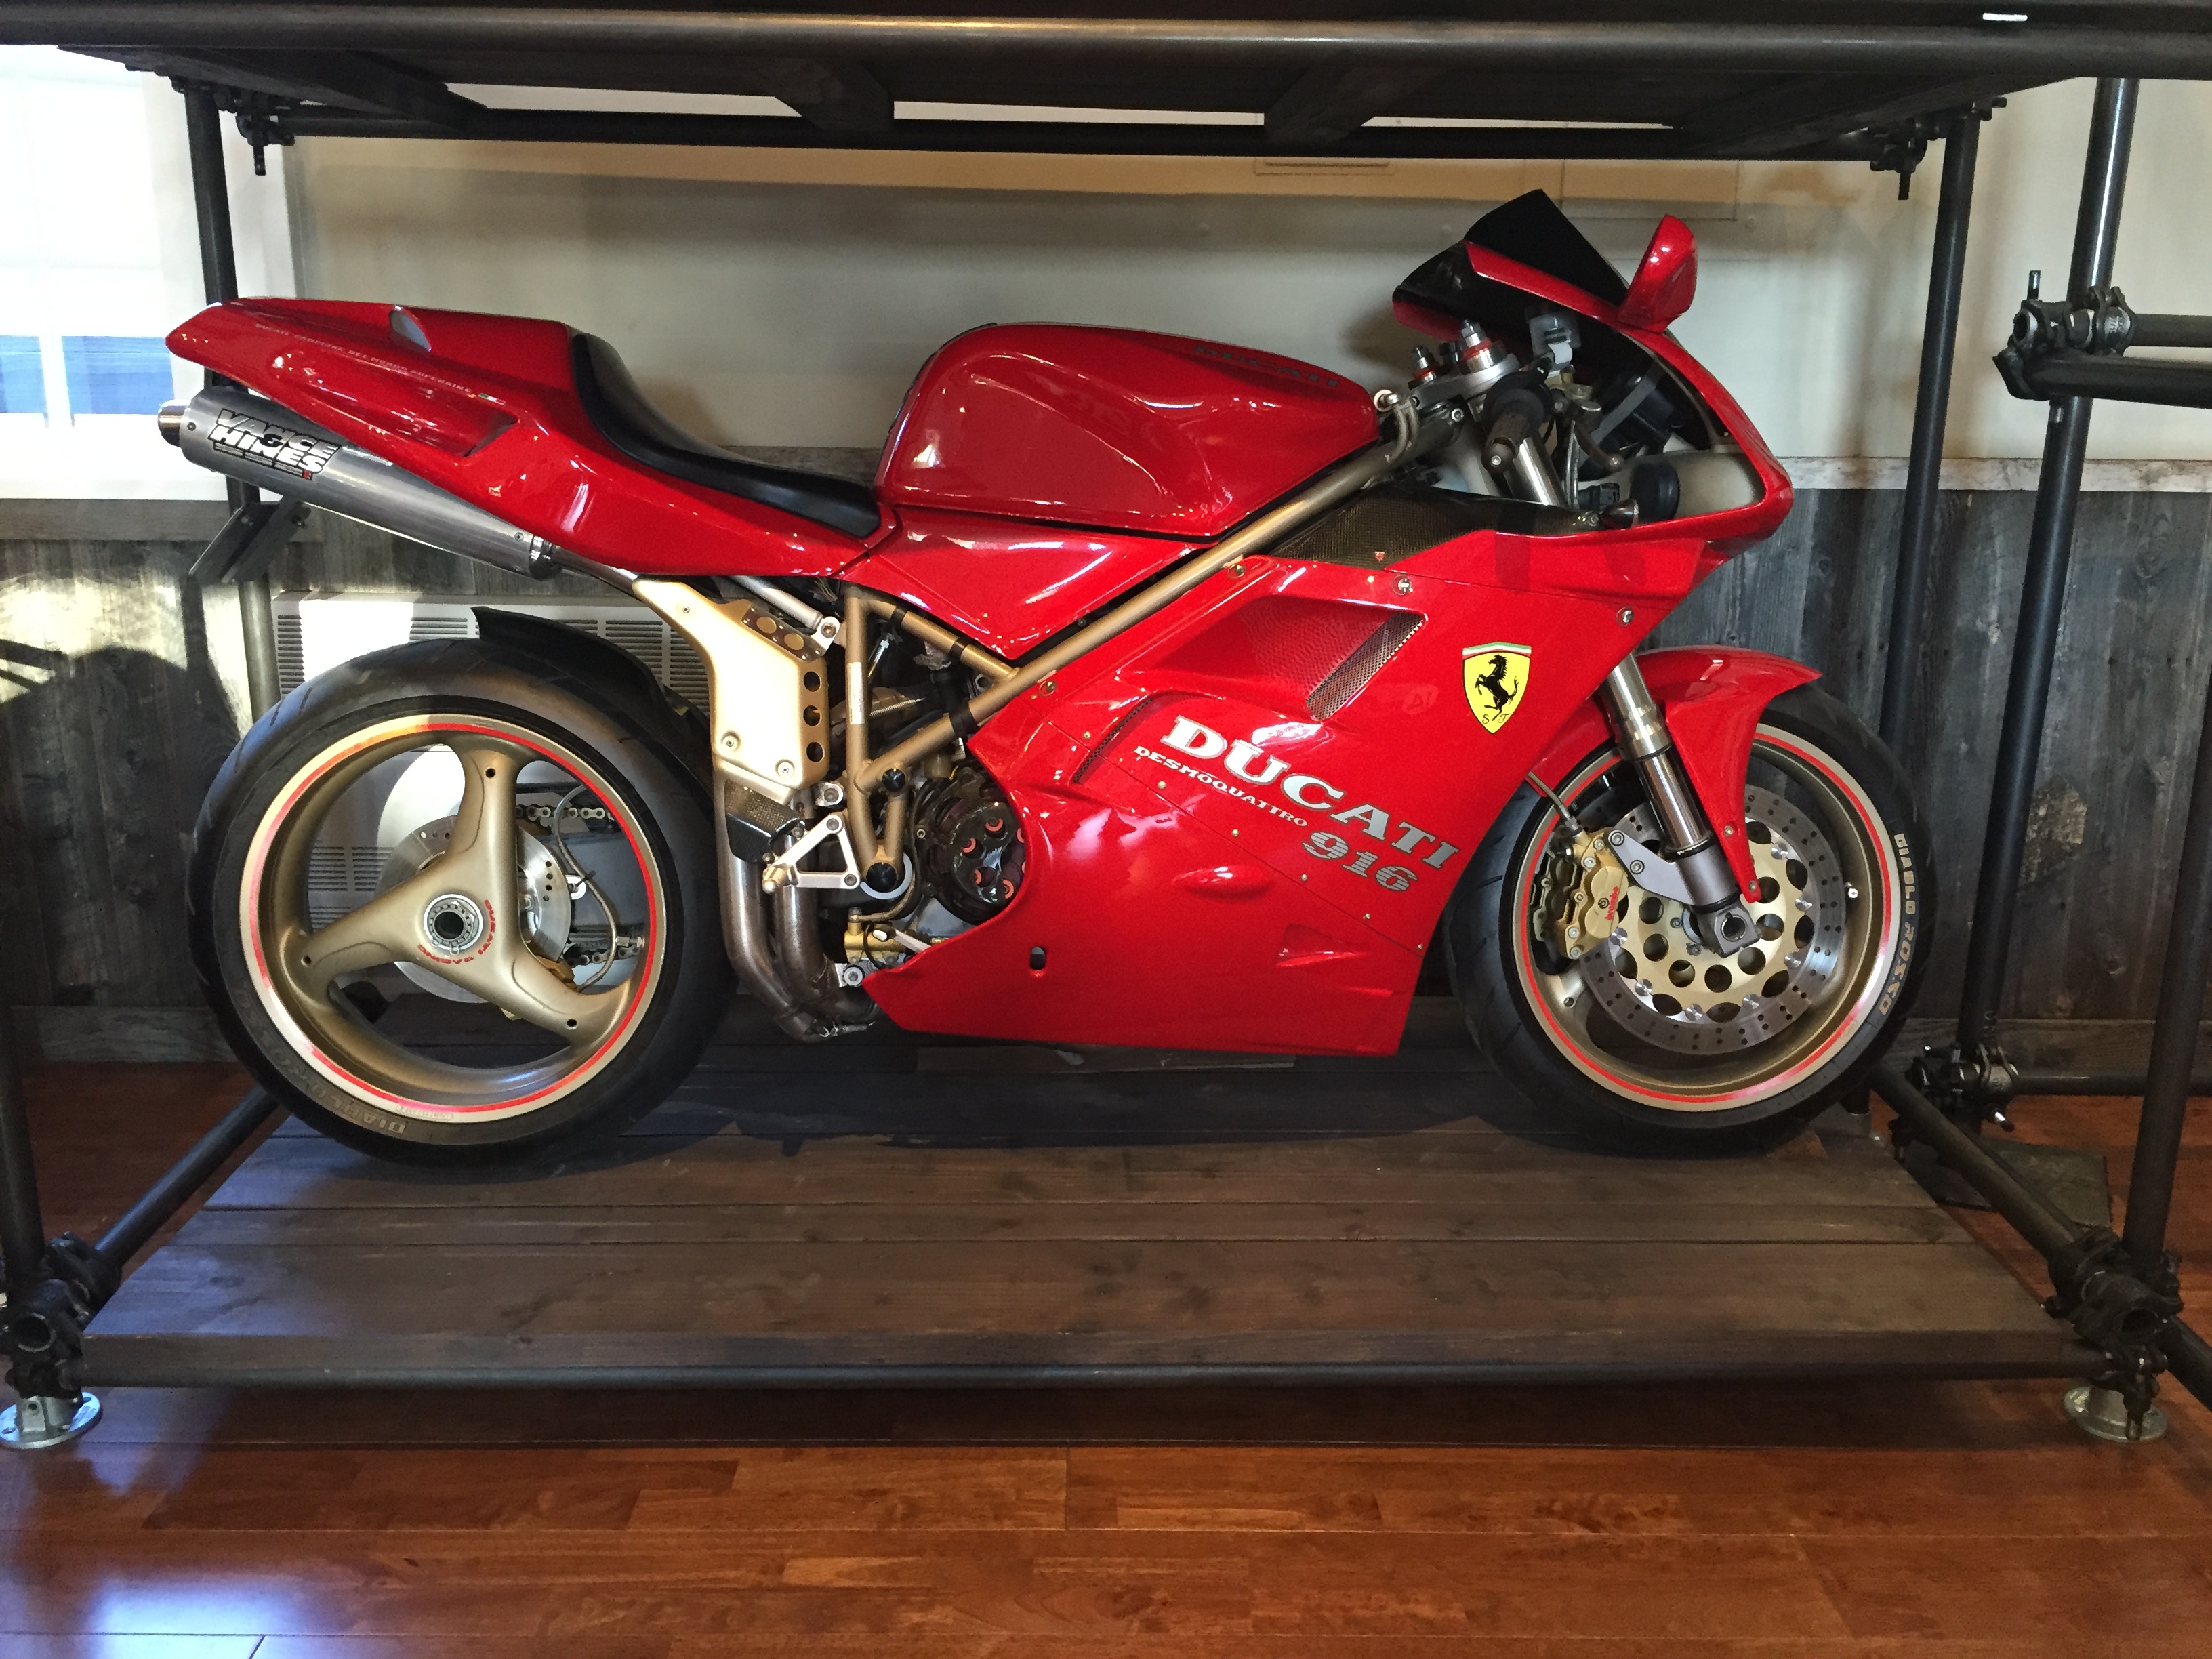
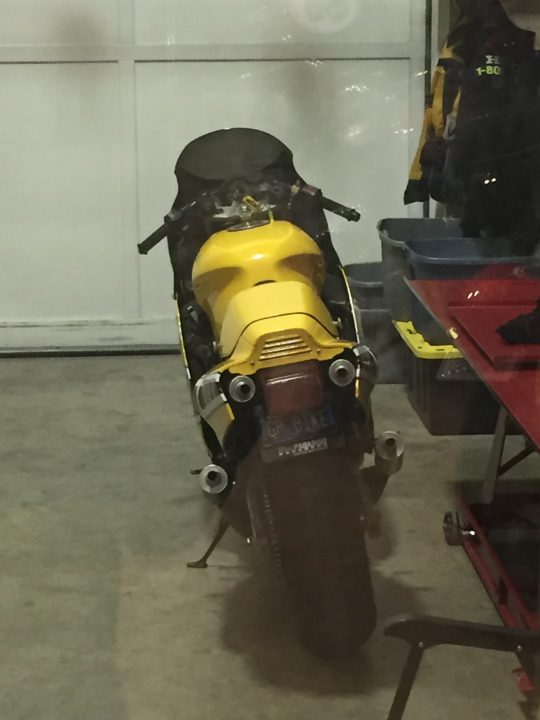
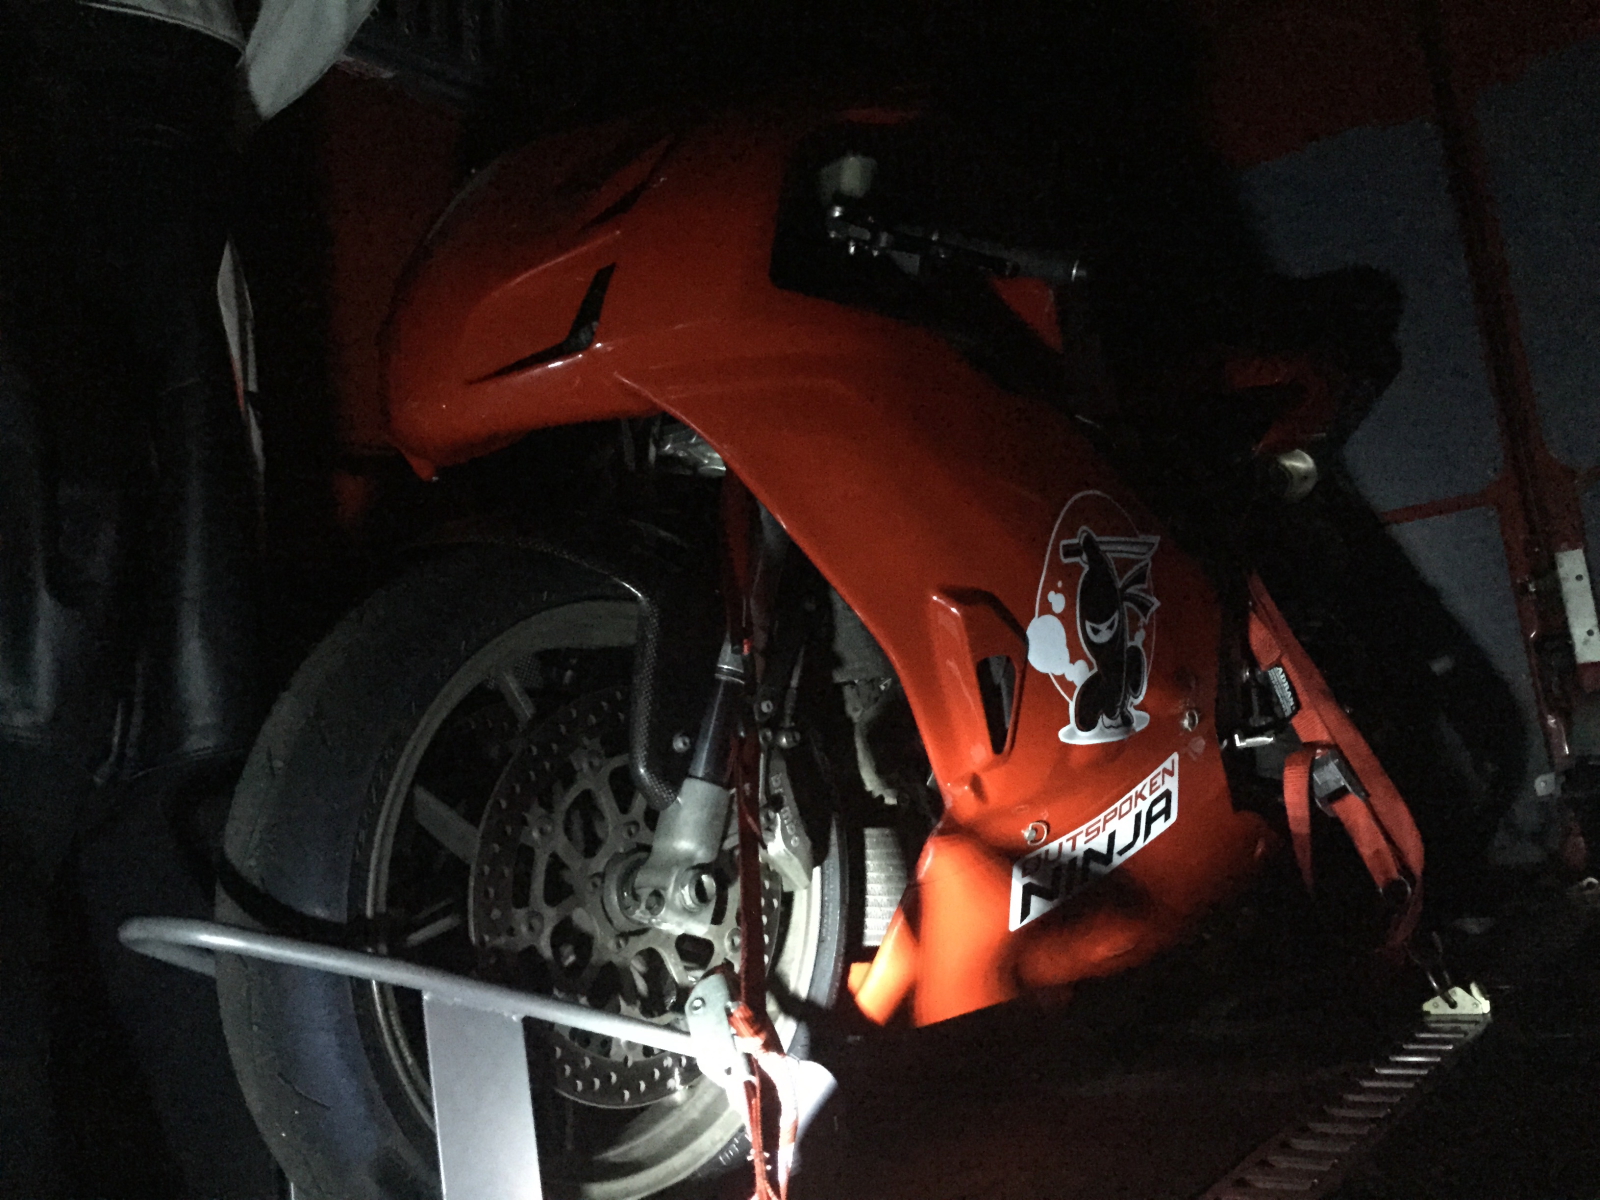
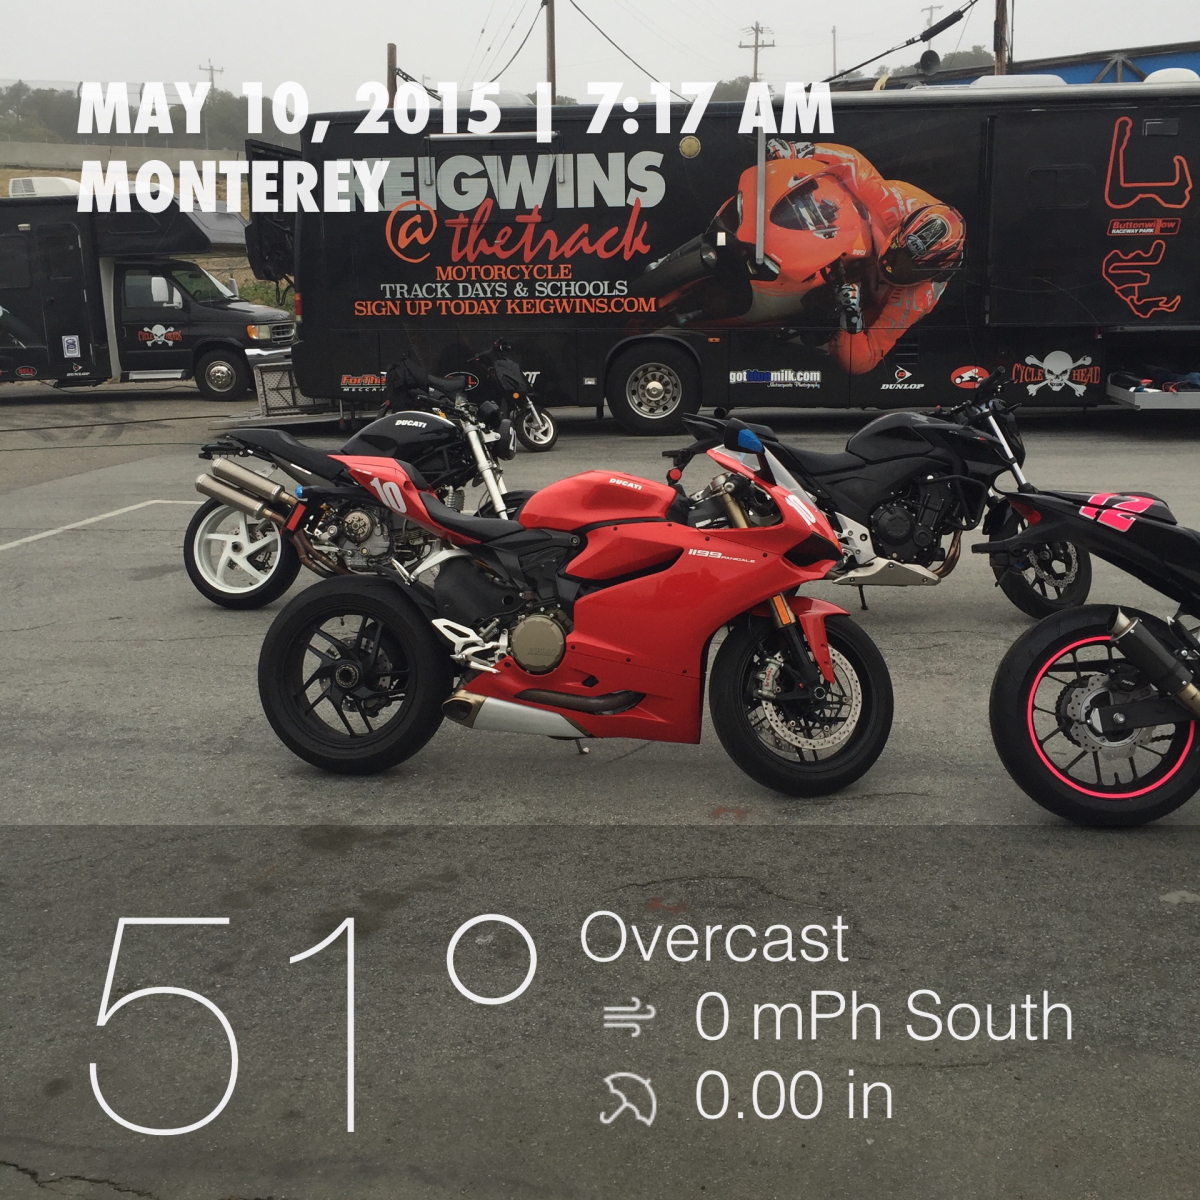
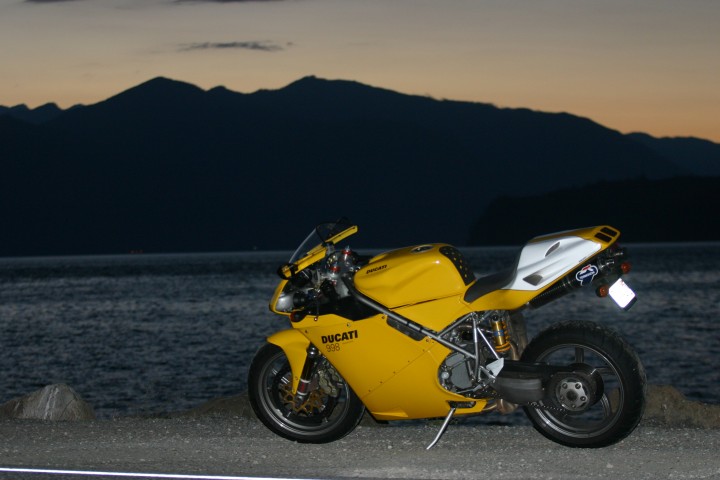
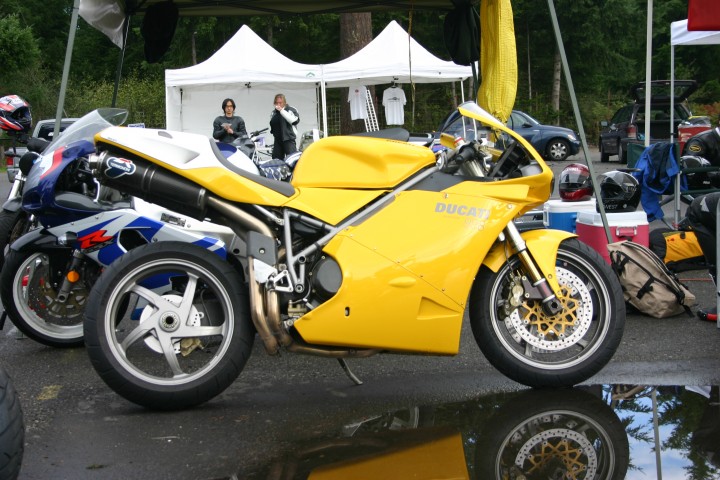
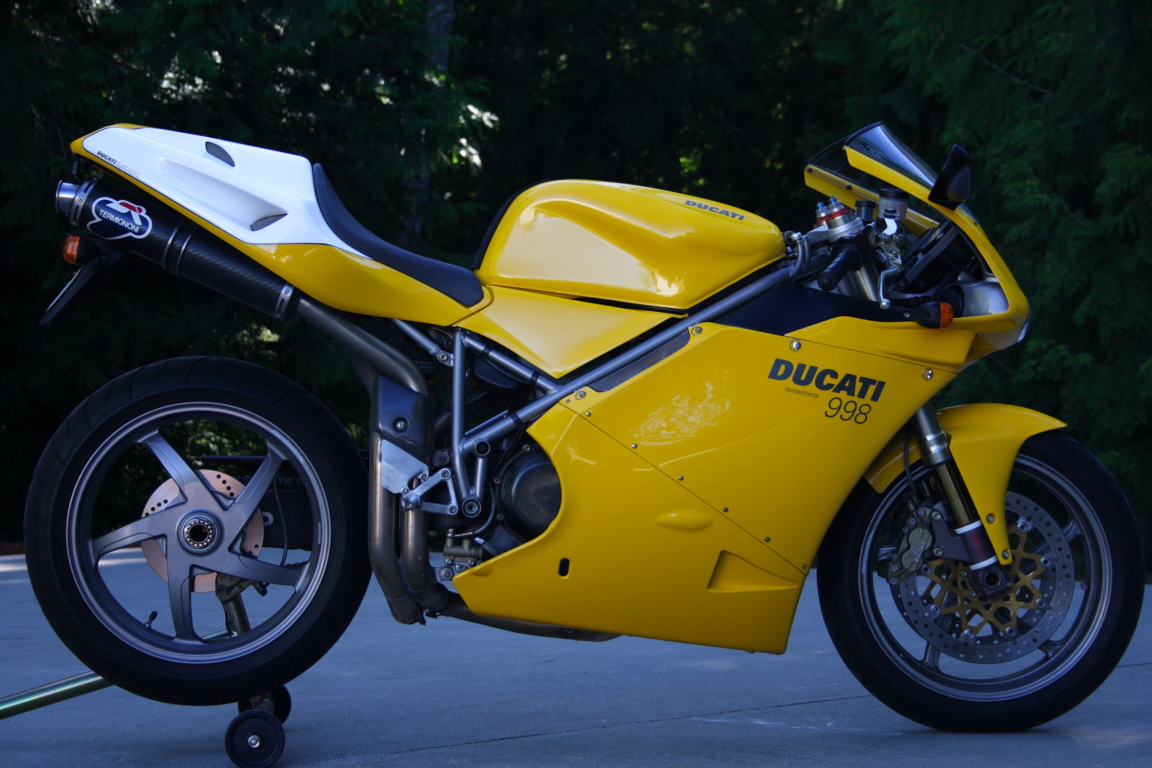
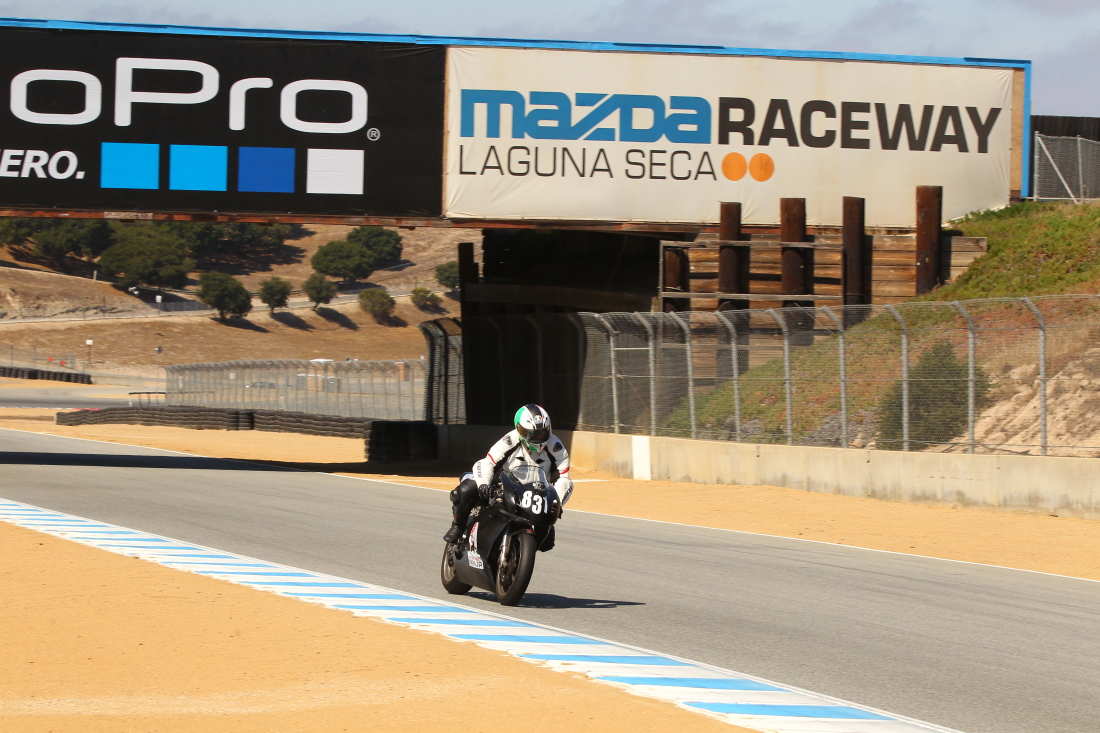
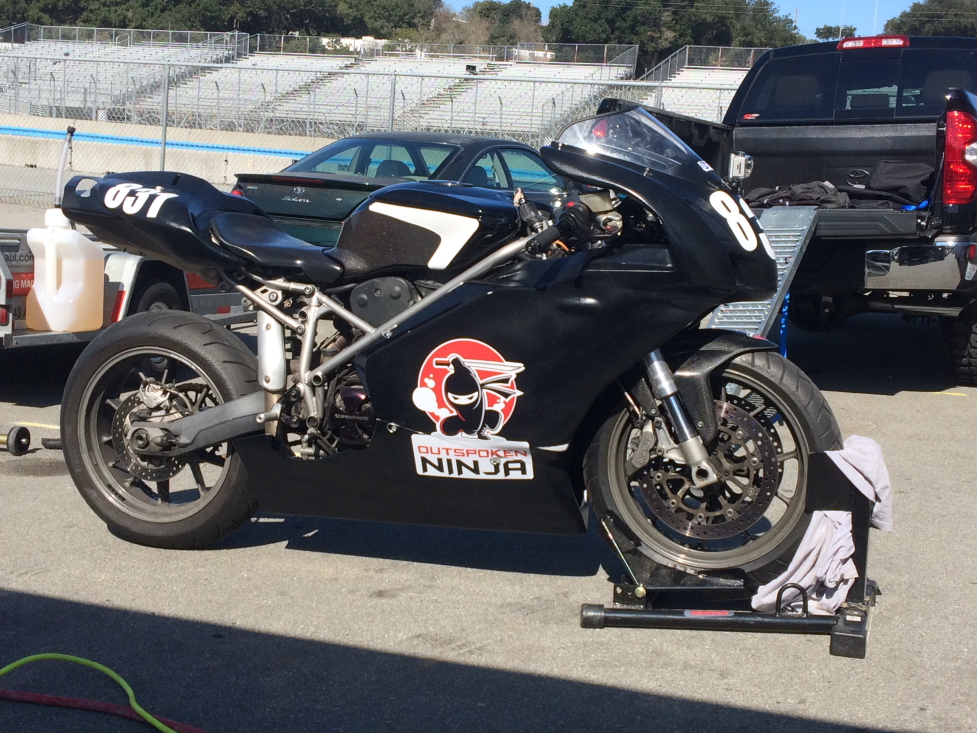
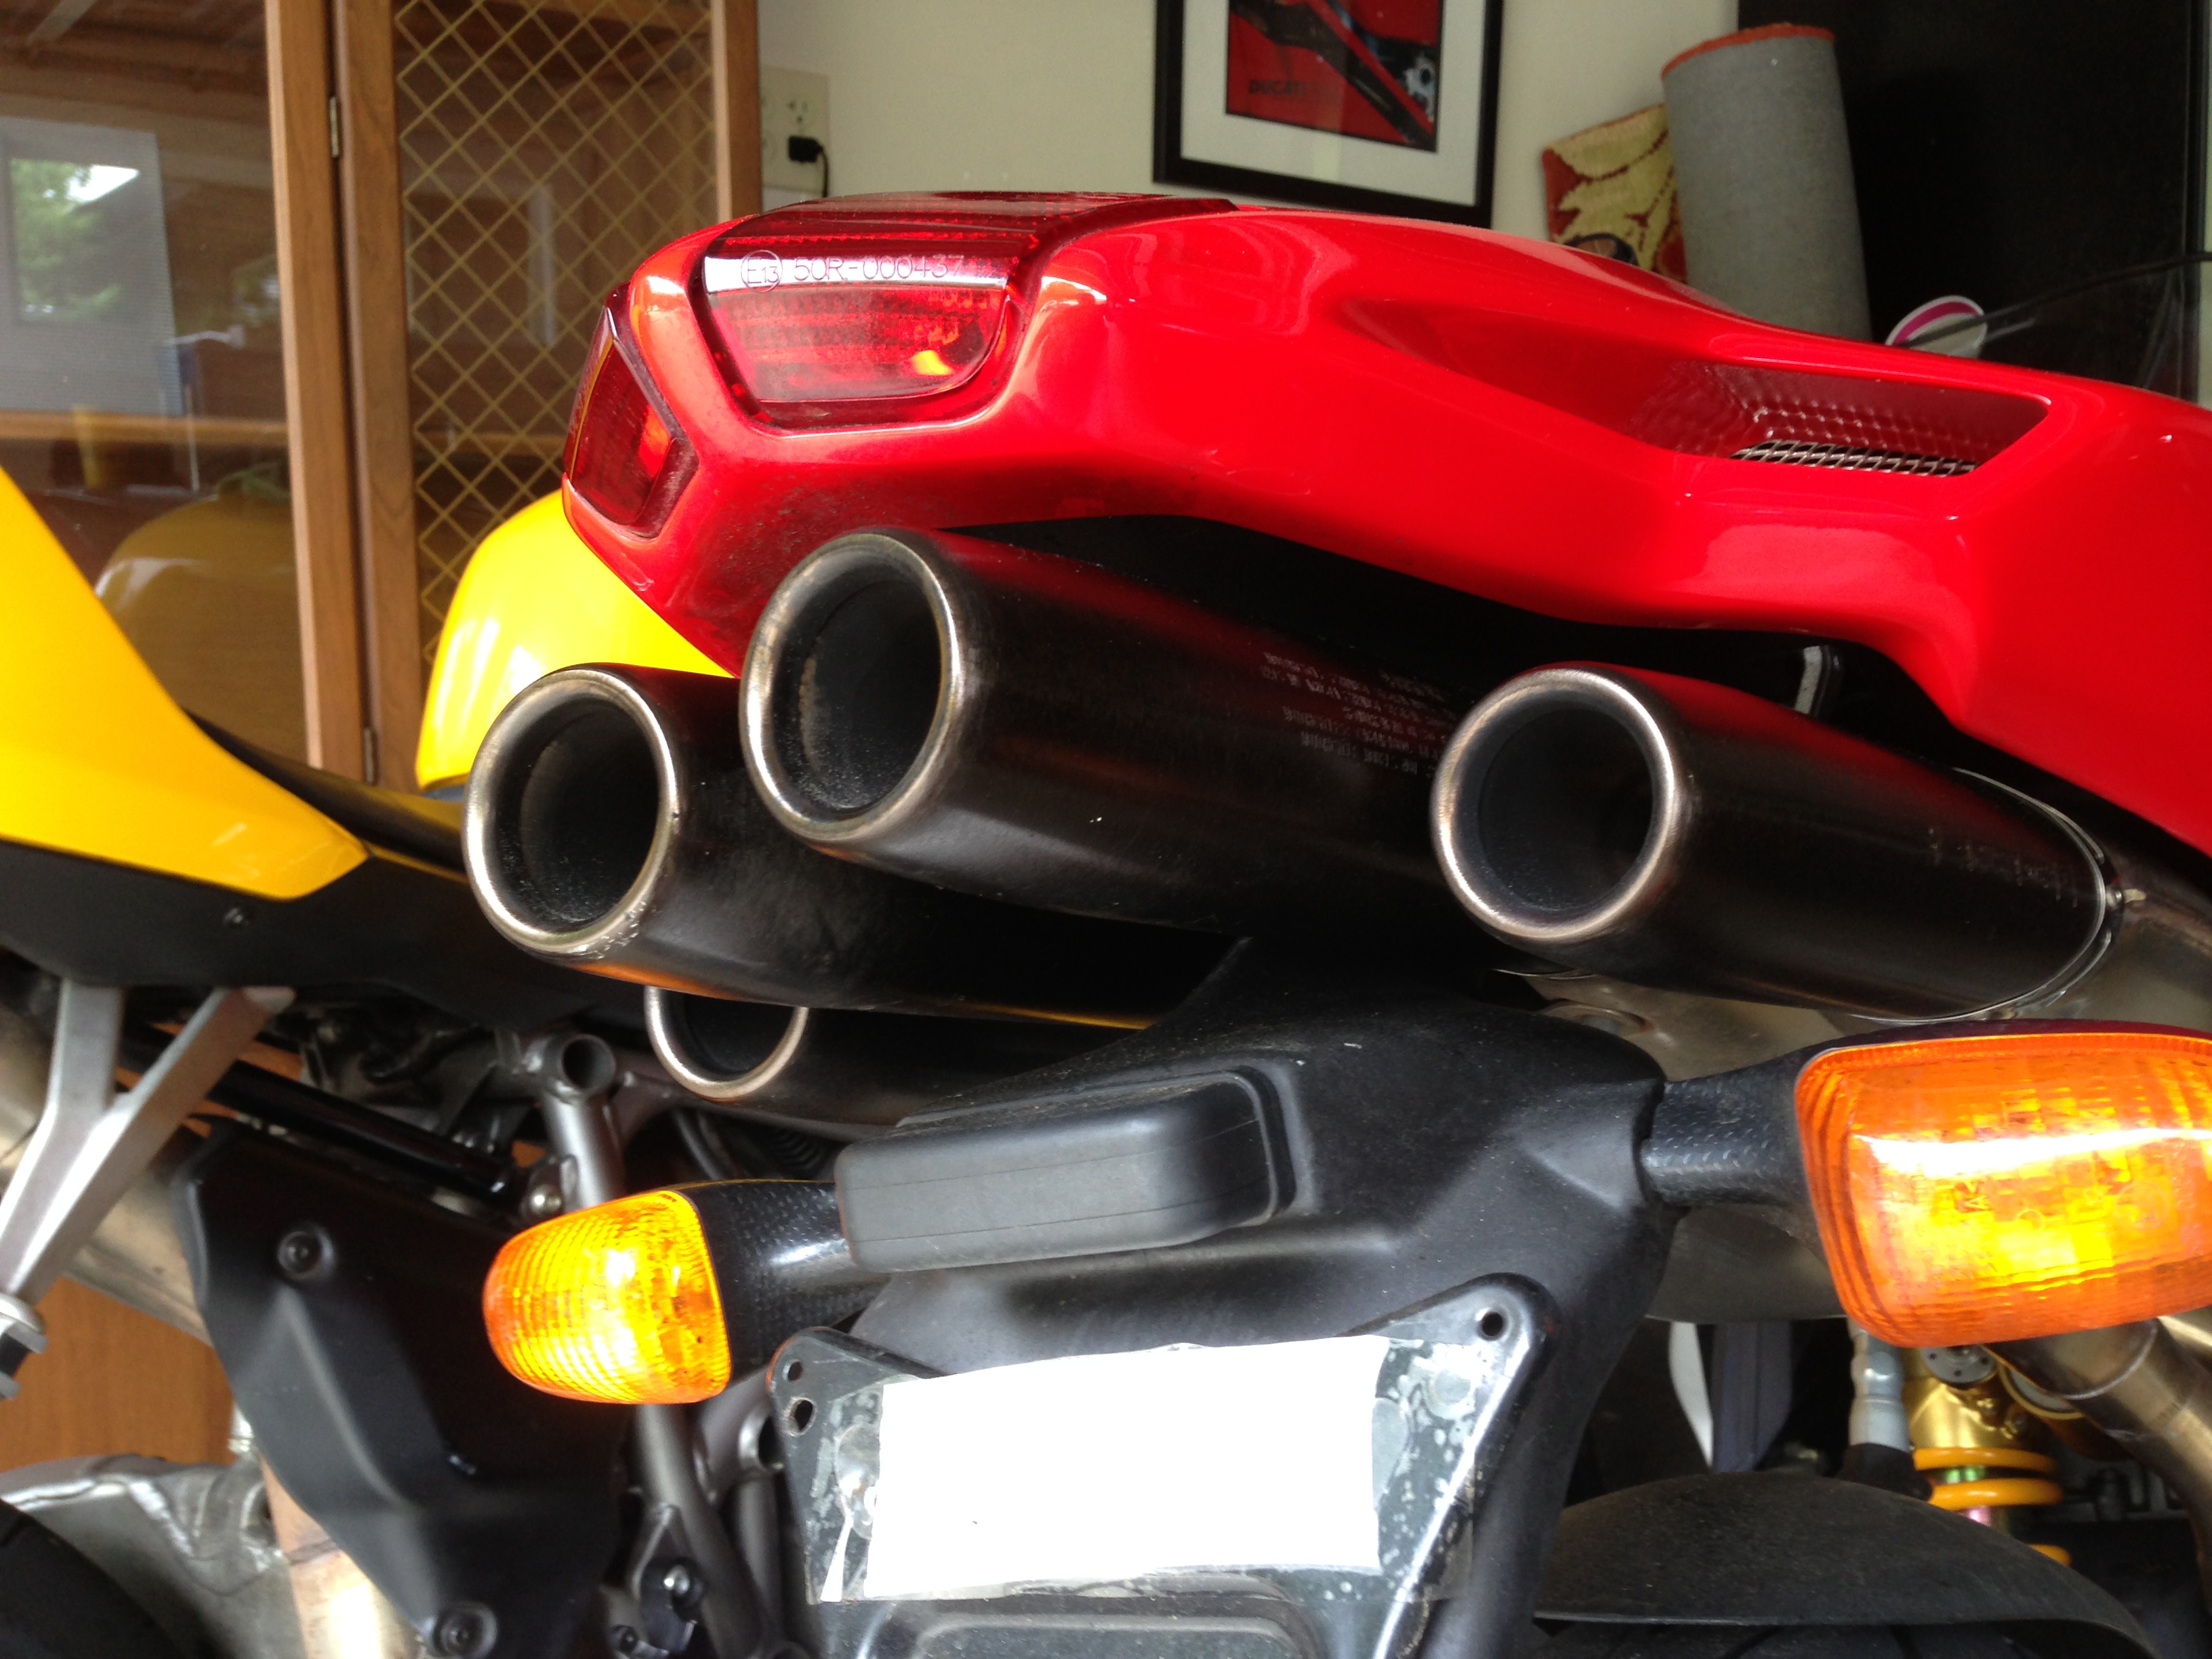
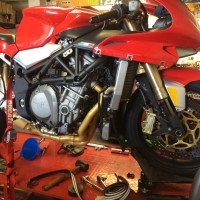
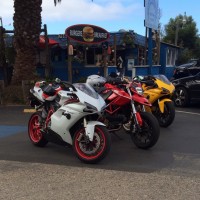
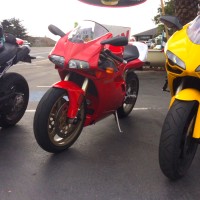
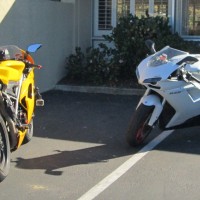
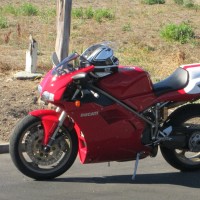
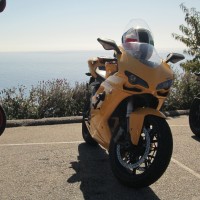
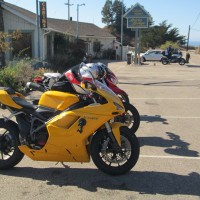
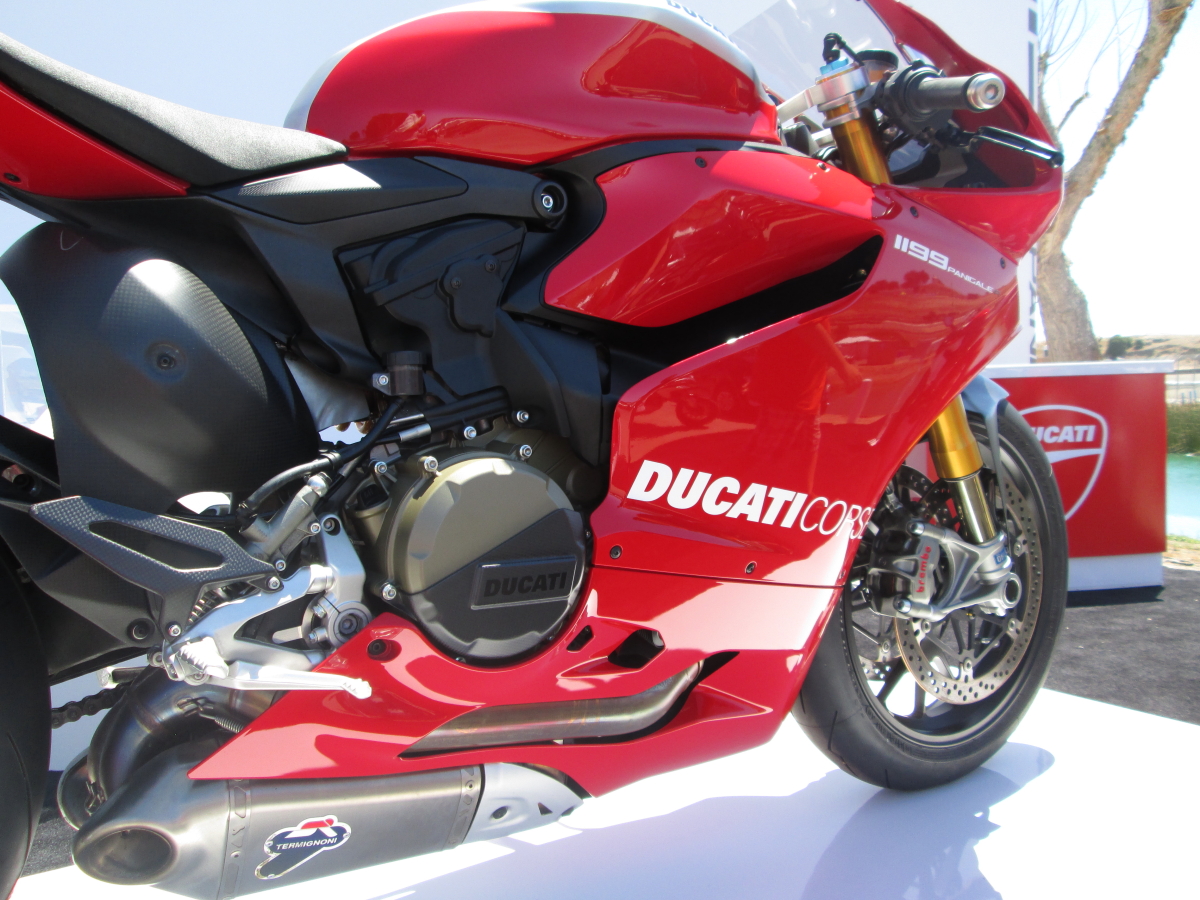
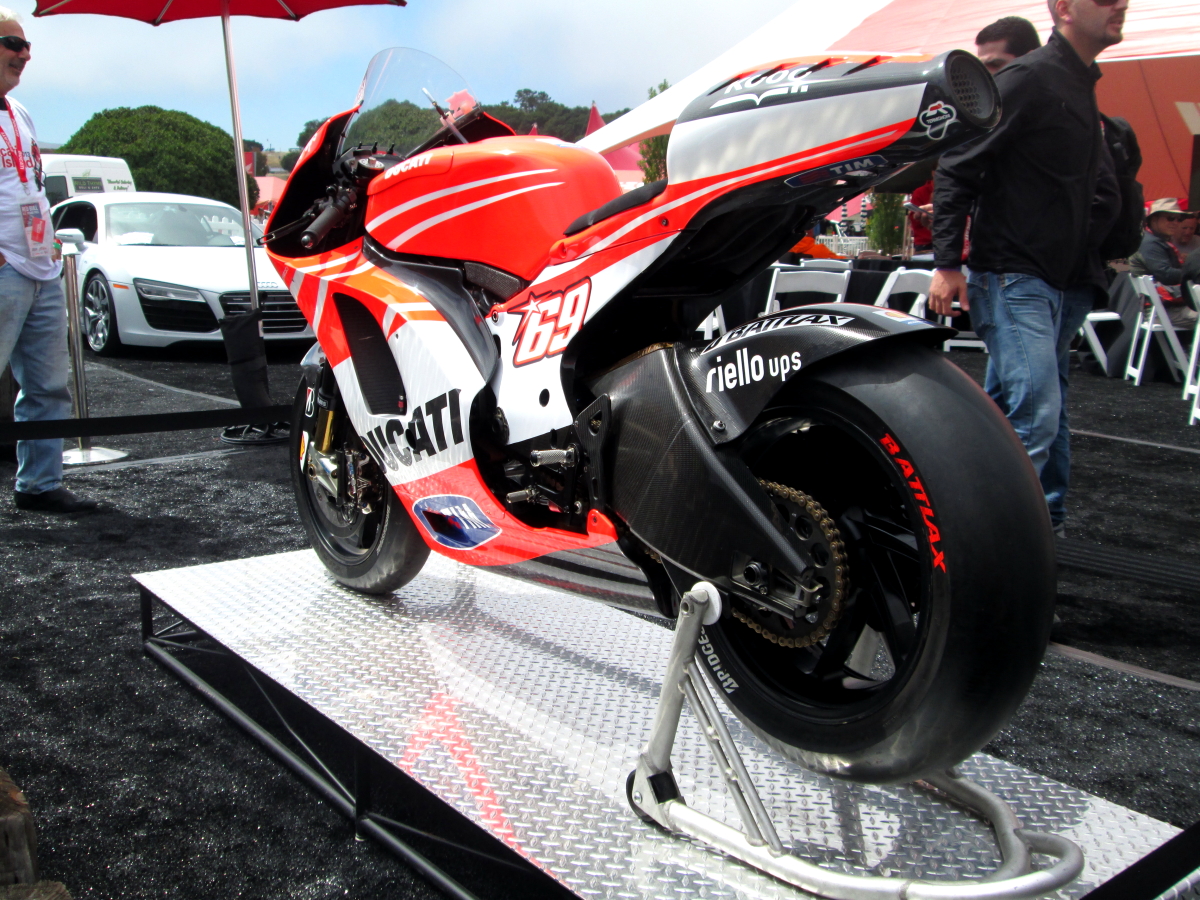
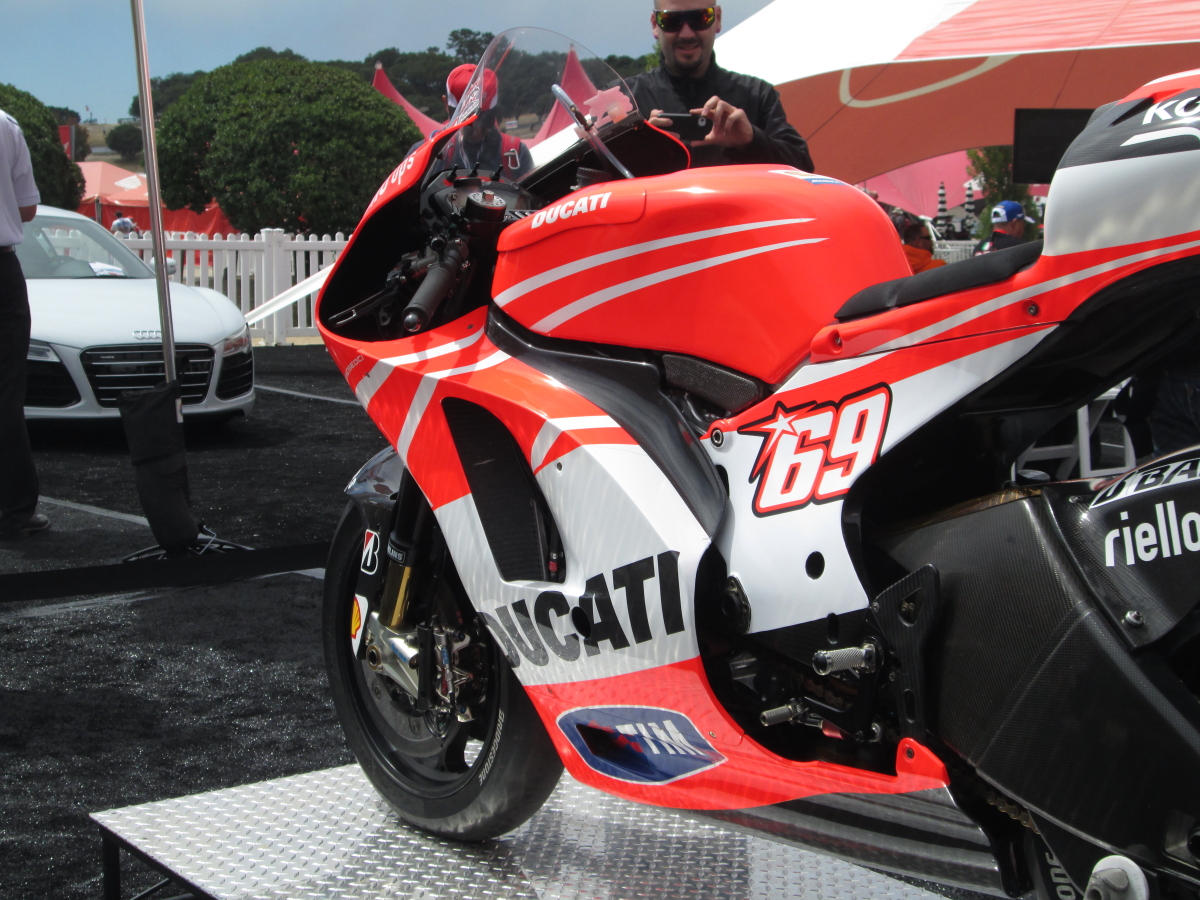
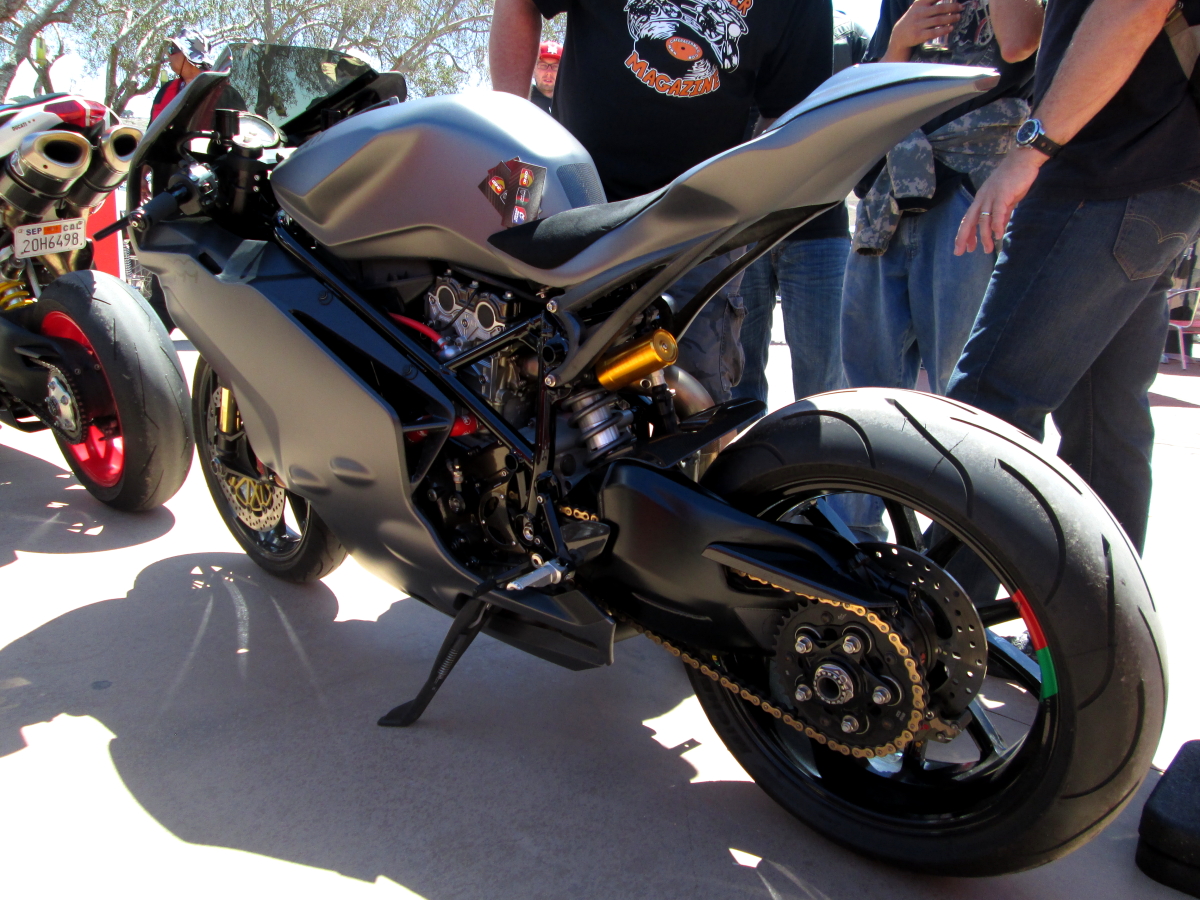
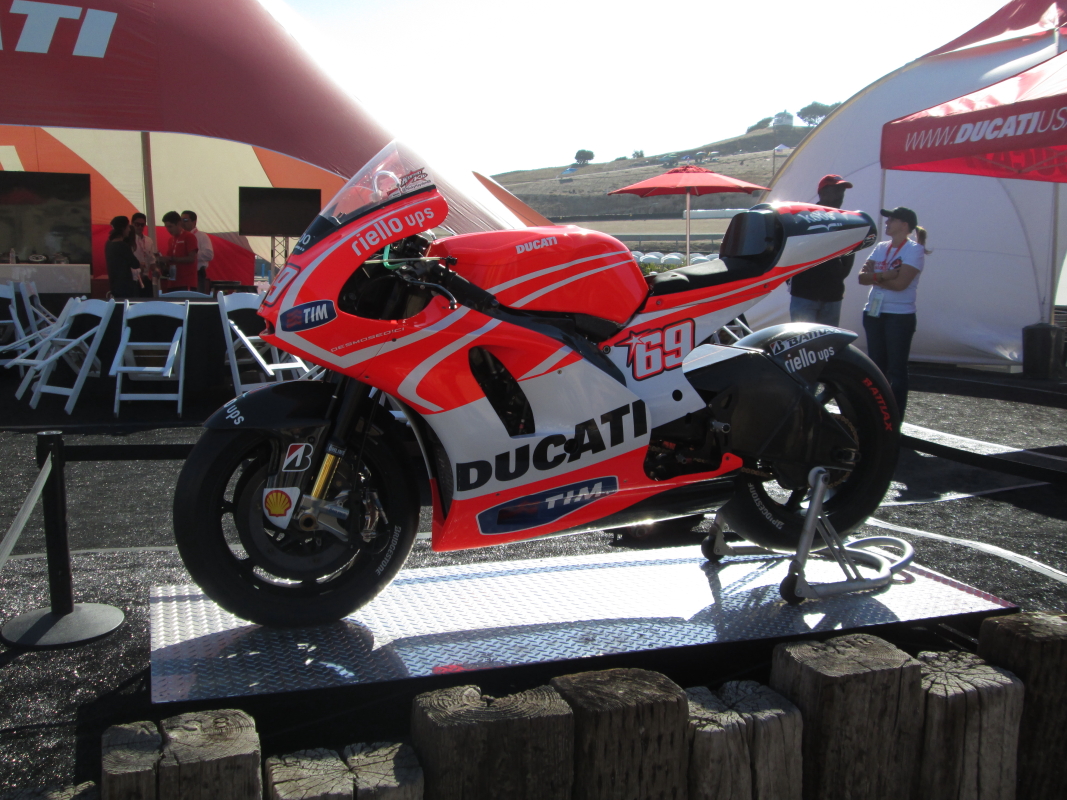
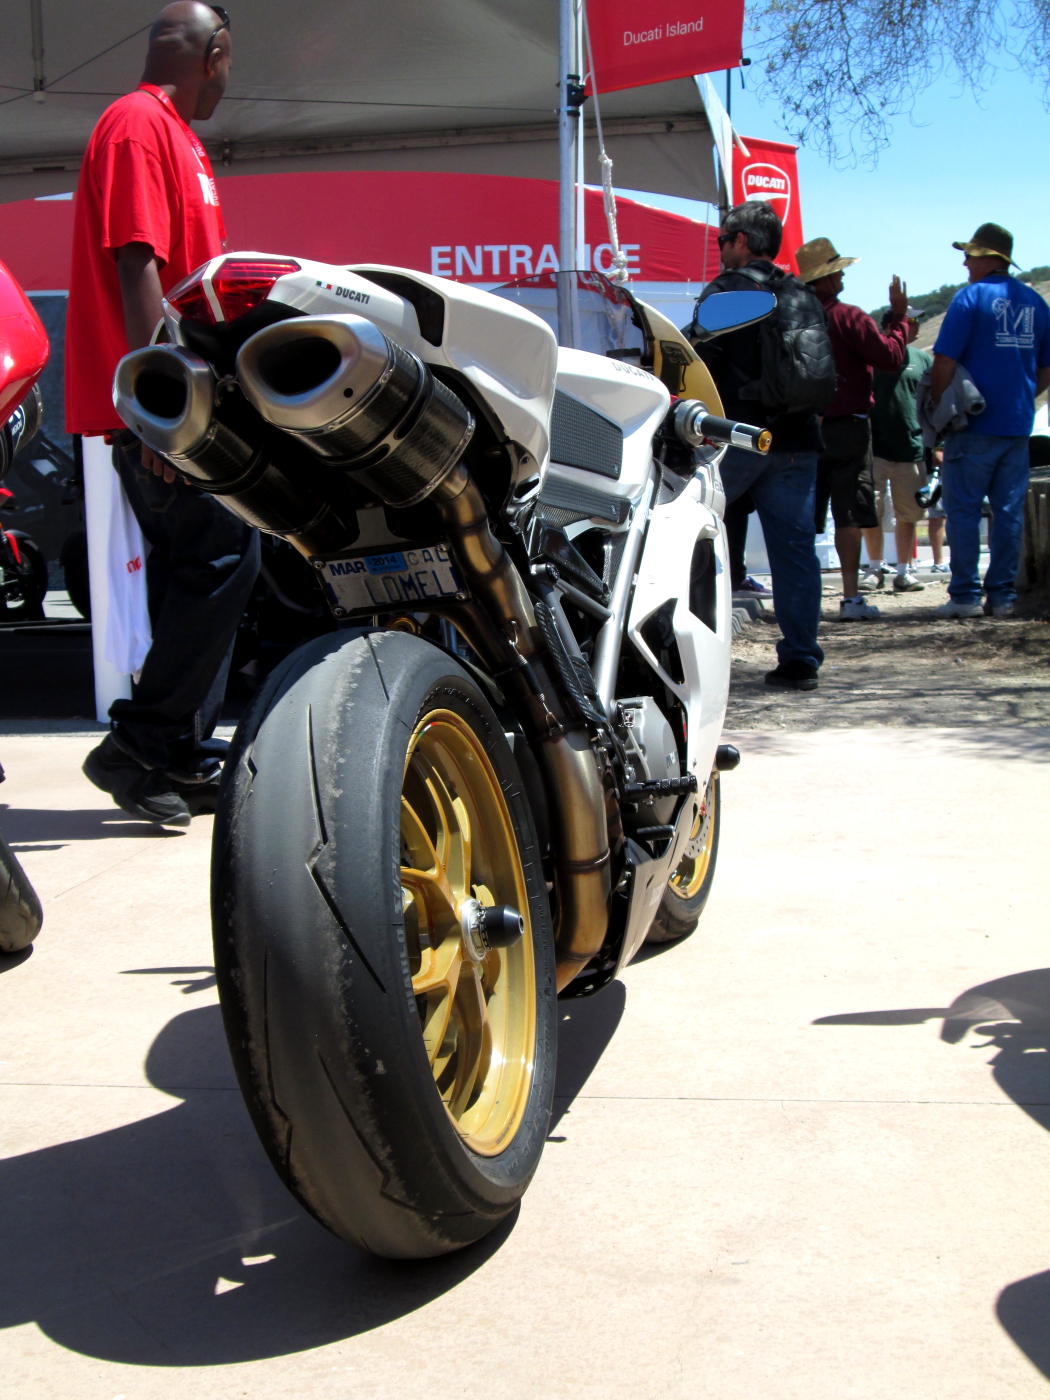
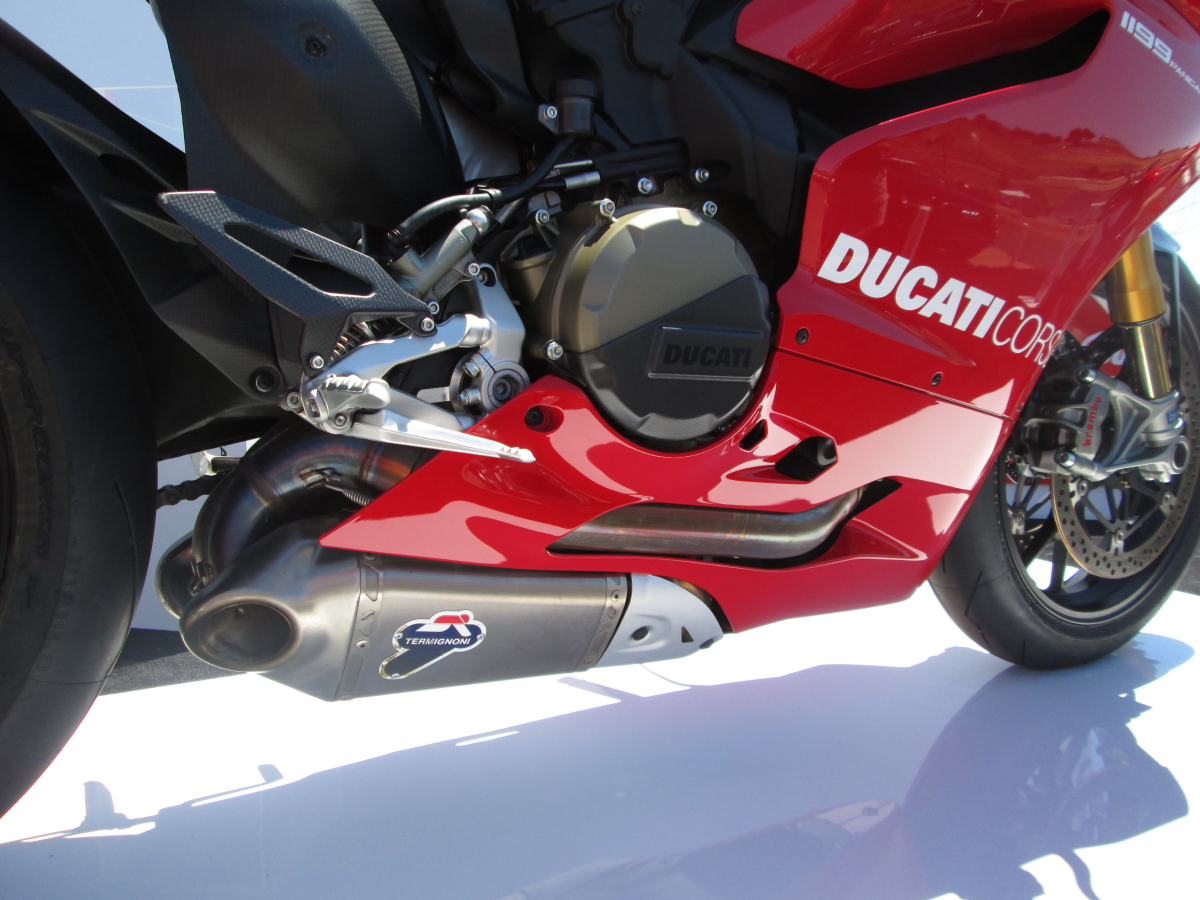
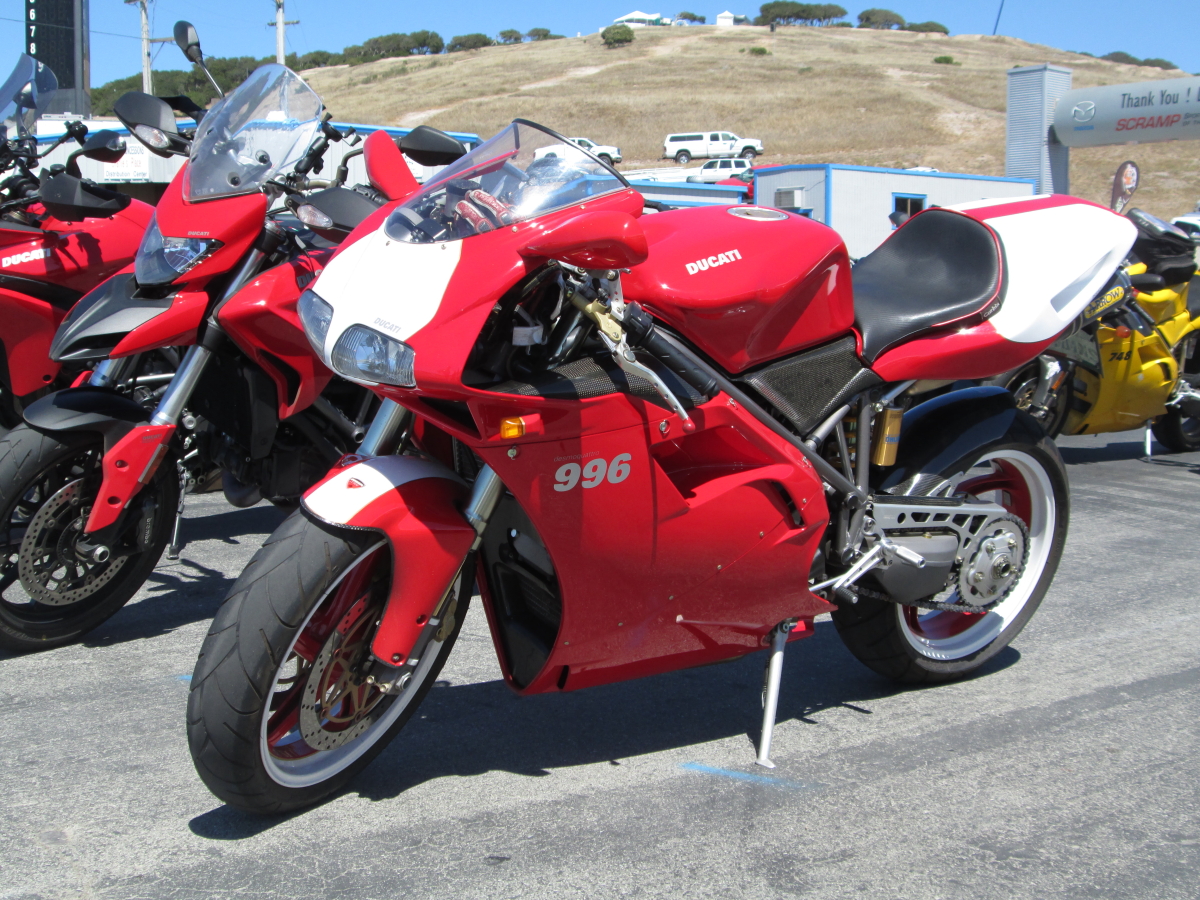
The Ducati 749 wore a new suit to the track this time around. Although it looked great, it’s mechanical state was not quite up to to the image. It was more show than go for Sunday’s track day.

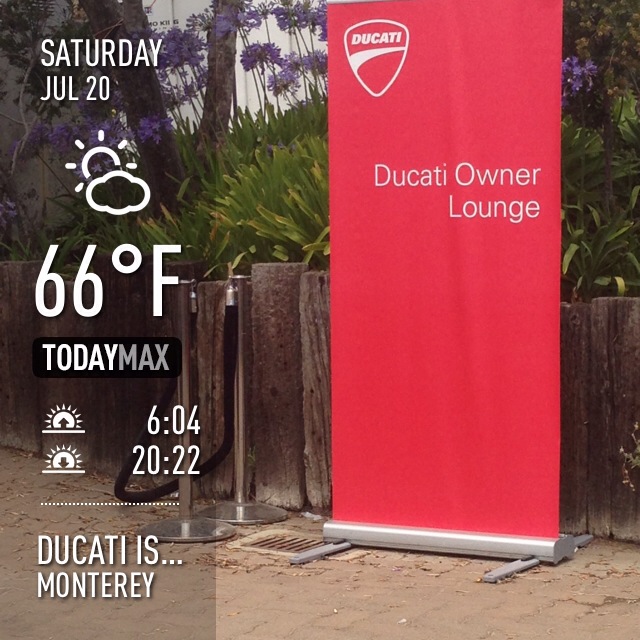
The weekend started rough and it went a little downhill from there. While finishing the dress-up on the bike (the red gas tank arrived late on Friday), Saturday, the fuel tank o-ring was damaged and required a fast trip to San Jose to get a $25 replacement o-ring. At least the dealer had it in stock and I was able to get the bike back together in time to pull into Monterey for our pre-track-day dinner.

LSeca_05_10_2015_02

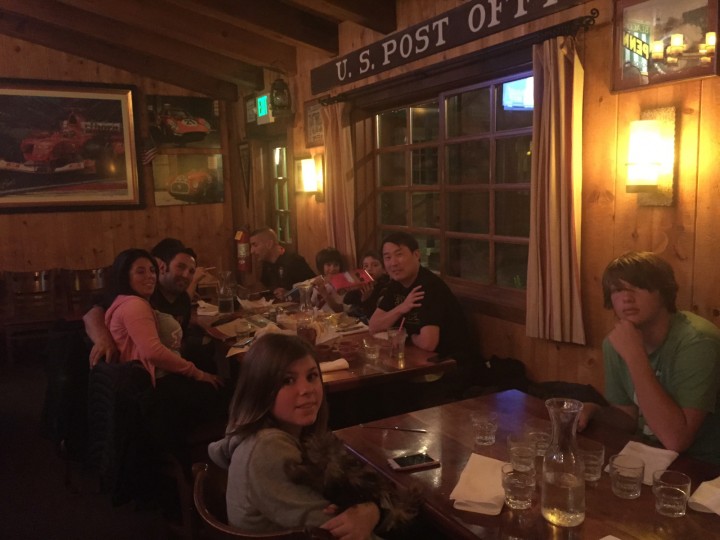
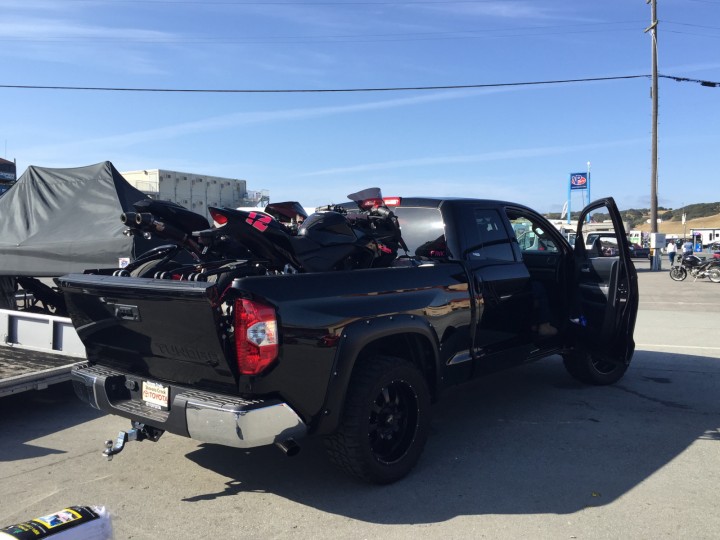
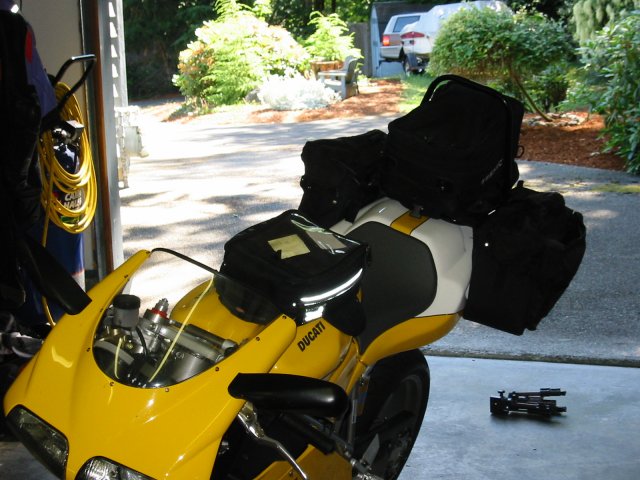
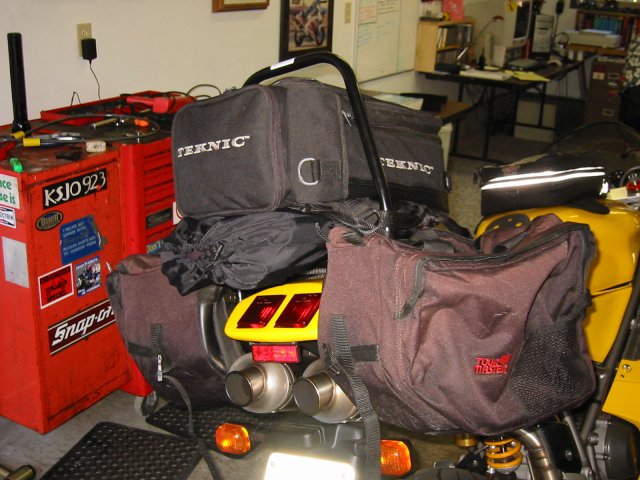
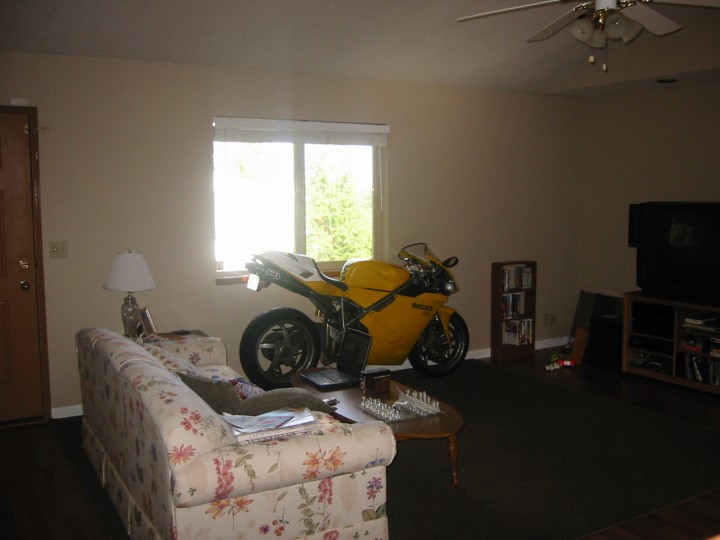
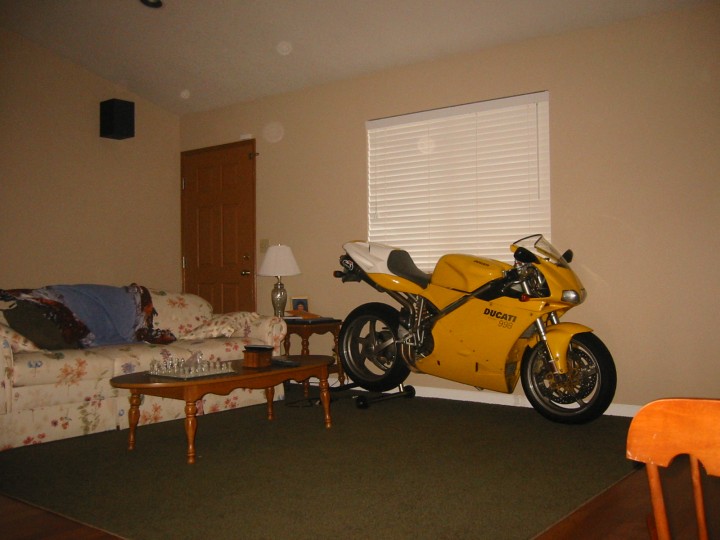
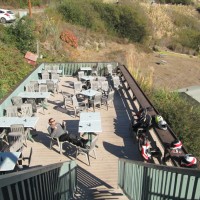
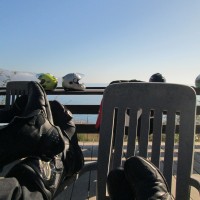
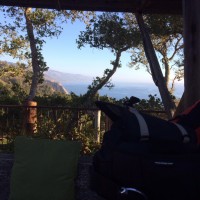
The first break in my routing was not unloading my truck on arrival. Once back from dinner it was 10:15 PM, I found that someone had pulled up next to me in the space I’d planned to setup my gear. There didn’t seem to be much point in unloading in the paddock at that point, so.. off to sleep I went:
LSeca_05_10_2015_03

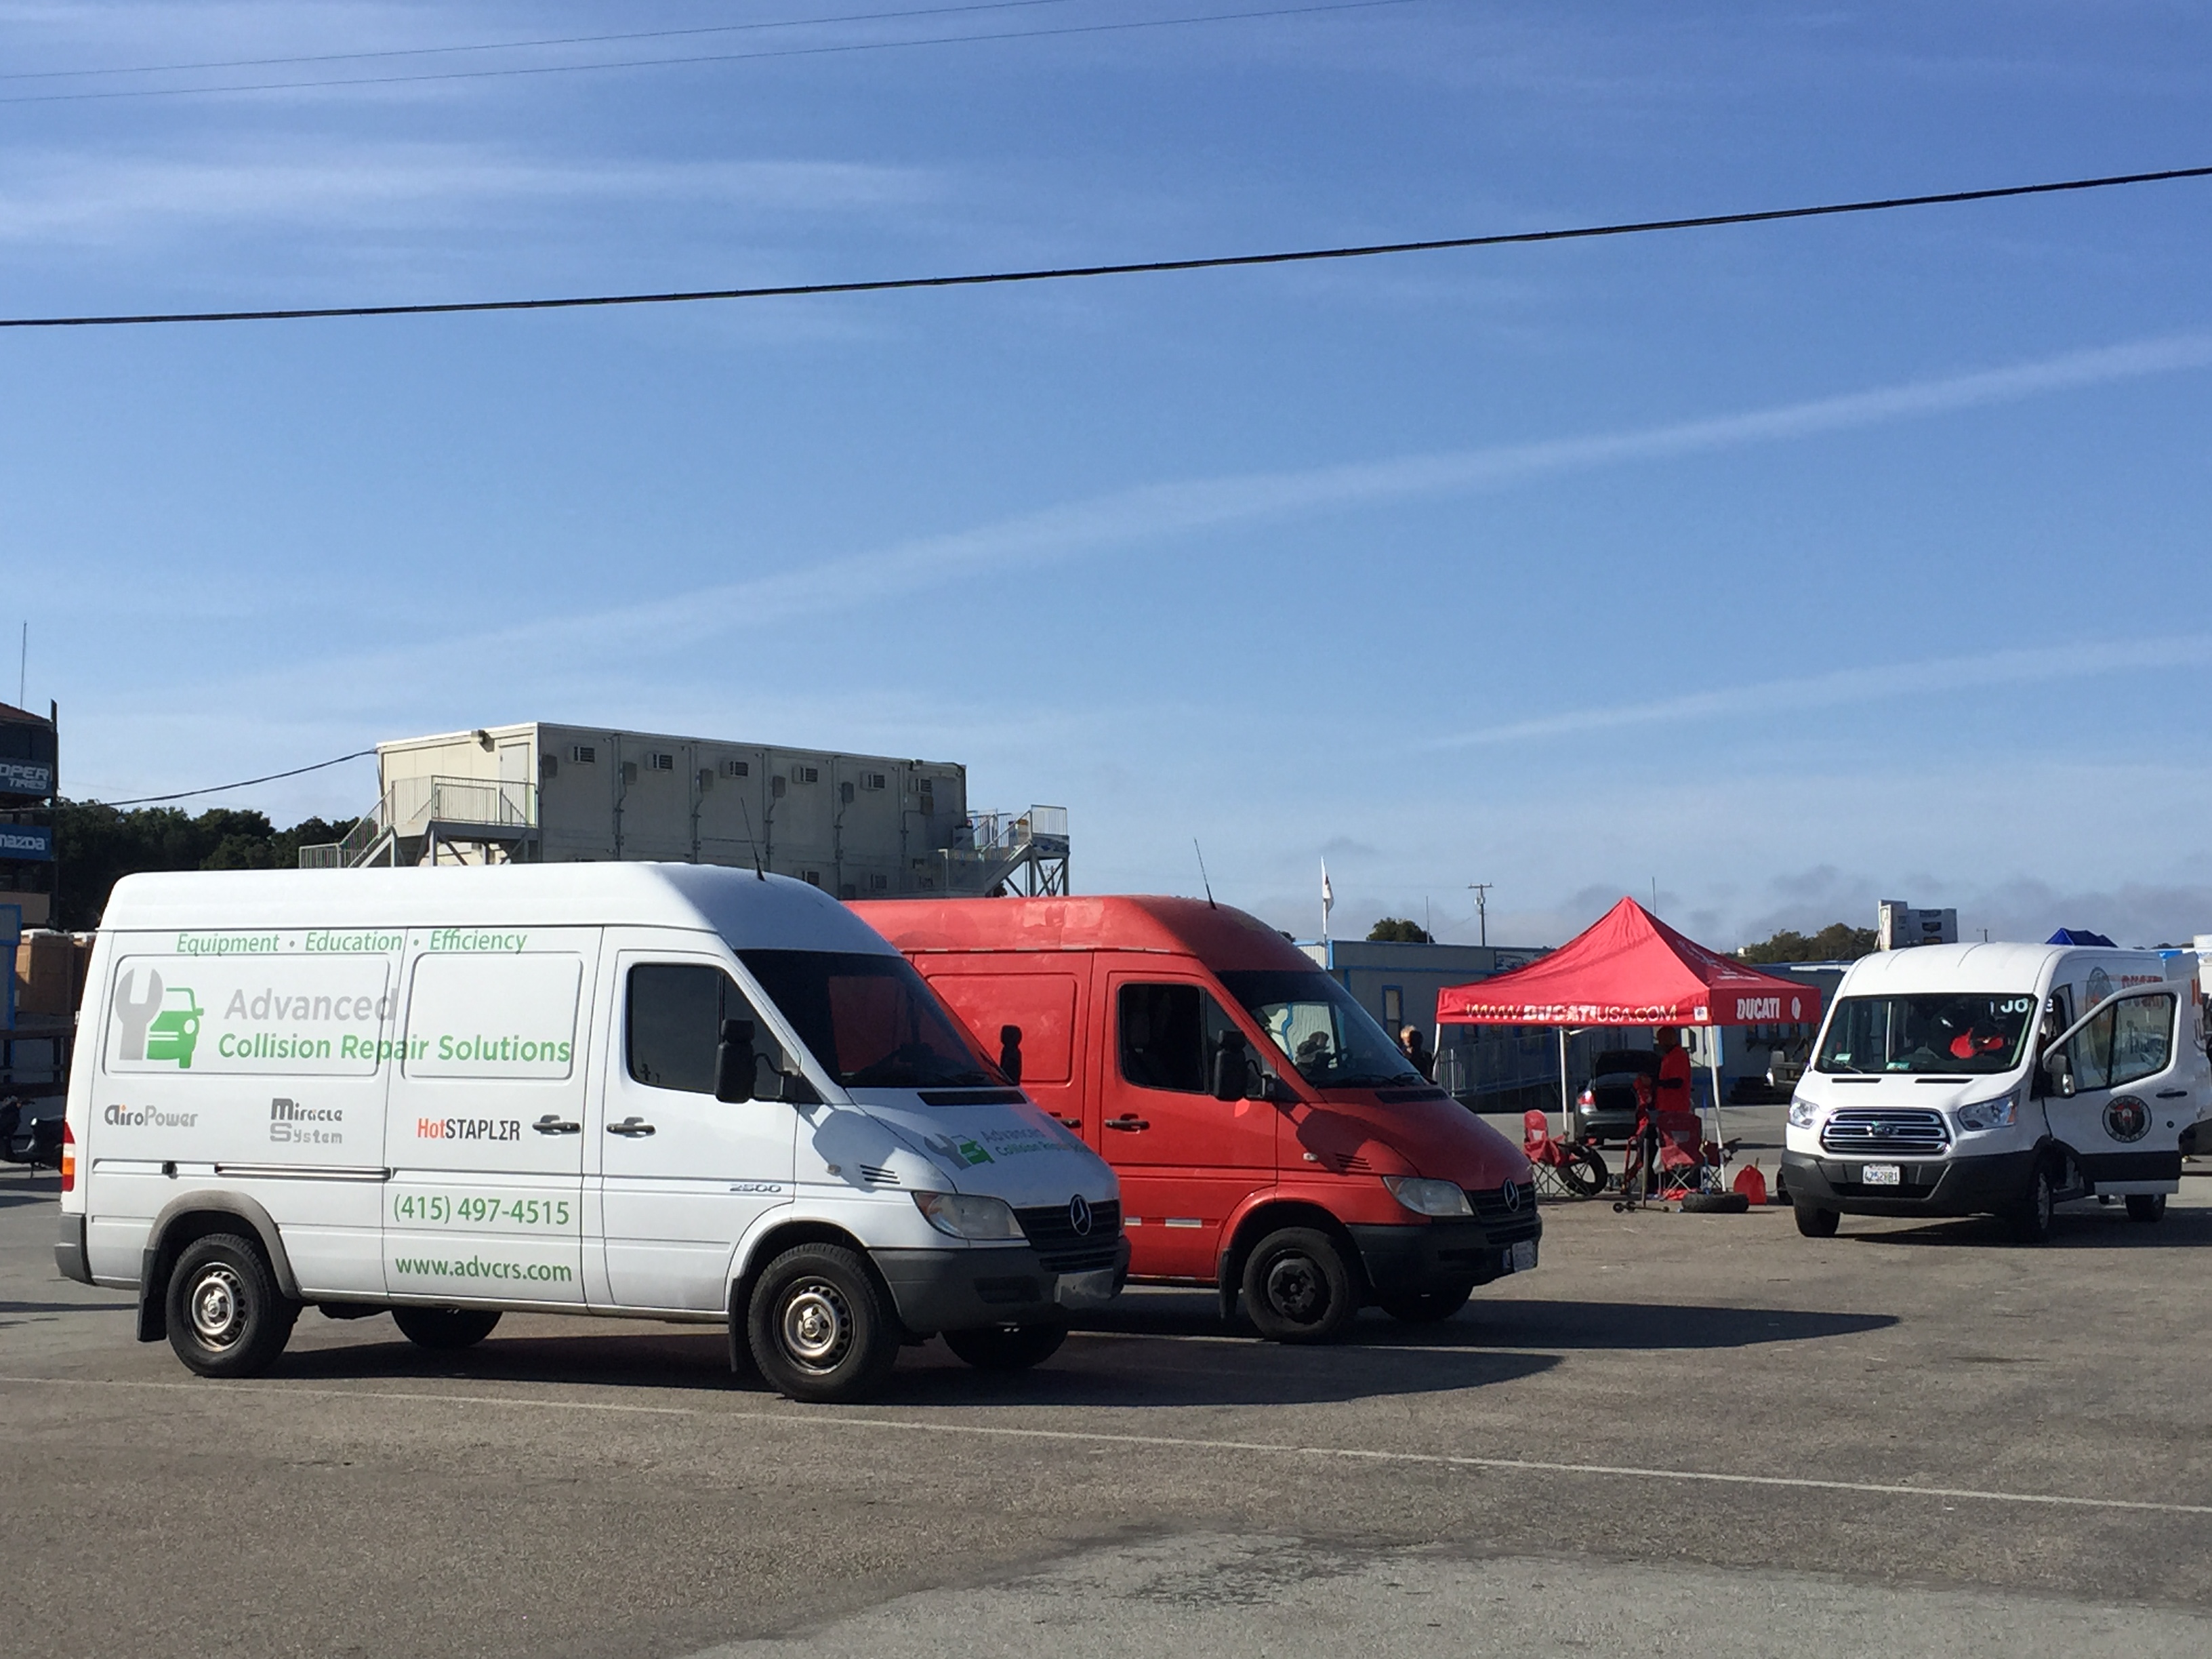
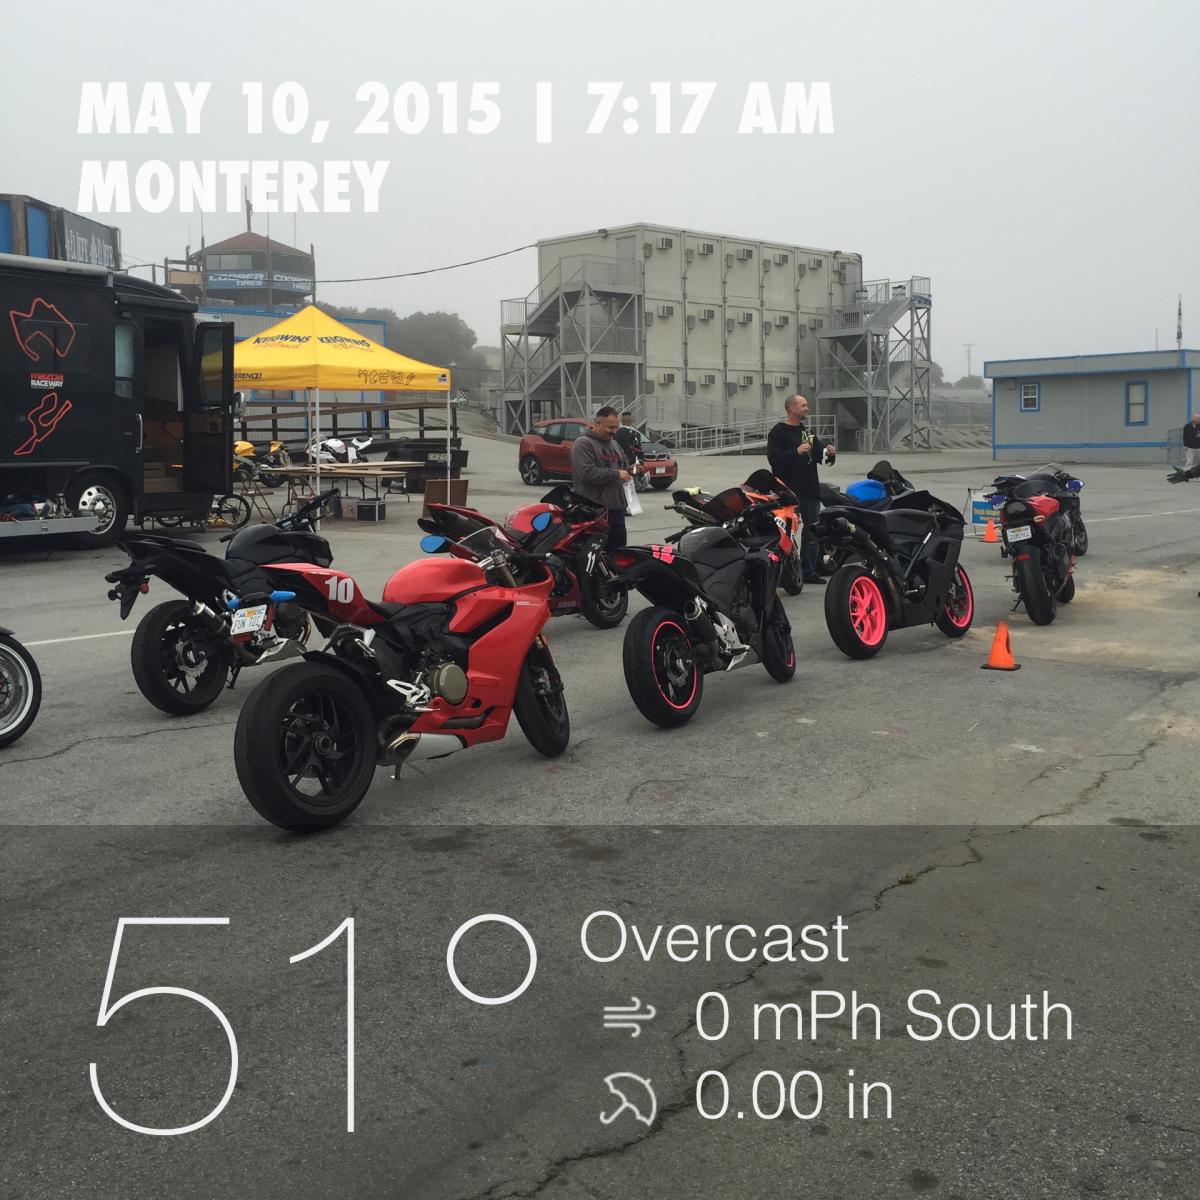
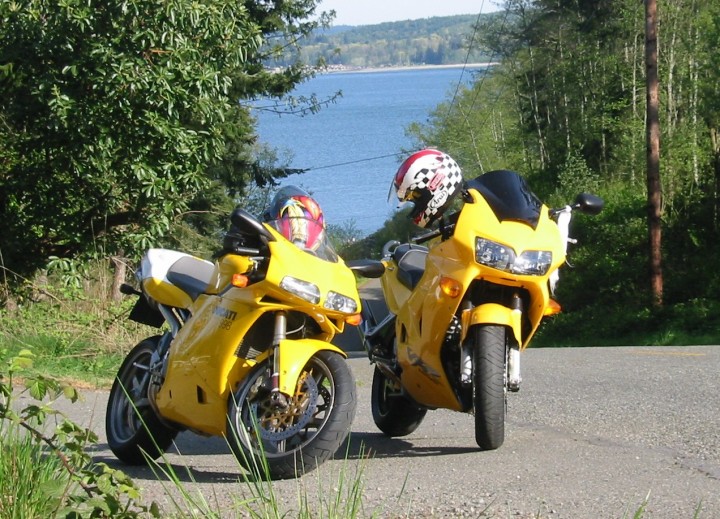
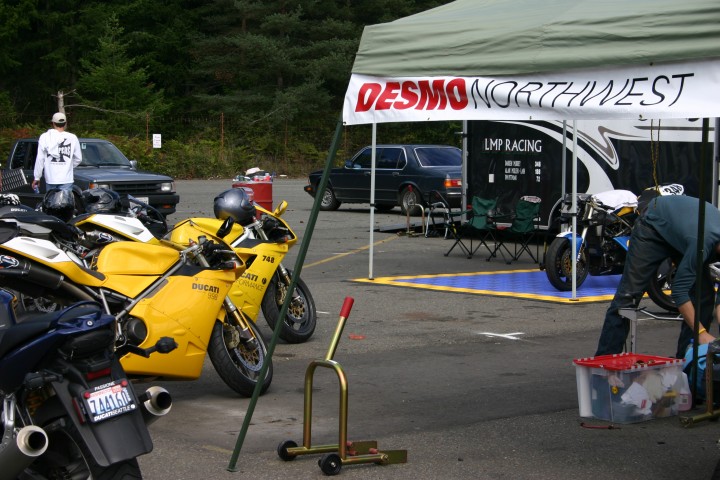
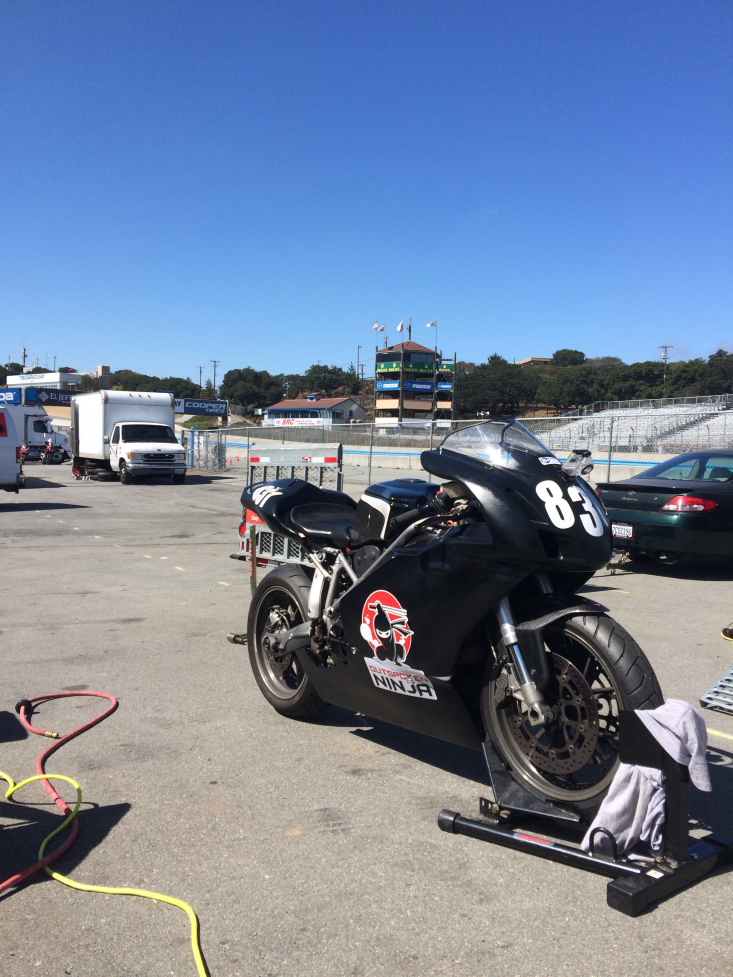
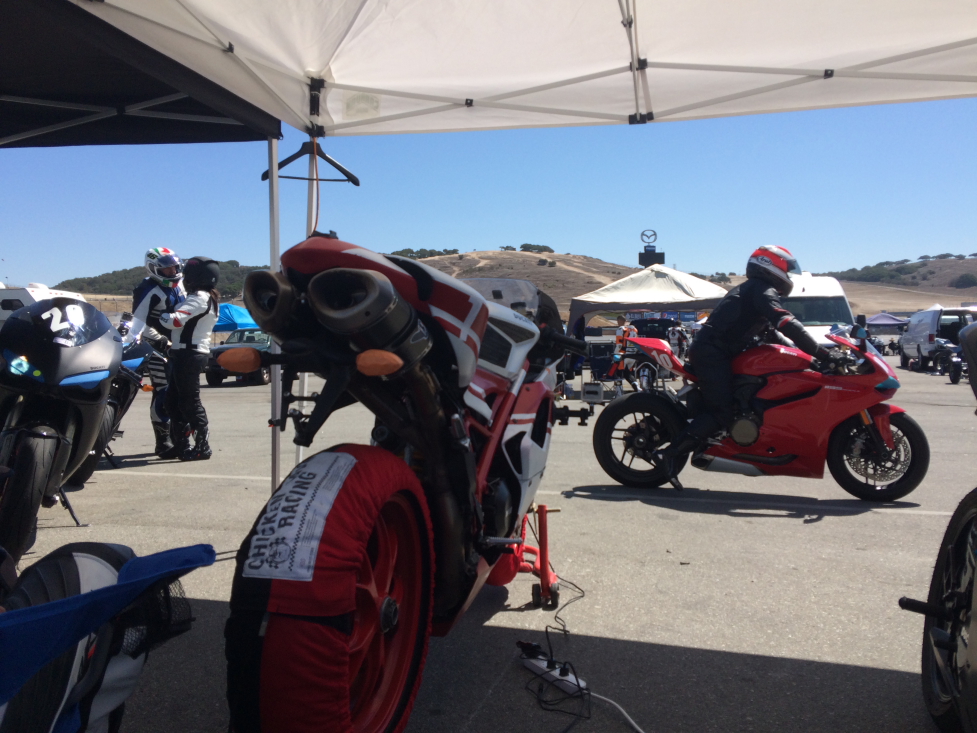
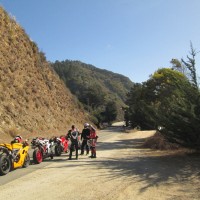
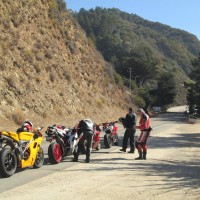
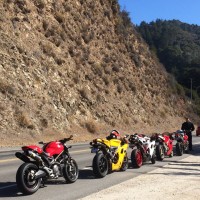
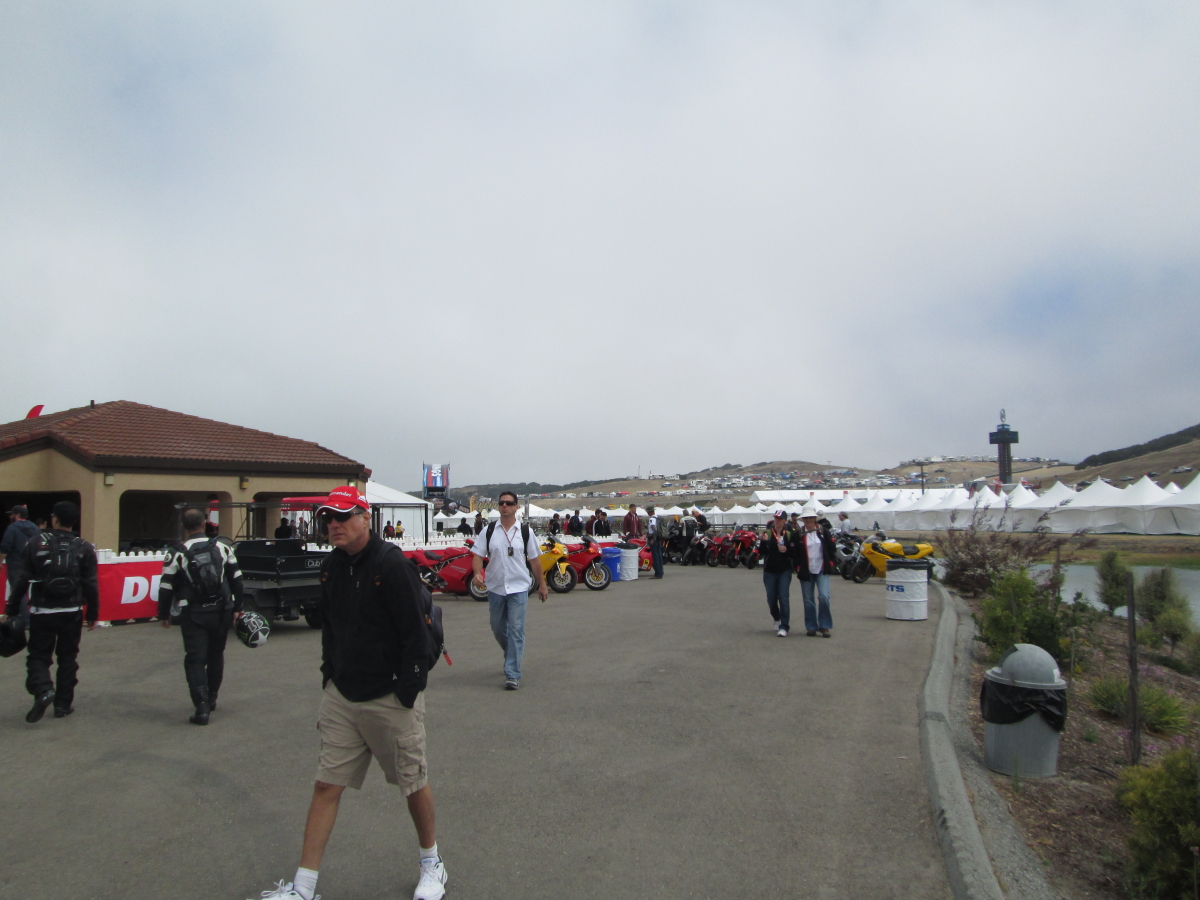
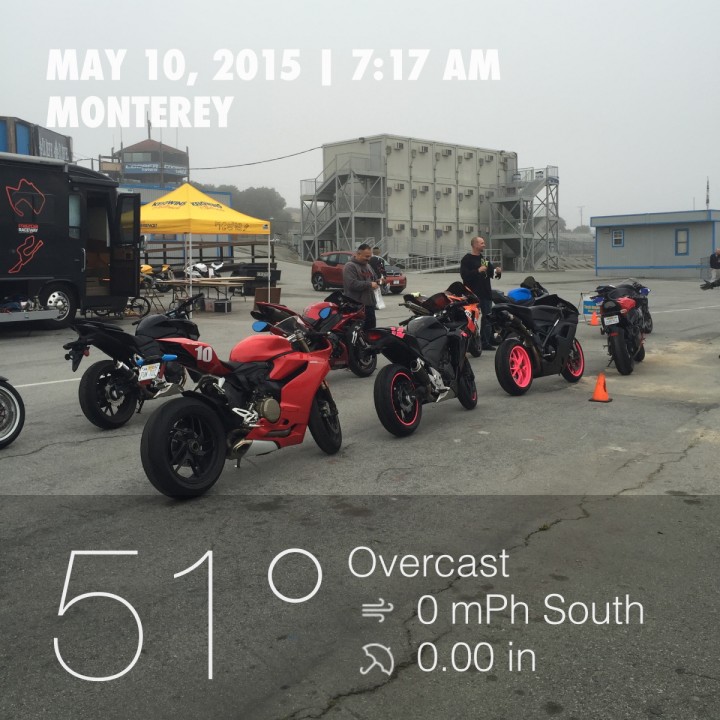
Dawn comes early in Monterey, and despite my original setup plans foiled, equipment was unloaded and the bike was plugged into the generator to start warming up the tires:
IMG_2249

LSeca_05_10_2015_10

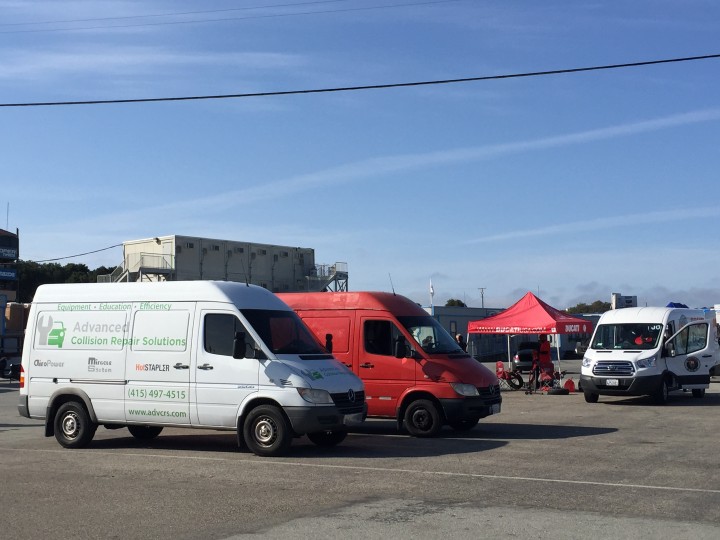
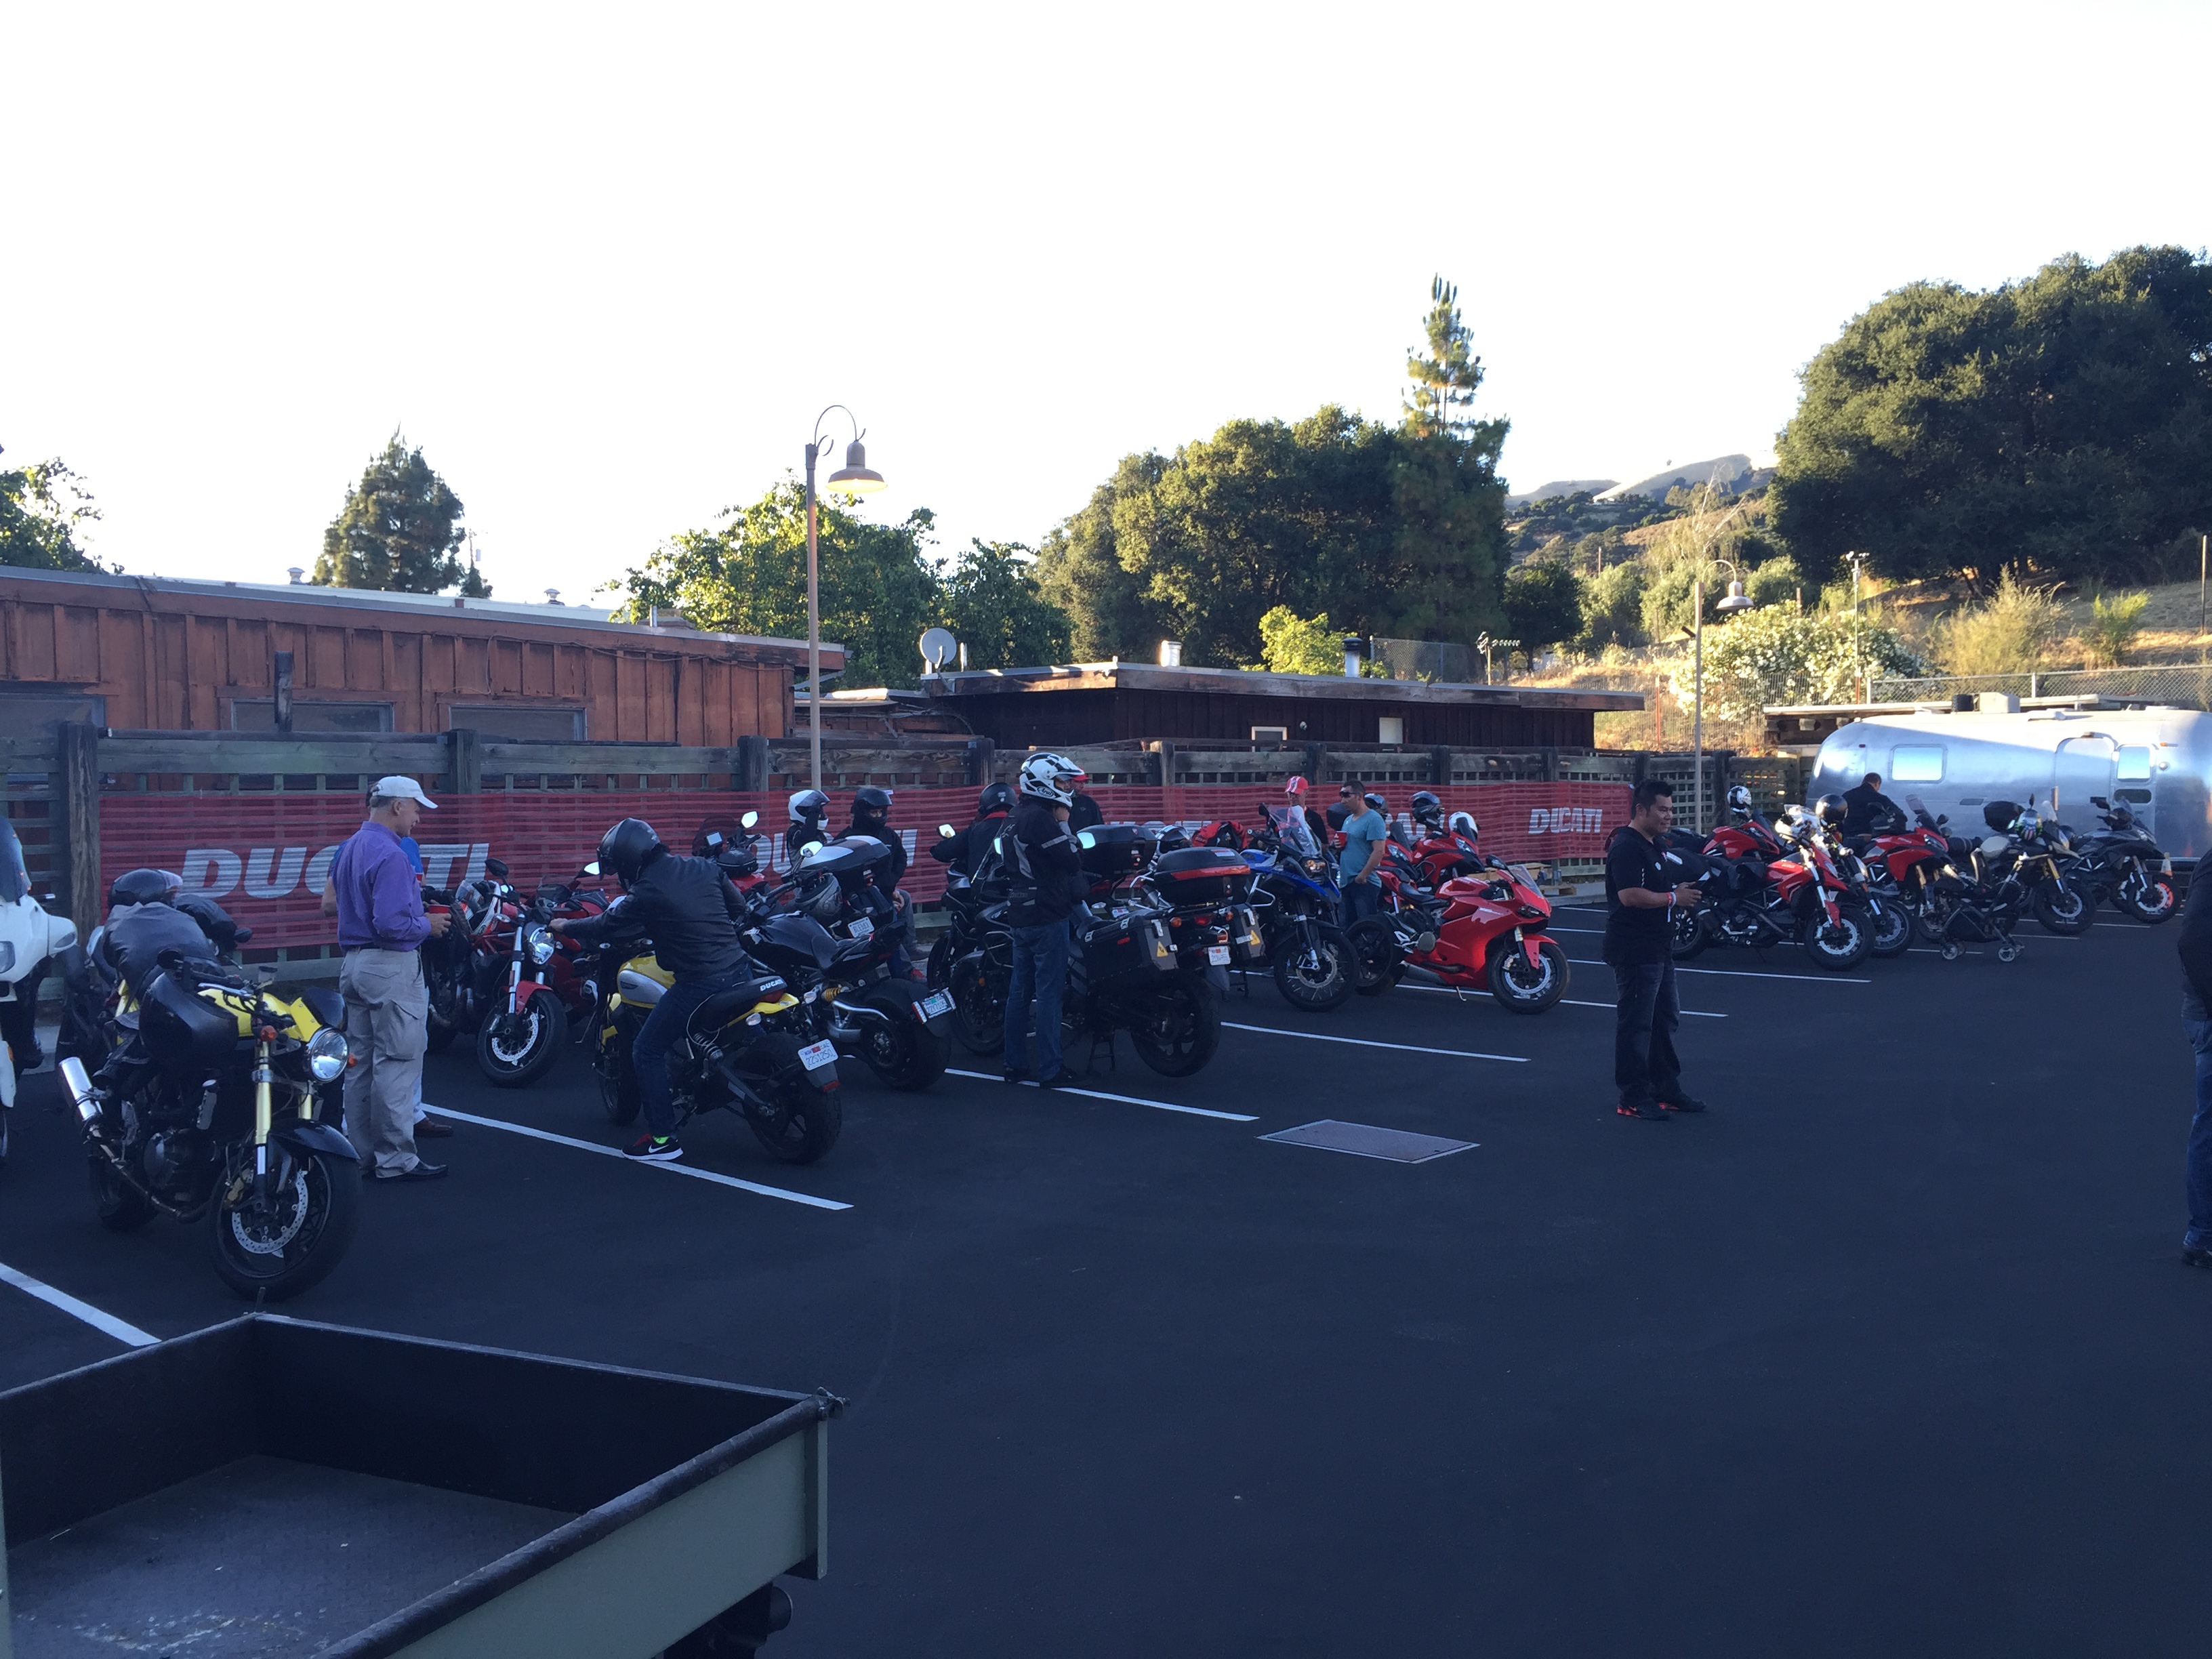
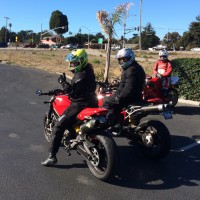
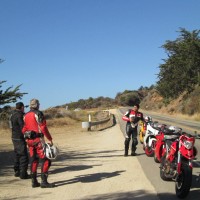
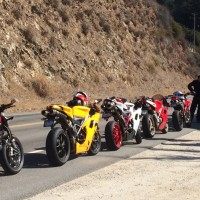
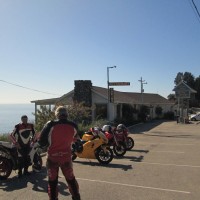
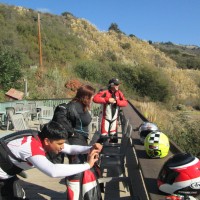
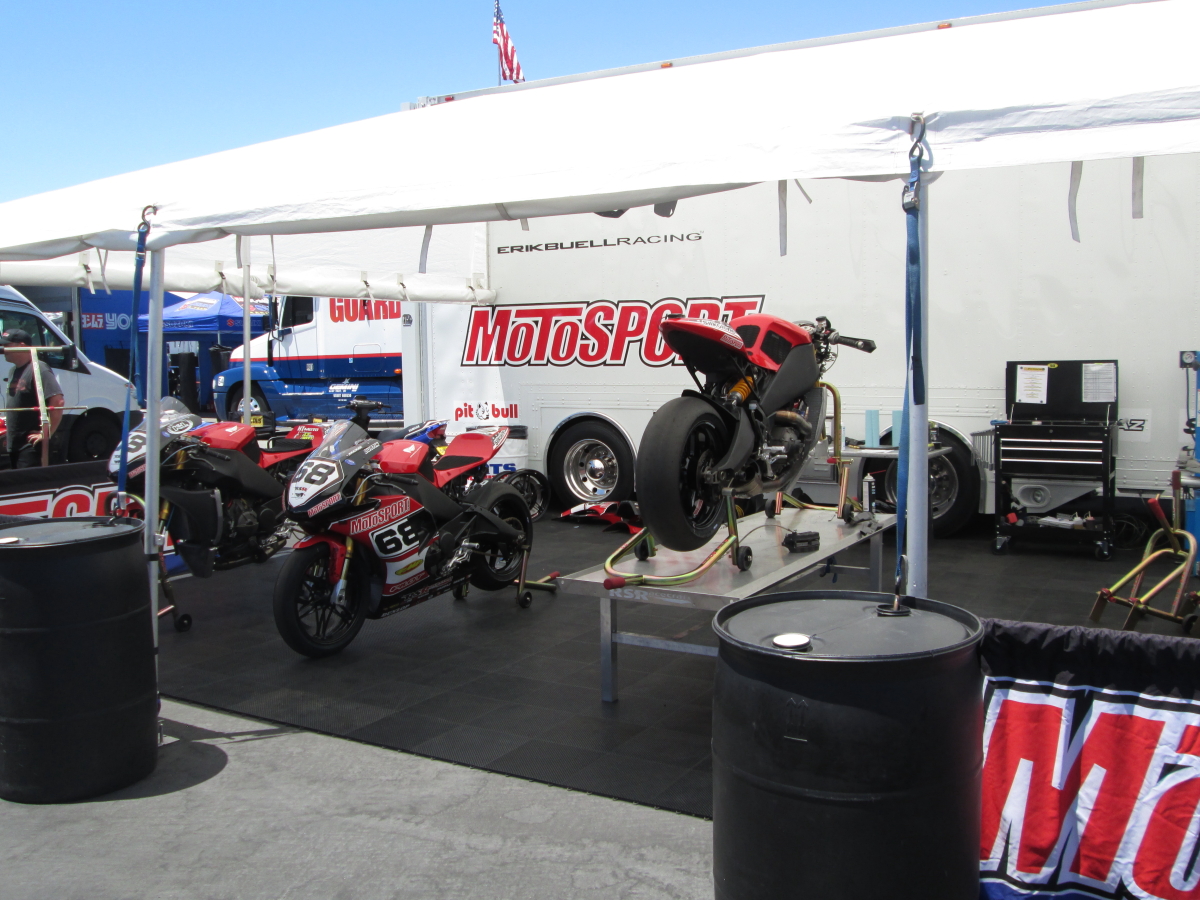
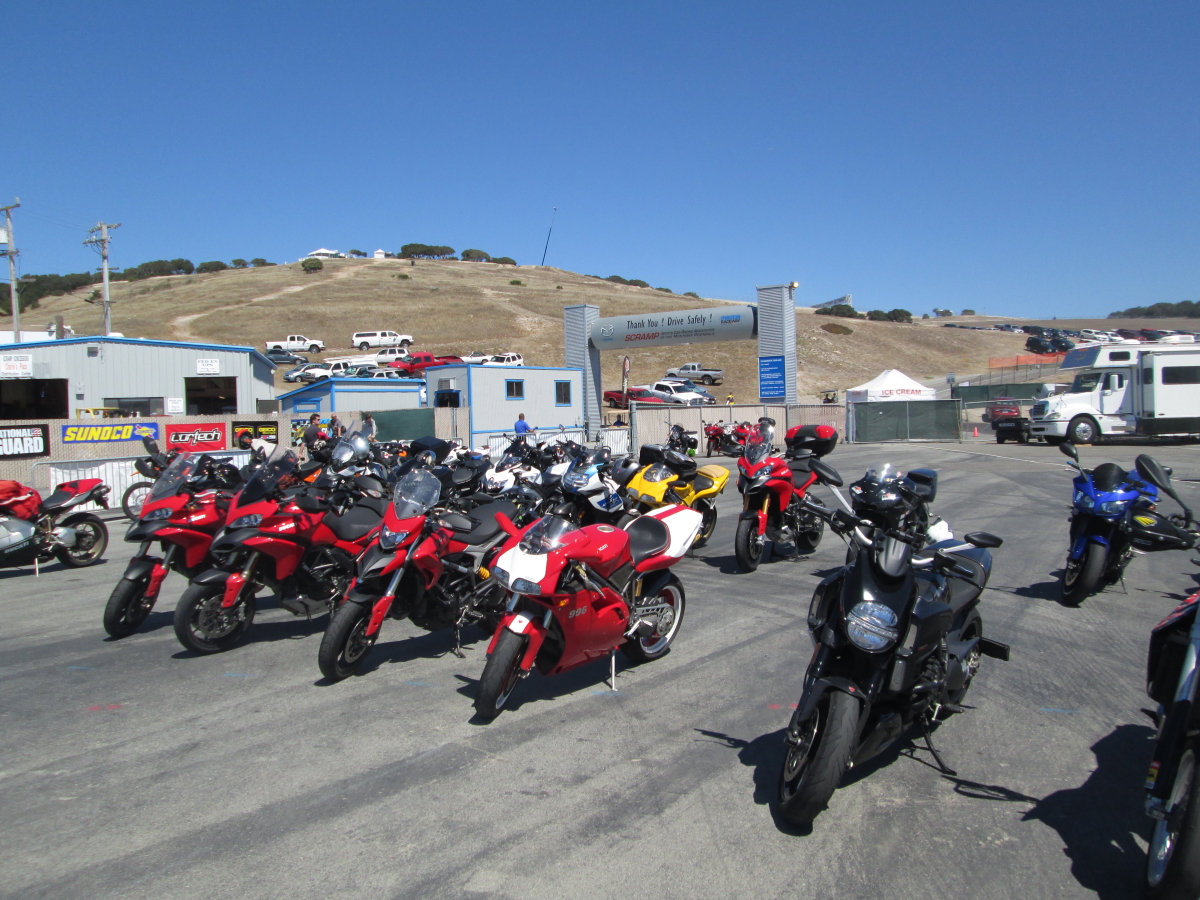
With the rest of the crew arriving, we got the bikes into tech.
LSeca_05_10_2015_05

LSeca_05_10_2015_07

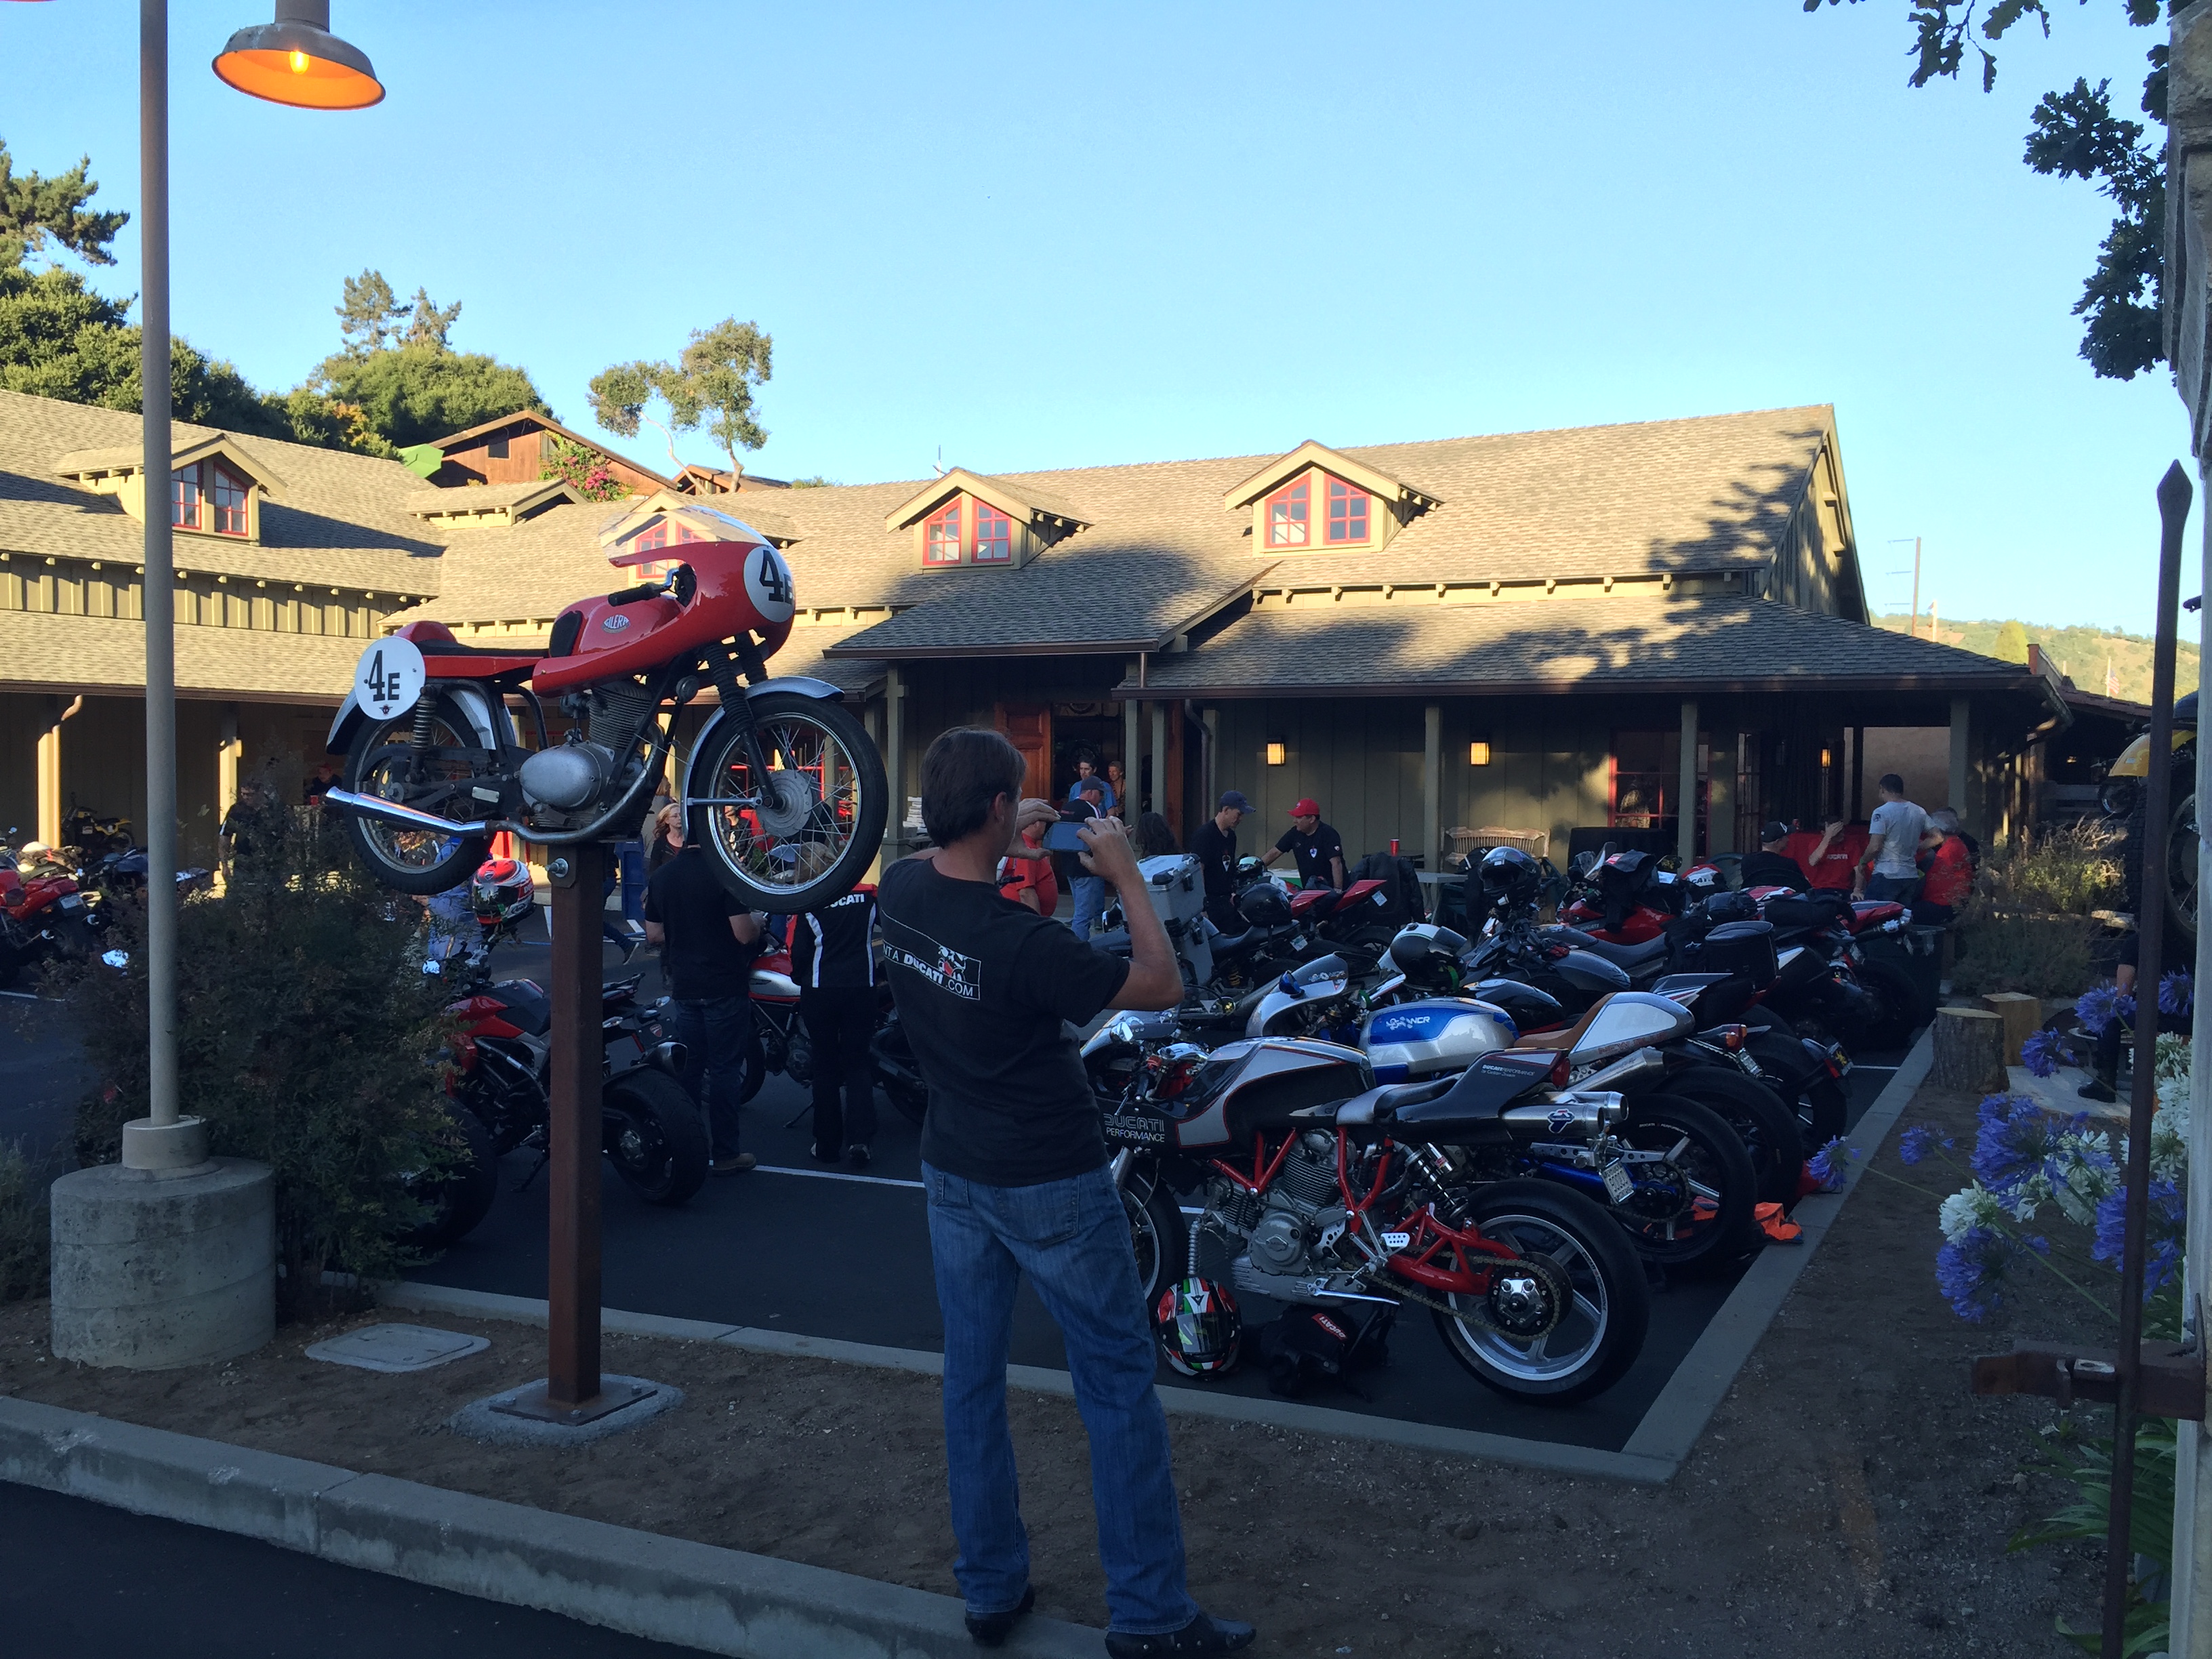
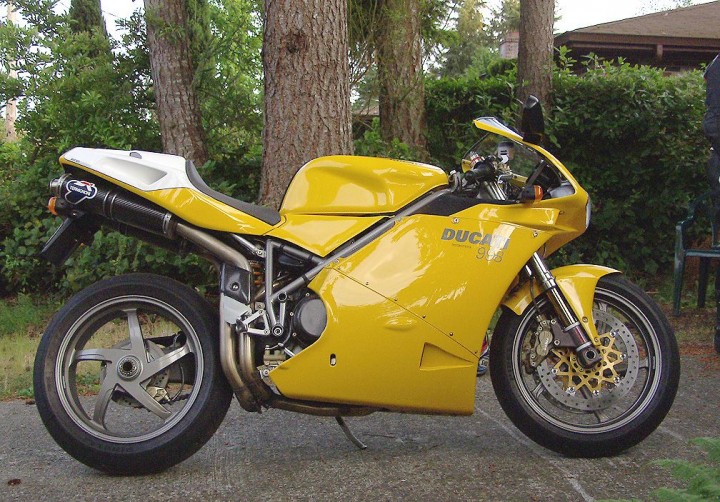
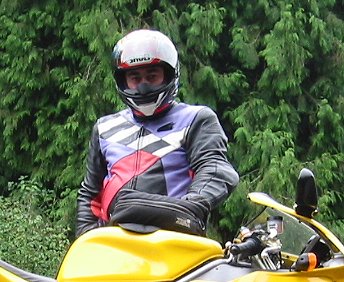
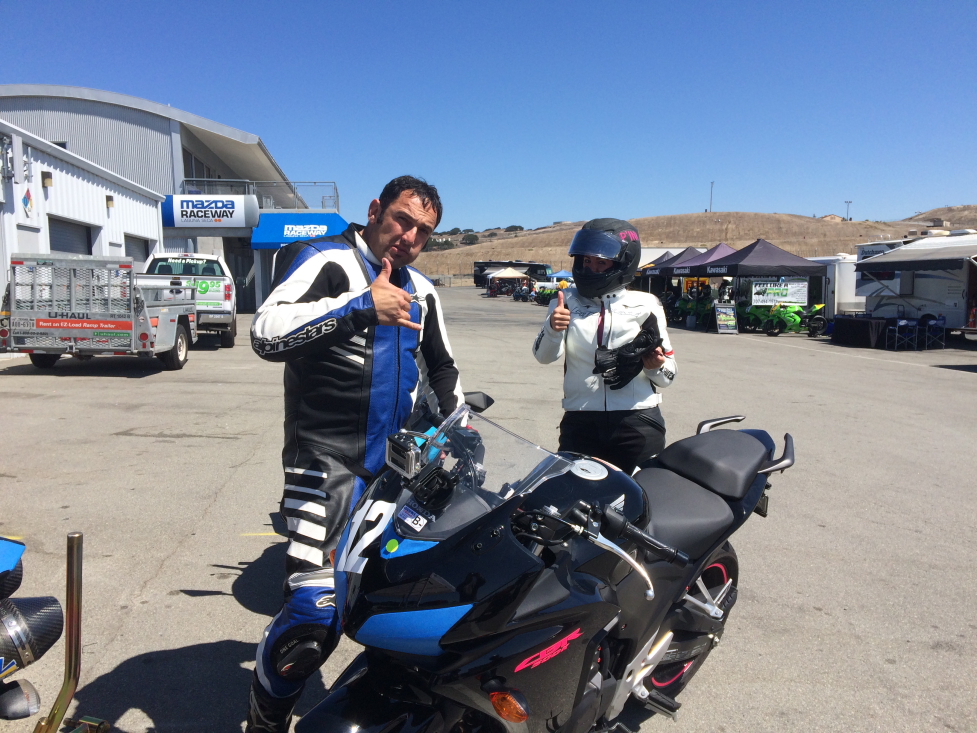
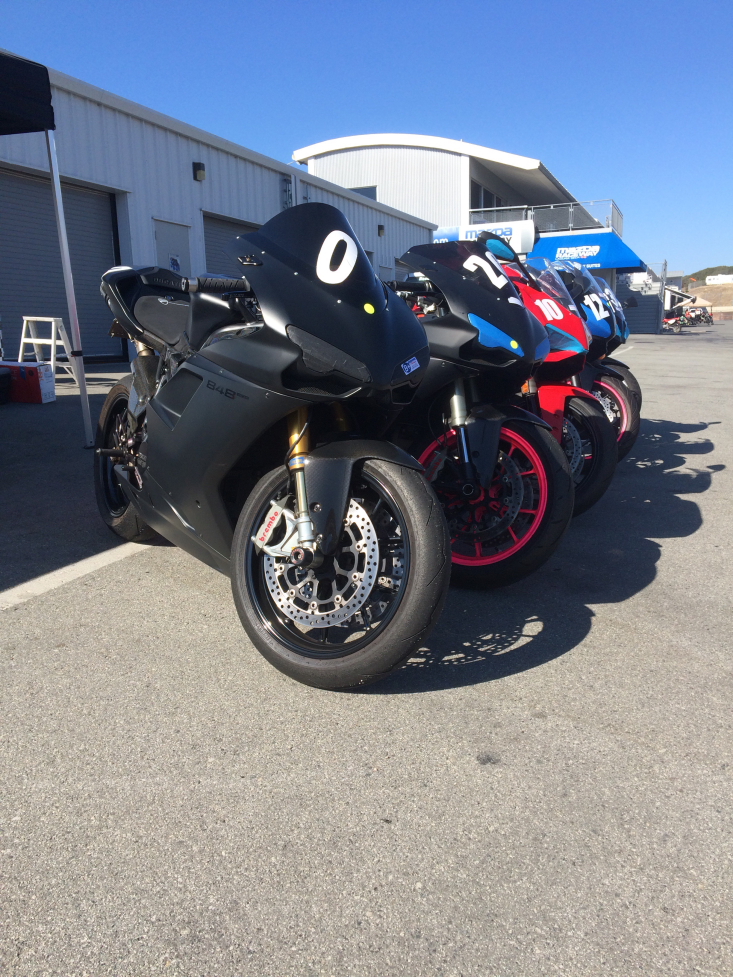
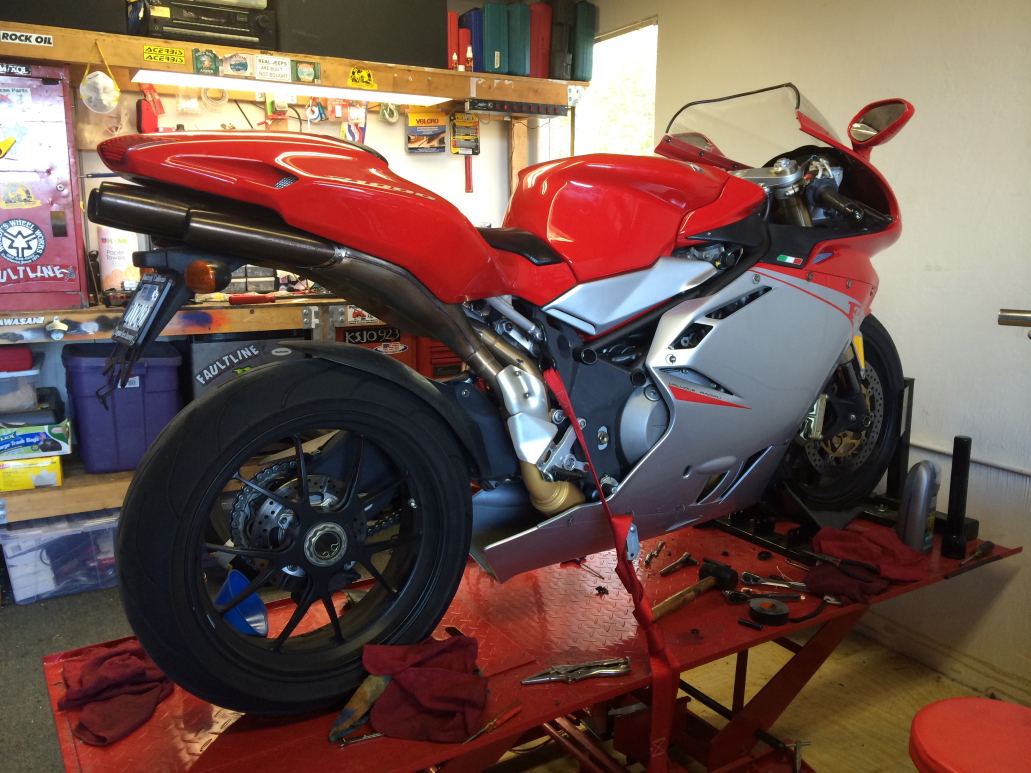
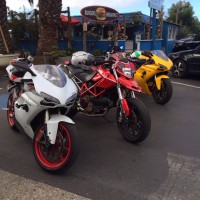
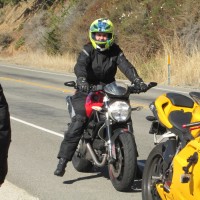
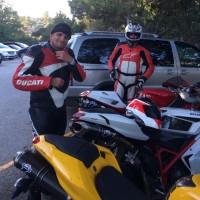
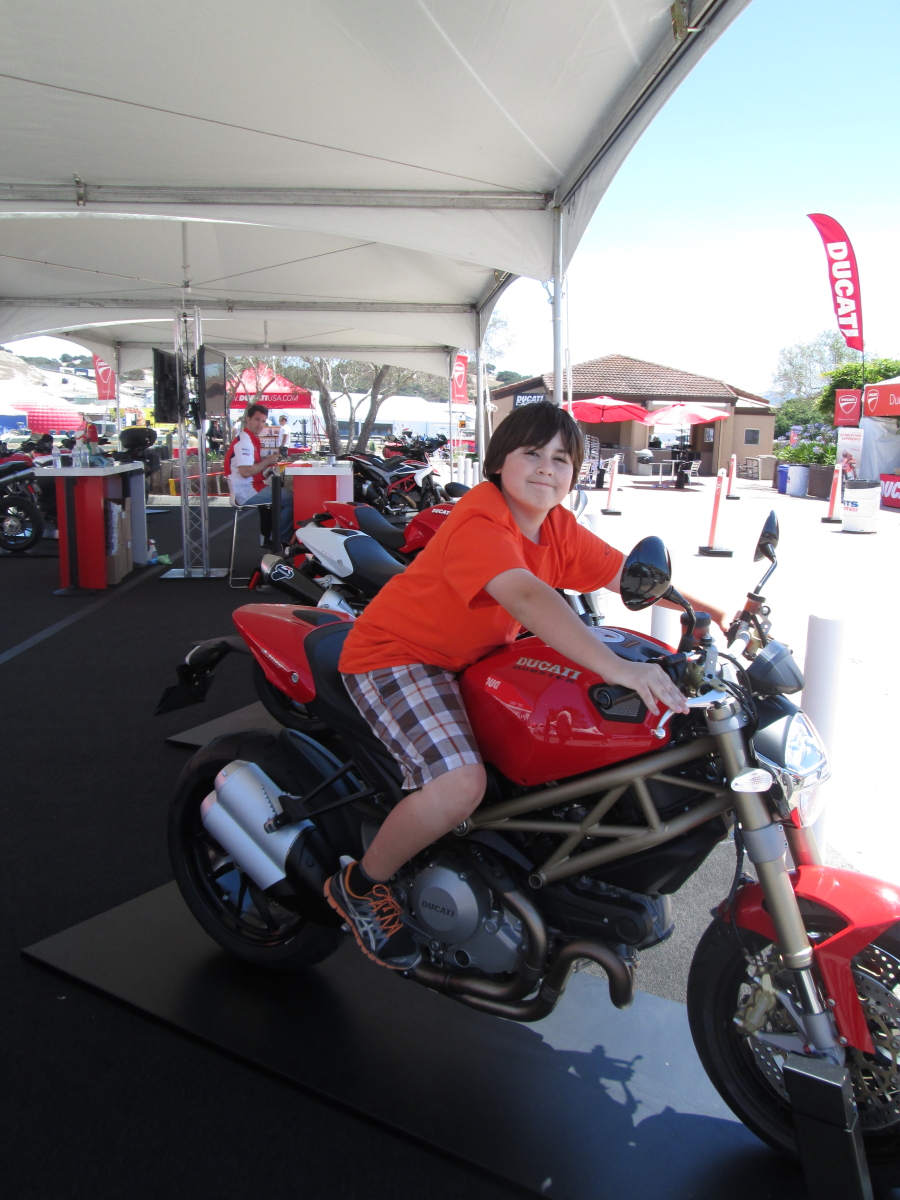
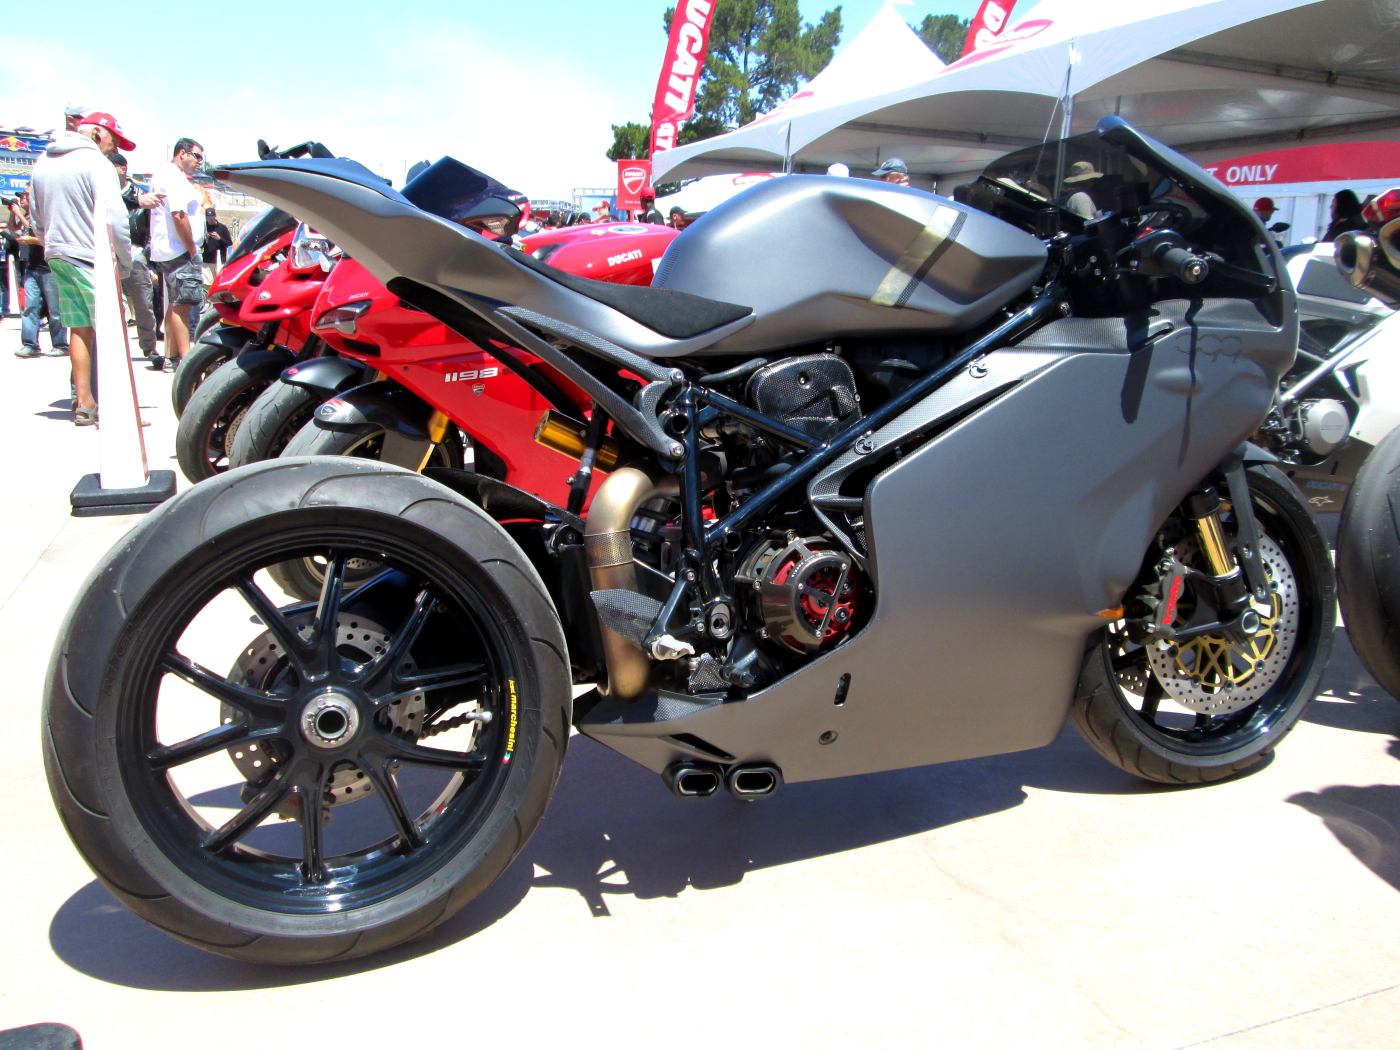
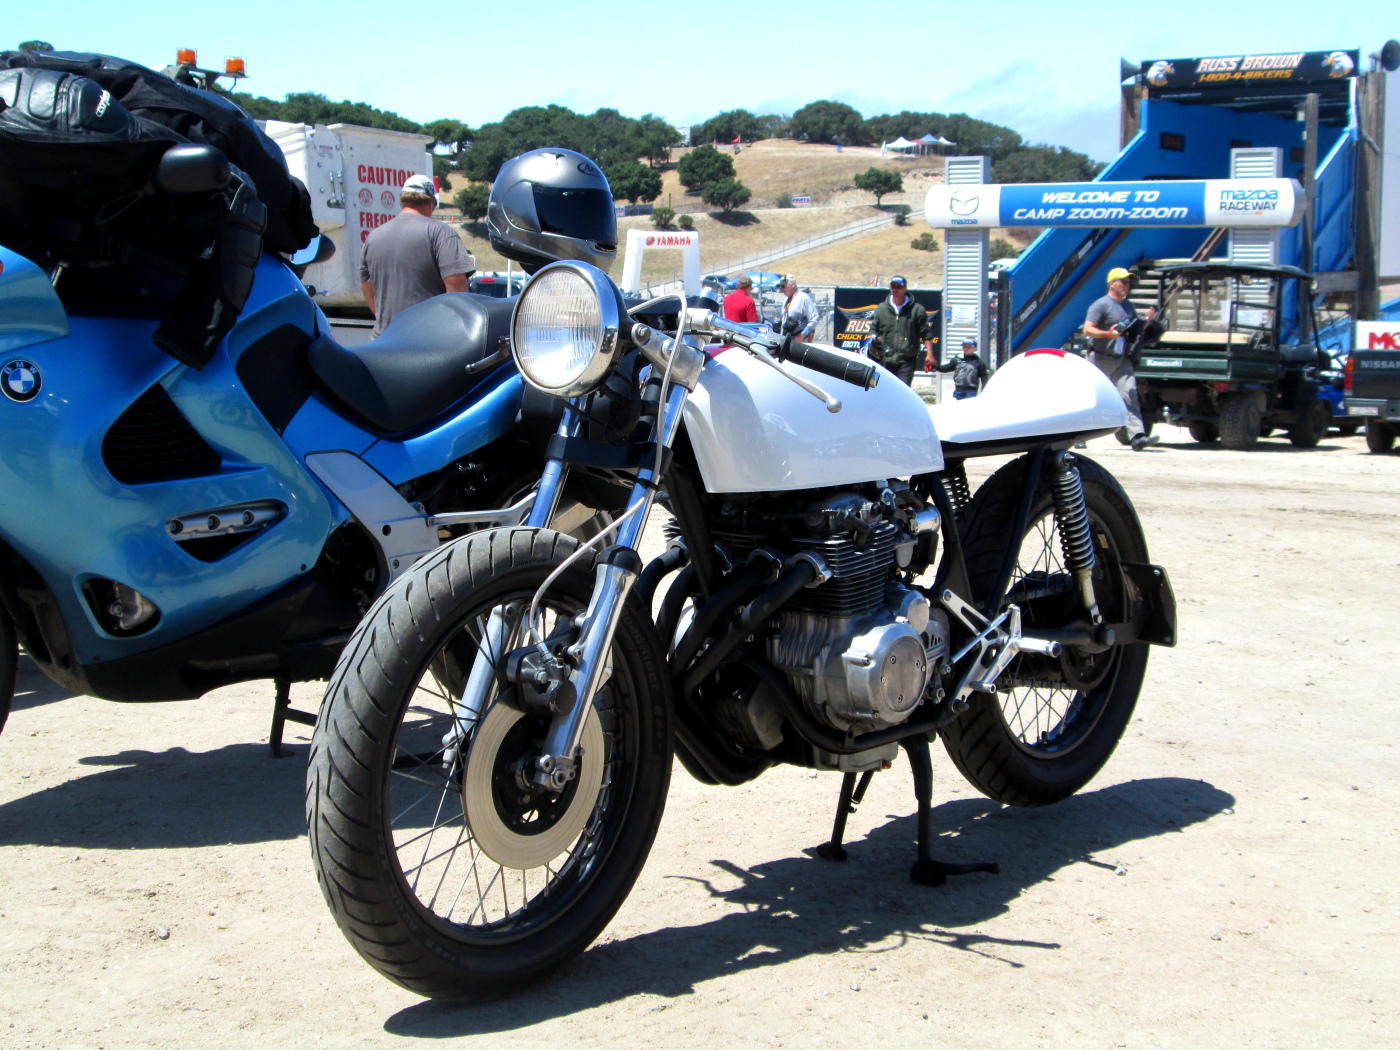
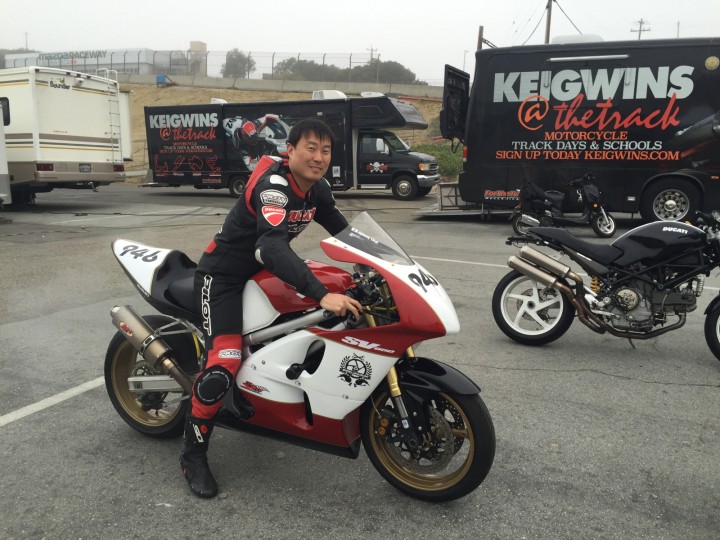
Dr. Johnny debut his newly refurbished track bike. He’s a happy camper, as you can tell!
LSeca_05_10_2015_09

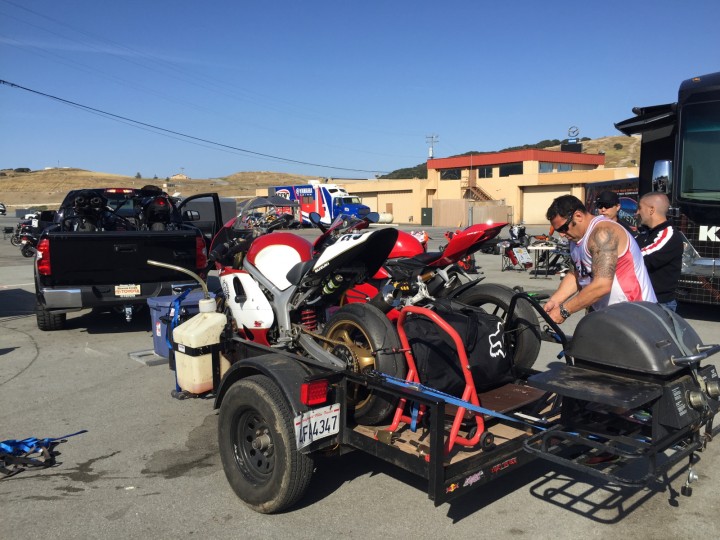
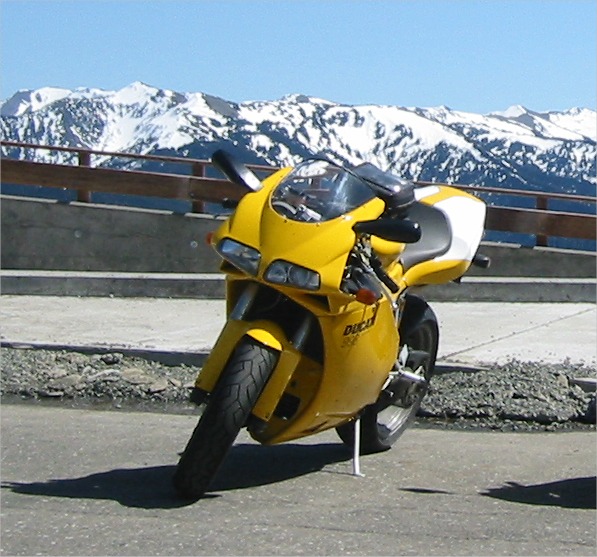
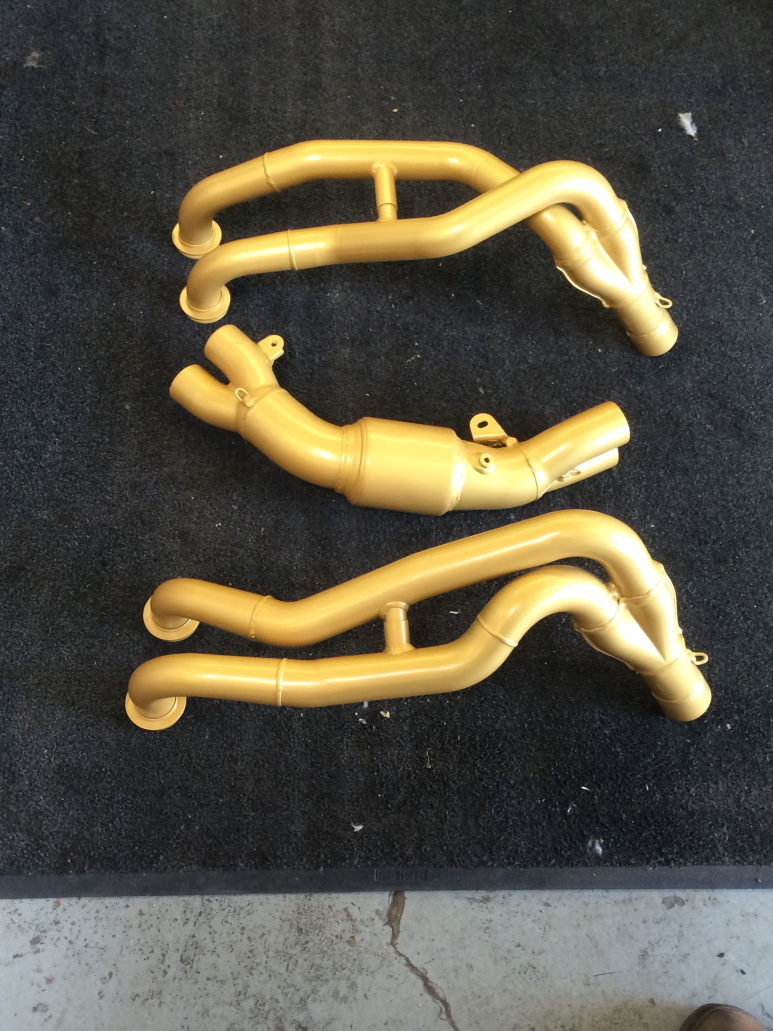
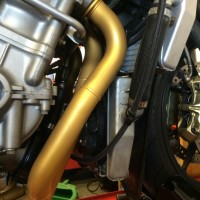
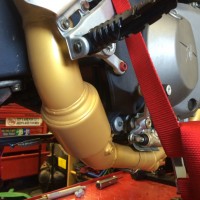
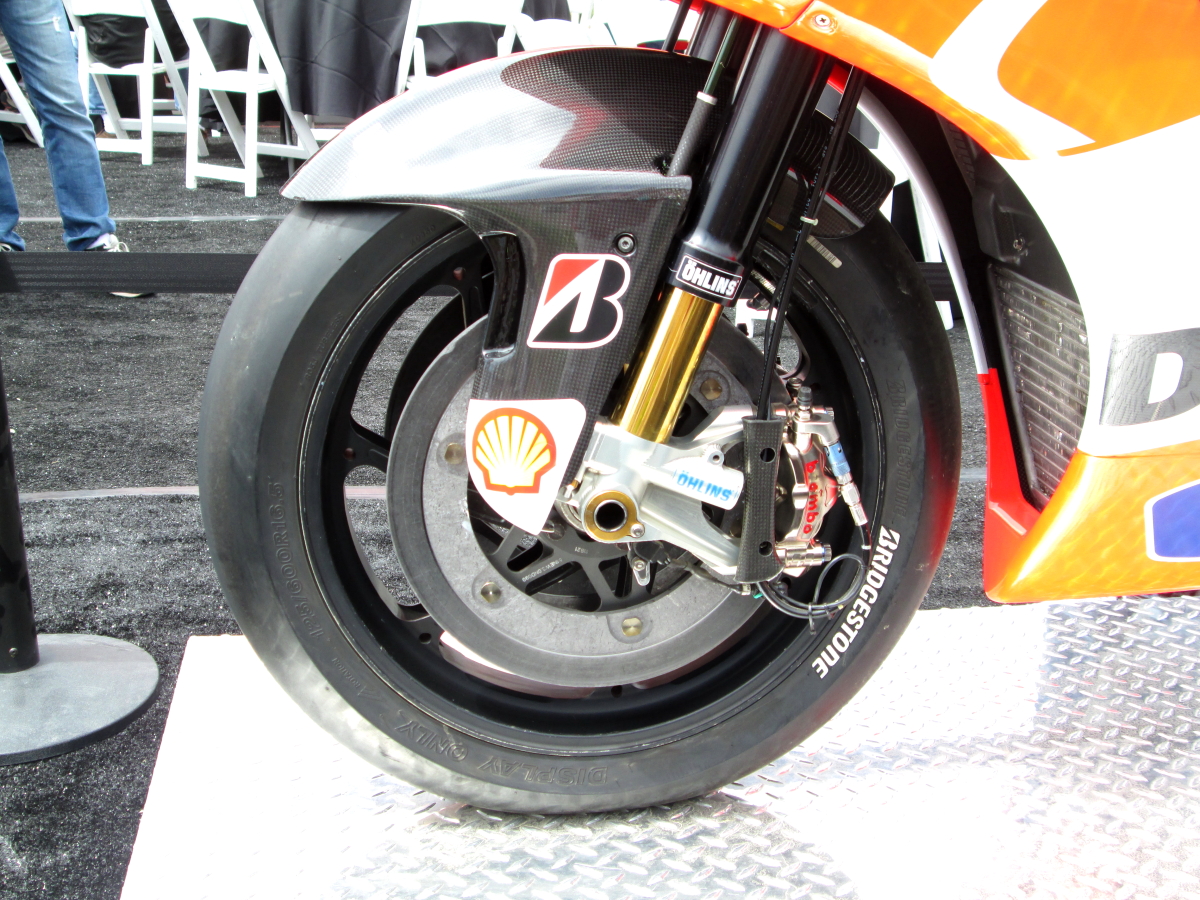
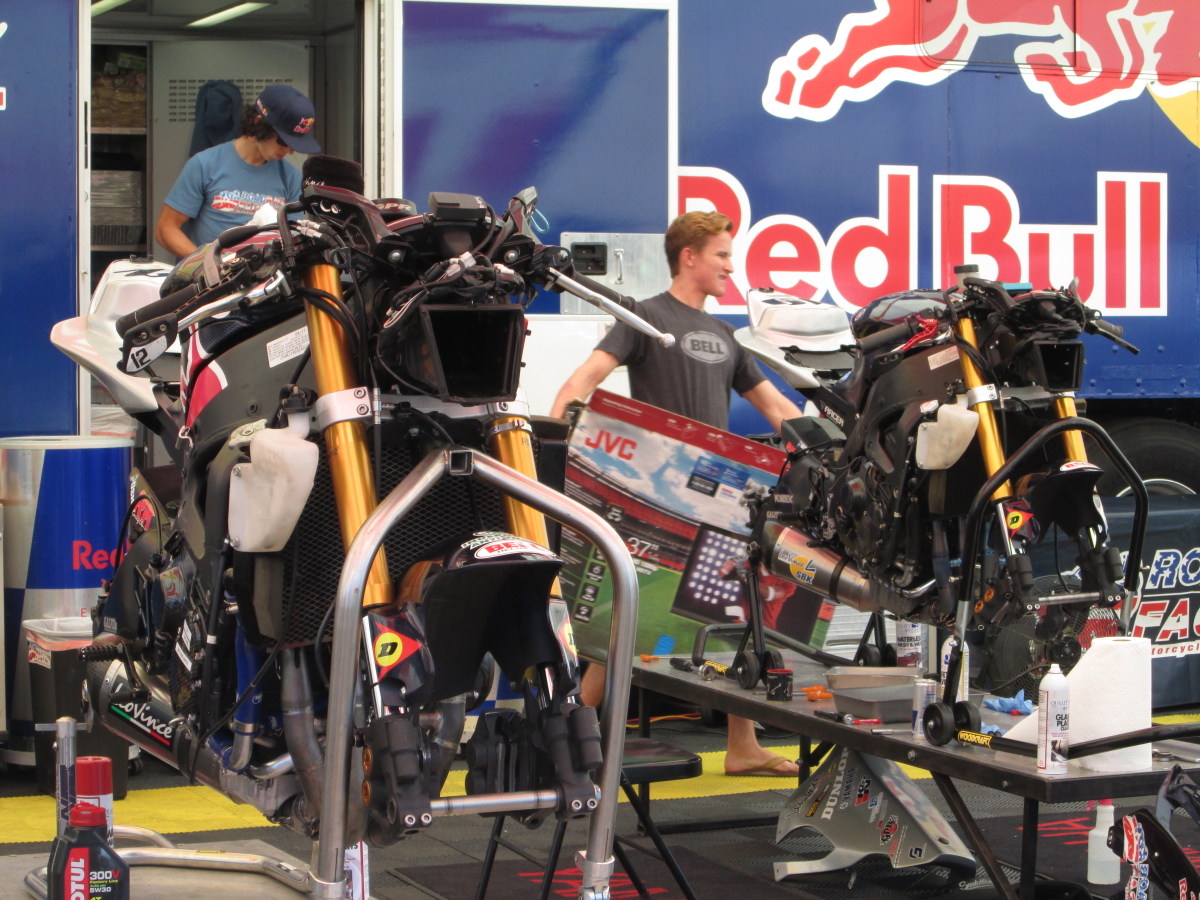
Unfortunately, when unloading my 749, I noticed that the bike seemed difficult to move around. After some fiddling around we discovered that one of the front brakes was dragging pretty badly. My first session was going to be spent taking apart the left front caliper.

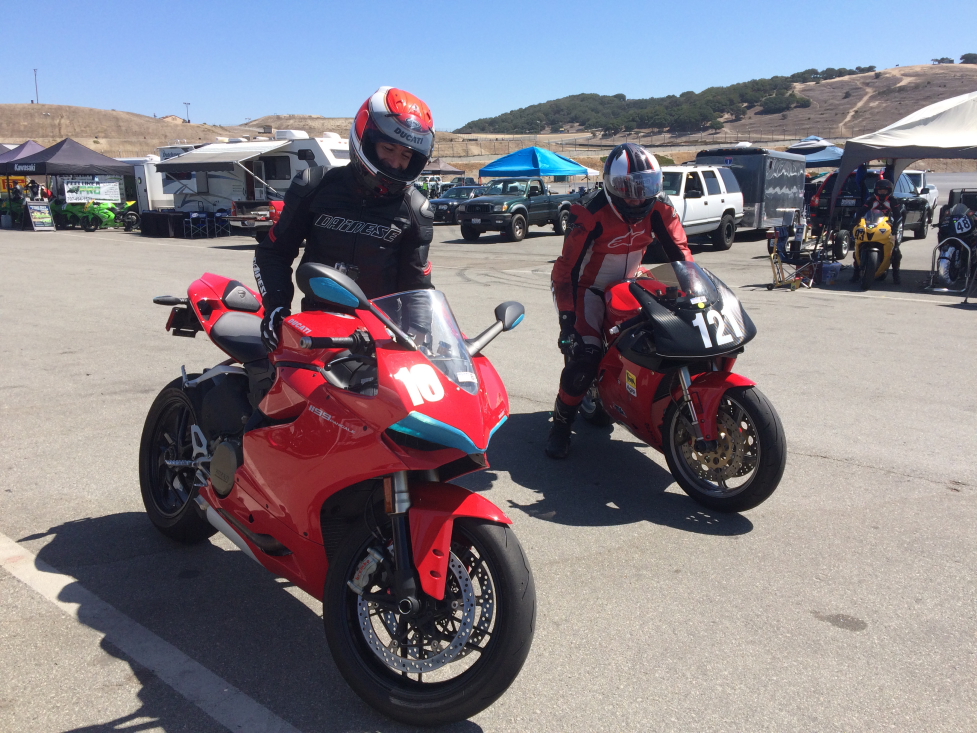
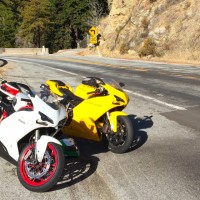
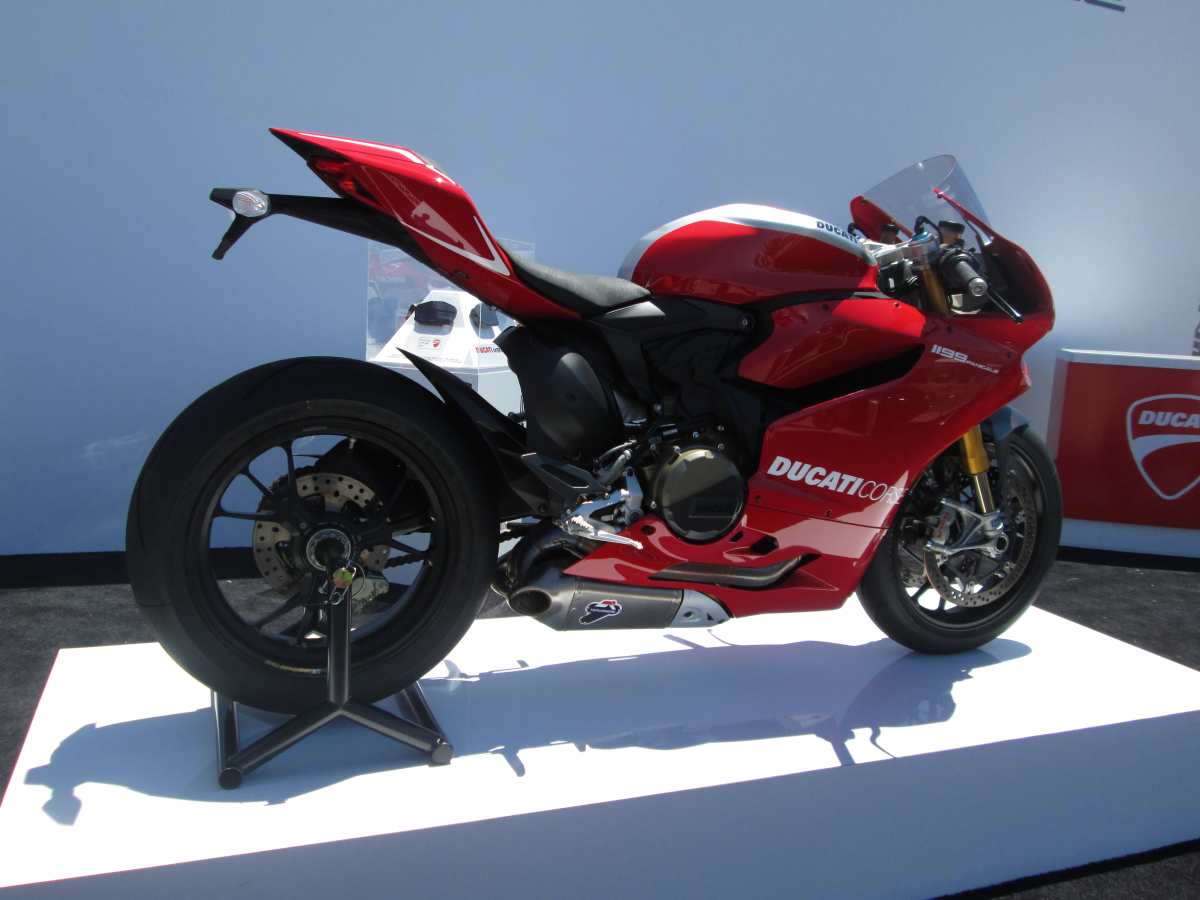
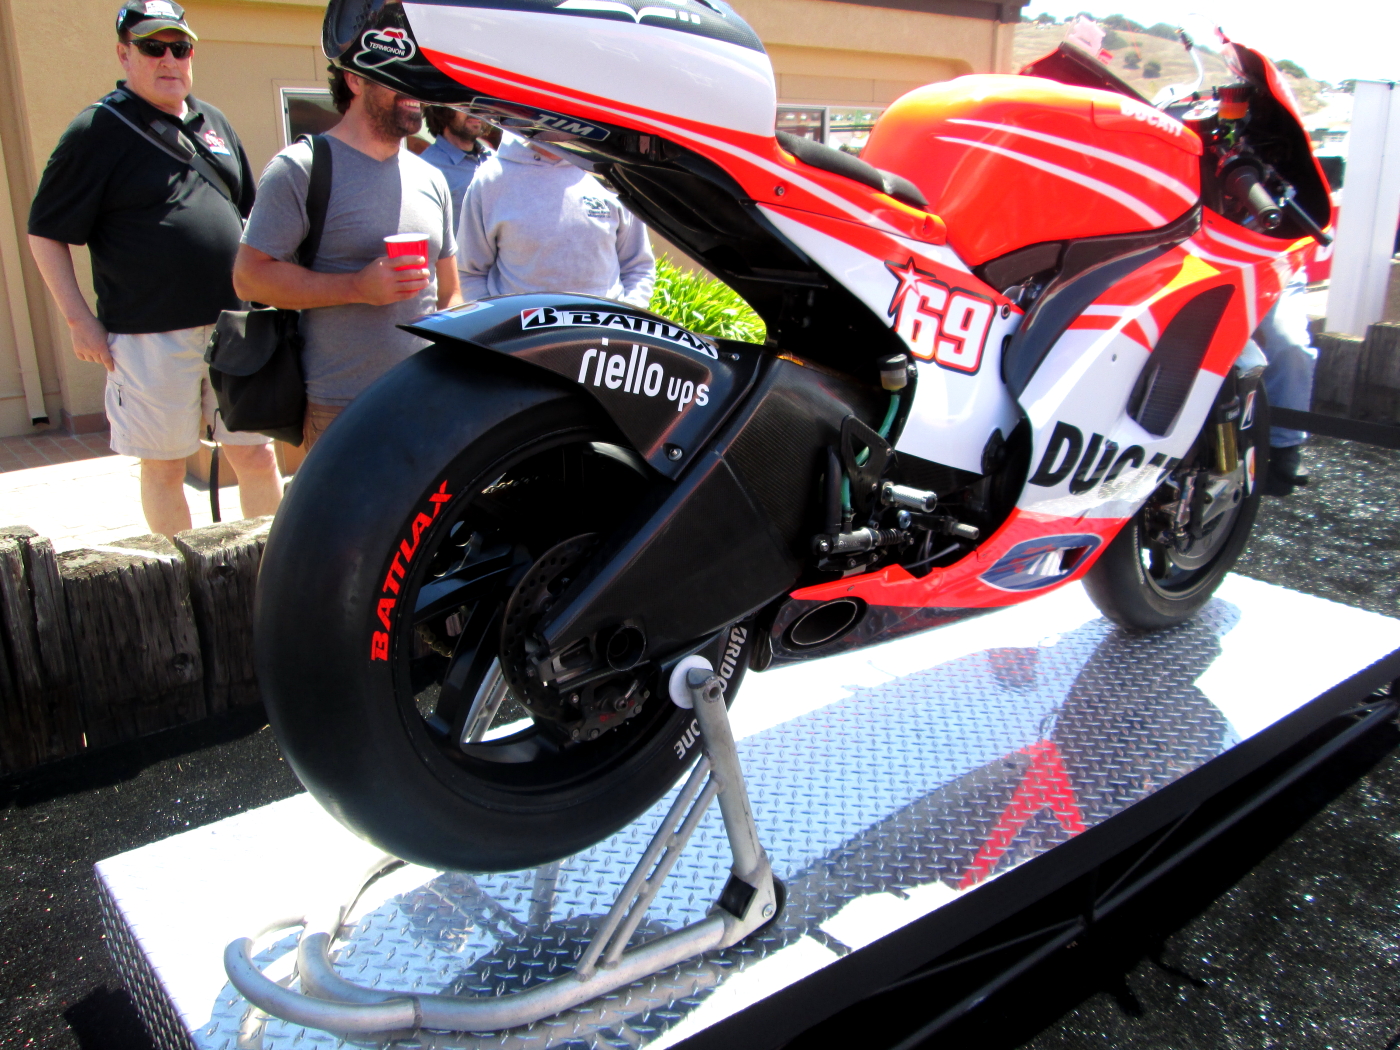
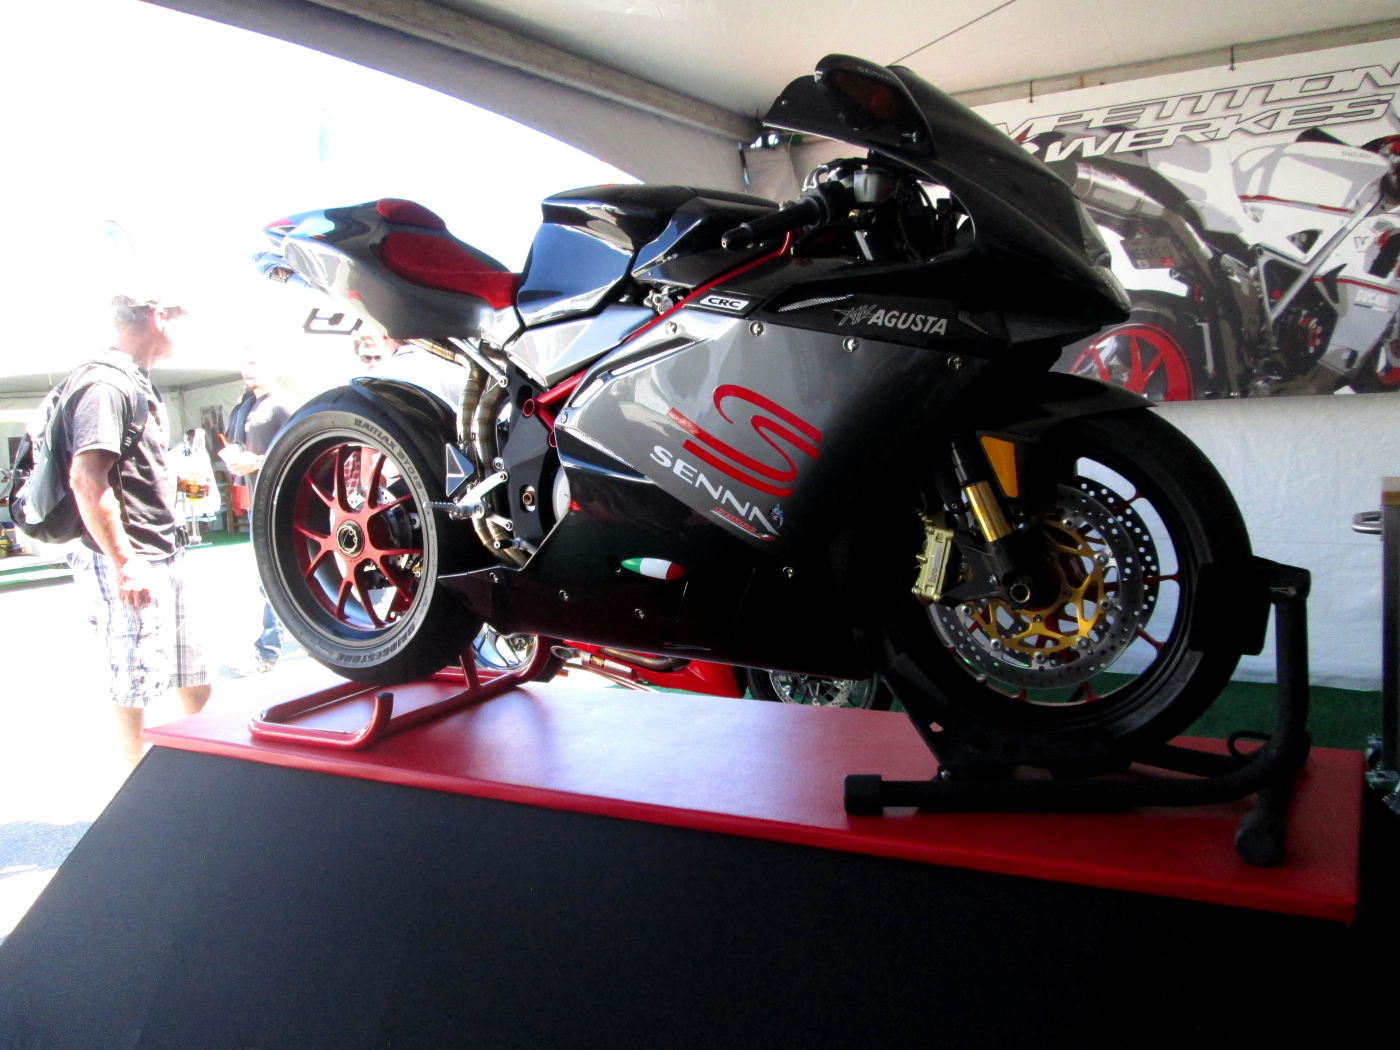
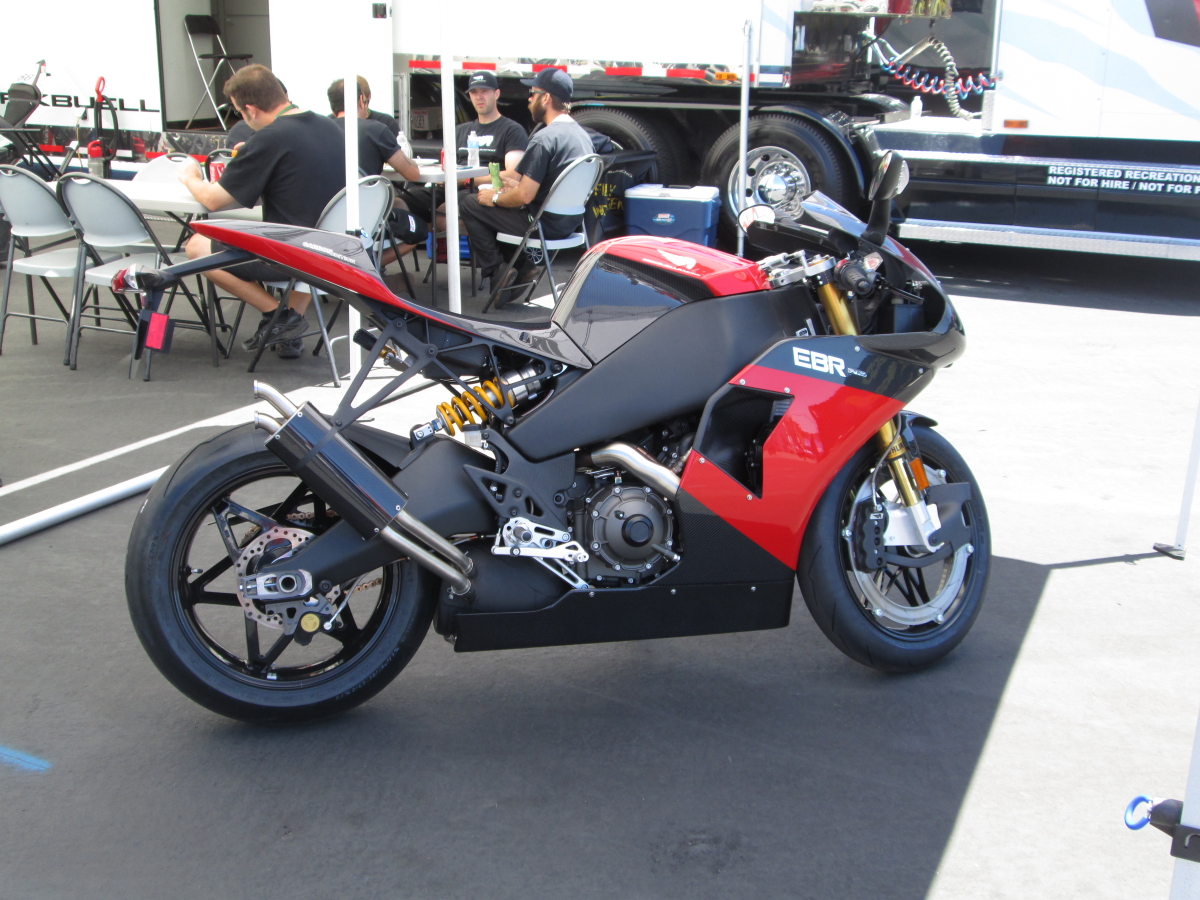
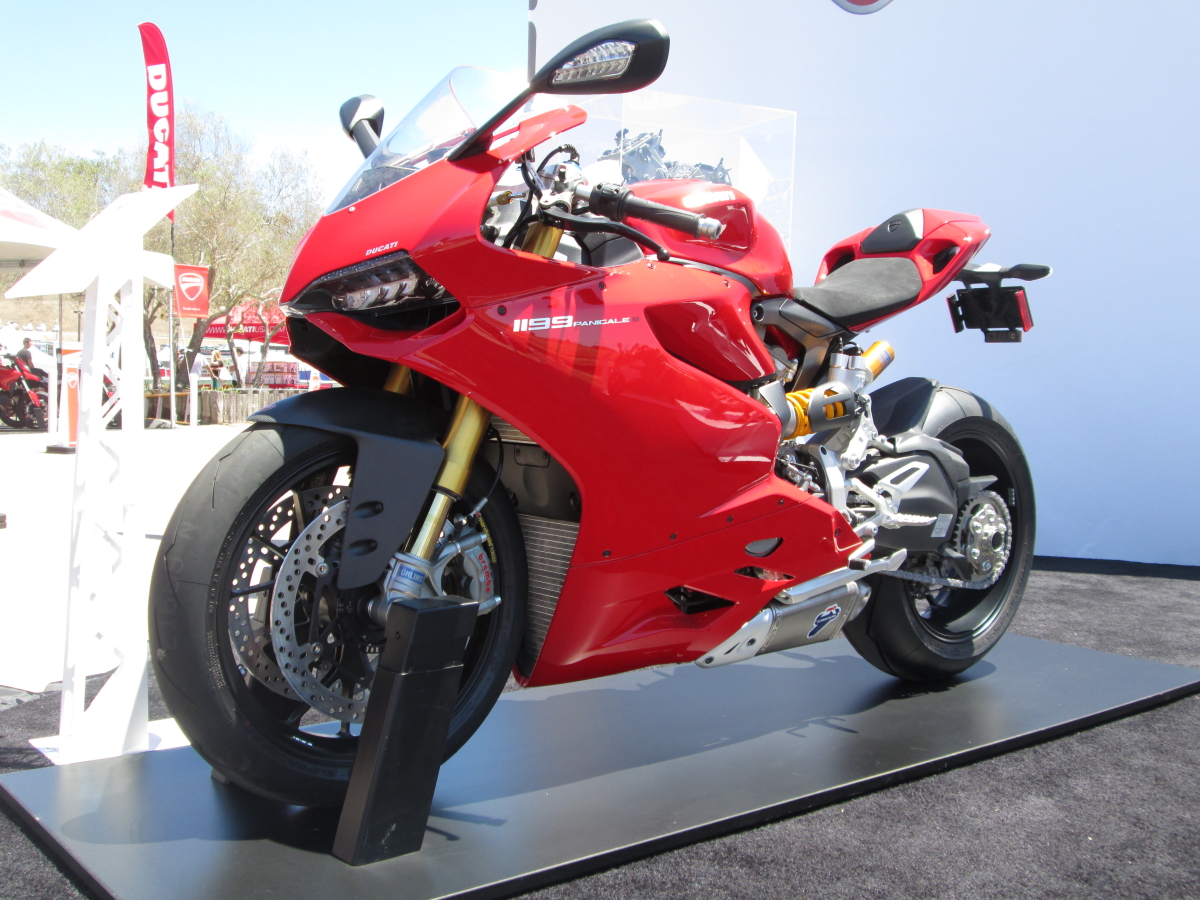
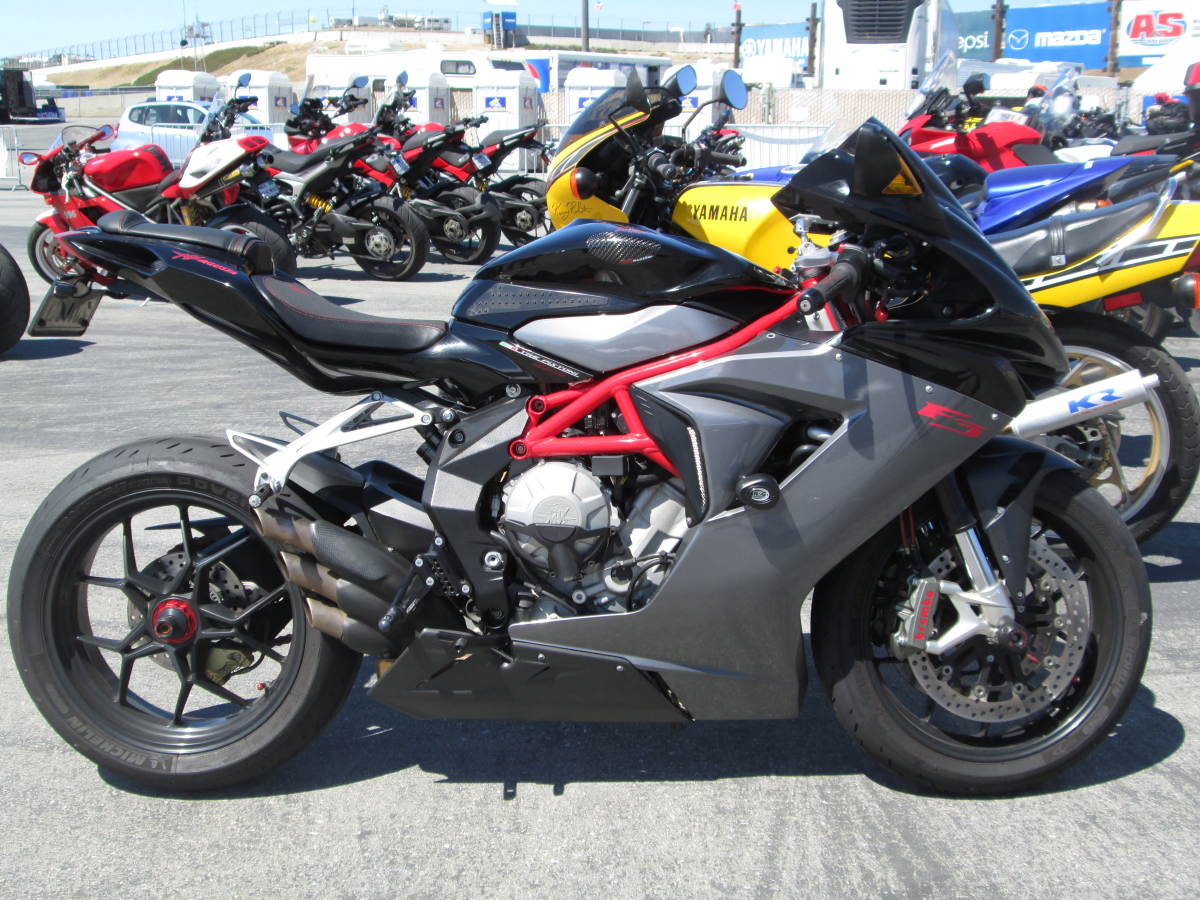
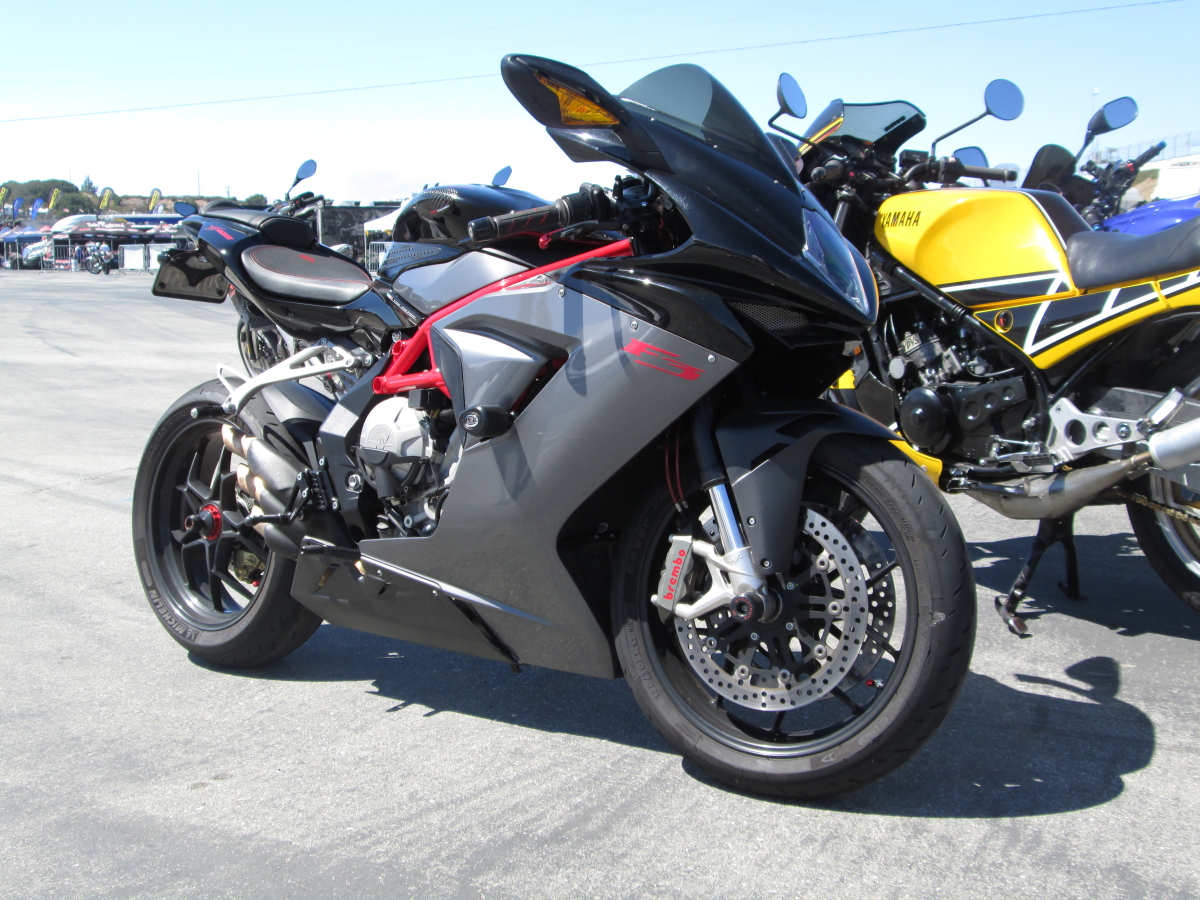
My pal Isaac was able to score a ride on the damn fine SuperLeggera owned by the track organizer. He was very impressed at the handling.. I guess light

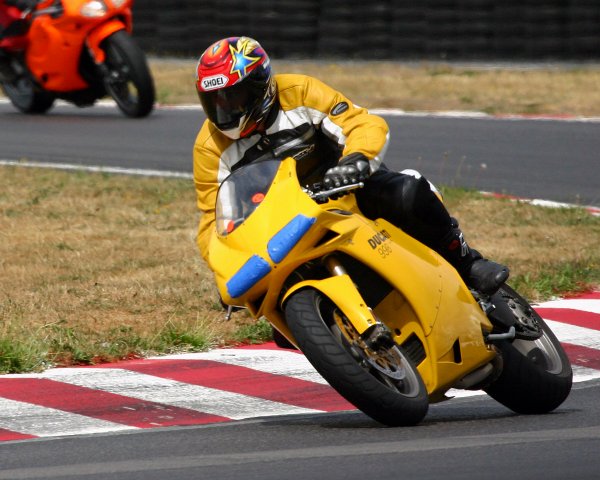
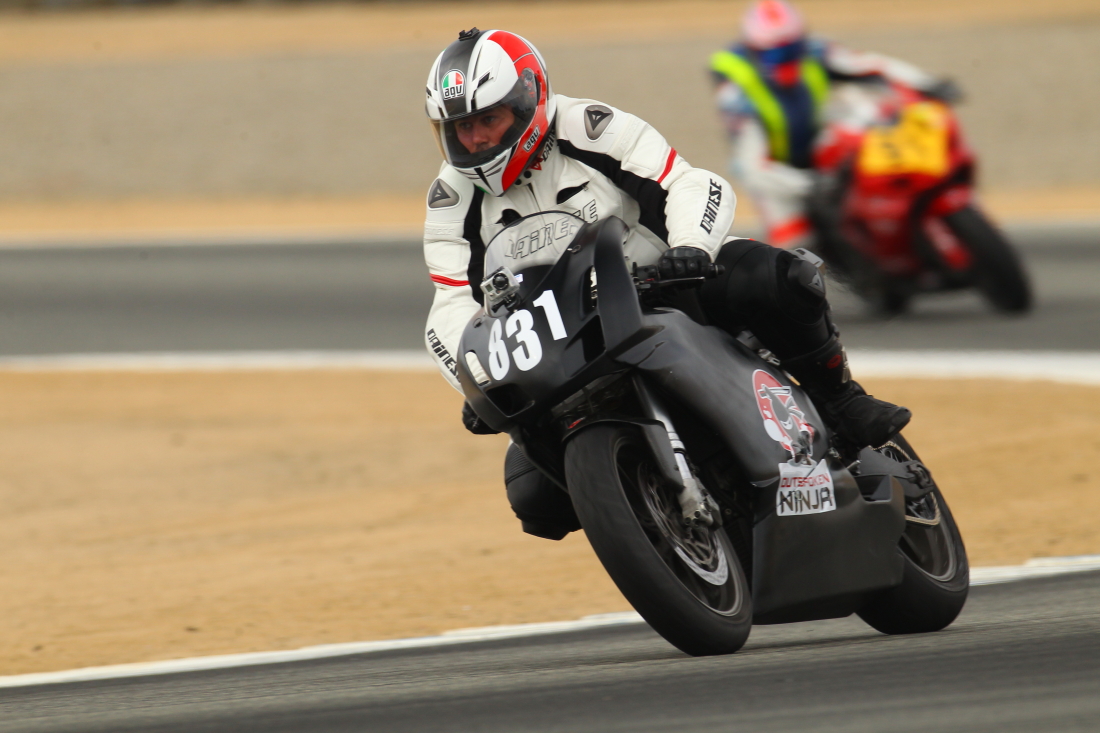
I was eventually able to get the brakes handled and the bike on the track for the last couple of sessions of the day. Things went OK, but it seemed the brake was starting to drag again, so I packed it in; we all loaded up and headed for home.

LSeca_05_10_2015_15

LSeca_05_10_2015_17

Fiding my “long lost” Ducati 998

So.. I just lucked upon the VIN number of my first Ducati; a gorgeous yellow 998Mono… here she is on the day I bought her:
P5291722cru

About the bike

2002 Ducati 998 Mono
Termi aftermarket exhaust
HID headlamp upgrade
DP adjustable steering damper
Custom flywheel
VIN: ZDM1SB5V52****46

Yes, it’s been a GREAT many years, but there is a special place in my heart for this girl.. and I’d like to see if I can track here down. We sure had a lot of good times together!:

Goofing around on the best roads in the the Pacific North Wet;

bike_03
foto.veloce.pic.02
fvmp.ducati.998.olympics.02
hurricane.ridge.ducati
IMG_3871

Riding was not limited to the PNW either, I rode her all the way to the World Superbike Races in California one year!

duc998.soft.luggage.01
duc998.soft.luggage.02

Had some fun out on the race track too!!

holeshot_PIR_turn_8
PR091704.003.full
PR091704.146.full

The bike always held a special place:

IMG_0002
IMG_0003

I’m going to see what I can do to find her. I hope it survived over the years, and maybe I’ll get lucky enough to see her (and maybe own her) again. Only time will time.

UPDATE 1: 13-NOV-2014

So, looking for something like CarFax for bikes, I found this website https://www.cyclevin.com/ and ran a report. $25.00 later I find the first resale of the bike in 2003, and NOTHING after that! True, they had a record, but it’s basically worthless. 🙁 Lesson learned… technically they provided the info they said they would.. but it’s totally incomplete.

CycleVin BUYER BEWARE!
Screen Shot 2014-11-13 at 4.24.08 PM

UPDATE 2: 12-DEC-2014

Stumbled across this site, while looking at some Track Bike posts on Craig’s List. It’s the National Insurance Crime Bureau Running a VIN check on that indicates that the bike has not been reported a stolen or a total loss. More evidence that she’s still out there.. somewhere… waiting to be found.
Screen Shot 2014-12-12 at 8.09.33 AM

2007 MV Agusta factory overheat option-delete research

Originally posted February 2014

IMG_3055Well, it’s a high-strung bike, but over-heating on the street in comfortable temps (70F for example) is just NOT acceptable. I love the bike, but his is major issue. I’ve started work on trying to solve it. Here are some of the research points I’ve found, and lists of things that others have done.

This post will grow over time, and hopefully become a FINDABLE resource on the web, for the next owner of a gorgeous MV Agusta F4 1000R, that needs to solve this problem.

Here is a list of things another owner did, that I piked off of MVAGUSTA.NET:

MV Agusta . NET – 05-06-2010, 04:03 PM

  • Installed Muzzy blades.
  • Add 1098 fan to the left side of the upper rad.
  • Modified the shrouds on the MV fans to eliminate the gap between the stock shrouds and the rads.APR-15: it took me a week to decide how I wanted to attack this. In the end it was much simpler than I’d thought. – read about my experience here
  • The fan switch circuit. All three fans come on with either the switch circuit or the ECU.
  • Opened up the bypass holes in the thermostat.
    9-MAR. & 15-APR This seems like a simple thing to do to the thermo itself. My original plan t was to purchase a new thermostat to drill. In the end, I just modified the original by doubling the diameter the existing 6 bypass holes, which are extremely small due to the very narrow flange. Sorry, I don’t have any photos of this.
  • Engine Ice15-APR: the instructions implied you need to flus the entire system to use the engine ice. Not knowing if any of these tips were working, I opted to simply use Water Wetter from Redline mixed with existing anti-freeze and distilled water. This seemed to help a bit, but didn’t seem to make a dramatic improvement.
  • MV impeller
  • Silicone hoses
  • Coated the headers – having completed this modification, I’m unsure of how much benefit it really is, but I suspect there is some, considering the pipes are close enough to the cooling components to melt the original fasn! read about my experience, here

I ran the fans continuously below 40 mph. The important thing is to be able to get a jump on the temp before it gets up into the 200’s. It’s much easier to keep it cool than to have to bring it back down and keep it cool. On an average summer day, with the fairings on and the bike idling it would maintain 167F.


Hi-flow Bodywork

Another option found was to get these fairings with big openings to vent out the air. About $300 for the pair, and then of course I’ll need to get them painted too.. BUT it’s an option!

Updated Fairings from Catalyst Racing Composites:

Catalyst Racing Composites – 00-09 F4 Stock Left SideMV F4 vented fairing


Ceramic Header Coating

I have wanted to get this done to several bikes, for several reasons. Most of those reasons being cosmetic. With this being one of the suggested factors to help in reducing the bike’s overall running temps, it was a no-brainer to get the pipes coated.

UPDATE: 21-MAR-2014

Pipes are now out for coating. I’ve ordered a custom color for the pipes. Once that arrives and they are coated, baked and returned, I’ll post photos of the final results, and the re-installation process.

UPDATE: 14-APR-2014

Pipes are back from coating!
Pipes returned from coating, and re-installed on the bike following 2 weeks to let the finish curing. Coating shop recommended 5 days, but I ended up waiting 2 weeks due to other projects that needed to be completed. Here is what they looked like when picking them up from coating:

New coated MV exhaust

Although they look rather garish on their own, once installed, I think it offers a decent accent:

Pipes installed w/o bodywork:

Pipes with the bodywork installed:

Coated pipes with bodywork installed.


Fan Shrouds

To Be Continued…


Cat Delete

I like the sounds of this improvement…

UPDATE: 10-MAR-2014

It looks like this mod requires me to cut the pipe, remove the contents and re-weld. Not impossible, but it’s not a skill that *I* have. This will take some calls to people I know to see who’s willing to do it and at what cost. At $400 for a replacement mid-pipe I think it’s well worth the effort to at least try this myself. If I do that, I’ll be sure to post pics of how I managed to do it.

UPDATE: 20-MAR-2014

The Cat has been dealt with. It was not the simplest task, by far. In fact, if you don’t have a space that can tolerate A LOT of noise, banging and a cloud of toxic dust, you probably want to re-consider this.

Removal was not easy by any stretch, and doing so without any sort of respiration protection is insane, in my opinion.

The ceramic/metallic material the comprises the potato just can’t be good for you to breath. I complete this portion of the project in my shop.

First step was to cut the pipe apart at the red line here. I used a hacksaw to keep the amount of lost material to a minimum. You can use whatever you want, but the more material you remove, the shorter the pipe gets and that’s probably not going to play well for you.

MV Agusta Exhaust mid-pipe

After opening the pipe, this is the view you get. From here, it was a matter of drilling out the center (drilled out a 2″ diameter with a 1 1/2 HP hammer drill), then hammering chisels along the sides to break up where it was attached to the inside of the section. The final step was using a 1/2″ drive 30″ extension to ram it out the cut-open end. This last part took a couple of hours, but eventually it was removed.
mv.exhause.obstrution.2

Final prep was a die grinder and grinding stones to the walls of removed section to clean up any remaining material. Inside there is a really BAD step section on the exit… and that’s something I was just not prepared for, nor did I deal with. It’s NOT ideal. If I’d known that was there I might have considered simply driving a new section of stainless THROUGH the core. But that might rattle, and I know that the way I did it, rattles are not going to happen. Once that was done, a good friend of mine put his TiG welding skills to use for me and sealed it back up.
mv.exhause.obstrution.3

Finally, the pipes were sent out for ceramic coating. That will be discussed in a separate section.

UPDATE: 14-APR-2014

Pipes are back from coating!see section on coating the pipes

Riding the California Coast – Pacific Coast Highway (17-NOV-2013)

If you ride a motorcycle, and have never been to California, you are truly missing out on one of the best places in the United States to ride a motorcycle. PERIOD.

Here a few photos from various places along a ride I took yesterday from Santa Cruz, CA, to Lucia,CA:

View Larger Map

Being an MC ride, there are few opportunities along the way to take photos, but amongst the group we did mange to snap off a few.

We first gathered here at Lighthouse Harbor Grille in Moss Landing:

We met up with the remainder of the group in Carmel.

View Larger Map
We gassed up the bikes and prepared ourselves (with more caffeine of course) for what was about to transpire. Rich (on the 916) took the time to model his man-sack for us. I hear it’s last word in manly riding apparel for the Central Coast.

From here on our, it was Ride like the Wind all the way to Lucia. We did stop once to regroup, turn on the video cameras and discuss the awesomeness so far:

The first of many great surprises on this ride, was our lunch destination in Lucia. Ah.. what a view! What a great place to relax after a spirited ride up Hwy 1.

View Larger Map

Return ride Video:

Next stop. Nepenthe in Big Sur. Despite a hair raising incident with an inattentive tourist in a rental car, we made it there without obvious injury. Despite the fact that the highway was the destination and the star of the day, this pulled off a pretty convincing 2nd place.:

What a fantastic ride today. Perfectly organized (or properly disorganized?) group. It’s always a blast to right with these guys and gals. Looking forward to our next epic excursion!!

PS. Video will be added to the blog as soon as I can clear 132 GB of space on a computer, somewhere.

U.S. Red Bull Grand Prix – Laguna Seca “DUCATI ISLAND”

IMG_3237WOO! Another year on Ducati Island, and being able to take advantage of the fact I own a few Italian bikes (including 2 Ducati) was awesome. My son was with me for the first time this year and he got to experience the awesomeness that is Ducati Island first hand. It was a great weekend!!

The first few pics were of us wandering around there on Thursday, before things really kicked off. It was nice that nobody harassed us, and my son was able to test sit a few bikes before the crowds descended the next day.


U.S. Red Bull MotoGP 2013 — Day 1

Friday morning arrived early, and we set about stocking the trailer and getting ready to tow back to Laguna Seca.

Having secured an overflow camping site (one of the last handful as it turned out), the evening before, we embarked on the first campout at Laguna Seca for us; despite attending motorcycle racing there since the 1980’s.

It did not disappoint! Everyone has seen a trailer, so there are not many pictures of the expedition equipment itself, but Friday’s small crowd allowed for a leisurely day of exploring the vendors and taking some more snap-shots.

U.S. Red Bull MotoGP 2013 — Day -1

Day -1 at the U.S. Red Bull MotoGP in Monterey CA was quiet, but attended more heavily than expected. The day before the official start of the event is always interesting.

I meet the vendors while they are setting up, and for those that are already selling, I start relationship building with them. This always pays off in many ways, not the least of which is simply meeting new people, and often old “friends” from events past.

Here are some photos of the wanderings around we did on Day -1.