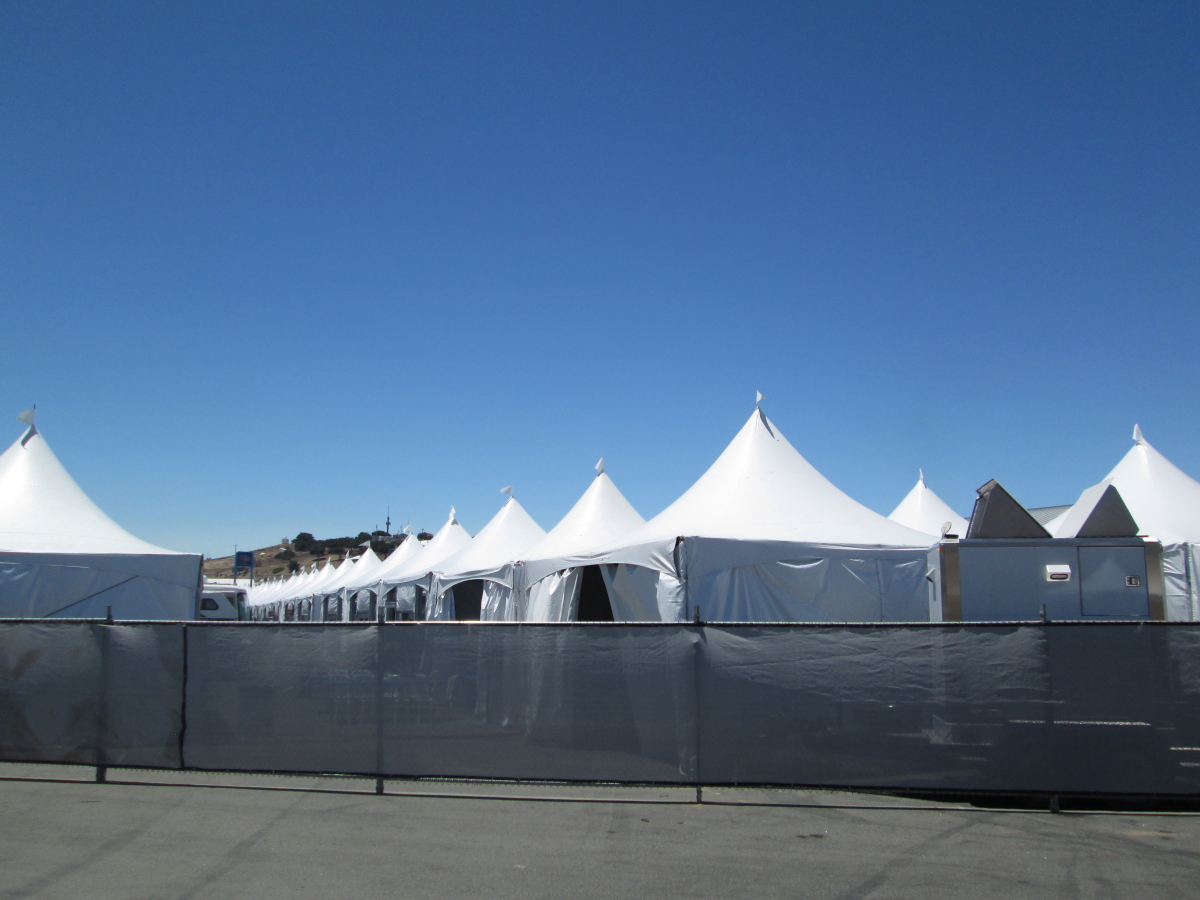
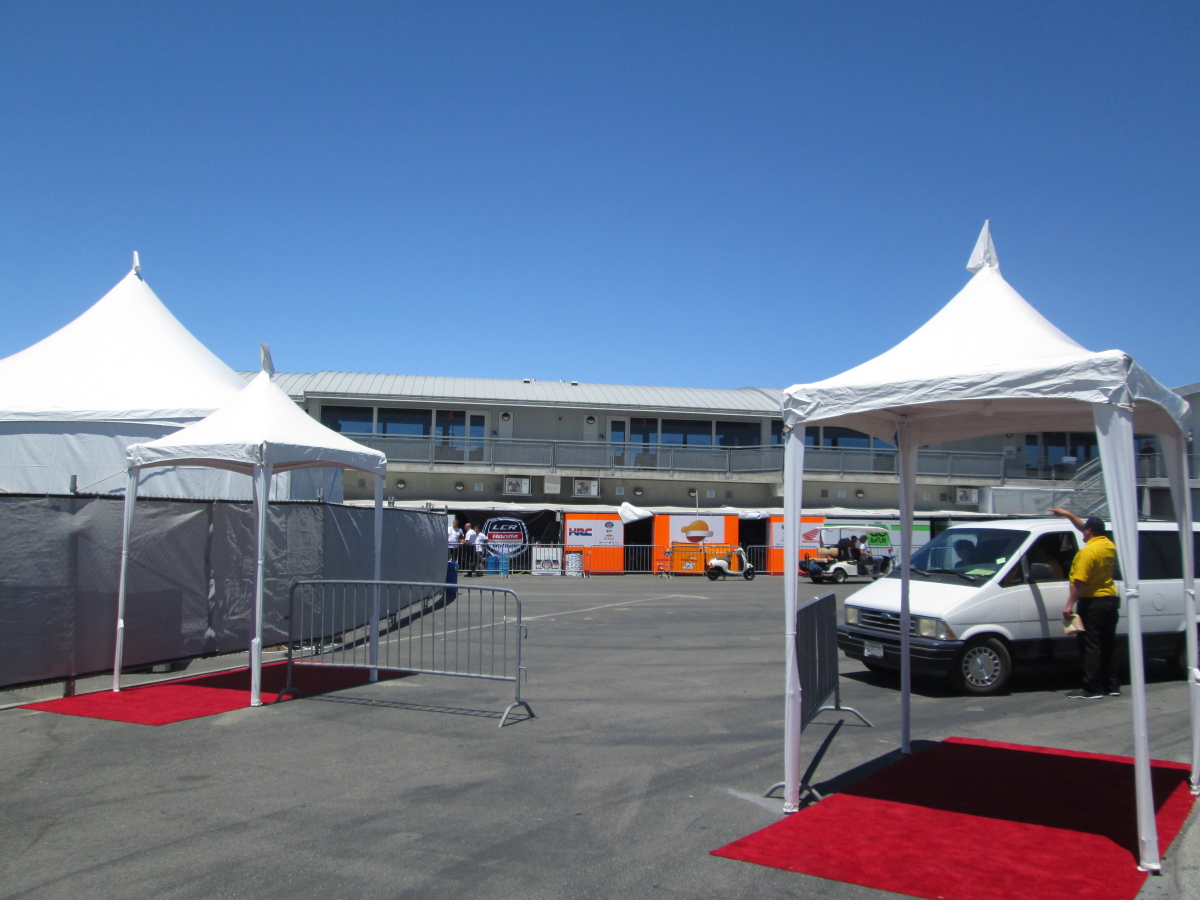
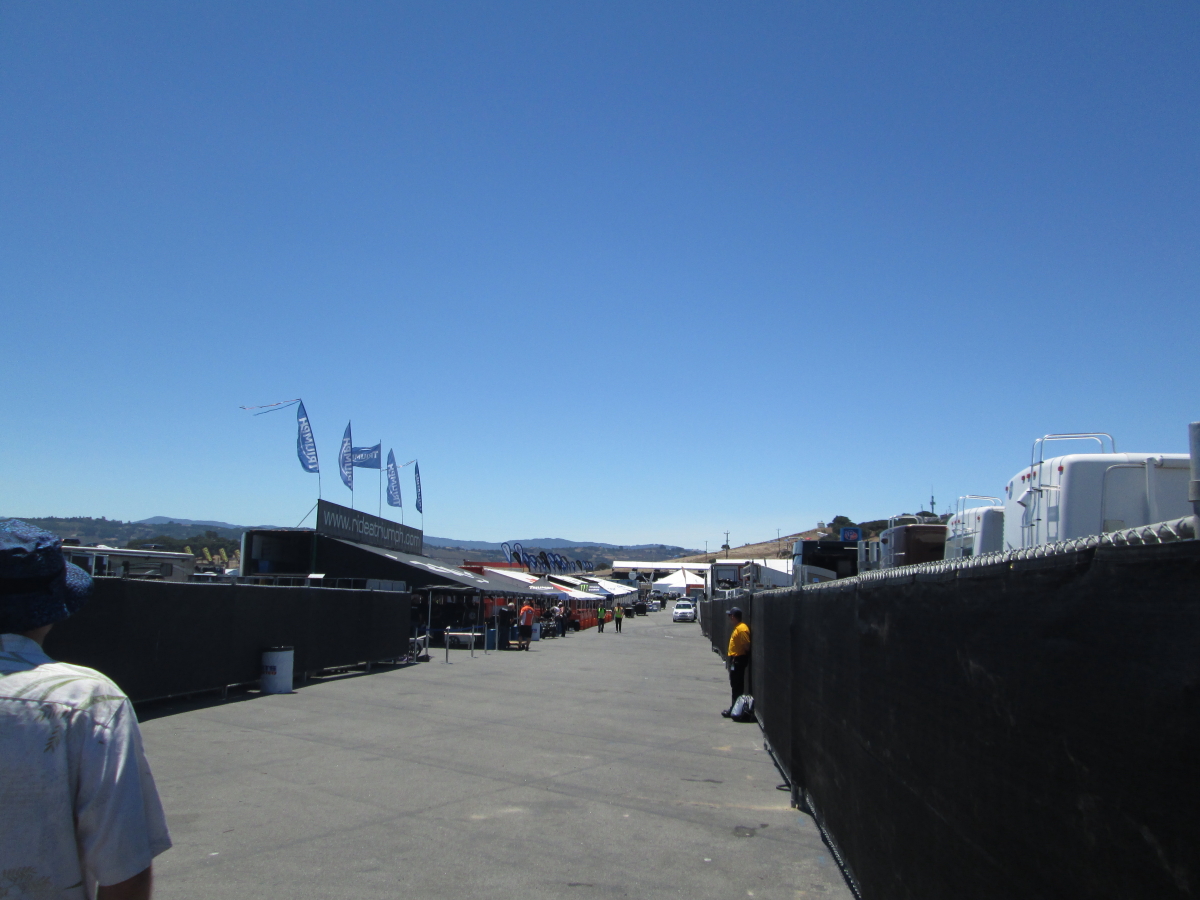
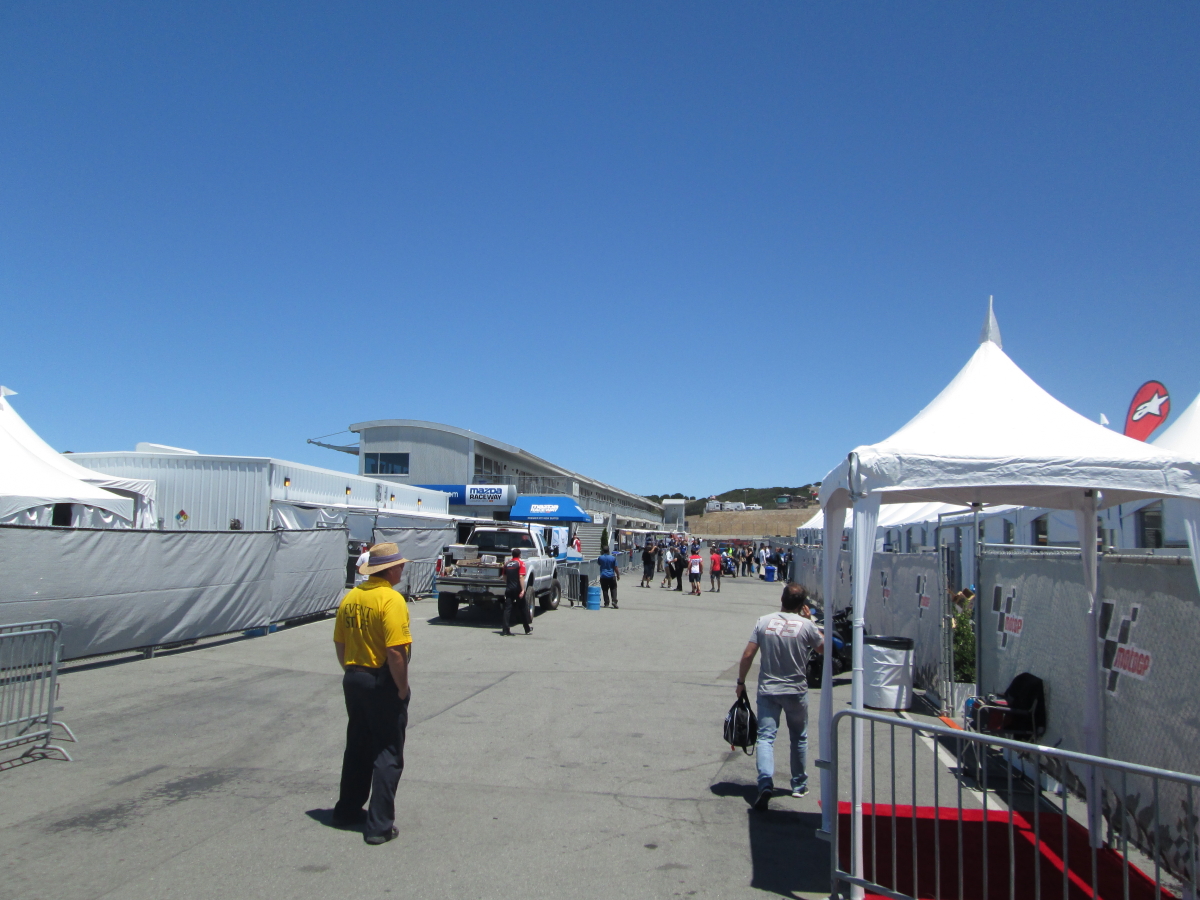
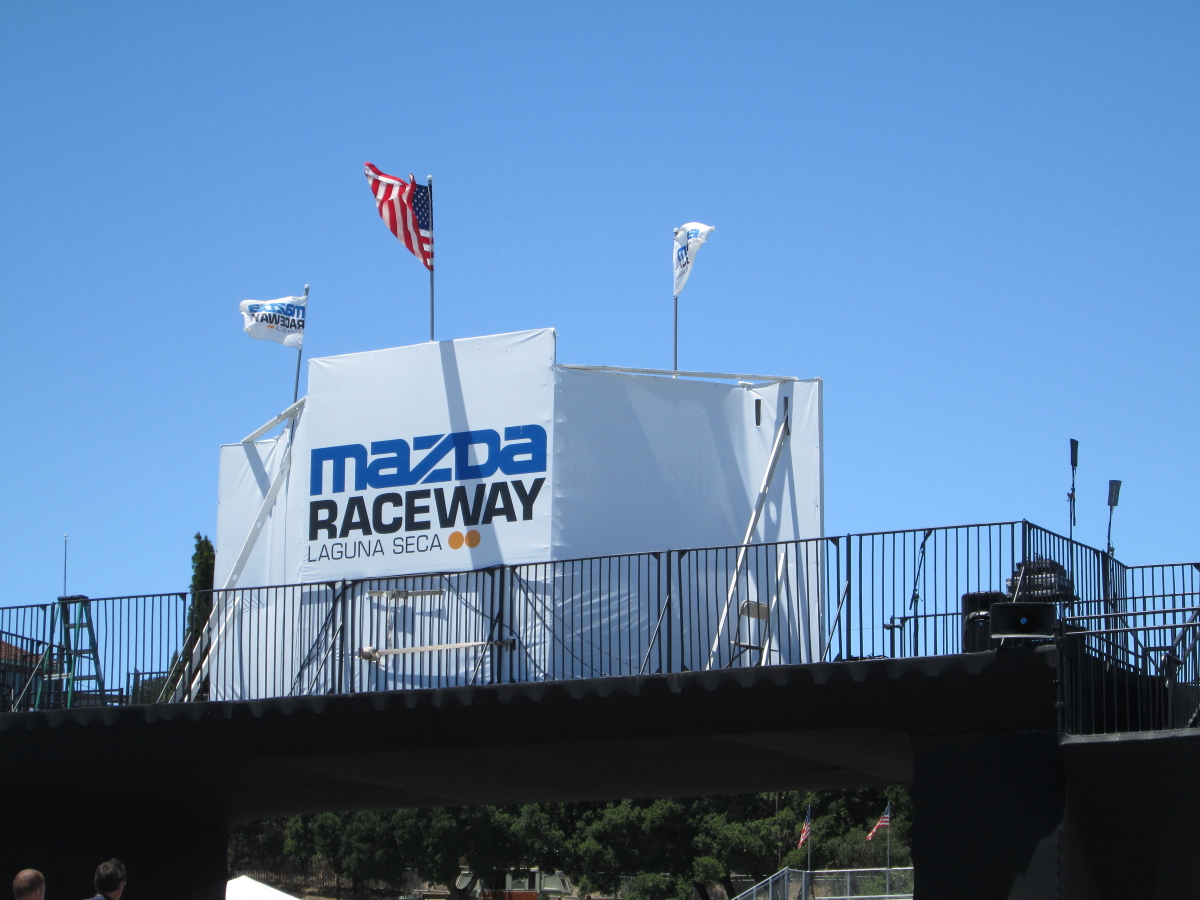
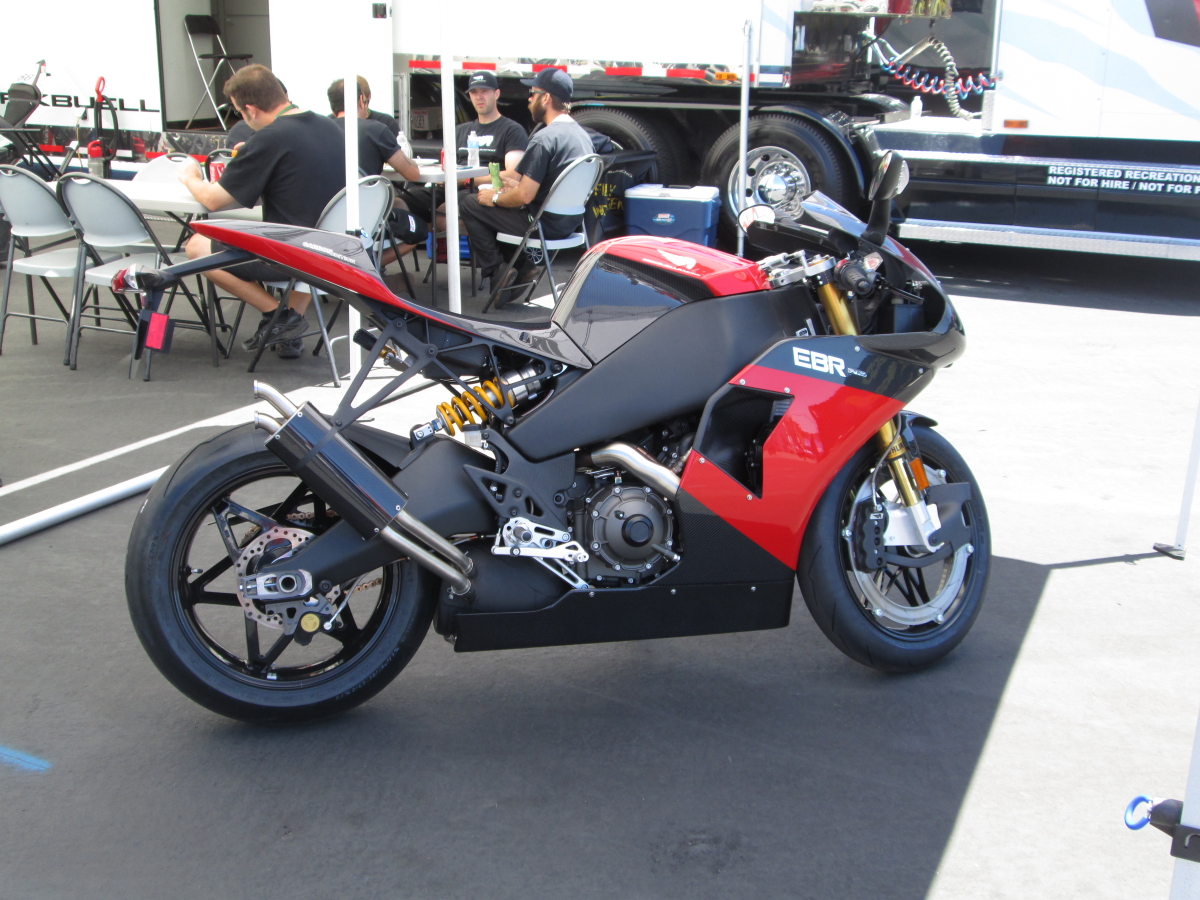
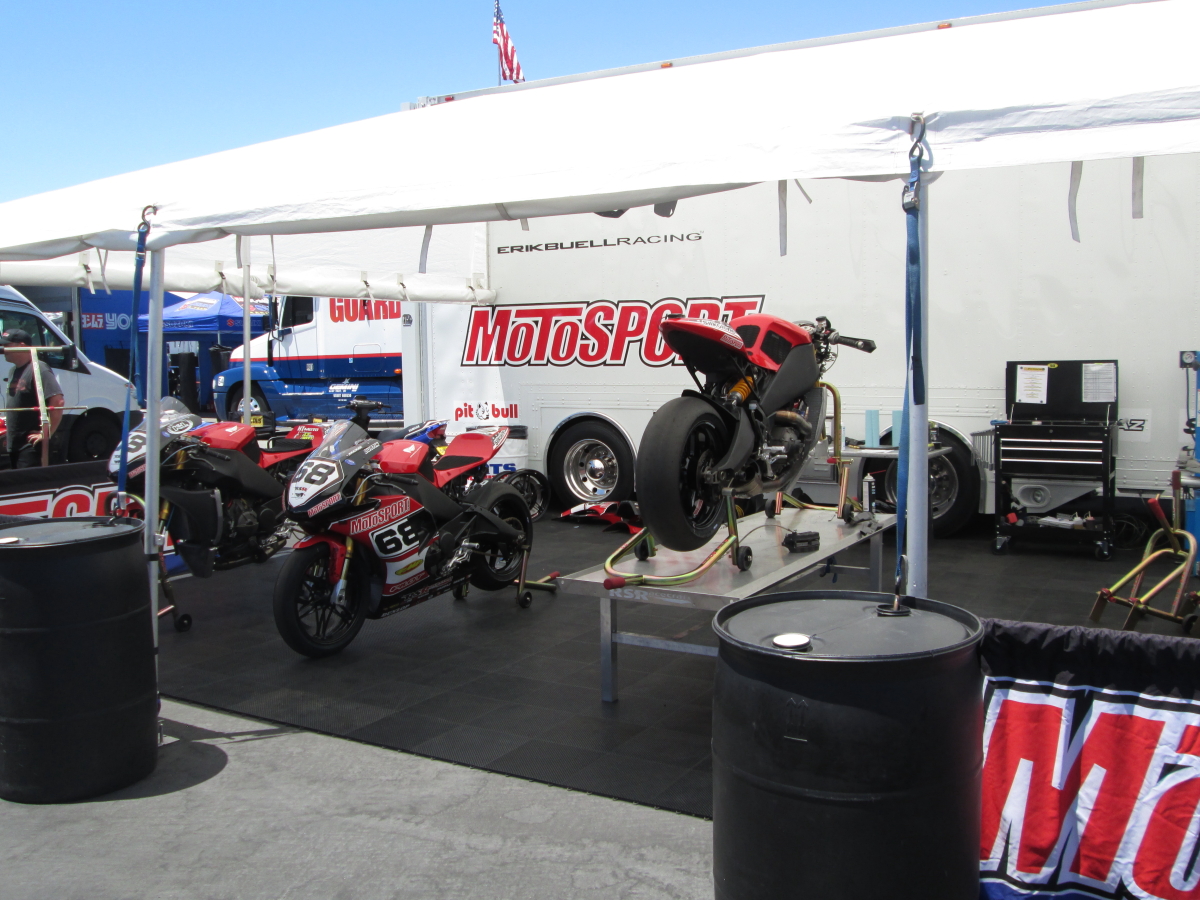
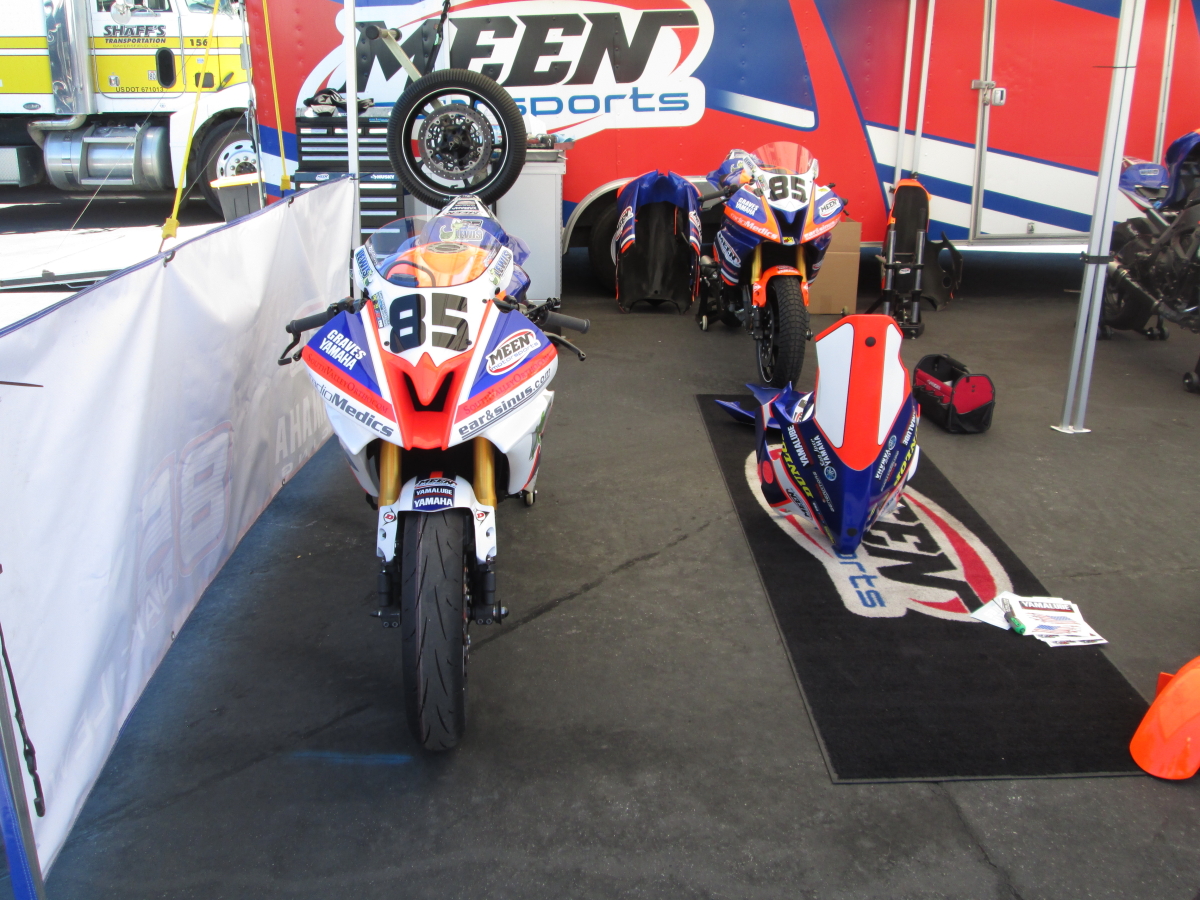
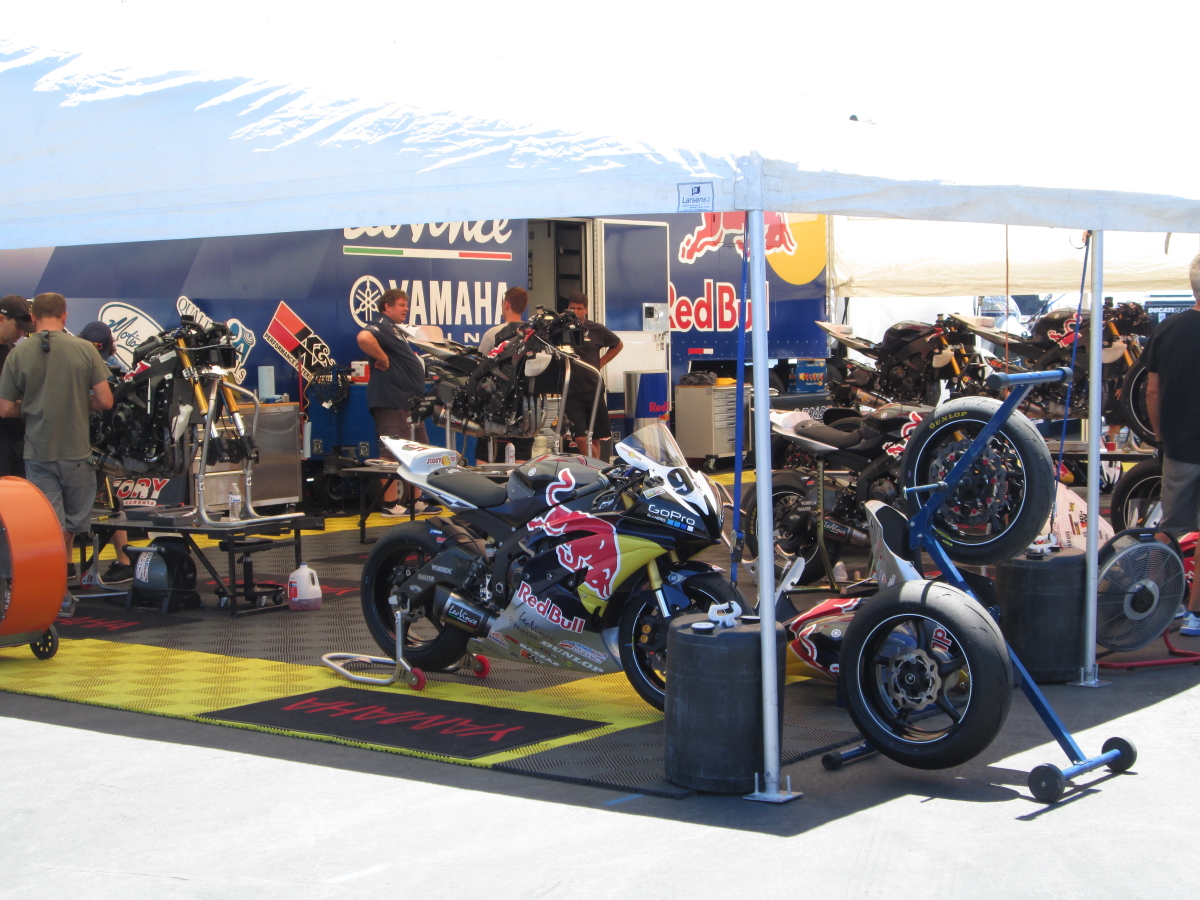
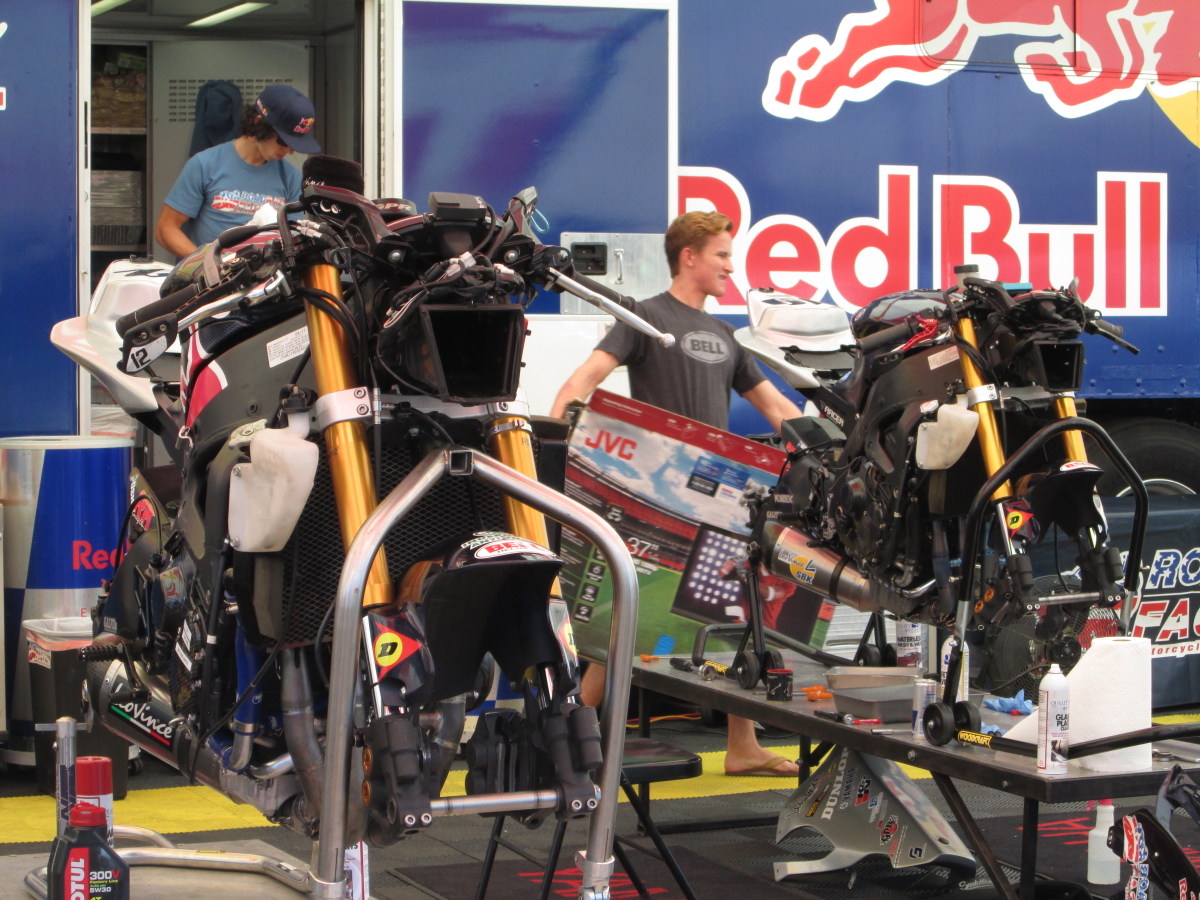
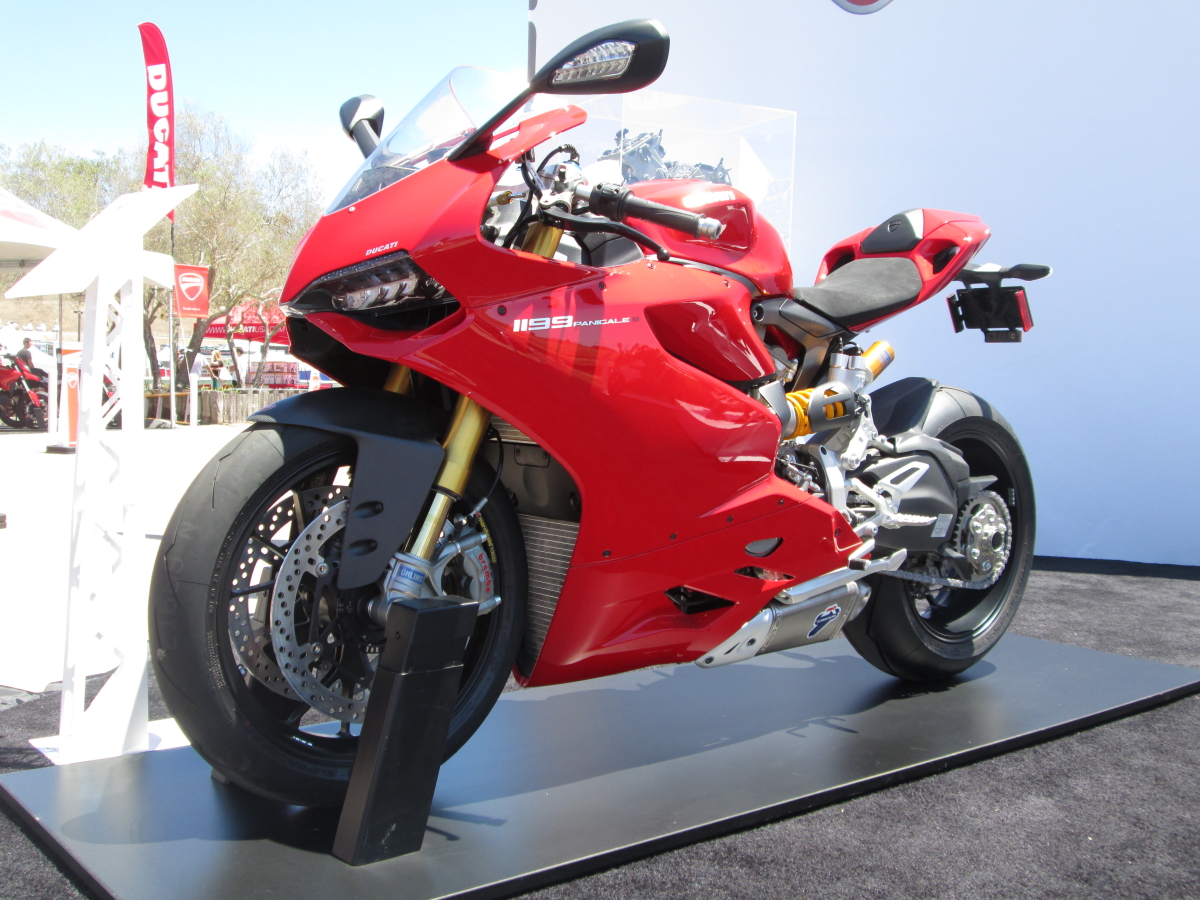
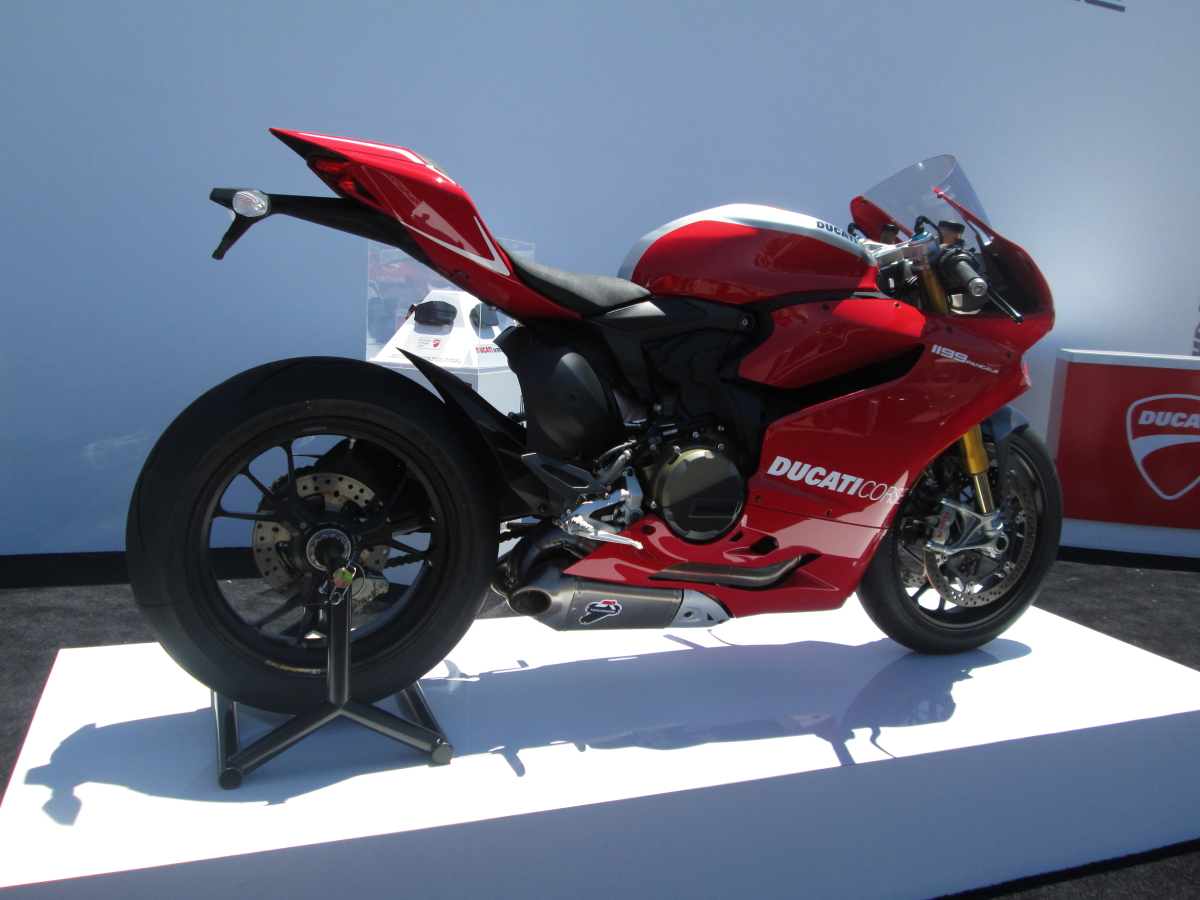
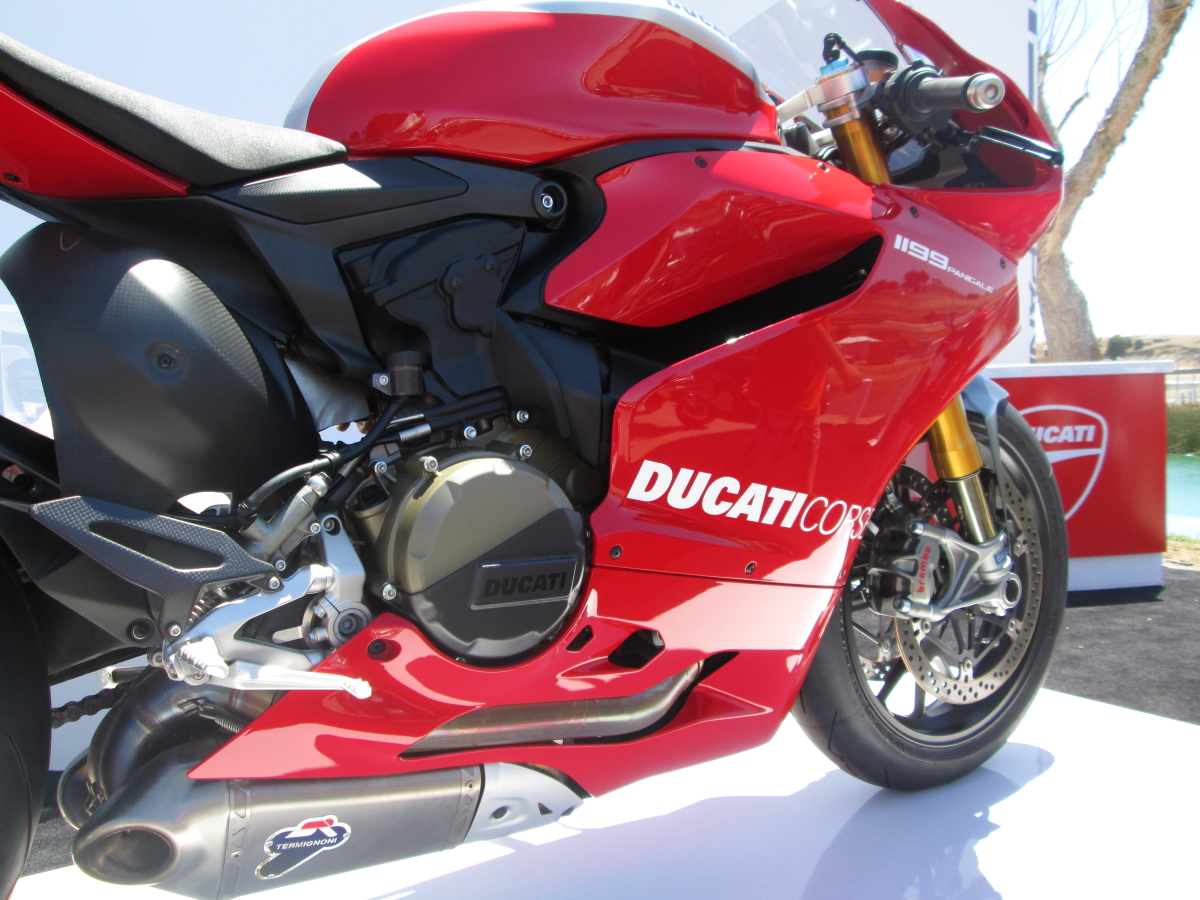
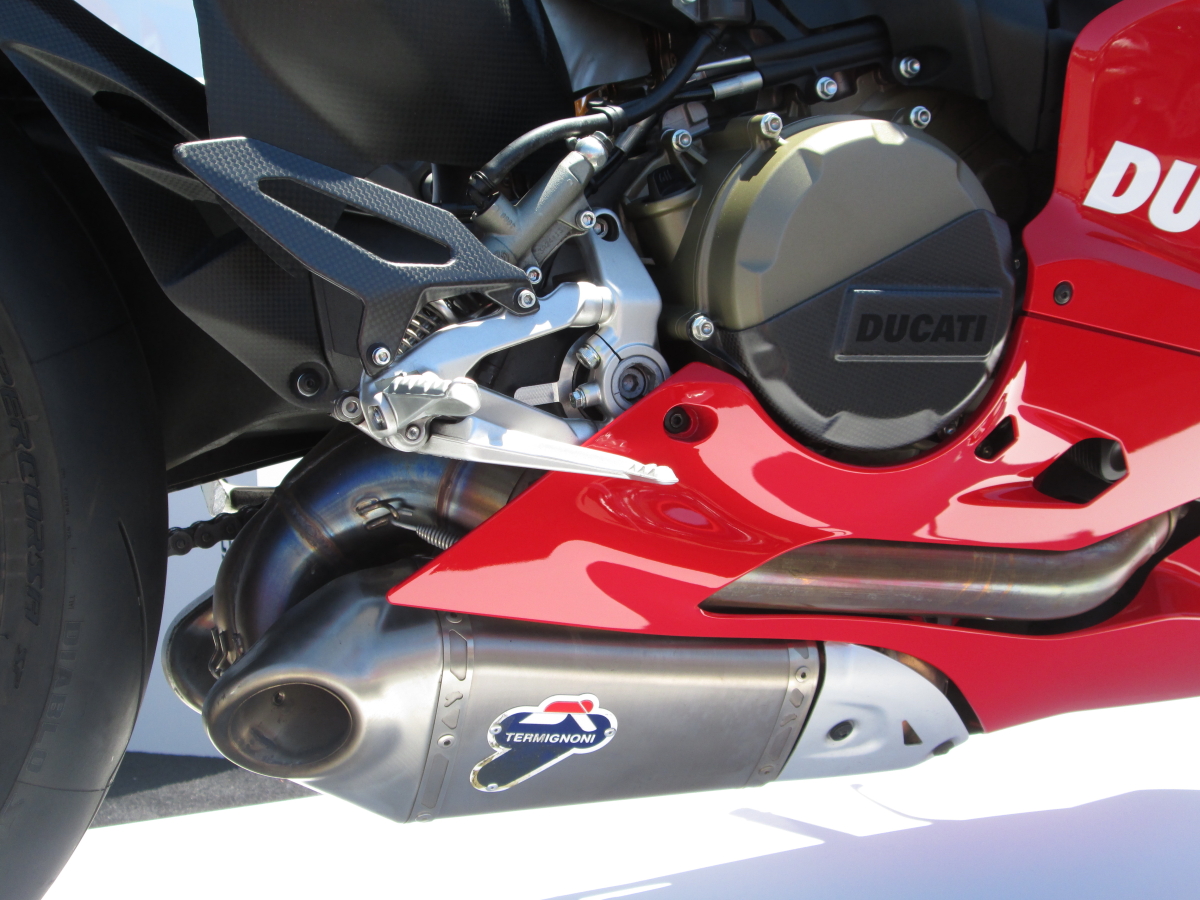
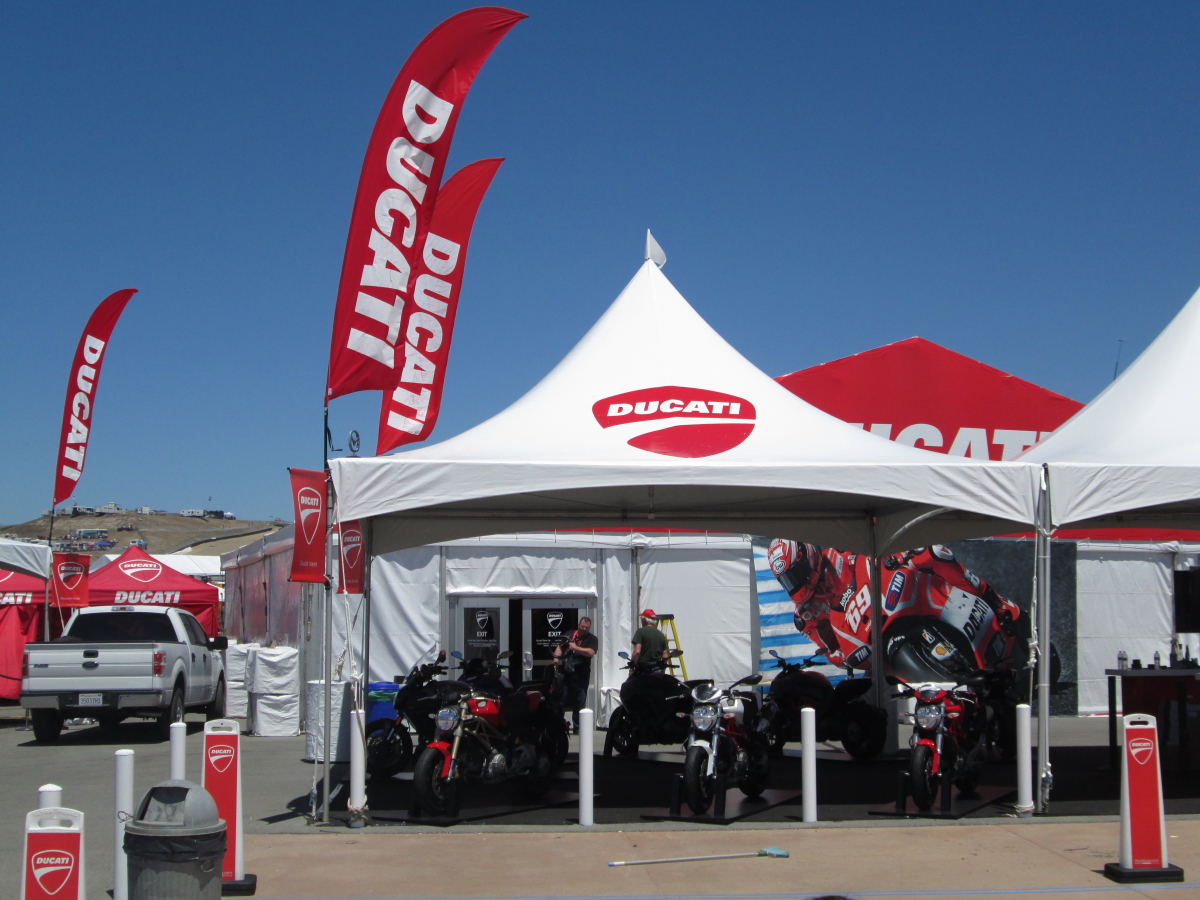
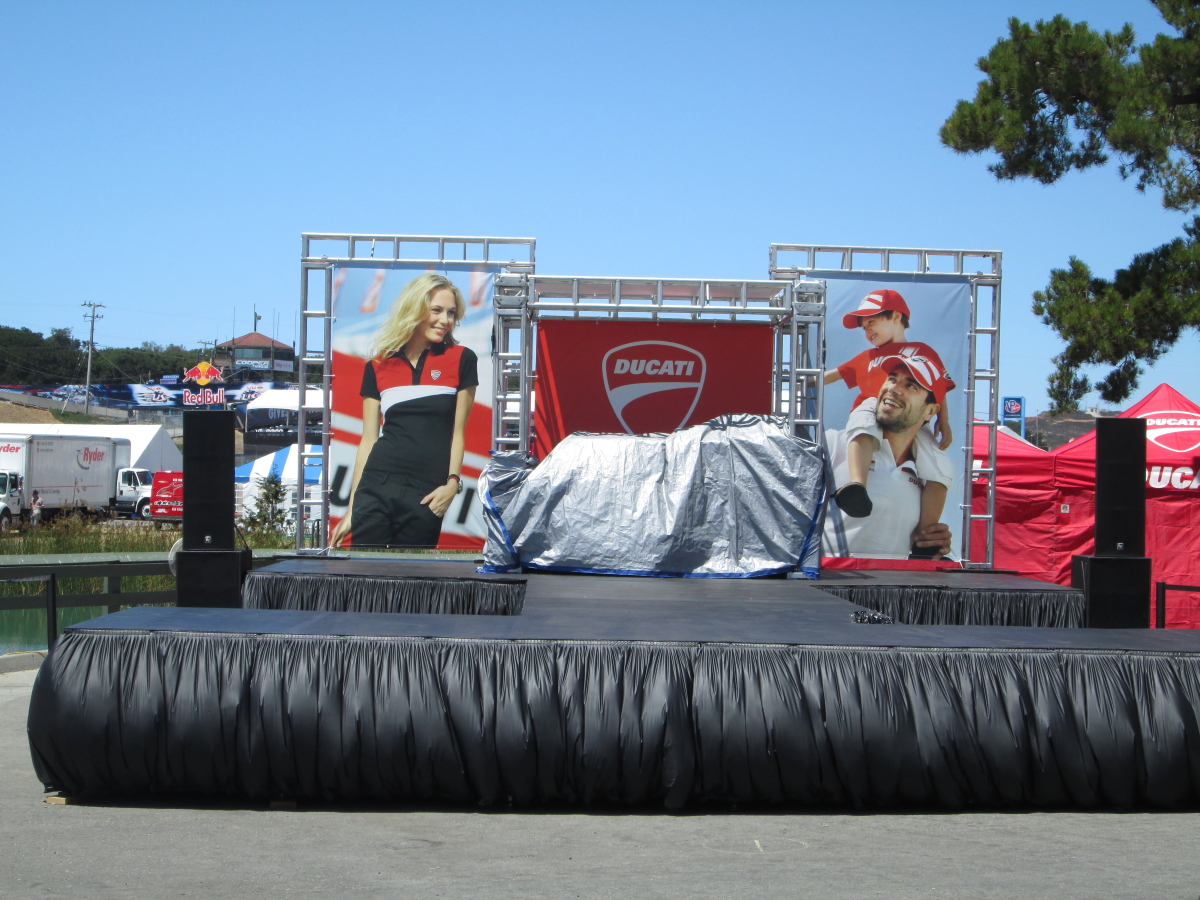
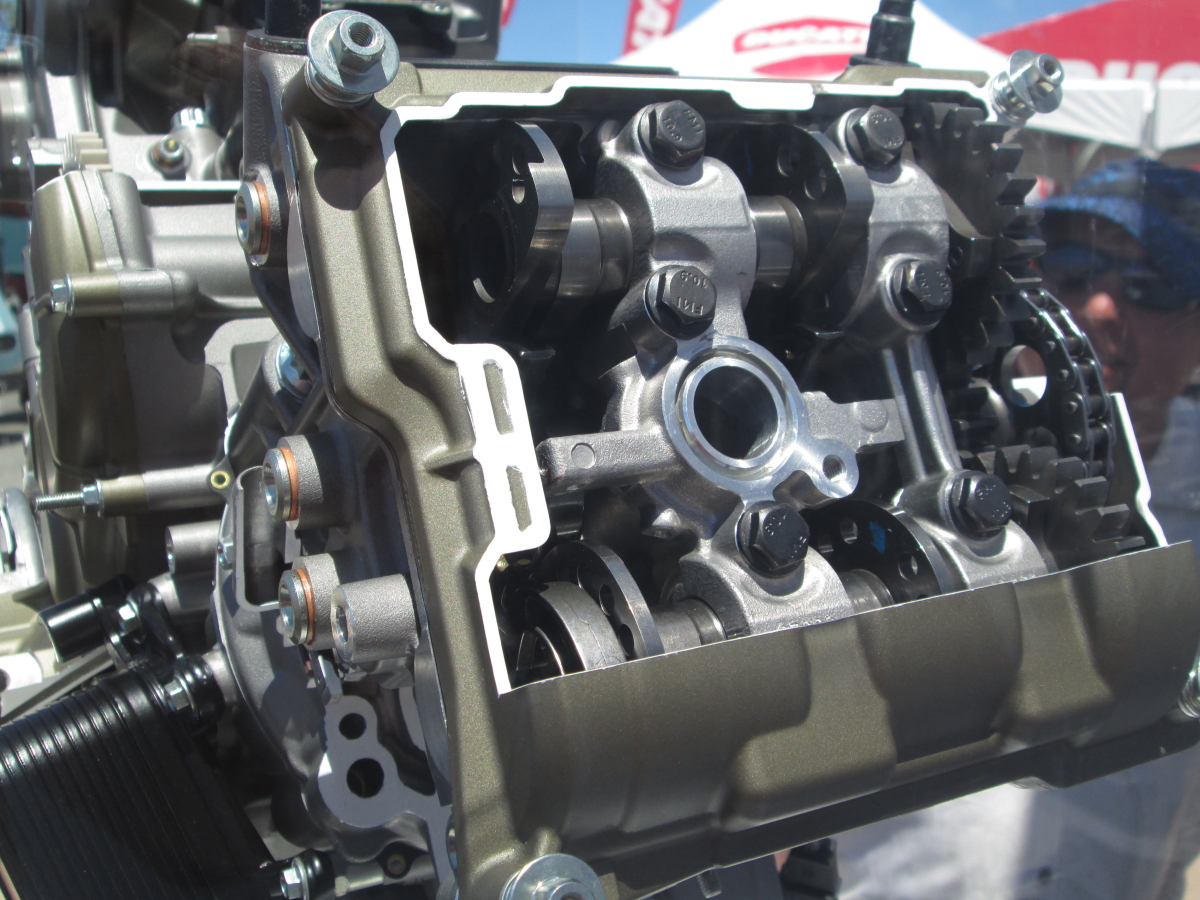
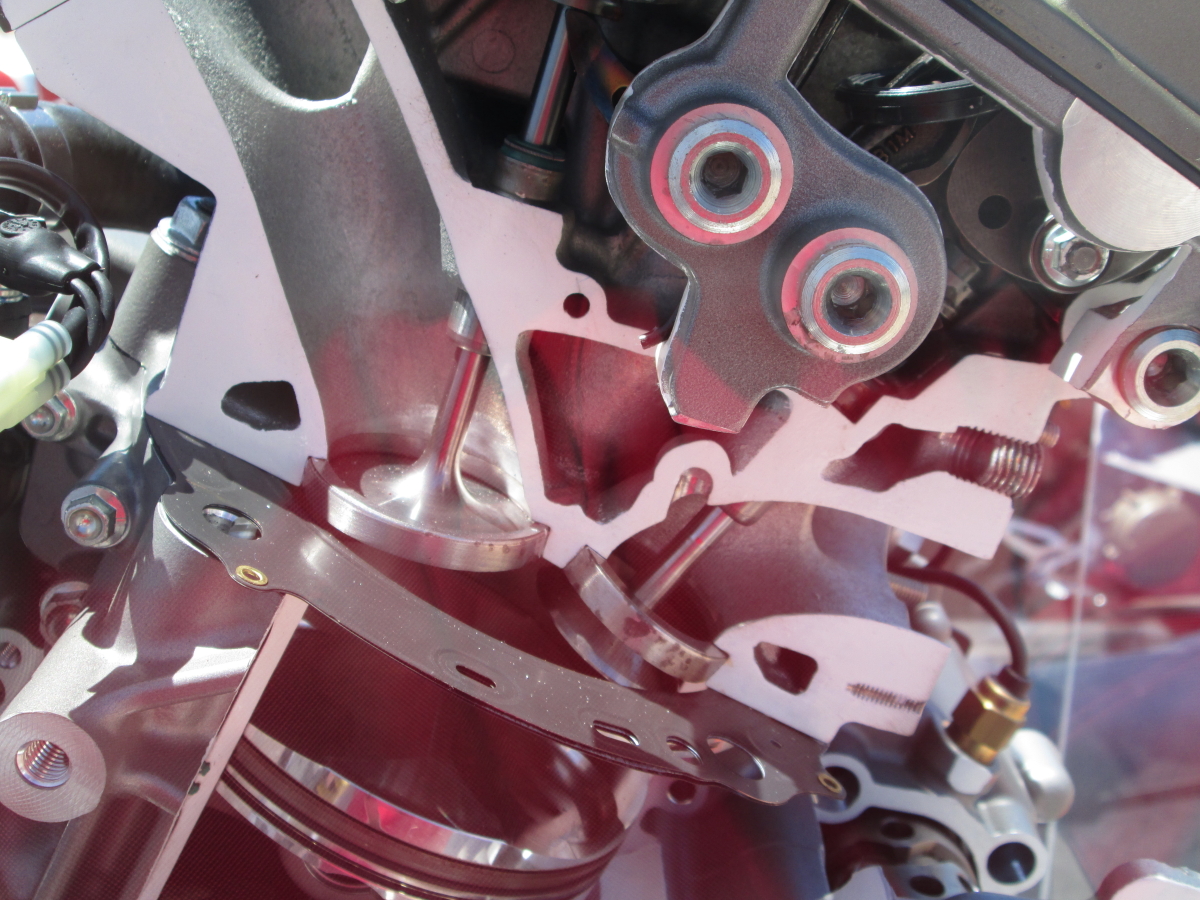
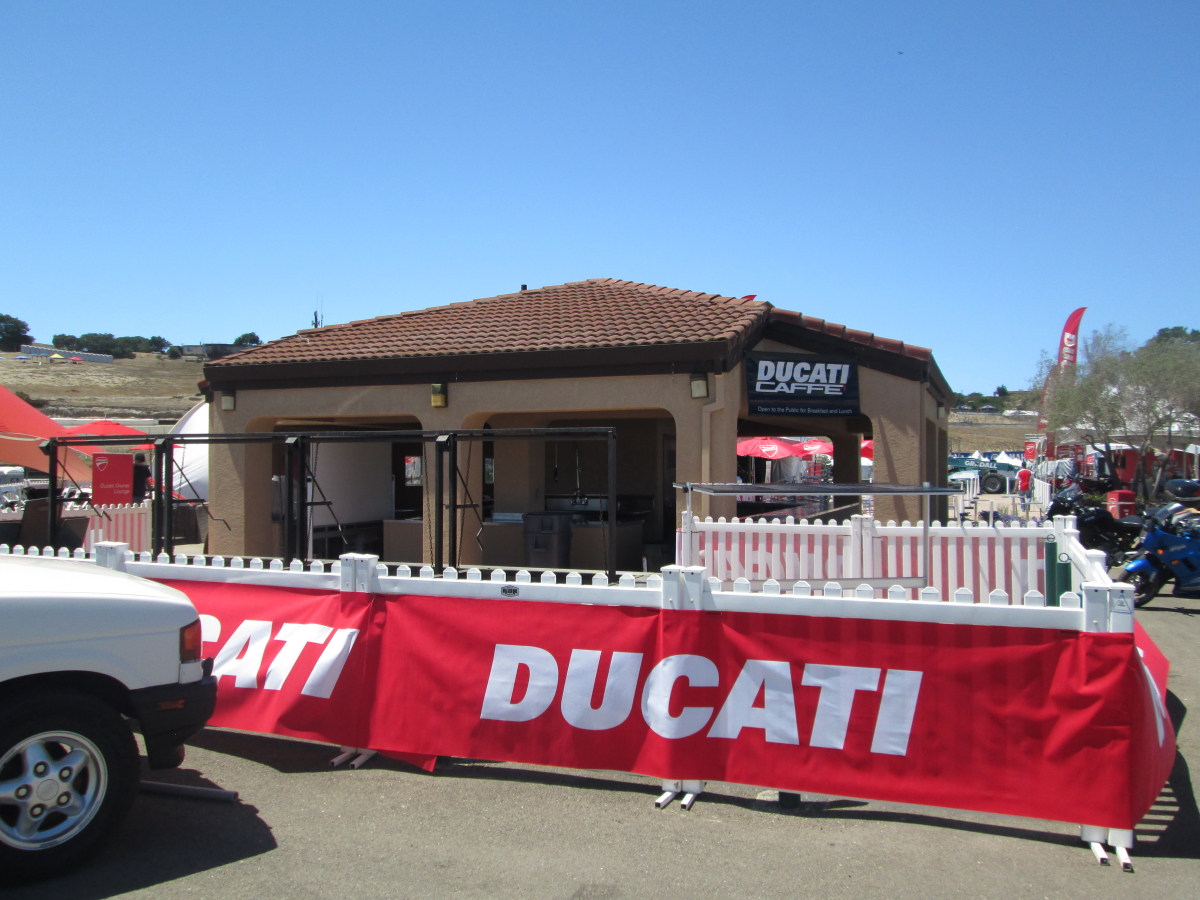
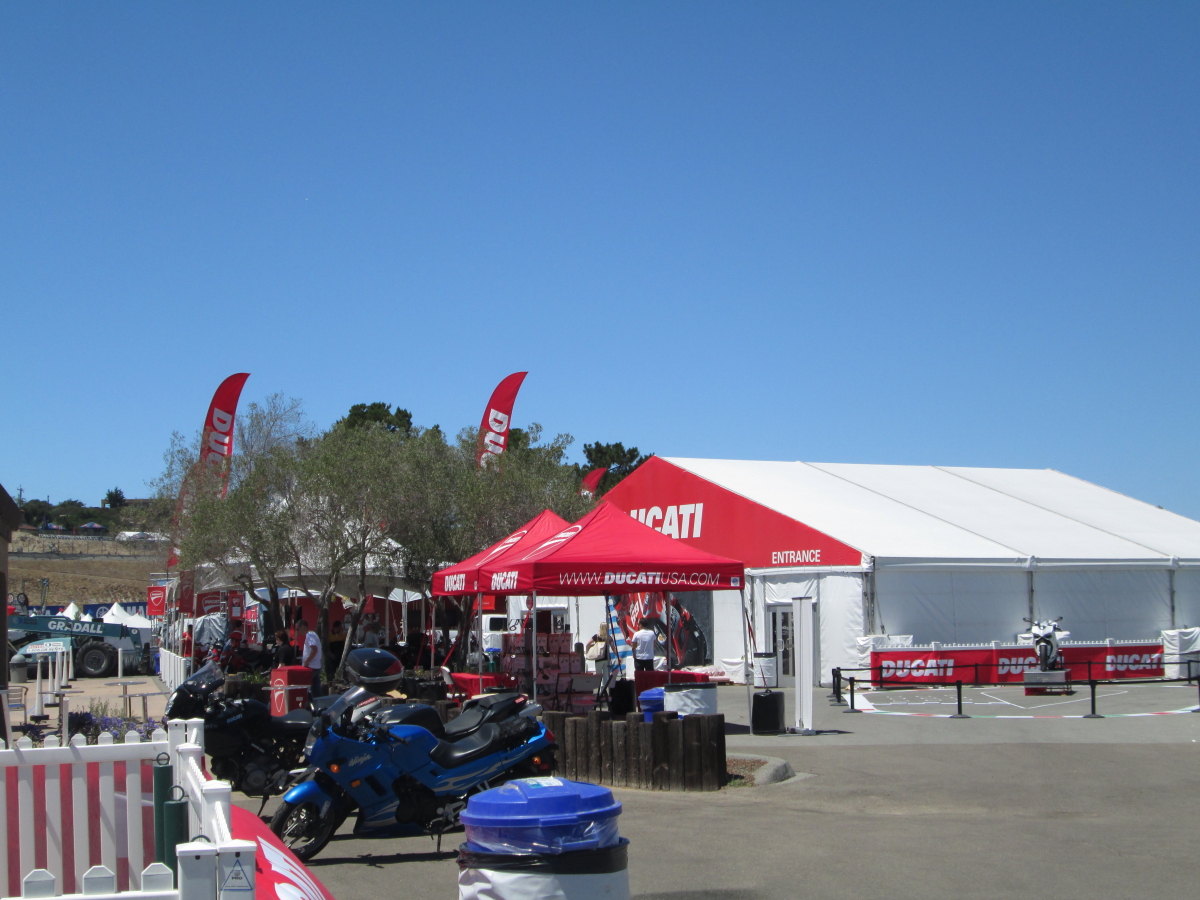
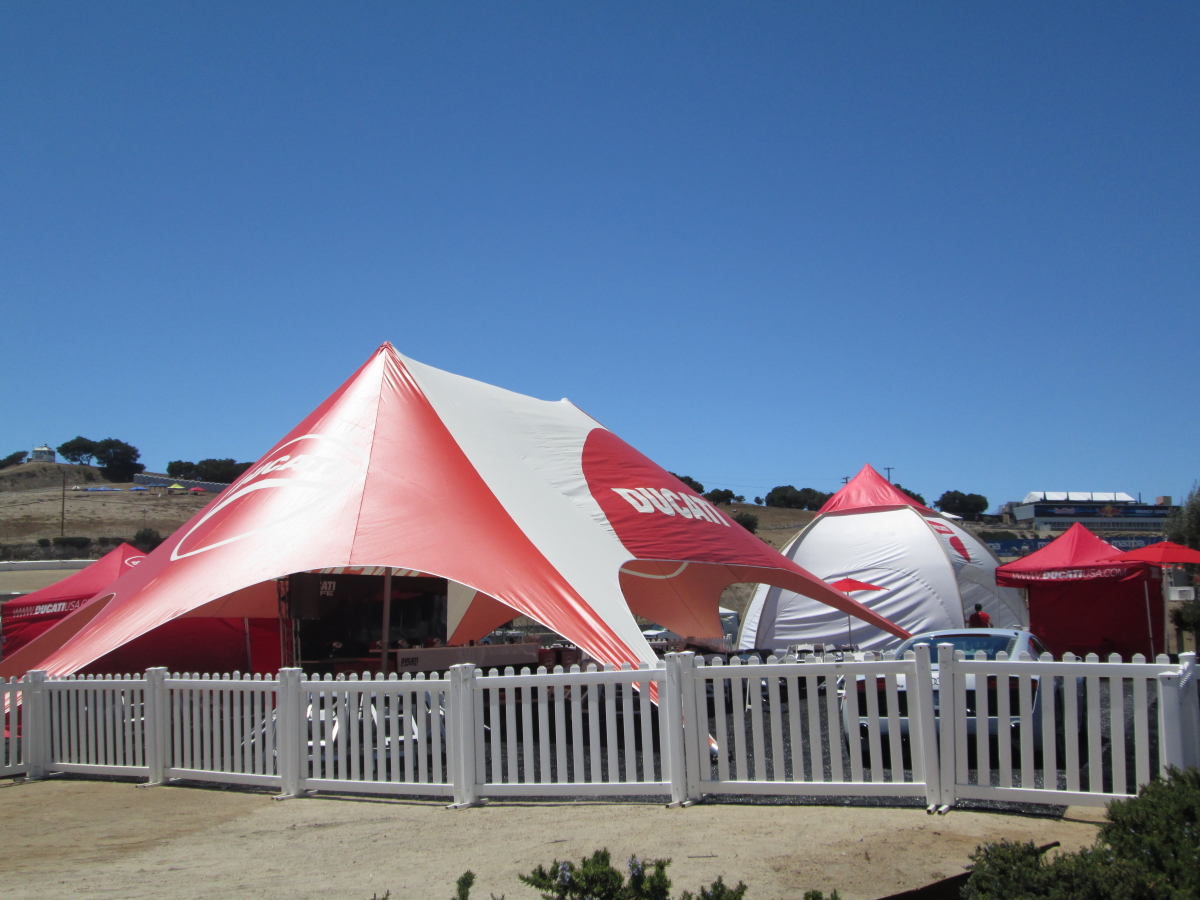
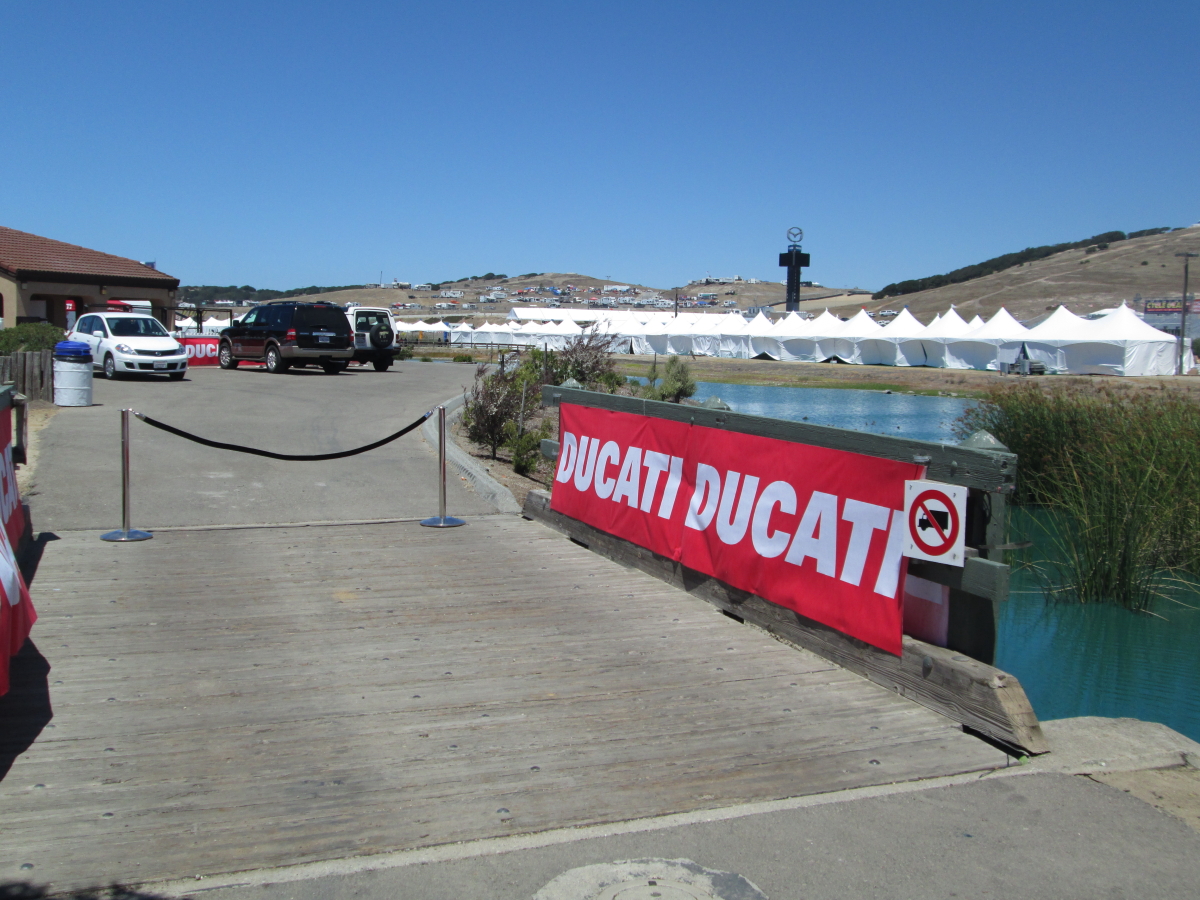
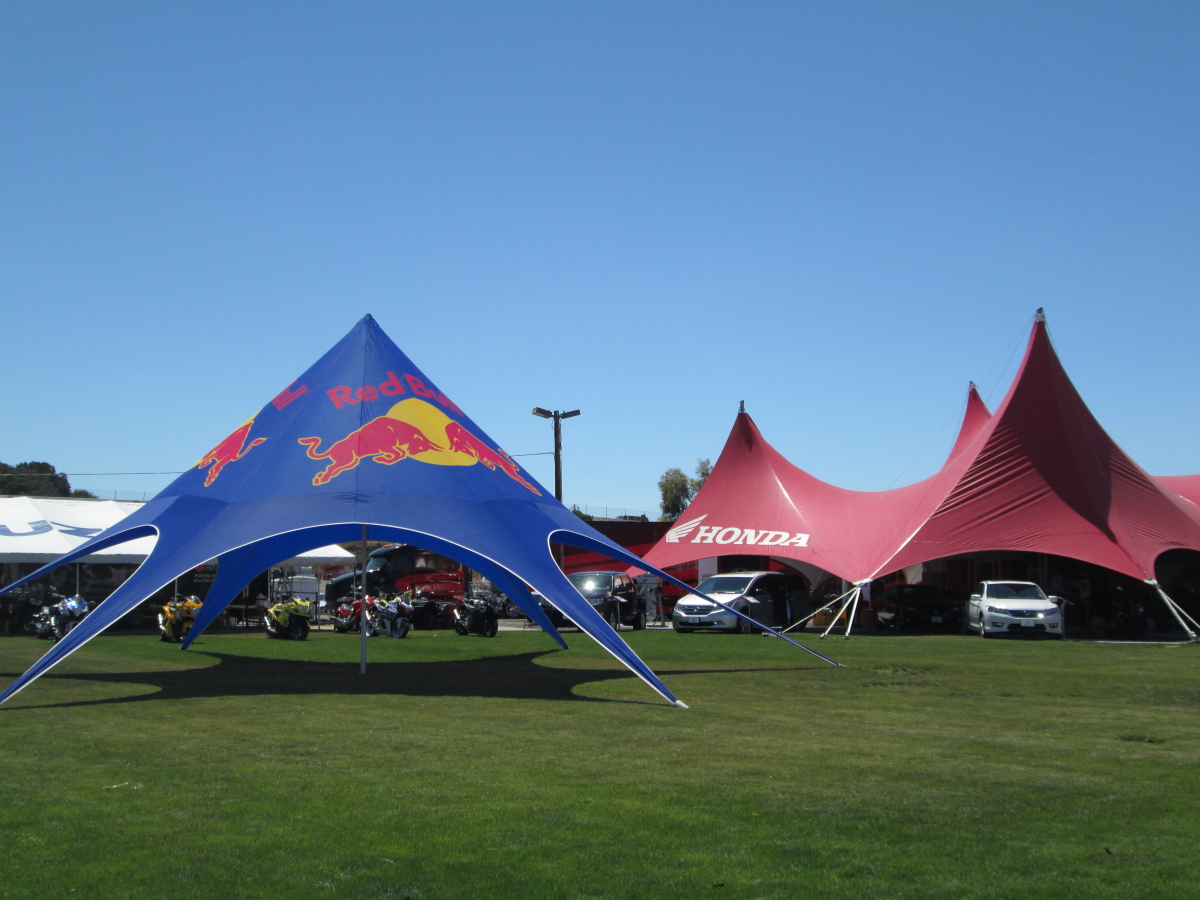
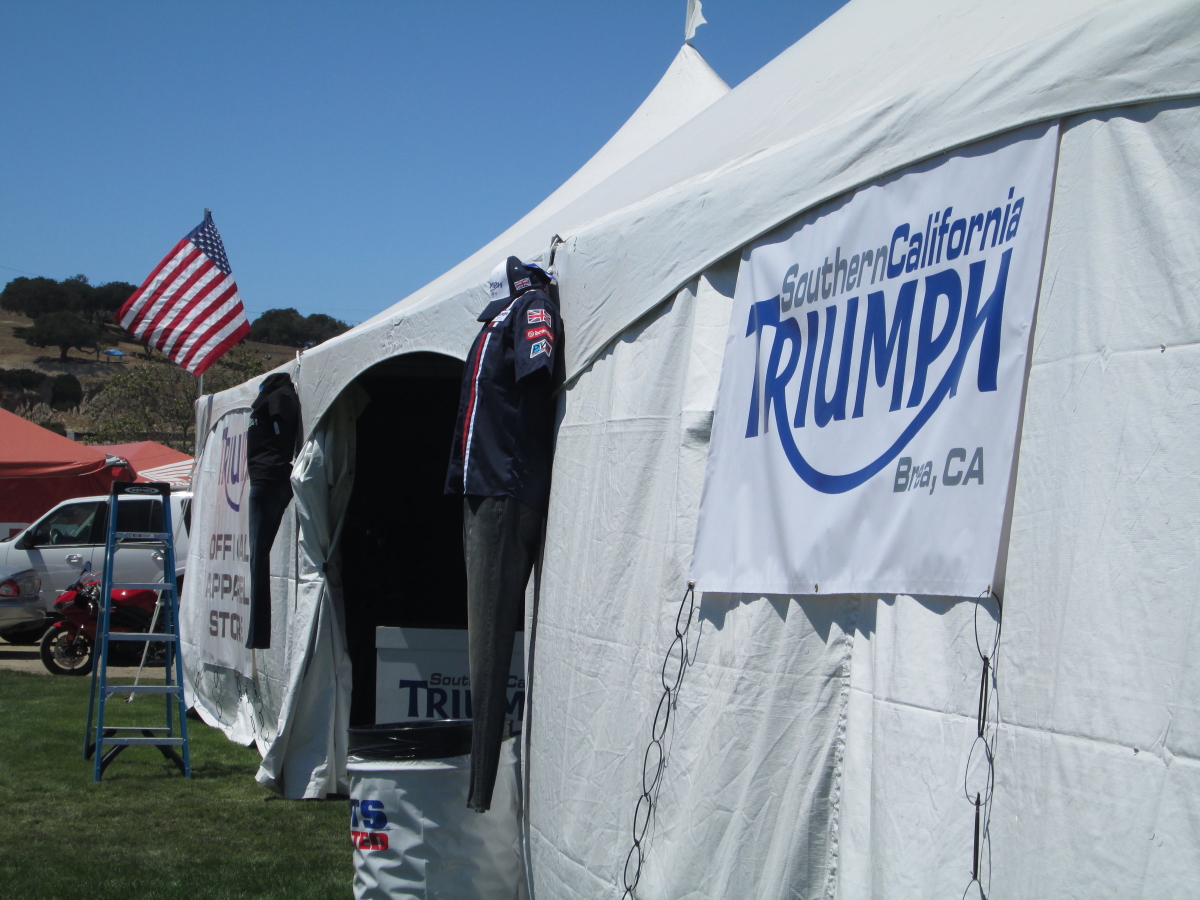
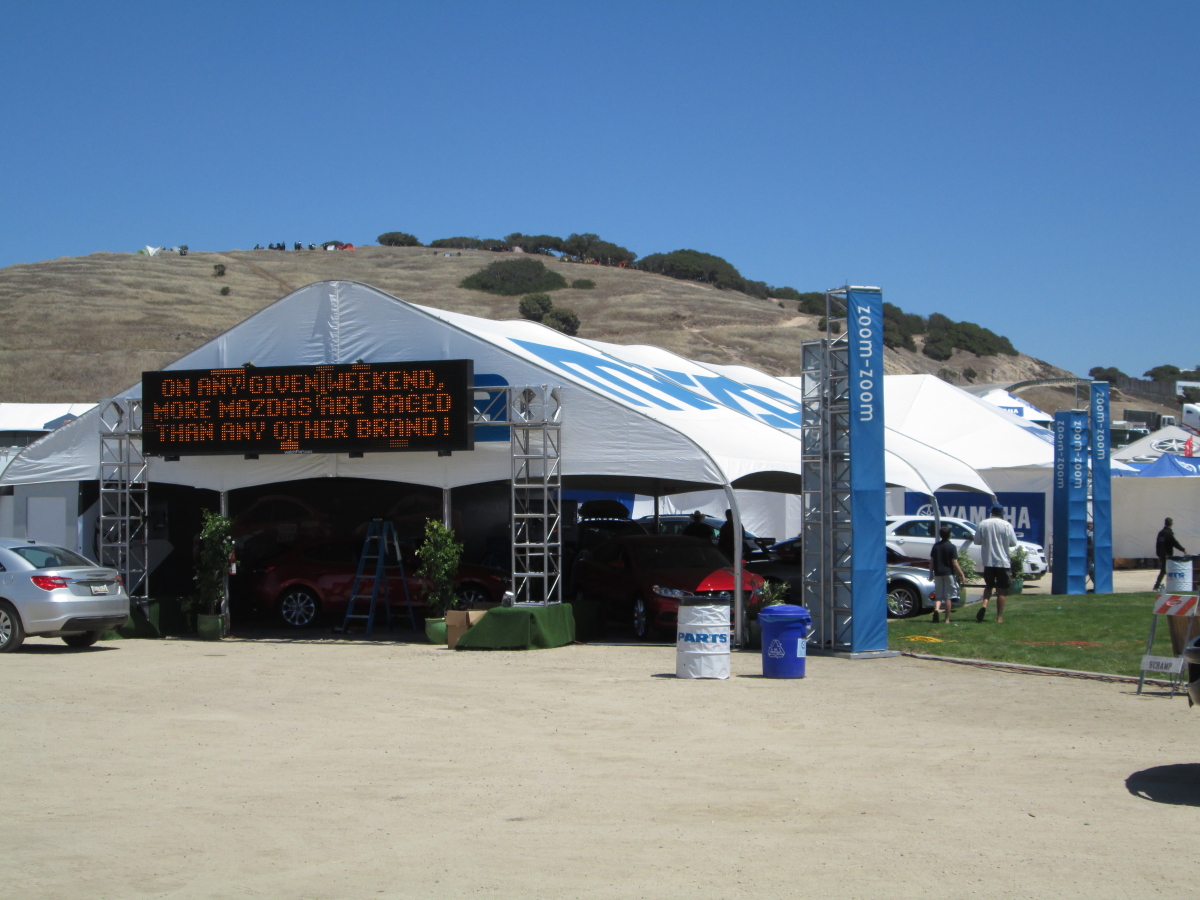
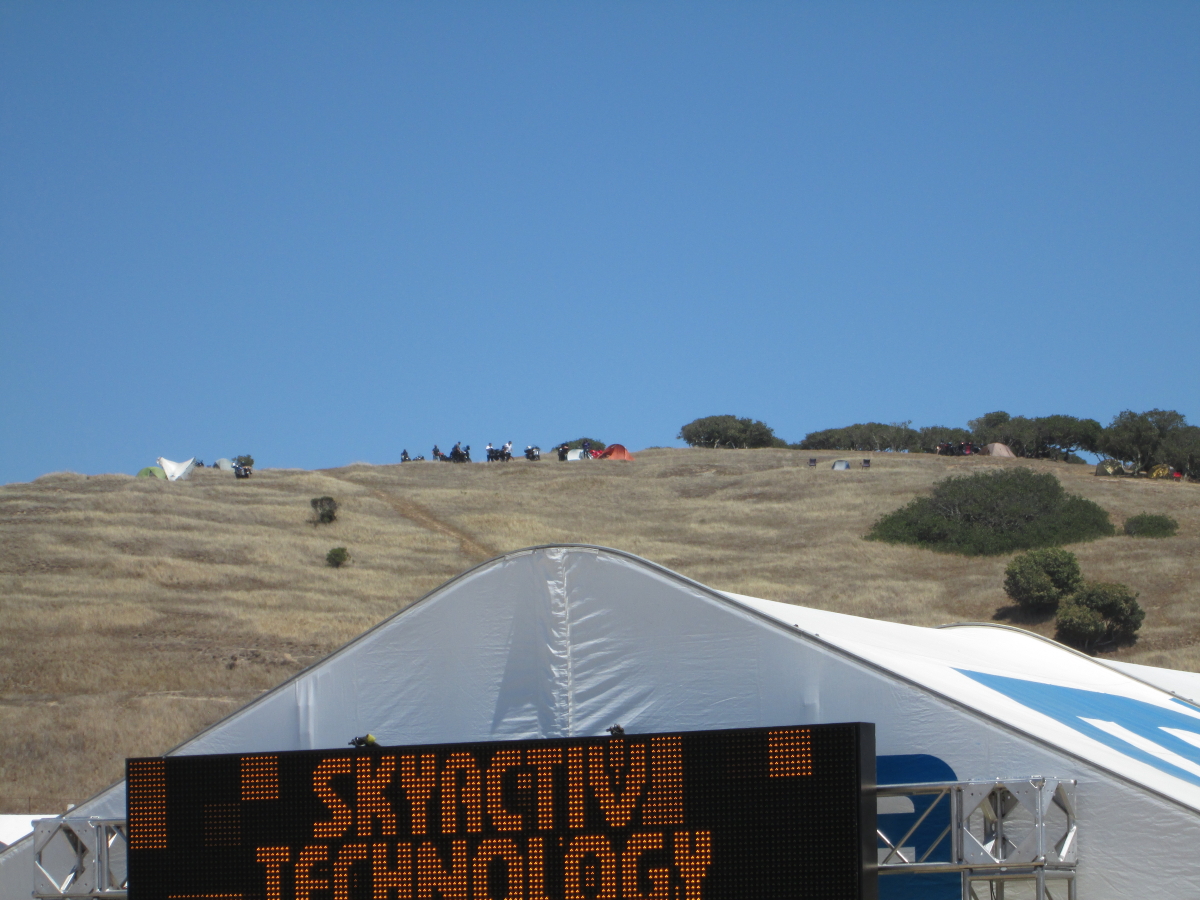
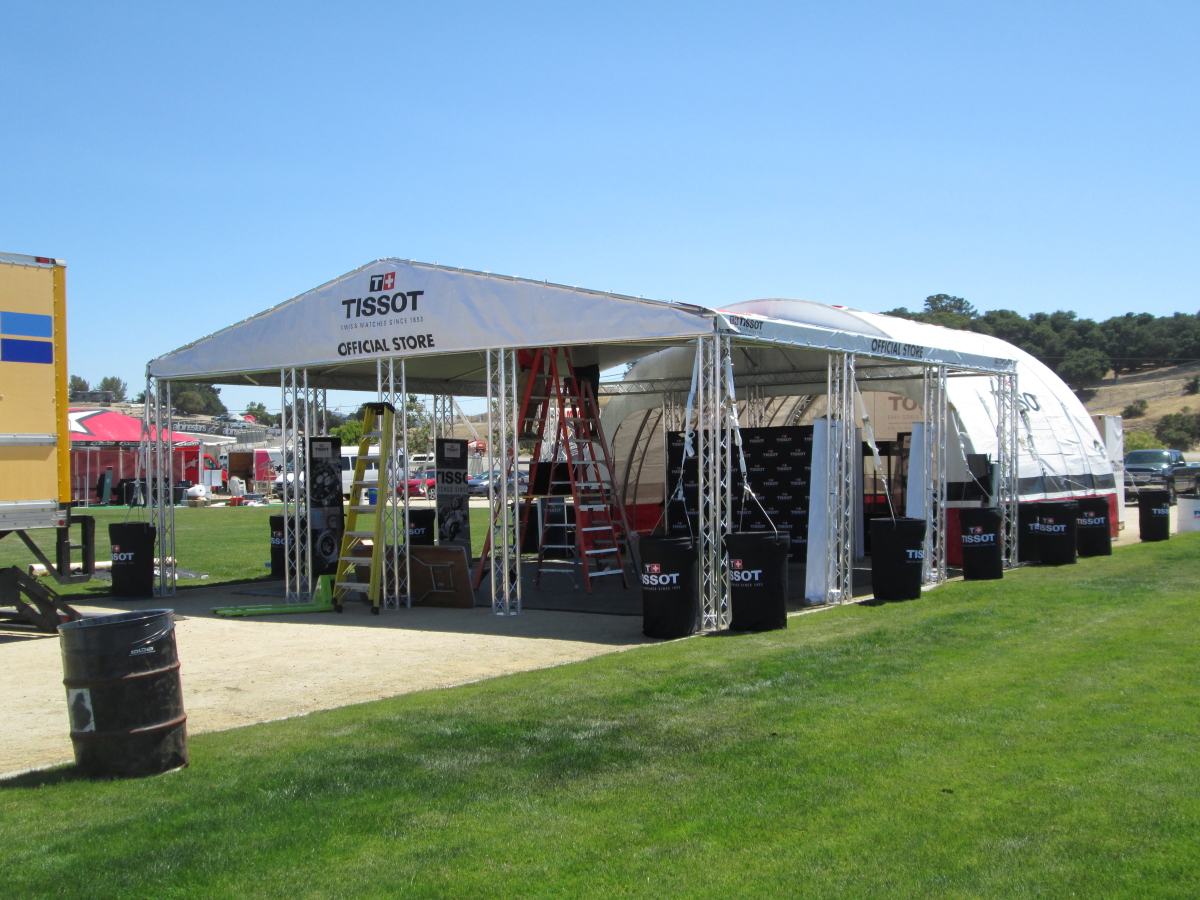
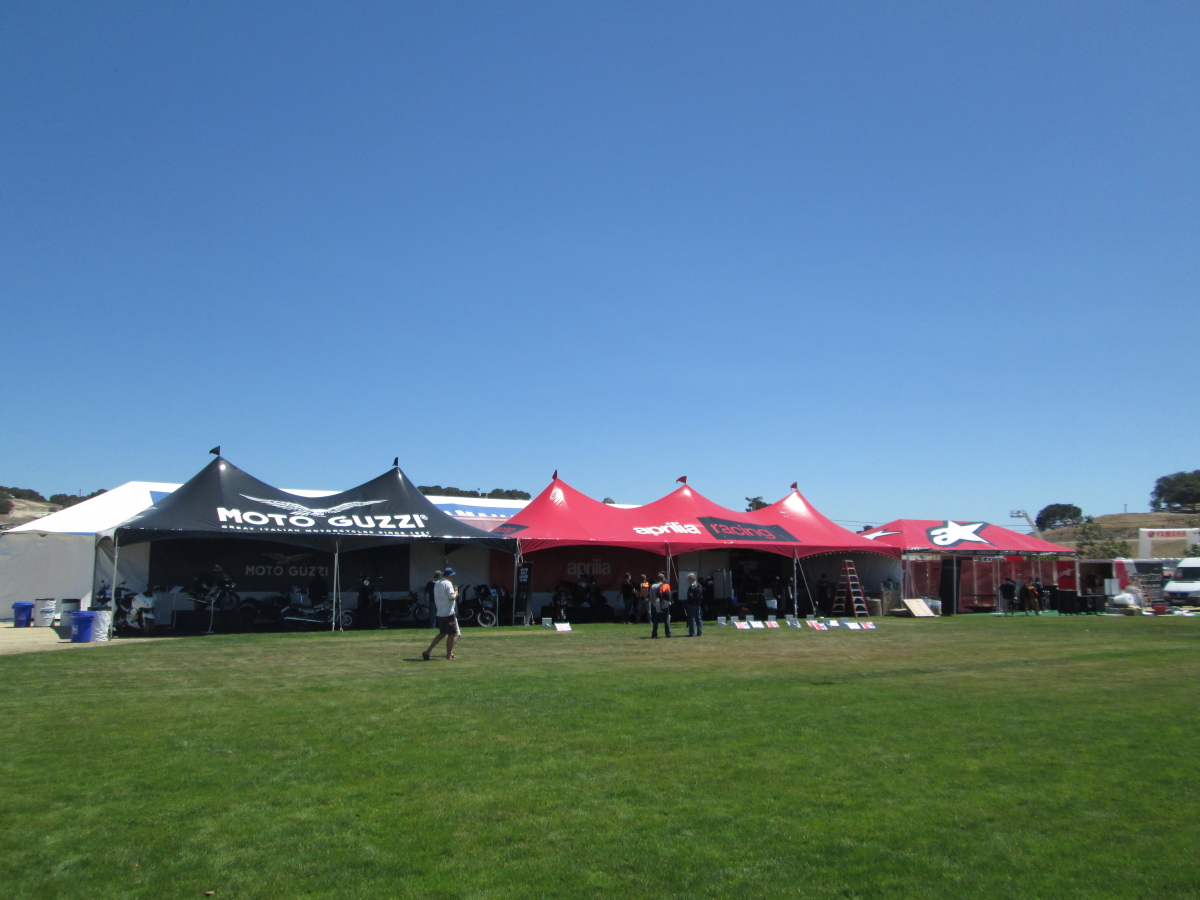
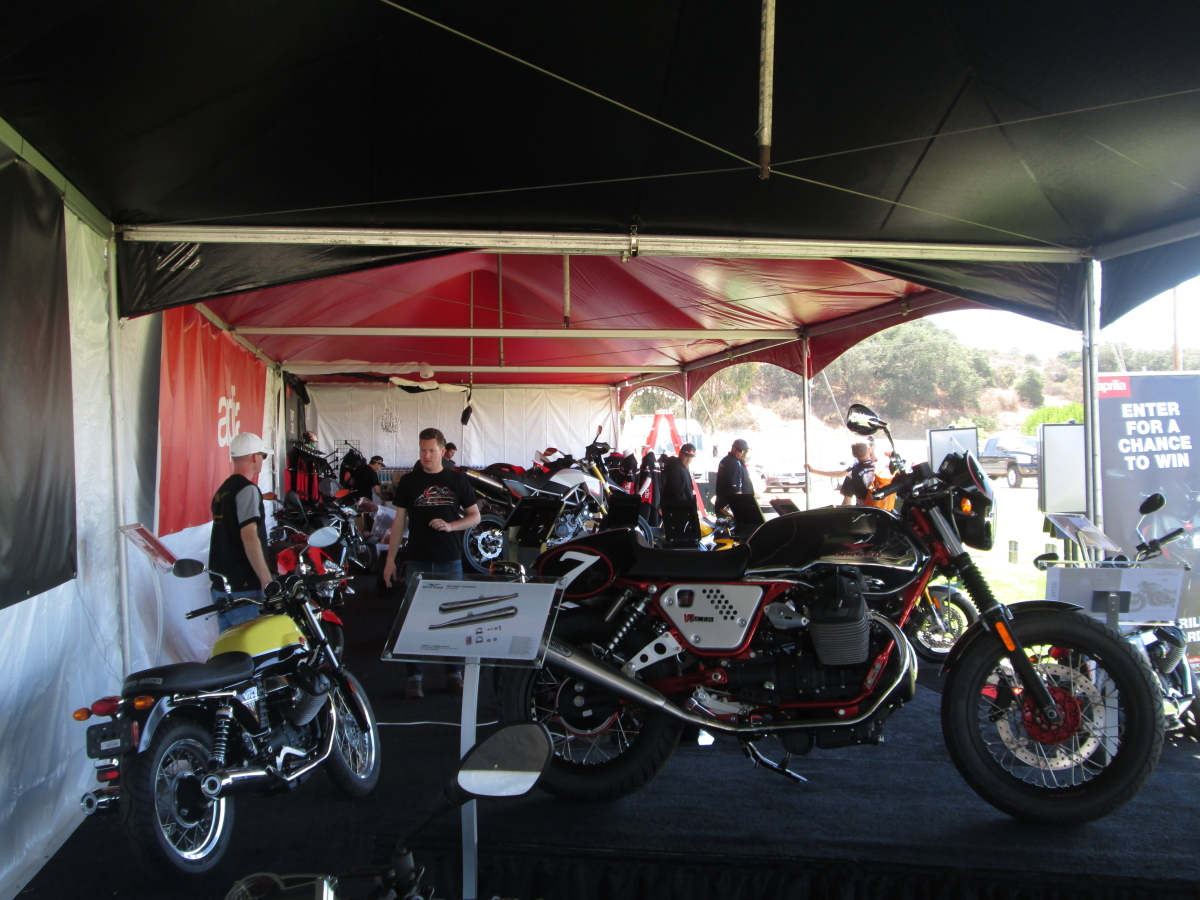
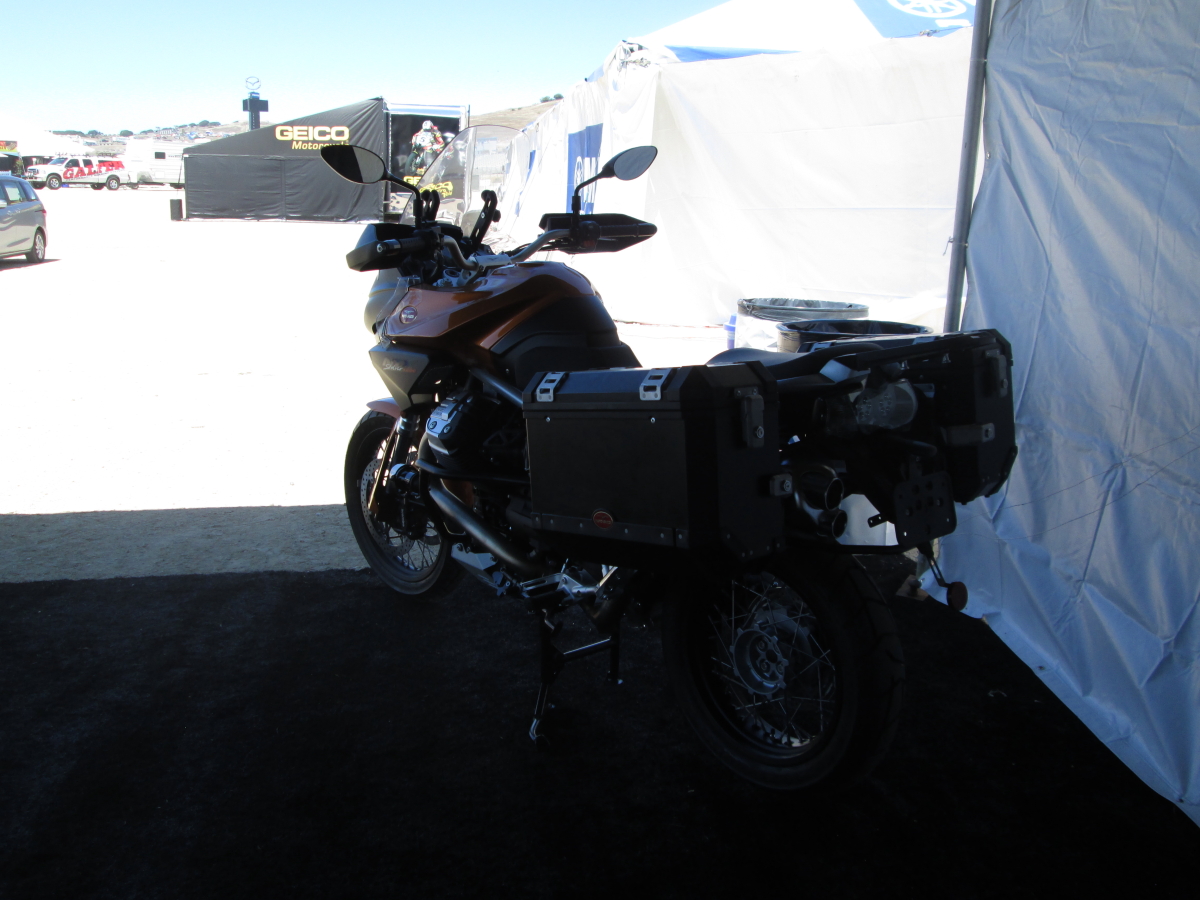
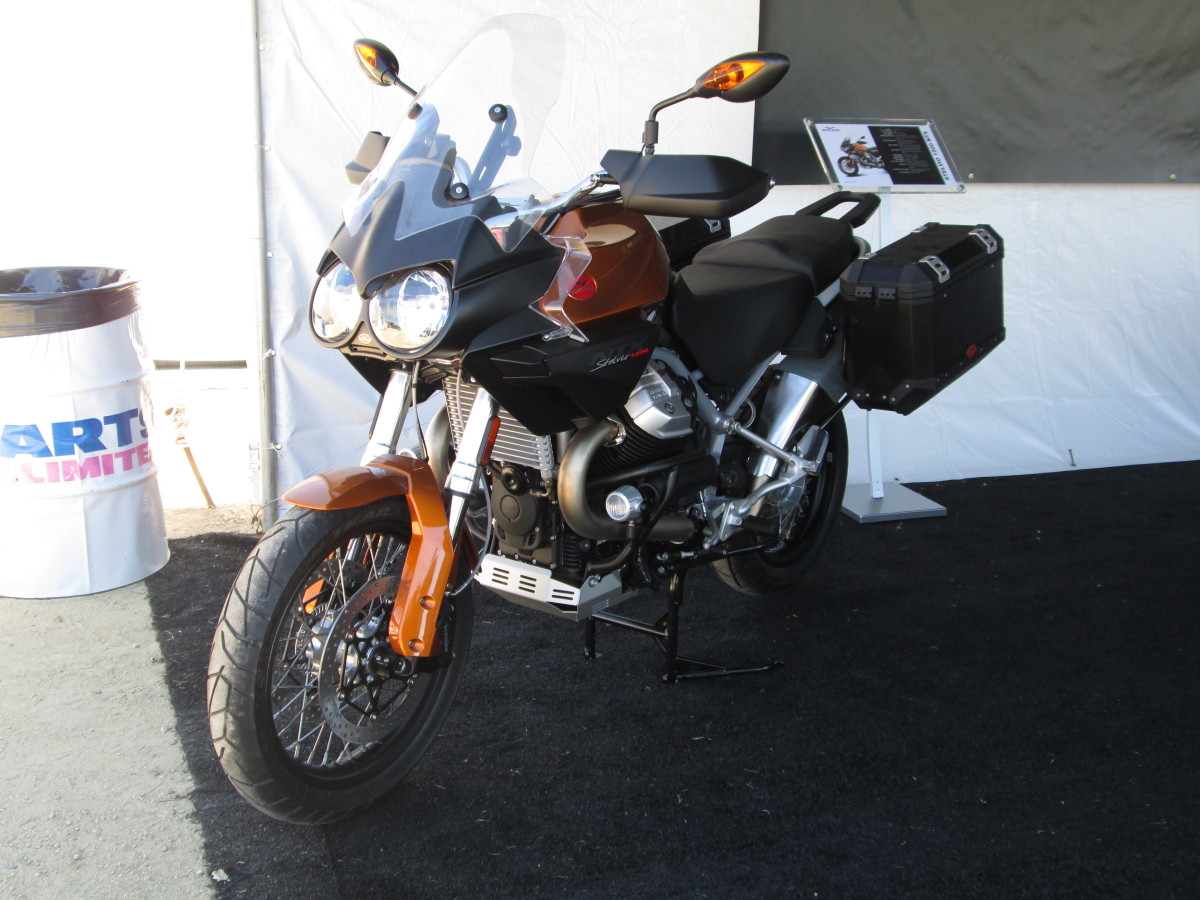
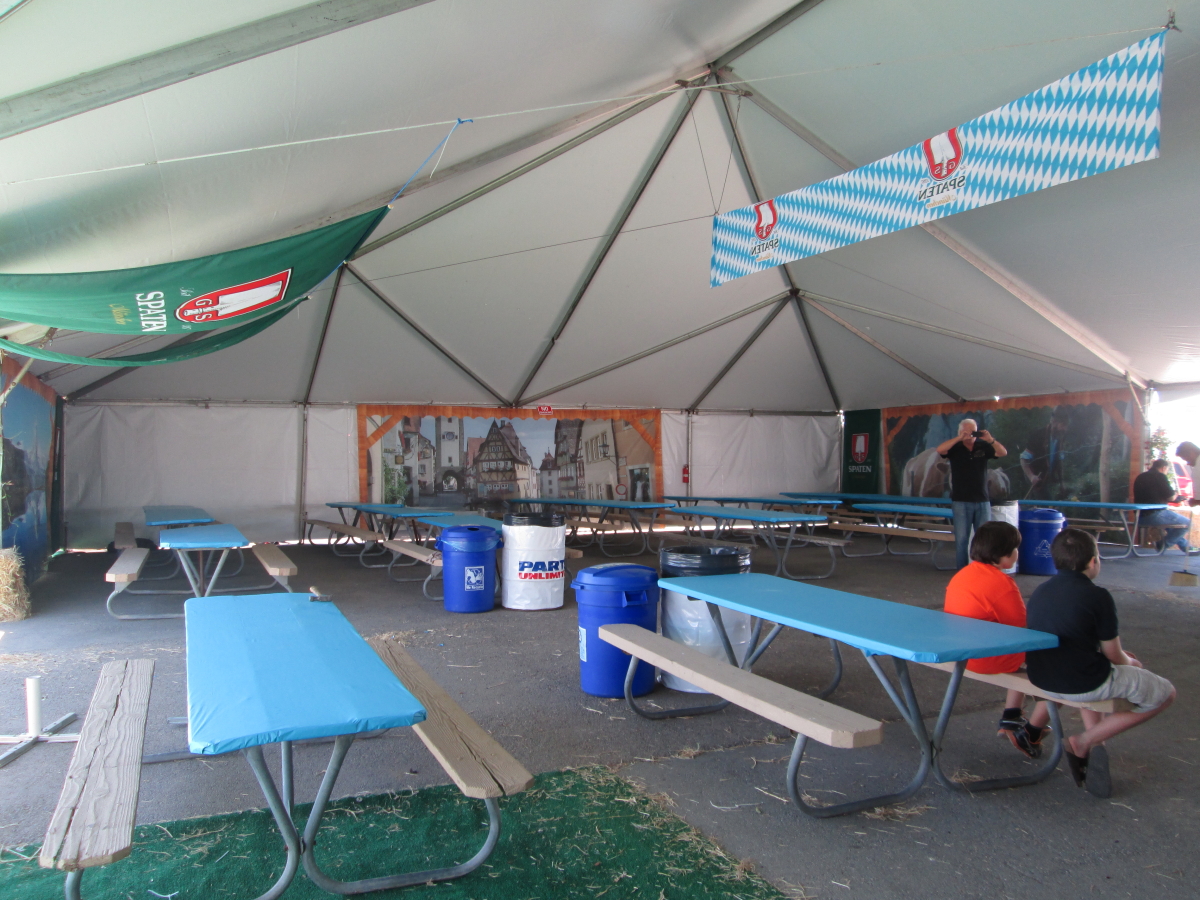
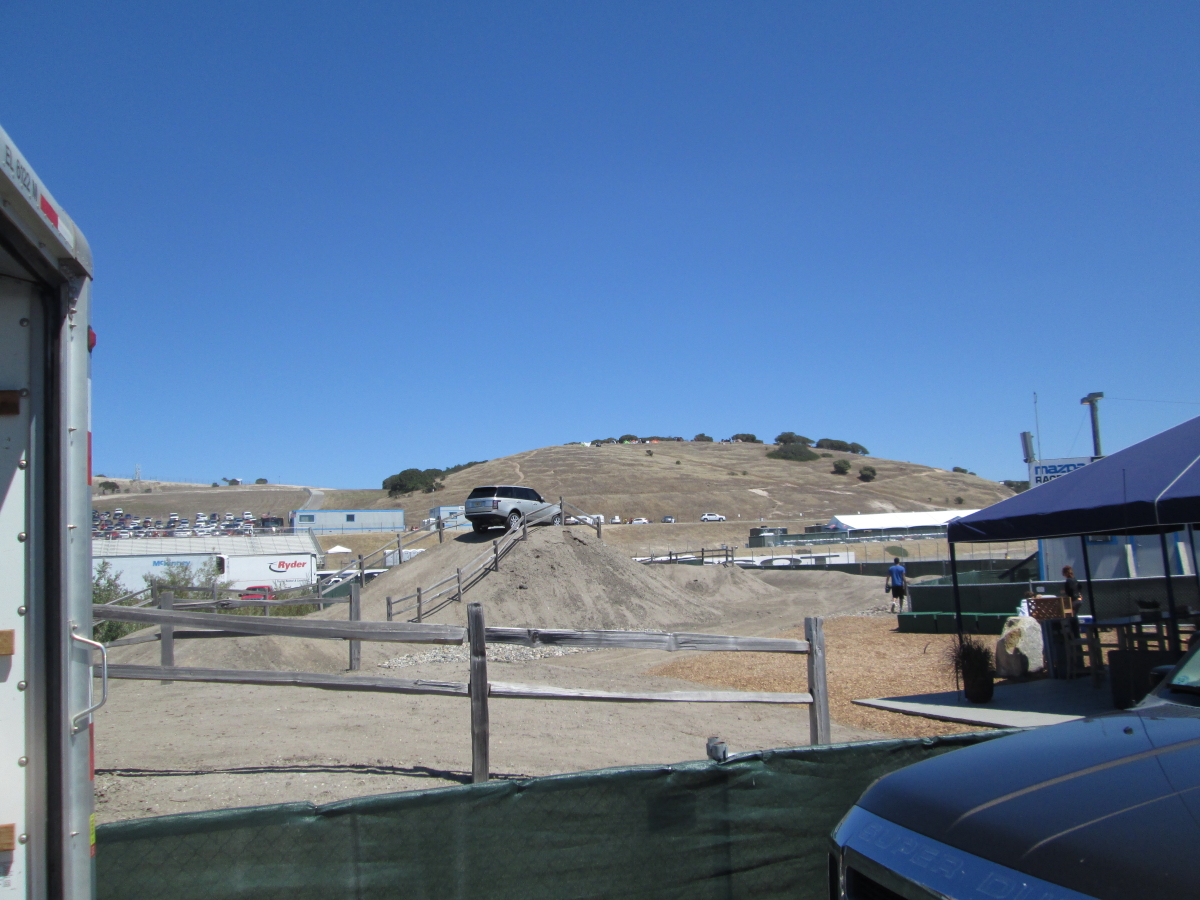
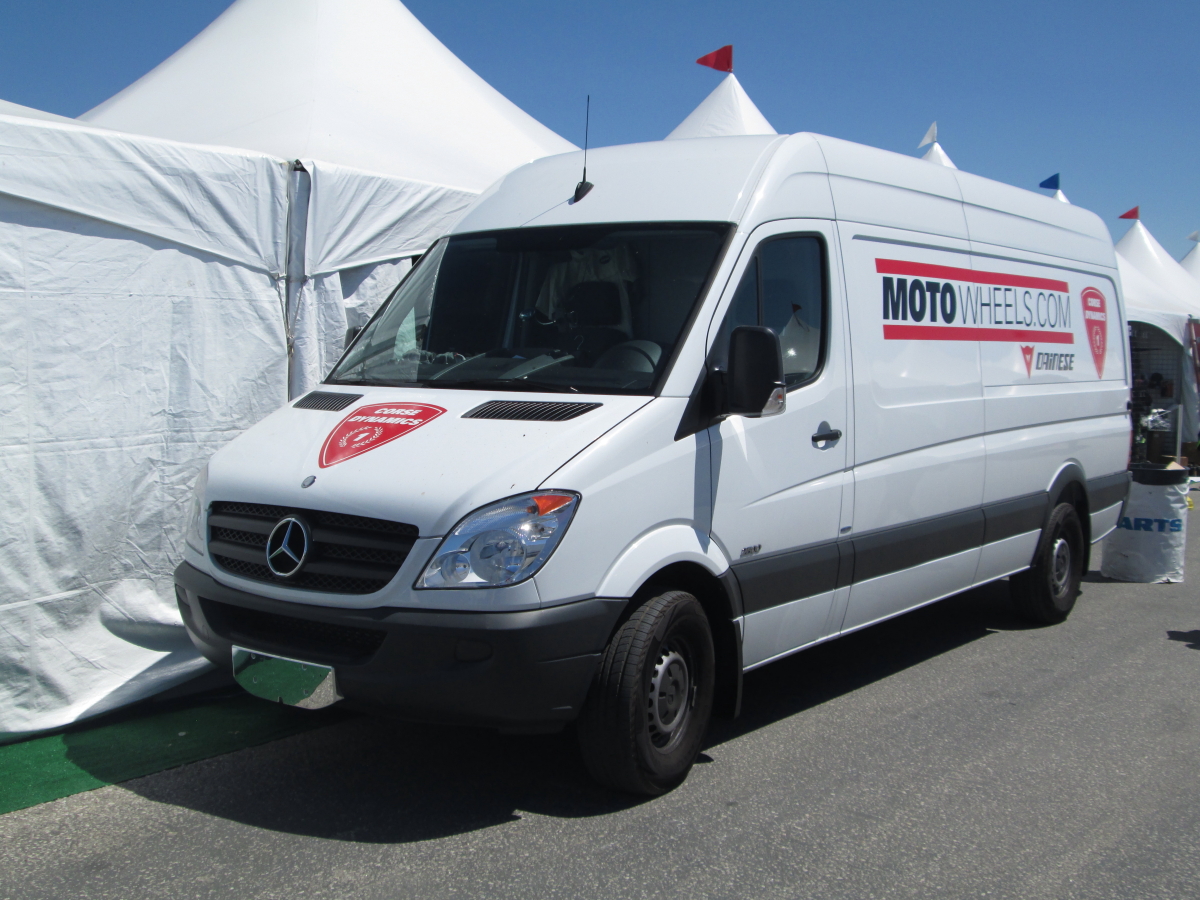
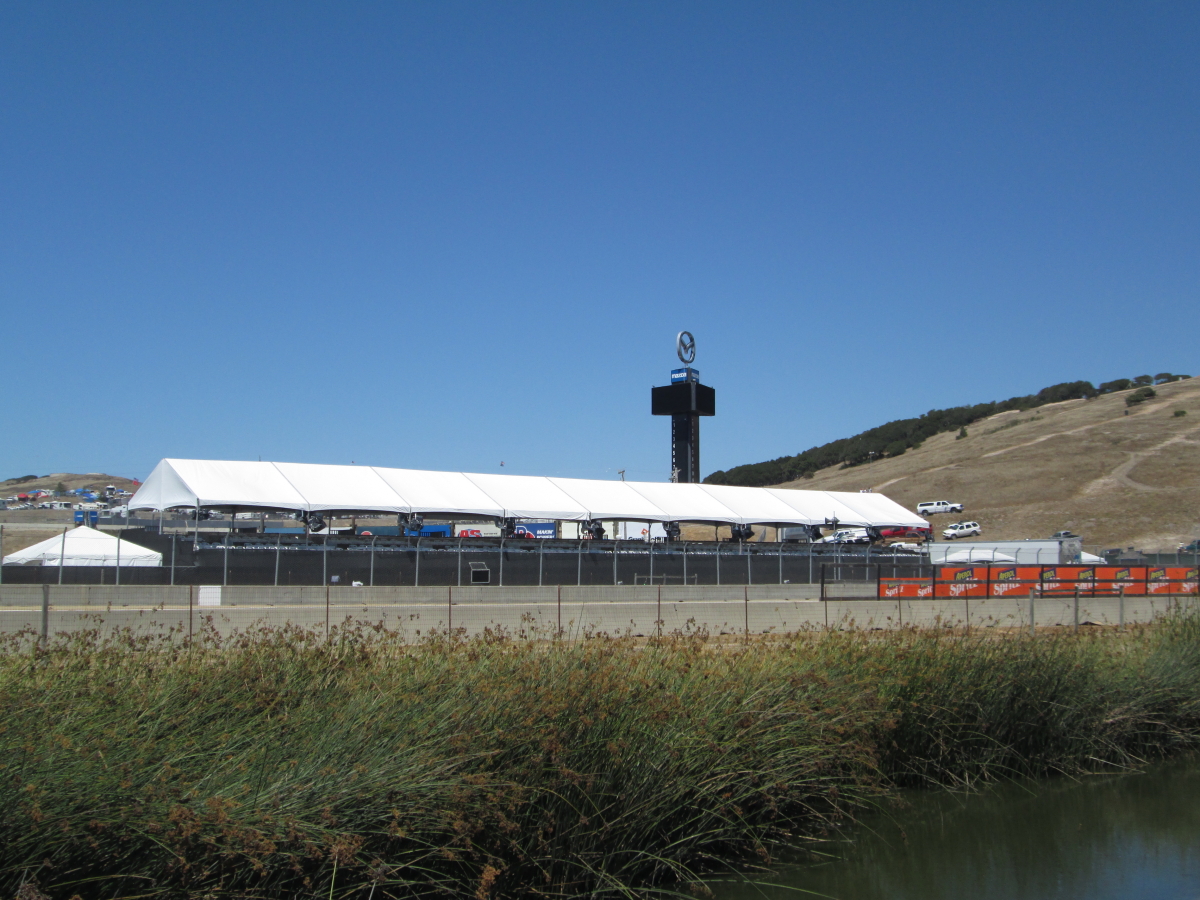
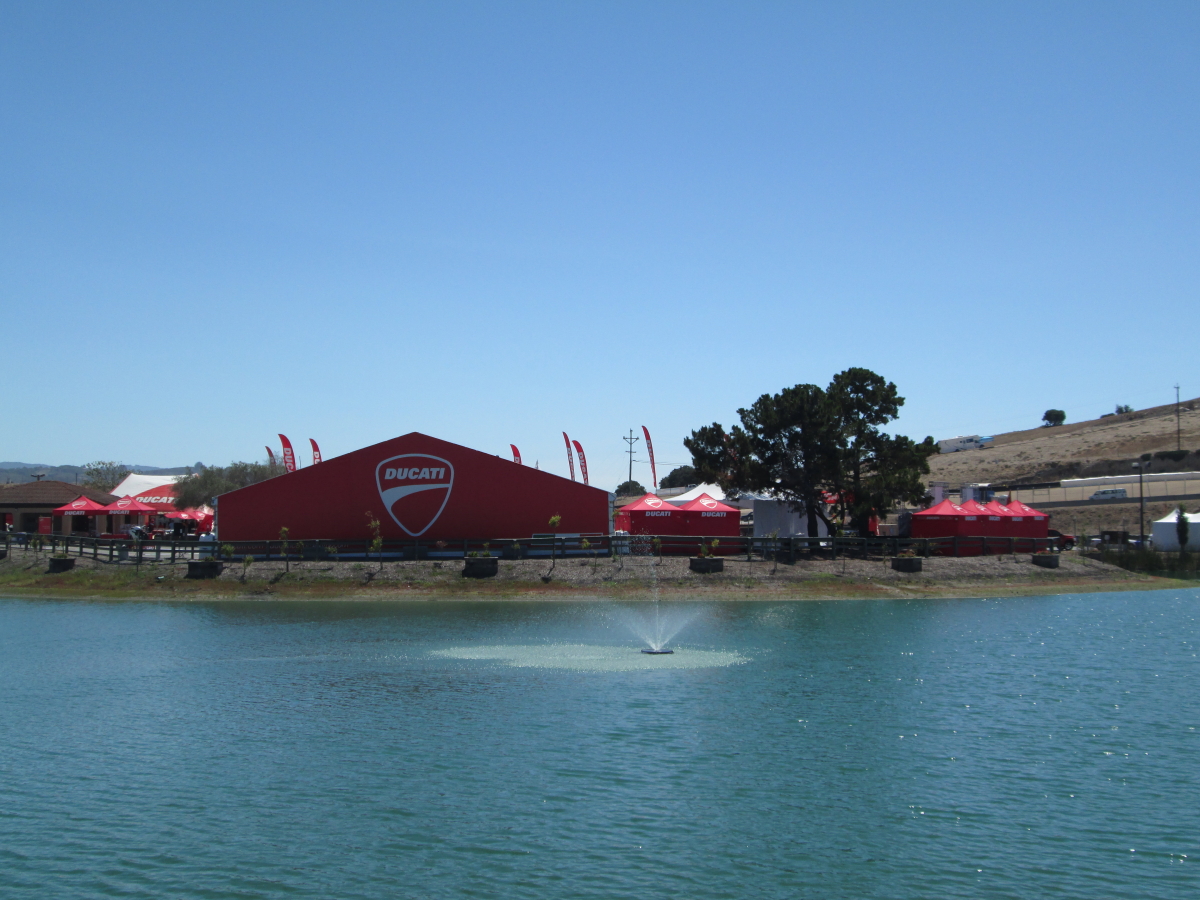
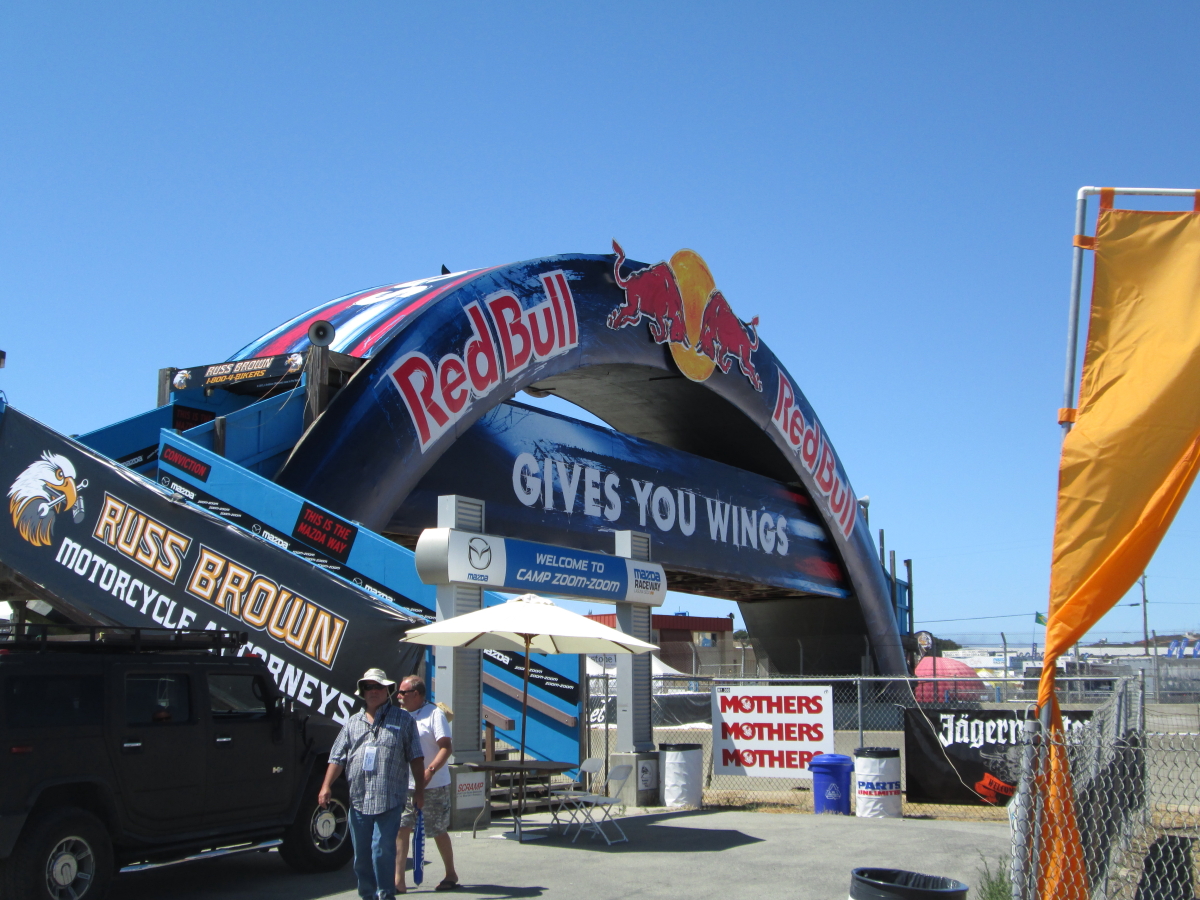
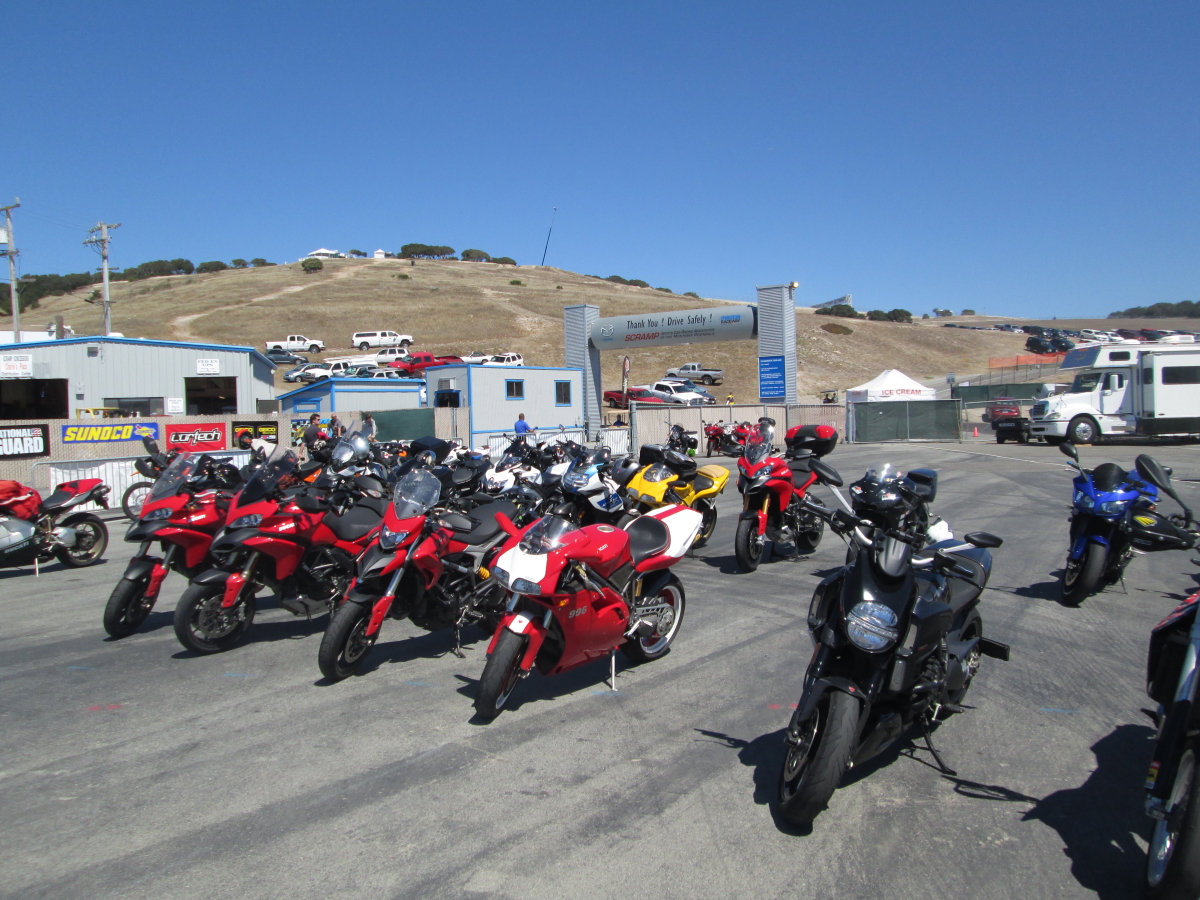
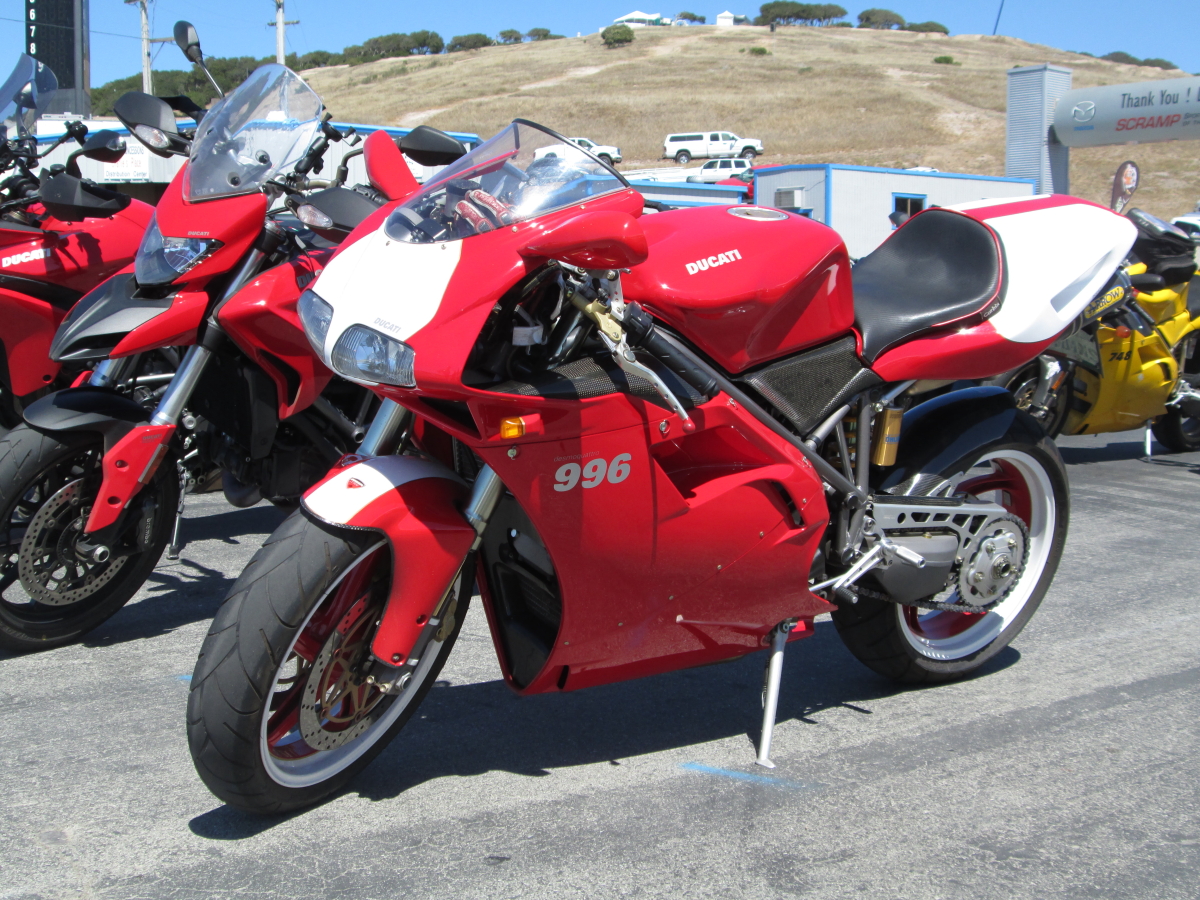
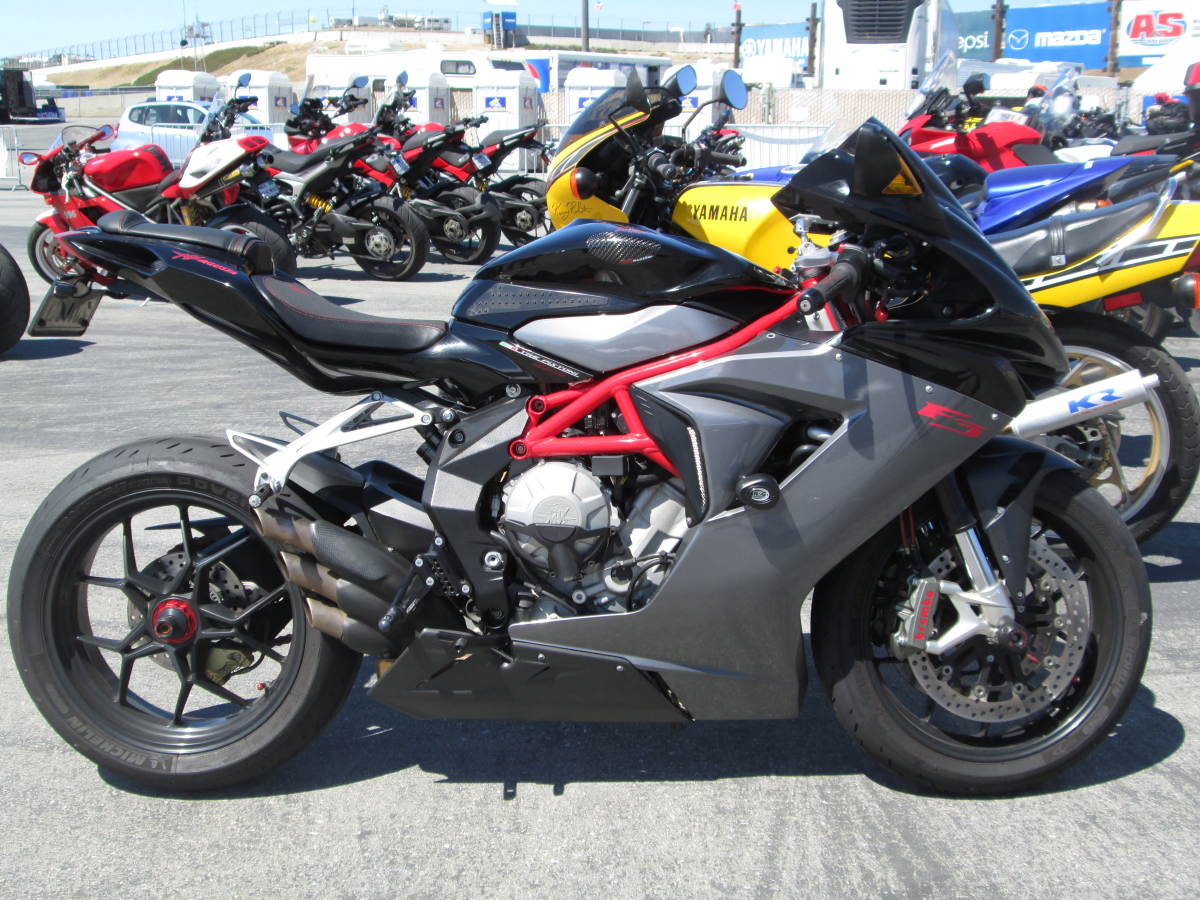
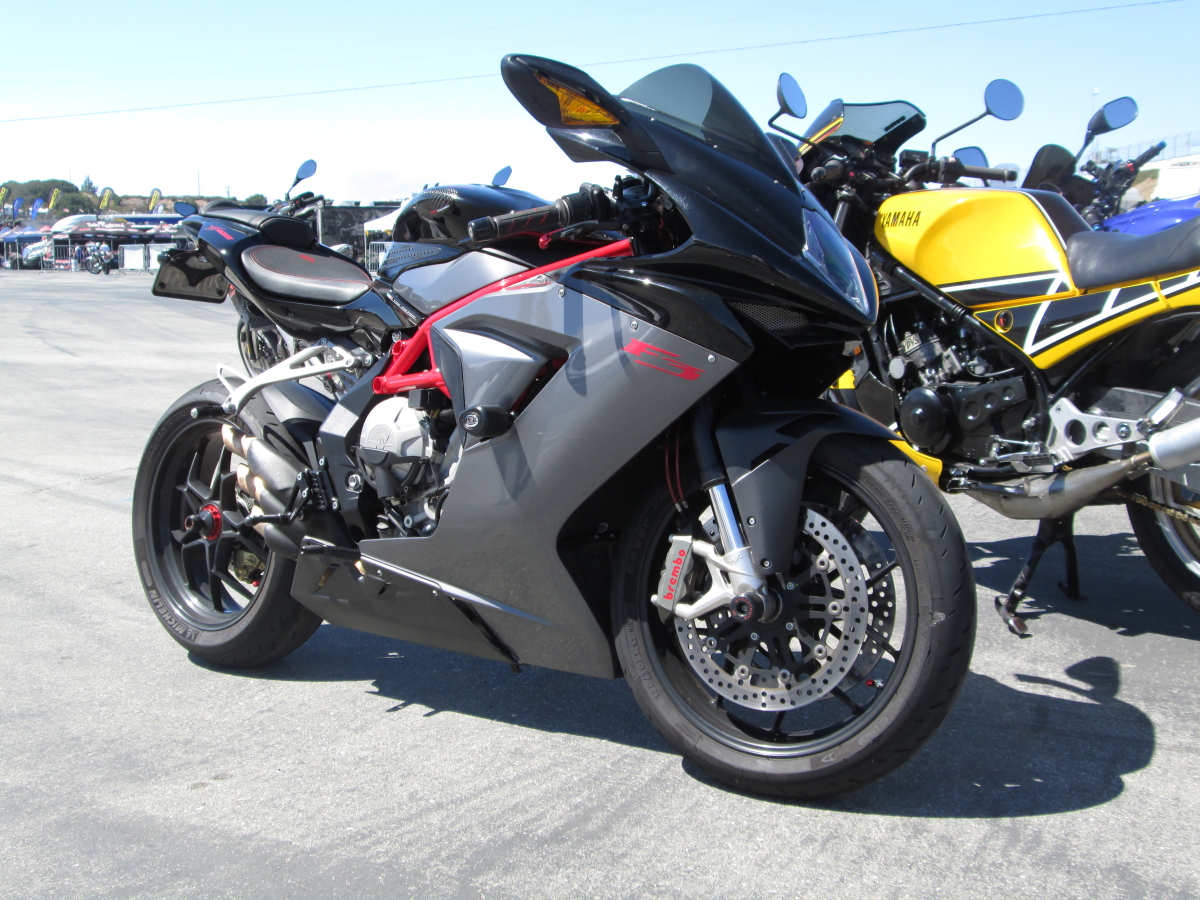
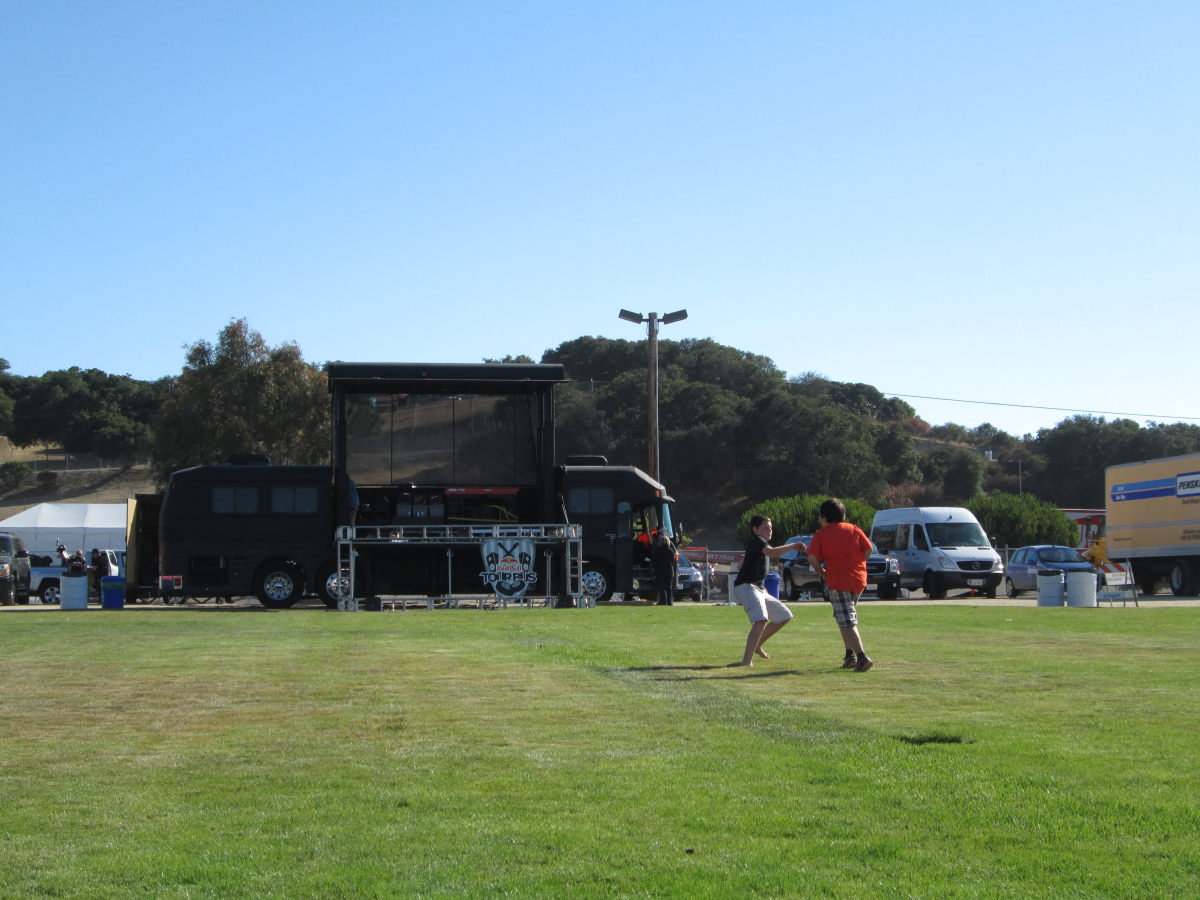
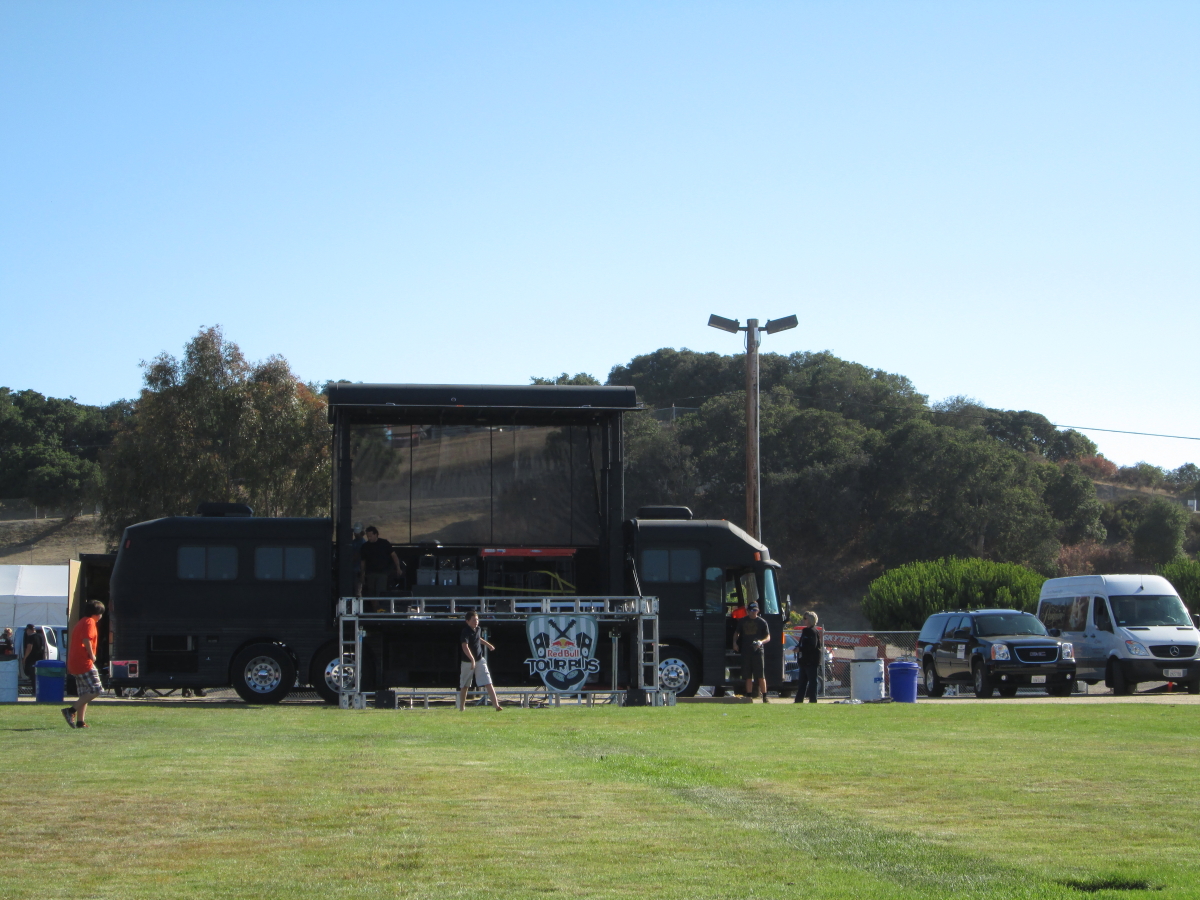
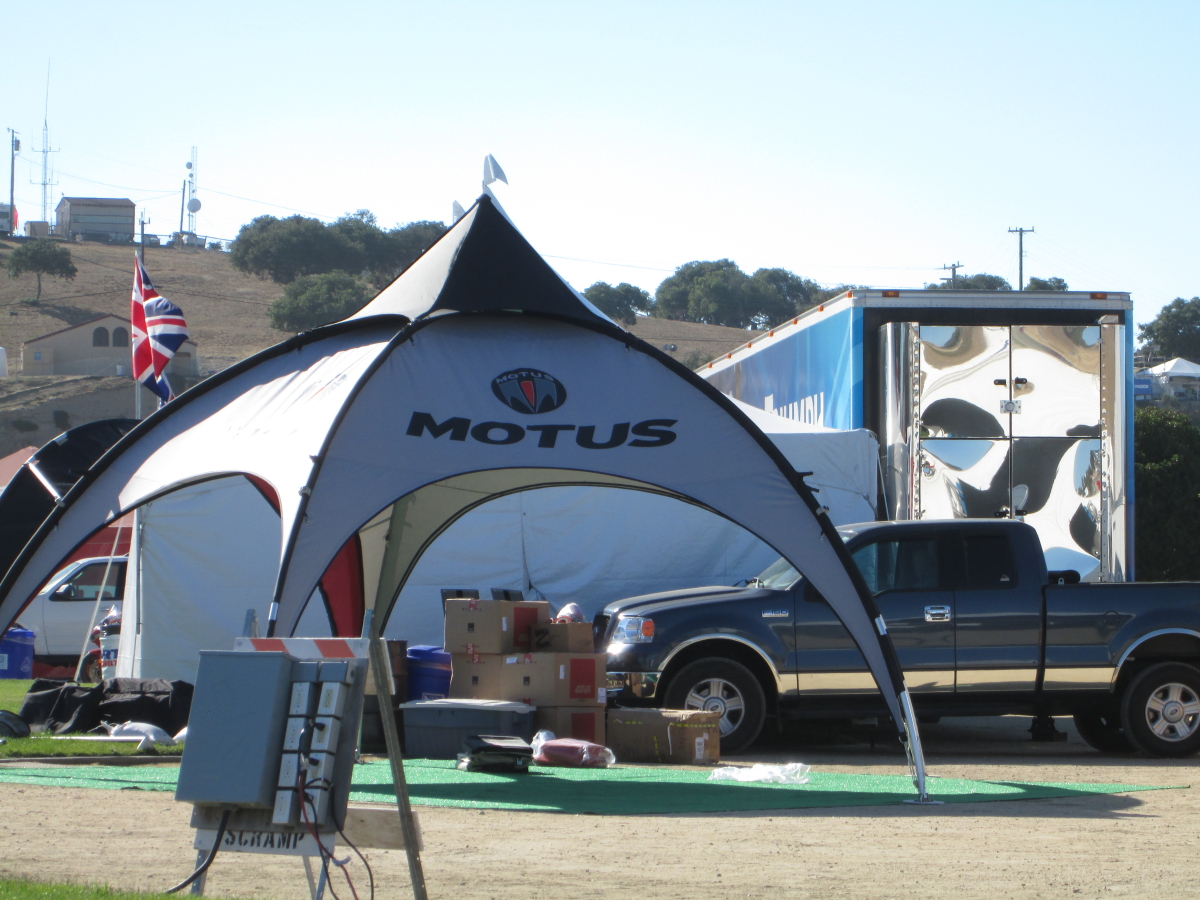
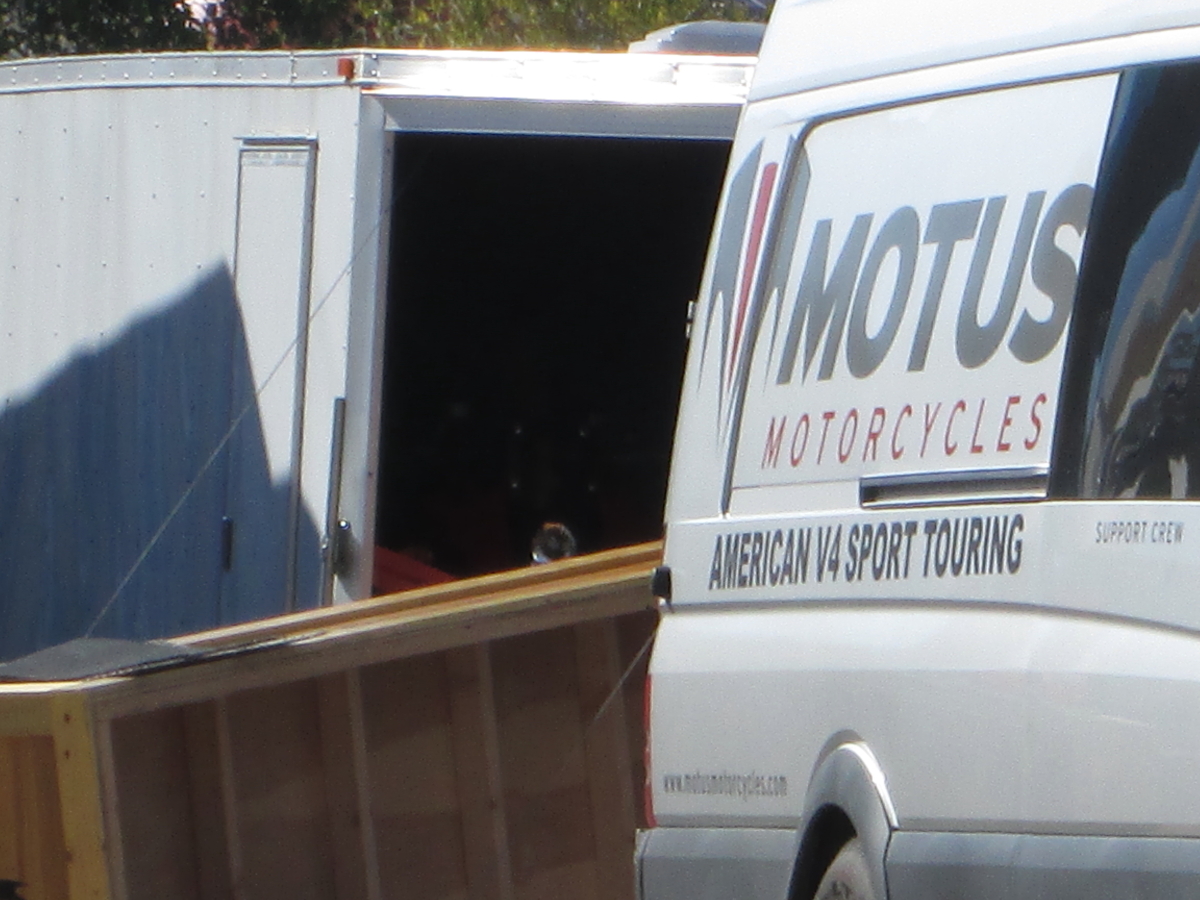
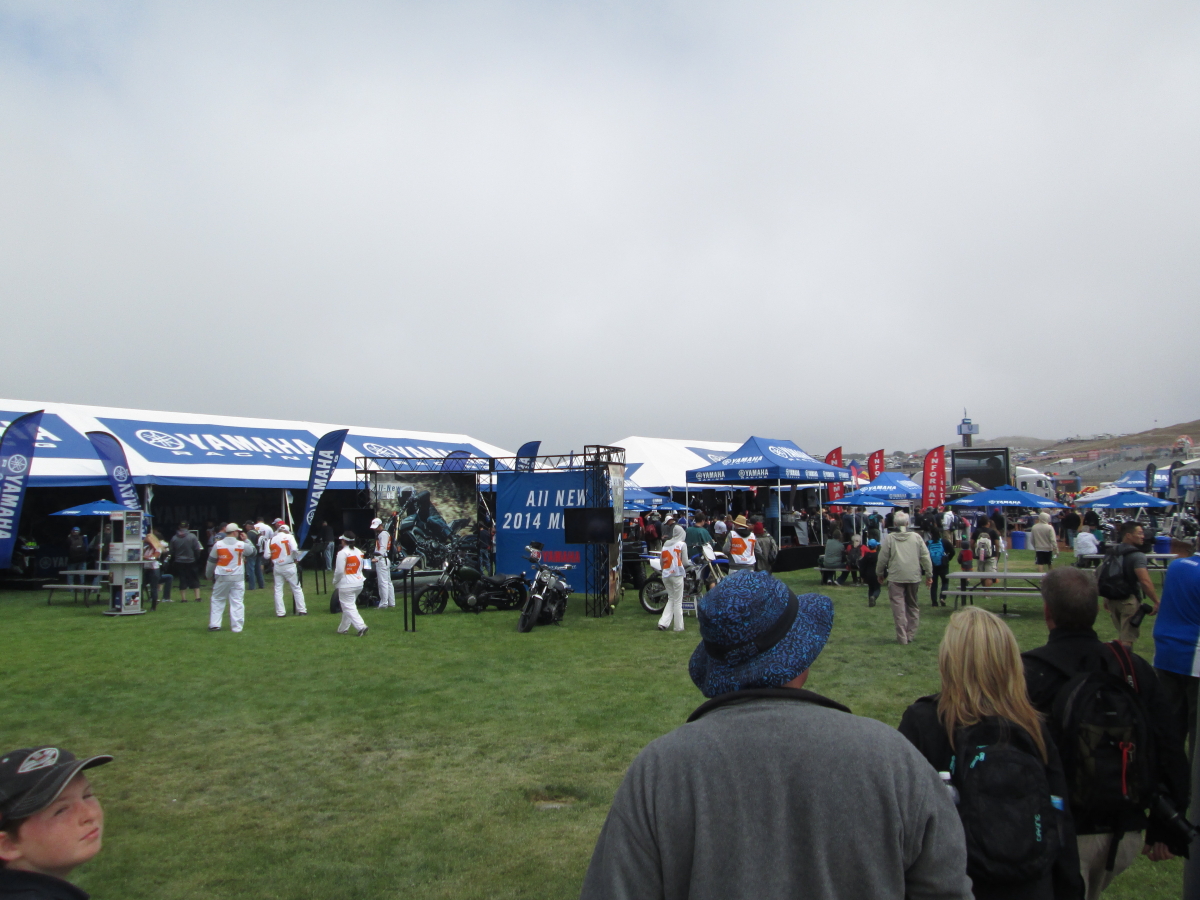
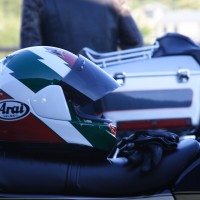
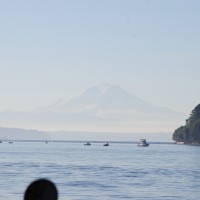
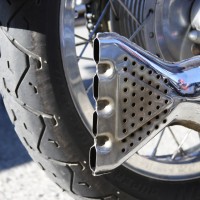
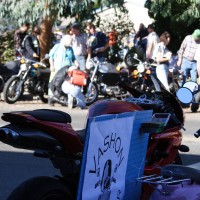
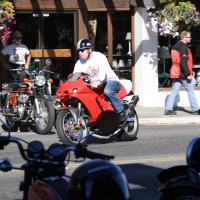
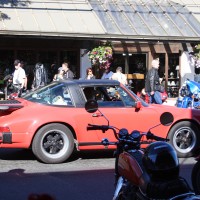
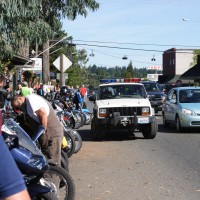
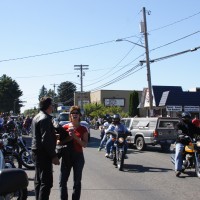
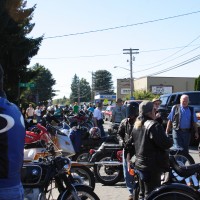
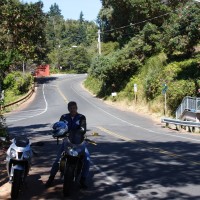
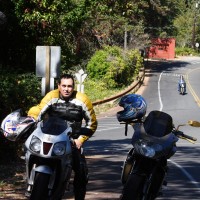
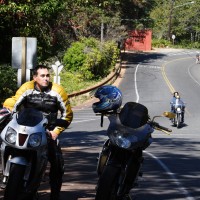
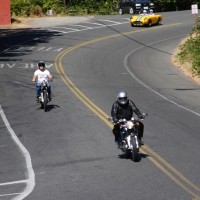
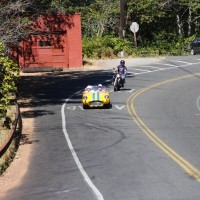
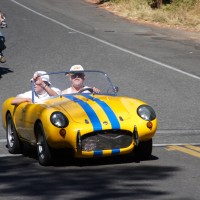
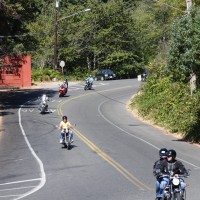
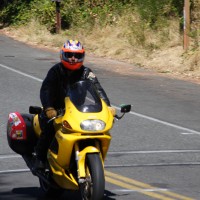
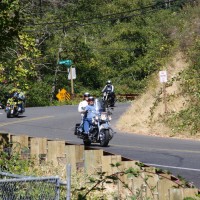
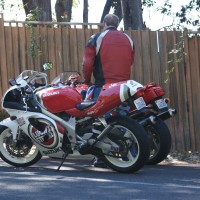
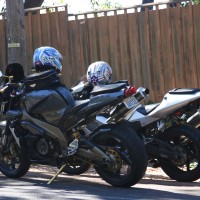
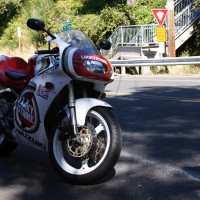
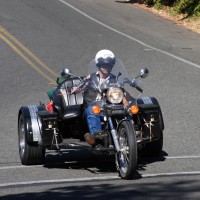
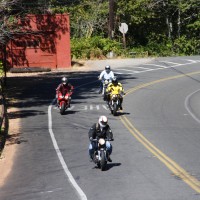
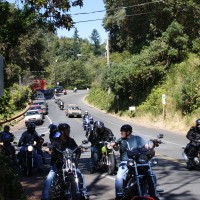
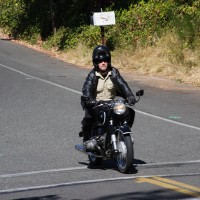
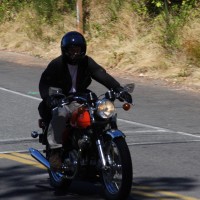
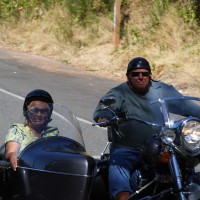
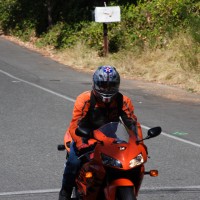
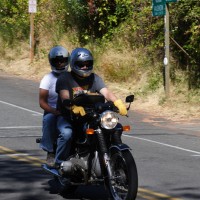
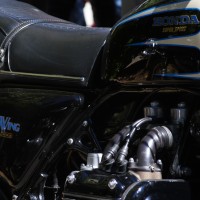
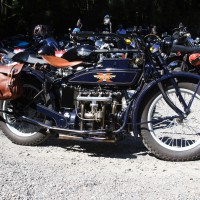
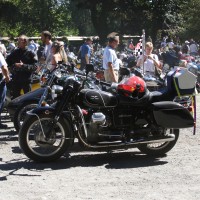
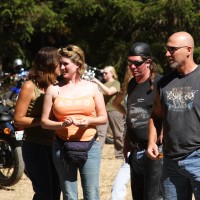
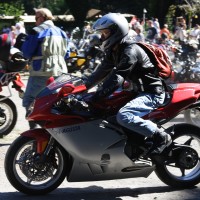
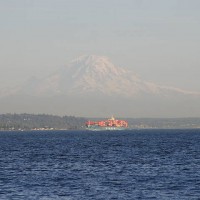
Day -1 at the U.S. Red Bull MotoGP in Monterey CA was quiet, but attended more heavily than expected. The day before the official start of the event is always interesting.
I meet the vendors while they are setting up, and for those that are already selling, I start relationship building with them. This always pays off in many ways, not the least of which is simply meeting new people, and often old “friends” from events past.
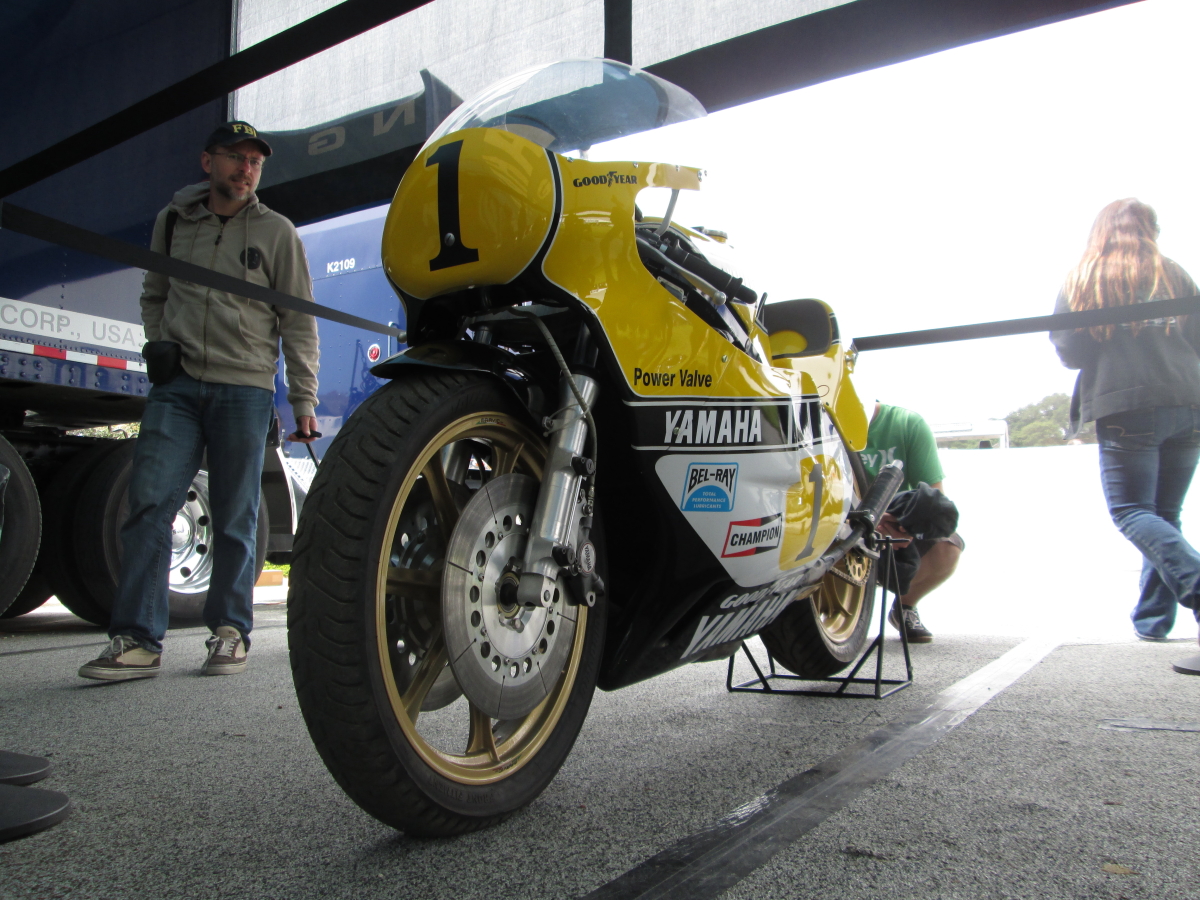
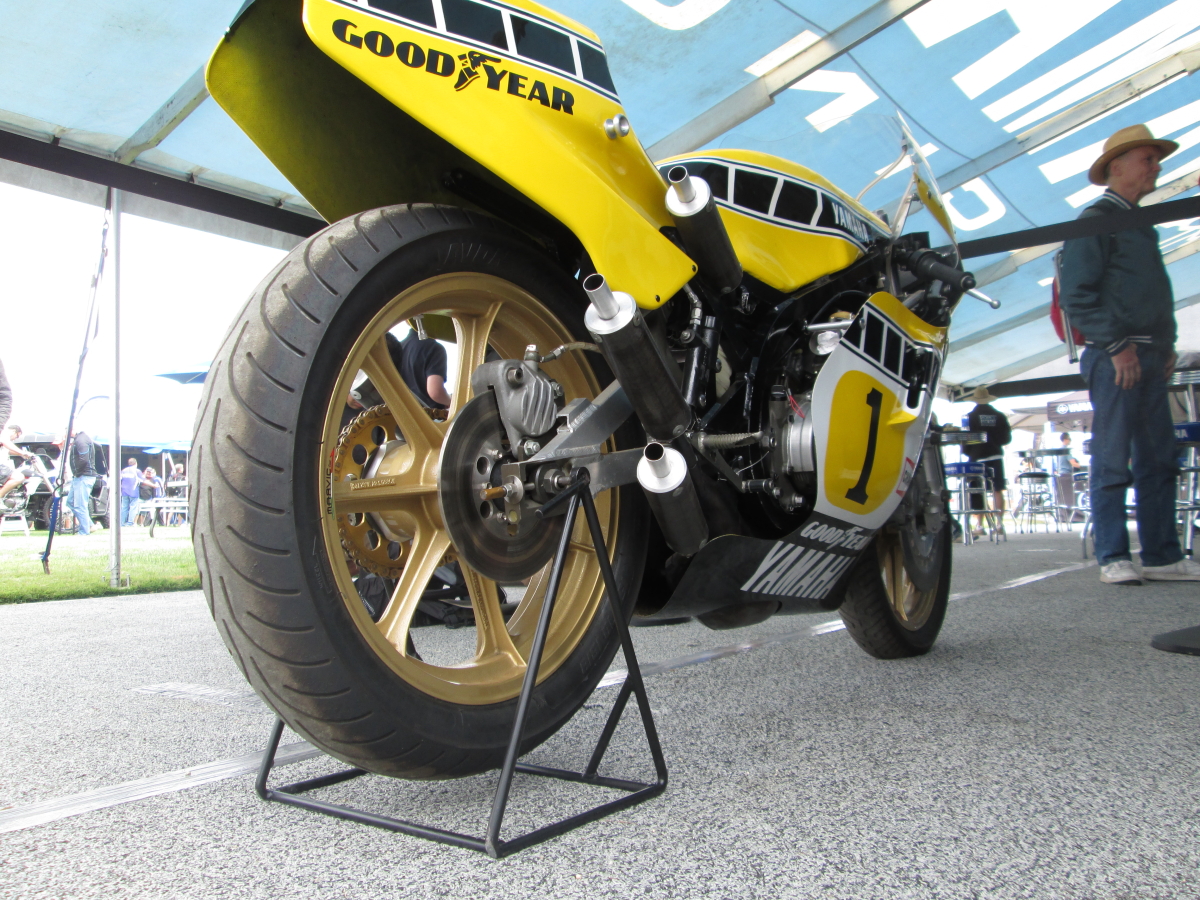
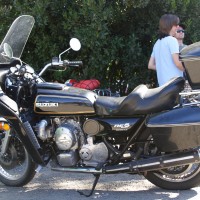
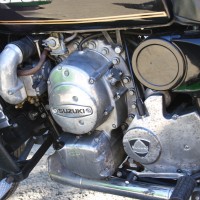
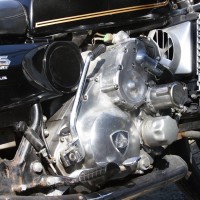
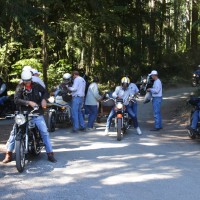
Here are some photos of the wanderings around we did on Day -1.
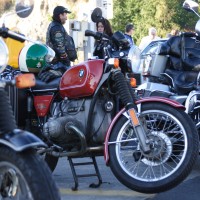
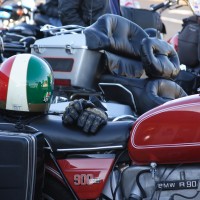
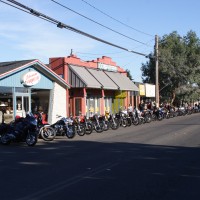
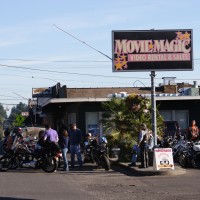
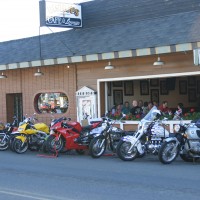
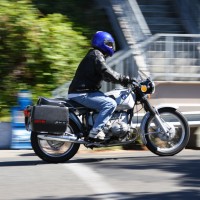
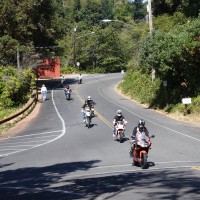
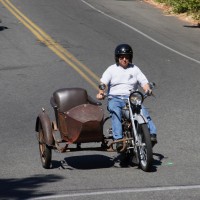
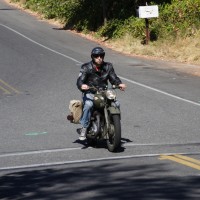
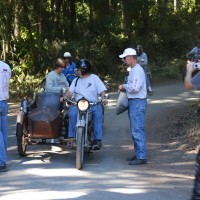
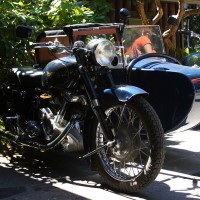
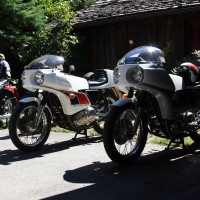
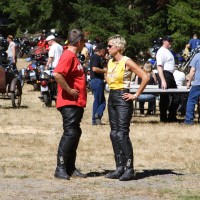
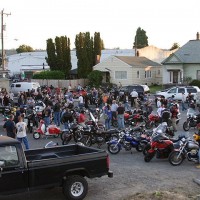
While enjoying a meeting up of the Nor Cal Ducati Club this evening in at Cibo, in Monterey CA., the subject of the Seattle VME (Vintage Motorcycle Enthusiasts) came up, specifically the wonderful and wacky “Isle of Vashon” event. The coolest aspect of the bikes you’ll see in these videos, is that they are ALL ridden to and around the island.
What others have posted about the TT
Sample videos shot by others: VME Isle of Vashon 2011
What, you missed it again? VME’s Isle of Vashon? Nooooo? Why? Didn’t know when the date was? Where was it listed?[…]
Motorcycle club appreciates the Island’s support http://www.vashonbeachcomber.com
The Vintage Motorcycle Enthusiasts (VME) would like to thank the Vashon-Maury Island community for supporting our 29th annual old bike rally, known as the Isle of Vashon TT.
Thanks to the event’s con[…]
Now this is really cool, and geeky.. but a big post about VME on a Gamers forum!!
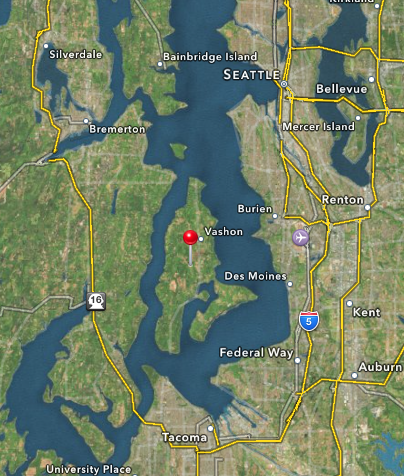
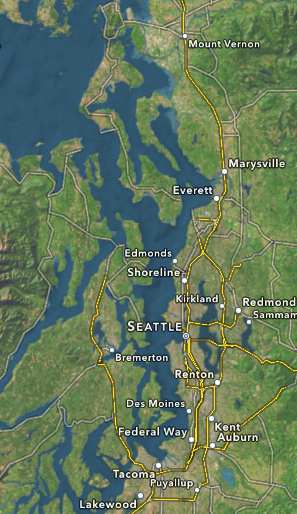
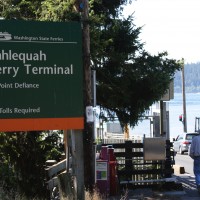
Vashon island is located in lower ventricle of Puget Sound:
Situated above Tacoma, south-west of Seattle and south-east of Bremerton, Vashon Island is one of the few Puget Sound island that is serviced only by ferry. No conventional roads exist to get to this island, unlike the rest within Puget Sound that are connected via some sort of bridge or another.
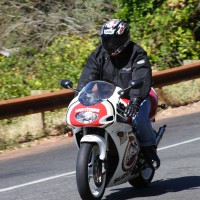
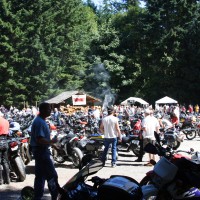
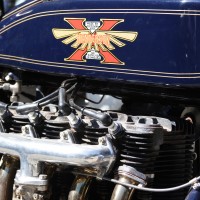
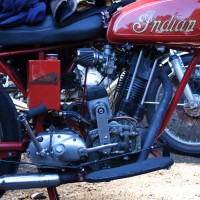
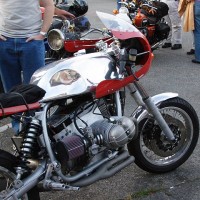
VME events, and the Isle of Vashon in particular, you can find not only a nice variety of vintage bikes, but a number of strange and often amusing customs.
I certainly wouldn’t mind attending another one of these unusual events some time in the near future!
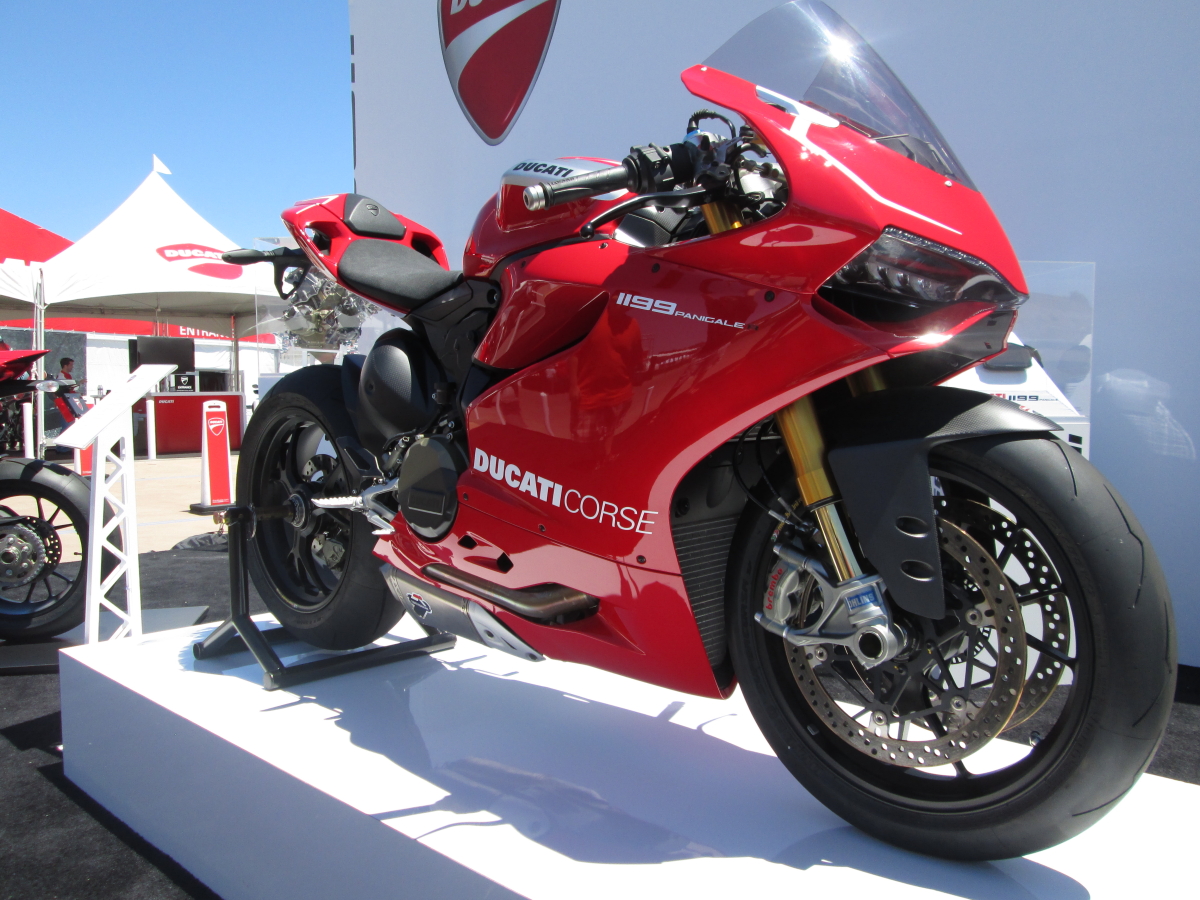
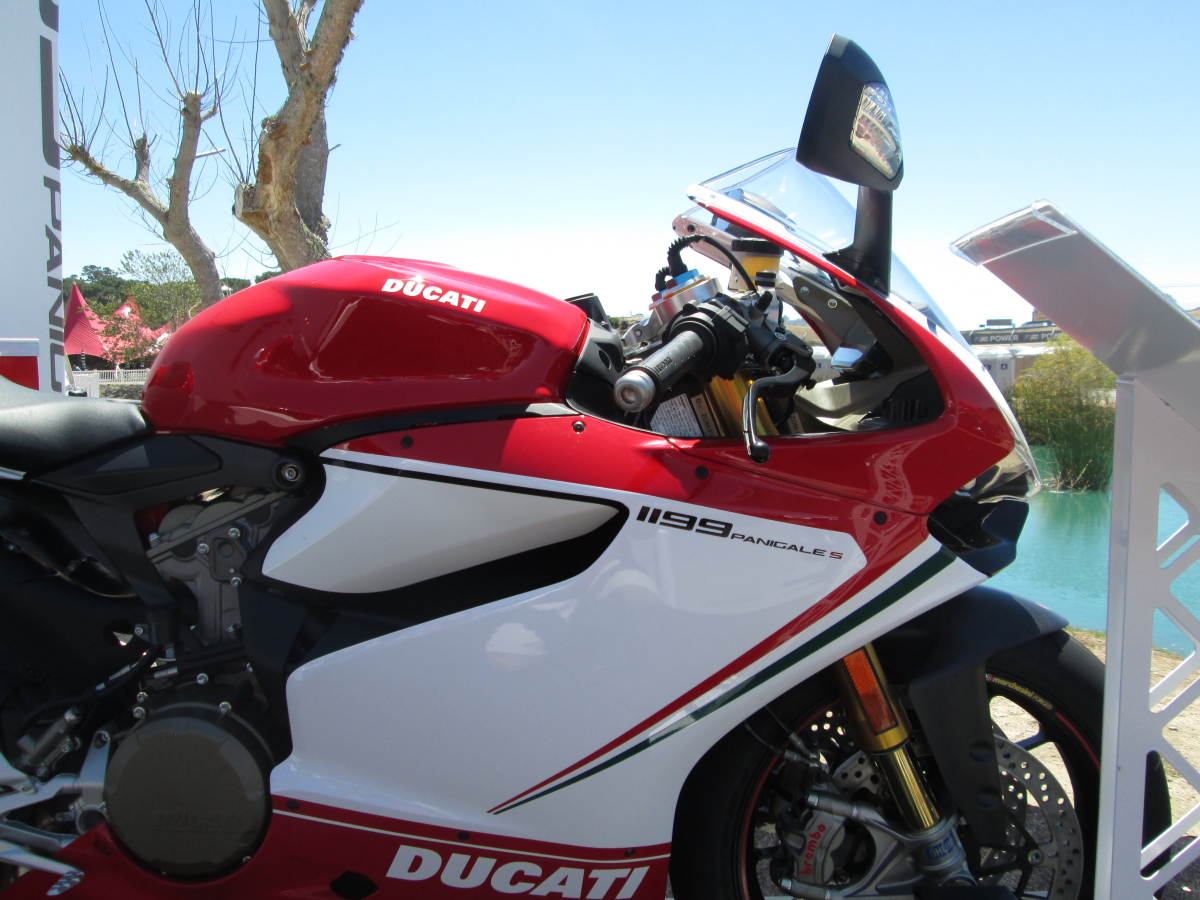
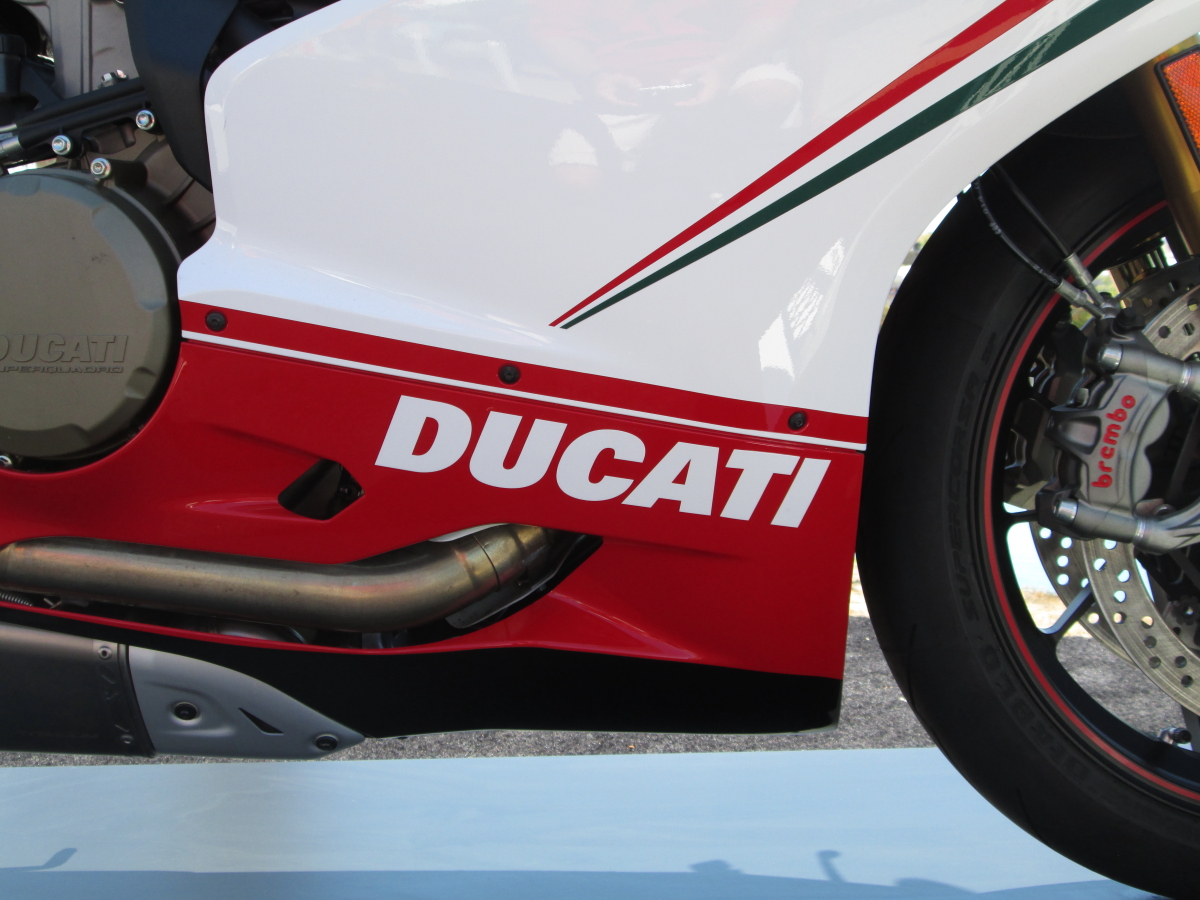
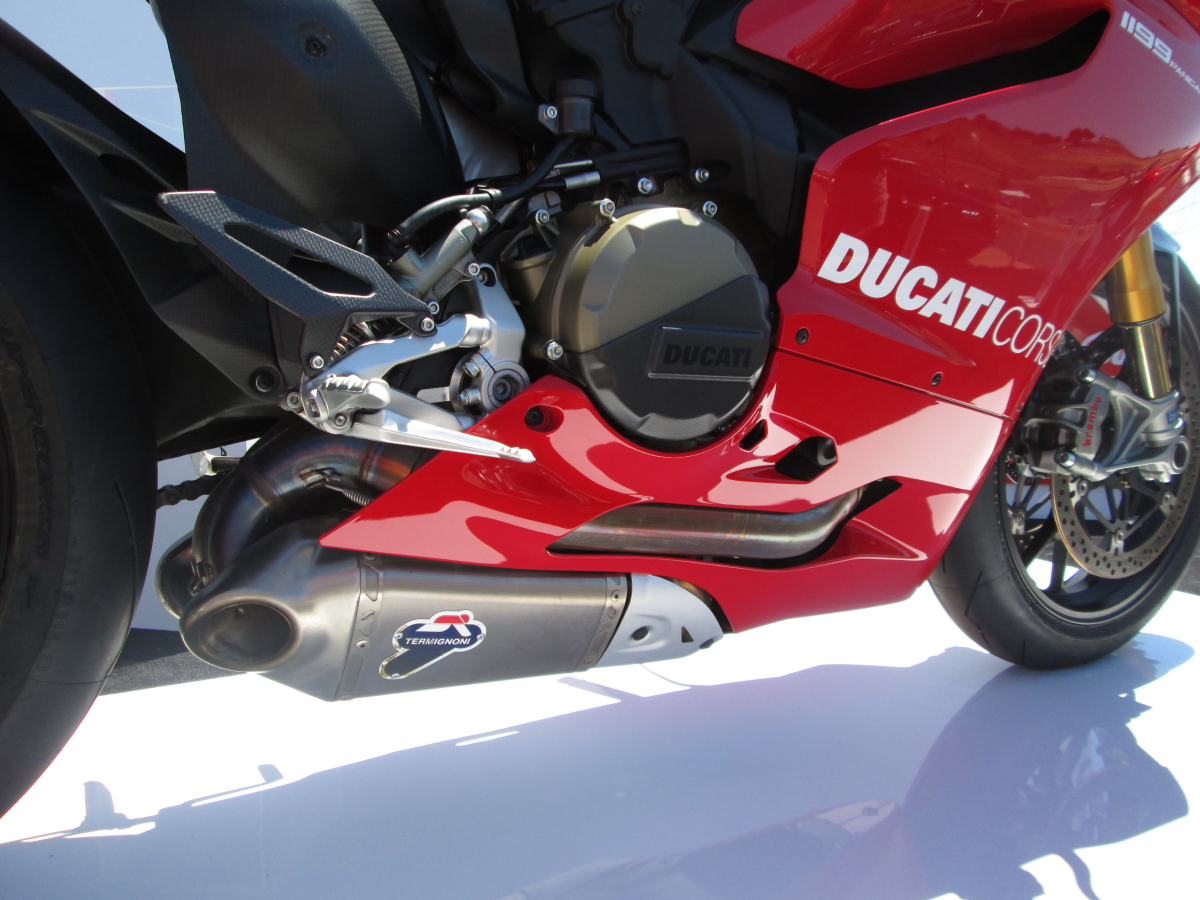
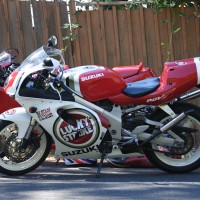
Awaking this morning, I decided to put together this little rundown of my two liter-class twins. For a pair of bikes with remarkably similar dimensions, and engine type, their characters are vastly different. Some of this is clear in the HP and weight differences, but it goes beyond that. There is a ‘feeling’ you get when riding a Ducati that no other bike I’ve owned, delivers.
The Ducati had not been out yet this year. I’d just made sure the battery was charged, tires filled, chain oiled and my riding gear still fit. All systems GO!
WX data indicated I had until 6:00PM to get the thing done, so I headed West, towards the Hood Canal. Reaching the Ridgetop crest on 303, those plans were unceremoniously, canceled. Many fine (and little traveled) roads exist just a couple of miles from home, so a run through the South County became the plan de jour.
There are some really neat little places that you pass along the way. The first of which is Seabeck. A sleepy little town along the Hood Canal. Decent salmon fishing during the season, but the real score is the Dungenus Crab, and shrip fishing. It’s almost impossible not to limit out. 🙂
Seabeck Washington
From there, the road winds southwest, high and inland from the canal, eventually terminating in the little town of Holly.
Holly Wa
This is where things start to get interesting. Just prior to the road’s terminus, starts the an even smaller lane + 1/2 road to the little burg of Dewatto. Winding up the hill and across the ridge, views of the Olympic mountains are impressive and picturesque.
Road to Dewatto.
Dropping out of the hills, just before the town of Dewatto, you are treated to great vists such as this:
Bay at Dewatto. Olympic reflecting off the Hood Canal.
Riding a little further along the water, and the mountains really begin to loom, despite being miles away, across the Hood Canal.
Storm approaching over the Olympic Mountains.
Not far from the bay, is one of the sweet little treats on this run, a steep up-hill right-hand curve followed by an increasing radius turn to the left, finally topping out on the ridge.
DeWatto Curves
It does not really matter which direction you approach Dewatto, it always delivers.
Looking West, towards DeWatto, Olympics and beyond them, the Pacific Ocean.
The road continues to wind it’s way back towards the larger towns, providing both technical corners and broad open-sight-lined sweepers where… “you can really breath.”
Taking a diversion up Elfandahl Pass, through the ORV parks is key.
75 miles and some time later, it seemed fitting to finish off the day at The Boat Shed for a burger and beer. Ah, life in the Pacific Northwest. It’s full of sweet surprises.
I purchased the house in January 2007. I took this picture on the night I received the keys. The garage looks pretty big in this photo. And in fact it is a nice decent sized tandem garage. Nothing was painted at that point. As you can see, the rear wall is cement. The way it looked when I bought the home.
The first thing I did, before moving anything into the shop was to start priming the walls. Being anxious to get out of the projects I was temporarily renting, I decided that I’d primed enough to move in my junk. And to a large degree junk it is.
The garage remained in this state for about 1 year, before I started to empty out of my storage units and move my crap in with me.
A downward spiral of hoarding, had begun. Shop as it looked after movin (Jan 2007).
First year
Despite my best efforts of my messier side, to clutter things up. It remained pretty clean and organized for the first year following move-in. Here the walls are primed, I have my flag (it flew on my old house the morning of 9/11, I always flew a flag in front of my house), the last of my Porsches and for once very little clutter along the walls. My old 993 in the shop.
After the first 2 years, thing got rather messy
Fast forward two years (February 2009) and this is what it had all degraded too. Stuff everywhere, tools hard to find, boxes of 20 year old paperwork mixed in with cases of chemicals, car parts, books, and miscellaneous… stuff.
In this show I had actually done a significant amount of cleanup, since I was testing out the viability of converting the larger rear section of shop into a photo studio. With a pair of home-made backdrops (thanks to DIY Photography website), and inexpensive halogen lighting it actually worked!
The floor is wet because I mop it from time to time, to keep the concrete dust manageable. It’s really bad. Not sure whey it seems to power up so much. Cars and motorcycles maybe? Don’t know, but it’s less than ideal!
I’d also painted the wall above the garage door, and the stairwell entry. It was a blue I picked up at the store for $5.00 a gallon. Pretty good deal. And it’s really a nice blue. But.. not for the shop. I never finished the cut-in because I was not sure I wanted to keep it blue.
It was not a tough decision to change it, but I didn’t know what I wanted to change it too. White was too boring, dark blue was too dark. So it stayed in that condition until November 2009 when I finally decided on a color that worked for me.
Another one of the steps in the process, was to sell the beast of a motorcycle seen here. It was my KTM 950 Adventure S. A kick-ass machine, but one I seldom used. Basically it was just losing value and I had a fair bit of cash tied up in it. Selling it alone freed up a much of space in the shop.
Underway
Sometimes you have to make a HUGE mess, to start cleaning things up.
This is about 1/3 of the way into the project. By this time I had applied some white cement paint (high traffic formula), taken apart, moved and re-assembled my workbench.
One of the desires I’ve had for years, was to find a way to put my toolbox ‘inside’ the workbench. This does two things for me. One, uses up less wall space. Two, it’s one less flat surface I’m inclined to stack junk on. I’m not the cleanest person by far, but if I put some logistic limitations on myself, I can remain fairly neat and organized. One just has to come to terms with one’s eccentricities and limitations.
Getting my Snap-On toolbox under the bench required a permanent modification to the bench itself. It also required that I remove the wheels from the base of the toolbox so that it would ‘slide’ under the benchtop without me cutting the bench top supports. It’s FAR easier said than done. Removing the wheels was easy. Wrestling the box up inside the confines of the workbench took about 30 minutes.
Storage racks cleared, boxes opened and inventoried, you name it. The process was getting to be pretty intense. At this point piles of things were being relocated in groups around the shop, in order to gain access for painting or cleaning of other spots of the shop.
A failed attempt at application of a red stripe between the grey and white resulted in the rough line seen there. The ‘maximum application time’ suggested for painter’s easy release tape is, as I find in a lot of things (like the weight rating of cheap ladders), actually has some relevance. In this case it’s 2 weeks. And in my case, I left it on longer than that, over-painting the bad Red gloss paint. The Red under the white primer is no longer visible, after countless coats. The buildup of paint on the wall in that area is, impressive?
After completing the upper wall repaint, I moved onto the rear wall. A lot of the junk on the floor was held by the empty shelving unit seen middle photo. Most of it was, actually. But here, things are starting to come together and I can see the light at the end of the tunnel. This is turning out to be worth all the effort.
PAINTED!
Long shot to the back of the shop. Walls painted in the two colors and my big H&R banner hung up. It’s really huge. And it’s a nice high quality banner. However, I’m not loving it. It’s just too big.
I think I’m going to take it down for while and see how I like it without the big banner. Maybe I’ll sell it on CraigsList. Maybe I’ll toss it. Maybe I’ll store it for a future shop at some point in the, uh, future. But I’m pretty sure I’m taking it down for now, at least.
Even the largest of my vehicles fits easily in the reconfigured shop. The proximity of the work bench could be an issue working on doors, but I still have the entire latter 1/2 of the shop I can pull the vehicle into if I need to do that work.
As shown in previous photos, I can fit two cars, three motorcycles and a fair bit of storage all in this ‘little’ shop.
Phase 1 Completed
A place for everything, and everything in it’s place.
For the time being, the motorcycles will live along that wall. When the weather improves I plan to spread them out for easy selection.
The line between the grey and white turned out very crisp, and thanks to the use of the laser, level and very straight.
Patience pays off.
The final result of the wall repaints. The slip cover on that couch has to go. It’s hideous. Not as hideous as the couch fabric it covers (long story there), but it just looks… bad. I think a new red one is in order. There is still too much concrete dust to use black, it would be worse that the denim blue.
Again, the upper / lower sections of the wall show a nice crisp line. Unfortunately that wall is concrete and full of imperfections. At some point I might skin it with 1/4″ sheetrock and repaint. But not this winter.
The choice to repaint that section in the high-gloss gray enamel, made me happy. It looks nice, clean and not so depressingly dark when I walk to the shop. Plus it’s not the same boring white I could have done.
This time I cut in the corners and even painted that section of the ceiling to match. That was partially a test to see if I should paint more of the ceiling in that way. So far I really like it. Not sure how it would play out in the full garage but I’m leaning towards it pretty heavily.
Also in the photo is the aluminum later that almost killed me. Stupid thing collapsed and I fell about 4′ do the cement floor. Luckily I still had a bunch of stuff staged for donation and storage, and that ‘cushioned’ my fall. Cheap Chinese crap ladder. I’m glad I have my real American made ladder back from my friend Colleen (it does not look like it ended up in any of the photos, but I was also not trying to photograph my ladder!).
And finally, the ‘Big Red Wall’. This is actually how the entire project started. I decided to finish painting this wall with primer, then applied the $5.00 gallon of red paint (Lowe’s Clearance Sale) and viola. I was so happy it inspired me to redo the entire shop.
In the back you can see the kickback section of wall, now painted in a sage tone green. This is the same color I painted my kitchen (another $5.00 score I had custom mixed). Frankly, most people that have seen the shop don’t understand my green wall. Tough. It’s my shop. It might see the same white-gray treatment the rest of the shop sees, but I’m going for a bit of a multi-purpose area theme. Mixed shop and video gaming man-cave (60″ plasma and network cabling to follow later).
I have a couch (that slip cover is NOT going to remain… looking for a better looking cover right now) for the space, and a pair of stacking office chairs. I’m also on the hunt for more 50’s era bar / dinner stools like I have upstairs. There is a quirky place right across the street from work that sells random stuff. Next time they get some more I’ll be in there to check them out.
Drain pipes also received a treatment of the gloss gray. I think it’s much less distracting than the black pipe covered with plaster and white paint streaks. They almost look like steel pipes (they are some sort of poly/pvc/plastic).
The next step for me, it taking care of the floor ‘treatment’. Right now I am investigating the costs and utility of installing Martial Arts mats in the ‘pregnant’ section of the shop. The other option is the epoxy paint. Painting would have to wait for summer since it won’t cure in these temperatures.
Wow.. the first video was interesting, but this.. this was fantastic. Something Europe, looks like Europe.. hard to put my finger on it. Anyhow… this is a shorter but much more engaging clip. Riding on the bridge looked pretty wild!
Not sure what to say or think about this. But, it’s amusing to watch, and they show excellent adherence to timing and speed. It’s impressive, weird, and interesting all at the same time.
This week, I have been working with my son on the little Kawi.
While I was vacationing in The Gorge, this past week, a pile of parts arrived for the Kawi. Along with starting some bodywork on the gas tank, I also performed the first test fitting of a number of new parts:
rear turn signals
aftermarket rubber grips
new stainless headlamp bucket mounting hardware
new stainless handlebar mounting hardware
bar end mirrors
clubman drop-bars (powders coated black, which is turning out to be a problem)
Here are 4 photos of where I left it last night, when it was bedtime for my helper.
Kawi 400 with clubmans and headlamp test fittedCloseup of clubman drop handlebar and updated headlamp bucket hardwareside view of parts installed and tank under heavy re-workRear views shows more tank detail, clubman and bar end mirror.
I had some help Thursday taking off all the big old 70’s chromy bits and bodywork. It took a few hours but I ended up with a big box of parts that I probably won’t use again on the final product.
This how the day started:
Of the three gas tanks that I have, only one of them is serviceable. The other two are full of rust and are useful only as aesthetic ornamentation for the shop.
Here is my helper, diligently working on the rear fender and signals.
Another photo of what the rear end before most of the parts were removed. Awesome for the 70’s but oh so heavy and chromey. Must go.
After a couple of hours of work, this is what we have. The tank is mounted (this is the only one that is usable). Not visible in the photo is the spot rust on the top of the tank. That will all needed to be sanded down to bare metal before I can even think about painting.
It’s a little difficult to see how much fat was removed from this last shot. More photos will follow. At least progress is being made.
The question is, will this be ready to go before summer ends? Time will tell.
Progress continues on the KZ400 project. Today’s work was focused around using my new plastic welder to fill in holes on the side panel.
The plastic welder came with a number of welding sticks, to use with a variety of plastics. After quite a bit of melting, and trying the PVC, ABS and PP welding sticks, the results looked less than ideal. None of the plastics seemed to flow well, but they eventually did bind with the stock plastic (type unknown).
The back side of the panel, having used the green ABS welding sticks
I later discovered that the plastic I have for model building (a poly styrene blend) seemed to weld a lot easier than any of the supplied welding sticks. I’ll be trying them again in the future.
Once the plastic welding was complete, I used a sharp exacto blade to trim off most of the plastic above the surface of original panel. That was followed by wet sanding with 400 grit sandpaper until the welding ‘slag’ was level with the surrounding plastic.
The last step was several rounds of glazing putty application, followed by more wet sanding with the 400 grit. I later found that switching to the 220 grit dry paper did not produce significant scratches and, obviously, let me complete the rough sanding quicker.
Finally, another ‘current state’ photo of the bike. It’s slow going but that’s OK, it’s all part of the plan.