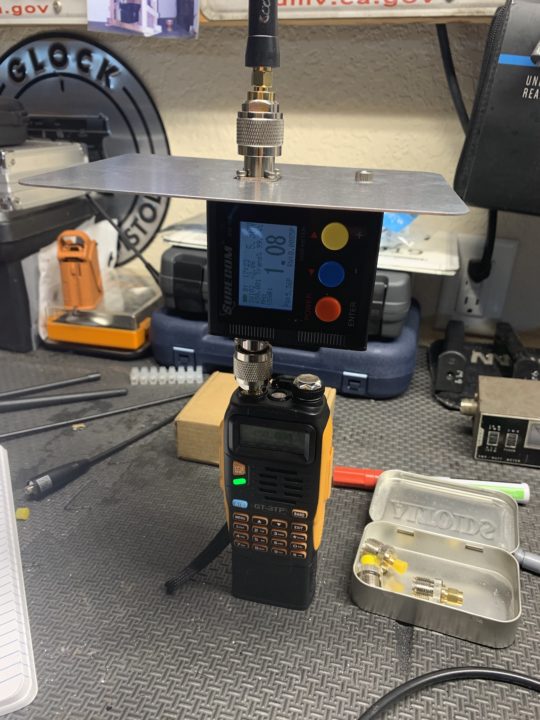
The issue..
It’s been an ongoing tail of woe, when it comes to installing a new version of STRATUX on a new card; out of the box, at least in all the installs I’ve done, it fails to make use of the entire card. With any sort of logging enabled to measure performance, run tests or just keep even a short history of contacts received.. you’re out of disc space… FAST:
Here is the ‘df’ dump of a STRATUX fixed position station running the latest version (released September 2019). As you can see, it’s only allocated 2GB of the 32GB card’s total available space. That is a lot of wasted space on the card.
Filesystem      Size  Used Avail Use% Mounted on
/dev/root       1.8G  1.6G  110M  94% /
/dev/mmcblk0p1   60M   20M   41M  34% /boot
Get total device size:
fdisk -l | grep Disk

Disk /dev/ram0: 4 MiB, 4194304 bytes, 8192 sectors
...
Disk /dev/mmcblk0: 29.7 GiB, 31914983424 bytes, 62333952 sectors

Disklabel type: dos
Disk identifier: 0xe6a544c8
Repartitioning the Device
With the physical partition located.. start fdisk:
fdisk -u /dev/mmcblk0
I like to increase the size of the main partition to 6G to leave room for installing more system updates and tools.
To do this you will need to know the starting and ending blocks of the partition. That is available with the ‘print’ command:
Command (m for help): p
Results:
Disk /dev/mmcblk0: 29.7 GiB, 31914983424 bytes, 62333952 sectors
Units: sectors of 1 * 512 = 512 bytes
Disk identifier: 0xe6a544c8

Device         Boot  Start     End Sectors  Size Id Type
/dev/mmcblk0p1        8192  131071  122880   60M  c W95 FAT32 (LBA)
/dev/mmcblk0p2      131072 3887103 3756032  1.8G 83 Linux
To increase the size, the partition must first be deleted, then re-create at the exact same starting block, or the filesystem will become corrupted.
First, delete the partition with the ‘d’ command, selecting partition #2.
Next, re-create the partition with the same starting block, but now with increased filesystem size:
Command (m for help): d

  Partition number (1,2, default 2): 2

  Partition 2 has been deleted.

Command (m for help): p

  Device         Boot Start    End Sectors Size Id Type
  /dev/mmcblk0p1       8192 131071  122880  60M  c W95 FAT32 (LBA)


Command (m for help): n

  Partition type
     p   primary (1 primary, 0 extended, 3 free)
     e   extended (container for logical partitions)
  Select (default p): p
  Partition number (2-4, default 2): 2

First sector (2048-62333951, default 2048): 131072

Last sector, +sectors or +size{K,M,G,T,P} (131072-62333951, default 62333951): +6G

  Created a new partition 2 of type 'Linux' and of size 6 GiB.

Command (m for help): w

  The partition table has been altered.
  Calling ioctl() to re-read partition table.
  Re-reading the partition table failed.: Device or resource busy

  The kernel still uses the old table. The new table will be used
  at the next reboot or after you run partprobe(8) or kpartx(8).
The partition table will have been modified but the kernel will not be able to take that into account as some partitions are mounted.
In theory, the command ‘partx /dev/mmcblk0’ is all that is required.. however I’ve found that rebooting is the only way to really reload the partition, so that the filespace can be increased.
reboot
Once system comes back up, run ‘resize2fs‘ to expand the filesystem.
Fill up drive with current filesystem
Execute `resize2fs` and run an on-line expansion of the filesystem, and finally verify it again with ‘df -h’
resize2fs /dev/mmcblk0p2

  resize2fs 1.43.3 (04-Sep-2016)
  Filesystem at /dev/mmcblk0p2 is mounted on /; on-line resizing
  required
  old_desc_blocks = 1, new_desc_blocks = 1
  The filesystem on /dev/mmcblk0p2 is now 1572864 (4k) blocks long.
Running df shows that it has in fact resized. STEP 1 COMPLETED
root@STRATUX-FIXED:~# df -h
Filesystem      Size  Used Avail Use% Mounted on
/dev/root       5.9G  1.6G  4.2G  28% /
devtmpfs        459M     0  459M   0% /dev
tmpfs           463M     0  463M   0% /dev/shm
tmpfs           463M  6.2M  457M   2% /run
tmpfs           5.0M  4.0K  5.0M   1% /run/lock
tmpfs           463M     0  463M   0% /sys/fs/cgroup
/dev/mmcblk0p1   60M   20M   41M  34% /boot