Walkthough for spinning up a micro EC2 for use as a GearMan worker node.
This is a preliminary effort, and the steps may very well change over the next few weeks as these are tested out. The documentation I’m presenting here is based on my previous work [HERE] Install Gearman + Gearman-PHP on AWS ec2.
Getting Started
This assumes you already have an AWS account setup. If you don’t you need to go do that now. You can get started [HERE].
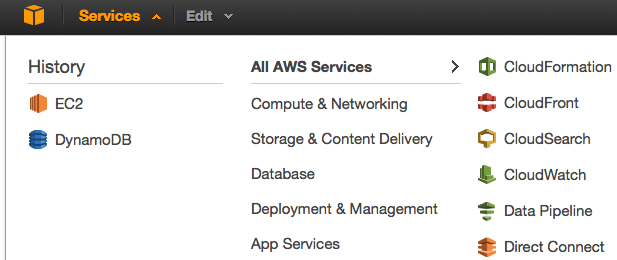
Once logged in, go to your dashboard. From here you’ll be selecting the EC2 area.
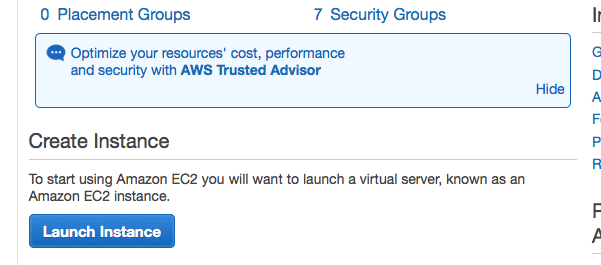
Under resources you’ll find a button “Launch Instance”. This is the button you want to click. This is where the fun begins.
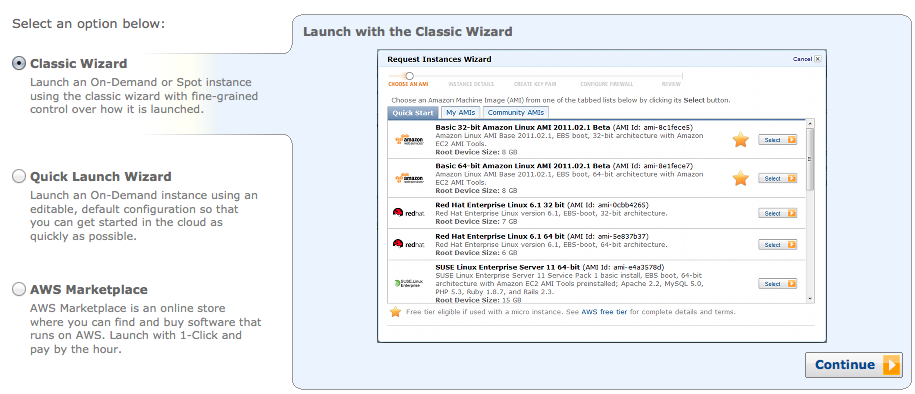
In this case I’m going to use the ‘Classic Wizard’. It’s really not that magical but Wizard is such a super-awesome-cool-name (ala Windoze ’95) you’ll see it used here. Anyhow, I’m going classic:
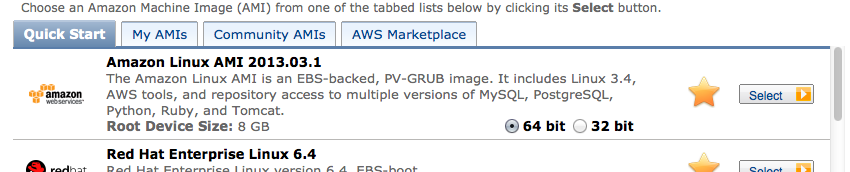
I want to keep things EVERY simple here so I’m going use the default Amazon AWS distribution/AMI.
For this exercise, I’m using an ‘On Demand’ Micro instance:

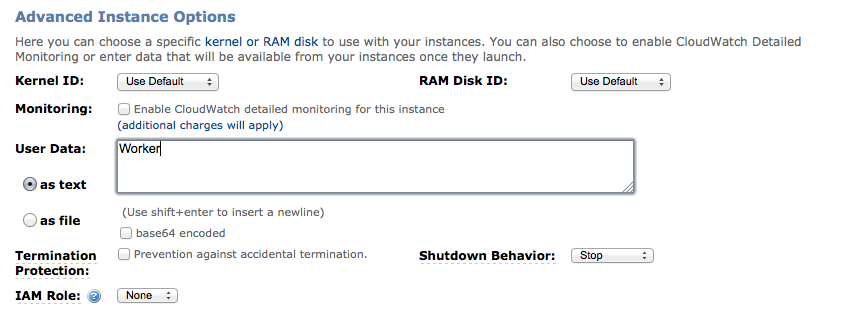
No Advanced features should be required, so I’ve left everything on this page set to it’s default settings:
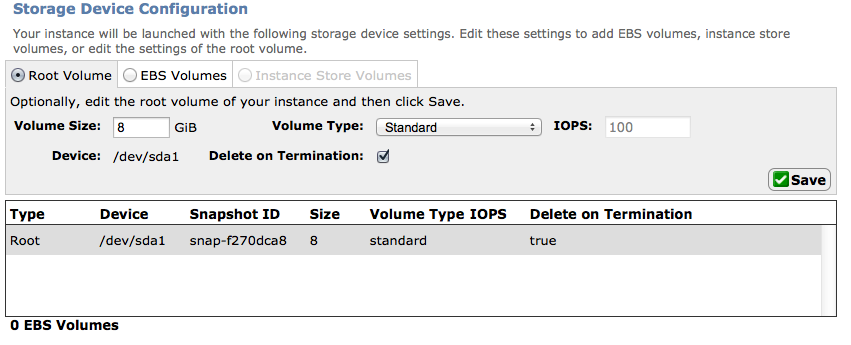
Next the storage requirements are defined. Since this is a worker that should be able to be spun up on need, and shouldn’t require much in the way of local storage, I’m going to opt out of defining and EBS volume and rely upon Ephemeral storage.
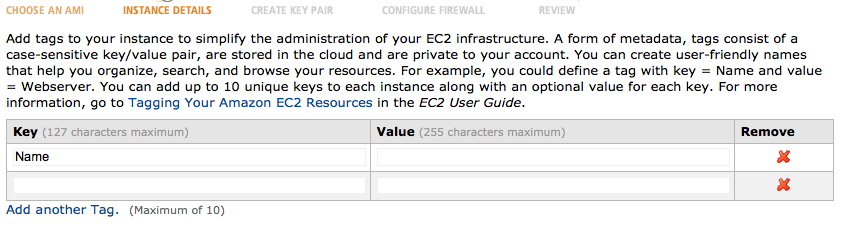
At this point, I don’t see the need to define any keys for EC2 management, so I’m leaving this area blank:
Next, select the .ssh key file (it’s stored in a .pem file) that you want to use to access this system. If you don’t have a set of these keys setup already, you’ll want to define them. I’m using one specific to this node class already defined.. you’ll need to handle this step as your policy/needs dictate. It’s not that complex, but word to you, DOWNLOAD THAT KEY, once you create it, there is no known way (according to all places I’ve checked) to download it again. BE WARNED.

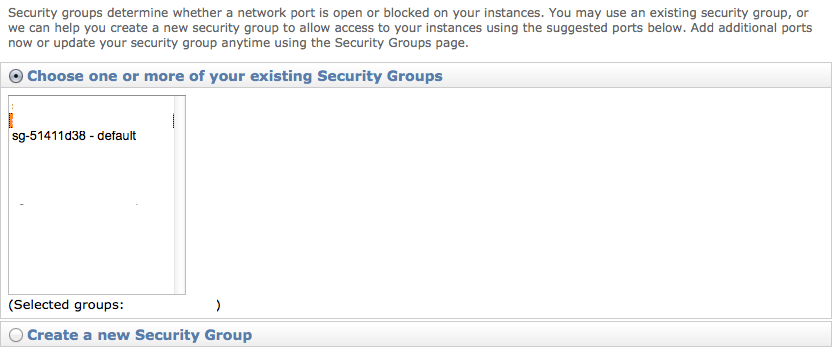
Next step will be do select a security profile for your node. I’ve found that the default one is sufficient for these purposes. You may want to further restrict the number of ports open, as the default opens a few extra things you might not want. This is another area where you’re own needs an policy will need to be carefully considered. Otherwise, start with default and iterate to the optimal configuration.
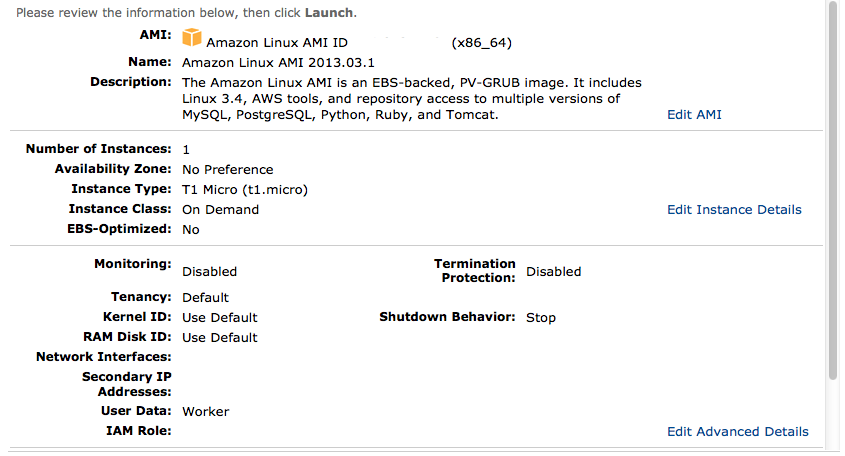
Check your settings on this review page, and if everything is to your preference, then you can spin it up!!
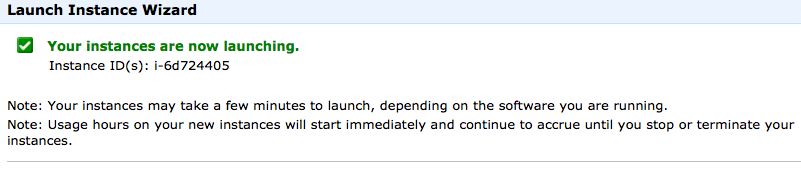
One you click launch, it will take a little while for the instance to go live.
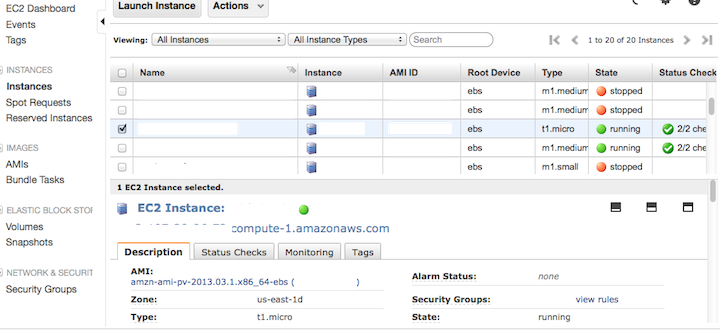
Once launched, you’ll be able to see your instance in the dashboard! Sorry bout all the greyd out information, but the instance I’m talking about is slightly highlighted in blue.
NOW, YOU CAN START TO INSTALL YOUR GEARMAN COMPONENTS