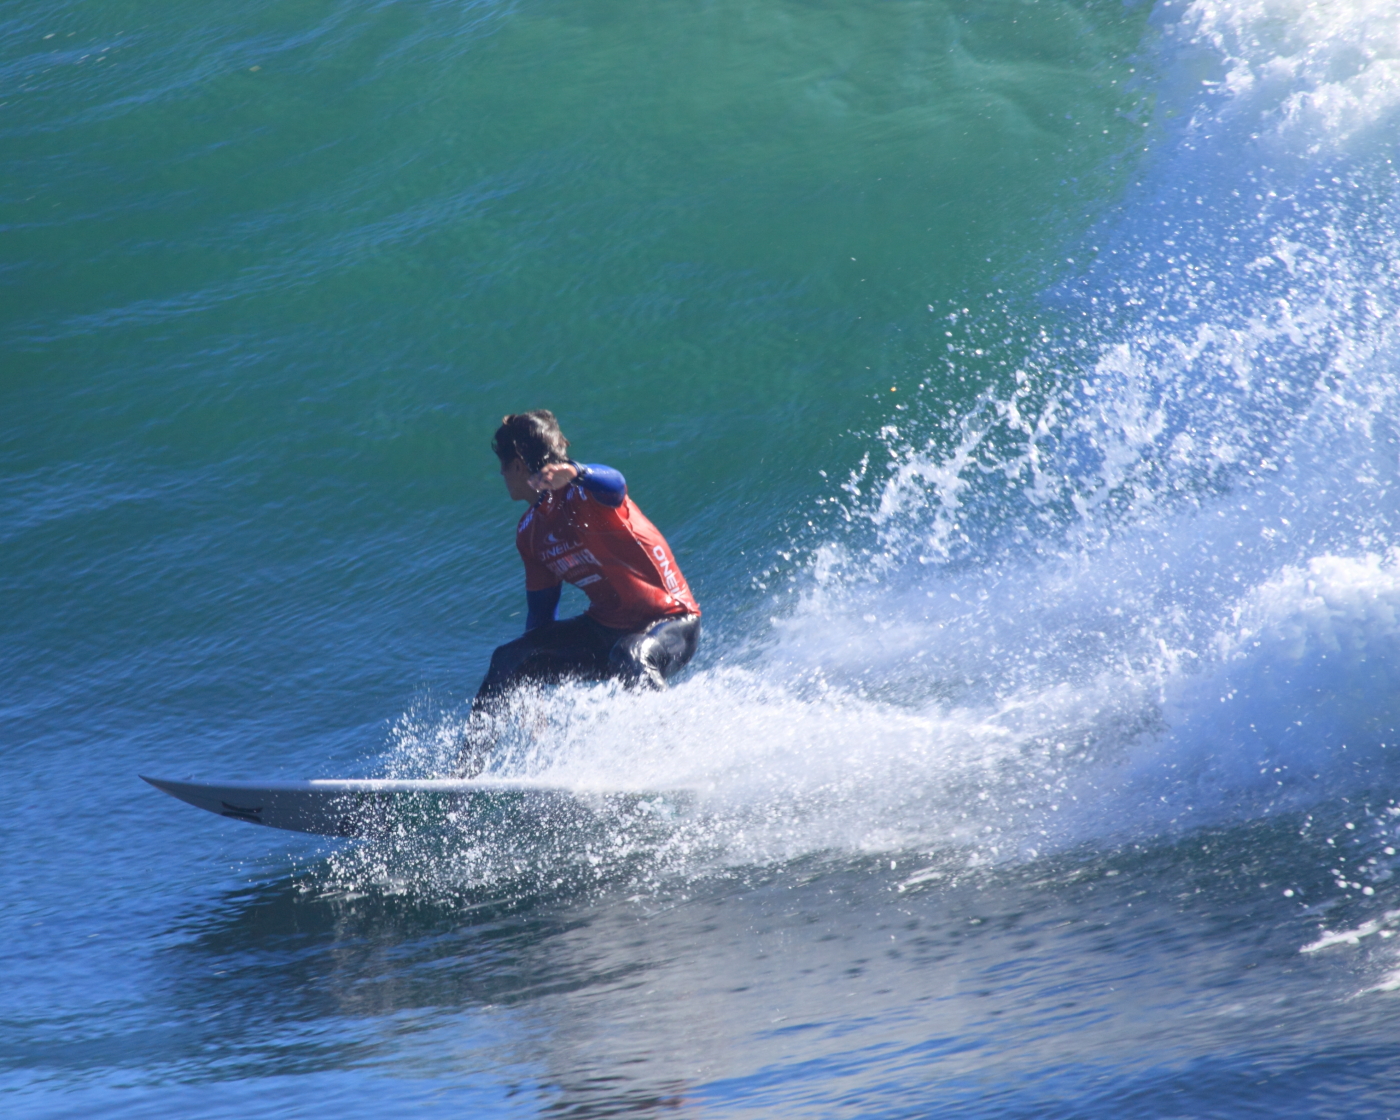
Granted, it’s been a couple of weeks since the pros packed up and headed off to Pipeline for the last event on their years tour. I’m not always the quickest to get photos uploaded, with clients to service, mouths to feed, cars and bikes to work on and in there somewhere I try to have a little fun for myself.
So this morning I’m pulling up some pics from a few weeks ago that I’ve wanted to post up. One of these days I’ll get my watermarking done, but for now.. I’ll just have to trust that nobody finds these compelling enough to steal (here’s hoping).
First off, I’m going to tell you that Microsoft SQL Server SSIS is THE MOST INANE, FRUSTRATING TOOL I’VE ENCOUNTERED IN OVER 2 DECADES OF SOFTWARE ENGINEERING! It’s designed for the point-and-click query builder, and that makes it really difficult to use for real engineers that program code, not click buttons. I really do detest it’s design and mish-mash of concepts, and most of all it’s horrible documentation.
THAT SAID… I’m here to offer a little bit of help.
TODAY’s TASK – Using SSIS Package Variables in a useful way.
What I needed to accomplish today was the dynamic setting of a database’s compatibility level, based on it’s current level. (clear enough?)
The reason for this? MS SQL server 2005 supports the PIVOT operation (why do I feel like the spreadsheet coders designed this crazy thing?), but SQL 2000 does not. No big deal, EXCEPT when it comes to using a database that once lived on an SQL 2000 platform and now lives on a 2005 platform. Buried deep in the bowls of the settings is a flag that says “I know I’m running on a more modern server, but I refuse to honor all of it’s capabilities.. I’m just going to be a whiny pain in the ass until you tell me to stop”.
So, that’s what this task is all about…
Dynamically Detecting an SQL Server run-level of 80, and bumping it up to 90 to support the features of the server it’s running on
Crazy concept, I realize that. HOWEVER, the hitch in this deal is that when I am done using these PIVOT command (I’m just fixing a kludge written by someone else, I’ve never have used PIVOT, but that’s for another day.. next thing you know someone’s going to be to try to sell me on the virtues of File Maker! GAK!), I need to set the DB run level back down to the 2000 setting so OTHER code can run with out blowing up.
Getting to the task, using an SSIS SQL Execute Task
First things first, you need to create an SQL Execute Task in your SQL package. I did this inside a sequence container to clearly define what the application of this was confined too within the broader scope of the package. Here’s a screen shot: Defining my Task widget
Next is planning and writing the code to check the compatibility level, and store it in a package variable. However the only way I could find to really do this, outside of using a Script task and programming in C# (last thing I really want to dig into right now), was returning a row from the query, and setting that BACK into a pre-defined package variable.
So let’s move to defining that package variable next… this is an important step that took me several hour to find any useful information on, and to use. It’s important that use use the nutty Micro$oft syntax to define the variable (why isn’t that point-and-click too, right?).
You need to go to your SSIS menu item and select ‘Variables’
Now define your SSIS package variable. I used the name
Compat2kReq
UPDATE: What I have later found is that you MUST set the data type to OBJECT for the value to be properly set. IF you do not do that, a wonderful, inexplicable and generally BS message is presented to you:
Getting back on task… EDIT the SQL Execute Task, click on the SQLStatement until you see the elipsis […] to your right of the cell, you’ll need to then click on that to open the SQL editor….
With the dialog open, I inserted the following code. I’ll go over what it all means next.
SET @DbName = DB_NAME();
SELECT @CompatLevel = compatibility_level from sys.databases where name=@DbName
IF(@CompatLevel) < 90
BEGIN
EXEC sp_dbcmptlevel @DbName, '90'
END
SELECT @CompatLevel AS 'CompatLevel'
First section is the declaration of two local variables.
DECLARE @DbName varchar(128);  -- will store the name of database

DECLARE @CompatLevel int; -- will store the starting compatibility level
Set the values next. The first operation get's the current compatibility level. For an SQL2000 server, that value is '80'. To use the PIVOT function, it must be '90' or higher. We'll get the that, after this.
SET @DbName = DB_NAME();  --  dynamically store DB_NAME() into var, seems like a redundant step but some of the MS SQL functions won't actually execute the function, such as ALTER DATABASE, so you have to play fun tricks with MS SQL

SELECT @CompatLevel = compatibility_level from sys.databases where name=@DbName -- now I set the current compatibility level into a local var.  I might have been able to do this another way, but mapping the variable, as you'll see later was the fastest way to solve this problem.
Next, test to see if the level is high enough, and if not, bump it up to the minimum required, which is 90. Level 90 indicates SQL2005.
IF(@CompatLevel) < 90  -- see if the level is less than required 90.

BEGIN

	EXEC sp_dbcmptlevel  @DbName, '90' -- set to required level, 90

END
The final step, and this is crucial to detecting this change, and resetting it later, is to save the ORIGINAL compatibility level in the package variable for later use. Returning it as a single row ResultSet is how I solved this for the Hot-Patch I was tasked with creating.
SELECT @CompatLevel AS 'CompatLevel' -- select variable as a result row.
Now, before heading into the next area, I'm going to direct you to the General pane again and point out a second important attribute to set, The ResultSet value. I'm only returning a single row so that is how I set it. You will need to do this, by default there is no return.
Now that part 1 is done, next is to define that the Package Variable we set up early in this task, is going to be an OUTPUT from the SQL Execute Task we're working on.
Click on the 'Parameter Mapping' item and you'll see an empty table (unless you already added something before).
Use the 'ADD' button to create an entry. There you'll select the Package variable to reference. You'll also want to define it's type (I used SHORT) and if it's INPUT or OUTPUT. I'm using OUTPUT, meaning the SQL Task will OUTPUT a value that will be stored into this variable.
I set a parameter sequence of 0 (meaning it's the first) and an initial value of '0'.
The final step in this phase, is to set your Result Set up. The GUI will help you by displaying your OUTPUT paramter automatically, all you need to do is define the row name returned by your final select (here is the code again, with the row name highlighted, you can use any name you want.. I just happened to use the same name as my variable to confuse you).
SELECT @CompatLevel AS 'CompatLevel' -- result row name
So, there is it.. pretty simple to do, isn't it? I think it's crazy, but I'm not an M$ fanboy so... just keep that in mind.
If you have questions, leave a comment. I can't guarantee I'll be of any help, but if I can, I'll do my best.
I hoe this was useful for you. I spent several hours pouring over docs and web pages and never really found a one-stop explanation, so I wrote this one up, because I sure home I don't forget!
Today was a great day for space nerds (and to live in CA in general, but for space nerds especially).
It was the last flight of Endeavor, aboard it’s carrier 747 en route to L.A., where it will be installed in the science museum located downtown.
I was not sure I could make it to Moffet Field for the fly-over, so when we heard it was also going to make a low pass over the Monterey Bay and the Aquarium, it was all systems go and a road trim in the new (to us) ML was quickly underway.
The crowds were impressive! Thousands of people lined the beaches along the south end of the bay to catch a look at this historic event. The fog, though, seemed like it was going to conspire against us and send everyone home a little sadder than the day started.
However our luck broke, and so did the fog. Some of use were watching the live NASA feed as it crossed over Moffet Field on it’s way. Less than 15 minutes later we were treated to the sound of jet engines and this emerging over the beach. It was… FANTASTIC!!!
I captured a total of 26 photos, basically of the same aspect. Here are the three I liked the best:
Space Shuttle Endeavor on it’s last flight. Flying over Monterey Bay on it’s way to it’s final home in Southern California.Space Shuttle Endeavor on it’s last flight. Flying over Monterey Bay on it’s way to it’s final home in Southern California.Space Shuttle Endeavor on it’s last flight. Flying over Monterey Bay on it’s way to it’s final home in Southern California.
End of an era is before us. I recall the first Shuttle flight, and the last. And of course the two terrible accidents in between. There is but one shuttle left at Kennedy’s preparation center. Soon it will be towed across the Space Center to it’s new home there, on display at the visitor’s center.
Finding a race dash brace for the 749 was far harder than I thought it would be. Nobody listed the part new, so it was off to eBay I went. Even there the options were very slim. I found one in Europe, and another here on the West Coast of the US.
The part in Europe was one of the highest recommended solutions, but price was over $150 not including the costs and issues with international shipping. The other option was a part made by Lockhart Philips, located just 70 miles north of me in Santa Rosa. I pulled the trigger on the local part and had it within a couple of days.
Lockhart Philips Ducati 749 track dash brace
Having removed the street bodywork last week, I found that having it on the floor was not a good option, so a quick trip to the hardware store to get some bicycle hangers solved the problem. Up, safe, and out of the way.
Street body work retired, likely for good.
With the street bodywork away, the search is one for suitable track bodywork. Much like the race brace, it’s not the simplest to find. More information on that once I have my decision made in that regard.
Having the bodywork issue resolved, and the race brace in hand, the front assembly for headlights and dash were dispensed with. Despite the size, they were not nearly as heavy as I had anticipated. But they were a little challenging to remove with more than 9 bolts holding the two halves together, and another 4 attaching them to the frame. Access to some of the bolts was not the simplest either. Never the less, it’s done. Headlights removed from Ducati 749 Dark.
Ducati 749 Dark with dash board and headlight assembly removed.
After a couple of hours of test fitting and trying to decide where to mount the fuse block, the bracket was installed and the wires tidied up. Track bracket installed on Ducati 749 Dark
Lockhart Philips race dash bracket for 749 installed.
The updated view of the cockpit. Dash mounted to Lockhart Philips 749 race brace
Having the bike in the shop for a few days now, and have been putting the plans together for the transformation.
First order of business was to remove the street plastic and start working on removal of all the street parts.
Having ridden the bike more than 100 miles from Redwood City to the shop, I knew it was in good running order, with a couple of exceptions. All the same, have the bodywork off makes it easier to examine things closely and determine if any additional work needed to be done.
Naked Ducati 749
I plan to run the bike at Laguna Seca, and the maximum sound limits are pretty strict. So, the cool Remus exhaust… had to be replaced with the very heavy and not very sexy looking stock component.
Installation of the stock exhaust system.
The dash and headlights are in great shape, and I hope to keep them that way. However track bikes do not need lights. Most organizations will let you run the bike on the track if you tape them off. But I plan to remove them all together and replace the entire assembly with a race bracket. One other item that needs to be dealt with, is the lack of a factory steering stabilizer on the Ducati 749 Dark. :/ That’s not going to be cheap. 749 upper triple and dash
One of the repair issues I have is a leaking right front shock fork. It’s not easy to see, but it’s much wetter than it should be, and it’s known to be leaking. I knew this when I bought it. Since the forks will be re-worked for the track, I’m not too worried about it, especially since the previous owner supplied me the repair parts. 749 Dark front fork
Another bit that I want to address is the clutch cover. This is looks very sturdy, and I’m sure will work far better than the stock stamped sheet metal cover in a crash. However I plan to replace it with one identical to that which I run on my 1098. It’s made by Woodraft and has a replaceable slider. Ducati 749 Dark engine right side and clutch cover.
Awaking this morning, I decided to put together this little rundown of my two liter-class twins. For a pair of bikes with remarkably similar dimensions, and engine type, their characters are vastly different. Some of this is clear in the HP and weight differences, but it goes beyond that. There is a ‘feeling’ you get when riding a Ducati that no other bike I’ve owned, delivers.
Here it comes, yet another bike project. The question you might be asking… “Will he actually finish this one?” OF COURSE!!! Well, that intent is always there. One major difference in this project, is that the bike I’m starting with ACTUALLY RUNS!. And not just runs, but is perfectly road worthy. After buying the bike, I road it 100 miles home, over some of the best local twisty roads this area has to offer (to be honest, these are some pretty good roads by any standard!).
Here is what I’m starting off with. A 2004 Ducati 749 Superbike. She sure looks good, doesn’t she? Why I’d take a perfectly nice looking bike like this and turn it into a track sled might seem boggling to some (and perfectly sensible to others). Well, let me start off by saying that the bike was CHEAP! I mean, 1990’s 600 sport-bike cheap. A 1990 Honda CRB600 generally goes for more than I paid for this bike. Beside the fact the Ducati really is a track weapon, this one was also eminently affordable. 🙂 2004 Ducati 749
Now stay tuned as I work my way through this bike, get it ready to hit the track, and of course, shoot some video along the way! 😀
It’s been a challenge the last few days to keep a good solid WiFi signal in our office, despite the device being only 20′ feet away with not even a door for obstruction. Distance to wireless device
The most recent wireless performance test using DSL reports is here:
To verify if it’s the device, something upstream, or a wireless performance issue (look at the signal strength, it’s as good as it gets),
I jacked straight into the router and re-ran the test:
That’s a massive drop in performance for WiFi. Clearly not our internet on-ramp.
So far, my only guess is that there is a transient amount of interference from some device nearby. We’re not running anything in our office or shop that should cause this sort of drop in performance. We are located in a light industrial environment, so there could be some large electrical loads causing radio noise. The question is, how do we find it and how do we mitigate it?
With the kick-off of my new Start-Up Company (this is #8 for me, since I started my first company in 1984, Bay Auto Electronics), after taking 10 years to pursue some potentially lucrative (only time will tell if those efforts ever pay off, I’m not holding my breath) employment opportunities in the Internet Security / Anti-Fraud sector.
The short term plan is for that work to continue on a project consulting basis for the remainder of the year (that is the plan.. always subject to change), however in addition to that I’ve taken on two additional clients with very diverse project needs. Those needs need to be carefully manged and time properly allocated to each of these clients and their projects.
In the past, I’ve had adequate success using Work Diary spreadsheets to call out time per project and how it was spent within each of these projects. I continue to do that now. However I want a more useful, powerful and visual tool to track efforts, tasks, sprints, milestones, etc. And in addition to that I want to expose that information to each of my clients so they can get a status update on their projects near-real time, any time, day or night, and also help project their expenses as the projects move forwards.
To make this goal a reality, I have decided to Trail out a tool recently implemented at one of my former employers. It’s name is JIRA. And so far, having only used it there for 30 days or so, I’m impressed. Here is a screen shot of my current JIRA Dashboard (projects, names etc changed to protect the innocent, etc. etc. etc.).
My Sample JIRA Project Dashboard
All that said, and after communicating with one of the helpful JIRA engineers to make sure this tool would do what I want, and provide information for my clients as well, all on one system I host, the decision was made to move forward to the project!
To get further feet-wet, I’m first downloading the distributions for both MAC and LINUX. Initially I will be installing this on a MAC workstation to get the project defines, users entered etc. To test out the waters and learn on a test environment before cutting it loose in the wild. Eventually this will roll out with a public facing (for those with the right credentials) interface for project tracking. One of the first projects that I’ll be defining in my private installation will my forthcoming programming book. After 20+ years as a professional developer, trainer, sales engineer, IT Director and Entrepreneur, there are unique perspectives I can bring to the practice of programming. Keep any eye out for announcements on this by September! 🙂
Getting JIRA – downloading distributions
The current distributions, as of this blog, are located here: http://www.atlassian.com/software/jira/download JIRA Download Page
NOTE: – regarding OSX
As noted in the pages, installing on OSX is only suitable for evaluation purposes. That’s OK, not a big issue, I’ll have hardware available to host it in the next two weeks. Until then, running a local evaluation will be just fine. Unfortunate that the product can support Windows, but it’s not a surprising point since Apple has shuttered it’s proper Server production lines and is no only shipping MacMini servers and those horrendous beasts know as MAC Pro workstations. There IS A LOT to be said for 19″ rack compatible system, when it comes to REAL CORPORATE operations
Installing on MAC (in this case a laptop of all things)
I selected this package named: JIRA 5.0.6 (TAR.GZ Archive).
Instead of just creating more muck in my Downloads directory, I created a dedicates Atlassian directory under Applications.
I moved the file there and ran the extraction:
First order of business was setting my JIRA Home Directory. The instructions are found here at this link: https://confluence.atlassian.com/display/JIRA050/Setting+your+JIRA+Home+Directory.
I chose to use the LINUX configuration script located at bin/config.sh to get JIRA setup. This I ran from a console:
You must also setup an environmen var that points to the same directory you configured using the JAVA Config dialog. Since I use the ‘bash’ shell (please, no need to comment on the virtues of ksh, sh, bash.. whatever… I’m not going to listen), I edited my .bash_profile adding these two lines:
## Required Element for JIRA

export JIRA_HOME=/Applications/Atlassian/atlassian-jira-5.0.6-standalone
With that little step completed, I returned to the bin/ directory where I installed JIRA and lit up the night:
FotoCorsa-3:bin david$ ./start-jira.sh

To run JIRA in the foreground, start the server with start-jira.sh -fg
executing as current user
                .....
          .... .NMMMD.  ...
        .8MMM.  $MMN,..~MMMO.
        .?MMM.         .MMM?.

     OMMMMZ.           .,NMMMN~
     .IMMMMMM. .NMMMN. .MMMMMN,
       ,MMMMMM$..3MD..ZMMMMMM.
        =NMMMMMM,. .,MMMMMMD.
         .MMMMMMMM8MMMMMMM,
           .ONMMMMMMMMMMZ.
             ,NMMMMMMM8.
            .:,.$MMMMMMM
          .IMMMM..NMMMMMD.
         .8MMMMM:  :NMMMMN.
         .MMMMMM.   .MMMMM~.
         .MMMMMN    .MMMMM?.

      Atlassian JIRA
      Version : 5.0.6

Detecting JVM PermGen support...
PermGen switch is supported. Setting to 256m

If you encounter issues starting or stopping JIRA, please see the Troubleshooting guide at http://confluence.atlassian.com/display/JIRA/Installation+Troubleshooting+Guide

Using JIRA_HOME:       /Applications/Atlassian/atlassian-jira-5.0.6-standalone

Server startup logs are located in /Applications/Atlassian/atlassian-jira-5.0.6-standalone/logs/catalina.out
Using CATALINA_BASE:   /Applications/Atlassian/atlassian-jira-5.0.6-standalone
Using CATALINA_HOME:   /Applications/Atlassian/atlassian-jira-5.0.6-standalone
Using CATALINA_TMPDIR: /Applications/Atlassian/atlassian-jira-5.0.6-standalone/temp
Using JRE_HOME:        /System/Library/Frameworks/JavaVM.framework/Versions/CurrentJDK/Home
Using CLASSPATH:       /Applications/Atlassian/atlassian-jira-5.0.6-standalone/bin/bootstrap.jar
Using CATALINA_PID:    /Applications/Atlassian/atlassian-jira-5.0.6-standalone/work/catalina.pid
Opening up JIRA for the first time..
Having started JIRA on my localbox, I connected to port 8080 (the one I used as the default in the installation) and started to complete the setup:
It turns out I’ve made some sort of configuration/installation errors that was not called out in the documentation. Such is the story of software installation. I’ll have to get this one sorted out before continuing on. JIRA startup error.. this might take a little time to sort out my installation error.
Creating a dedicated JIRA user
Performing a little re-wind, I decided to create separate user account, that can be the JIRA home. This was suggested in the docs but I just didn’t grok it at the time (it’s after midnight.. some slack should be afforded). Created dedicated JIRA user.
Now.. back to the environment files… first I’m going to log into the new user and create a place for JIRA, copy it’s path, then update the configs.
I logged in to the new user, via the terminal window, then edited (creates actually) the .bash_profile for the user setting the following as the JIRA environment:
jira$ vi .bash_profile
## Required Element for JIRA
export JIRA_HOME=/Users/jira/jira-home
Next, I had to sort out one permissions issue in the Applications directory, and that had to do with the permissions to updates config files in the Altassian directory. To do this, I switched to my root user (su –), moved to the install directory and executed this command to allow group write at all the directory levels for the group user (in this case ‘staff’).
su

Password:

sh-3.2# pwd

/Applications/Atlassian/atlassian-jira-5.0.6-standalone

sh-3.2# chmod -R 775 *
I closed that terminal window, then logged my desktop into my new jira user and re-launched the configuration program (see above if you’ve forgotten how that is started up), and reset the home directory: Re-Setting the home directory
Tested the connection: Testing DB connection.
Set the ports I wanted to use for JIRA (defaults shown): Checking / Setting ports
Then kicked off JIRA again, but this time as the jira user. This time it stuck, took and started:
Next step 2 of the installation is presented, and the requisite settings defined. I’m going to run in PRIVATE mode, as I don’t want to have people attempt to add users to my JIRA without my permissions. That sounds like a licensing seat disaster in the making…. Step 2 of Setup.
NOTE: You will need to sign up and get an evaluation license key to go any further. Since I intend to purchase the product in the new future, unless the evaluation determines another course of action is required, this is a non-issue for me. You may be hesitant to do so, for some reason, one I won’t guess, but if so, be aware of that before digging yourself too deep a hole.
Two more quick steps follow, such as setting up your primary Admin User (sorry, NOT going to show you my settings there), and one last step confirming the setup was successful, before being shuttled over to your new Dashboard! Dashboard Login
And.. VIOLA!!! Notice the red warning at the far lowest left, the Evaluation DB attached is IN MEMORY only and most likely will be wrecked on a power fail or other shutdown. This could be a big issue on a laptop, wouldn’t you say? Regardless, this IS an evaluation after all…. so… next steps tomorrow will be to see how this all holds up over the next week when I’m back in CA and can install this on my office’s internal servers. Running, living, breathing JIRA!