Another great California morning greeting the Club AutoSport Cars & Coffee participants for this month’s gathering.
The Cars


Another great California morning greeting the Club AutoSport Cars & Coffee participants for this month’s gathering.
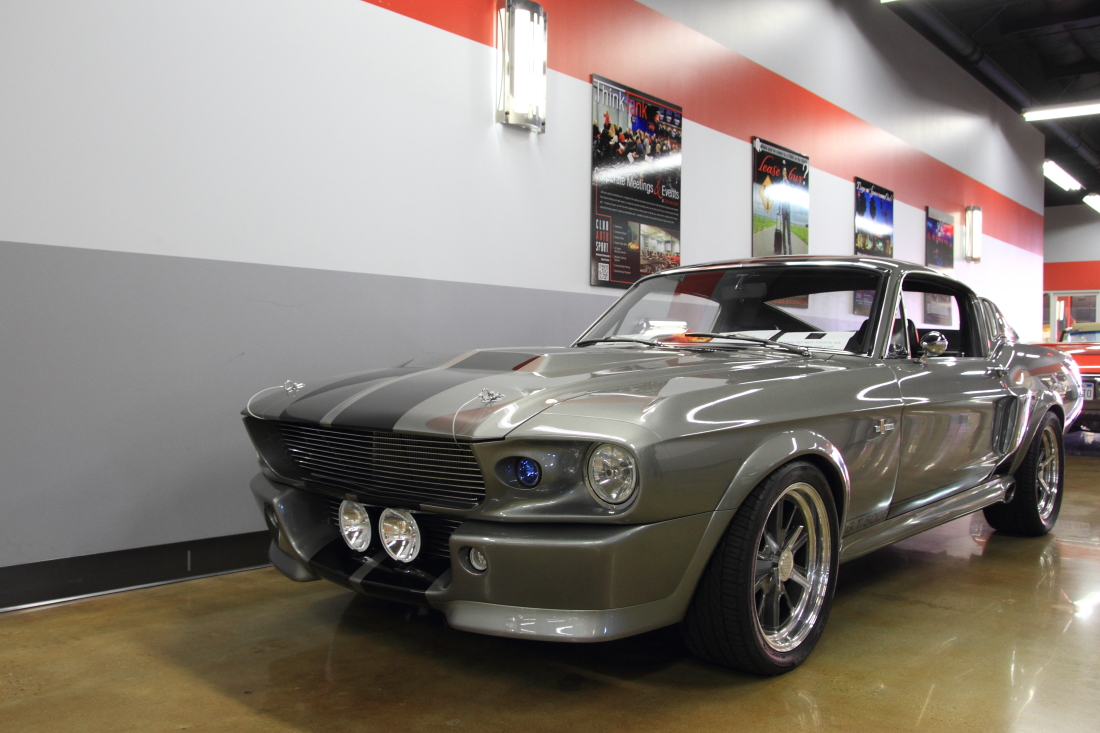
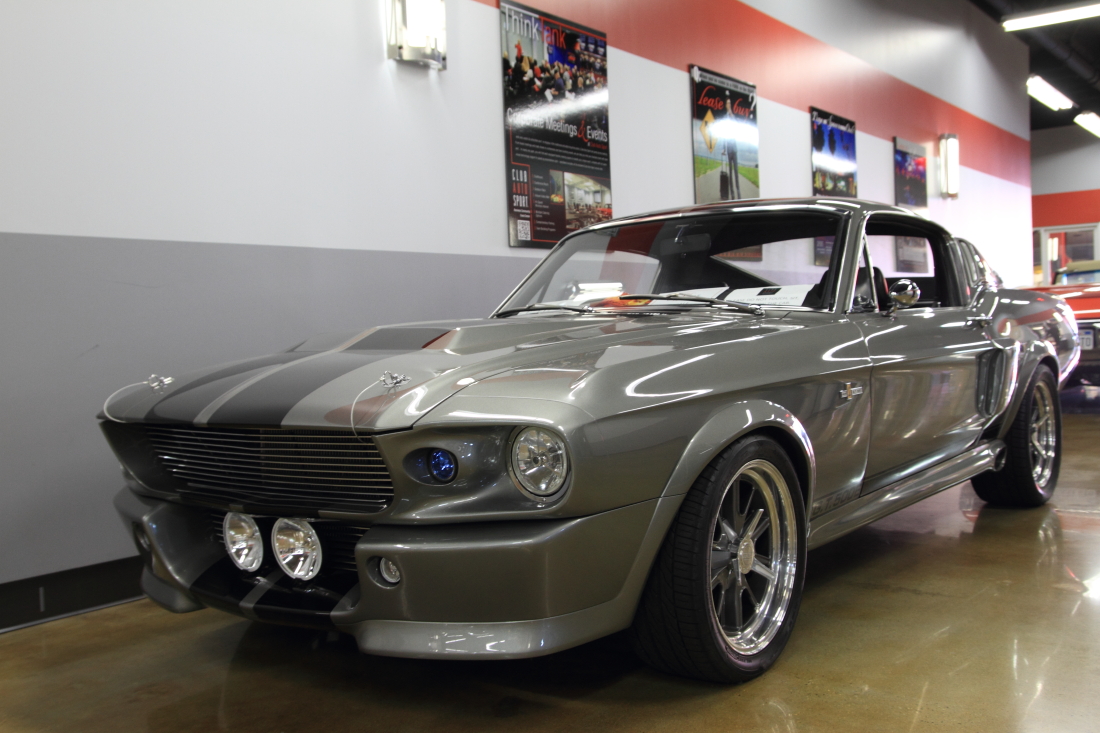
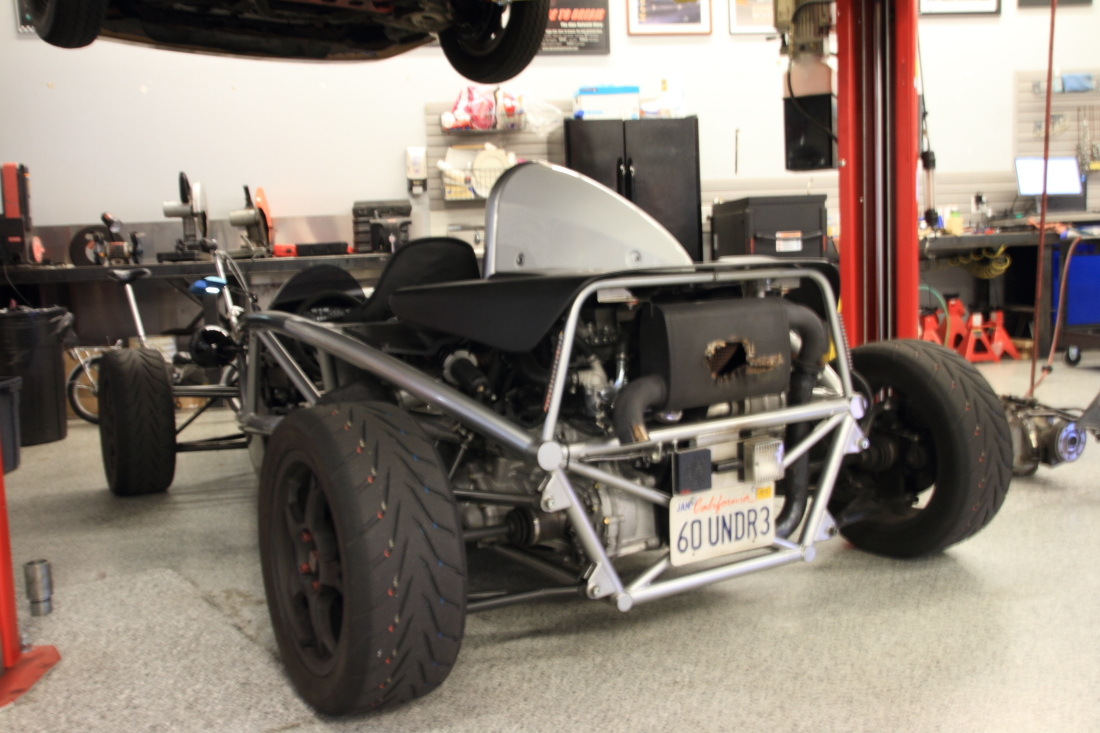
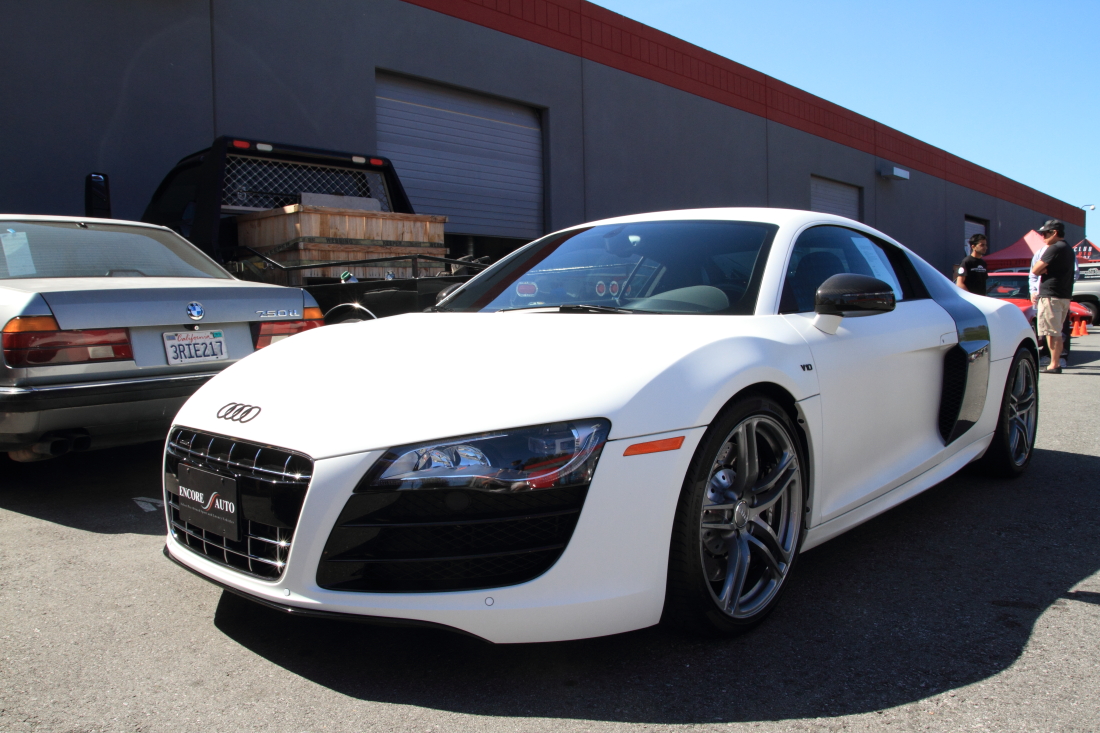
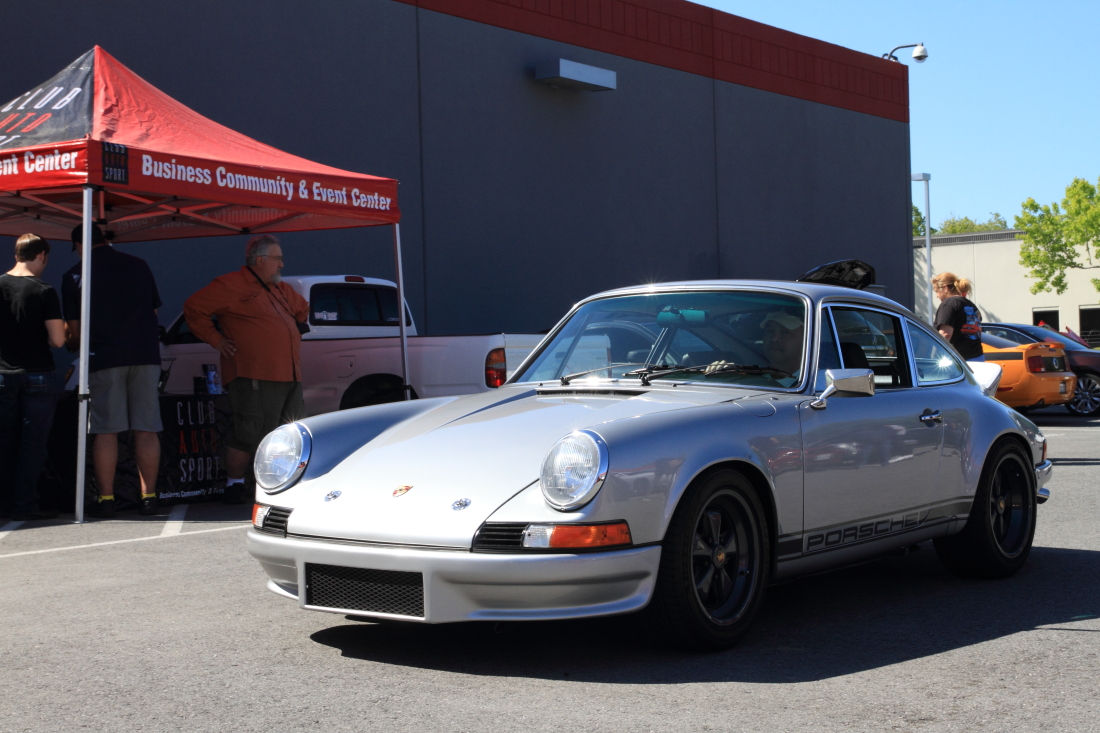
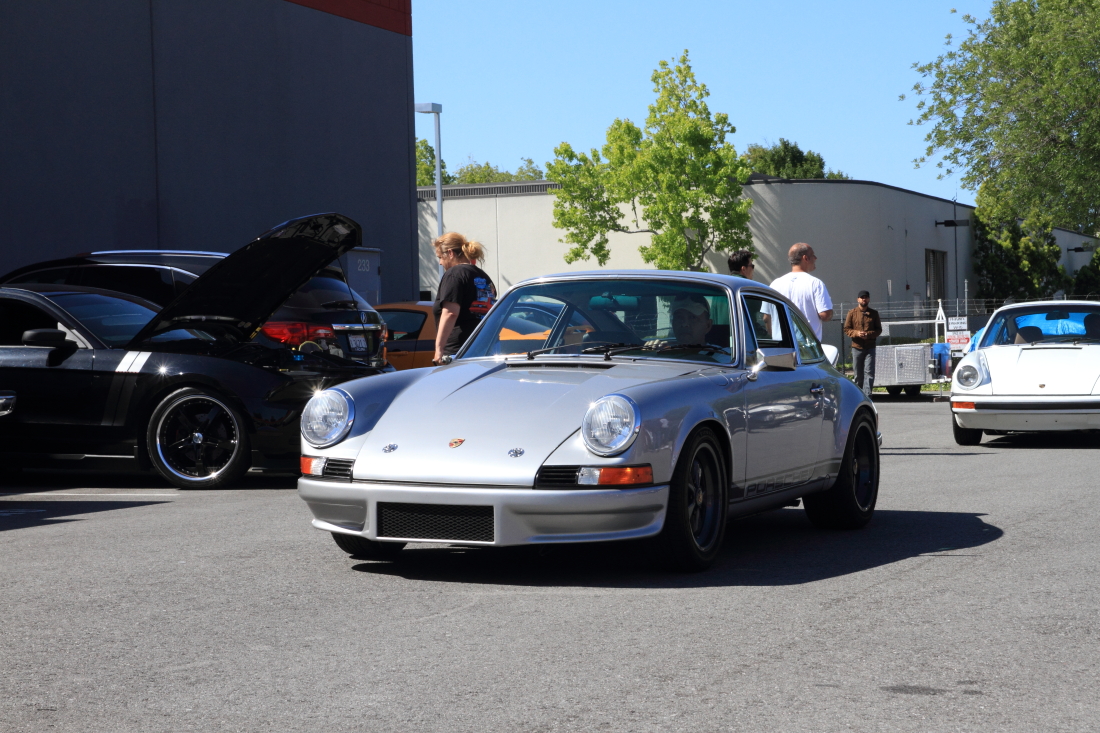
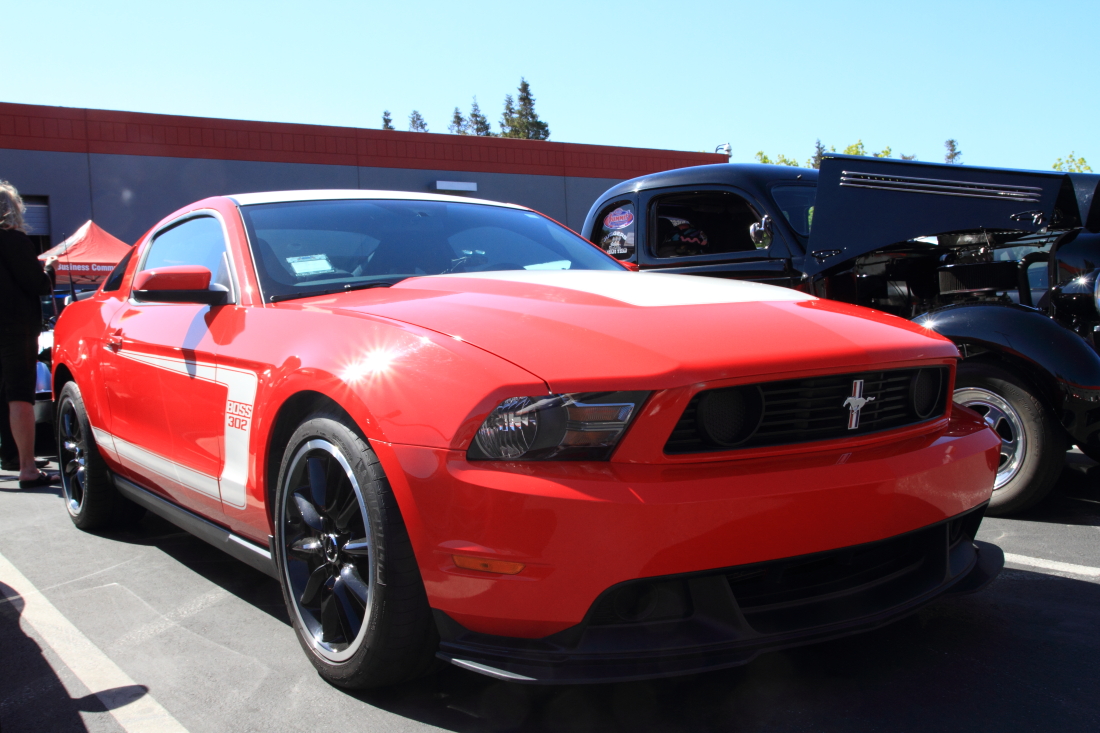
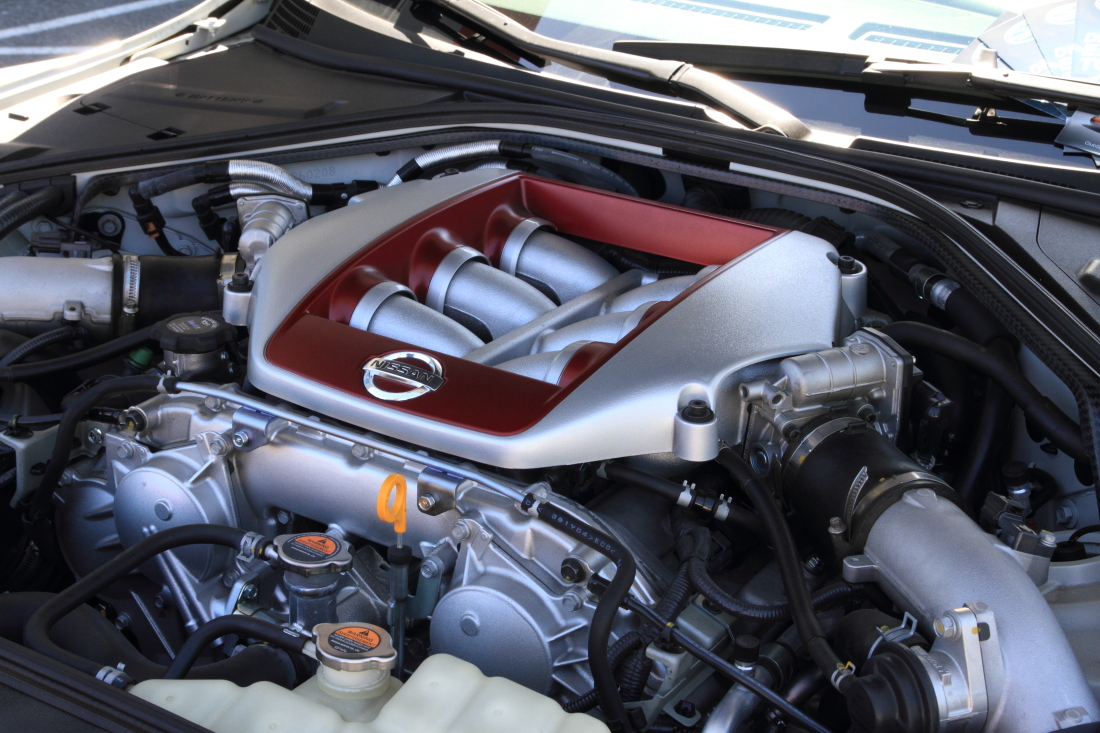
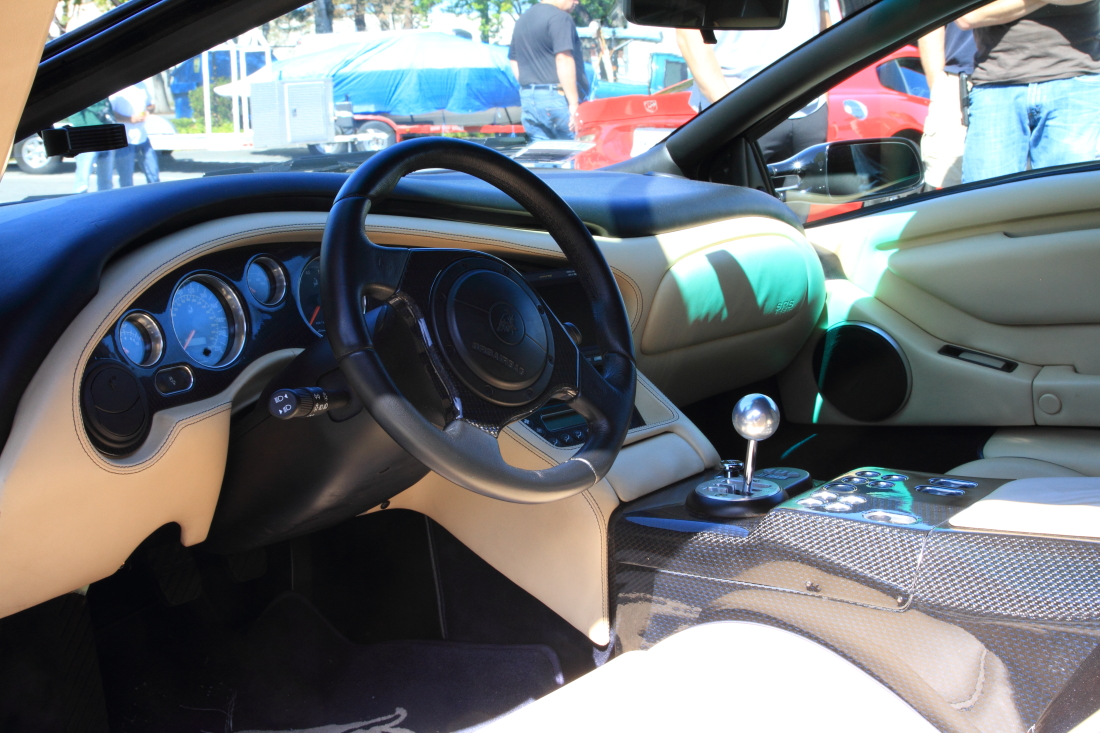
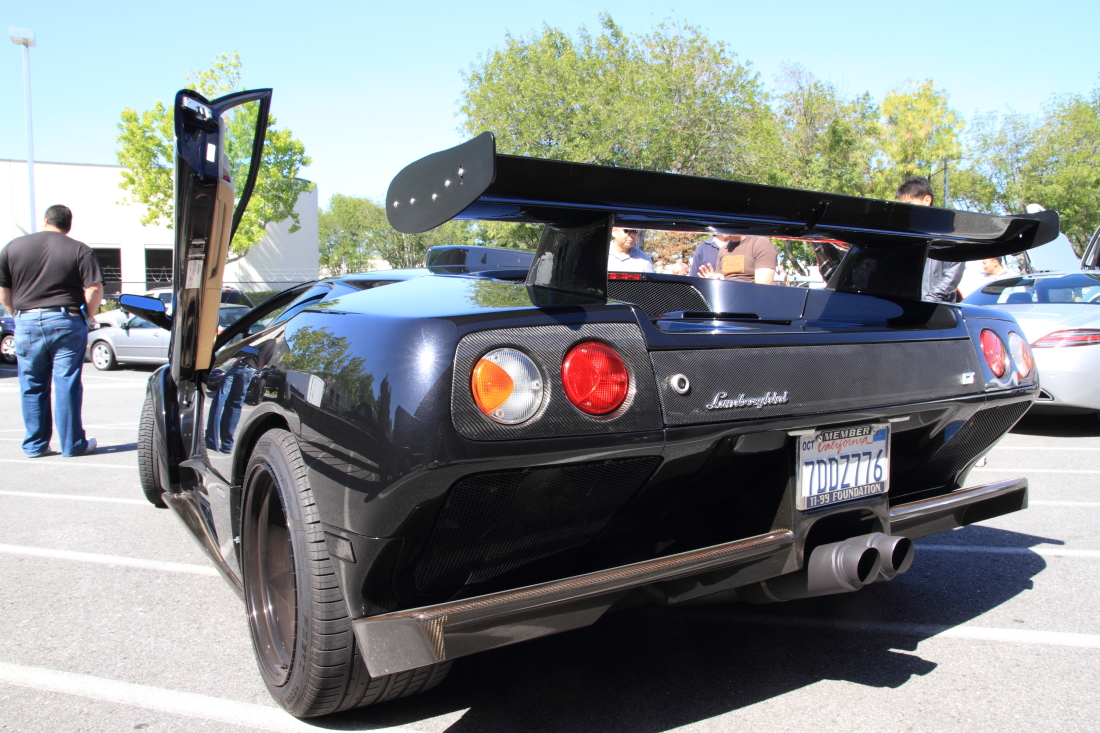
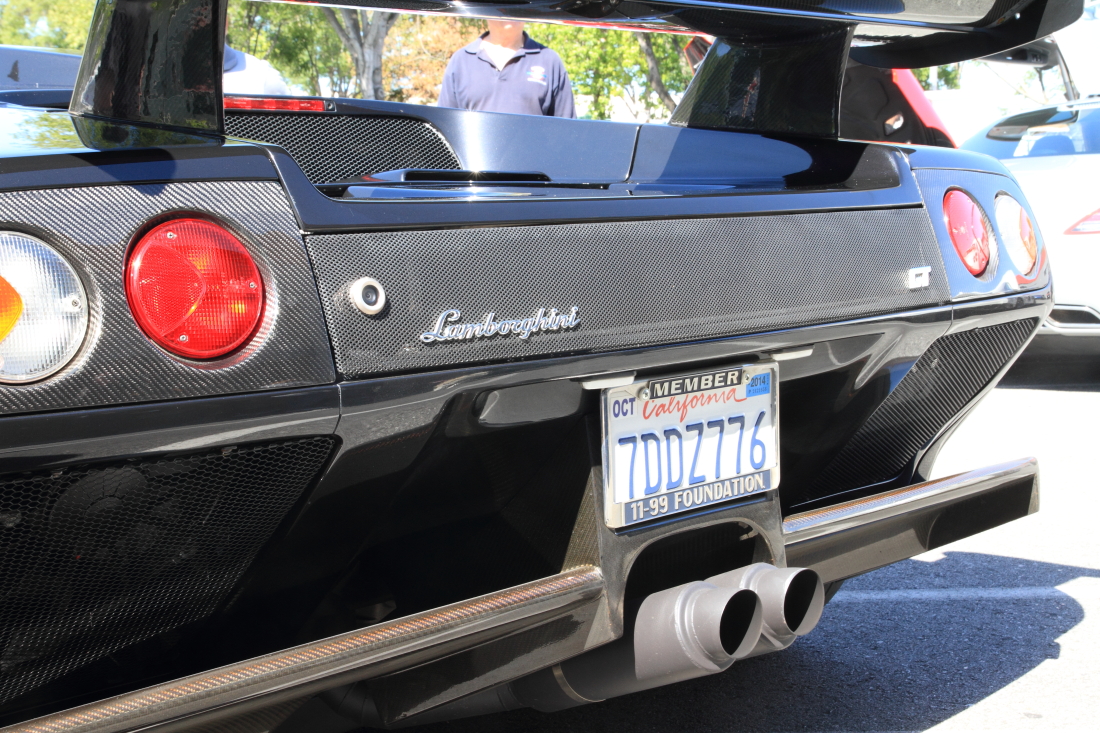
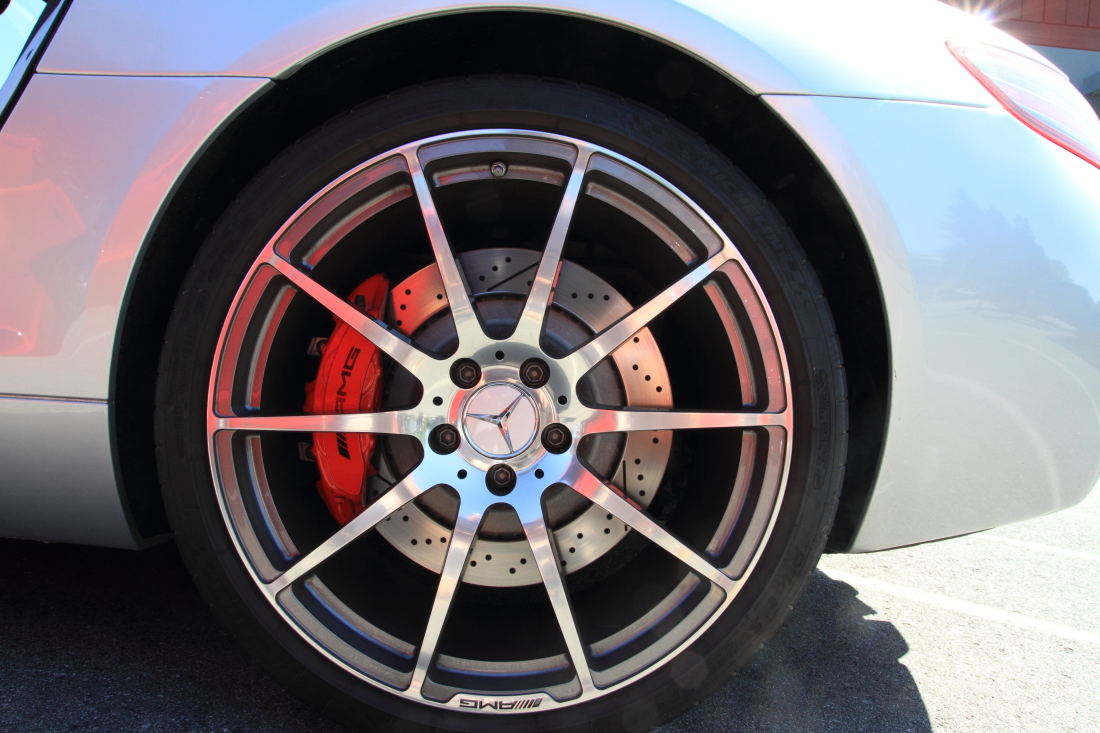
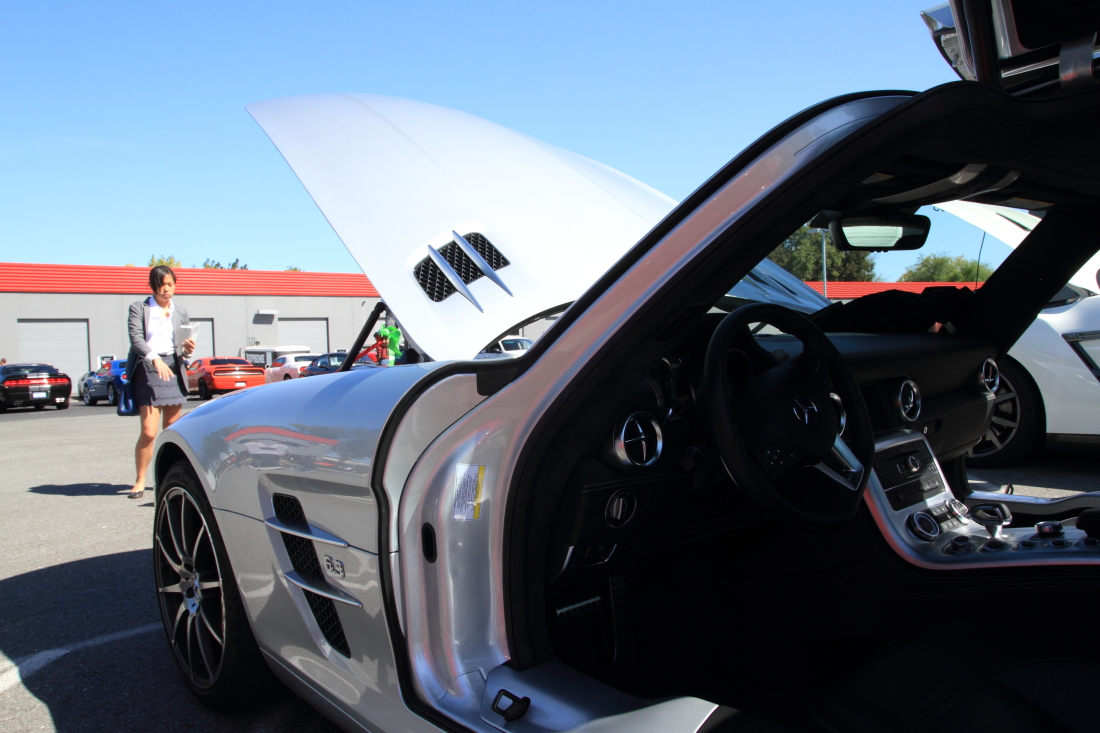
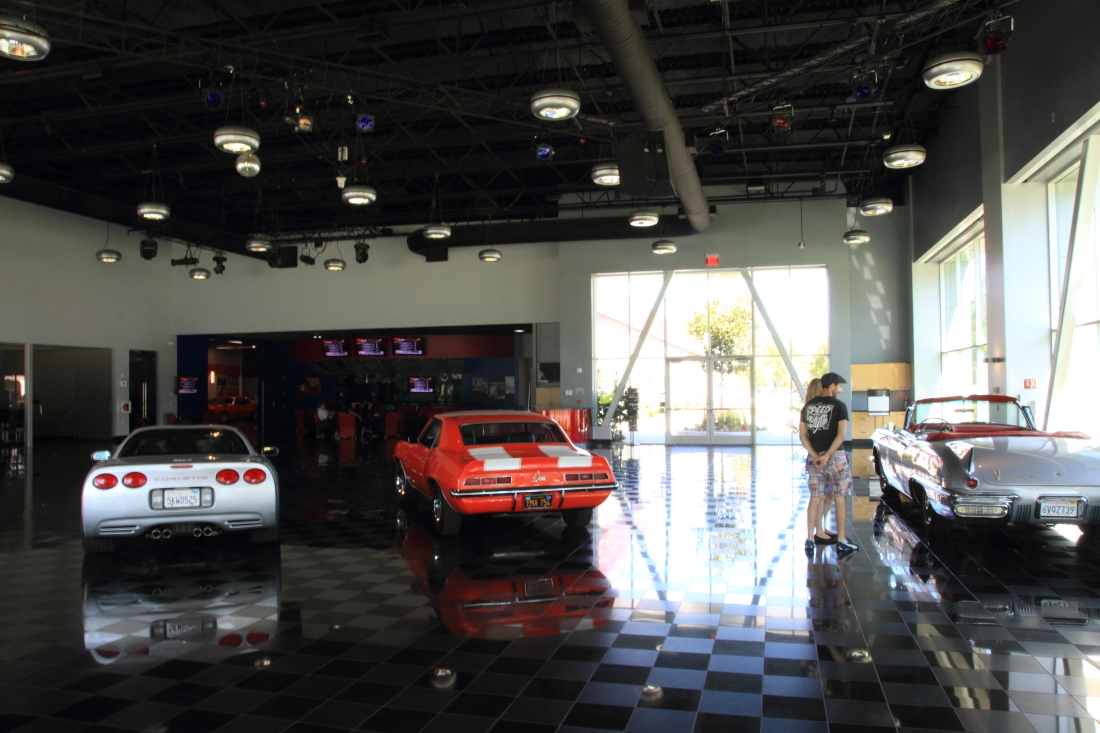
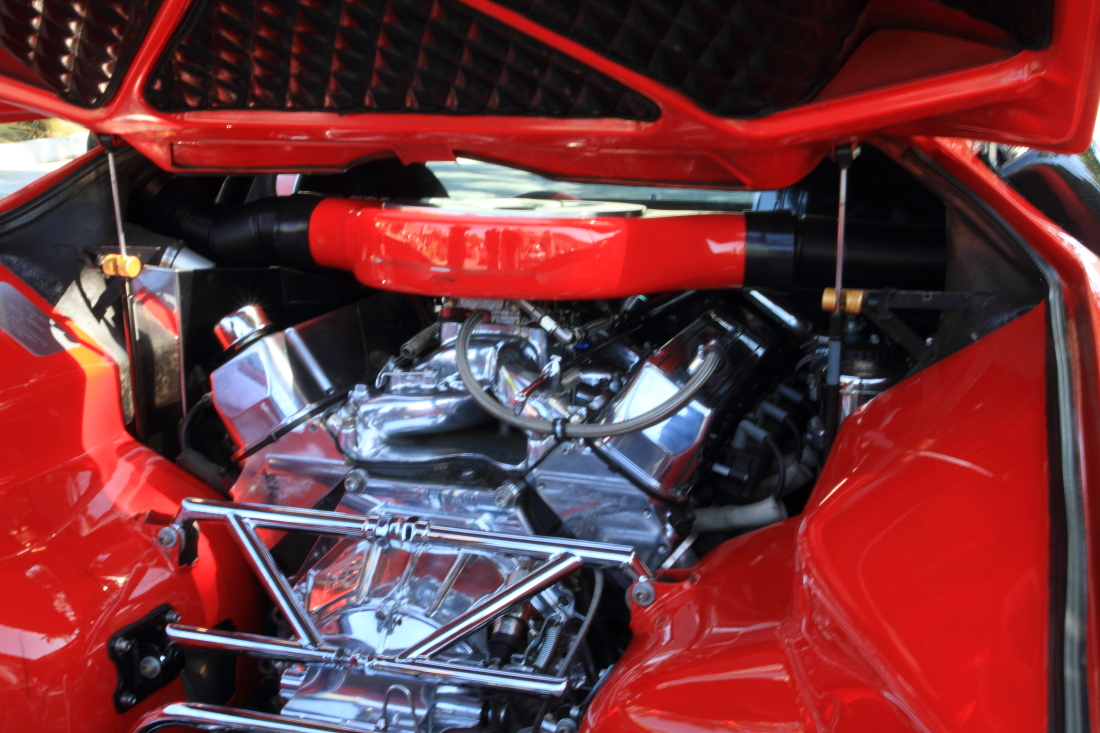
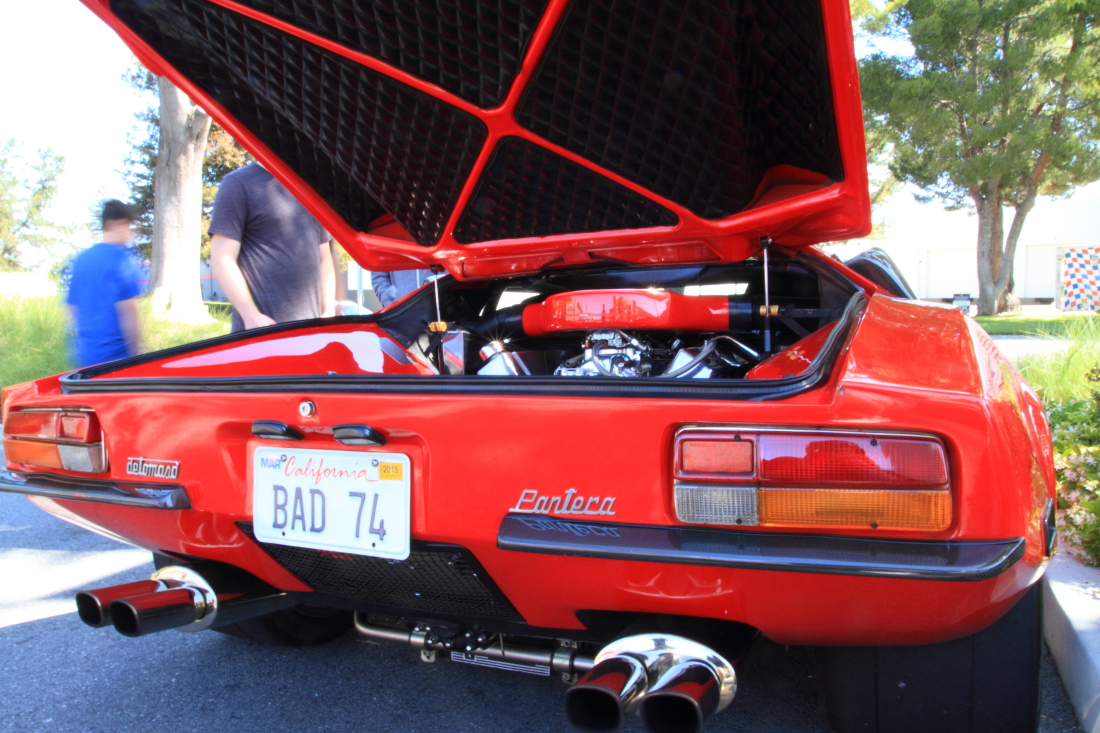
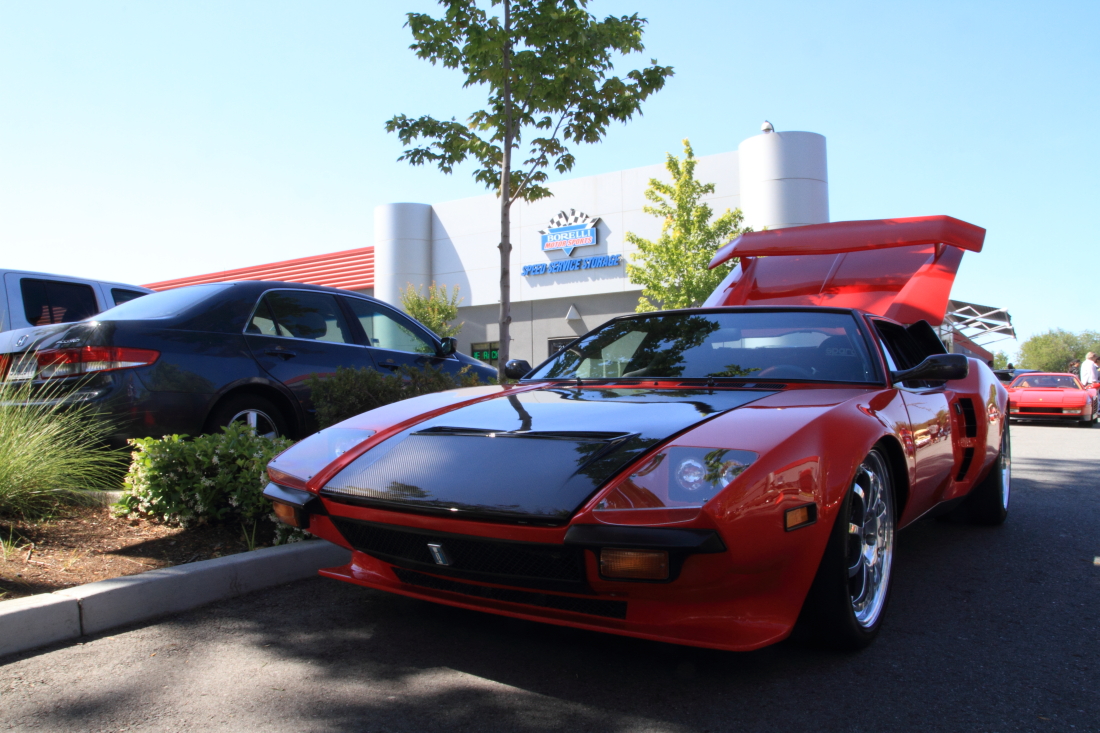
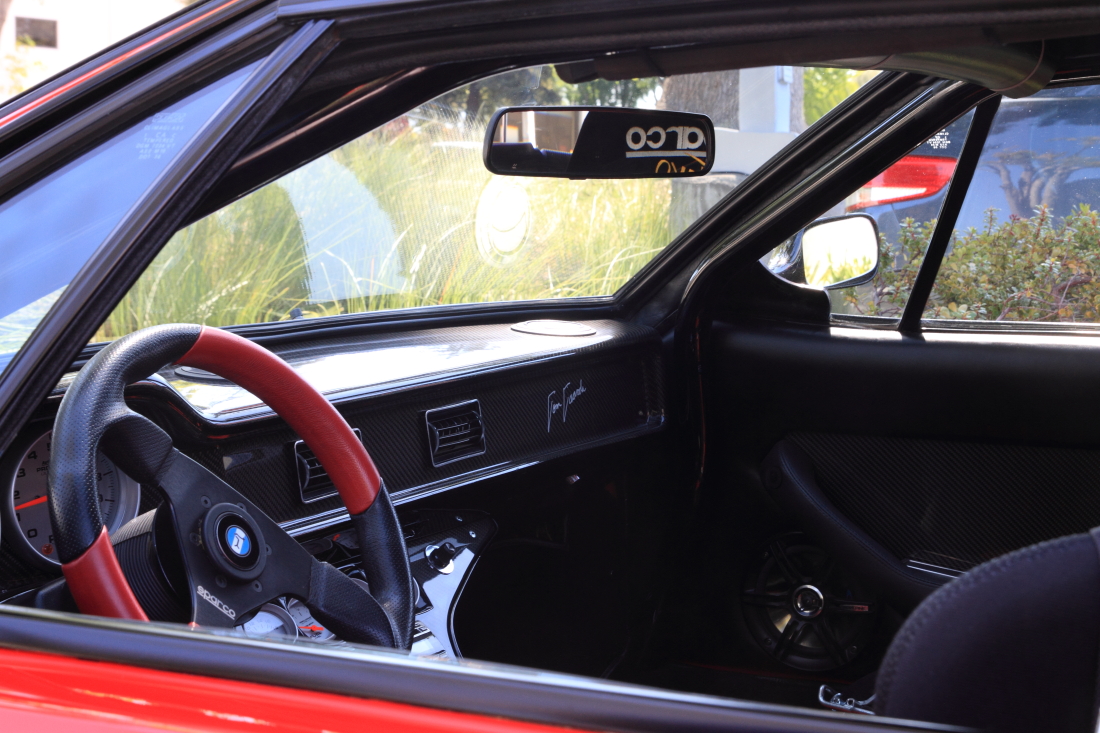
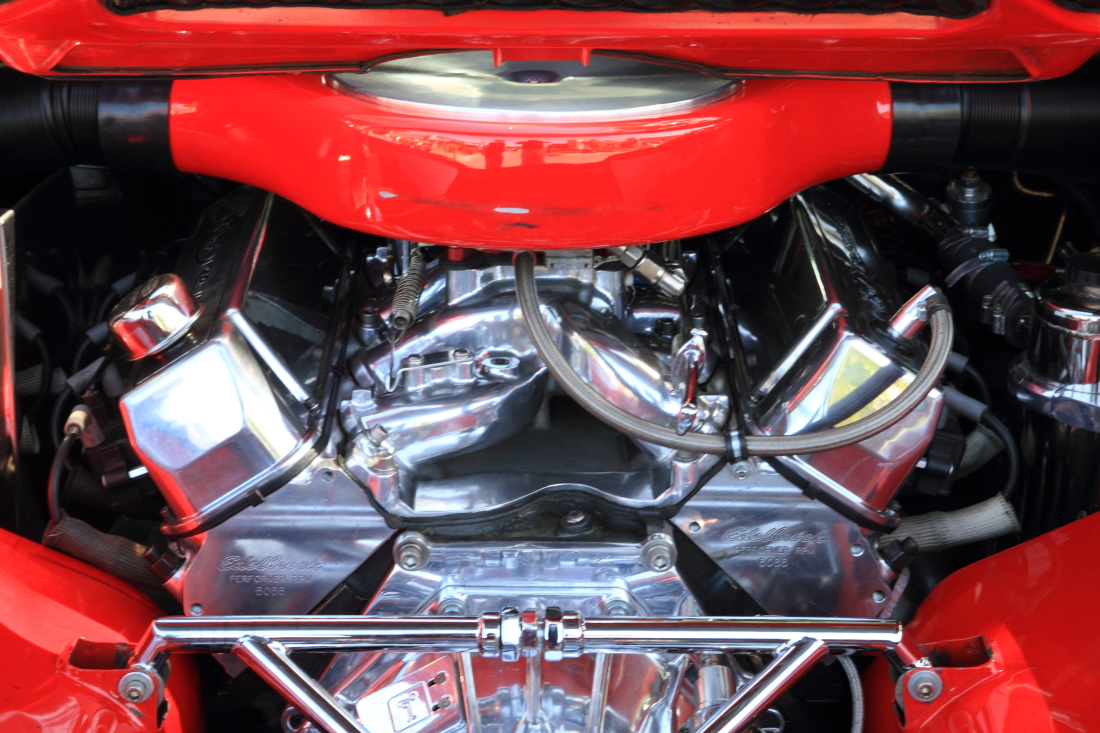
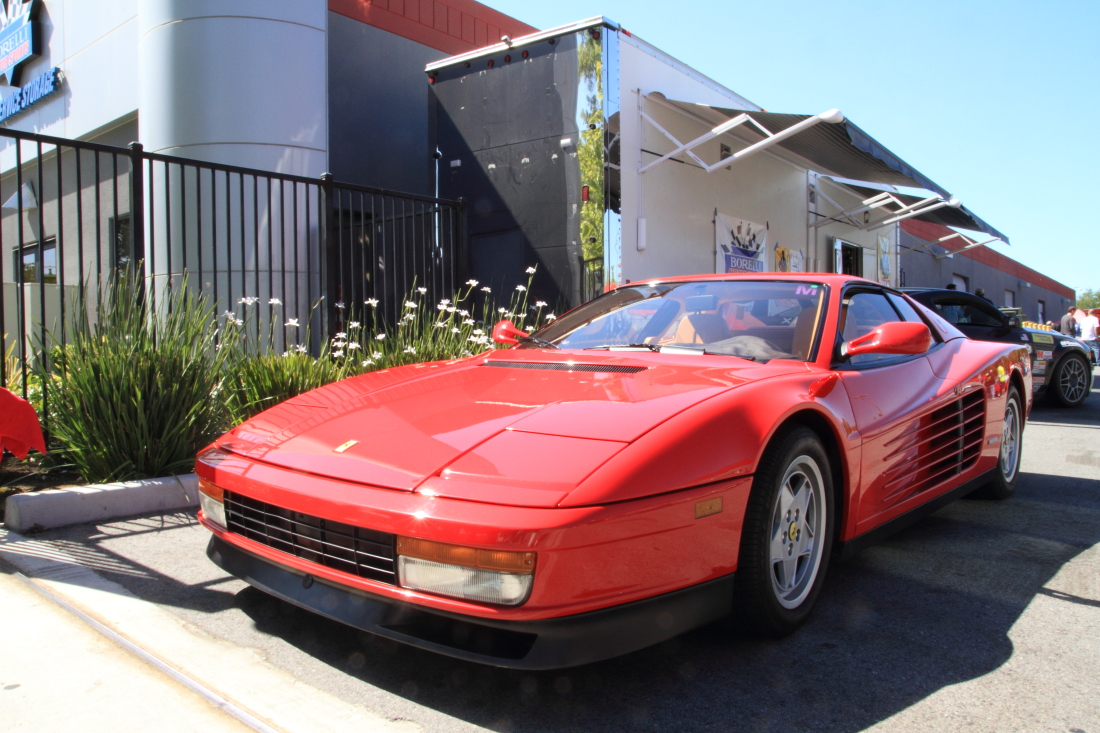
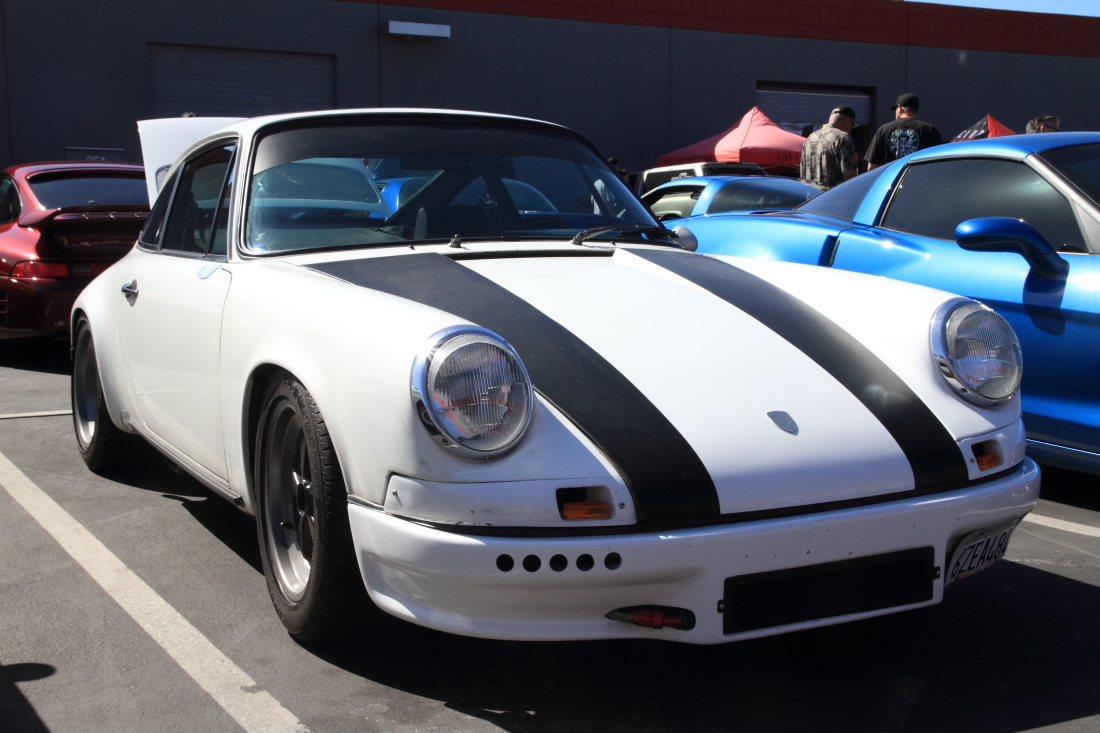
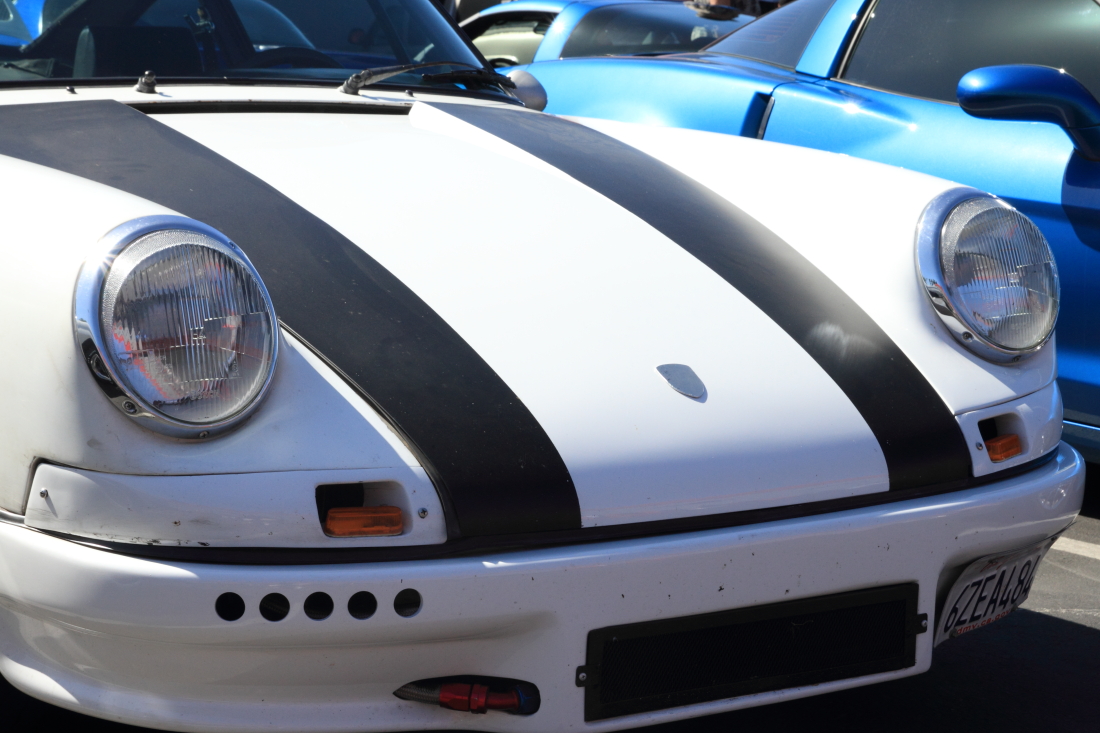
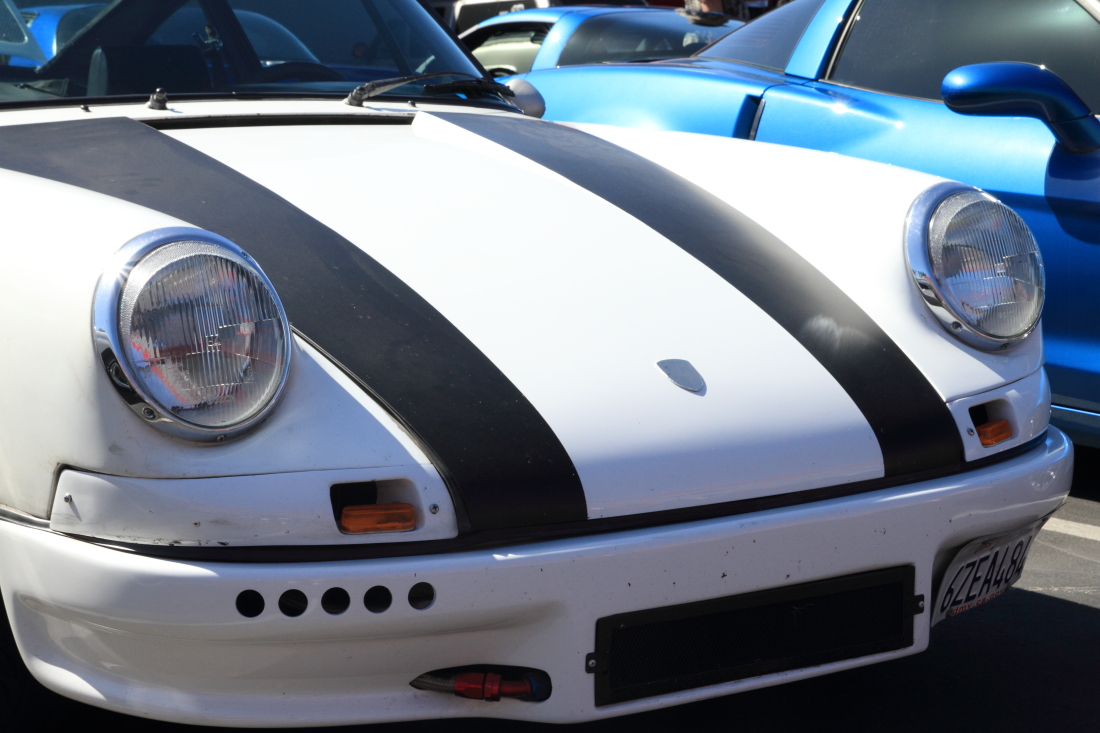
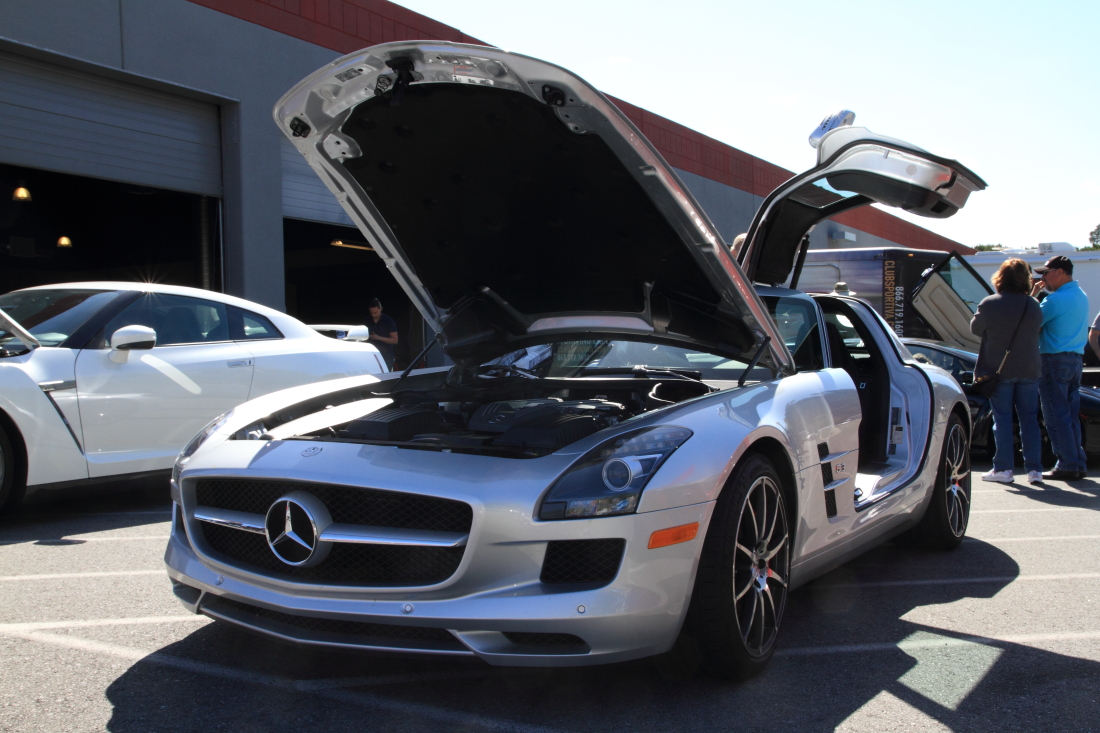
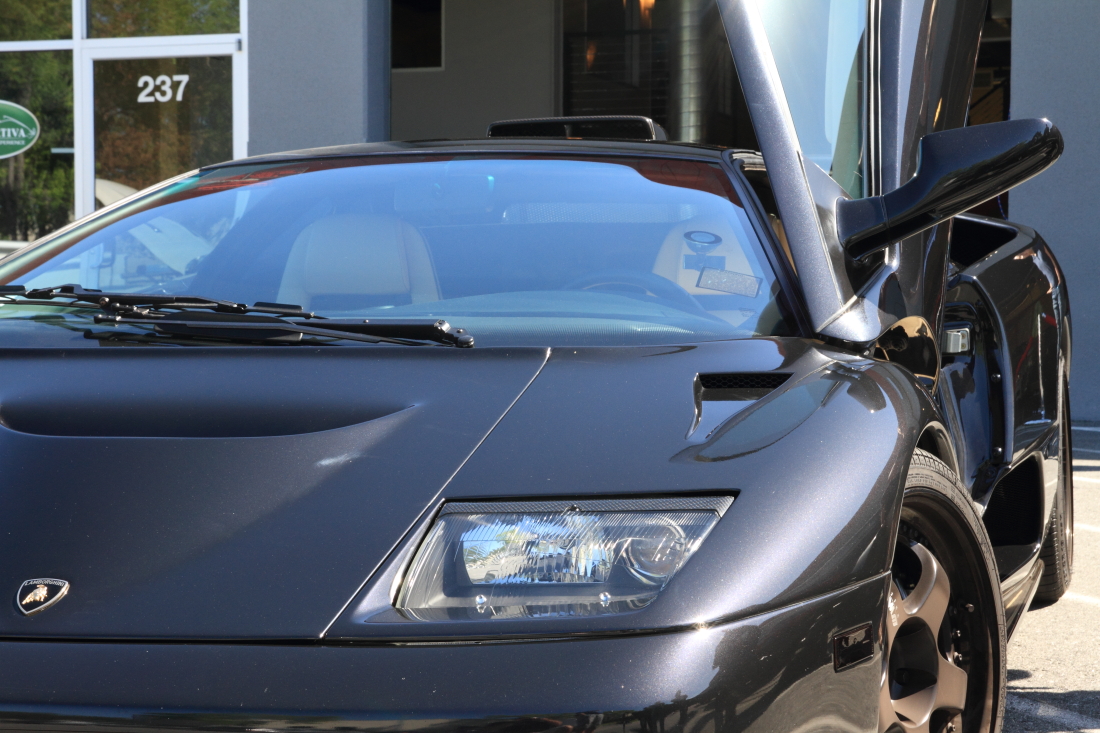
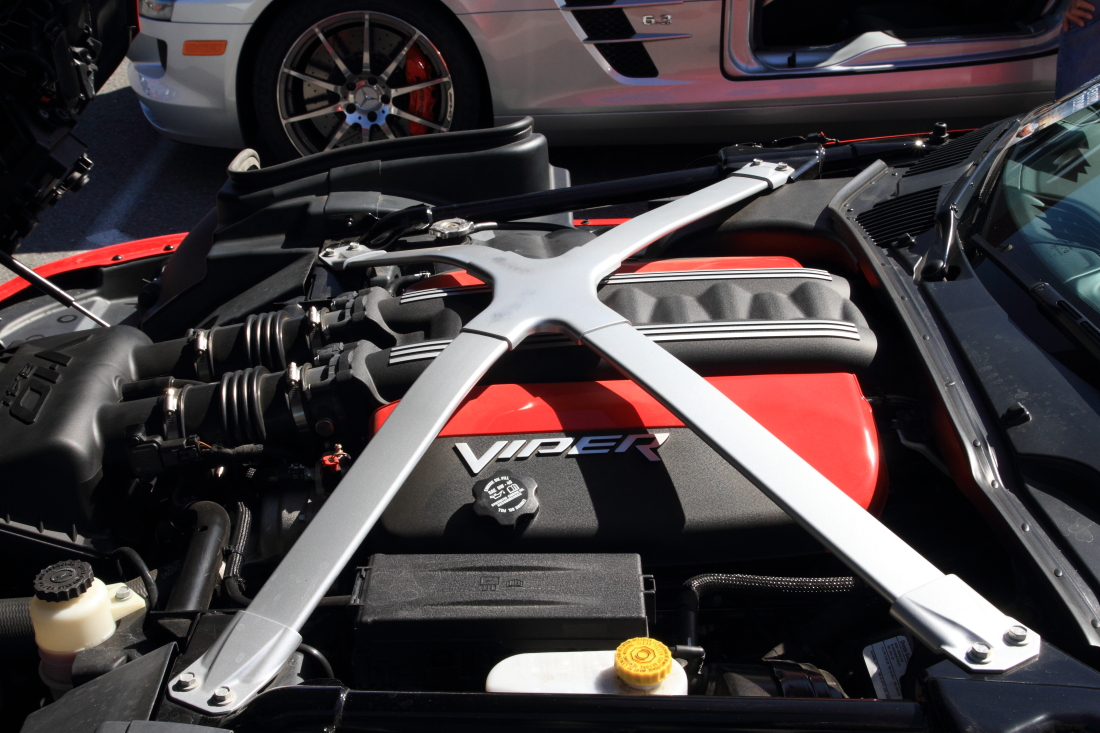
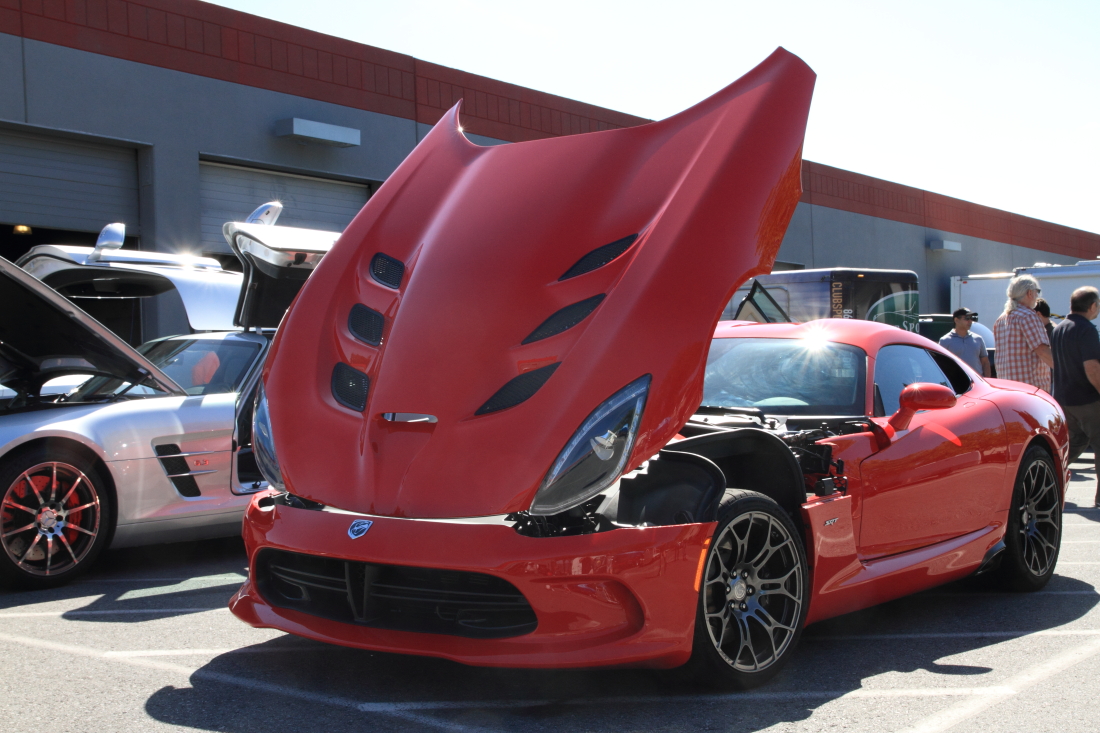
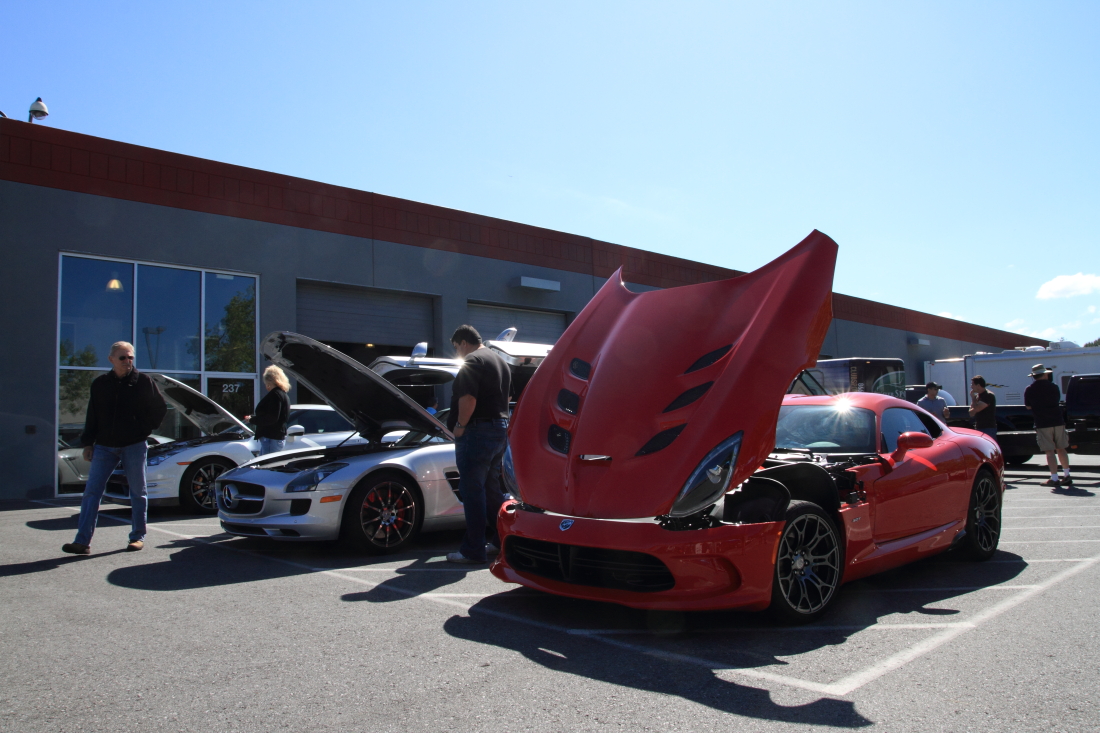
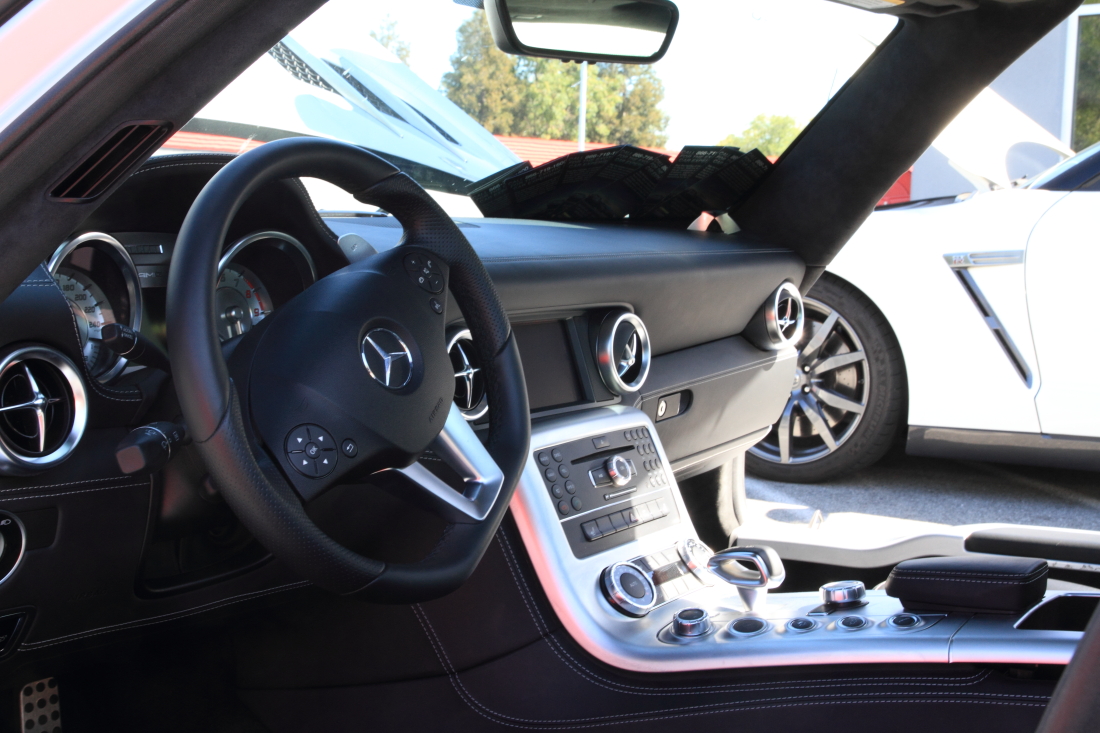
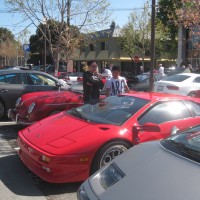
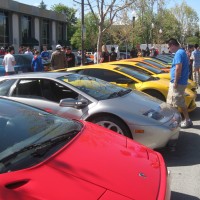
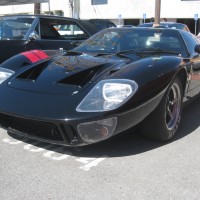
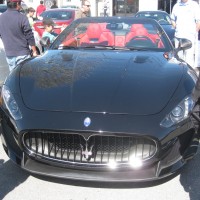
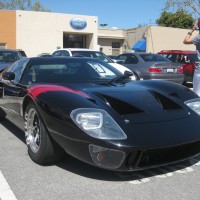
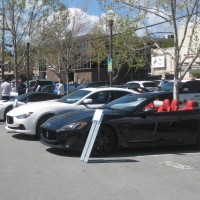
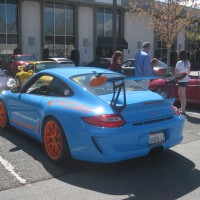
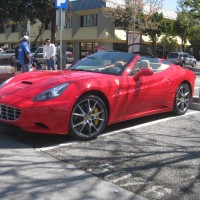
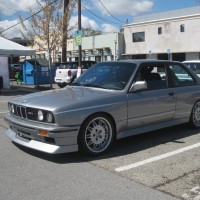
Wow, what a great morning for exotic cars! The variety was fantastic, from 1960’s vintage GT40 to the latest from McLaren, the 650S!! And plenty of heavy metal in between (including an epic MBZ SLS Black, in red).
Here is a gallery of the pics… ENJOY!!


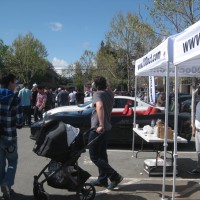


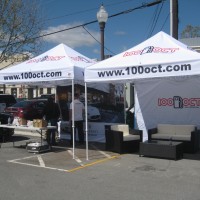
Thanks to the organizers, especially Benoit Boningue, fellow car club member and just plane cool dude.
Tonight, the Northern Lights were visible at latitudes low enough, to be seen in the Puget Sound.
Armed with my trusty Bogen carbon fiber tripod, my 17mm F/2.8 lens and a heart full of hope, I headed out to part of the county with a Northern facing beach. A few others were there to try to take in the spectical.
Sadly fires burning in Canada to the north, provided enough haze and smoke to obscure any chance of seeing this great sight. But that doesn’t mean I might not catch it on the camera (stranger things have happened).
Tonight, wasn’t one of them, BUT I did goof around with long exposures, lighting and moving objects.
This is what I captured:


Last shot. Reduced the time and waited for some departing traffic to pass me. A car came over the road in the opposing direction, but did not have it’s high-beams on, so shot was no totally washed out.

This has given me some ideas for other night photography projects. One I’d like to try is a set of long-exposure time lapse pics of the helicopters. So far, the opportunity has not yet presented itself.
Living with the updated shop.
Follow-up on my first Shop Makeover post.
One of the largest reservations I had about moving the workbench, was the lack of electrical on that side of the garage. Nothing was originally wired there. In fact there are 8 plugs in the shop, 6 of them on the ‘red wall’ side and 2 at the very rear of the shop.
What is the oddest thing about that, is the side of the shop with the main breaker box, there are no outlets!
My buddy Bill to the rescue! About an hour of parts selecting, wire stripping and doing it the right way (I’m sure I would have burned up something or killed myself, I’m a DC wiring guy, not AC), I now have this nifty 4-gang box right on the wall. And with it’s own dedicated breaker to boot. Now I have plenty of power options for the workbench. I’m currently selecting a multi-plug switched gang box to drop off the last connector. No rush, I have the power I need right now. My mini air compressor lives right there in below the box. It had always been a bit of an orphan floating around the shop. How, it has a place (like I said, a place for everything, and everything in it’s place).

For those (few) that asked, this is how the toolbox fit under the workbench. Almost looks like I build the bench around the toolbox, instead of tweaking the toolbox to fit the bench. Either way, I’m SO happy to have the toolbox AND workbench together. So far the tendency to leave tools on the bench and not put them back in the box has been nearly eliminated. As I said before, a man has to know his limitations and eccentricities, and find ways and methods that provide the opportunity to do the ‘right’ things instead of the ‘easy’ things.

Now… the banner.
That banner.
A gracious gift from my friend Mary (THANKS!). It has hung in multiple garages. Originally it was hung on the ‘big red wall’ before I painted it red. Now I have it suspended from the ceiling, via hooks (damn cement wall) along the back wall, covering the natural gas pipes the intrude into the shop.
I was not a big fan after I hung it up, and as time goes on, it’s losing even more favor with me.

So I took it down.

I think it’s less visually distracting without the big banner there. My Porsche banner, well, I plan to keep that. It covers the nasty pipes along the wall, and it does not hang down along the wall like the H&R banner does (did).
For me it works.

This is what the shop looks like this morning. The CLK tucked neatly away, out of the ice (and the soon to be arriving snow). Plenty of room in the shop.
Now I need to work on heating it. That’s been a big issue for me. I used to have a heated shop. I do miss that quite a bit. I’m sure it’s just a matter of getting some good electrical advice. Some space heaters should do the trick in the short term. Sealing up the horribly installed side garage door should also help. Right now leaves (yes leaves!) blow in there, along with the cold wind. One more item on my 2010 Shop ToDo list.

I purchased the house in January 2007. I took this picture on the night I received the keys. The garage looks pretty big in this photo. And in fact it is a nice decent sized tandem garage. Nothing was painted at that point. As you can see, the rear wall is cement.

The first thing I did, before moving anything into the shop was to start priming the walls. Being anxious to get out of the projects I was temporarily renting, I decided that I’d primed enough to move in my junk. And to a large degree junk it is.
The garage remained in this state for about 1 year, before I started to empty out of my storage units and move my crap in with me.
A downward spiral of hoarding, had begun.

Despite my best efforts of my messier side, to clutter things up. It remained pretty clean and organized for the first year following move-in. Here the walls are primed, I have my flag (it flew on my old house the morning of 9/11, I always flew a flag in front of my house), the last of my Porsches and for once very little clutter along the walls.

Fast forward two years (February 2009) and this is what it had all degraded too. Stuff everywhere, tools hard to find, boxes of 20 year old paperwork mixed in with cases of chemicals, car parts, books, and miscellaneous… stuff.
In this show I had actually done a significant amount of cleanup, since I was testing out the viability of converting the larger rear section of shop into a photo studio. With a pair of home-made backdrops (thanks to DIY Photography website), and inexpensive halogen lighting it actually worked!
The floor is wet because I mop it from time to time, to keep the concrete dust manageable. It’s really bad. Not sure whey it seems to power up so much. Cars and motorcycles maybe? Don’t know, but it’s less than ideal!

I’d also painted the wall above the garage door, and the stairwell entry. It was a blue I picked up at the store for $5.00 a gallon. Pretty good deal. And it’s really a nice blue. But.. not for the shop. I never finished the cut-in because I was not sure I wanted to keep it blue.
It was not a tough decision to change it, but I didn’t know what I wanted to change it too. White was too boring, dark blue was too dark. So it stayed in that condition until November 2009 when I finally decided on a color that worked for me.
Another one of the steps in the process, was to sell the beast of a motorcycle seen here. It was my KTM 950 Adventure S. A kick-ass machine, but one I seldom used. Basically it was just losing value and I had a fair bit of cash tied up in it. Selling it alone freed up a much of space in the shop.

Sometimes you have to make a HUGE mess, to start cleaning things up.
This is about 1/3 of the way into the project. By this time I had applied some white cement paint (high traffic formula), taken apart, moved and re-assembled my workbench.
One of the desires I’ve had for years, was to find a way to put my toolbox ‘inside’ the workbench. This does two things for me. One, uses up less wall space. Two, it’s one less flat surface I’m inclined to stack junk on. I’m not the cleanest person by far, but if I put some logistic limitations on myself, I can remain fairly neat and organized. One just has to come to terms with one’s eccentricities and limitations.
Getting my Snap-On toolbox under the bench required a permanent modification to the bench itself. It also required that I remove the wheels from the base of the toolbox so that it would ‘slide’ under the benchtop without me cutting the bench top supports. It’s FAR easier said than done. Removing the wheels was easy. Wrestling the box up inside the confines of the workbench took about 30 minutes.

Storage racks cleared, boxes opened and inventoried, you name it. The process was getting to be pretty intense. At this point piles of things were being relocated in groups around the shop, in order to gain access for painting or cleaning of other spots of the shop.
A failed attempt at application of a red stripe between the grey and white resulted in the rough line seen there. The ‘maximum application time’ suggested for painter’s easy release tape is, as I find in a lot of things (like the weight rating of cheap ladders), actually has some relevance. In this case it’s 2 weeks. And in my case, I left it on longer than that, over-painting the bad Red gloss paint. The Red under the white primer is no longer visible, after countless coats. The buildup of paint on the wall in that area is, impressive?

After completing the upper wall repaint, I moved onto the rear wall. A lot of the junk on the floor was held by the empty shelving unit seen middle photo. Most of it was, actually. But here, things are starting to come together and I can see the light at the end of the tunnel. This is turning out to be worth all the effort.

PAINTED!
Long shot to the back of the shop. Walls painted in the two colors and my big H&R banner hung up. It’s really huge. And it’s a nice high quality banner. However, I’m not loving it. It’s just too big.
I think I’m going to take it down for while and see how I like it without the big banner. Maybe I’ll sell it on CraigsList. Maybe I’ll toss it. Maybe I’ll store it for a future shop at some point in the, uh, future. But I’m pretty sure I’m taking it down for now, at least.

Even the largest of my vehicles fits easily in the reconfigured shop. The proximity of the work bench could be an issue working on doors, but I still have the entire latter 1/2 of the shop I can pull the vehicle into if I need to do that work.
As shown in previous photos, I can fit two cars, three motorcycles and a fair bit of storage all in this ‘little’ shop.

A place for everything, and everything in it’s place.
For the time being, the motorcycles will live along that wall. When the weather improves I plan to spread them out for easy selection.
The line between the grey and white turned out very crisp, and thanks to the use of the laser, level and very straight.
Patience pays off.

The final result of the wall repaints. The slip cover on that couch has to go. It’s hideous. Not as hideous as the couch fabric it covers (long story there), but it just looks… bad. I think a new red one is in order. There is still too much concrete dust to use black, it would be worse that the denim blue.
Again, the upper / lower sections of the wall show a nice crisp line. Unfortunately that wall is concrete and full of imperfections. At some point I might skin it with 1/4″ sheetrock and repaint. But not this winter.

The choice to repaint that section in the high-gloss gray enamel, made me happy. It looks nice, clean and not so depressingly dark when I walk to the shop. Plus it’s not the same boring white I could have done.
This time I cut in the corners and even painted that section of the ceiling to match. That was partially a test to see if I should paint more of the ceiling in that way. So far I really like it. Not sure how it would play out in the full garage but I’m leaning towards it pretty heavily.
Also in the photo is the aluminum later that almost killed me. Stupid thing collapsed and I fell about 4′ do the cement floor. Luckily I still had a bunch of stuff staged for donation and storage, and that ‘cushioned’ my fall. Cheap Chinese crap ladder. I’m glad I have my real American made ladder back from my friend Colleen (it does not look like it ended up in any of the photos, but I was also not trying to photograph my ladder!).

And finally, the ‘Big Red Wall’. This is actually how the entire project started. I decided to finish painting this wall with primer, then applied the $5.00 gallon of red paint (Lowe’s Clearance Sale) and viola. I was so happy it inspired me to redo the entire shop.
In the back you can see the kickback section of wall, now painted in a sage tone green. This is the same color I painted my kitchen (another $5.00 score I had custom mixed). Frankly, most people that have seen the shop don’t understand my green wall. Tough. It’s my shop. It might see the same white-gray treatment the rest of the shop sees, but I’m going for a bit of a multi-purpose area theme. Mixed shop and video gaming man-cave (60″ plasma and network cabling to follow later).
I have a couch (that slip cover is NOT going to remain… looking for a better looking cover right now) for the space, and a pair of stacking office chairs. I’m also on the hunt for more 50’s era bar / dinner stools like I have upstairs. There is a quirky place right across the street from work that sells random stuff. Next time they get some more I’ll be in there to check them out.
Drain pipes also received a treatment of the gloss gray. I think it’s much less distracting than the black pipe covered with plaster and white paint streaks. They almost look like steel pipes (they are some sort of poly/pvc/plastic).

The next step for me, it taking care of the floor ‘treatment’. Right now I am investigating the costs and utility of installing Martial Arts mats in the ‘pregnant’ section of the shop. The other option is the epoxy paint. Painting would have to wait for summer since it won’t cure in these temperatures.
I’m sure I’ll have more to say on the shop later.
For now, I rest.