With the impending move to one of the state’s premier recreation areas, I’m embarking upon setting up a customized data systems based on the Raspberry Pi, that will collect and display recreation related data. Some of the goals of this project are:
THE PLAN
- River flow rate — knowing what the current river flow helps decided if it will be a weekend of tubing, kayaking or finding something else to do. River flow is managed by the Army Corps of Engineers and can vary greatly. Knowing the current flow helps plan the day.
- Lake Level — certain boat ramps, beaches and parks are better at near-full level than not. Having a good idea of what the beaches and marinas might be like before heading down the hill to the lake can be helpful.
- Area Traffic — this one will be tricky, but the plan is to leverage TXDOT traffic APIs to find out what the traffic might be like heading into the major cities (ex. Austin or San Antonio) should there be a need to do so. There are a lot of existing resources but having it all in a dashboard would be nice to have.
- WX — of course.. some sort of simple weather forecast dash to show the day’s expected temps, if lightning is in the forecast (you don’t want to be on the river/lake when the heavens open up), etc.
THE RECREATION DEVICE
The plan is to use a Raspberry Pi 3b as the data harvesting and webapp platform. In addition to the standard Pi, I’ve added a 3.5″ touchscreen to display the data in a stand-alone format.
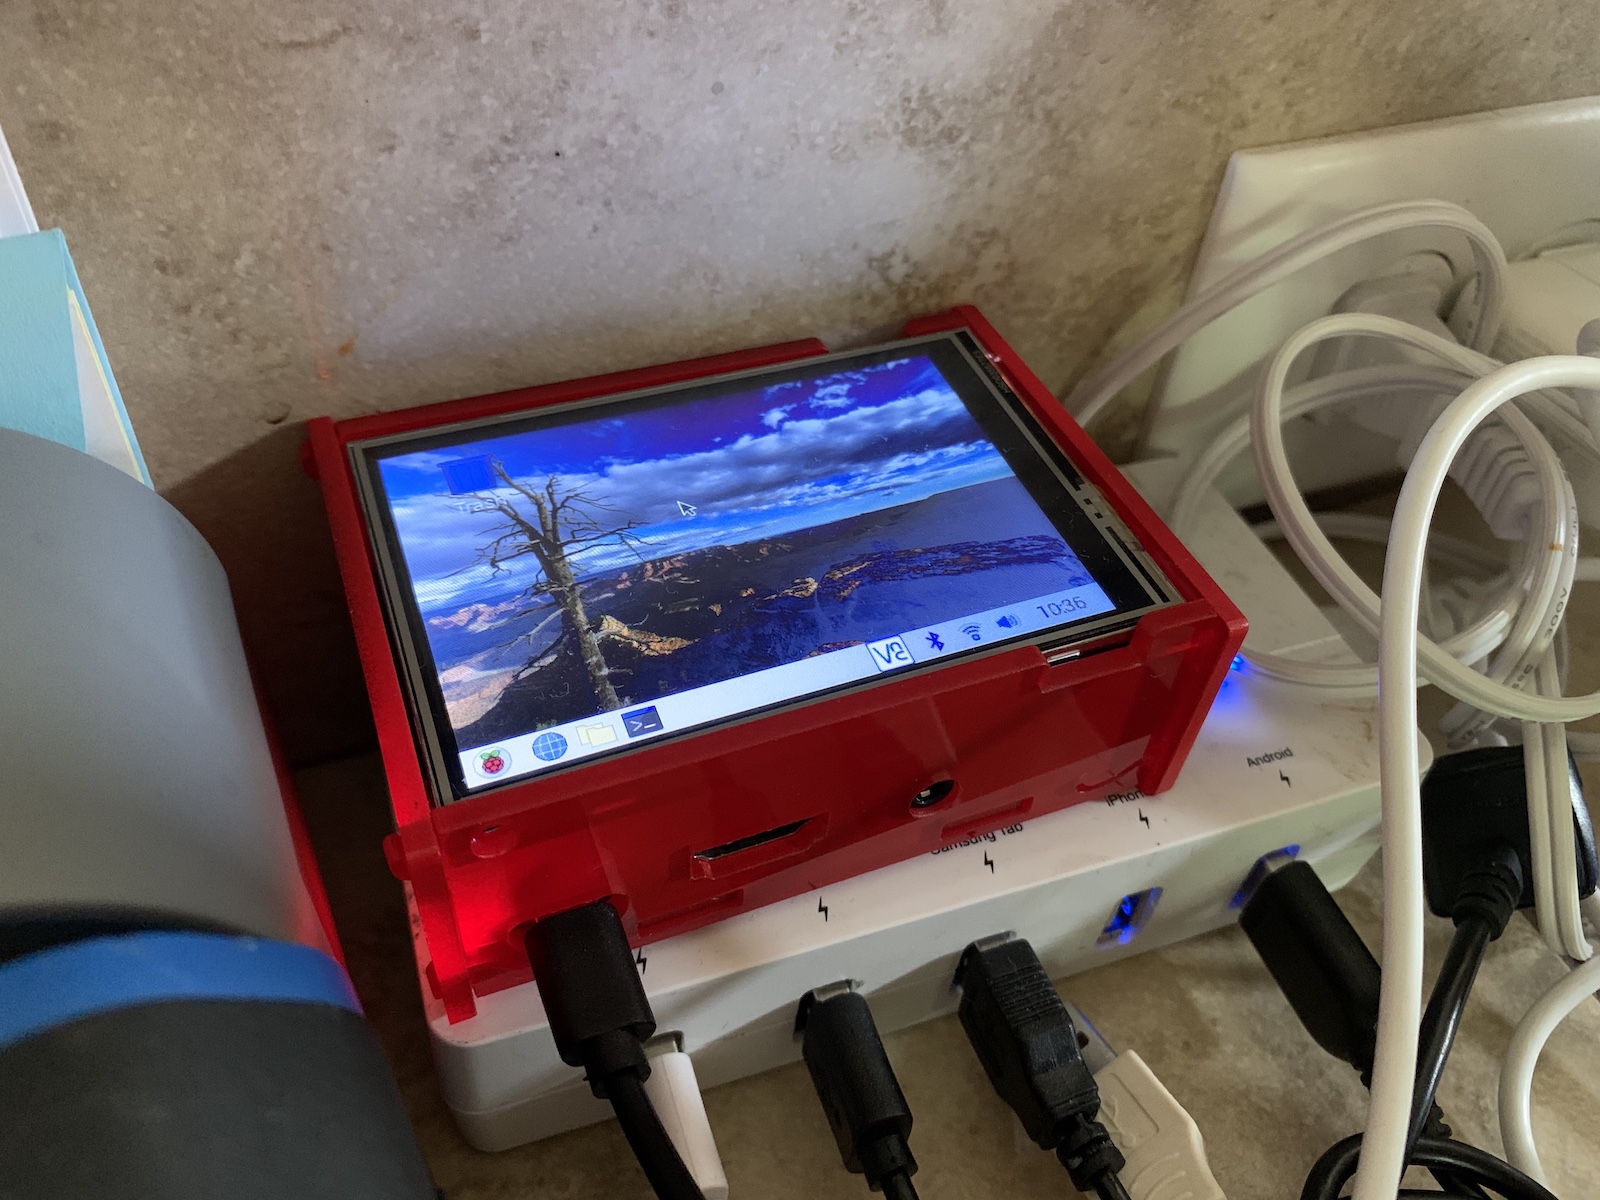
The full plan for the webapp will support both the micro 3.5″ display as well as interface versions for larger displays such as a table or desktop.
CONFIGURING THE PI
Once you have downloaded the Pi Image you want to run, have it burned to the micro SD card and the system booted up, you’ll need to have it either plugged into your network on an ethernet cable, or attached via HDMI to a monitor.
I plugged the stripped down device into the router with short cable:
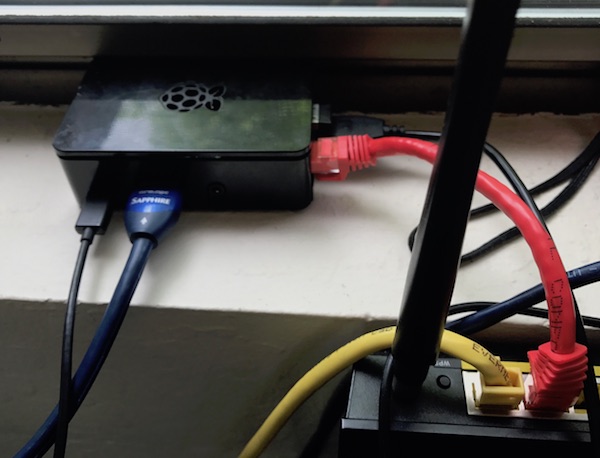
Once it was powered on, checked the router to locate it’s DHCP IP address, in this case it’s 192.168.1.220

Using the terminal window on my, I ssh’d into the device as the user ‘pi’ using default password ‘raspberry’ . Once connected, I set about updating the PI.
sudo apt-get upgrade
If you face a dpkg error.. this command will resolve it, and you can re-run the command above.
sudo dpkg --configure -a

sudo apt-get upgrade
SETTING UP WIFI
To untether the device from my LAN, you’ll need to configure the Pi to connect to your WiFi. If you are running the desktop version of Raspberian, you can do this with the networking setup dialogs. If you do not, here are the steps for setting up your networking, including defining your network and password.
Locate the wifi network configuration file and add the following data. You can of course use tools to encrypt the password in this file, but I’m not super-concerned about an exploit on my LAN so I’ve let this in plain text.
sudo vi /etc/wpa_supplicant/wpa_supplicant.conf
Add the following block, with your network specifics
ctrl_interface=DIR=/var/run/wpa_supplicant GROUP=netdev
update_config=1

country=USnetwork={
  ssid="YOUR-NETWORK-SSID"
  psk="your-super-secret-password-goes-here"
  key_mgmt=WPA-PSK
}
Now setup the wlan with a static IP address. You could configure a DNS service to automagically detect the IP address of the system, but for me it was easier for me to pick a static IP and configure the Pi’s network accordingly.
Edit the network/interfaces file:
sudo vi /etc/network/interfaces
Add the following block. This will set a static IP (make sure it’s in a range not managed by your DHCP to avoid future conflicts).
auto wlan0

iface wlan0 inet static
  metric 0
  wireless-power off
  hostname recserver
  wpa-conf /etc/wpa_supplicant/wpa_supplicant.conf
  address 192.168.1.100
  netmask 255.255.255.0
  gateway 192.168.1.1
  network 192.167.1.0
  broadcast 192.168.1.255
  dns-nameservers 192.168.1.1 8.8.8.8
SETTING UP THE DISPLAY
The display that I have installed in the Pi’s case is the MHS-3.5 display. Installing the drivers requires only a few commands. While logged in as the user ‘pi’ download the LCD-show package from git and configure execute the display configuration script.
git clone https://github.com/Lcdwiki/LCD-show.git
Move to the cloned directory and run the setup script
cd LCD-show
sudo ./MHS35-show
This will download and install packages required to use the display. Once it completes, you’ll want to reboot the Pi to verify that it is working properly.
sudo init 6
Upon reboot, the screen should become visible and operable.
In Part 2, I’ll cover installing Node, Maven and Node Package Manager.