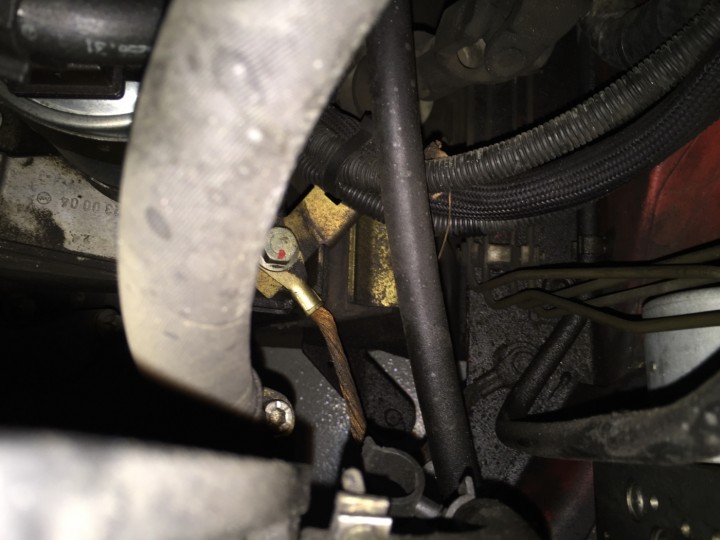
This really shows it all:
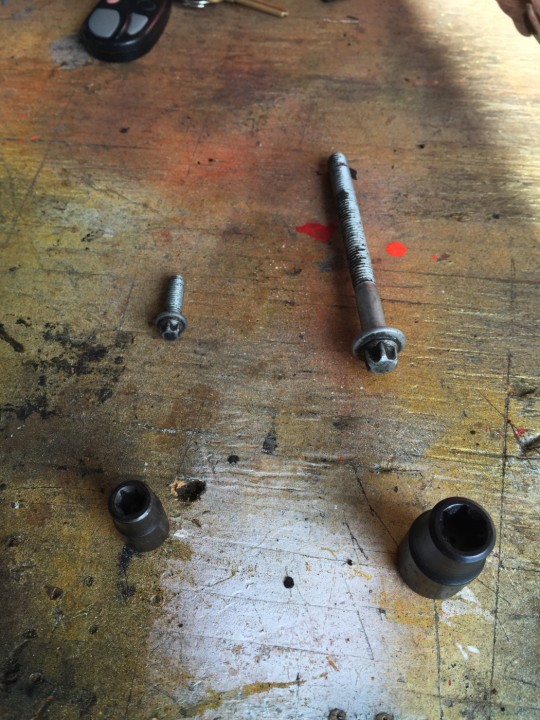
The work was not difficult, but it was a little time consuming to get to the upper most rear bolt, and also to remove the turbo resonator. To do so actually required a 1/4″ spanner wrench to operate on the small E8 TORX head bolts.
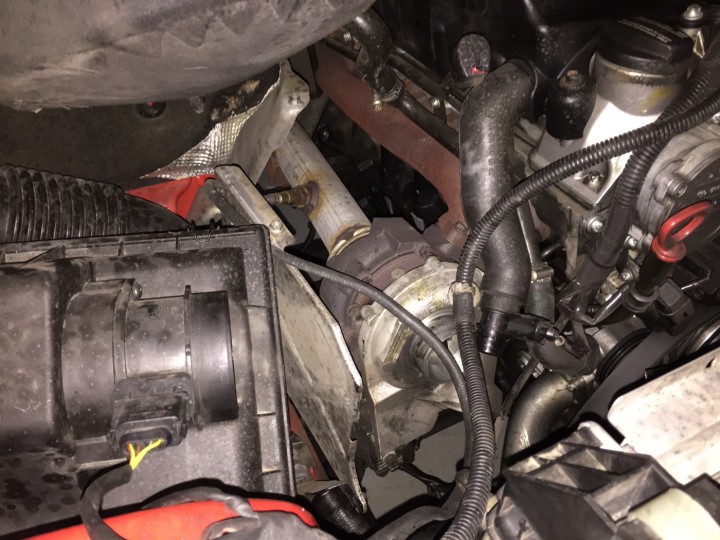
To properly address the repair, intake tract has to be removed from the passenger (right) side of the engine. Here you see the parts removed, which include the intake hose, turbo resonator and output hose to intercooler, along with the heat shield.
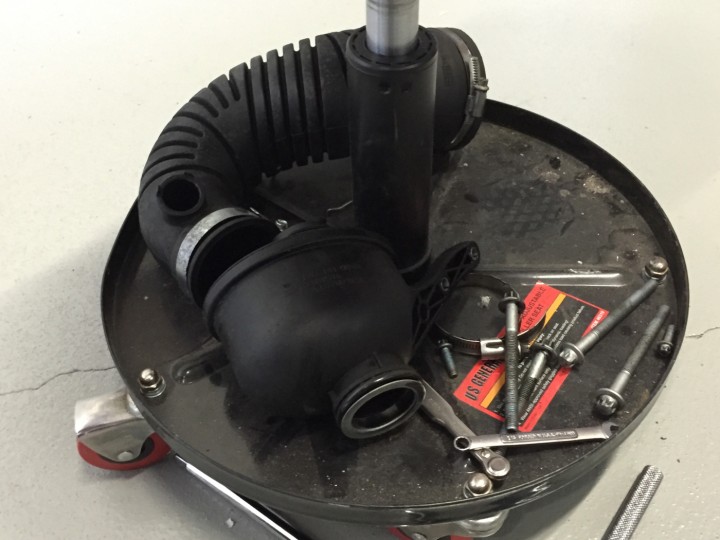
Here is the intake hose and turbo resonator that were removed.
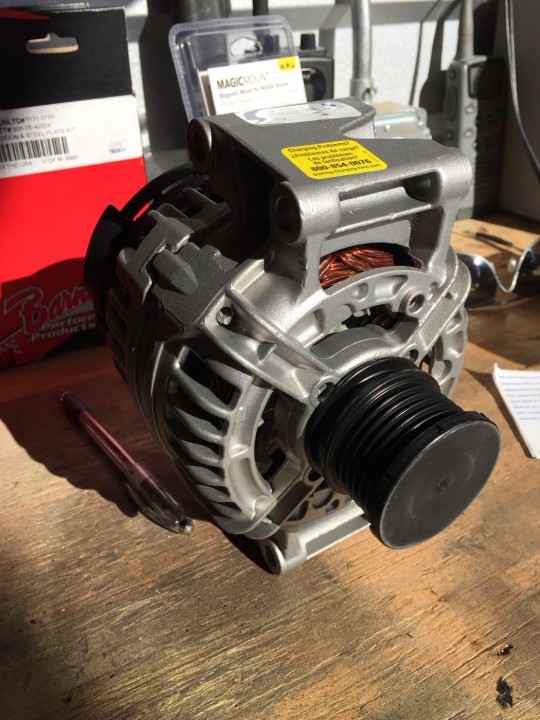
Replacement rebuilt alternator, ready to install!
Close up of the “fiddly bolts” you will encounter doing this work. The larger of the two (there are 4 of these to deal with) use and E12 TORX Socket (seen below the bolt). The smaller of them (there are 2 of these) use an E6 TORX socket, however a 1/4″ wrench works better due to the confined space.
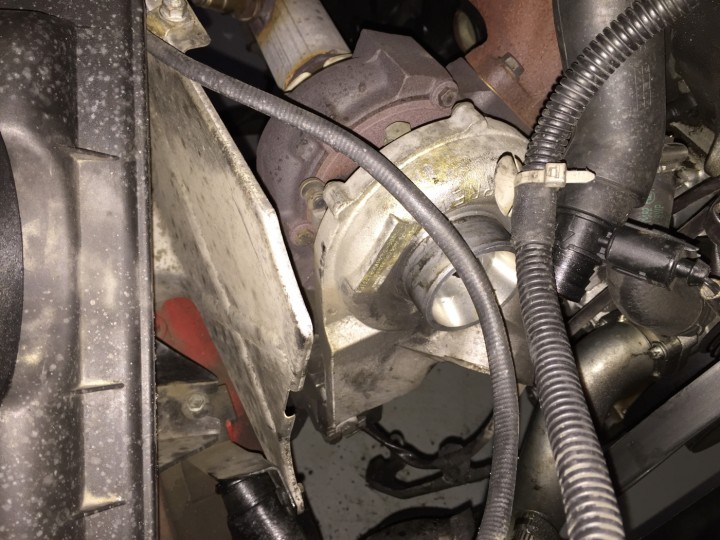
A little closer picture of the turbo sands intake hoses.
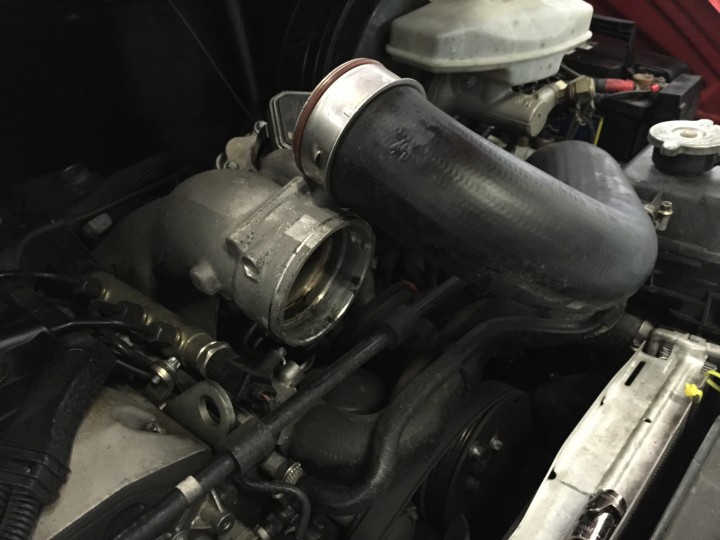
To easily move the belt tensioner, I found it simplest to just disconnect this hose at the intake (don’t lose the locking clip!), making the turning of the socket wrench on tensioner stud much less of a hassle.
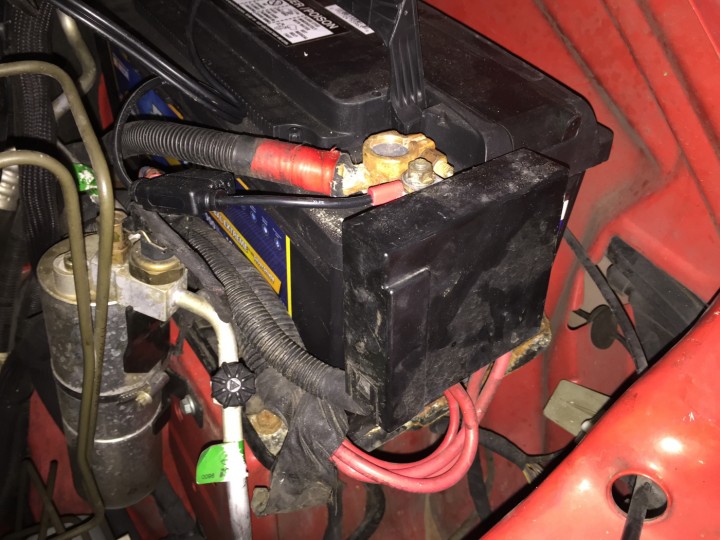
Another part of the system that can fail, are the high-AMP fuses that are located in a black box next to the battery. Here is that box.
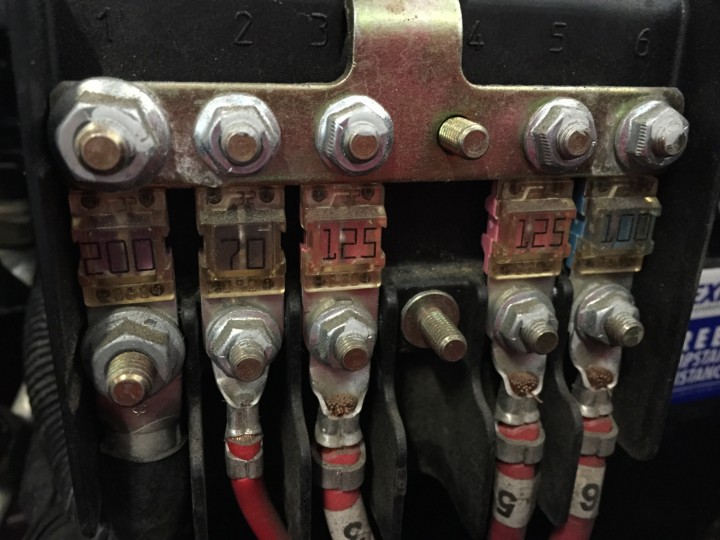
Inside the high-AMP box are a set of specialty fuses. It’s generally reported that the dealership is the only source of these fuses, and they are not commonly stocked, so it might be a good idea to order a few ahead of time “just in case” as this is not an rare failure point.
Grounds are also an issue on these trucks. This is a main body ground, located right above the battery. In this photo the negative ground is still disconnected from the Alternator replacement service.
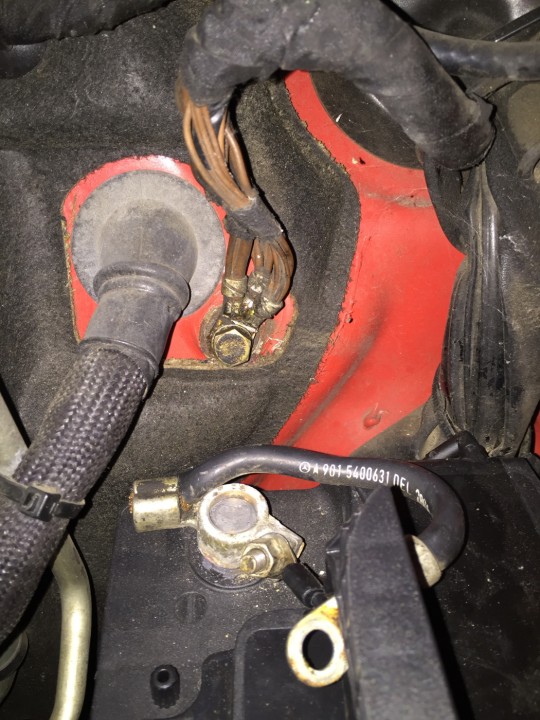
Another of the highly suspect grounds can be found (again on the driver side) down at the engine mount, and connecting back to the chassis. Both of these grounding points should be carefully examined.
