Tag Archives: 3500

Track Truck – repairs done, now the mods start.

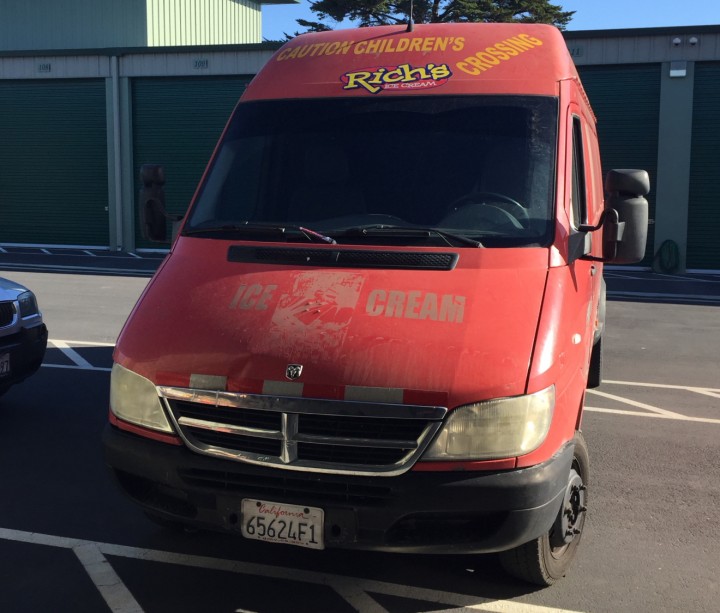
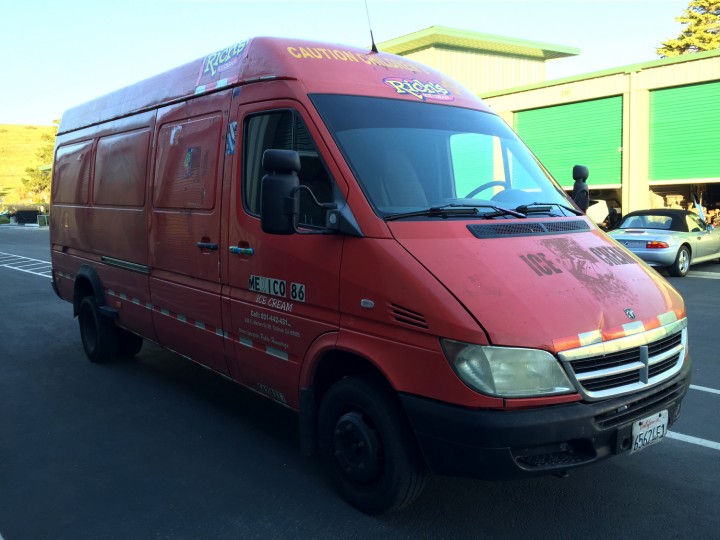
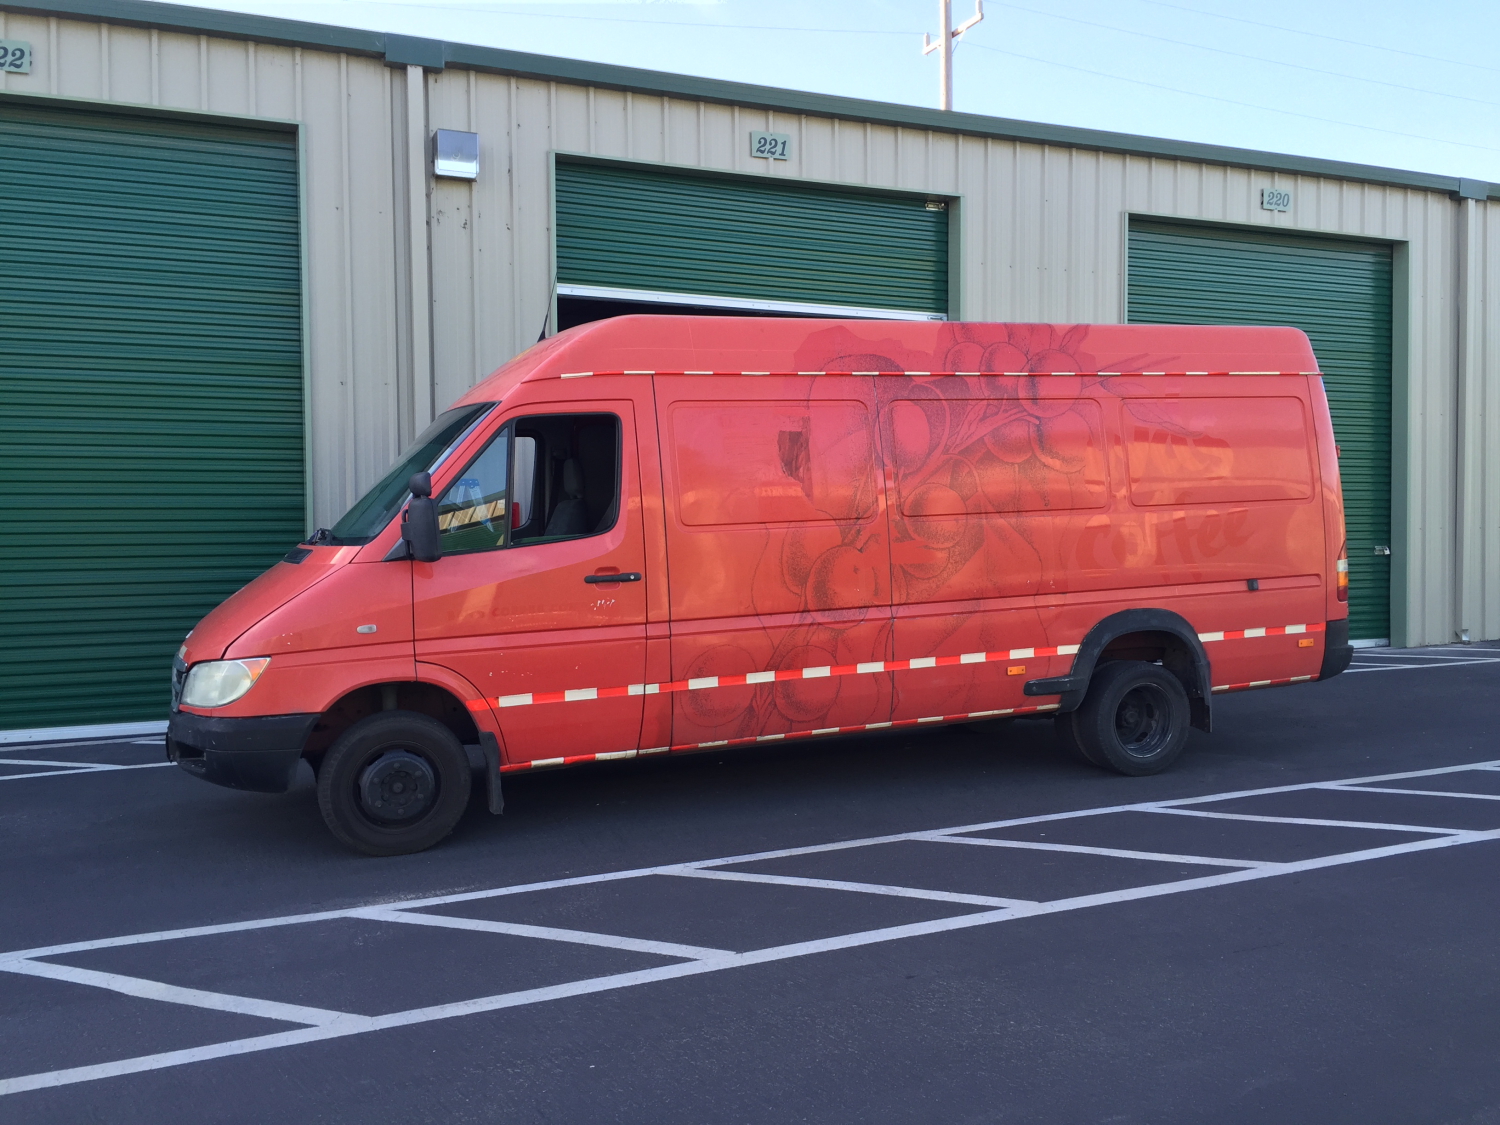
With the required repairs to make it run complete, now the work on mods to get it from a former runner of illegal immigrants, to functional (if not nice) micro toy-hauler can begin.

Flooring

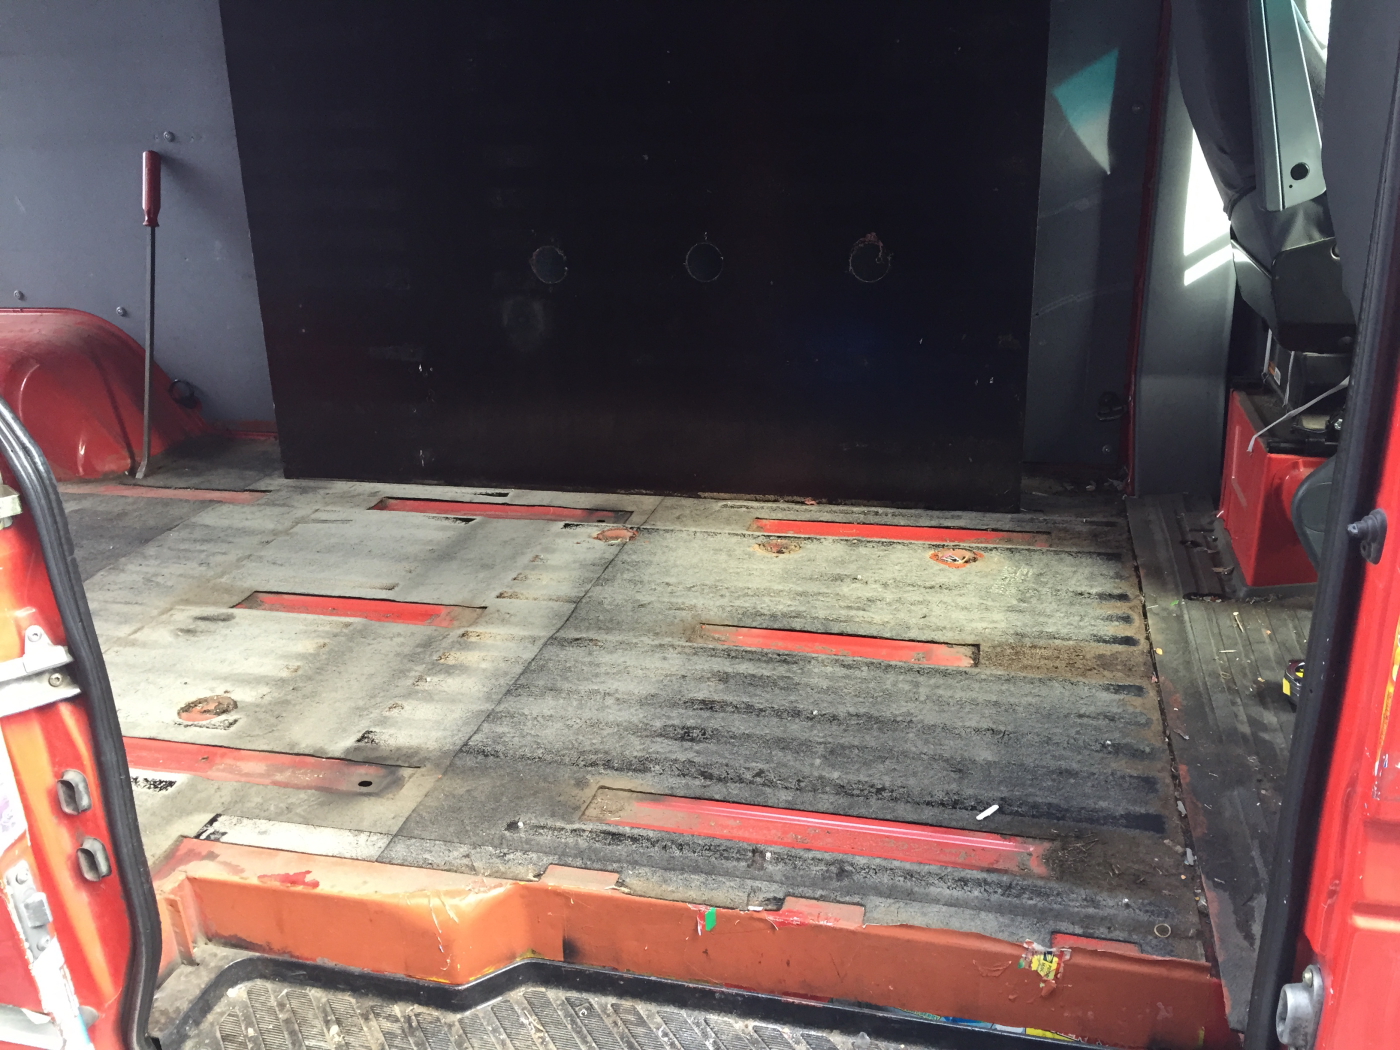
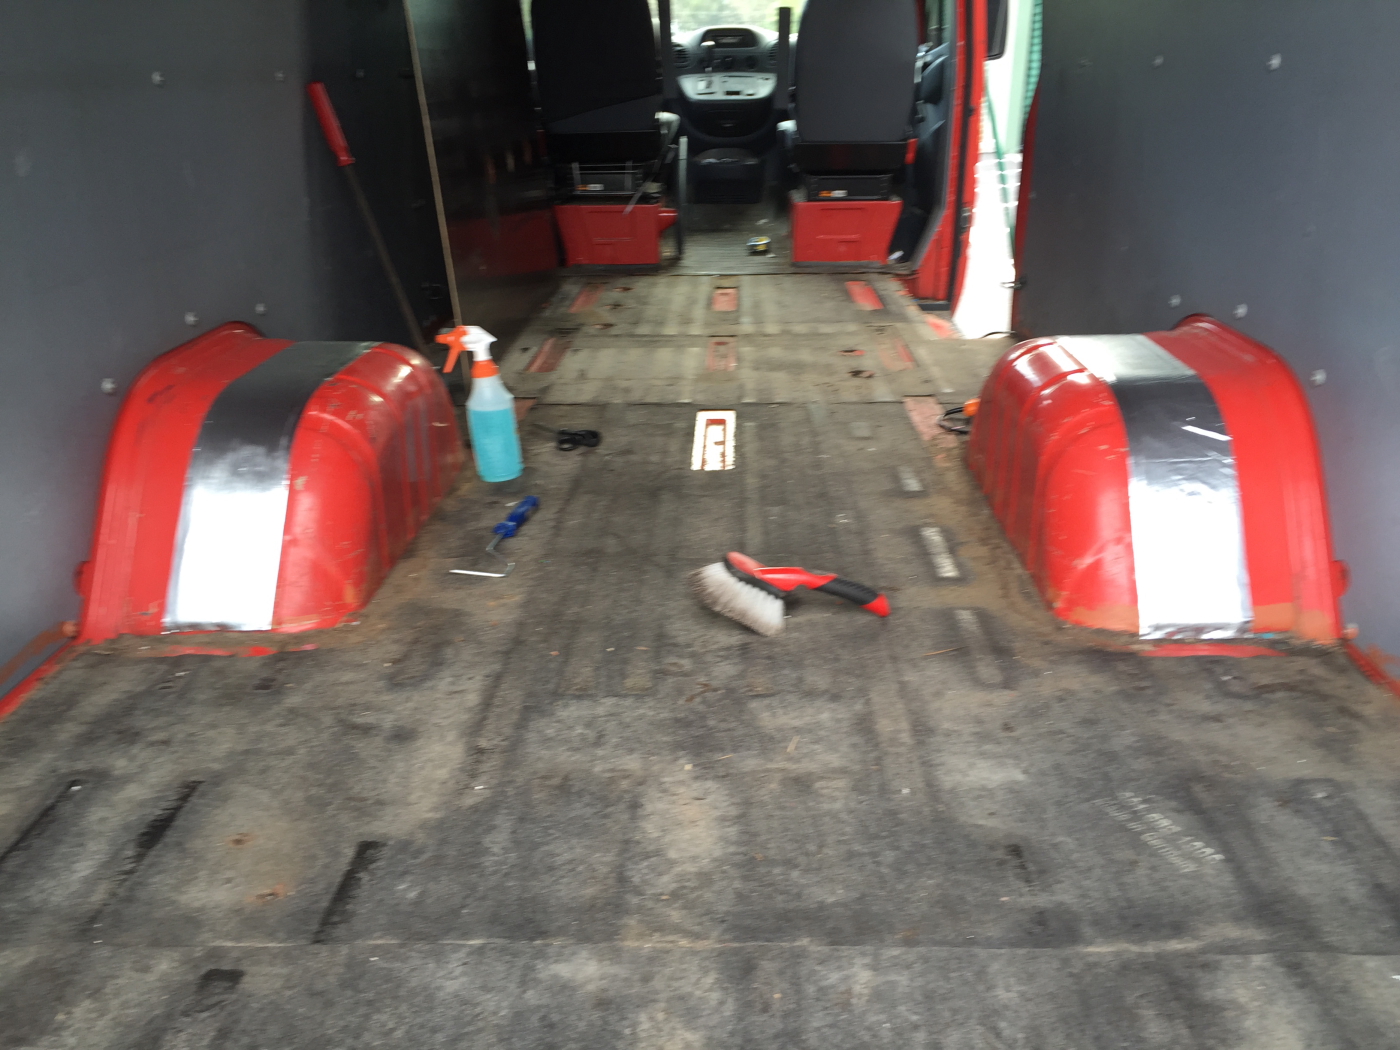
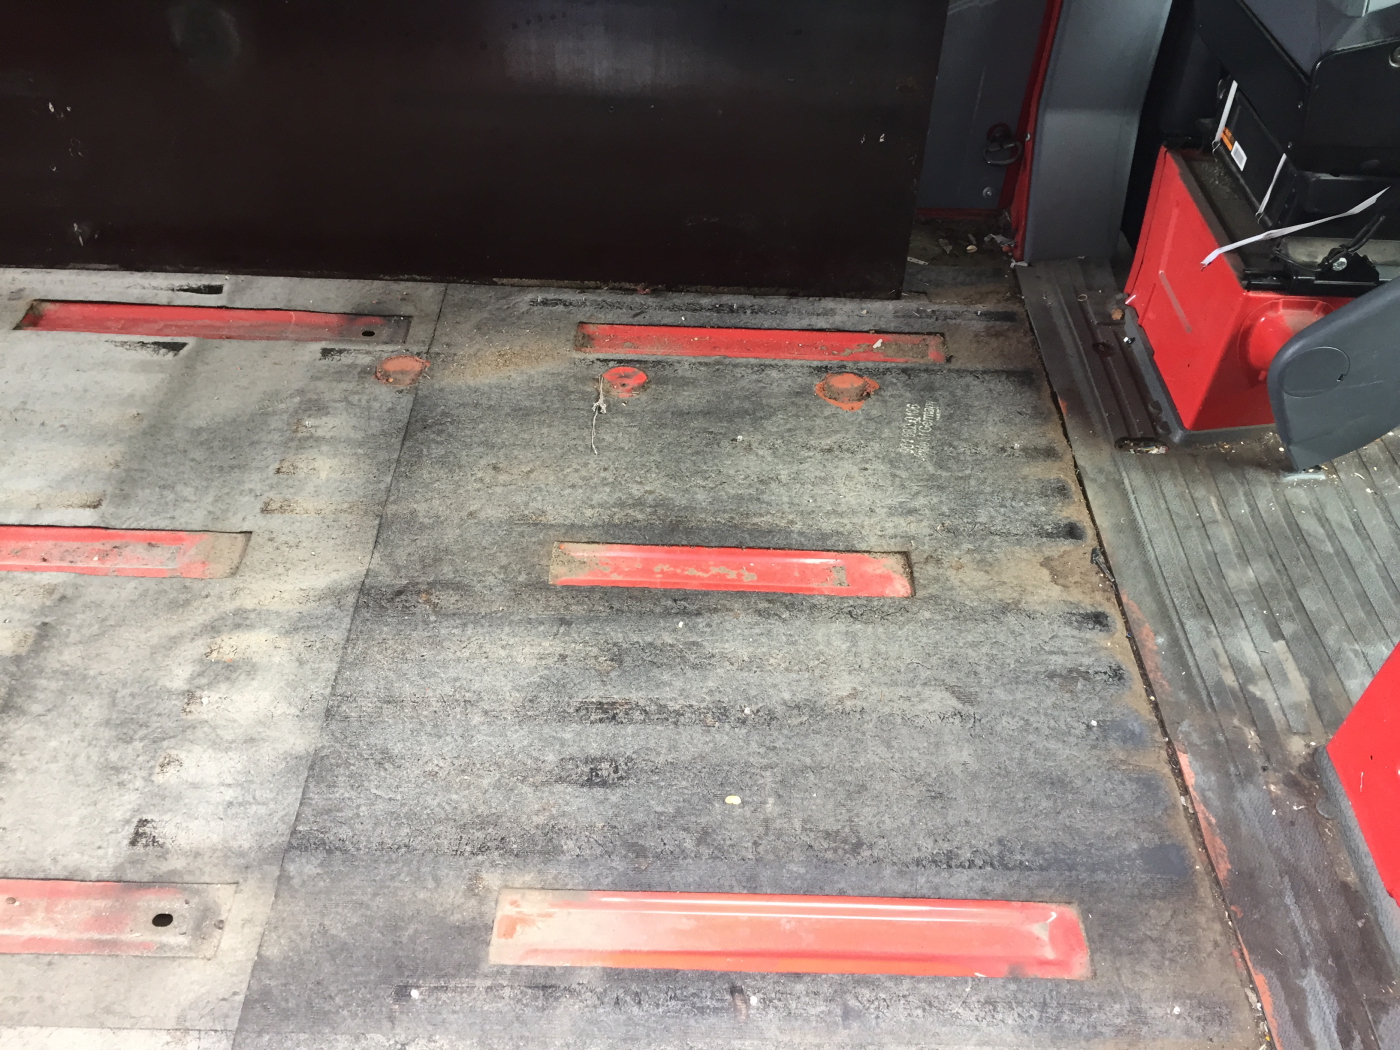
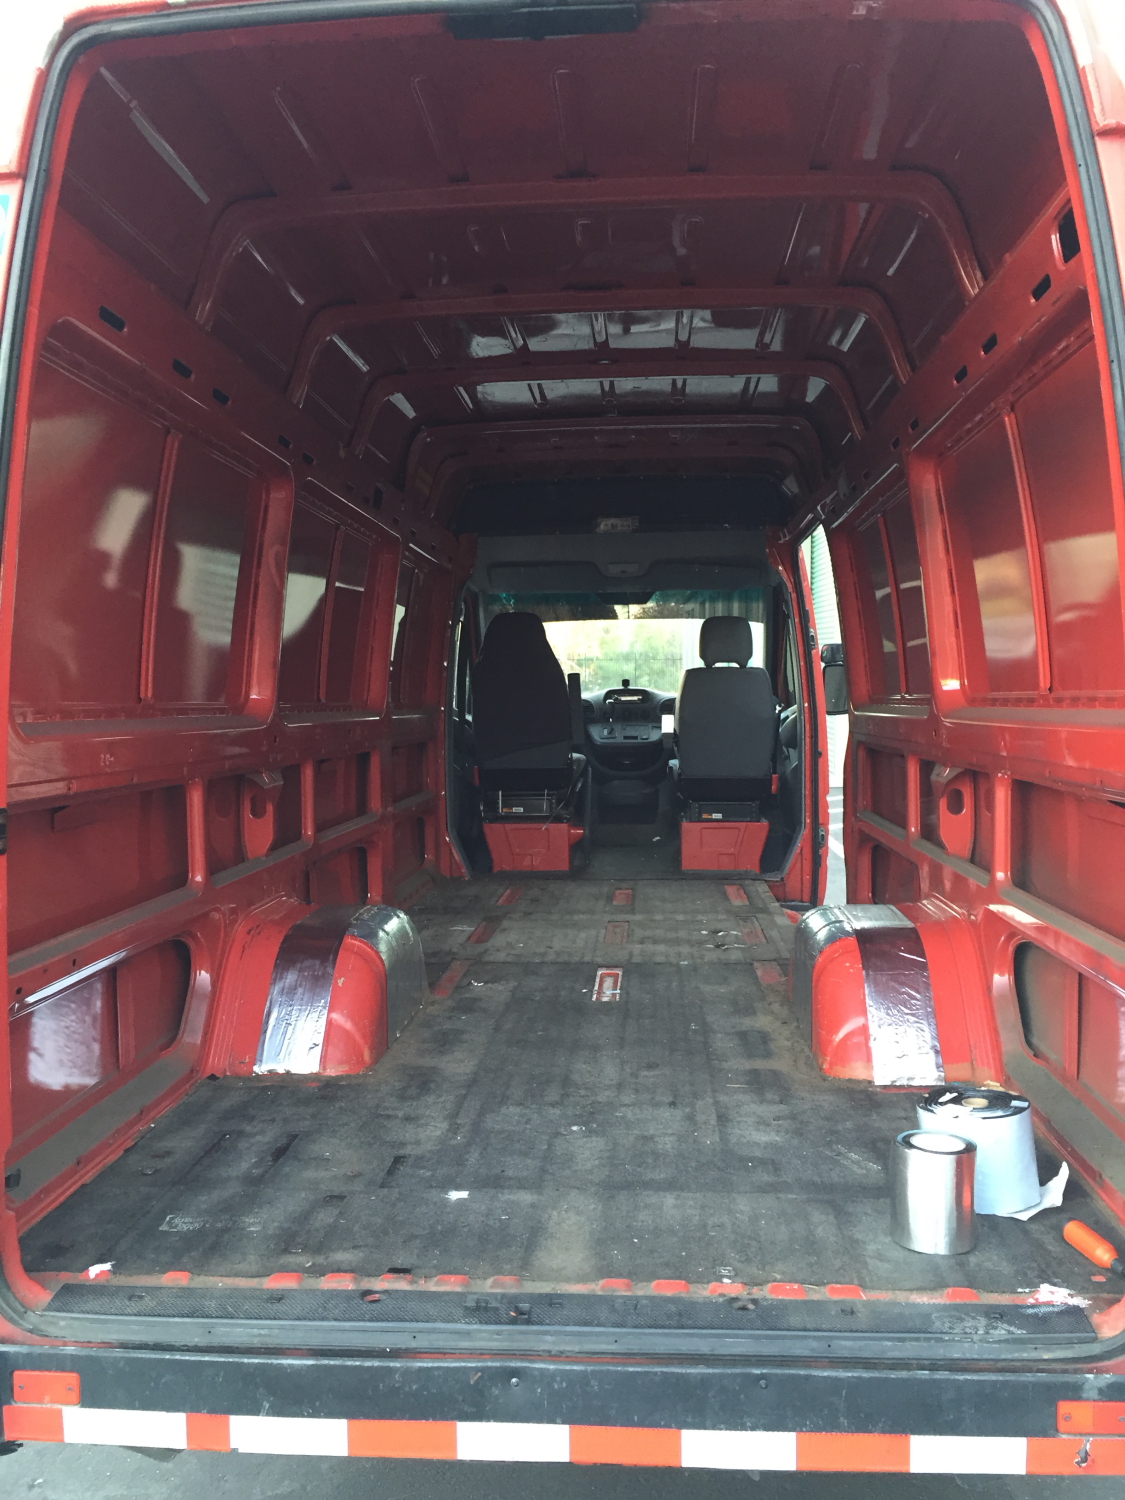
After doing some research at the San Jose International Car Show, I’m now more convinced the flooring found in the van is a factory original. As such, I’ve decided to re-use it.
Sprinter_Project_024
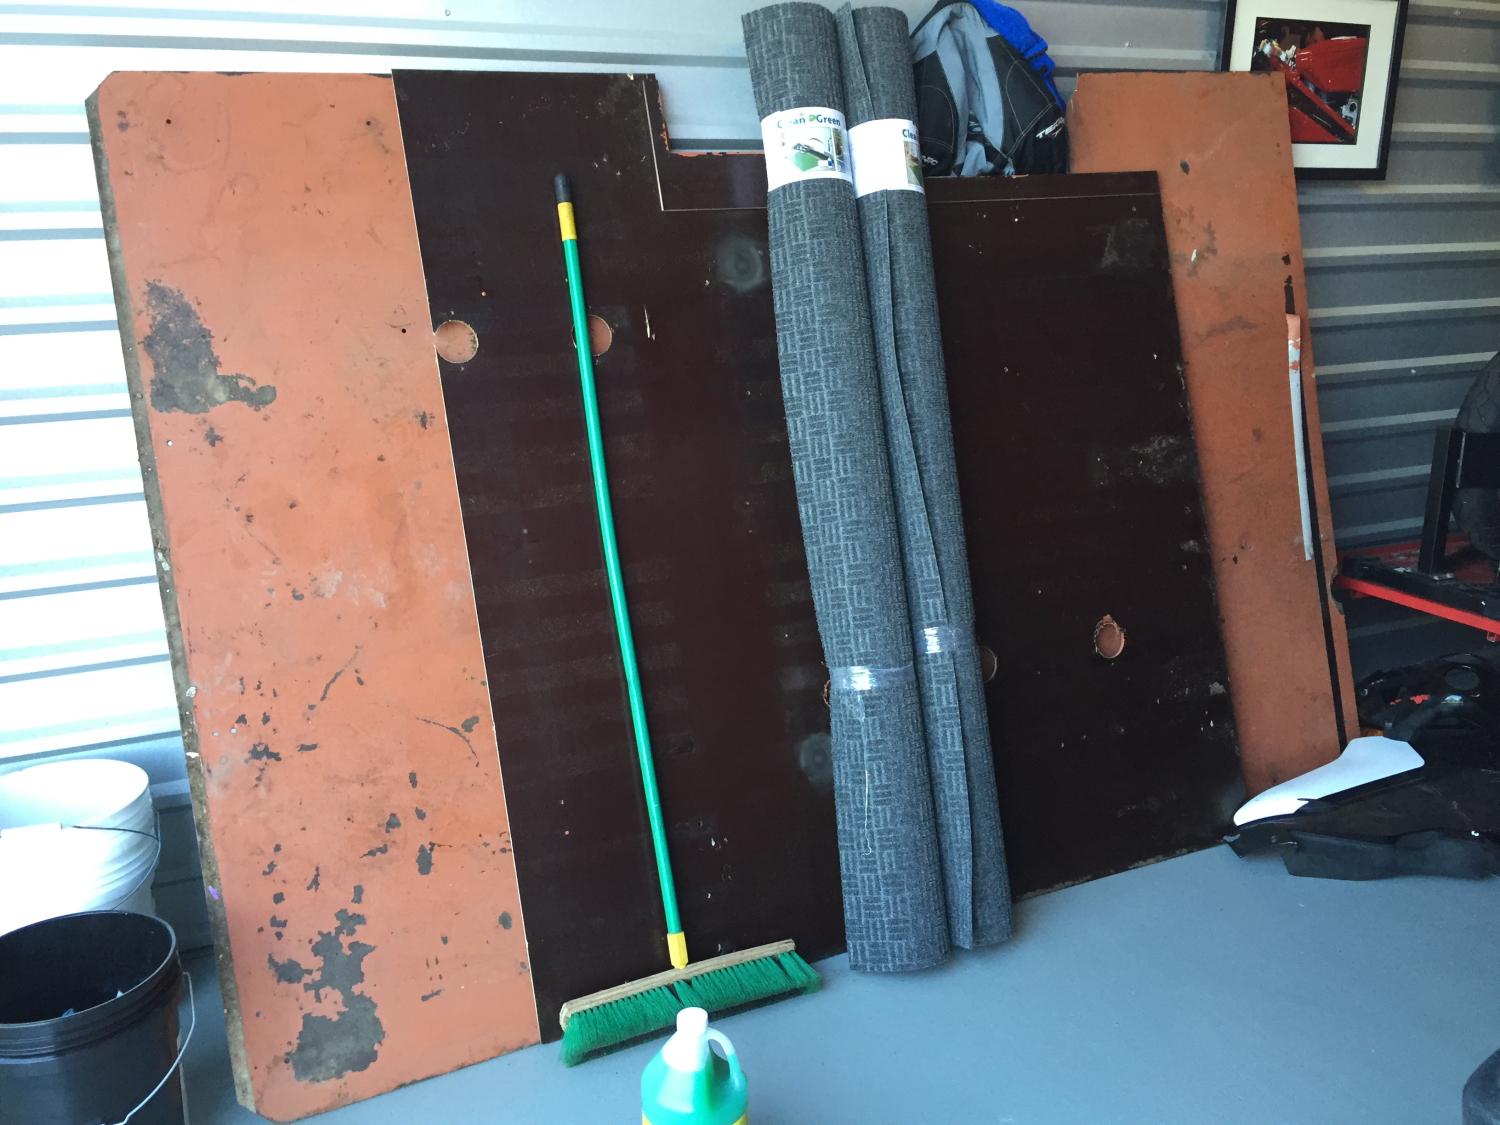
Next to the flooring are two rolls of recycled industrial No-VOC carpets (6’x9′) that are enough to carpet the floor of the van, probably all the way to the firewall if I decided to go that far with it.

Audio / Communications

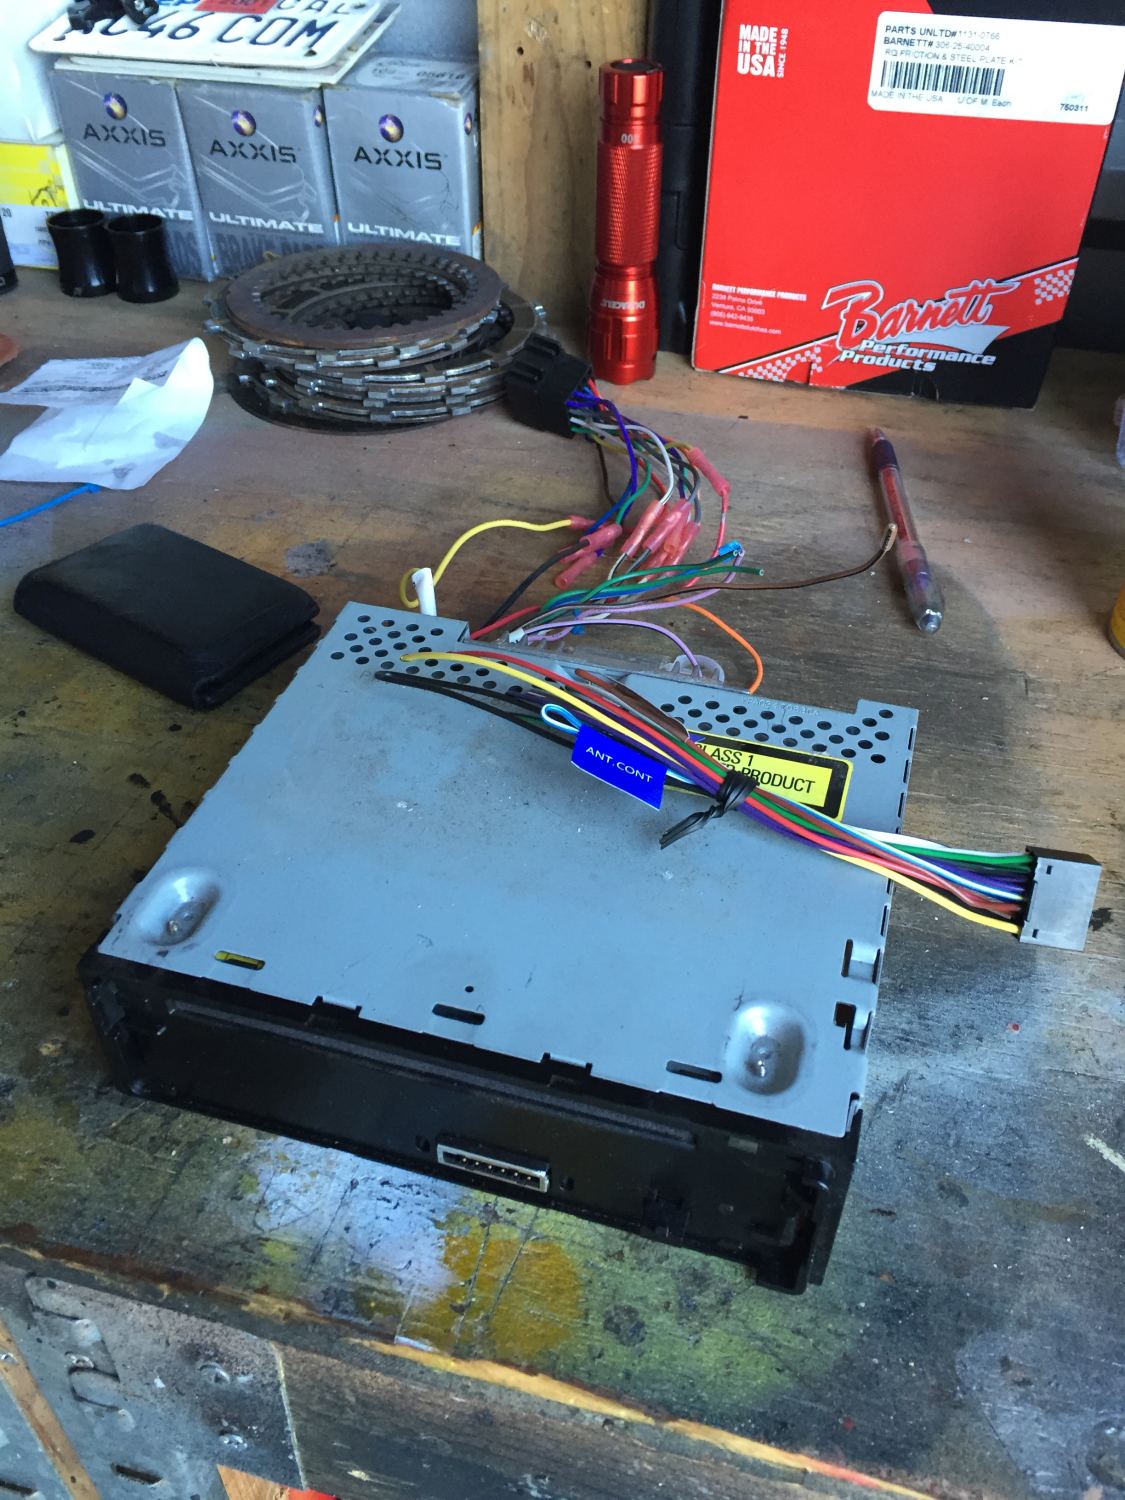
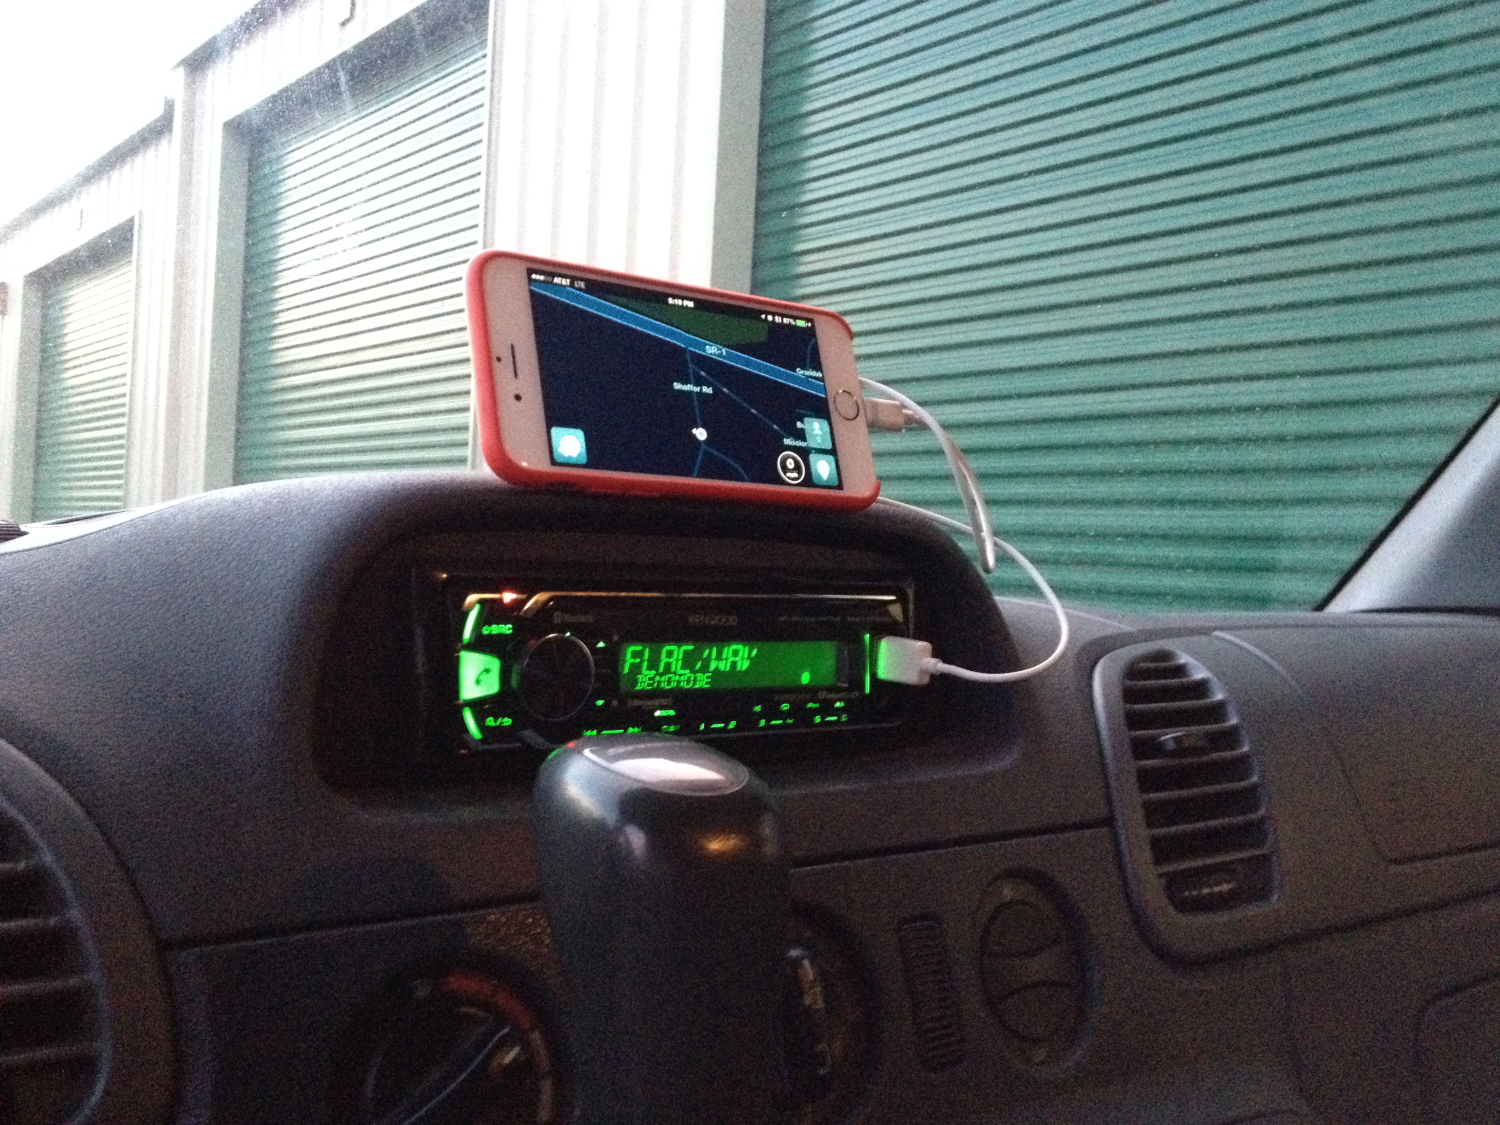
Having used the existing stereo briefly, I quickly found it’s navigation horribly complicated and it’s general performance underwhelming. Plus, it has a CD player in it.. might as well have an 8-track too. So that was removed, and a new (and very INexpensive Kenwood head with built-in Blutooth, and both Apple and Android music interface capabilities.
Sprinter_Project_025

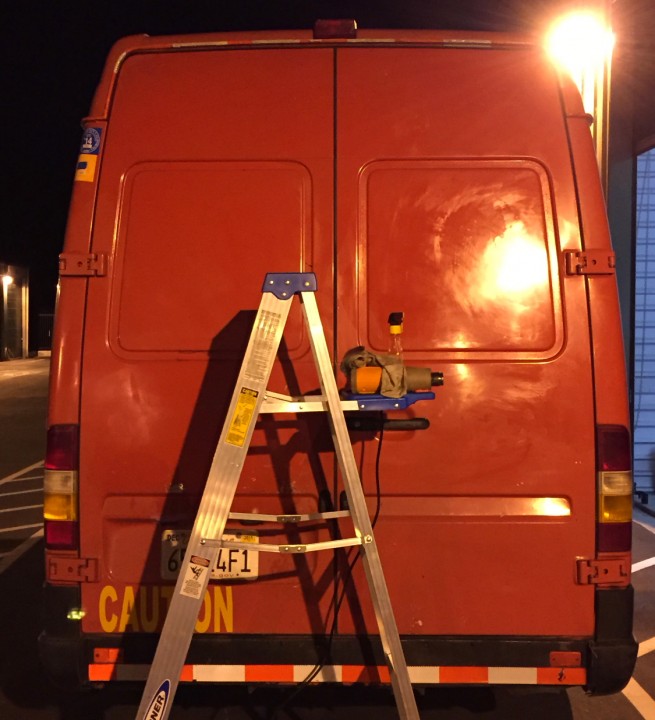
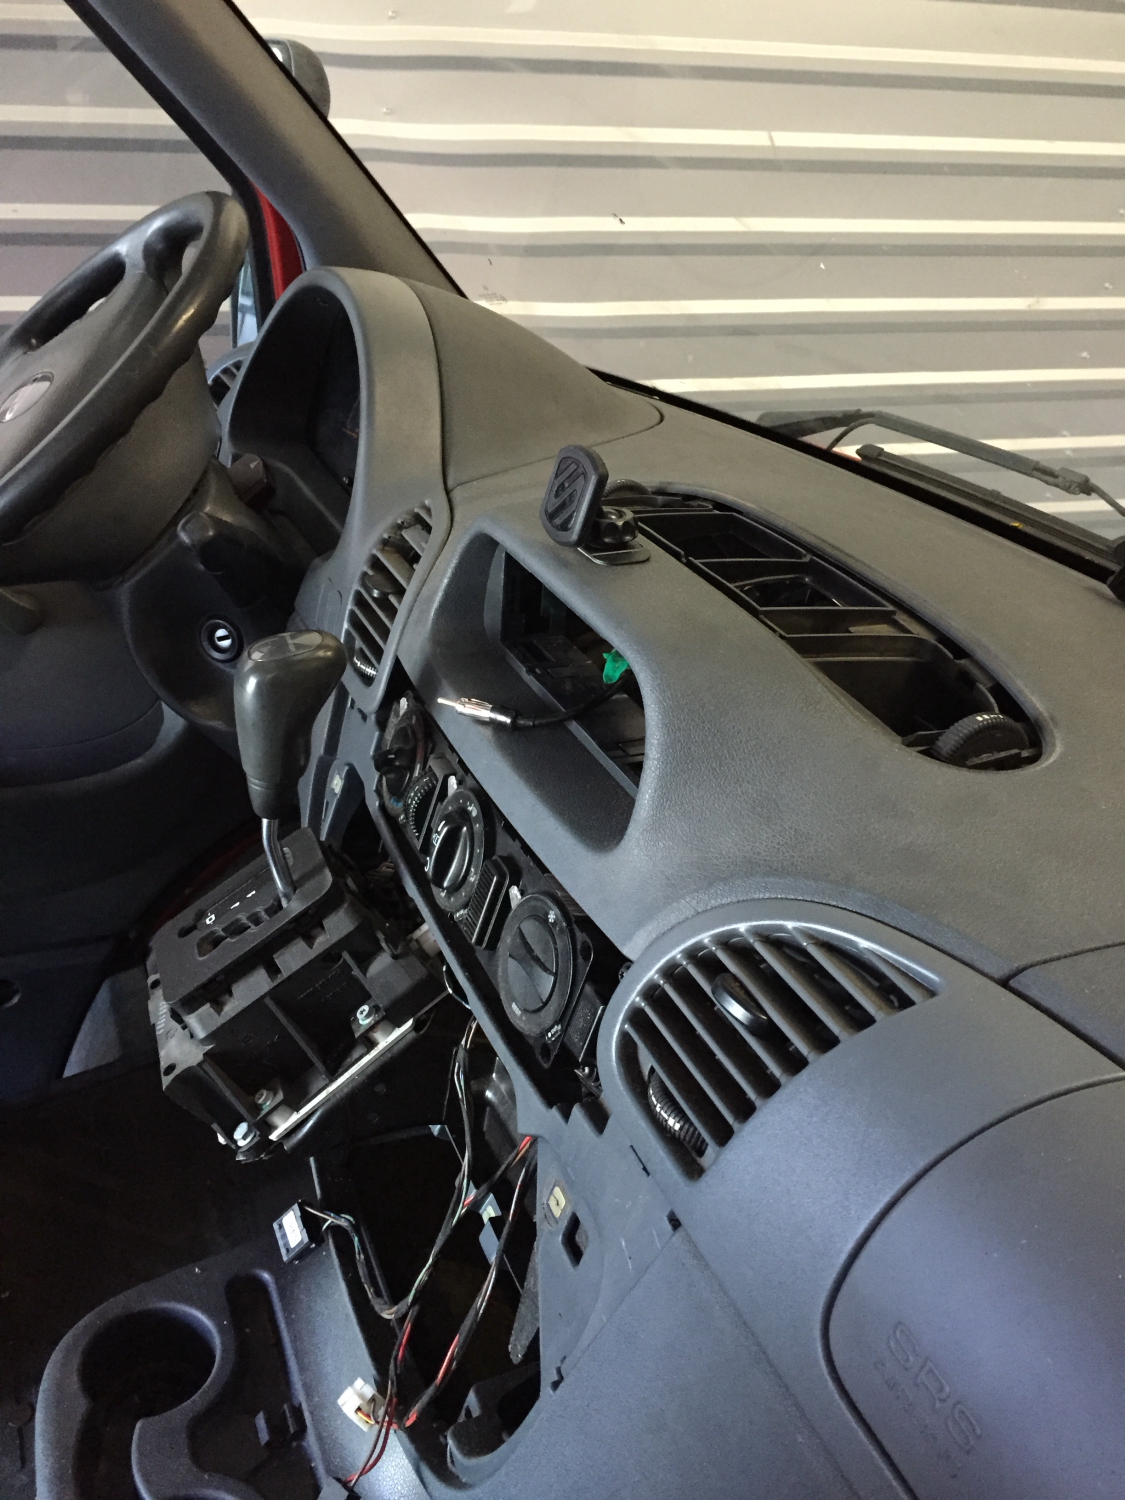
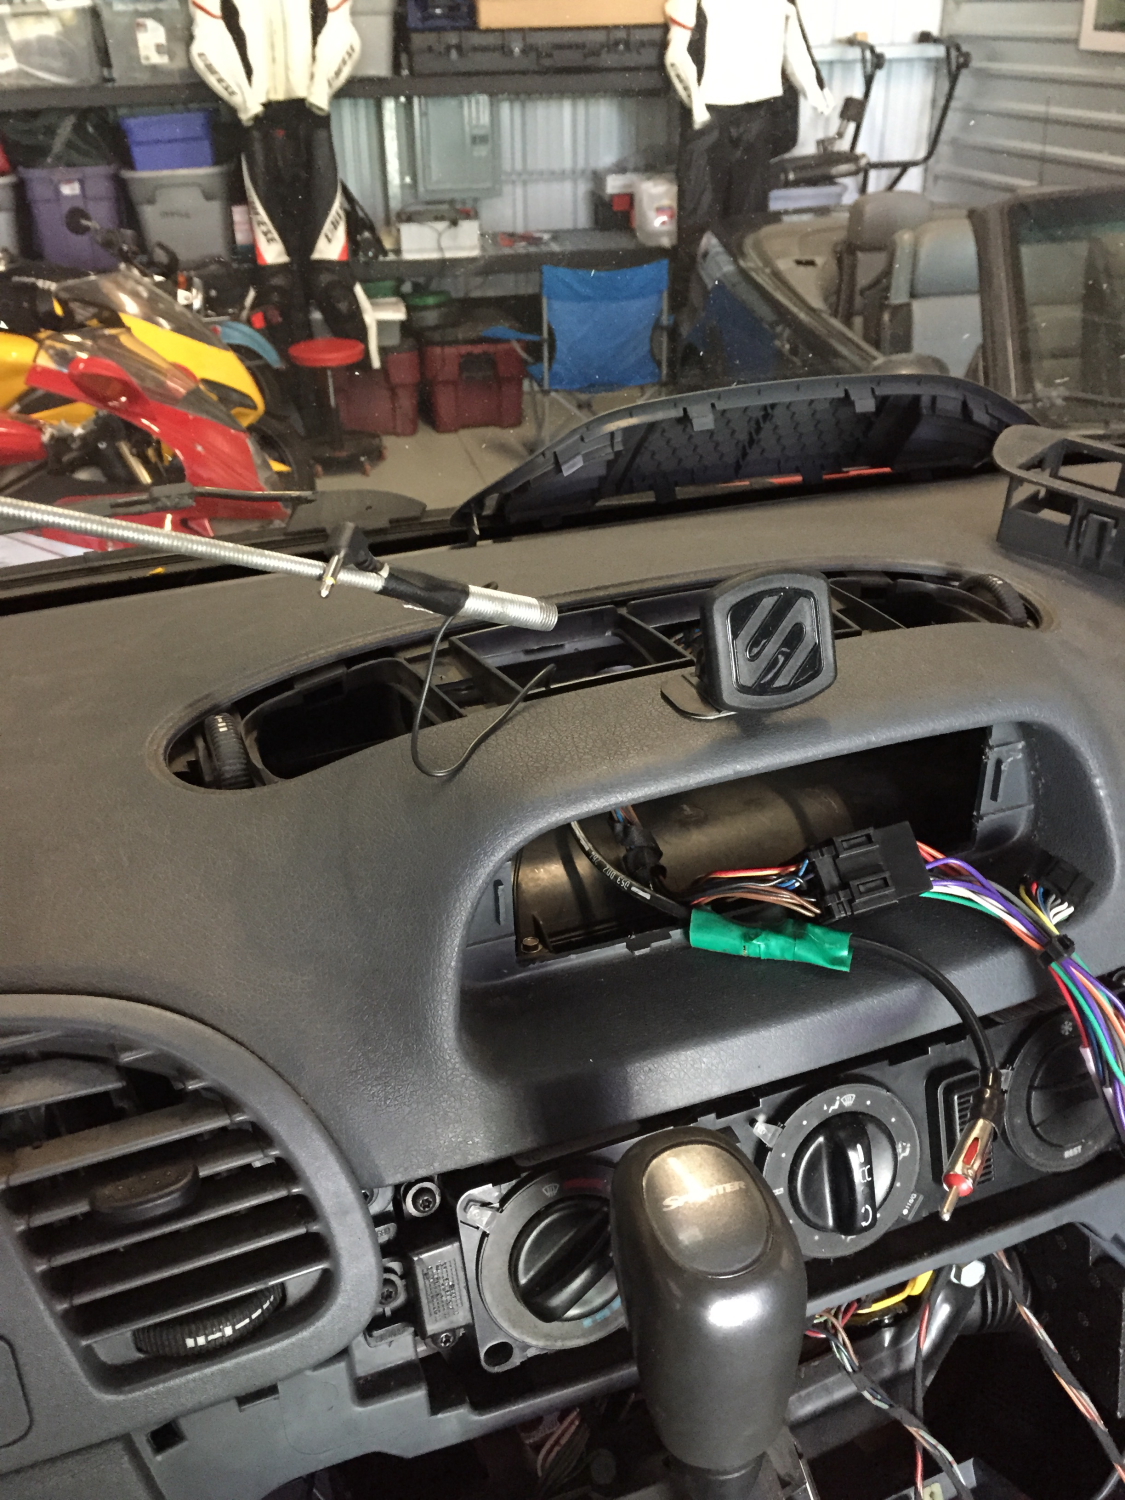
Having found the unit jammed in there fairly tightly, I ended up going a little medieval on the dash:
Sprinter_Project_026

Having pulled all these parts off ended up making it MUCH simpler to route the Blutooth microphone (required for drivers making phone calls here in Nanny-State Kalifornica). I also noticed that the framework under the dash was painted a bright yellow, not at all like the read the rest of the van is painted.
Sprinter_Project_027

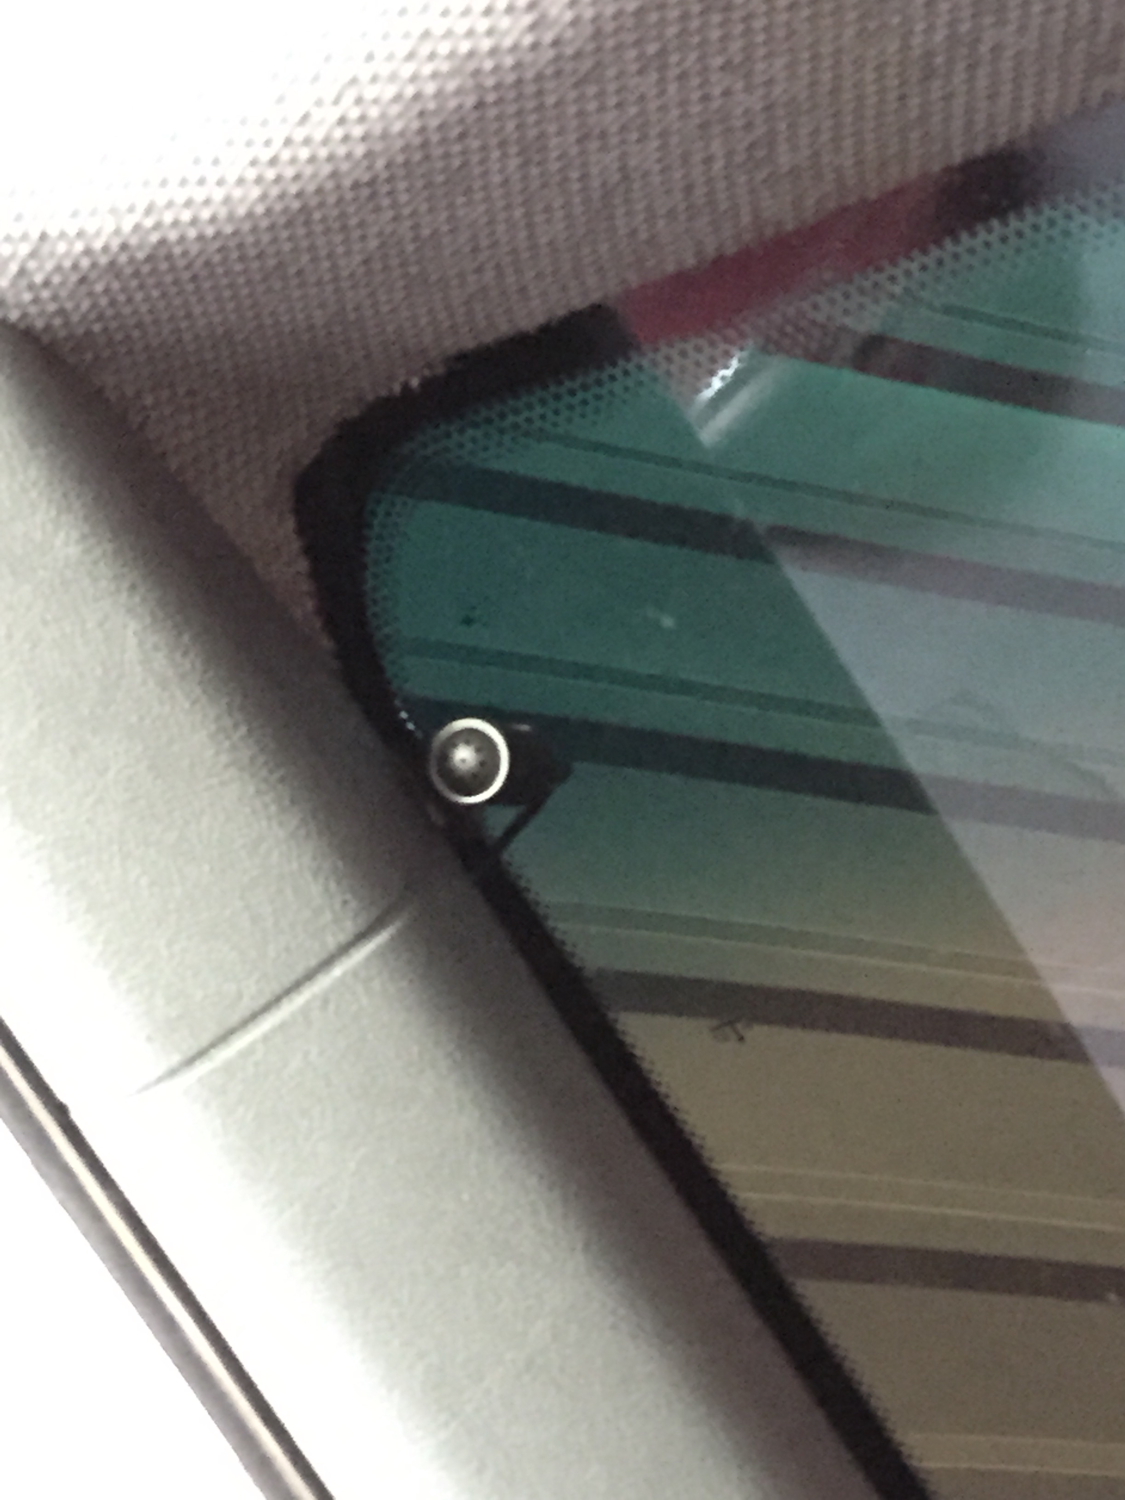
Instructions for mounting the microphone were not at all clear, in fact there was only a single small diagram showing it mounted on top of the steering column. Huh? Screw that I said.. and ripped the left side A pillar cover off and mounted the microphone up at the top of the window, pointing at the driver. I hope that was not a big mistake. I’m sure I’ll test this soon and find out!
Sprinter_Project_029

Running wires down the A-pillar and through the dash was easy enough, but getting from the lower section of the dash up to the top was not exactly obvious. Using a tool not at all designed for the job, often makes things simpler. 🙂 Here I used it to fish the microphone wire up and over the pedal box and long another wire loom, eventually appearing under the HVAC environmental controls.
Sprinter_Project_028

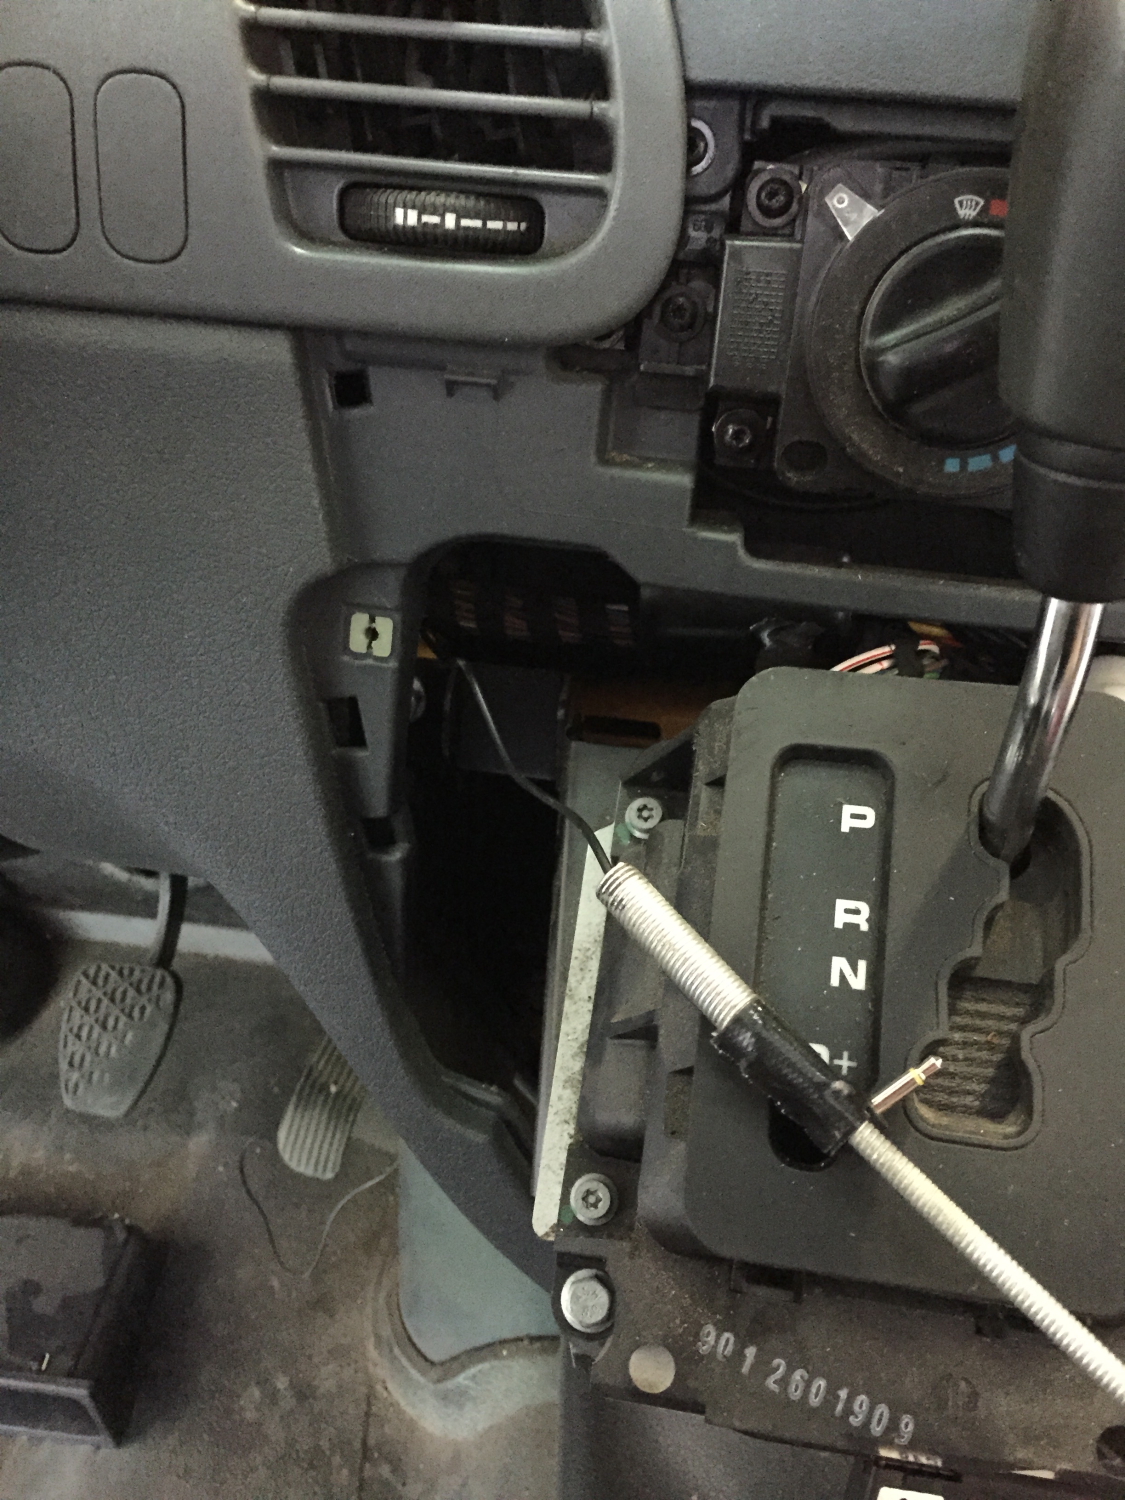
One there, the wrong tool was once again used to fish the wire up to the top section of the dash (removing the cover around the dash vents makes like a lot easier). Viola… easy as cake.
Sprinter_Project_030

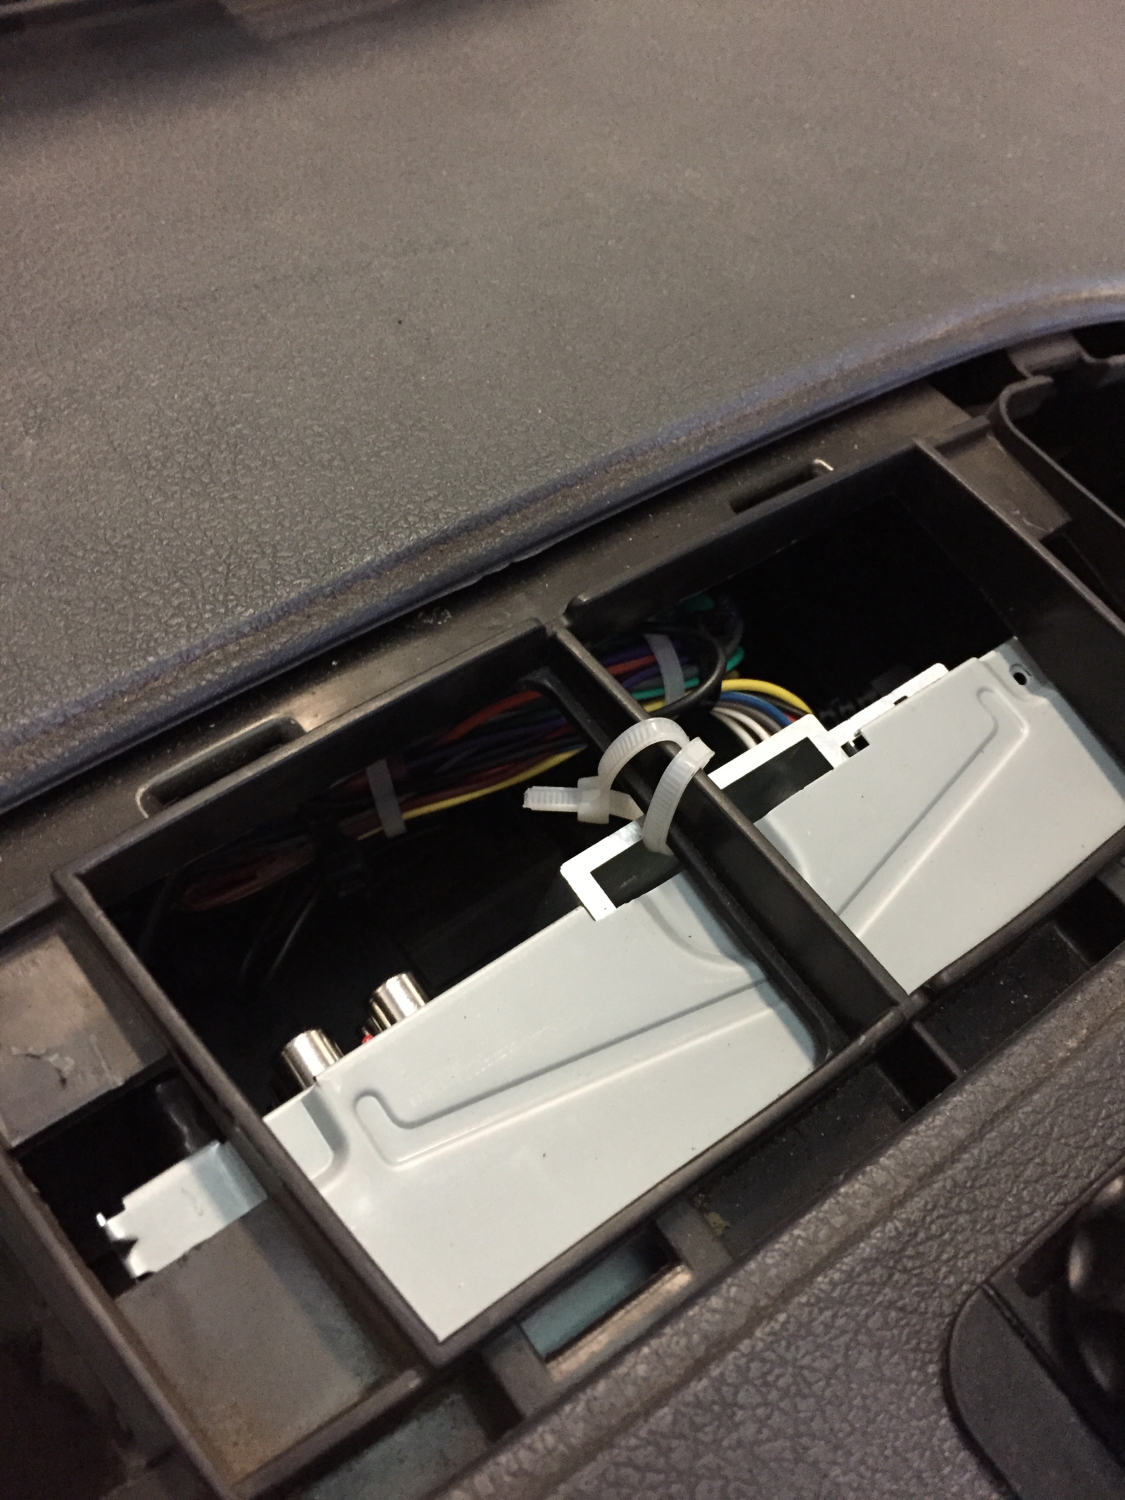
Not being a fan of rattles, and especially in the dash area, the wire loom was tightly bundled, and once inserted into the dash, the head unit’s rear section was zip-tied to the dash structure as seen. Probably should have used grey or black wraps but…. I’m going to call this a design test.. yeah, that’s the ticket.. This radio is much tighter in the dash that the other install, and that’s OK by me.
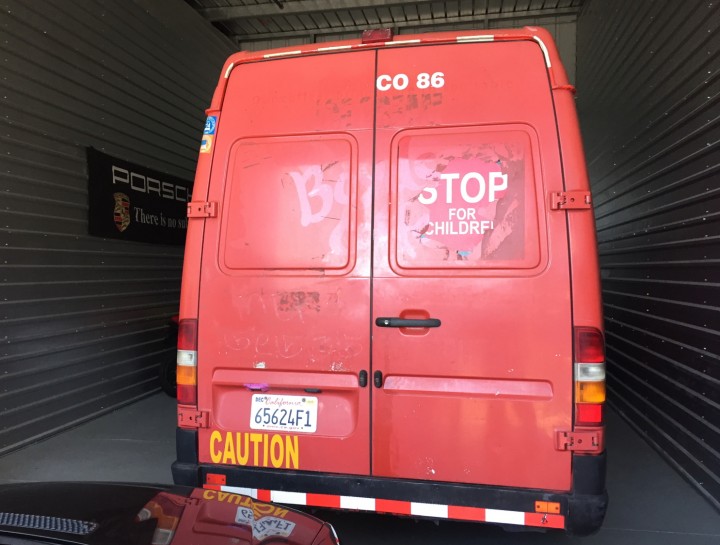
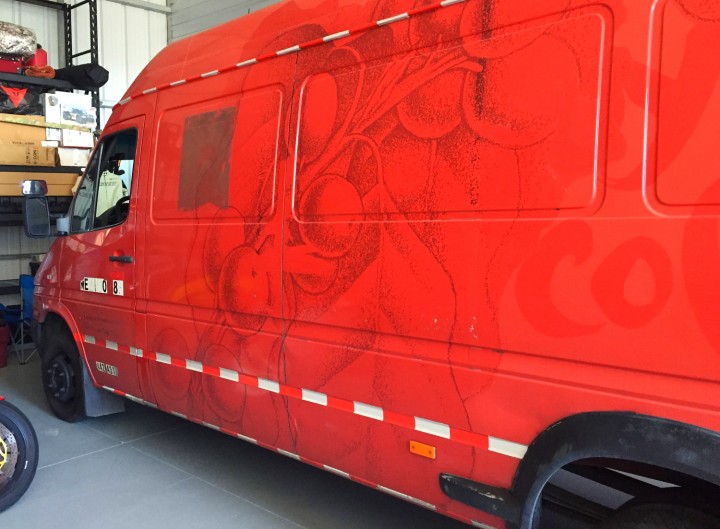
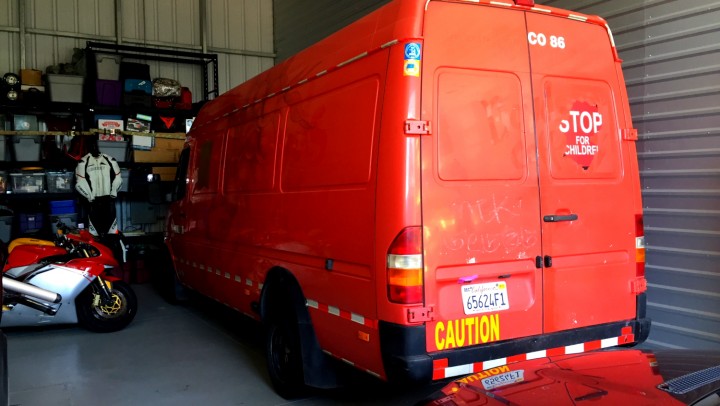
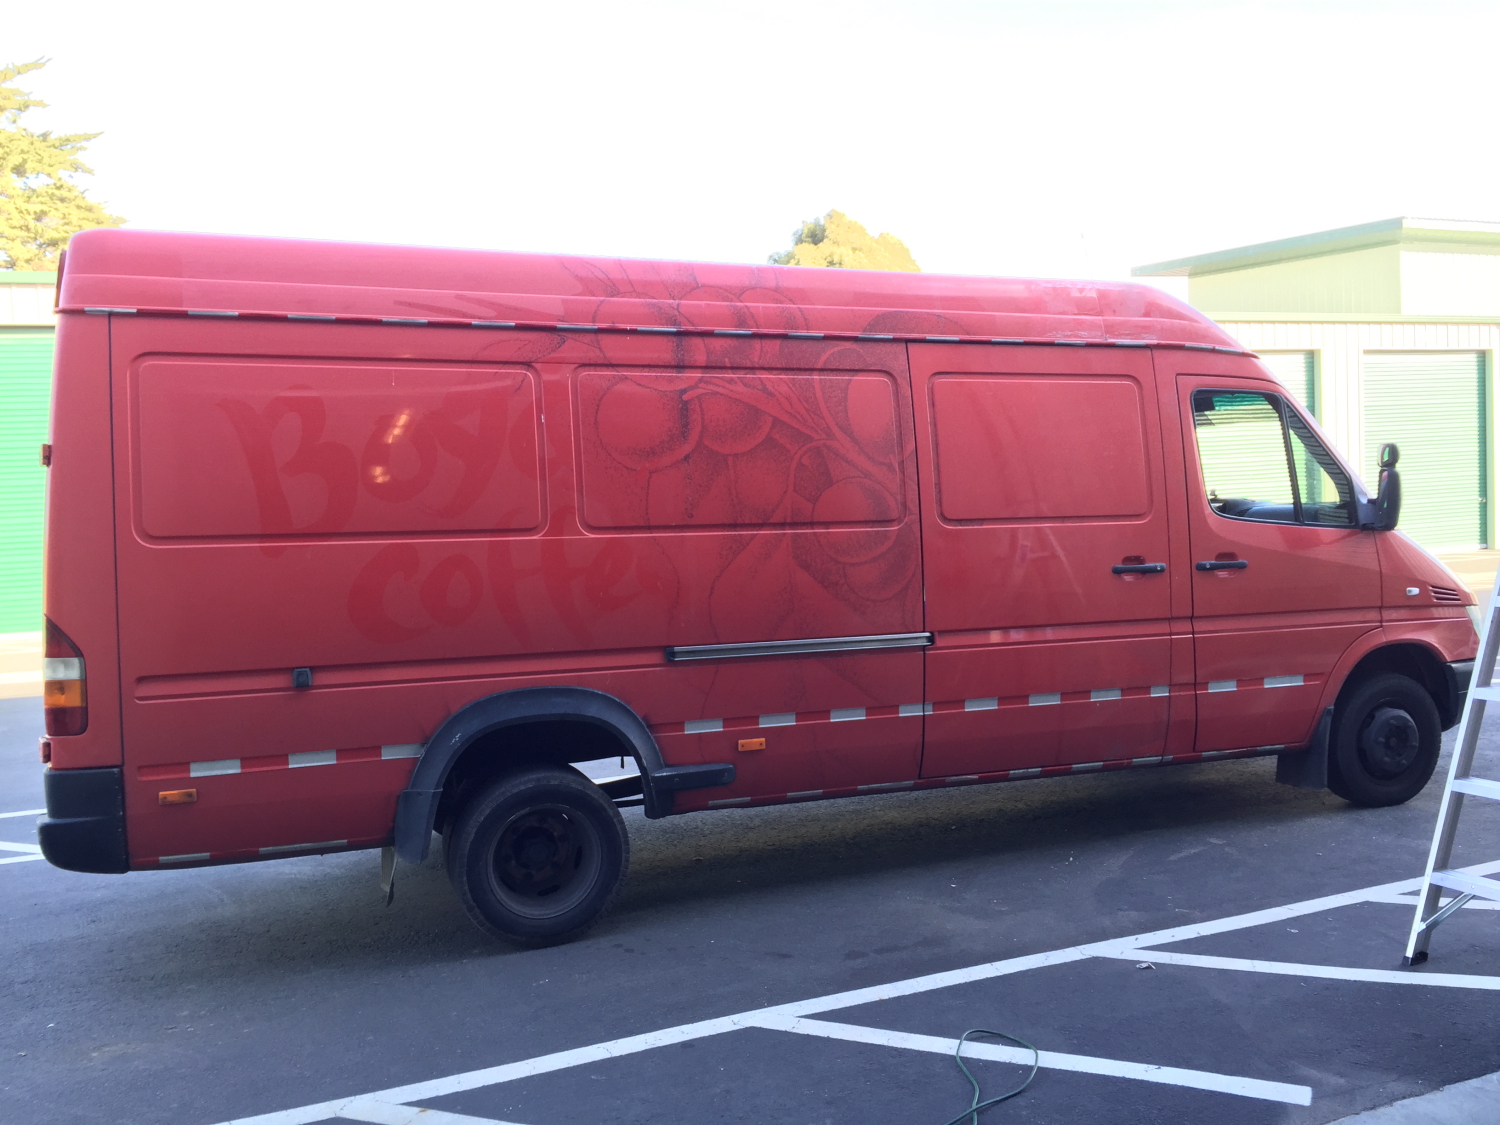
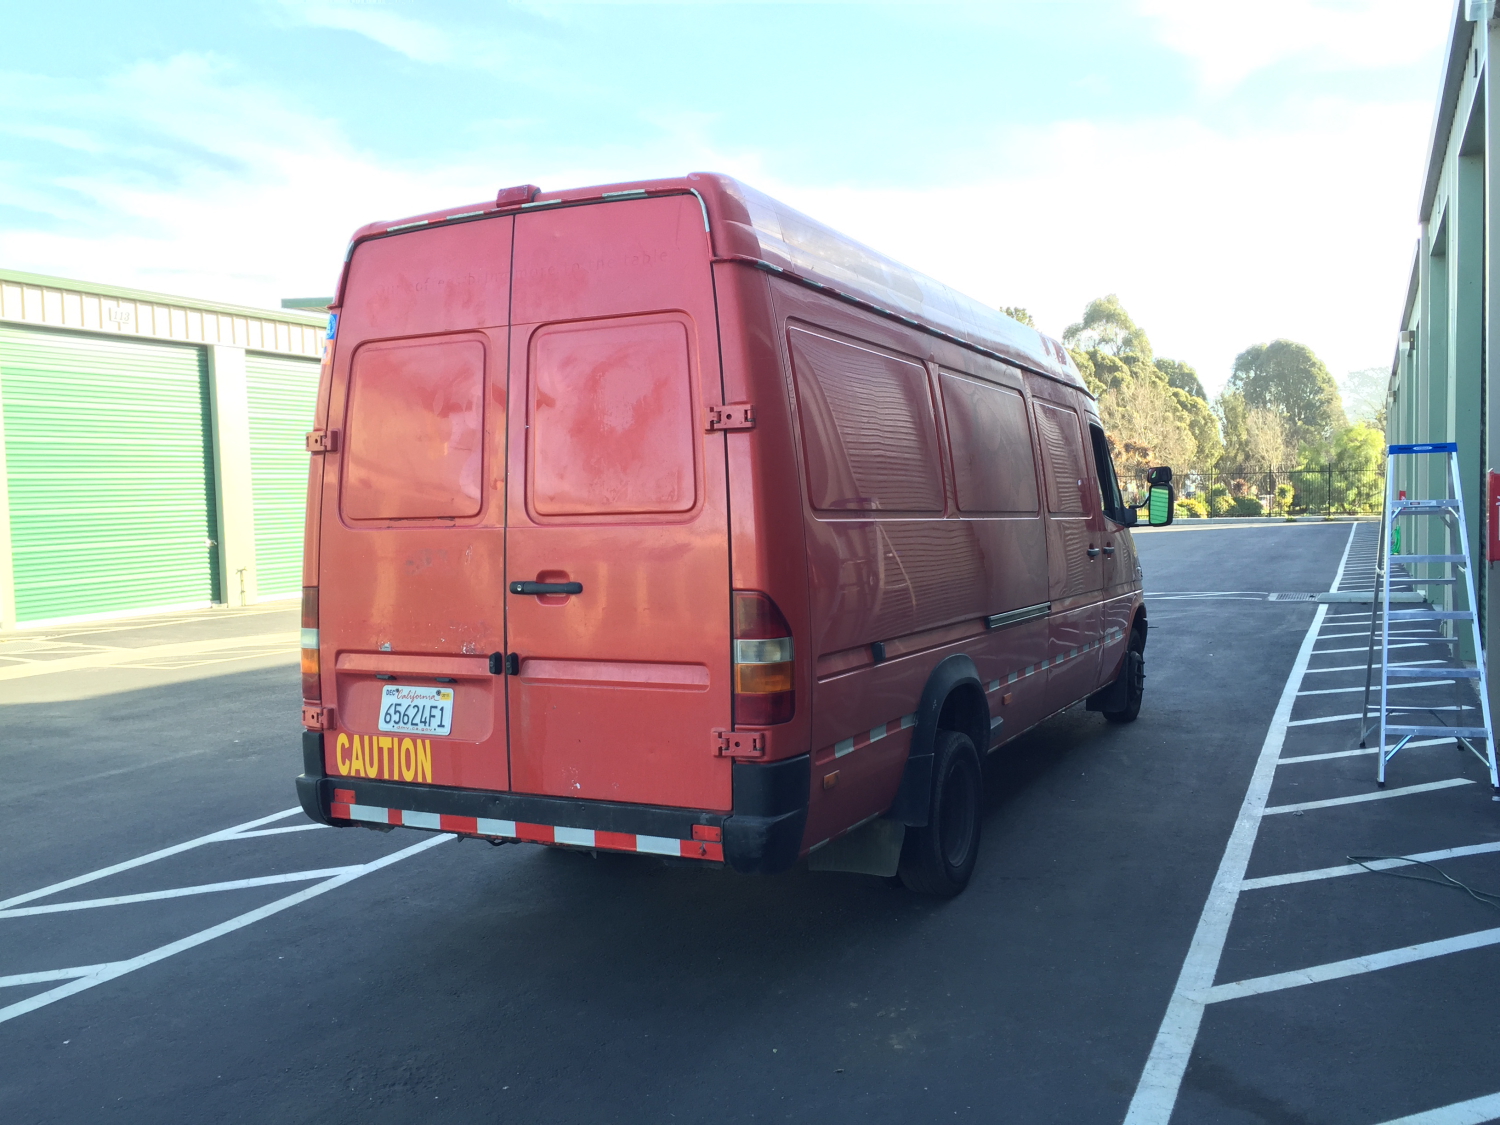
Sprinter_Project_031

Decal Removal

This is nearly complete. There are patches of left over adhesive I need to remove, but the nasty and ugly decals (save a couple that I just might leave) are GONE!! Thank you Magic Eraser!!
Sprinter_Project_032

Sprinter_Project_033

Sprinter_Project_034

Sprinter_Project_035

Sprinter_Project_036

More Interior Cleanup

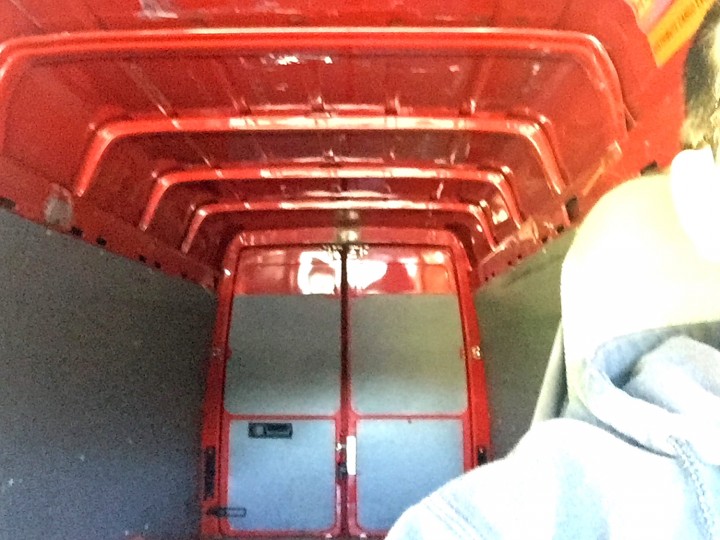
With some help from the family, we removed A LOT of USPS shipping tape stuck to the ceiling of the truck. Purpose? WHO KNOWS!??! but it was all over the place and Debby just couldn’t stand it.
Sprinter_Project_037

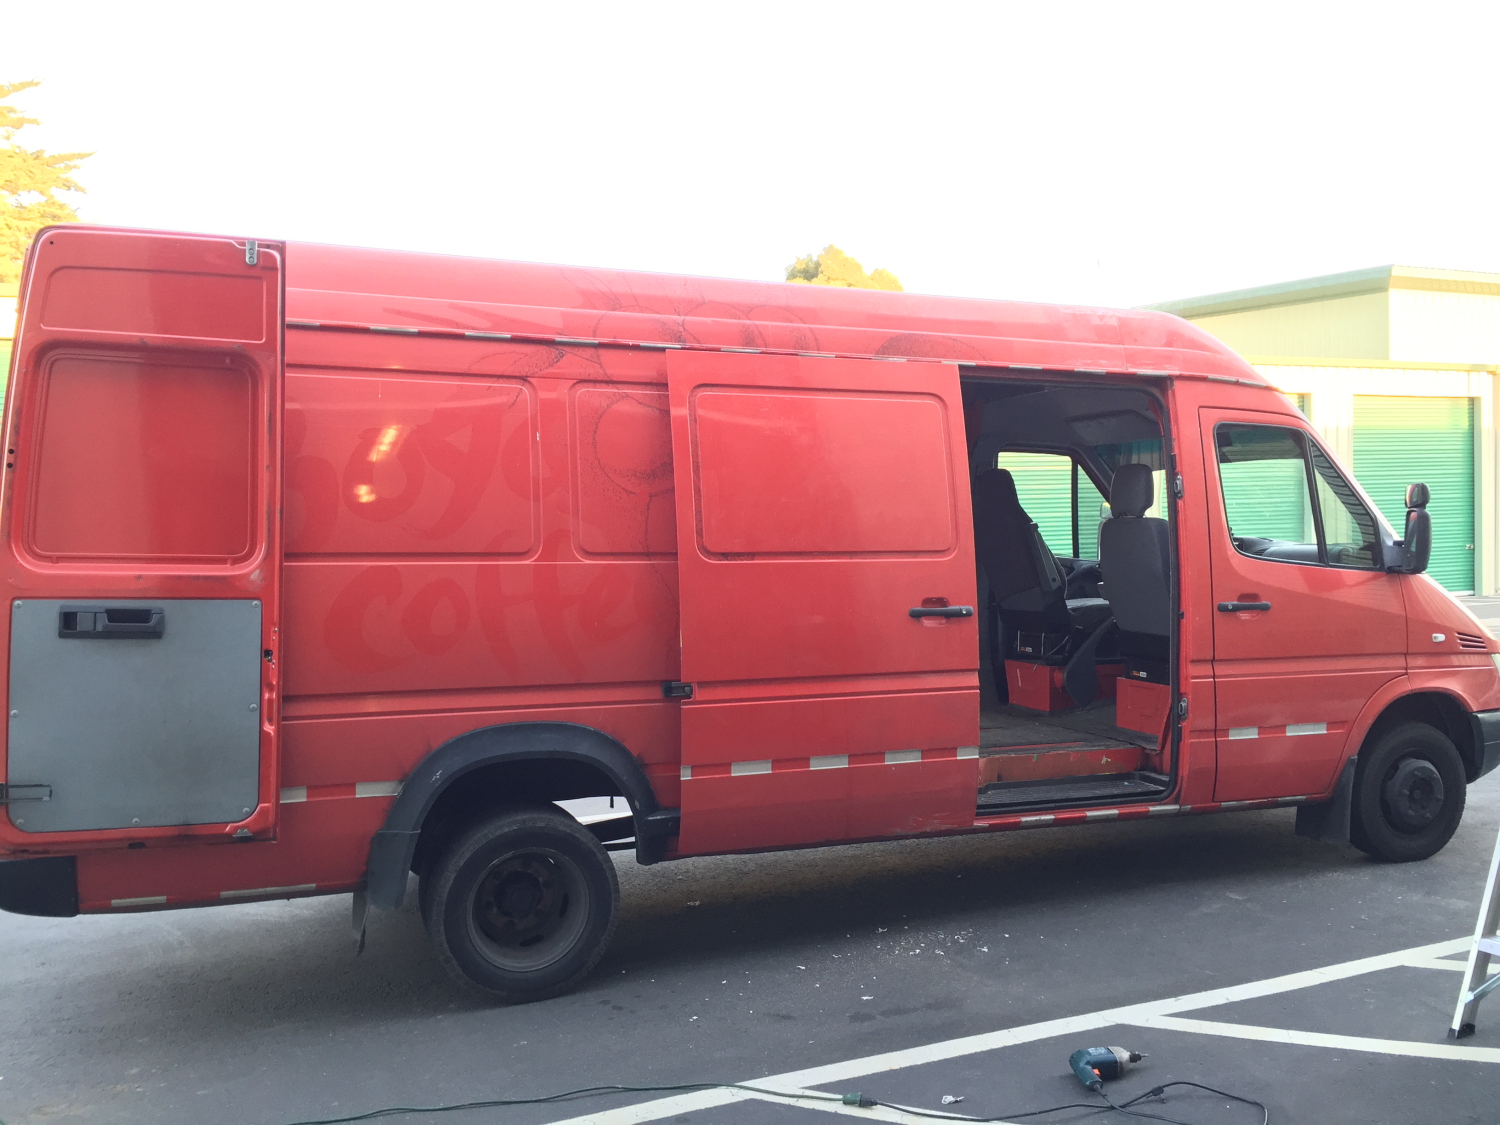
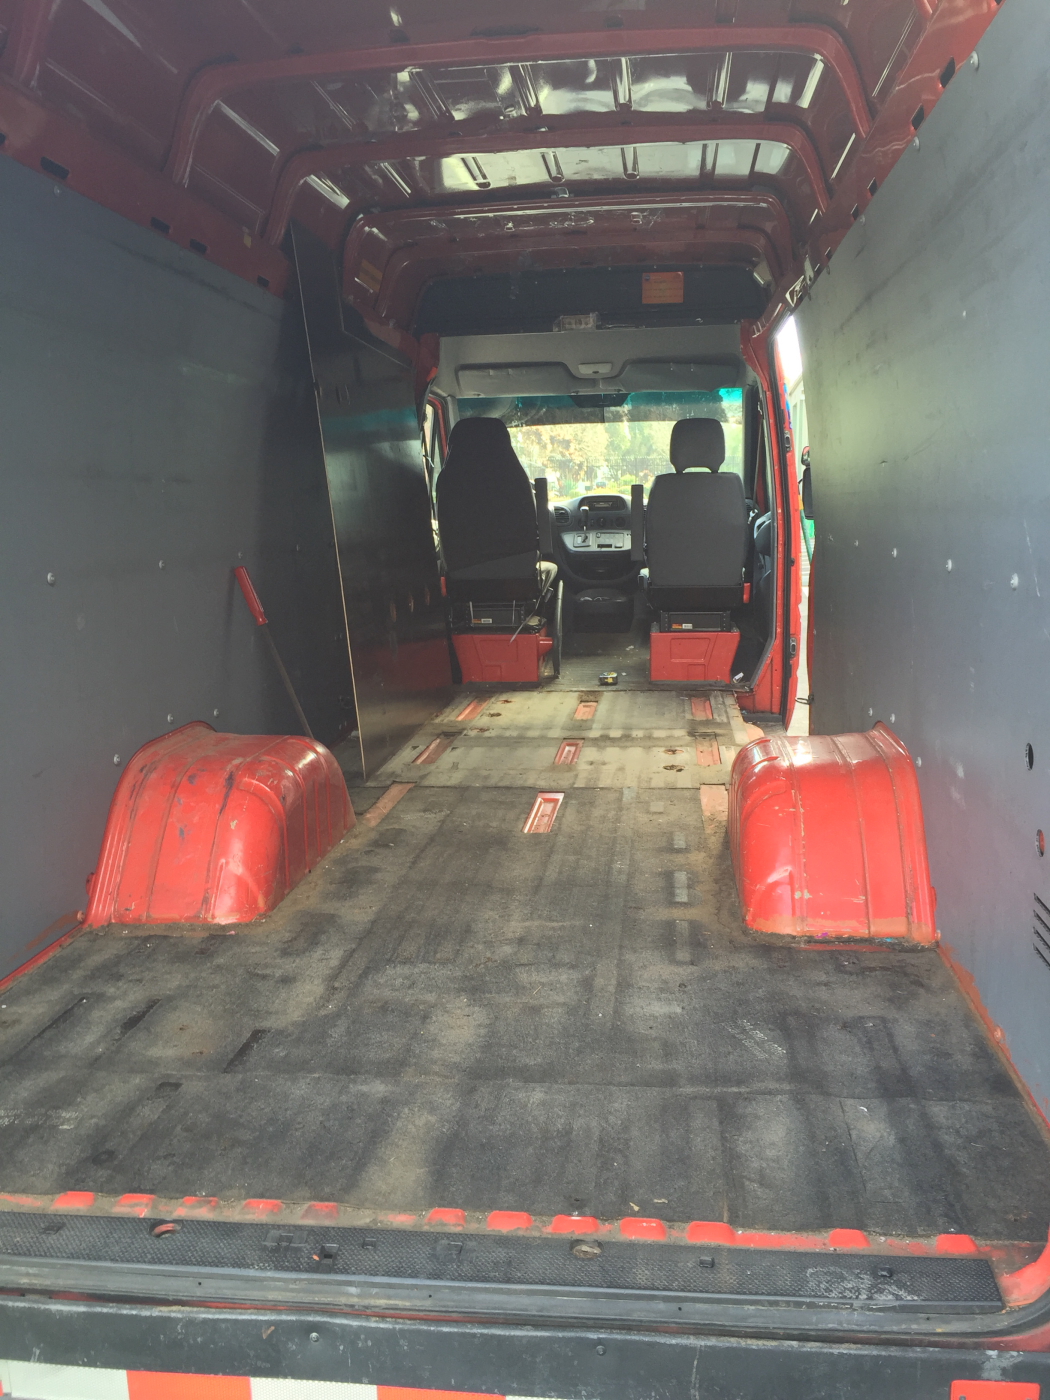
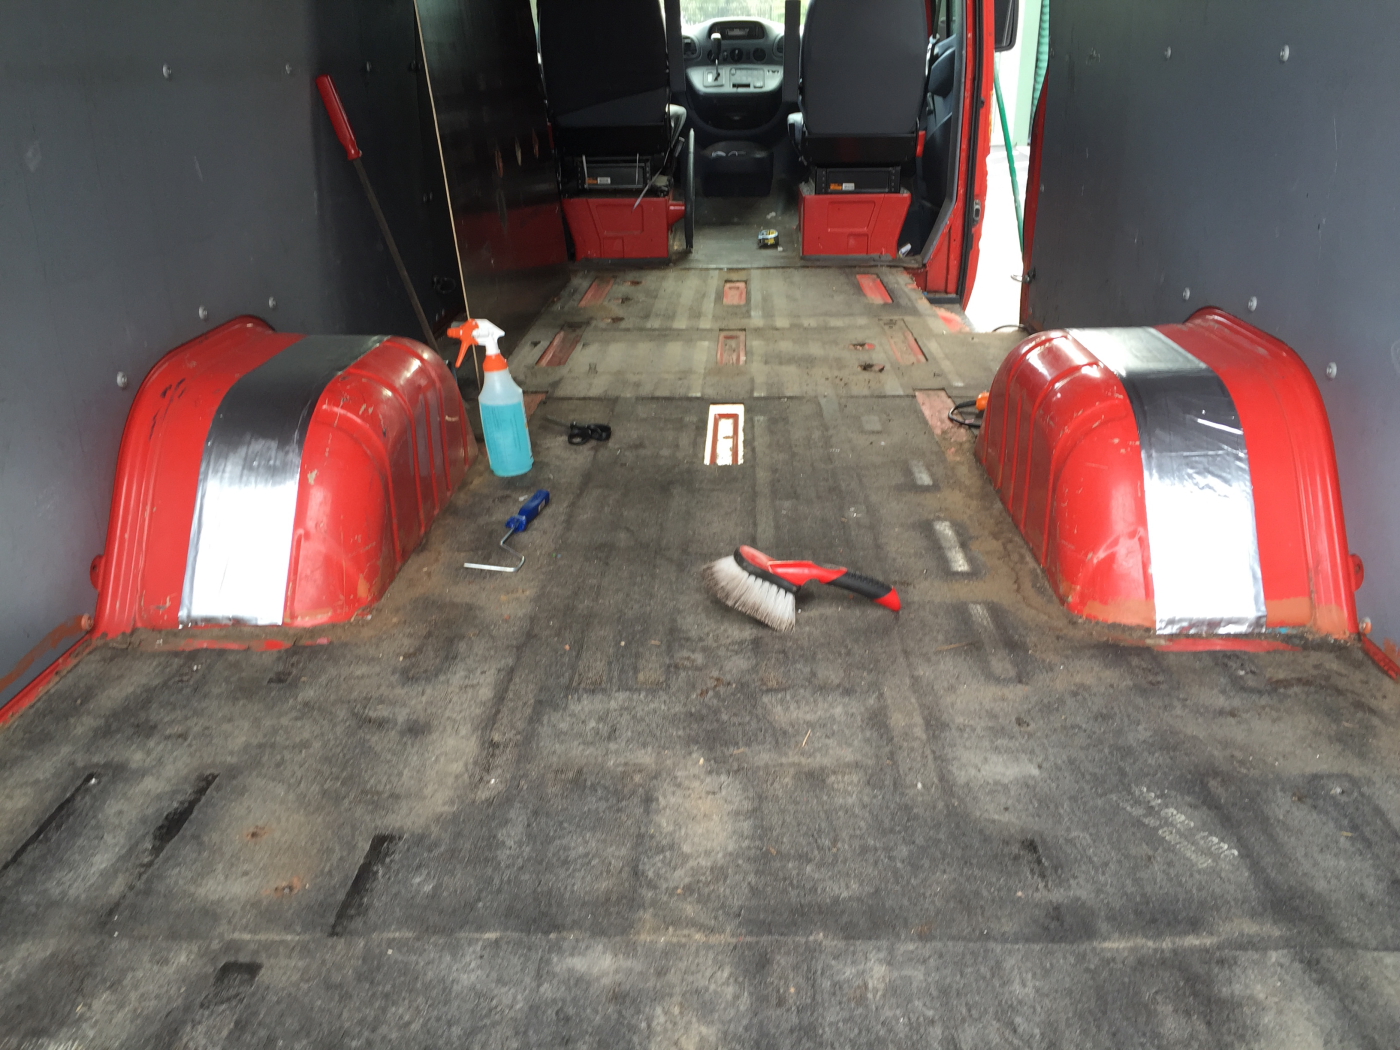
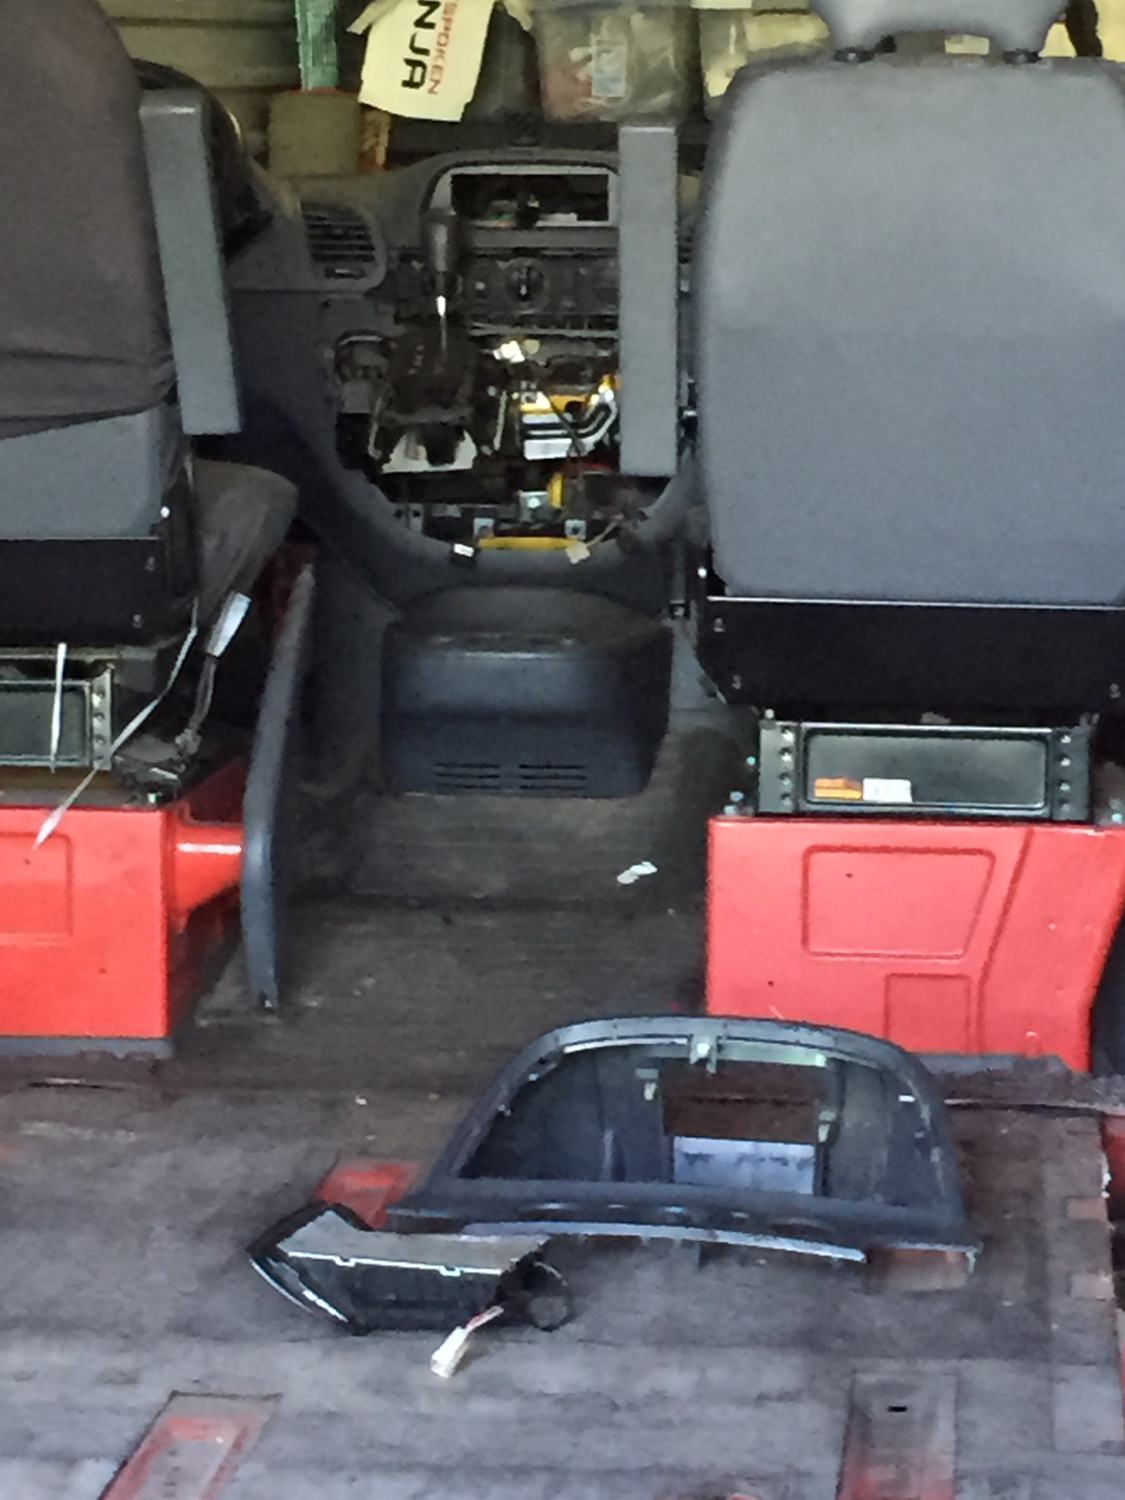
So while she was busy peeling the tape, A.J. and I unscrewed all of the interior panels and removed them from the van. Once able to inspect the the bodywork from the inside, I’m even more convinced that a diamond in the rough is what I have here. No signs of rust or any type of body work / repairs. If it wasn’t so loud, I’d be tempted to just leave the interior just like this!
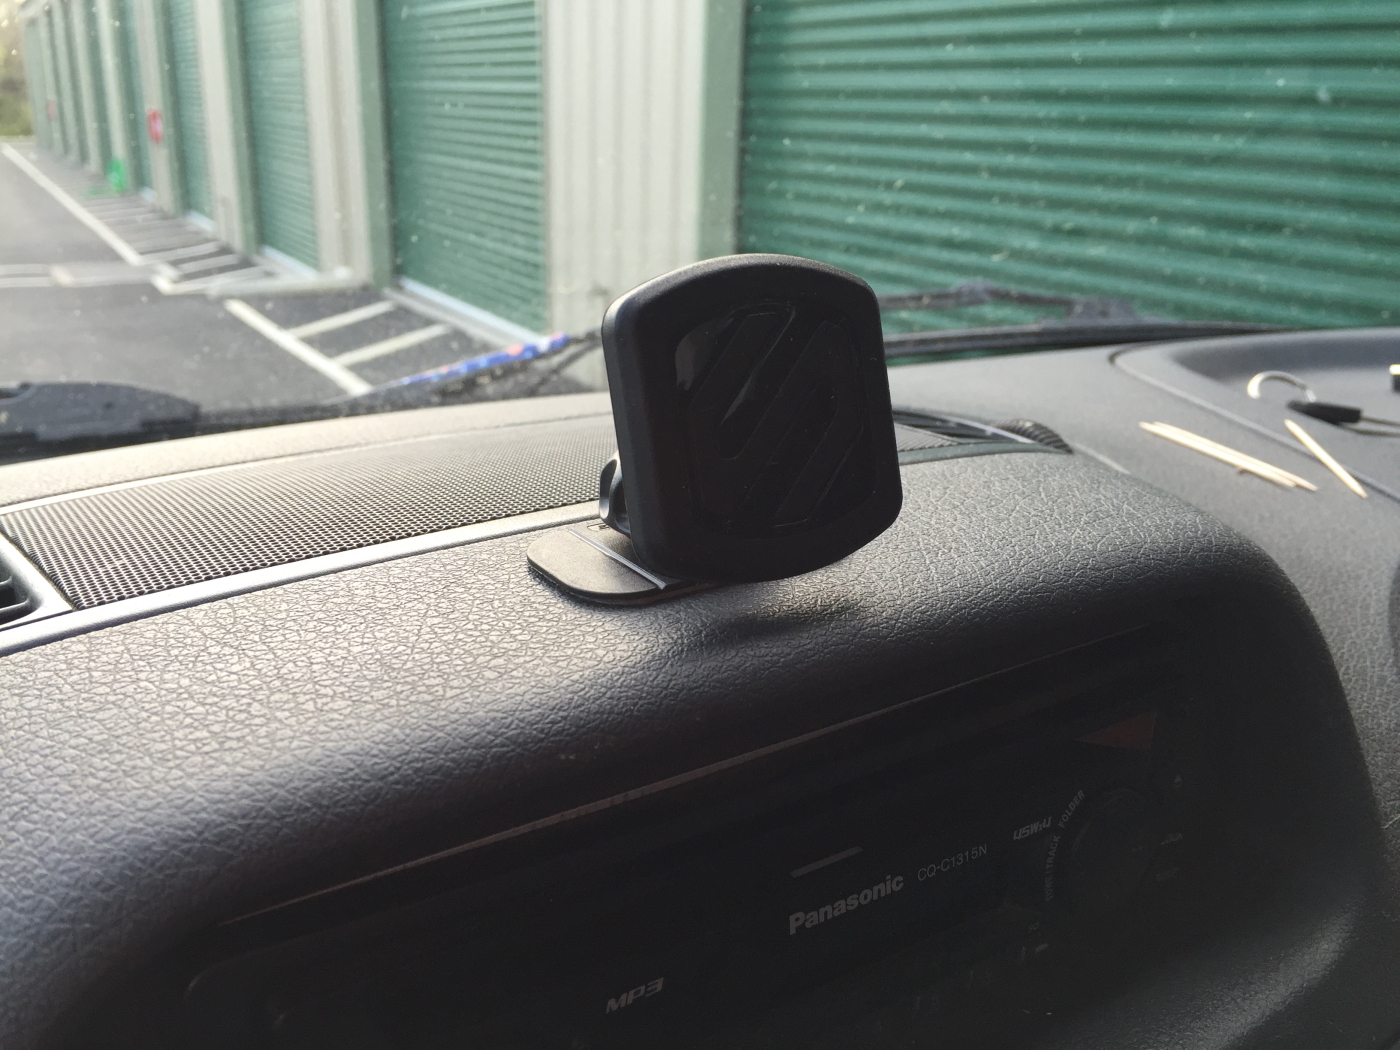
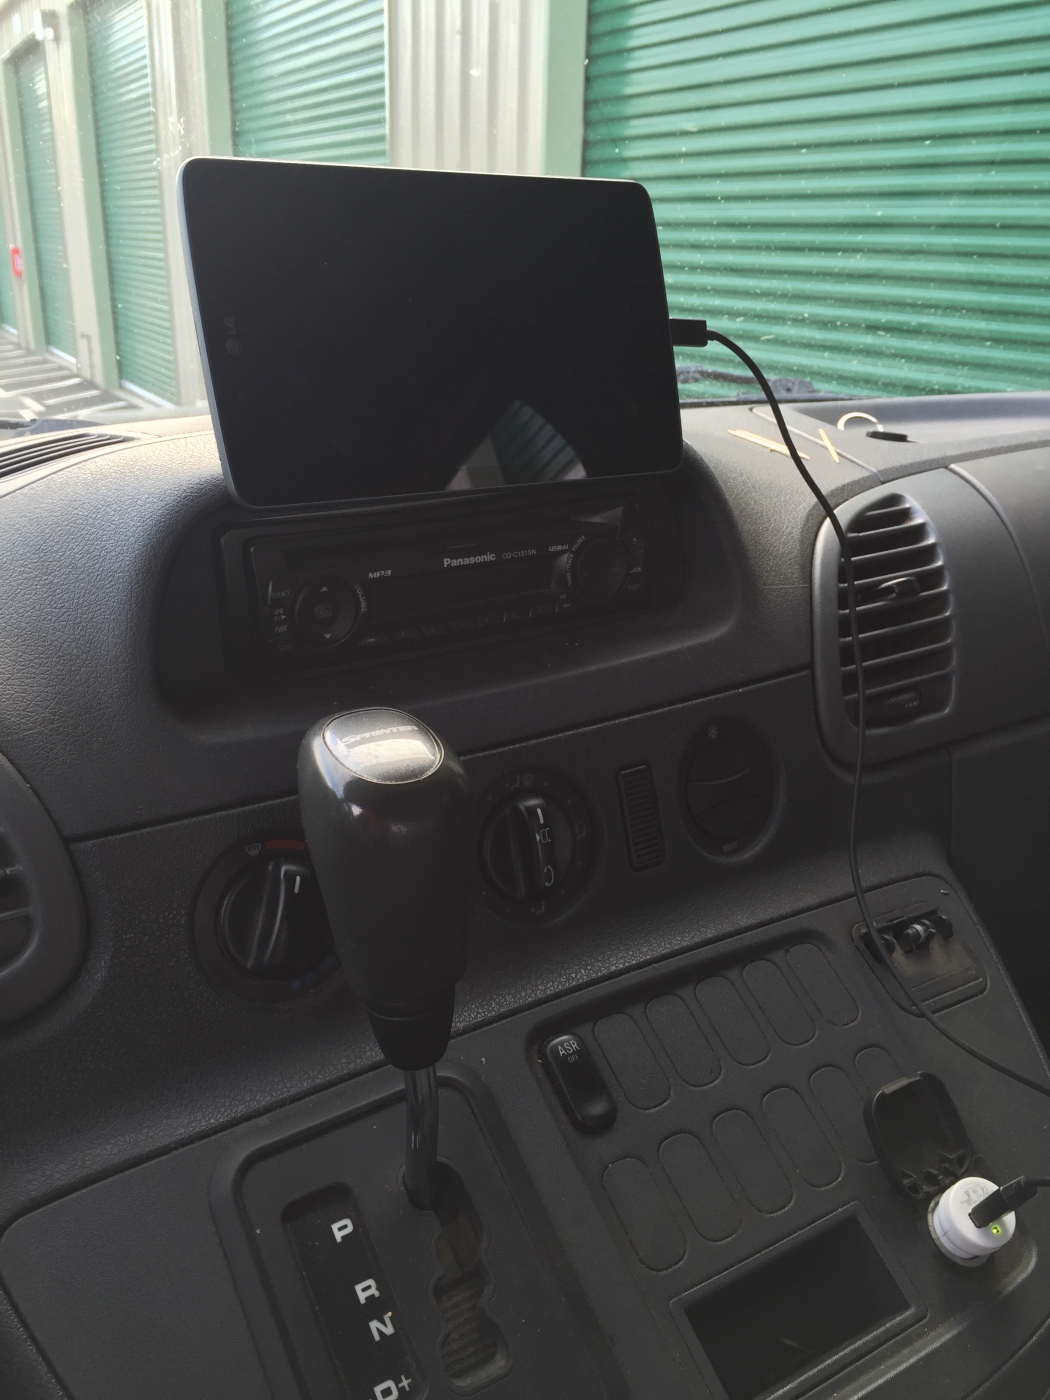
Sprinter_Project_038

iPhone Integration

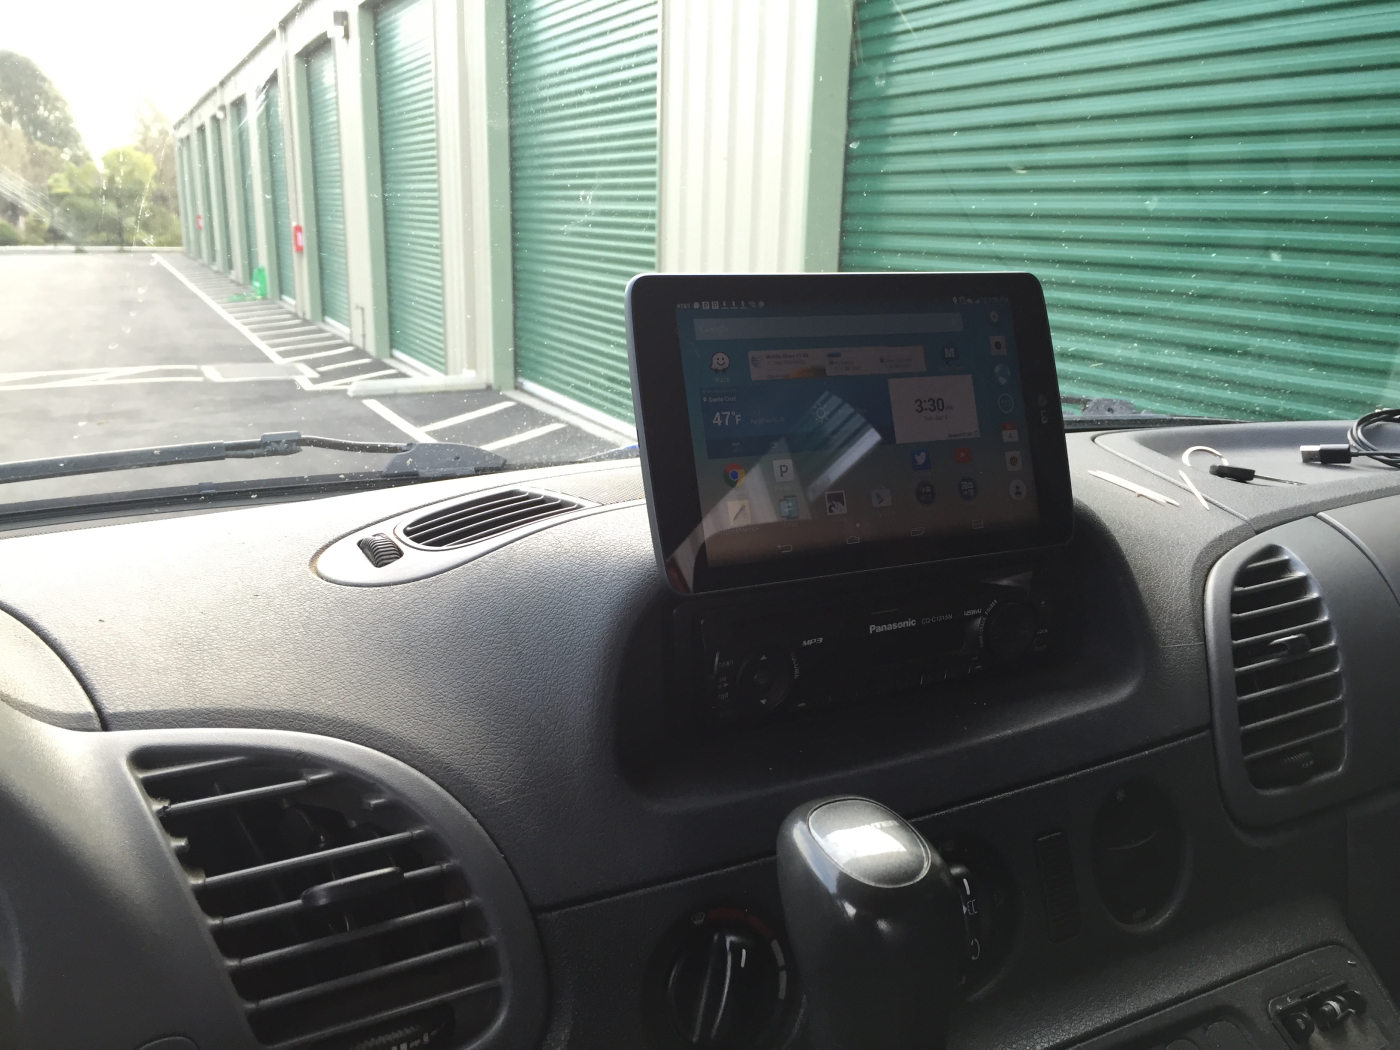
One of the features of the head unit, is iPhone (and Android) integration. This I wanted to test out. Thankfully it just worked. One press of the button to change input to USB, about 60 seconds to sync with the phone and store it’s ID, and bang.. music starts playing.

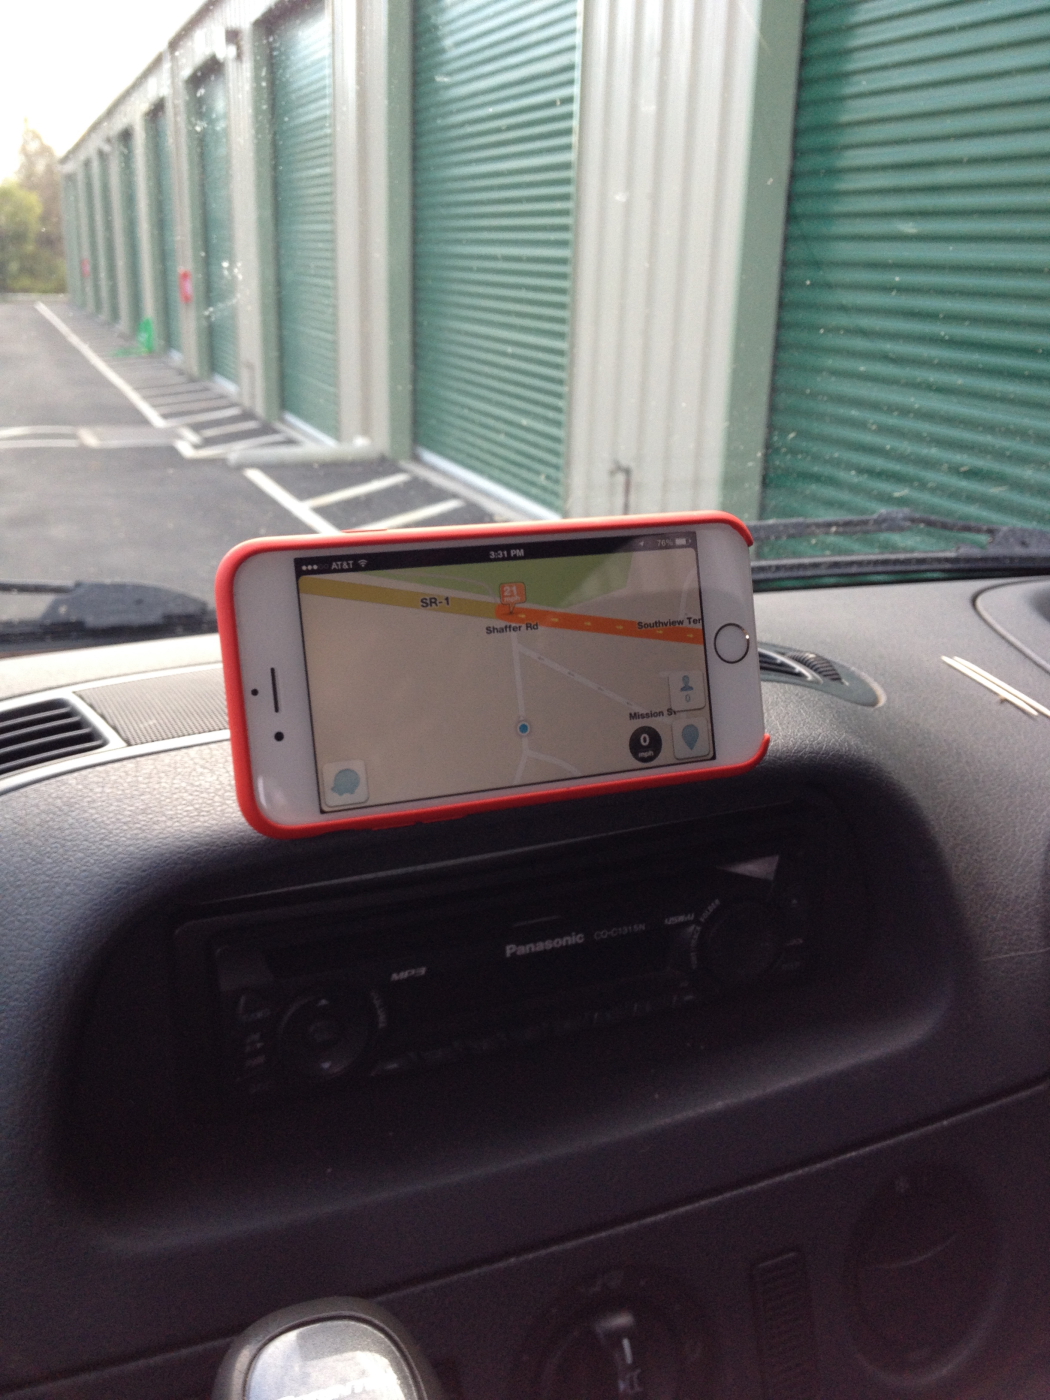
Here I have WAZE up and running on the screen while the music app drops the bass.
Sprinter_Project_039

That was enough for one day… many more days of work on this to come.

Track Truck LIVES – Alternator replacement completed

This really shows it all:

The work was not difficult, but it was a little time consuming to get to the upper most rear bolt, and also to remove the turbo resonator. To do so actually required a 1/4″ spanner wrench to operate on the small E8 TORX head bolts.

To properly address the repair, intake tract has to be removed from the passenger (right) side of the engine. Here you see the parts removed, which include the intake hose, turbo resonator and output hose to intercooler, along with the heat shield.
Sprinter_Project_013

Here is the intake hose and turbo resonator that were removed.
Sprinter_Project_014

Replacement rebuilt alternator, ready to install!

BOSCH Alternator ready to be installed.

Close up of the “fiddly bolts” you will encounter doing this work. The larger of the two (there are 4 of these to deal with) use and E12 TORX Socket (seen below the bolt). The smaller of them (there are 2 of these) use an E6 TORX socket, however a 1/4″ wrench works better due to the confined space.

Fiddly TORX head bolts

A little closer picture of the turbo sands intake hoses.

Turbo, topside.
Turbo, topside.

To easily move the belt tensioner, I found it simplest to just disconnect this hose at the intake (don’t lose the locking clip!), making the turning of the socket wrench on tensioner stud much less of a hassle.

Intake tract and post-intercooler high-pressure hose.

Another part of the system that can fail, are the high-AMP fuses that are located in a black box next to the battery. Here is that box.

Location of high-AMP fuses for T1N Dodge Sprinter

Inside the high-AMP box are a set of specialty fuses. It’s generally reported that the dealership is the only source of these fuses, and they are not commonly stocked, so it might be a good idea to order a few ahead of time “just in case” as this is not an rare failure point.

High-AMP fuses for Dodge Sprinter (T1N)

Grounds are also an issue on these trucks. This is a main body ground, located right above the battery. In this photo the negative ground is still disconnected from the Alternator replacement service.

Chassis groun; one of the many possible causes of a failing electrical system.

Another of the highly suspect grounds can be found (again on the driver side) down at the engine mount, and connecting back to the chassis. Both of these grounding points should be carefully examined.

Engine ground strap; one of the various possible causes of Dodge Sprinter electrical maladies.

Sprinter 3500 Track Project – Day 3

Another day, another pile of pictures. Today was more of a ‘get things done’ day than the rest. Here is how things are looking:

Removing the flooring

Having already removed the rear 8′ section, to find that the van’s floor already has sound damping material laid out upon it. Awesome! 😀 This means a lot less expense in re-doing the floor, since that won’t have to be done.
Sprinter_Project_001

Sprinter_Project_002

It was quite a mess under the flooring, so some multi-purpose cleaner and brush were put to work cleaning things up.
Sprinter_Project_003

Starting the application of the sound deadening material to the wheel wells. First sections were easy enough, the sides, not so easy though.
Sprinter_Project_004

In the following image, you can see the channels where passenger seat brackets would bolt to the floor. A cargo van this is, obviously those parts are not in place. They are on my list of things to do when converting this to my version of a Toy Hauler.
Sprinter_Project_005

Next up was a mounting system for a navigation solution. I was shown this cool system at a local car audio shop, so I bought 3 (one for each car)!
Sprinter_Project_006

I’m not ready to pony up for dedicated GPS, and I had this Android table with celluare LTE that cost me 99cents… and it was just looking for a good home. Now it will have one.
Sprinter_Project_007

Below is what the mount looks like. Just a magnetic pad with a rubber fact to keep the device from moving around too much.
Sprinter_Project_008

For now, the Android phablet thingy will be powered from a 12v lighter adapter. When I get a new head unit installed with USB power, this cable will be hard-wired into the dash, or some other more suitable solution. As is, it’s within reach, has power, and is ready to nav!
Sprinter_Project_009

Adding one of the little steel plates by my iPhone, it too can serve as navigation, audio source, entertainment, whatever need be. This is the coolest product for using mobile devices in a car that I’ve seen yet!
Sprinter_Project_010

Sprinter 3500 Track Project- Day 1

It’s January 1, 2015. Not only is it a new day, and a new year, but a new project.

It’s Project Track Truck. Prepping for the next season of track days begins now, with the end of a 3 month search for the desired track vehicle. After much deliberation, waffling, searching (including writing software to find these elusive beasts at less than insane prices), missing out deals…. I finally (think) I have it.

A 2004 Dodge Sprinter 3500 Long WB, High Roof, Extended Box. Yeap, it’s as big as big and heavy duty as they came in 2004.

With a GVW Rating of 9990 lb., this is just a couple of happy meals shy of a commercial vehicle. Powered by a 154 HP, 5-cylinder diesel engine (yes, it’s forced induction by way of turbocharger). It’s no sports car, and it’s also not very pretty. In fact, I believe the first words out of the Mrs. mouth were: “Holy crap, that thing is ugly. Have you lost your mind?”

Perhaps… but it’s my mind to lose (I think), and this is how I plan to do it.

2004 Dodge Sprinter 3500

Sprinter_FirstPics_002

Sprinter_FirstPics_003

Sprinter_FirstPics_004

Sprinter_FirstPics_005

Sprinter_FirstPics_006

Sprinter_FirstPics_007

Sprinter_FirstPics_008

Sprinter_FirstPics_009

Sprinter_FirstPics_010

Sprinter_FirstPics_011

Cleaning it up

Later in the day, I assembled a crack cleaning crew, consisting of myself and my 12 y.o. son. We embarked upon a clean-up effort to remove the gruesome letting from the van.

After nearly 4 hours of labor, a trip to the hardware store, and some failed ideas.. we were able to mostly clean up the passenger door and the two rear doors.

It might not seem like much, but it was some progress, and even though I might still shudder when visible in daylight, for now, at the moment, at night… with poor lighting.. it almost looks OK.
Sprinter_FirstPics_012

Sprinter_FirstPics_013