I’m not sure if this is a Southern thing, but in the non-owner neighborhood we live in, when people move out they seem to leave a lot of old junk on the curb in the hopes someone else will repurpose it. Perhaps they just don’t want to pay the feeds to have the junk hauled off. But not all of this is a bad thing, and that’s how I came to own my first Subaru.
A few weeks hence, while drinking a dram of some of Scotland’s finest Water of Life, I spied some boxy looking thing a couple of doors down the street, where a couple (or what was actually left of a couple) was moving out. Whatever it was, it looked like it had caught fire and was ready for an unceremonial dumping into the trash.
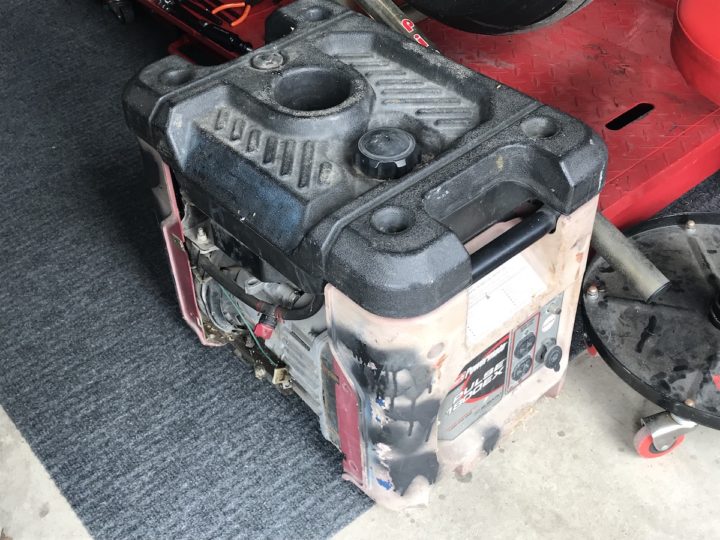
The thing languished on the curb for some time, and curiosity got the best of me. Upon inspection of this trash, I discovered that it was a generator, exactly the type of generator and capacity for a good day at the race track.
With the pull-cable hanging out, spots of black spray paint adorning the faded plastic ends, panels hanging off, and parts clearly missing, it was no prize. But grab it I did. Having recently watched some YouTube videos on restoring generators to working order I felt emboldened to take on a project. Besides, my daily work is in the cyber world and tasking myself with tangible project was a nice respite. Grunting and groaning at 3:00 AM, I hauled the wreck back to my garage and closed the door on my new project until the next morning.
Upon completion of my weekly day-job obligations, I changed clothes and set to examining this pile of junk that more assuredly would end up out on my curb by week’s end.
It was quickly appearant that the primary issue with the pull cable was the faded plastic end housing had cracked around the opening where the cable existed and was holding it fast. After some effort, the cable was freed from the housing, and with a pull I heard the sweet sweet sound of a small engine trying to puff to life. It wasn’t seized, it had compression and the pull start mechanism as in tact. At this point some excitement began to emerge… this just might be salvageable!
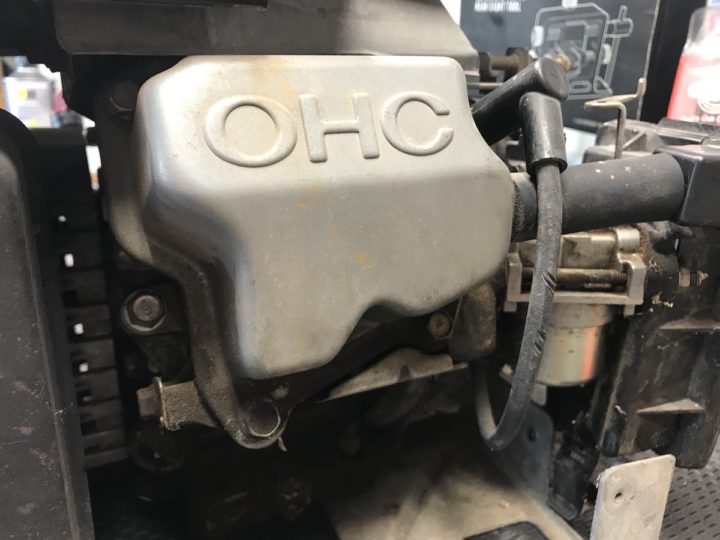
The next couple of hours involved removing many semi-fixed and rusted screws, panels and the plastic gas tank. Thank goodness it was plastic and not metal, I had no worries about rust! Once I had the remaining panels removed, it was then that I discovered that this was not some typical Chinese junk-pile motor in the generator. Instead it was clearly marked as an OHC (overhead camshaft) engine made by Subaru. This was a choice acquisition in deed! Even if I could not resurrect the electronics, this engine had value that far exceeded the appropriation cost of a short walk down the street.
Next order of business was to pull the spark plug and check for spark. After some fiddling around in the old tool box for the right spark plug removal tools, I had removed it to find the plug clean and free of rust. Things were looking better and better!
Placing the plug against the cylinder head and pulling the now freed pull start cable, a weak but detectable spark was seen. Yes.. this is going swimmingly. Two of three basic engine requirements satisfied. This seemed to have good compression and it makes spark. All I needed to do now was feed it some fuel and see if there was anything home! Just a quick shot of starting fluid answered that question too, as it briefly sputtered to life. Time to invest a little money in this project.
Over the next couple of days, I washed out, drained and dried the fuel tank, which was full of what looked like rocks. How or why those got in there is still a mystery to me, but I had some success in clearing them and the water out. While that progressed I spent $5 on a can of red paint, $4 on a can of TruFuel and another $5 on a fuel filter to prevent damage to the carburetor from anything I failed to remove from the gas tank.
After improving the aesthetics with some paint, and cleaning out all the nooks and crannies with the trusty air compressor, my first Subaru was ready for re-assembly.
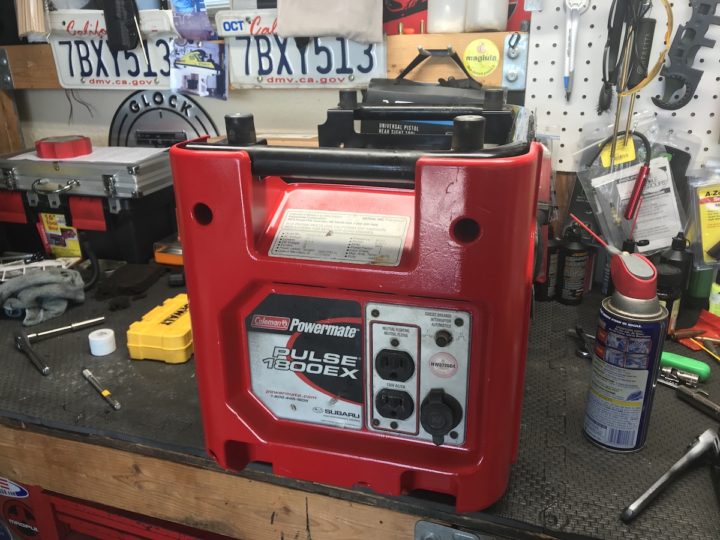
With some pride and a solid sense of accomplishment, I summed the family to observe what I hoped would be a successful startup. With a single pull the generator sprang to life, and I’d further cemented my reputation as the fix-it-dad.
The little red Subaru now lives in the garage next to my other generator, waiting for a new job to do.