Tag Archives: fixed

Track Sprinter: checking high-pressure pump

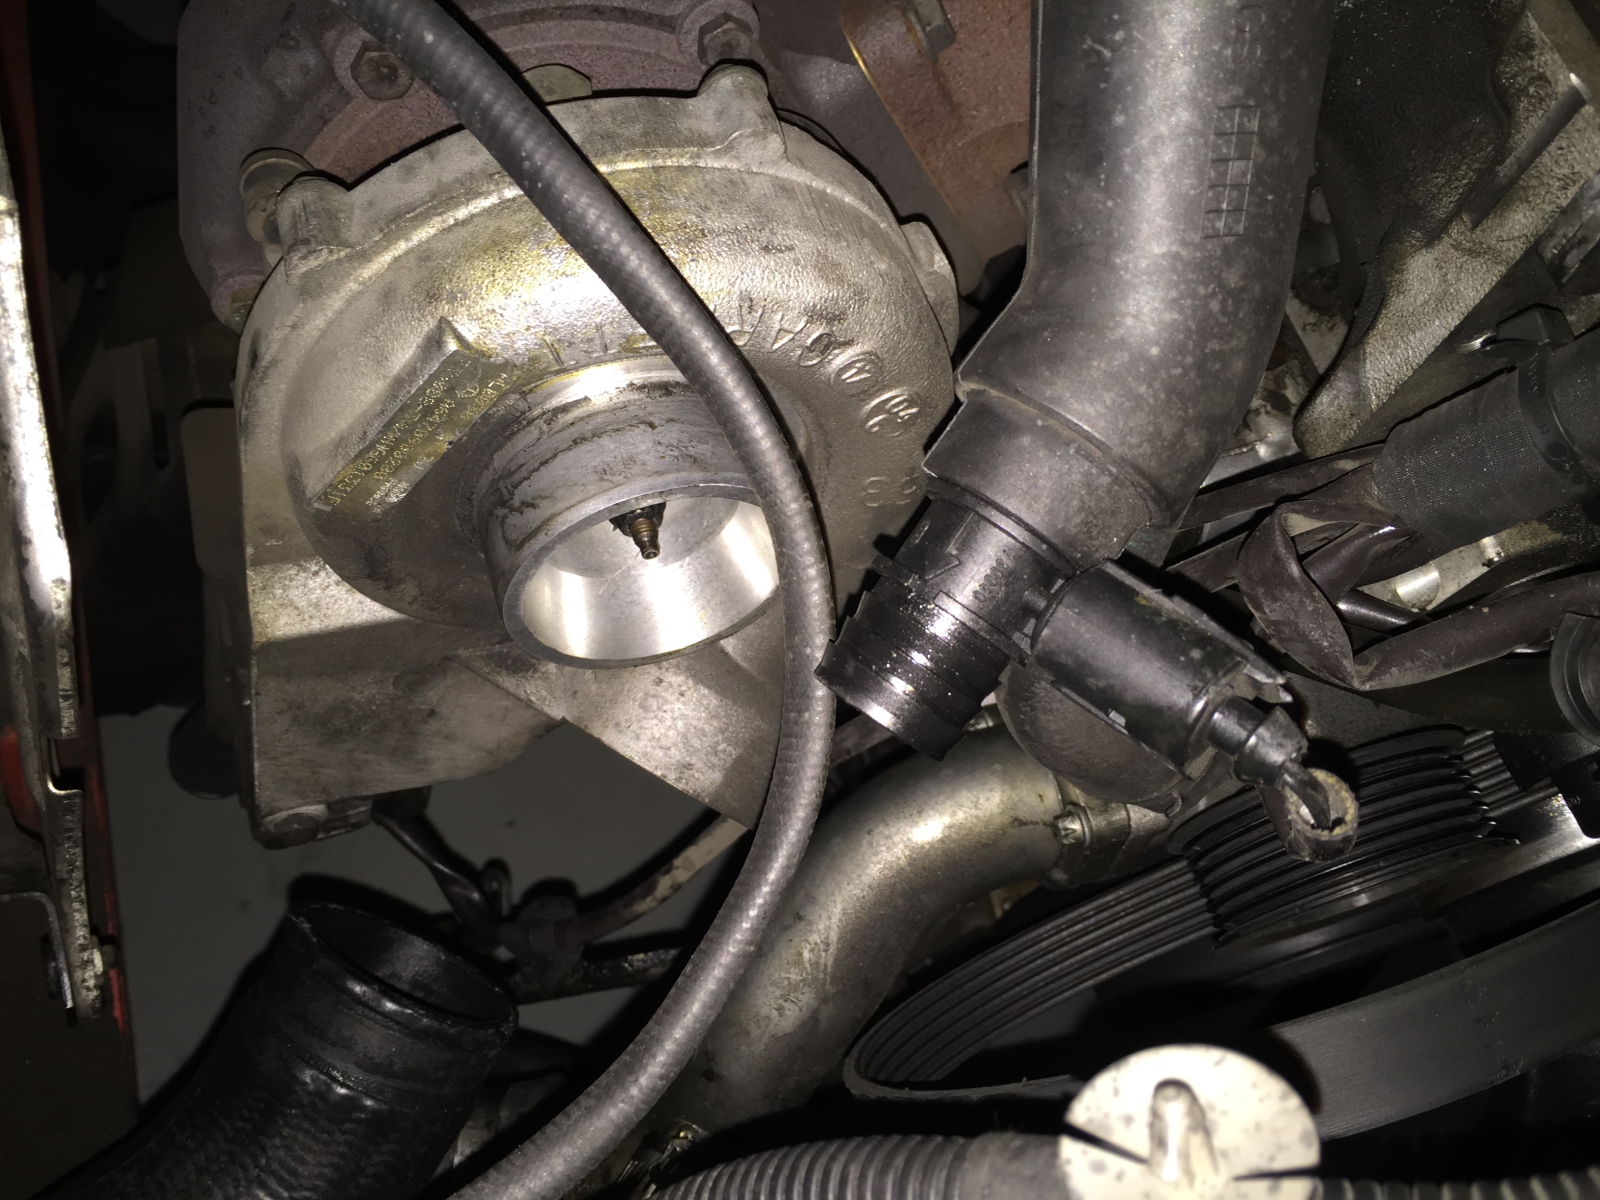
The number 1 suspected cause of the alternator failures, according to the Sprinter People I’ve queried, is a leaking high pressure fuel pump. So, even though I’m not identifying a clear indicator of a problem, it just seemed prudent to take the time to investigate it while everything else was apart.

There were a lot of steps not shown to get to this point. They all seem pretty straight forward, so I’ve skipped ahead to the part where I actually remove the pump.

There are three E10 torx head bolts that secure the pump to the engine block. Two are fairly easy to access and are located on the upper half of the pump assembly.

Here is one of the bolts being removed.
Sprinter_2015_01_20_05

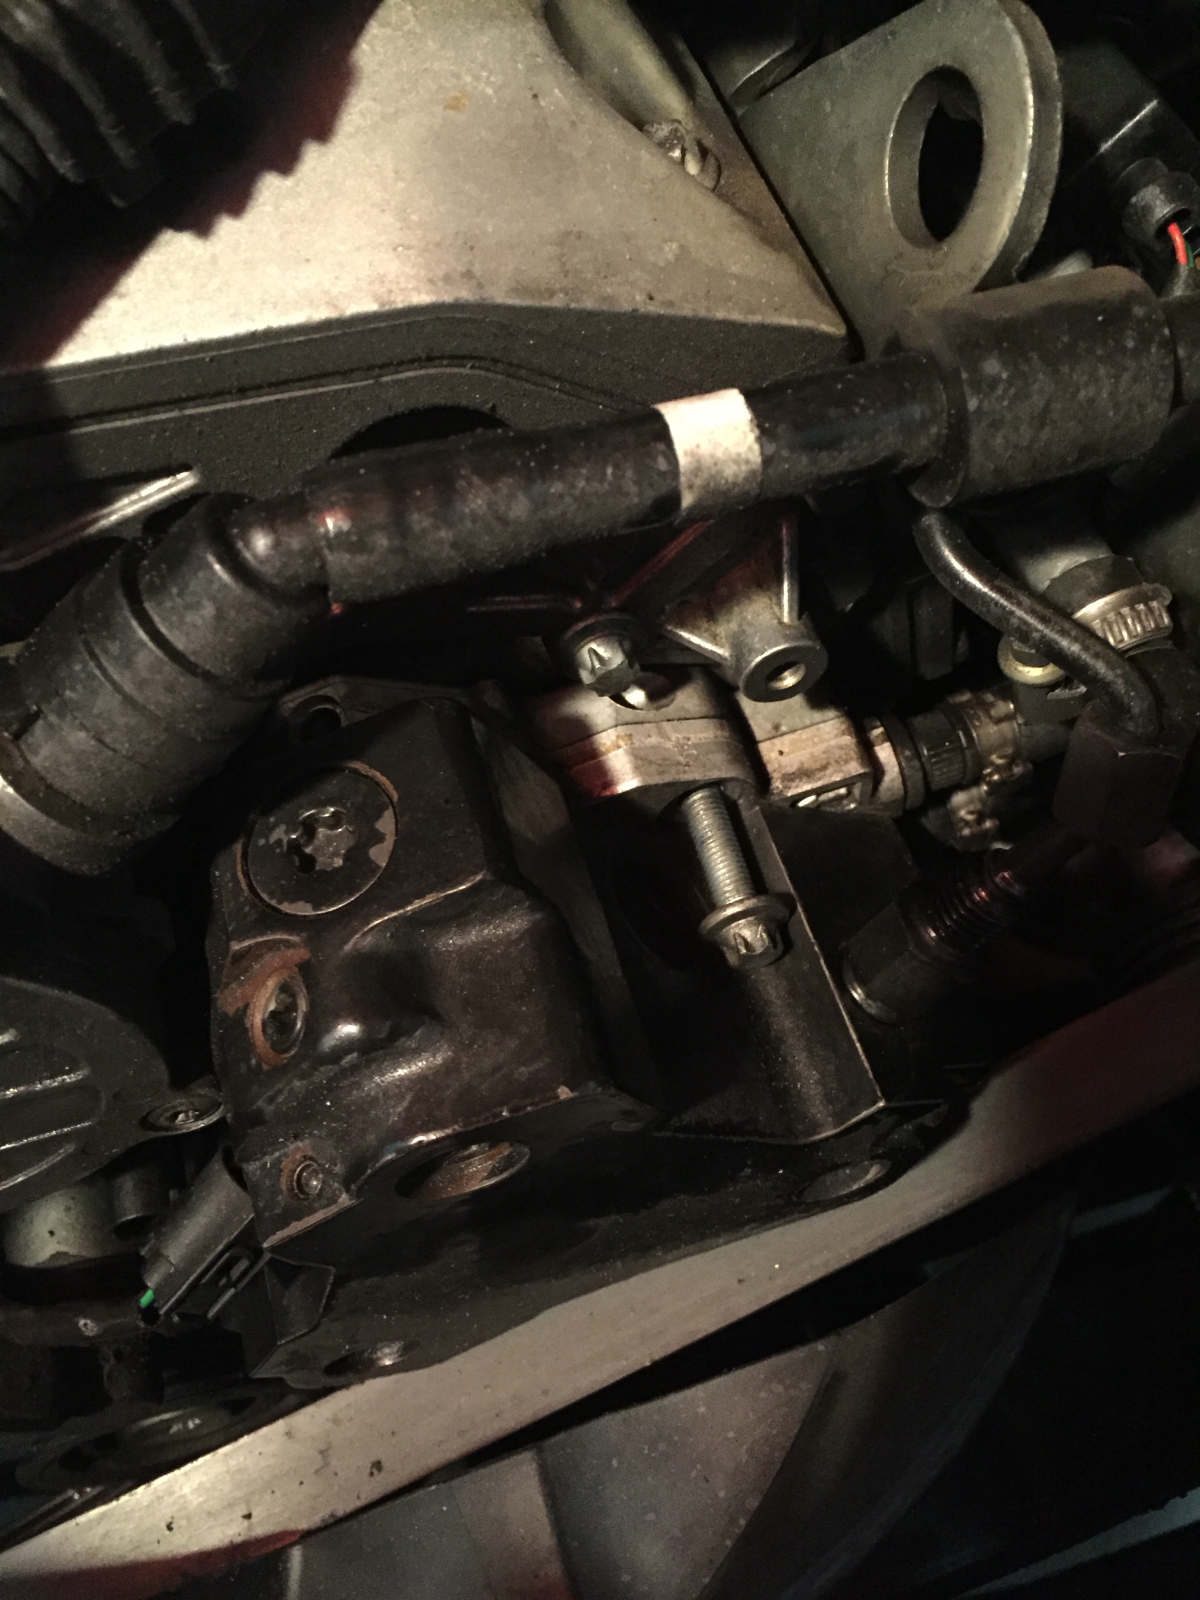
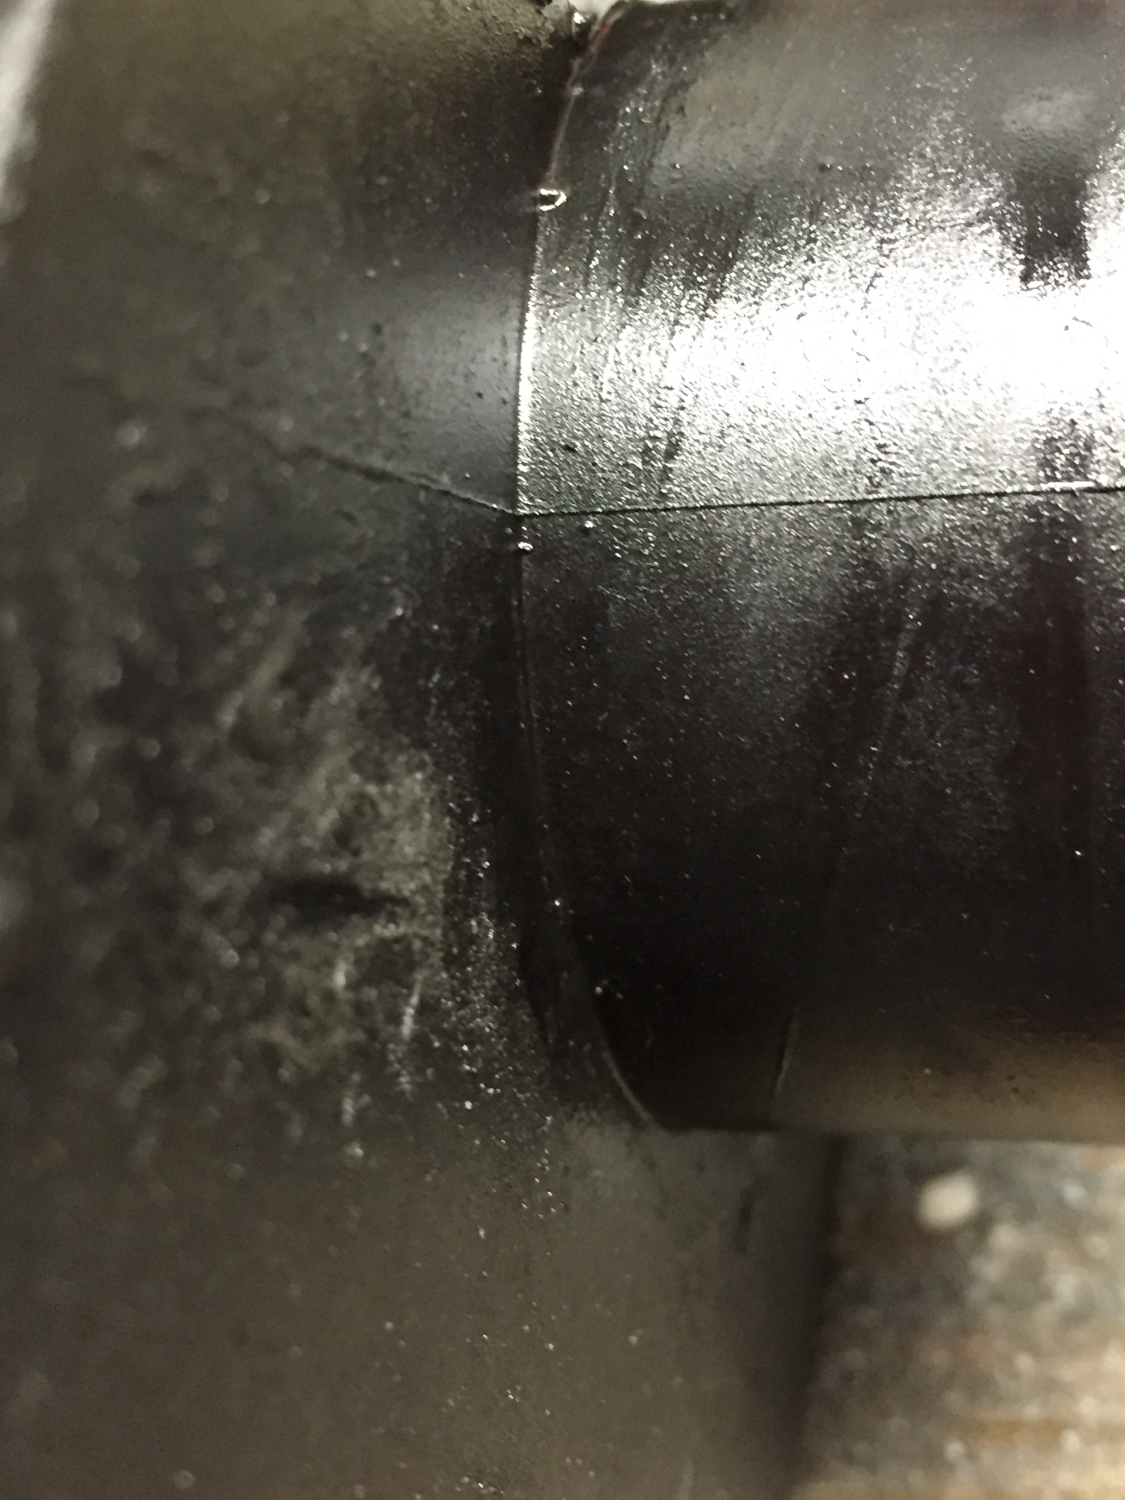
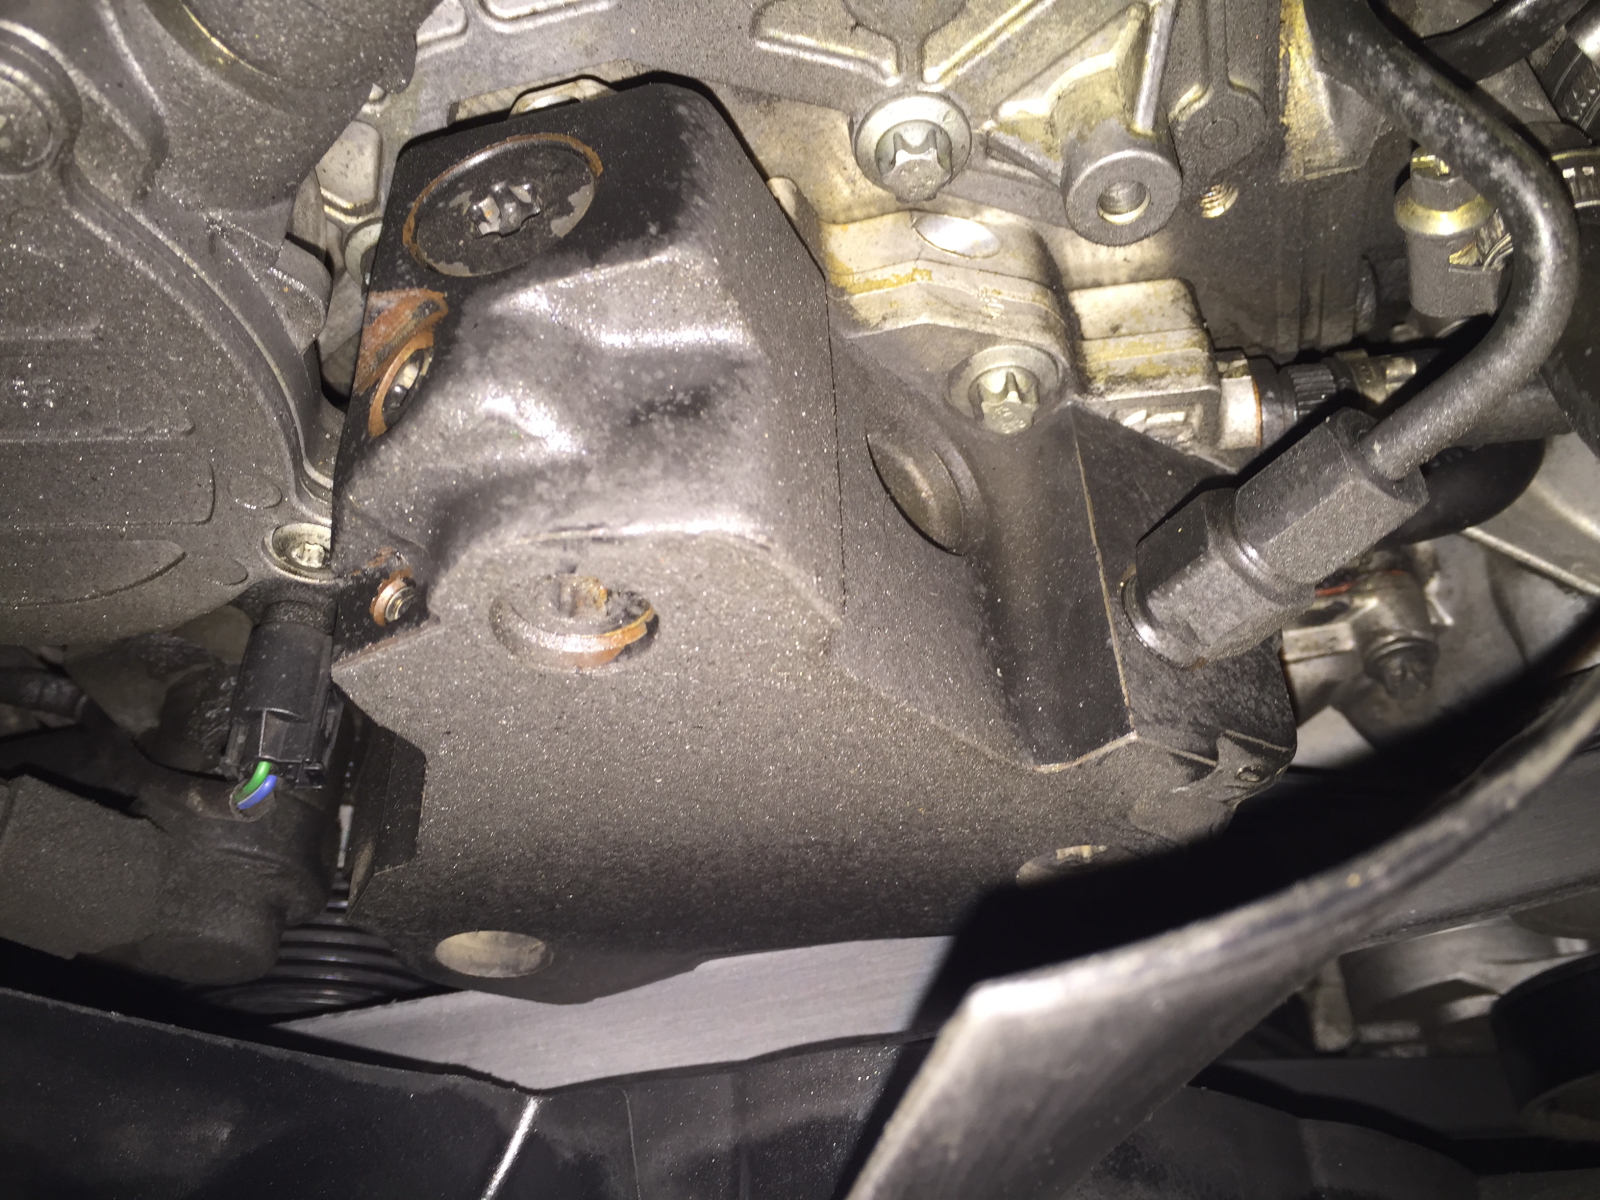
The next bolt is located to the left, about mid-pump, very close to the connector you see removed in this photo.
Sprinter_2015_01_20_06

Here is a slightly better angle showing where the bolt is located.
Sprinter_2015_01_20_07

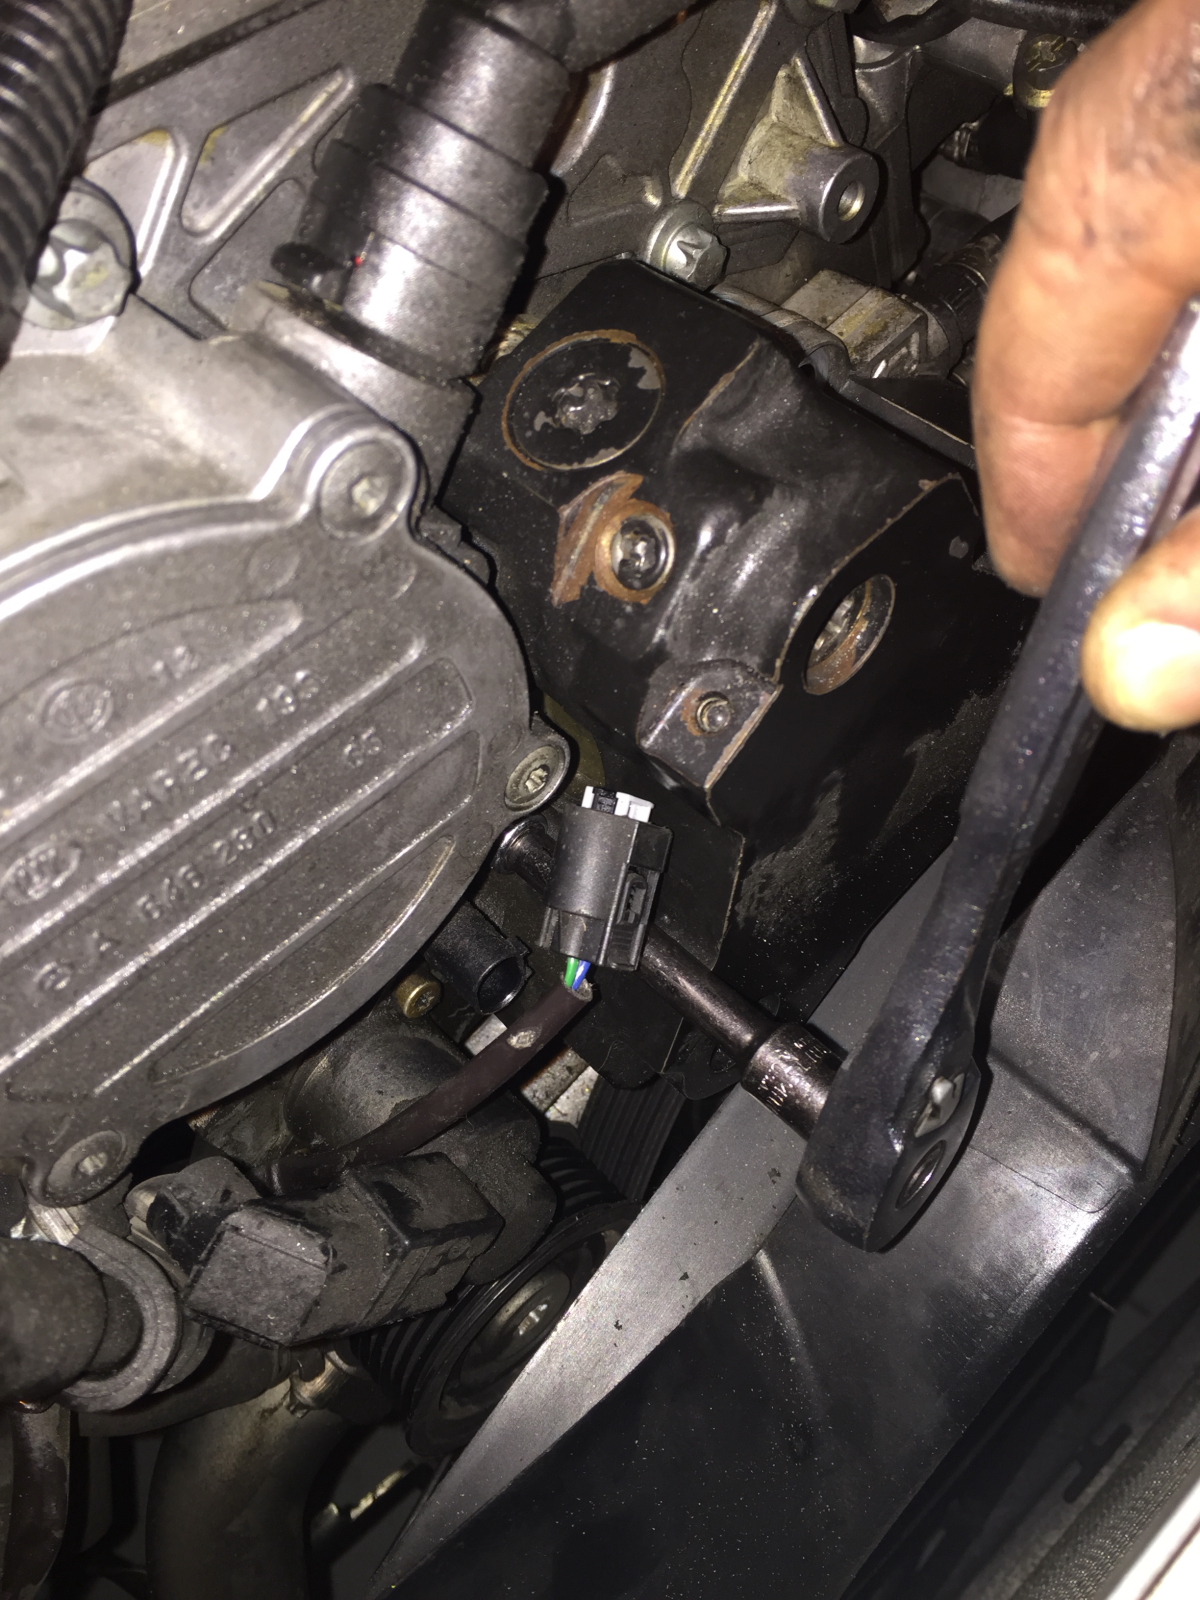
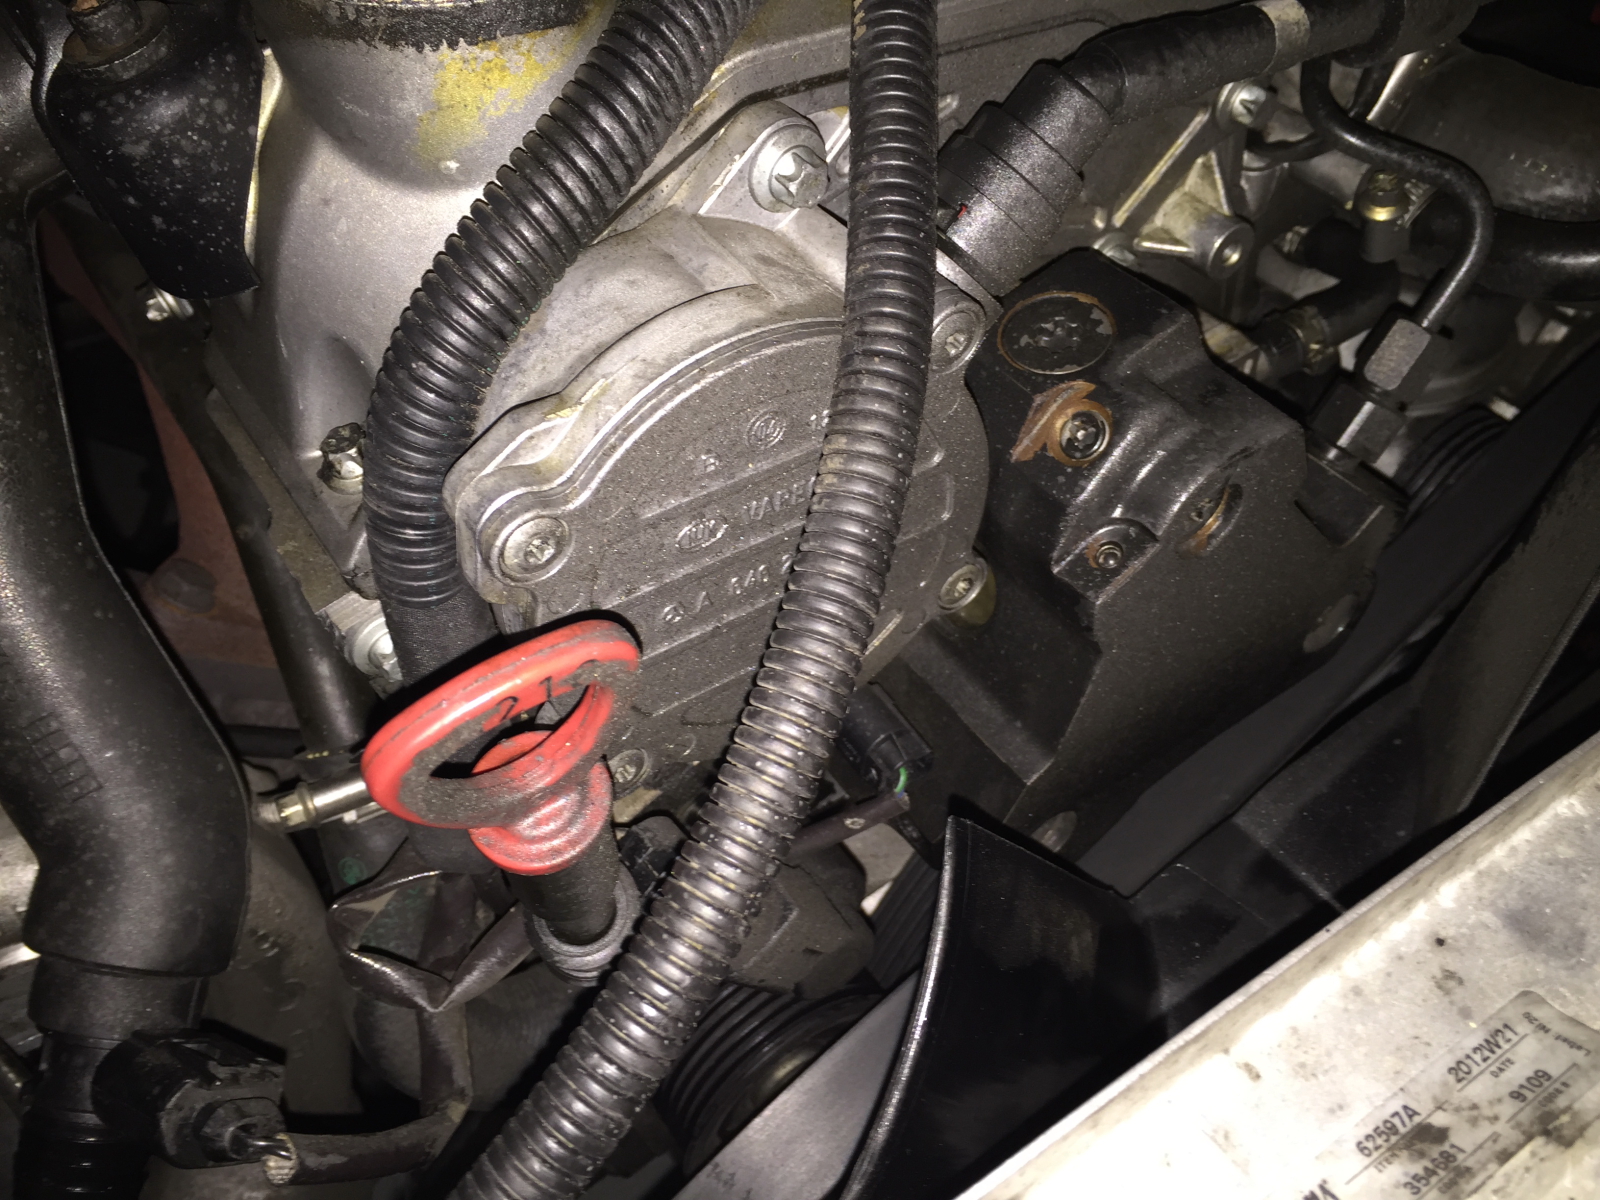
There are two electrical plugs that need to be removed. The one on the right slides out forward. The one on the left slides upwards. The left one is a bit of a pain to removed. I used some channel lock pliers to get an even pressure on the rear clips and gently wiggle it upwards until it came off. Take your time, breaking more parts while doing a repair is not a good plan.
Sprinter_2015_01_20_08

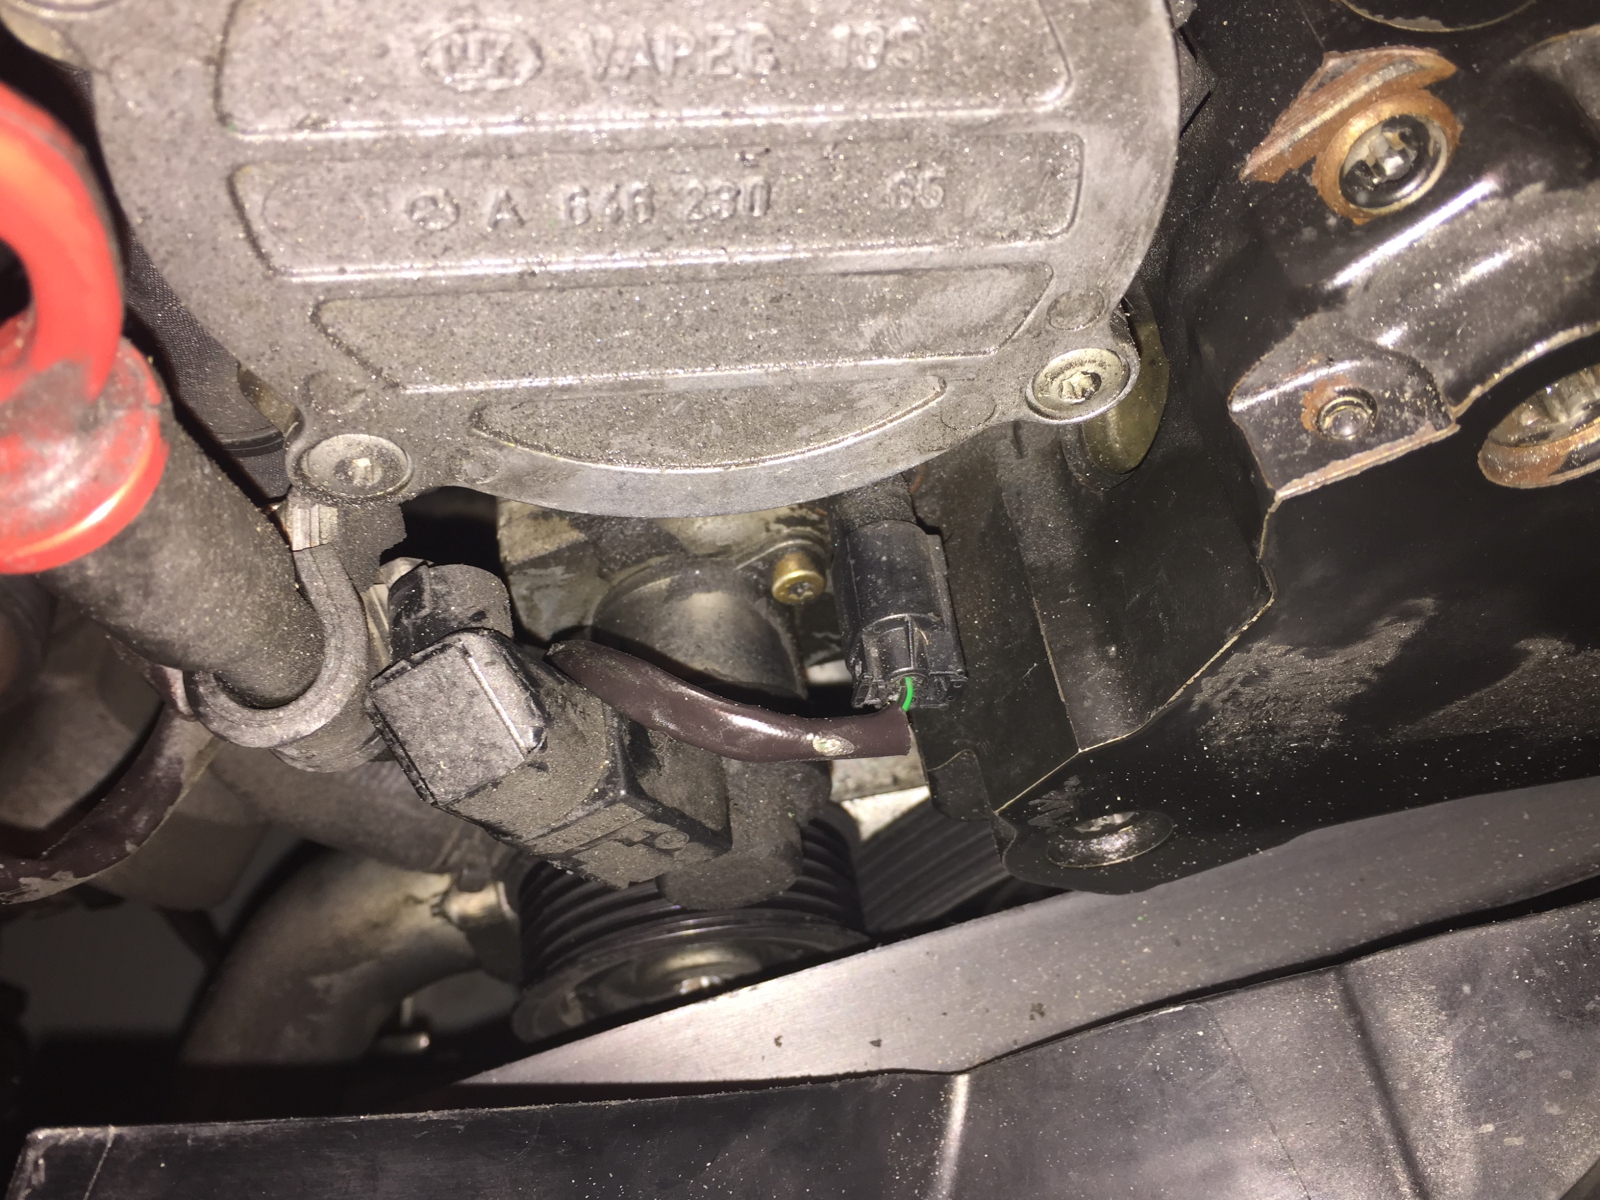
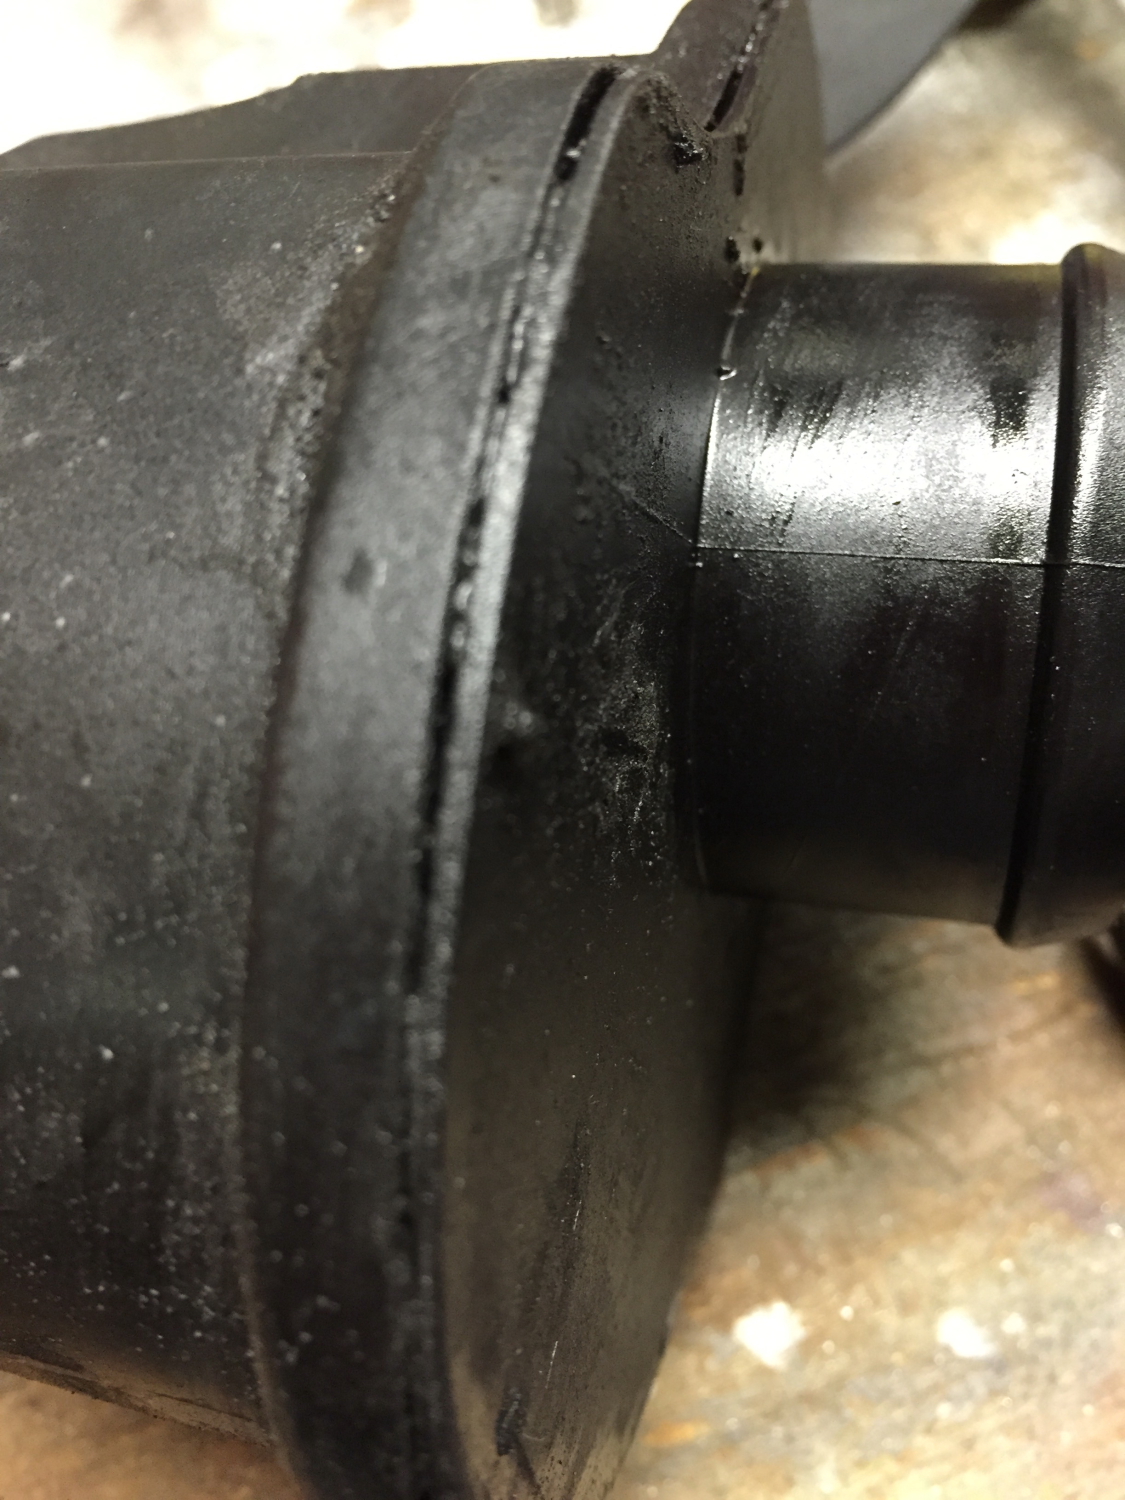
Plugs disconnected and ready to move onto the last steps. NOTE: The high pressure outlet has already been disconnected (top of pump). You can see the threads of the connector at top of photo. To removed these I needed an 18mm open wrench to hold the lower fitting in the pump, and a 14mm flare nut wrench to remove the coupling on the high pressure line feeding the injectors. That’s an important step. You won’t be able to remove the pump with them connected. What I didn’t remove when I was working on mine (maybe a bad choice) were the two lower pressure feed and return lines about mid-pump on the right (not seen here).
Sprinter_2015_01_20_10

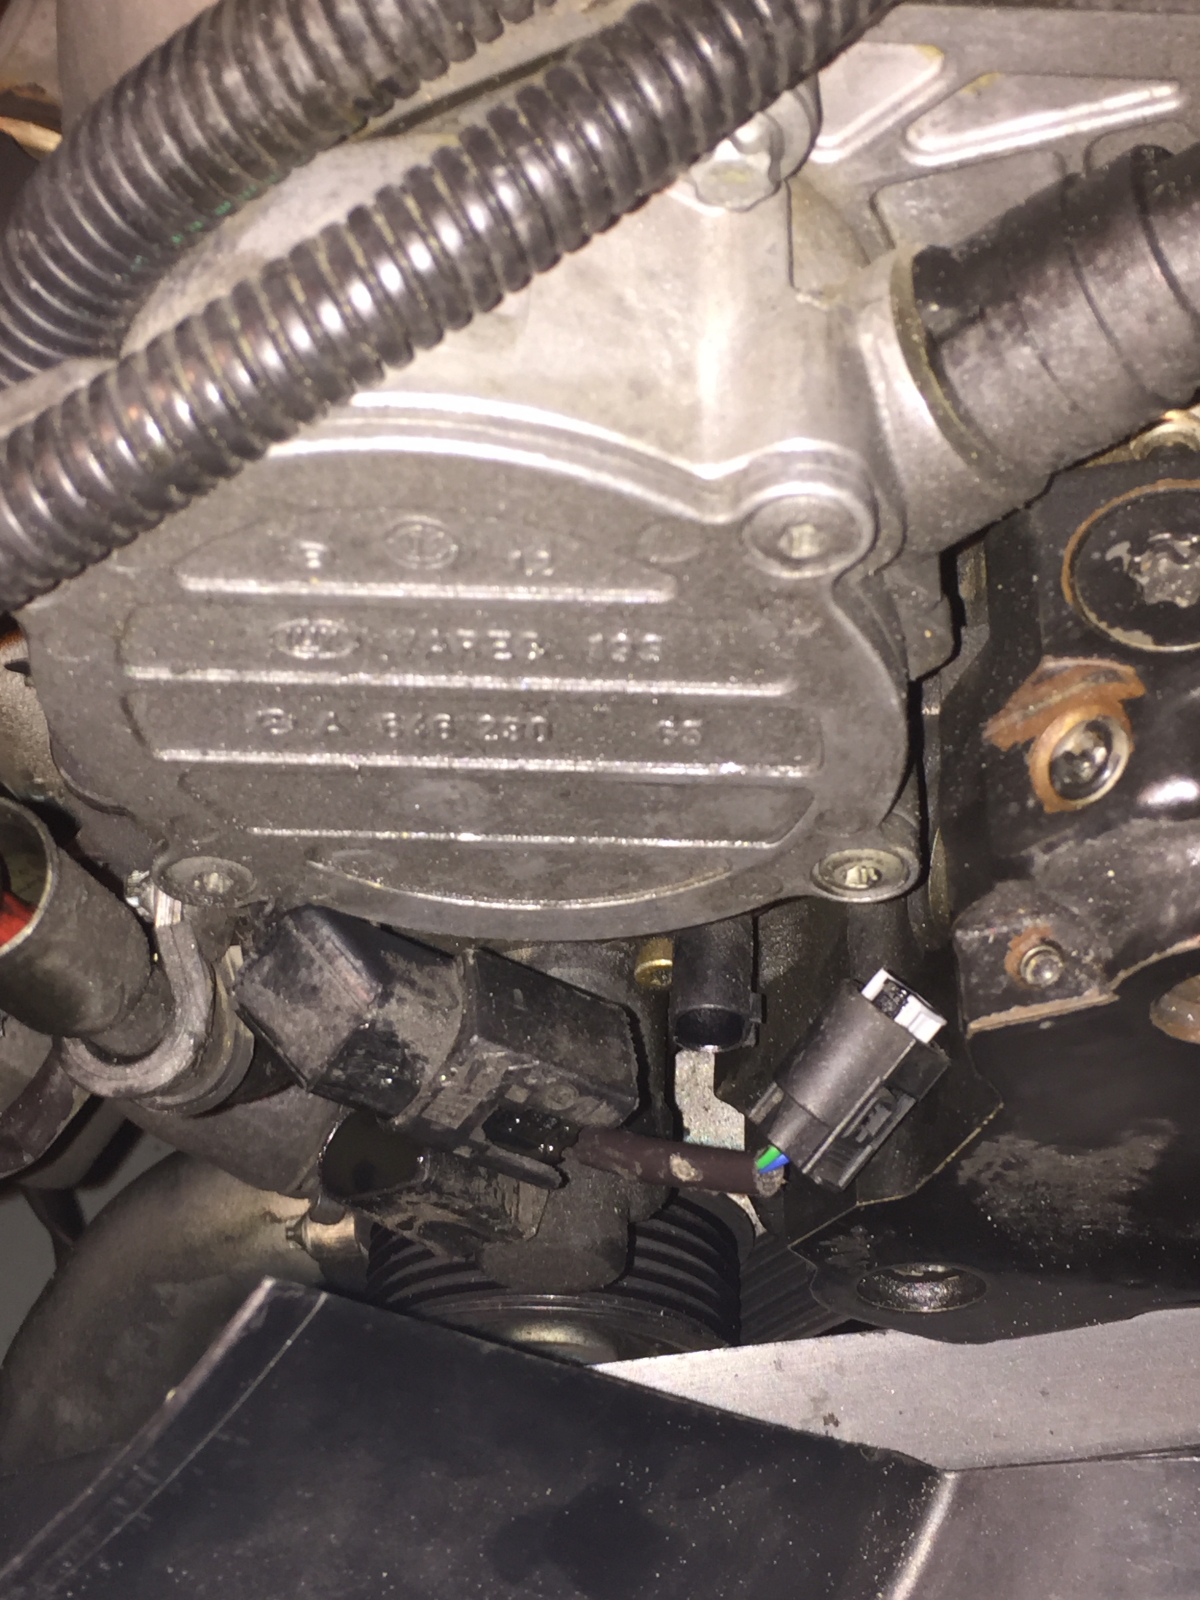
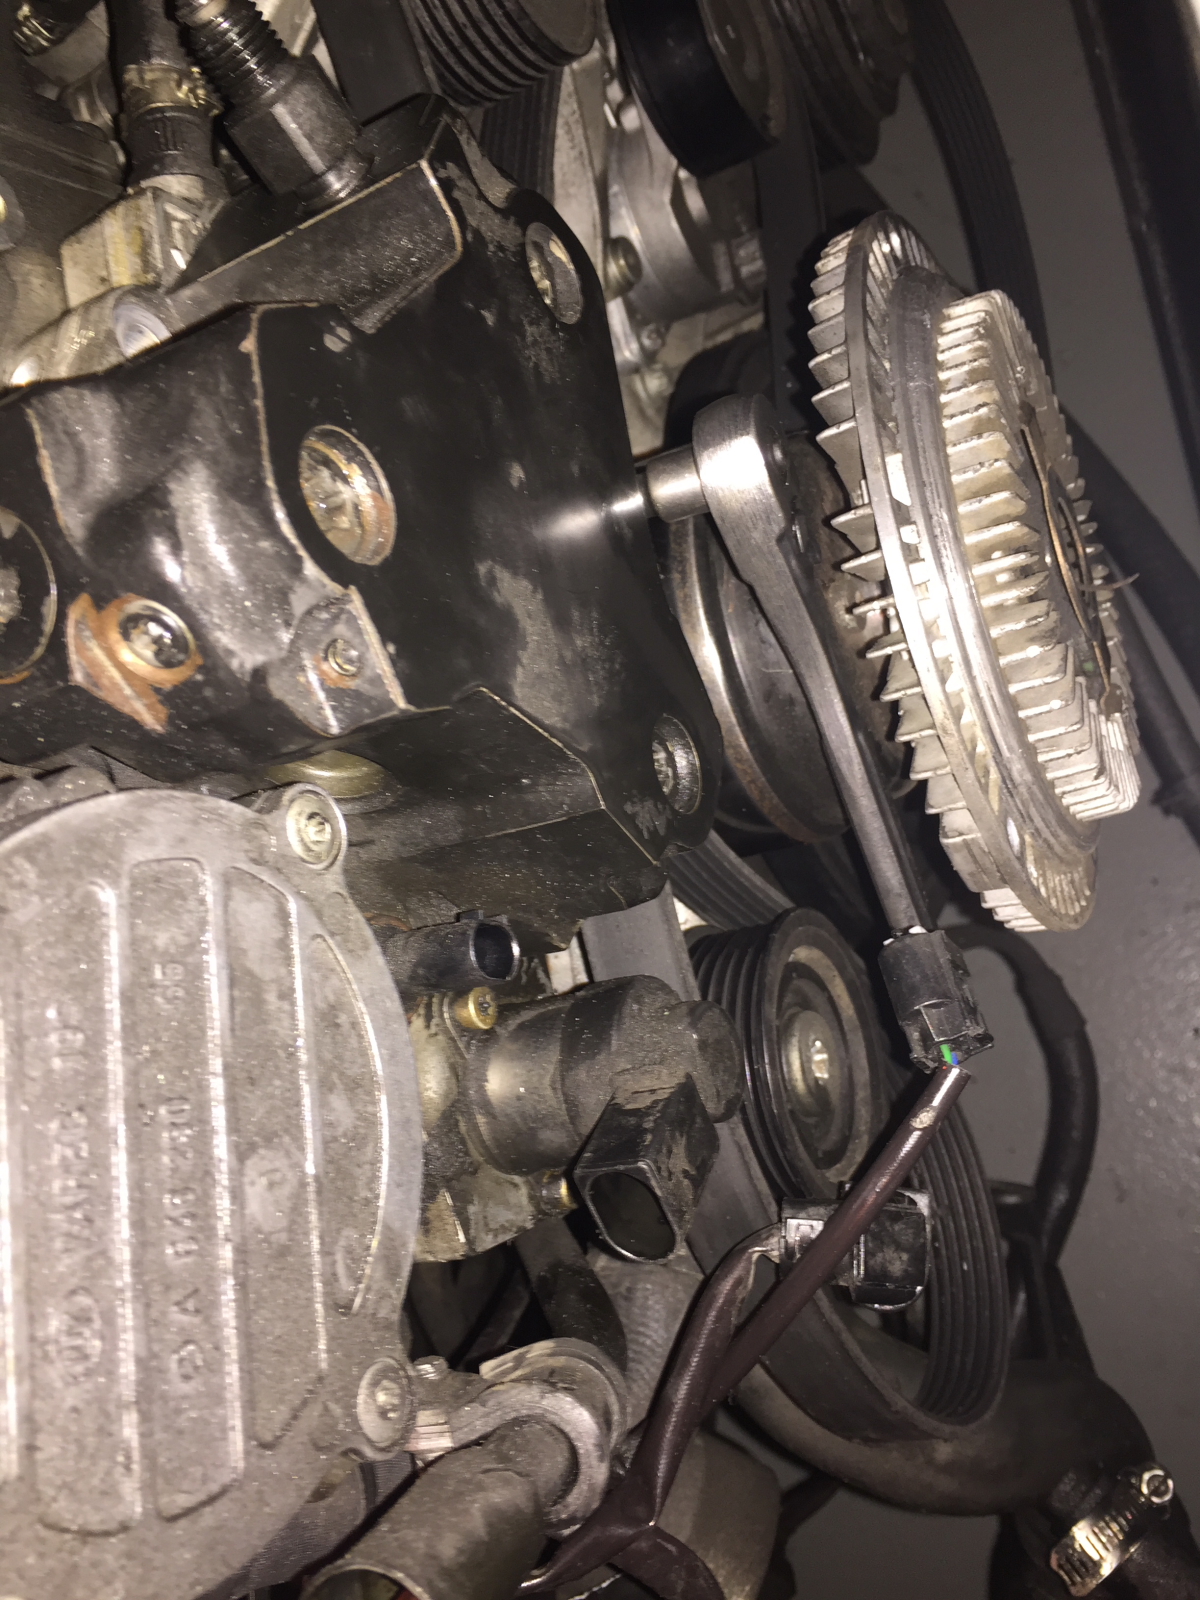
Last of the three bolts is bottom center. As much as I’d like to do as little removal of parts as possible, I don’t really see a practical way to get at this bolt without removing the fan blades from the clutch. You just have to do it. I found the 3 bolts on the fan to be 5mm HEX socket (not torx). They were torqued pretty tight. They are a normal right-hand thread, nothing tricky there.
Sprinter_2015_01_20_11

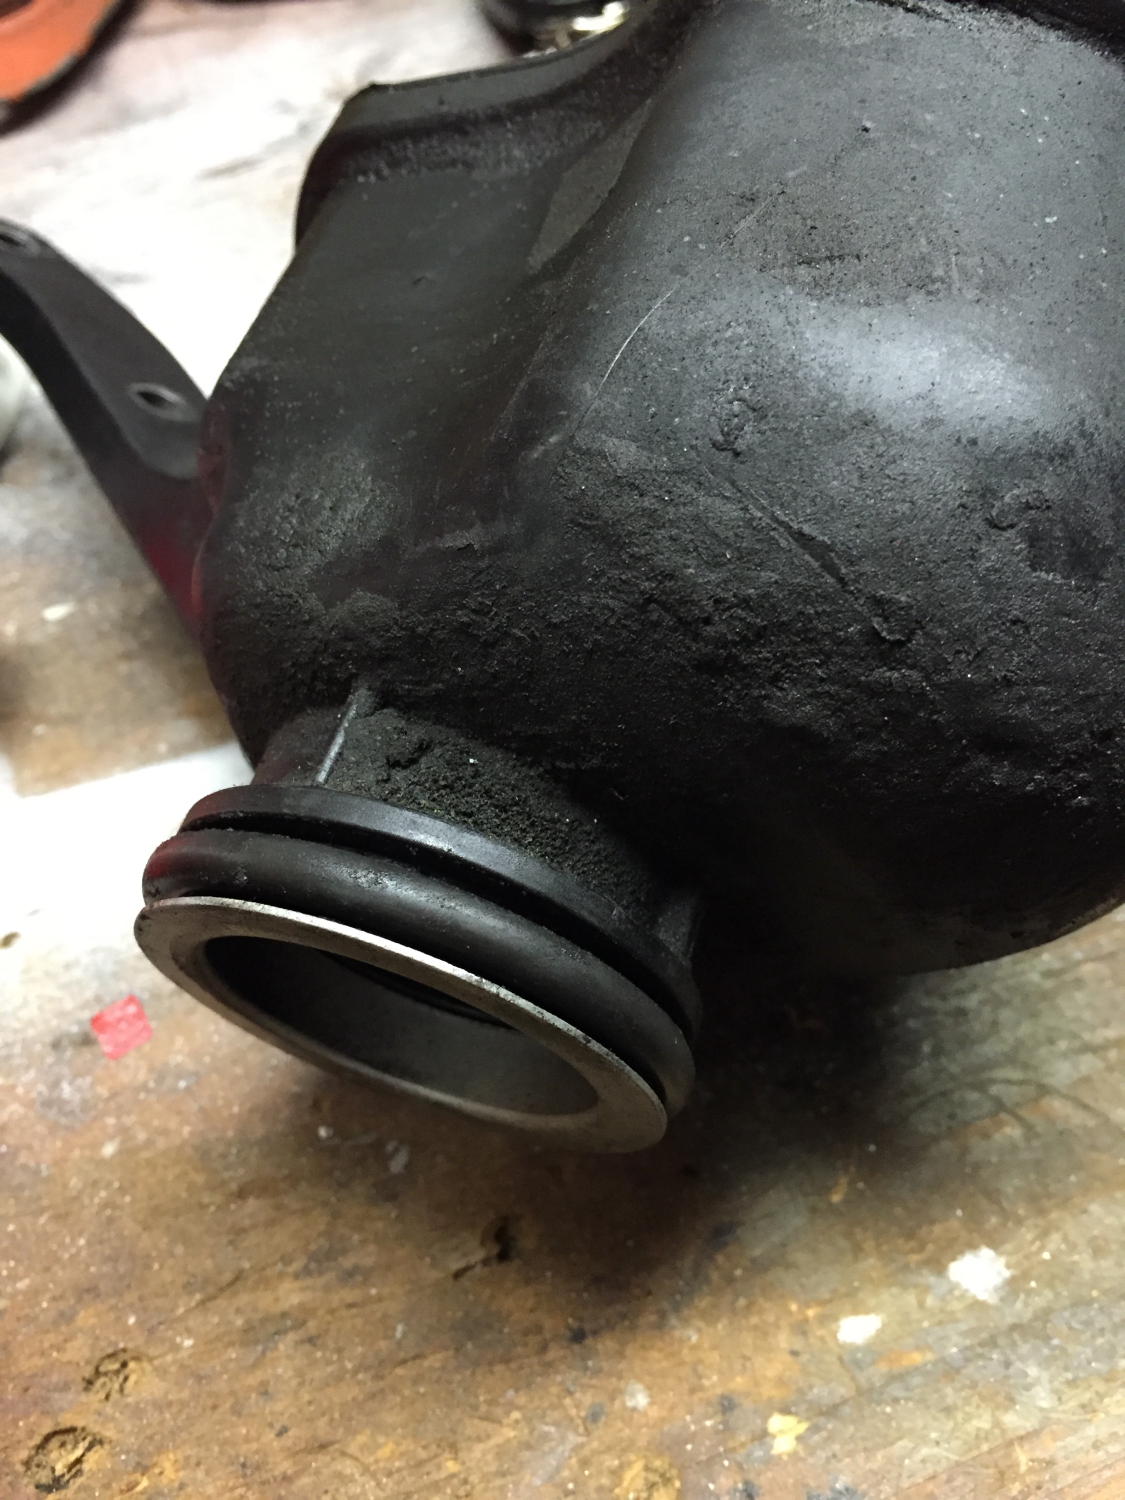
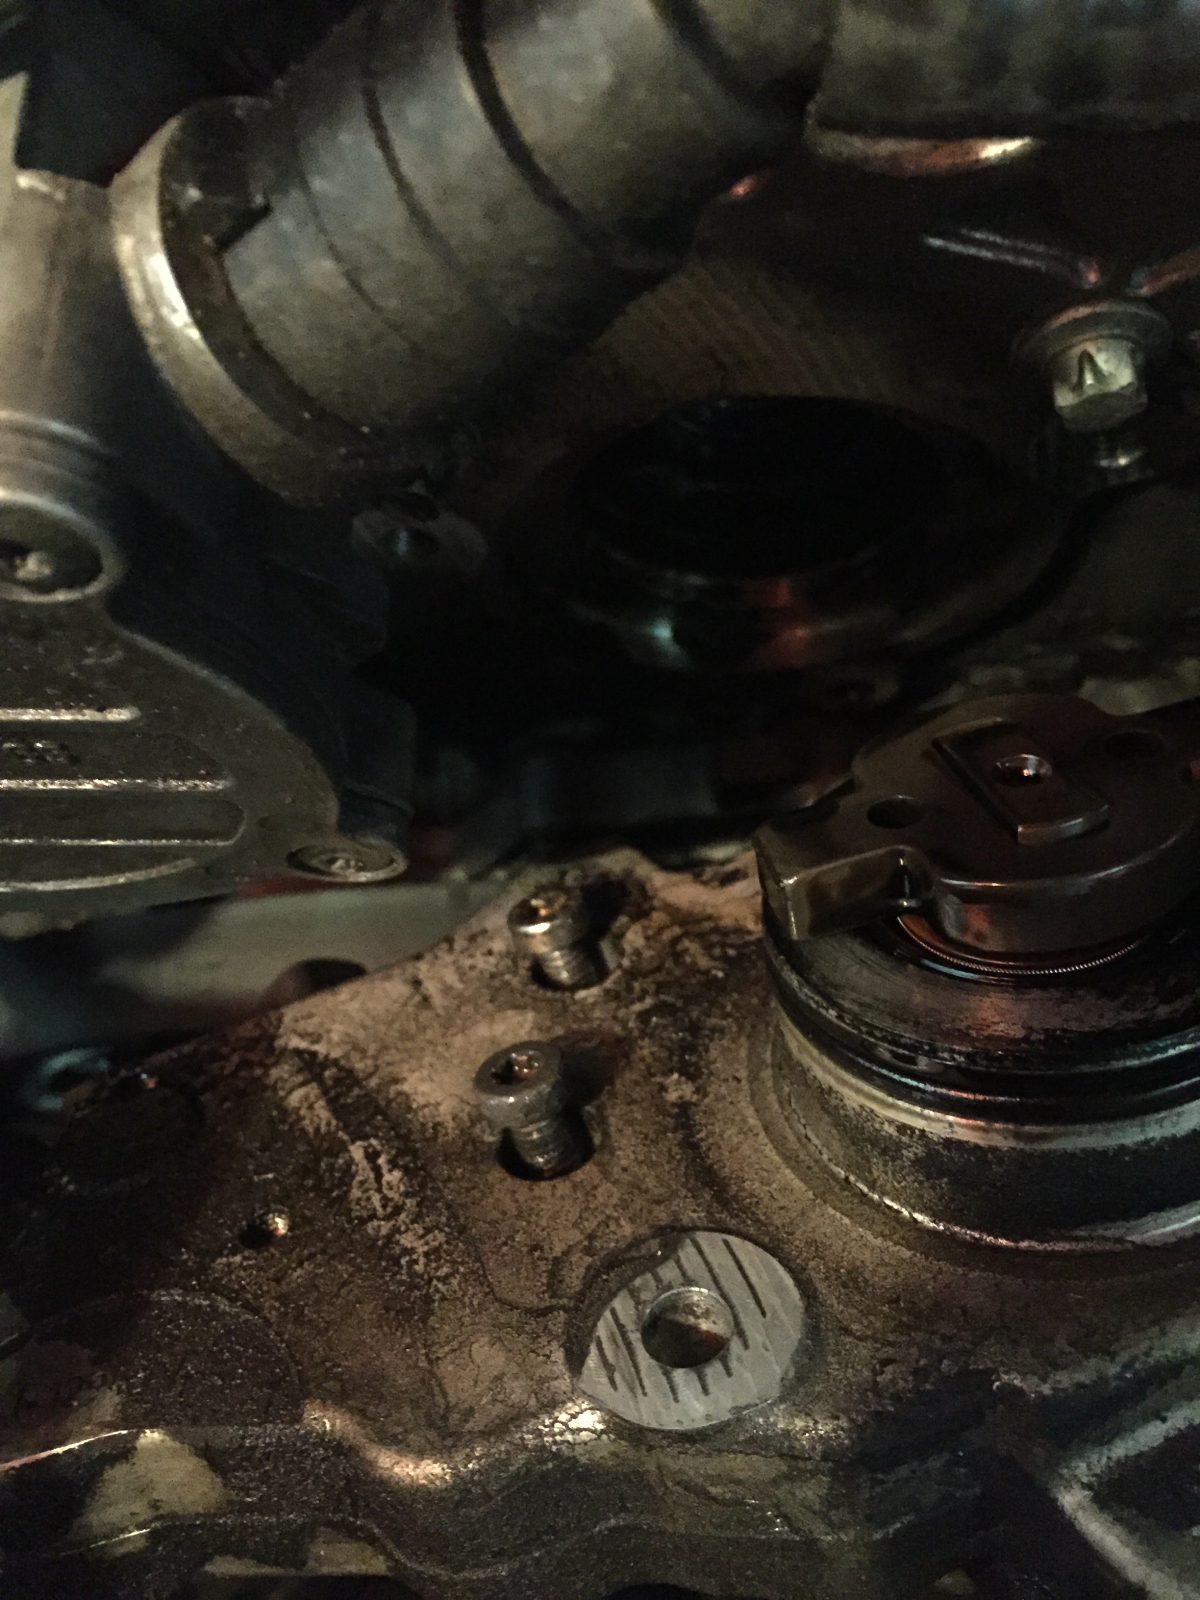
And what did I find on the back of the pump? 2 of the 6 bolts had completely backed out. You can also see that there is diesel fuel on the back of the pump. This matches up with the failure mode described by others, and is the smoking gun (along with the turbo resonator) that I believe was killing my alternators.

All 6 bolts were thread-locked with blue and re-torqued, and pump re-installed.
Sprinter_2015_01_20_12

With the pump re-installed, next step is to re-install the alternator, turbo resonator, intake charge system and get a volt meter installed for diagnostics.

Progress is being made!

Sprinter T1N Failing Turbo Resonator

It’s a common problem, when the T1N Sprinters get a little long in the tooth. The turbo resonator (pressure side) can start to split, causing loss of boost and the dreaded Limp Home Mode.

Mine was not exempt from this plight. Below are some example photos of what the Turbo Resonator looks like when failing. This example shows the common separation of along the bonding lines. During high boost this can open and cause the loss of pressure, power and then a CEL fault which the trucks ECU detects as a dangerous condition for the engine and cuts severely reduces power.

This is what the part looks like. It is connected directly to the outlet side of the boost section of turbocharger. The rubber o-ring seals to the turbos (pressue side, not exhaust / impeller side).
dodge sprinter 3500 turbo resonator

Closeup of the gap formed at the bonding point. I’m told this is the typical failure point. In a lot of case you wont’ be able to see this unless the motor is under boost. In my case, it looks like it’s been failing for some time, it probably why the seller unloaded the truck $2500 under asking price.
dodge sprinter 3500 turbo resonator

Another area that I’m told is possibly suspect fails is the outlet side. I didn’t see any signs of a failure here, but it’s something to check if you suspect you have this issue.
dodge sprinter 3500 turbo resonator

Another thing to look for is leakage around the o-ring. In this case there is crud around the area, but the ring appears in tact and no signs of blow-by. It turns out the crud was from the primary cause of my reliability issues, from a totally separate part.
dodge sprinter 3500 turbo resonator

Fortunately, this part is not really difficult to remove. A 1/4″ wrench or an E8 female Torx socket (later bring the correct tool) and remove too small bolts when it attaches to the alternator bracket and it’s removed.

Also of good news is that a good, reported very reliable by the Sprinter community replacement, is available on Amazon.com for less than $30.

Track Truck: conversion back underway

While waiting for repair parts, and researching the possible causes for the alternator deaths… I brought over The Boy to help out with some cleanup and conversion prep.

The original flooring was actually in very good shape, other than the poor paint job applied by a previous owner. I set the boy to scrubbing it down with a high-tech degreaser and a lower tech broom. Some of the old loose paint easily came up but the rest seemed adequately adhered for the next step of the project; new flooring.
Sprinter_2015_01_18_01

The rubber flooring I planned to use came in rolls from China, so they had been in that state for a long time. To ease installation when that phase comes around they were unrolled flat and stacked under the plywood floor. Then I found some stuff to stack on top of it to make sure they were reasonably flat.
Sprinter_2015_01_18_02

Back to the headlights… as you can see, the still need a lot of work. This is the 2nd of the pair. Again, it will be treated with sanding and polishing.
Sprinter_2015_01_18_03

The other light is sufficiently refurbished for my needs, and was set aside during the previous day’s efforts. It doesn’t look too bad. But still not perfect. Note: I actually did one more round of this before re-installing them in the van.
Sprinter_2015_01_18_04

Back to the interior work. Getting the road noise levels down is an important part of this projects. If I plan to do long distance treking in this, I don’t want to be yelling all day, or fatigued from the noise. I did test it with an DB meter and the average level was 85db on a highway.

Here the poor-man’s Dynomat is being installed over the wheel wells. This asphalt roof repairing product is reported to have similar sound deadening properties as the vastly more expensive Dynomat. A small roll of this is available at the local hardware box for about $16.

Using a heat gun makes short work of complex curves. Easy-peasy. It’s just a little time consuming to cut the stuff, and press it into place.
Sprinter_2015_01_18_05

The first (and eventually failed) effort to attach the rubber to the wood. In this first round I used a Liquid Nails product. The specs looked good; very low VOCs; water cleanup… what’s not to love?

Placing pressure on the mats then maintaining with some stuff laying around the shop so that it bonds nicely to the floor. At least that was the plan I executed.
Sprinter_2015_01_18_06

Shifting gears a little bit, I removed the Turbo Resonator and examined it on my operating room quality work area. I have a separate write-up on this. In the end I determined that the part was failing and likely contributor to the alternator death syndrome.
Sprinter_2015_01_18_07

Back to the interior. With some help from The Boy we finished covering the wheel wells. The aluminum backed roofing seal didn’t fully cover the wells, so a less expensive product (Jiffy Seal) without the aluminum backing was acquired to complete the product. The Jiffy Seal was then covered with aluminum tape to maintain the same “look”.
Sprinter_2015_01_18_11

One done with the wheel wells, I popped back onto the internet to look at possible causes for the failure, the most ominous of which is a possible failure in the High Pressure injector pump (large black assembly on the right).

It does not look like a fun thing to remove and look for problems. I’m generally of the mind that if it’s not clearly broken or in need of refurbishing, I don’t want to mess with it. Some more investigation is underway.
Sprinter_2015_01_18_13

Below and to the left of the pump is the turbo charger. The intake hose as been removed and the high-pressure cold-side routing, which includes the turbo resonator has also been removed. Both the resonator and the pump are above the alternator and could possible cause it to fail should they leak fuel or high-pressure intake gasses.
Sprinter_2015_01_18_14

High pressure pump in close up. The black part is the front block, which bolts to a larger raw aluminum block with the drive assembly. It’s said that the pump can leak between the two plates if the bolts that hold it together, internally, begin to loosen. This is a known issue with the 2004-2006 model year.
Sprinter_2015_01_18_17

Next effort will be to consider removal of the high pressure pump. At least the front end is mostly stripped down and access will not be horribly difficult.

Yeah! Resurected Audio!!!!

It all started at 5:00AM this morning when the mail server at work died.  One of our few single-power supply systems still in use (we have a nice 4 SAS dual-power RAID 10 system to replace it scheduled for deployment Aug 21).   At any rate, the CRAPPY Ablecom SP302-1S power supply gave up (2nd one in 6 months, and it looks like a 3rd one just started to show signs of dying an hour ago) and one of our most critical systems was down!

After getting one of my engineers in route, I knew I’d have some time to look at the ripped up car in my garage.  With time on my hands, I flipped through some axillary tools sets, locating a pair of flat radio removal tools (designed for Alpine head units).  Pondering the possibilities of possibly manufacturing my old keys, I set about cutting up the metal. At least it was something to keep me busy.

Home made radio keys

It took a few attempts to find the right angles, but I did finally managed to get he head unit (aka Command Unit) removed!!

Deck removed!
Deck removed!

And, as I suspected, there it was yet ANOTHER fuse.   I’d recalled this morning from projects past, that most of the head units in MBZ had a fuse on the back of them.   And so does this one:

The 4th fuse (10 AMP)

I always have an ample supply of fuses (from careers past).  With hope alive in my heart, and my cell phone by my side waiting to hear from my team, what the prognosis was for our mail server..   I re-attached the mass of plugs (3 analog, one fiber optic CAN, and the antenna);

The many wires of a German radio

slipped it into the dash and:

Radio asking for the secret access code

CODE!  I have the code prompt.  Expensive disaster averted!   Being the fastidious keeper of information that I am, I had the code at hand, and within a few seconds….  was rewarded with the sounds of my favorite local FM station.

TUNZ!
TUNZ!

At least the day did not start out as a TOTAL loss!

My guys called me back shortly after this, and let me know that the server was dead, totally dead, no power.  I instructed them to pull the system from our rack and bring it home for recovery.  I hastely re-assembled my car, got dressed, stopped by Krispy-Kreme to buy them coffee and doughnuts, then rocketed into the office to direct the recovery effort (which is still underway).

At least I could listen to the music for a little while. 🙂