Tag Archives: track

May at Laguna Seca

The Ducati 749 wore a new suit to the track this time around. Although it looked great, it’s mechanical state was not quite up to to the image. It was more show than go for Sunday’s track day.

The weekend started rough and it went a little downhill from there. While finishing the dress-up on the bike (the red gas tank arrived late on Friday), Saturday, the fuel tank o-ring was damaged and required a fast trip to San Jose to get a $25 replacement o-ring. At least the dealer had it in stock and I was able to get the bike back together in time to pull into Monterey for our pre-track-day dinner.

LSeca_05_10_2015_02

The first break in my routing was not unloading my truck on arrival. Once back from dinner it was 10:15 PM, I found that someone had pulled up next to me in the space I’d planned to setup my gear. There didn’t seem to be much point in unloading in the paddock at that point, so.. off to sleep I went:
LSeca_05_10_2015_03

Dawn comes early in Monterey, and despite my original setup plans foiled, equipment was unloaded and the bike was plugged into the generator to start warming up the tires:
IMG_2249

LSeca_05_10_2015_10

With the rest of the crew arriving, we got the bikes into tech.
LSeca_05_10_2015_05

LSeca_05_10_2015_07

Dr. Johnny debut his newly refurbished track bike. He’s a happy camper, as you can tell!
LSeca_05_10_2015_09

Unfortunately, when unloading my 749, I noticed that the bike seemed difficult to move around. After some fiddling around we discovered that one of the front brakes was dragging pretty badly. My first session was going to be spent taking apart the left front caliper.

My pal Isaac was able to score a ride on the damn fine SuperLeggera owned by the track organizer. He was very impressed at the handling.. I guess light

I was eventually able to get the brakes handled and the bike on the track for the last couple of sessions of the day. Things went OK, but it seemed the brake was starting to drag again, so I packed it in; we all loaded up and headed for home.

LSeca_05_10_2015_15

LSeca_05_10_2015_17

Track Sprinter: checking high-pressure pump

The number 1 suspected cause of the alternator failures, according to the Sprinter People I’ve queried, is a leaking high pressure fuel pump. So, even though I’m not identifying a clear indicator of a problem, it just seemed prudent to take the time to investigate it while everything else was apart.

There were a lot of steps not shown to get to this point. They all seem pretty straight forward, so I’ve skipped ahead to the part where I actually remove the pump.

There are three E10 torx head bolts that secure the pump to the engine block. Two are fairly easy to access and are located on the upper half of the pump assembly.

Here is one of the bolts being removed.
Sprinter_2015_01_20_05

The next bolt is located to the left, about mid-pump, very close to the connector you see removed in this photo.
Sprinter_2015_01_20_06

Here is a slightly better angle showing where the bolt is located.
Sprinter_2015_01_20_07

There are two electrical plugs that need to be removed. The one on the right slides out forward. The one on the left slides upwards. The left one is a bit of a pain to removed. I used some channel lock pliers to get an even pressure on the rear clips and gently wiggle it upwards until it came off. Take your time, breaking more parts while doing a repair is not a good plan.
Sprinter_2015_01_20_08

Plugs disconnected and ready to move onto the last steps. NOTE: The high pressure outlet has already been disconnected (top of pump). You can see the threads of the connector at top of photo. To removed these I needed an 18mm open wrench to hold the lower fitting in the pump, and a 14mm flare nut wrench to remove the coupling on the high pressure line feeding the injectors. That’s an important step. You won’t be able to remove the pump with them connected. What I didn’t remove when I was working on mine (maybe a bad choice) were the two lower pressure feed and return lines about mid-pump on the right (not seen here).
Sprinter_2015_01_20_10

Last of the three bolts is bottom center. As much as I’d like to do as little removal of parts as possible, I don’t really see a practical way to get at this bolt without removing the fan blades from the clutch. You just have to do it. I found the 3 bolts on the fan to be 5mm HEX socket (not torx). They were torqued pretty tight. They are a normal right-hand thread, nothing tricky there.
Sprinter_2015_01_20_11

And what did I find on the back of the pump? 2 of the 6 bolts had completely backed out. You can also see that there is diesel fuel on the back of the pump. This matches up with the failure mode described by others, and is the smoking gun (along with the turbo resonator) that I believe was killing my alternators.

All 6 bolts were thread-locked with blue and re-torqued, and pump re-installed.
Sprinter_2015_01_20_12

With the pump re-installed, next step is to re-install the alternator, turbo resonator, intake charge system and get a volt meter installed for diagnostics.

Progress is being made!

Track Truck: conversion back underway

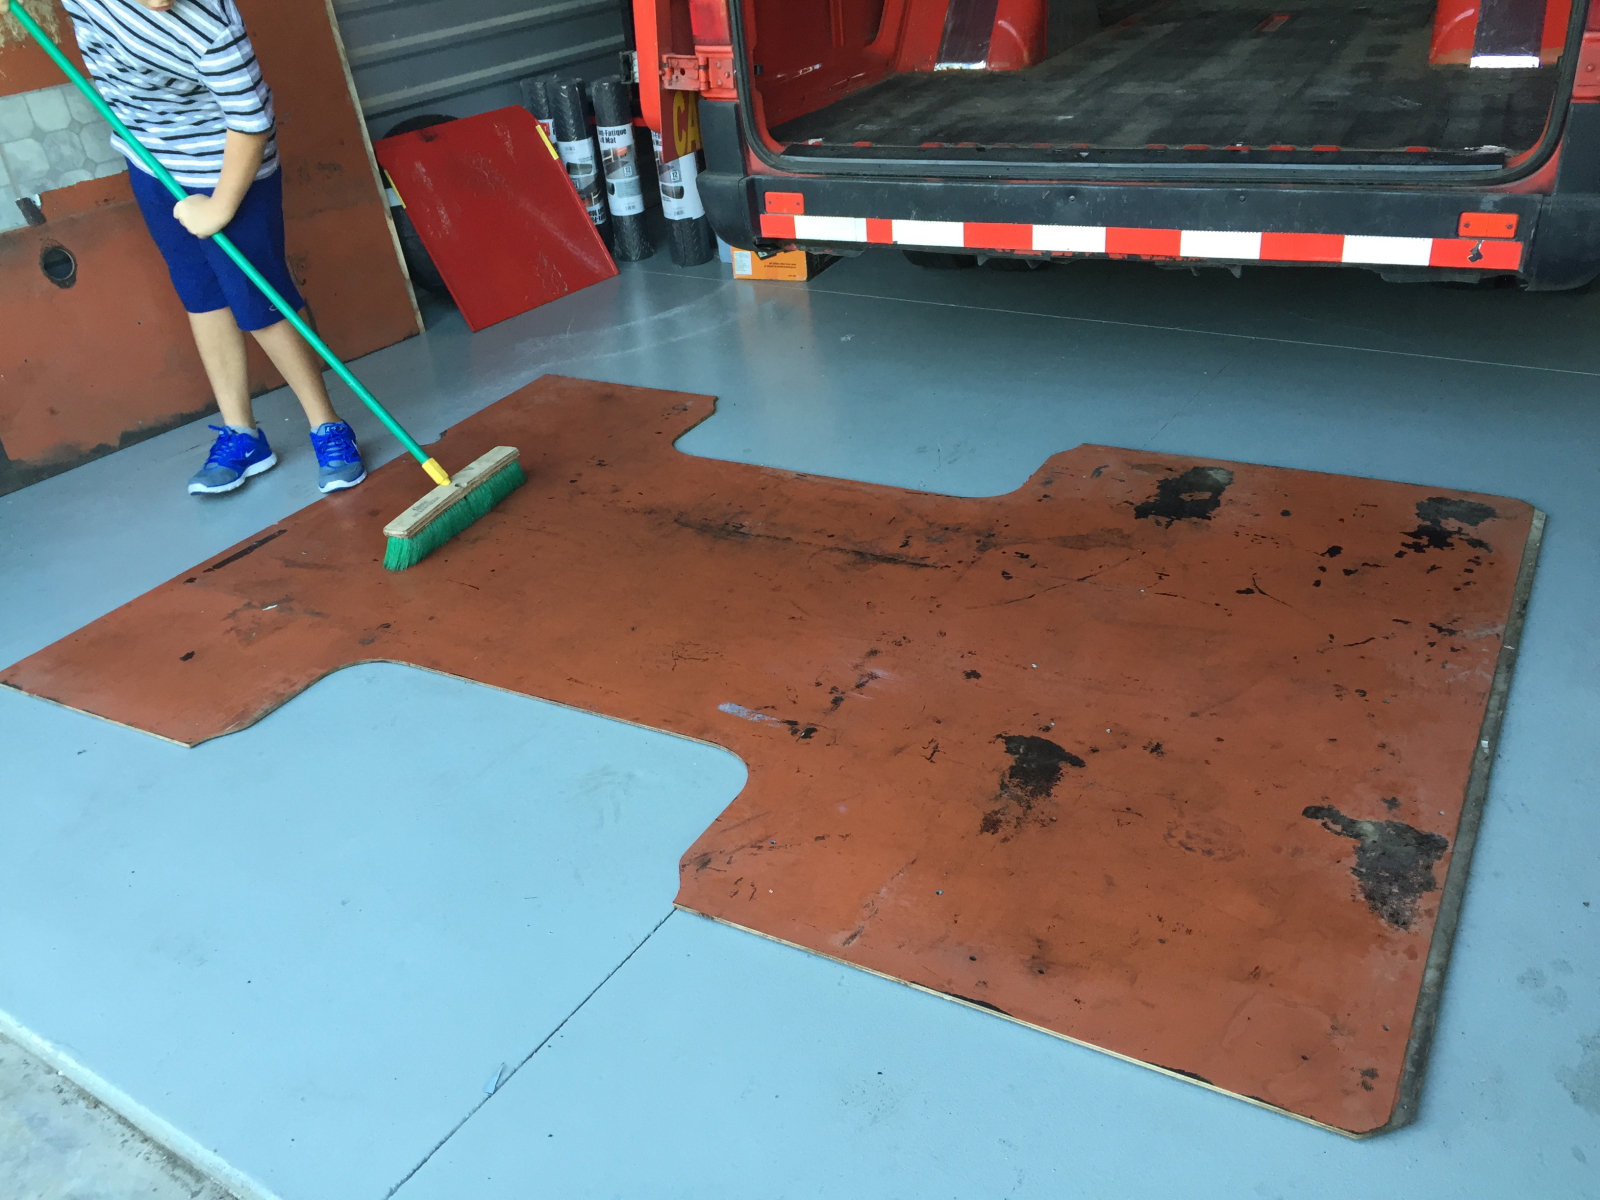
While waiting for repair parts, and researching the possible causes for the alternator deaths… I brought over The Boy to help out with some cleanup and conversion prep.

The original flooring was actually in very good shape, other than the poor paint job applied by a previous owner. I set the boy to scrubbing it down with a high-tech degreaser and a lower tech broom. Some of the old loose paint easily came up but the rest seemed adequately adhered for the next step of the project; new flooring.
Sprinter_2015_01_18_01

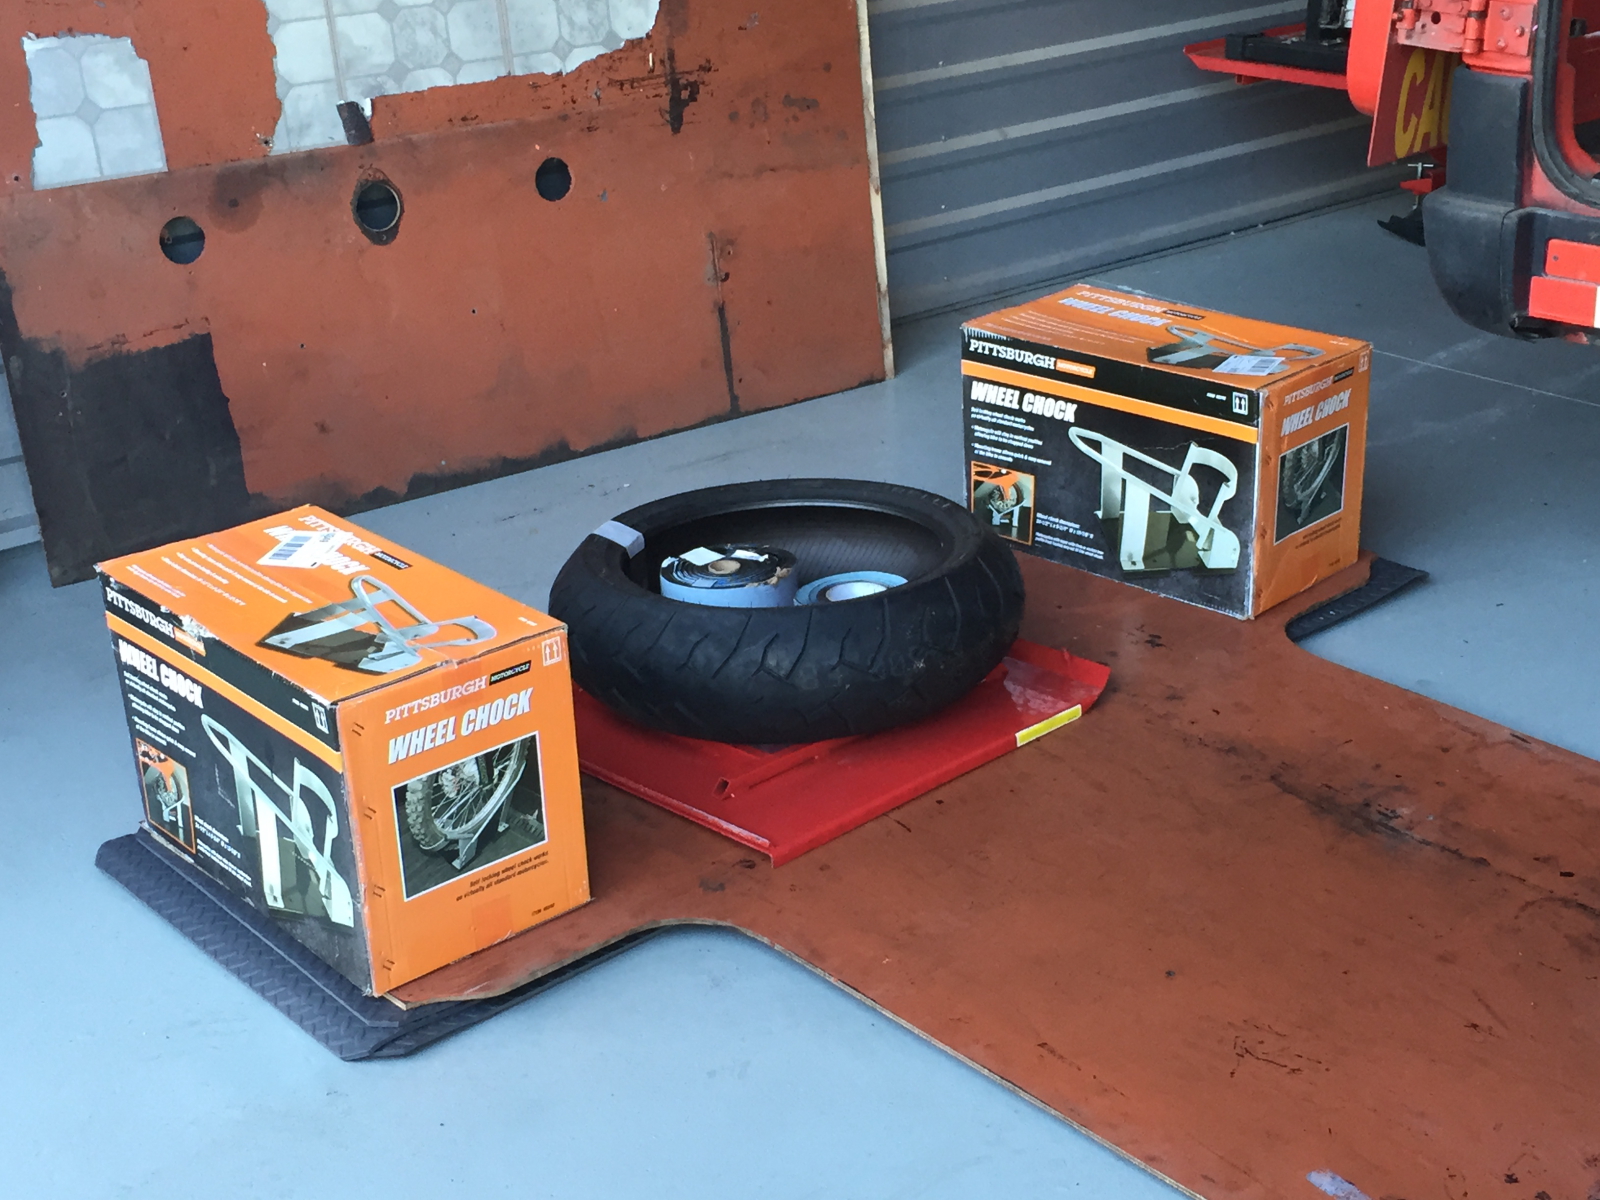
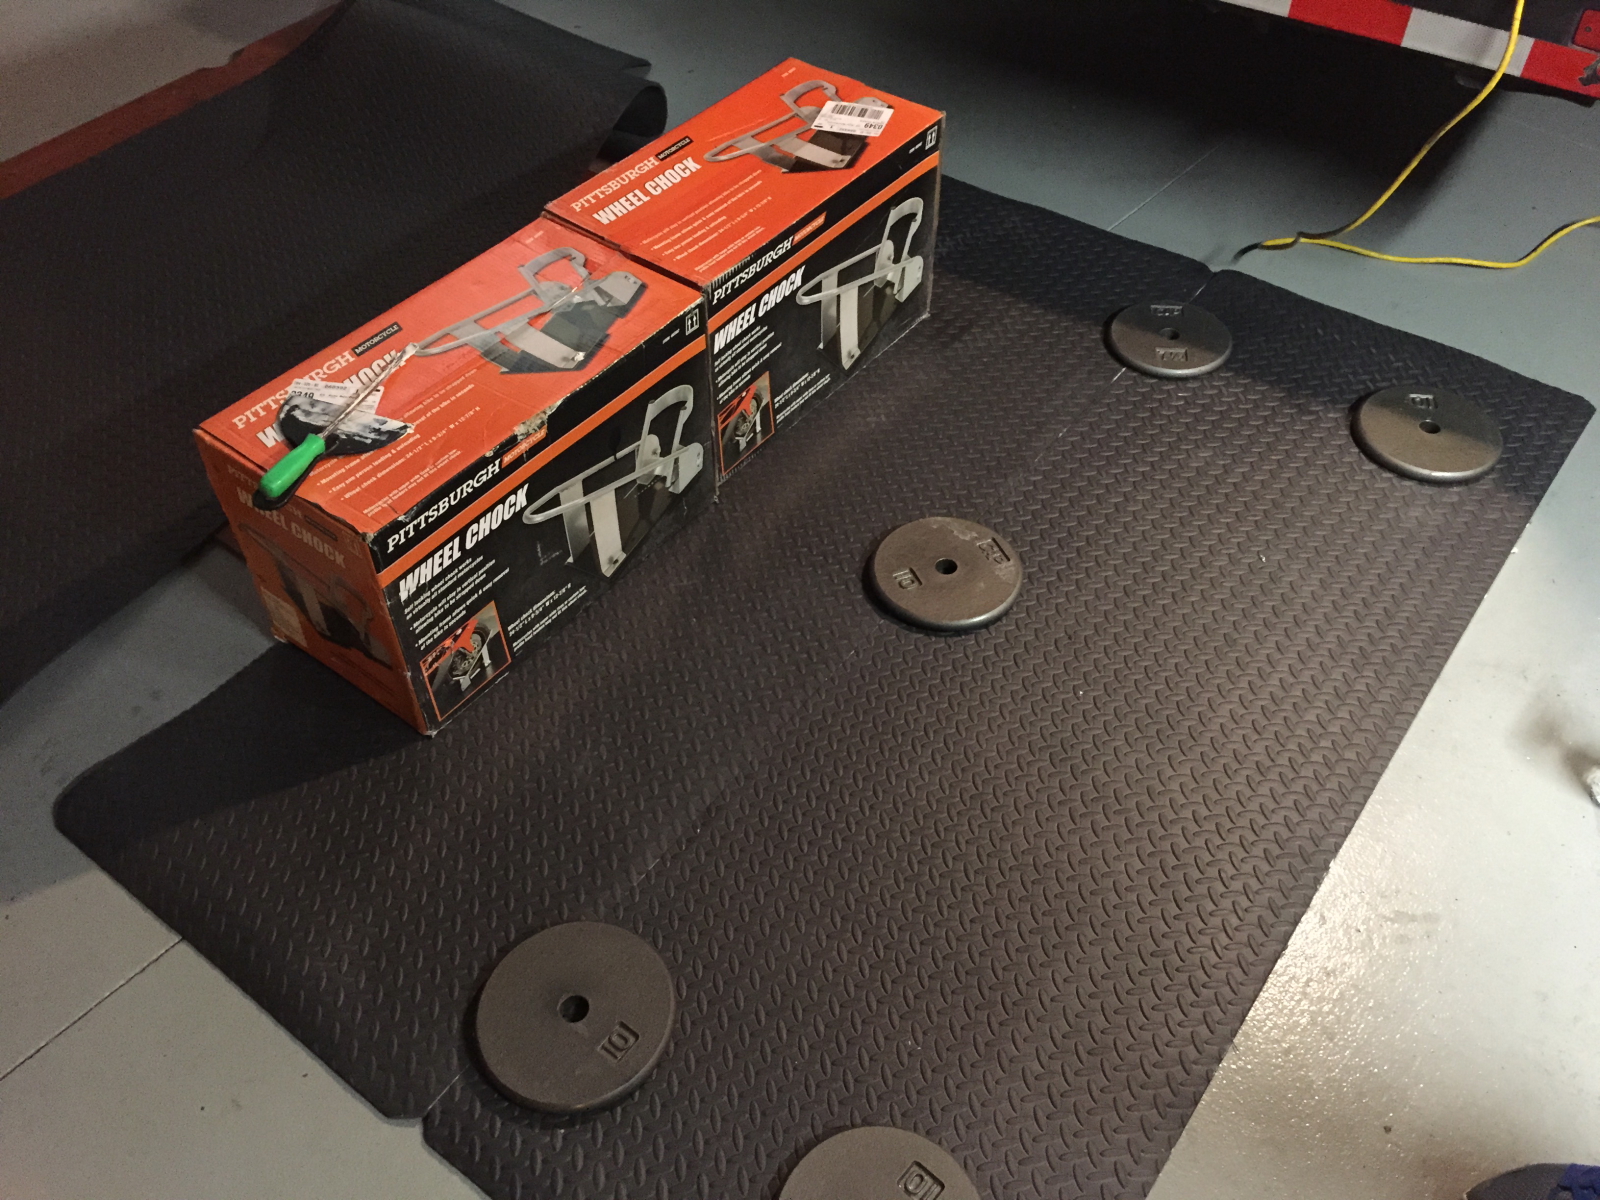
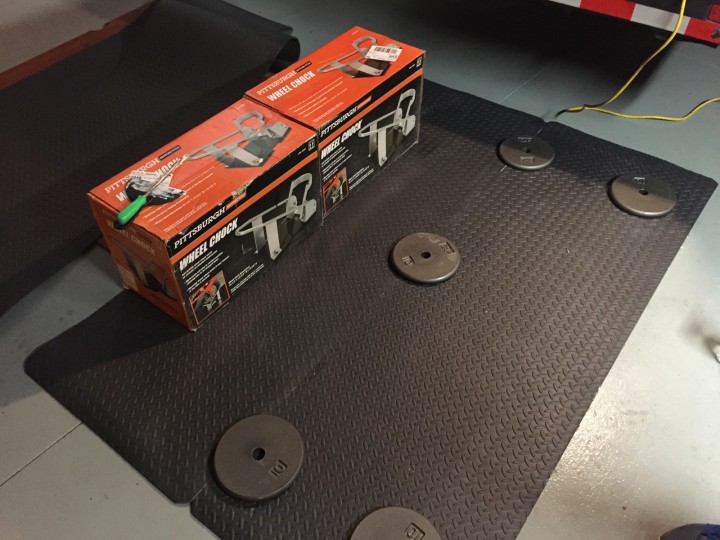
The rubber flooring I planned to use came in rolls from China, so they had been in that state for a long time. To ease installation when that phase comes around they were unrolled flat and stacked under the plywood floor. Then I found some stuff to stack on top of it to make sure they were reasonably flat.
Sprinter_2015_01_18_02

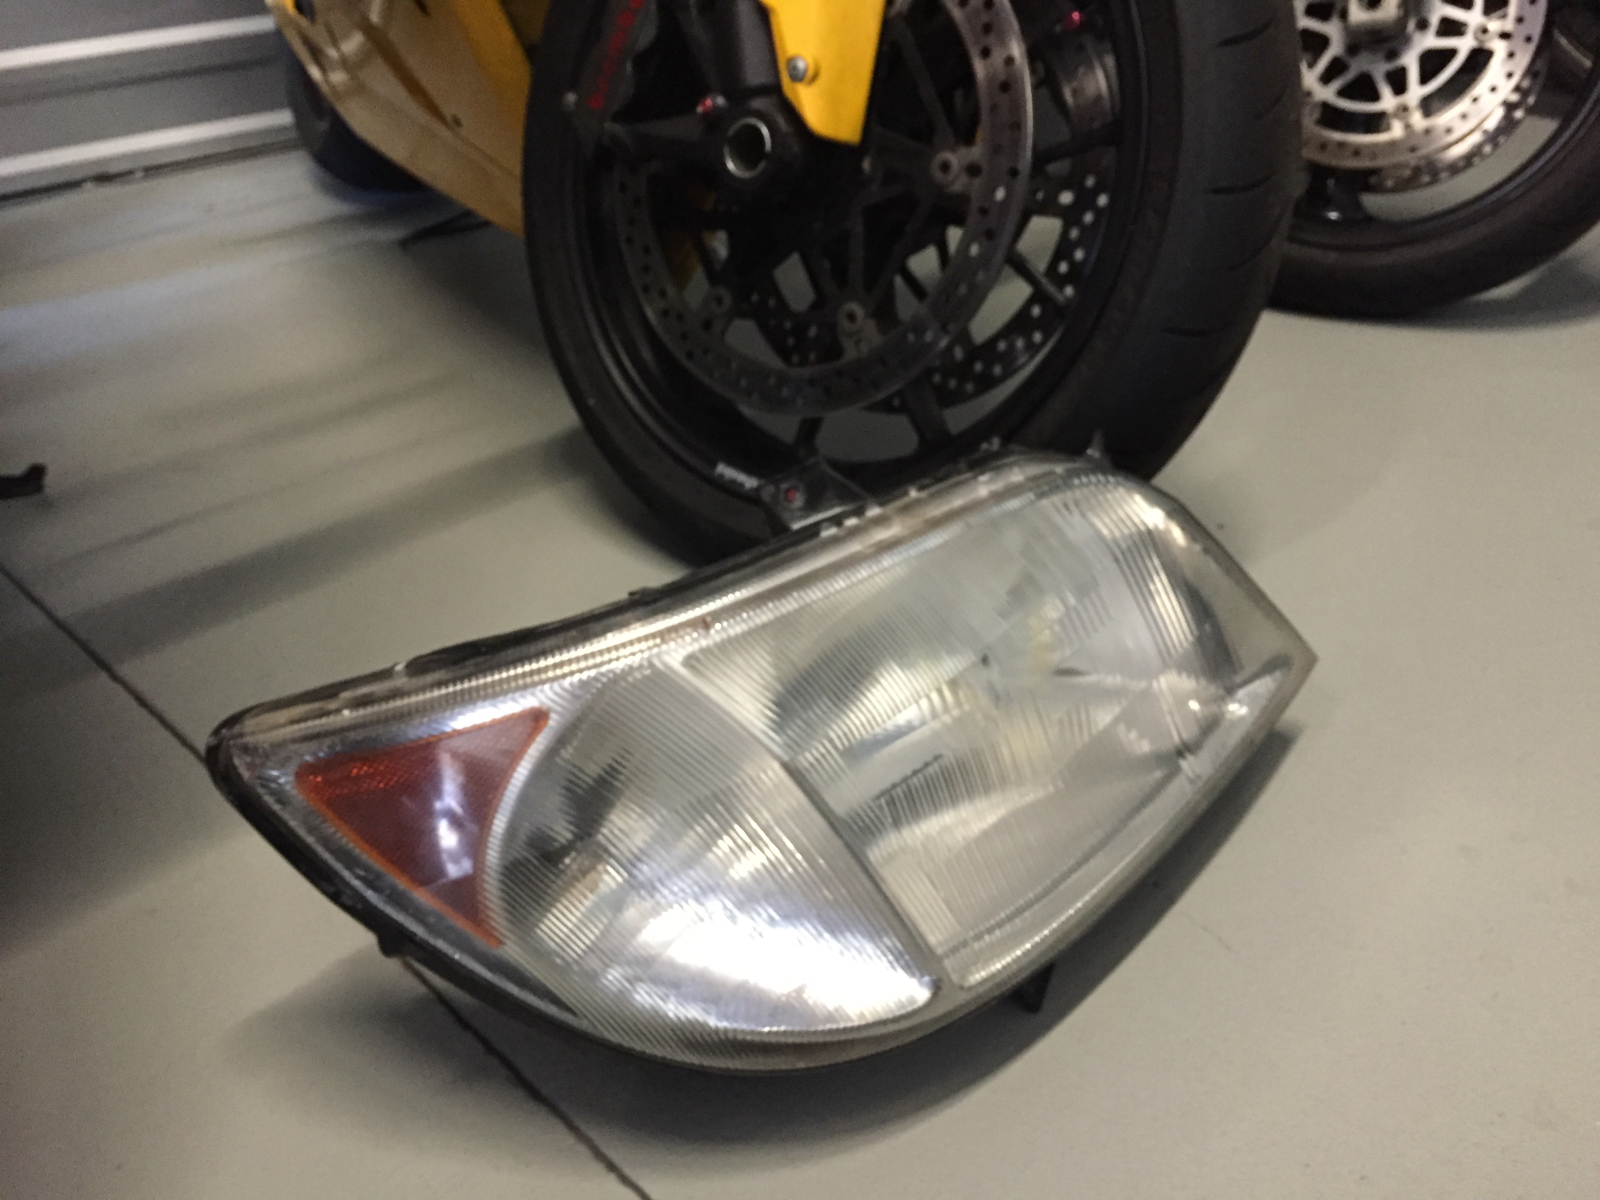
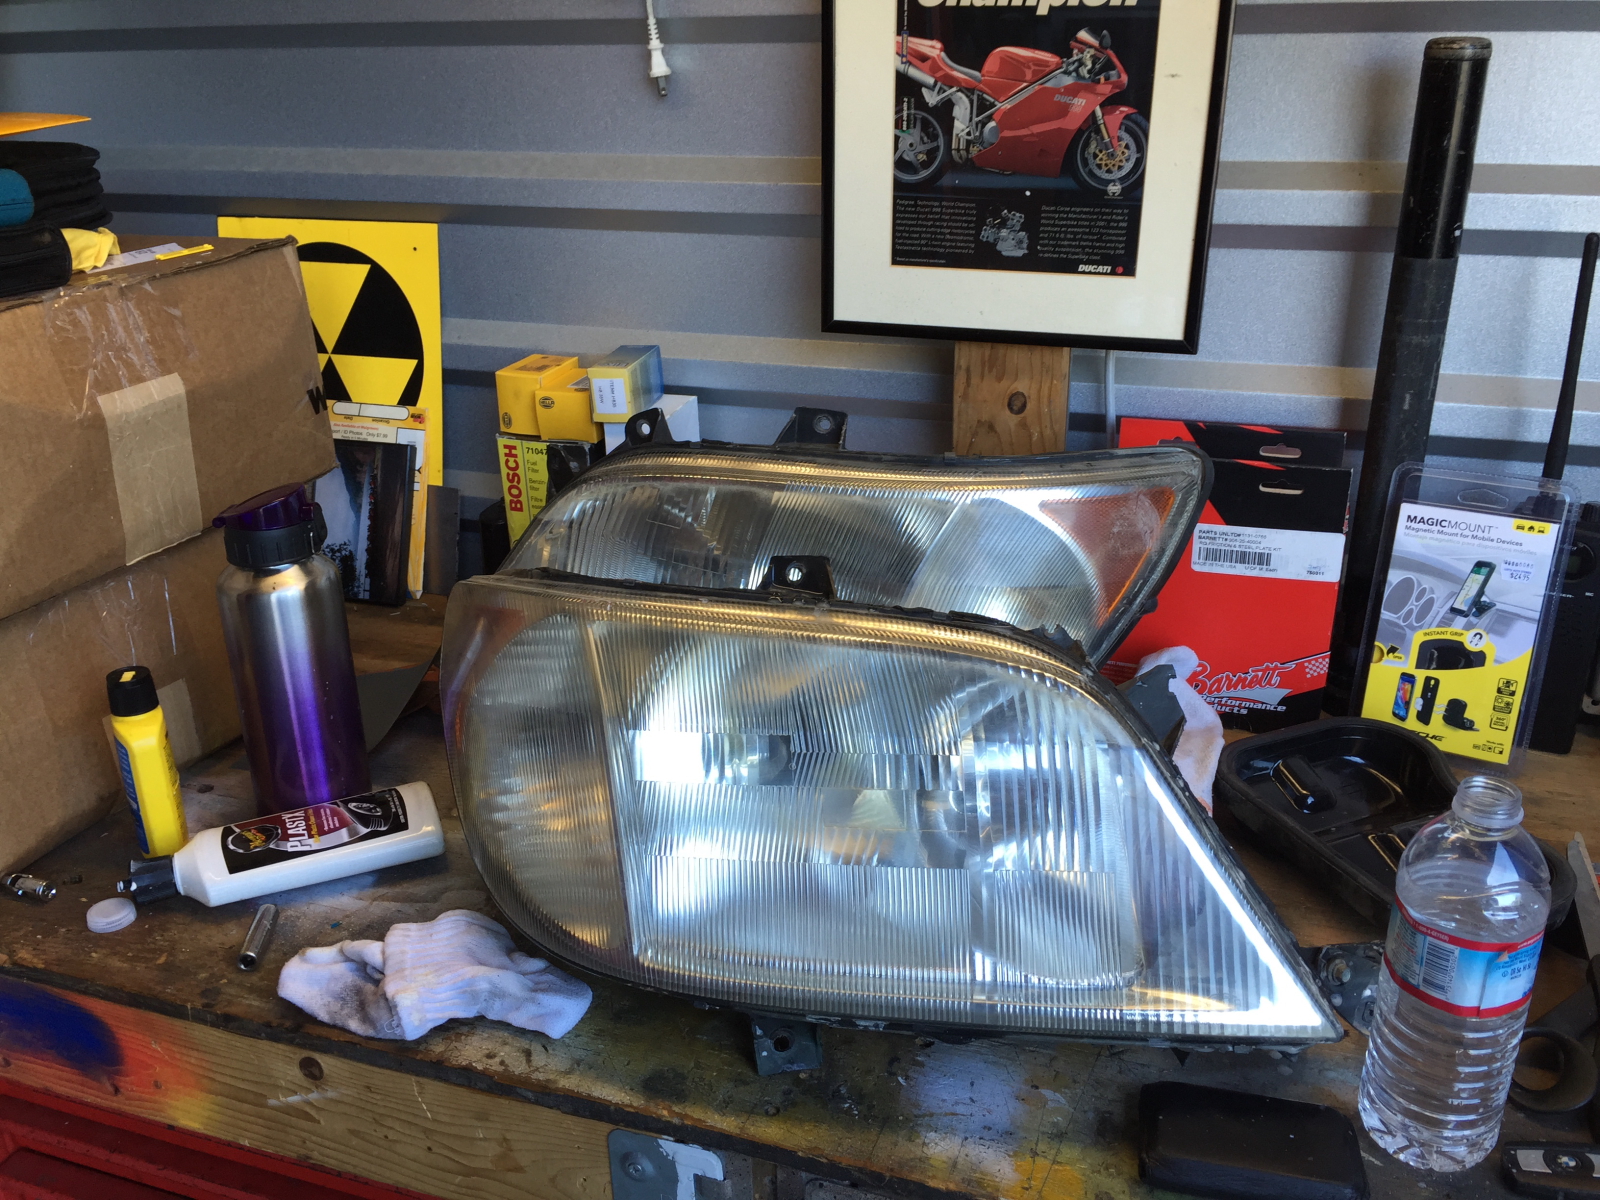
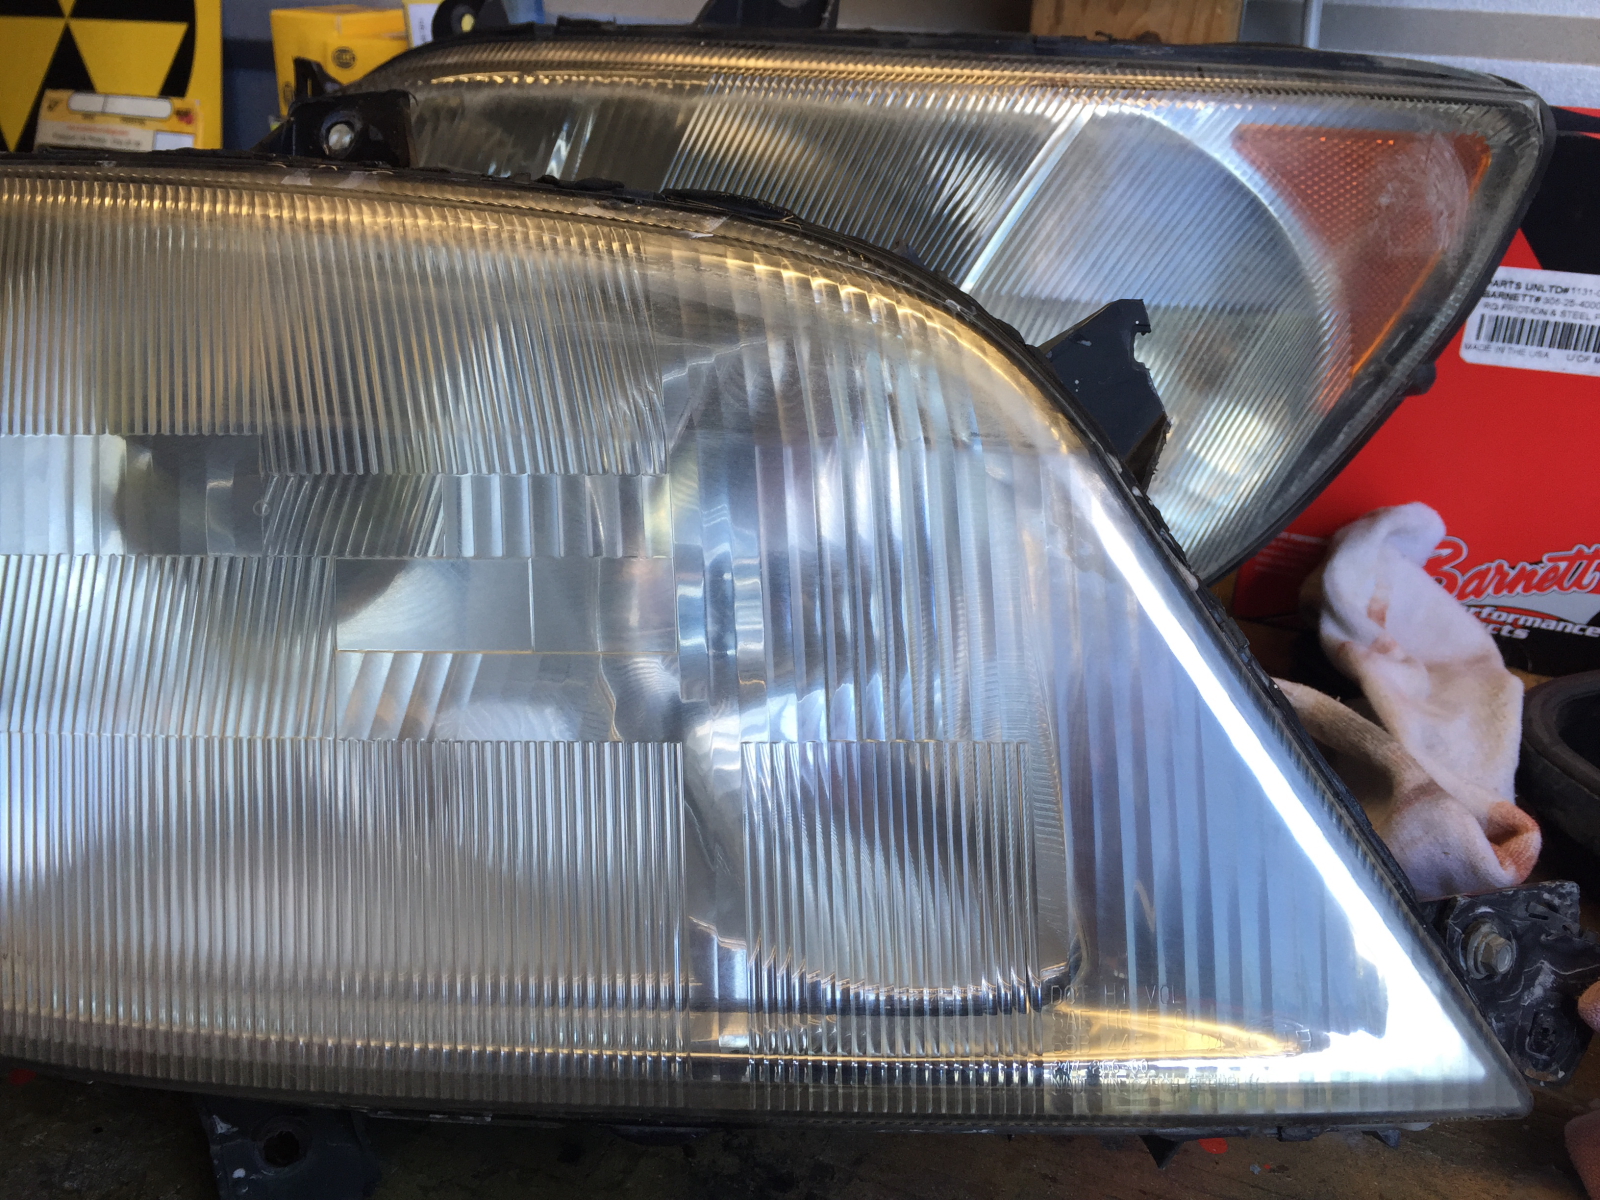
Back to the headlights… as you can see, the still need a lot of work. This is the 2nd of the pair. Again, it will be treated with sanding and polishing.
Sprinter_2015_01_18_03

The other light is sufficiently refurbished for my needs, and was set aside during the previous day’s efforts. It doesn’t look too bad. But still not perfect. Note: I actually did one more round of this before re-installing them in the van.
Sprinter_2015_01_18_04

Back to the interior work. Getting the road noise levels down is an important part of this projects. If I plan to do long distance treking in this, I don’t want to be yelling all day, or fatigued from the noise. I did test it with an DB meter and the average level was 85db on a highway.

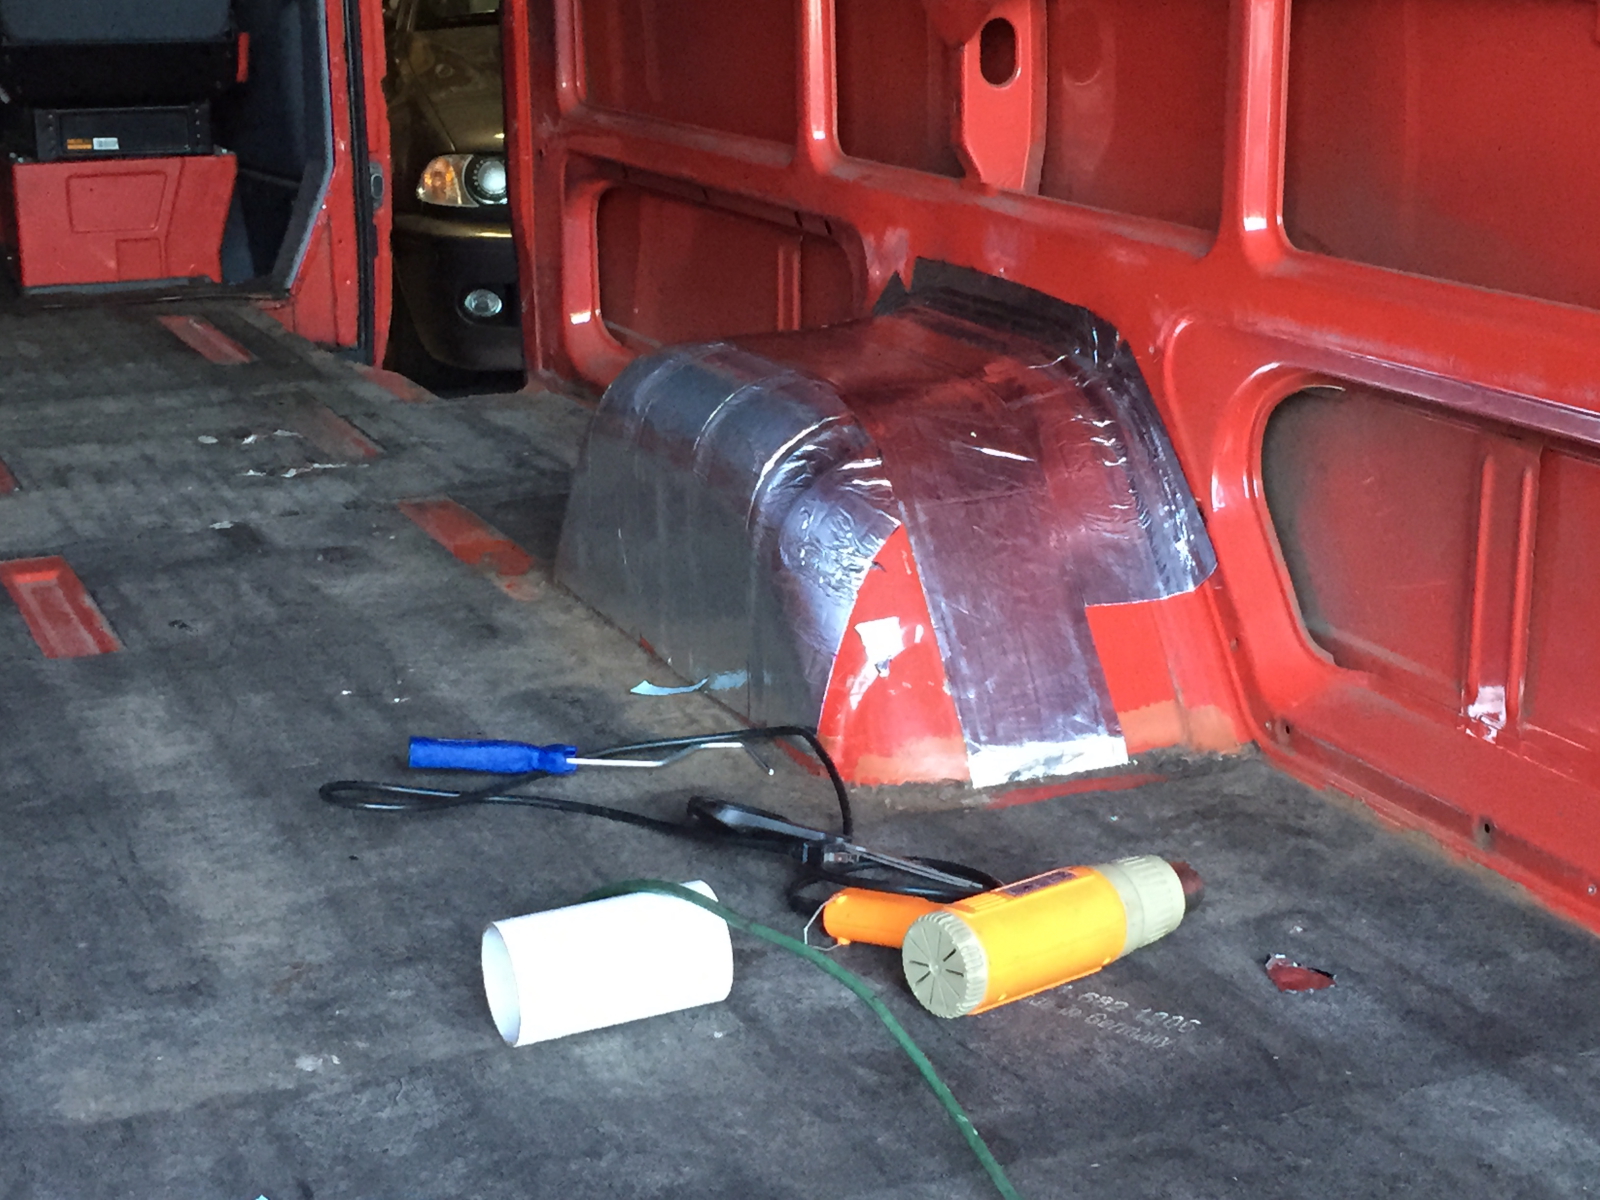
Here the poor-man’s Dynomat is being installed over the wheel wells. This asphalt roof repairing product is reported to have similar sound deadening properties as the vastly more expensive Dynomat. A small roll of this is available at the local hardware box for about $16.

Using a heat gun makes short work of complex curves. Easy-peasy. It’s just a little time consuming to cut the stuff, and press it into place.
Sprinter_2015_01_18_05

The first (and eventually failed) effort to attach the rubber to the wood. In this first round I used a Liquid Nails product. The specs looked good; very low VOCs; water cleanup… what’s not to love?

Placing pressure on the mats then maintaining with some stuff laying around the shop so that it bonds nicely to the floor. At least that was the plan I executed.
Sprinter_2015_01_18_06

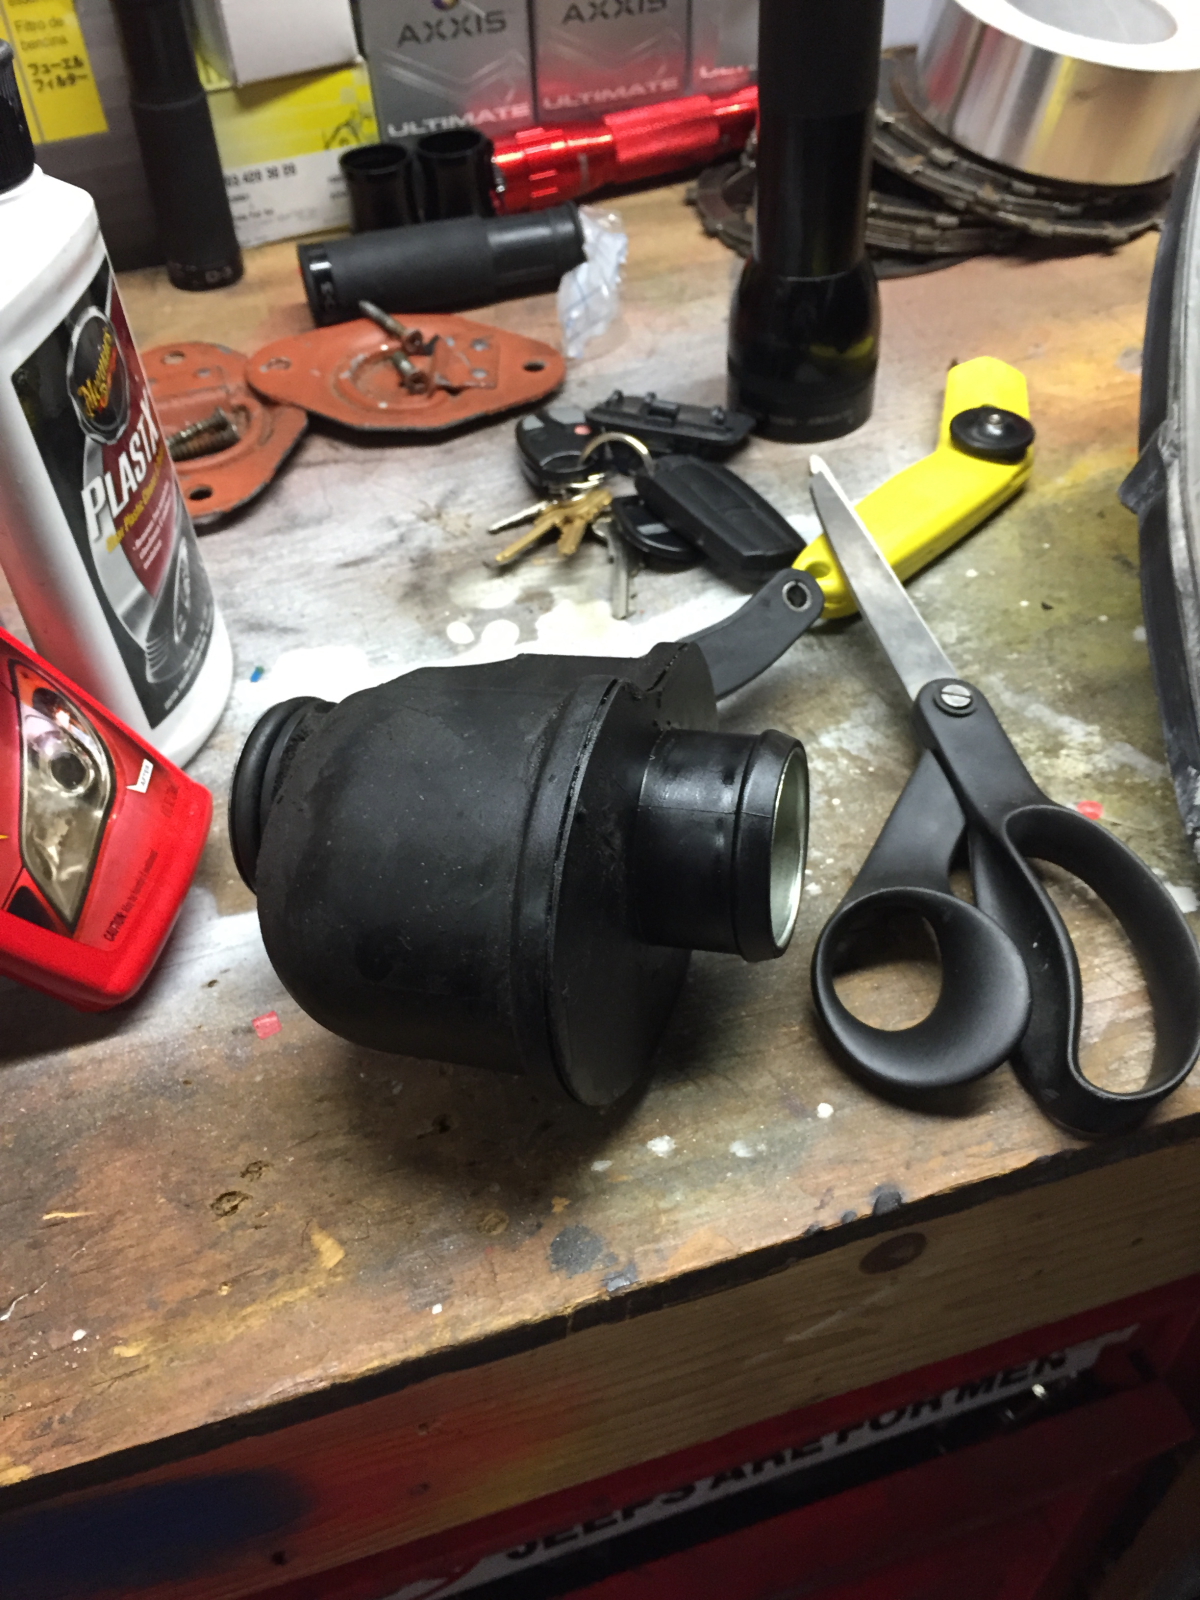
Shifting gears a little bit, I removed the Turbo Resonator and examined it on my operating room quality work area. I have a separate write-up on this. In the end I determined that the part was failing and likely contributor to the alternator death syndrome.
Sprinter_2015_01_18_07

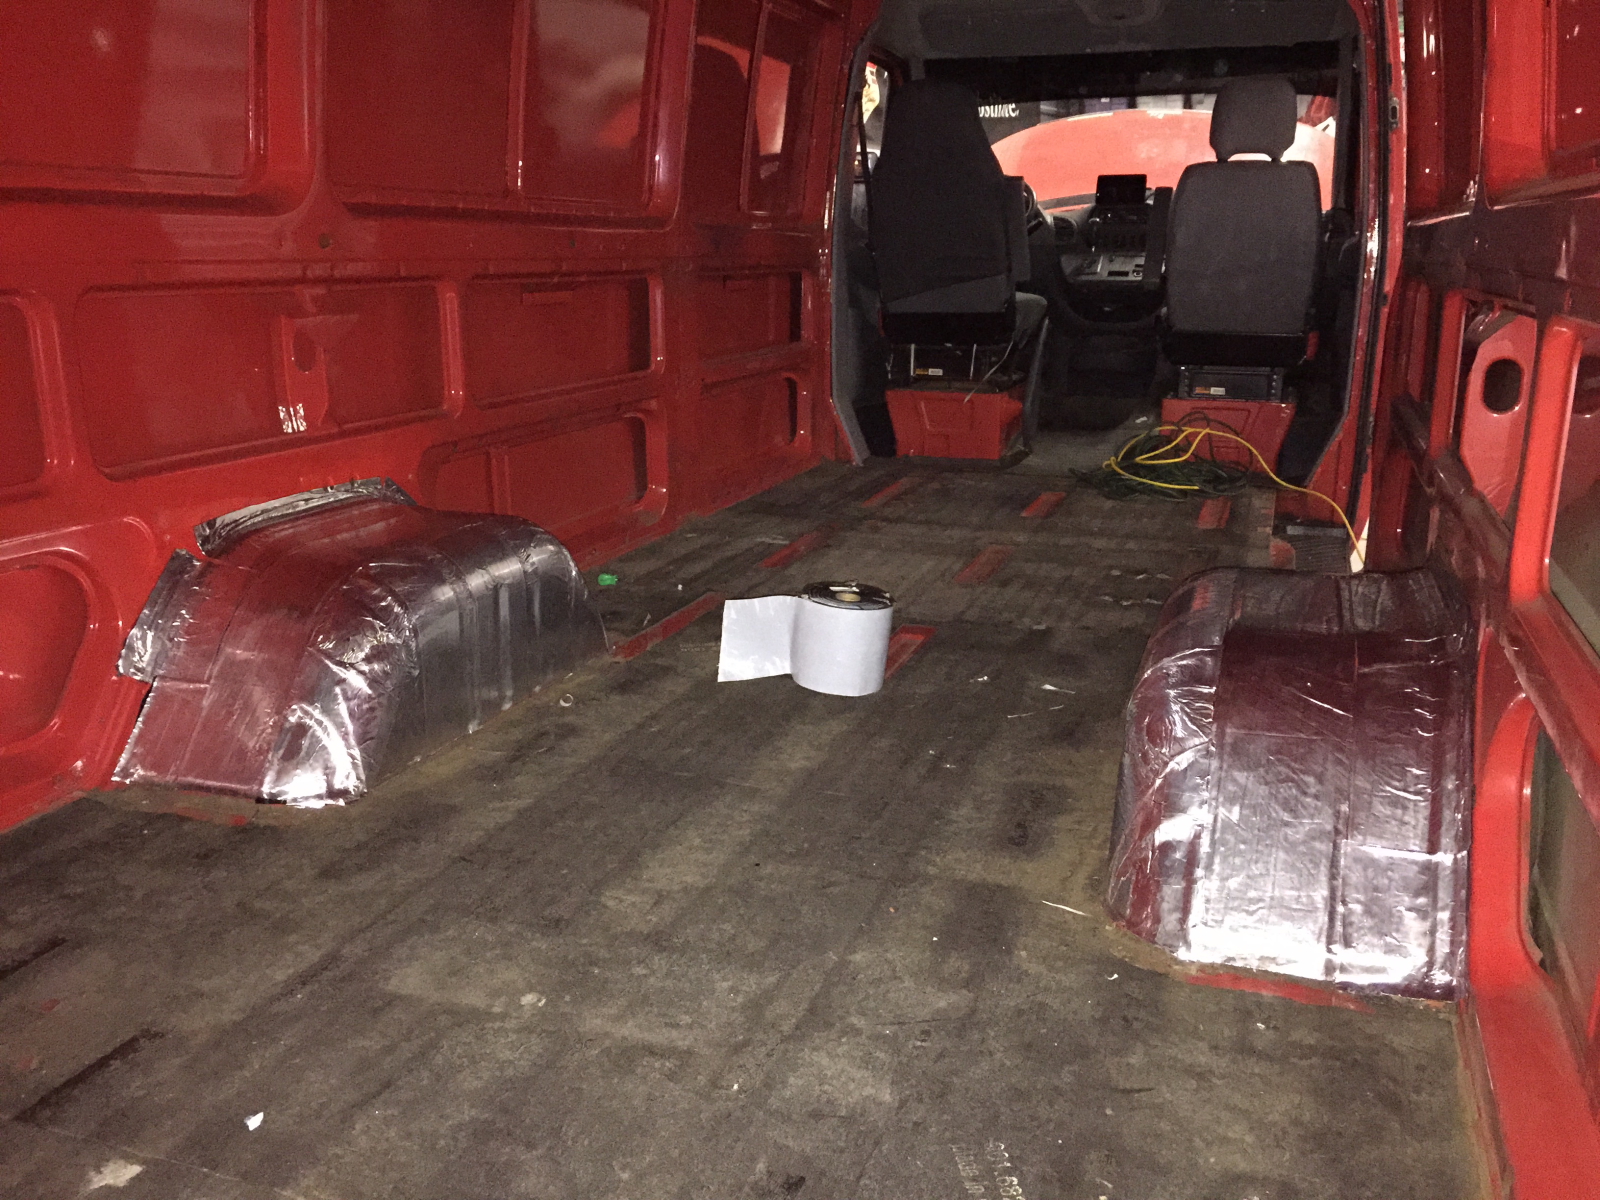
Back to the interior. With some help from The Boy we finished covering the wheel wells. The aluminum backed roofing seal didn’t fully cover the wells, so a less expensive product (Jiffy Seal) without the aluminum backing was acquired to complete the product. The Jiffy Seal was then covered with aluminum tape to maintain the same “look”.
Sprinter_2015_01_18_11

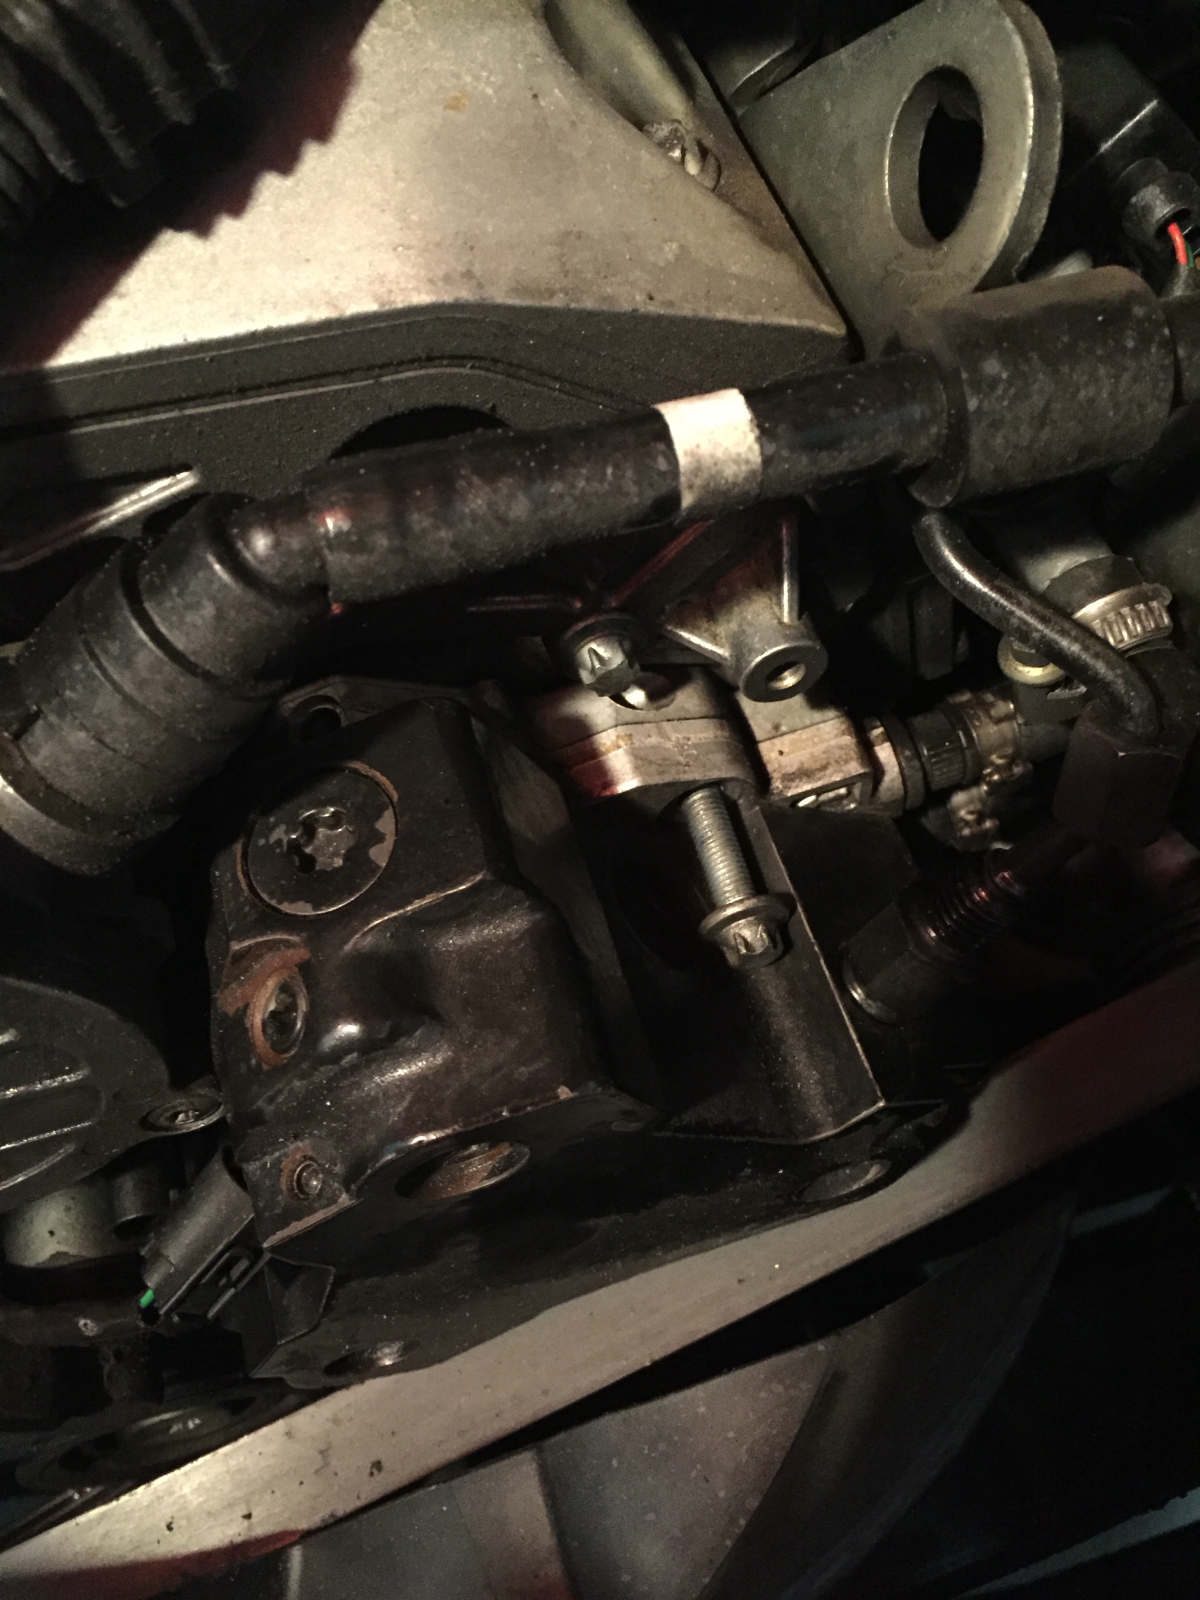
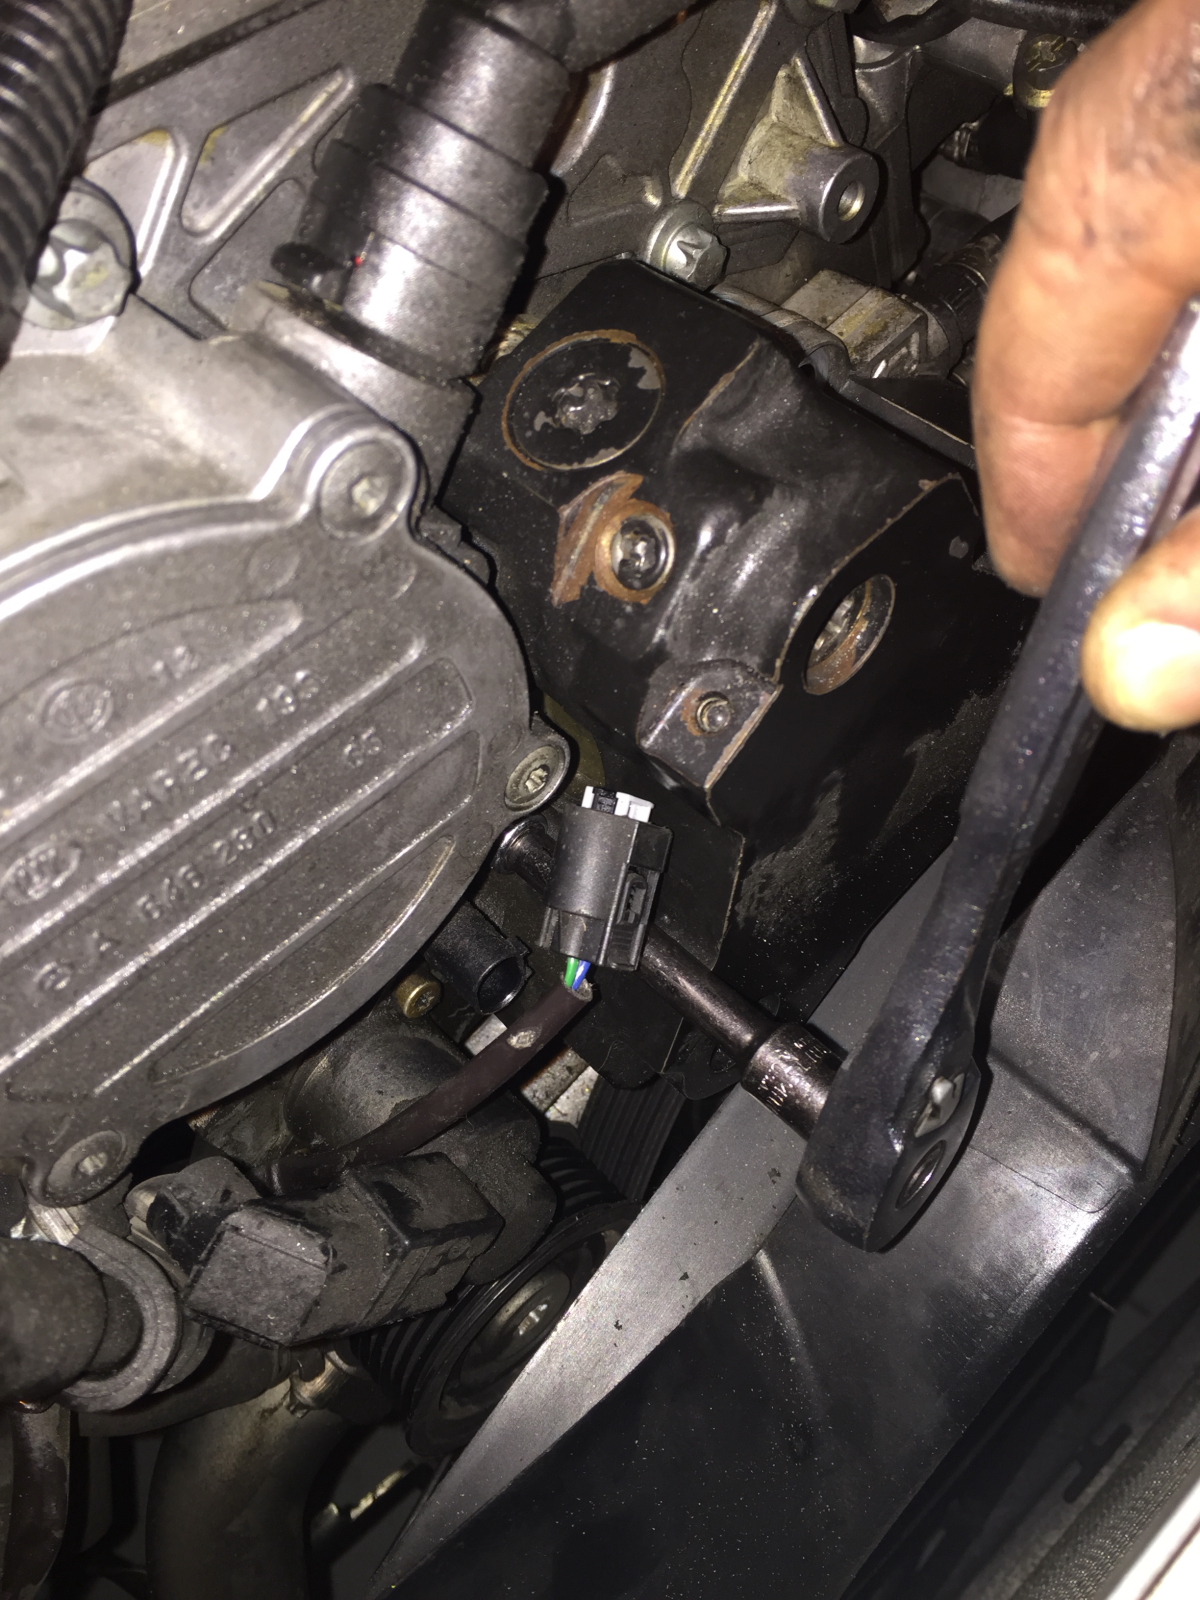
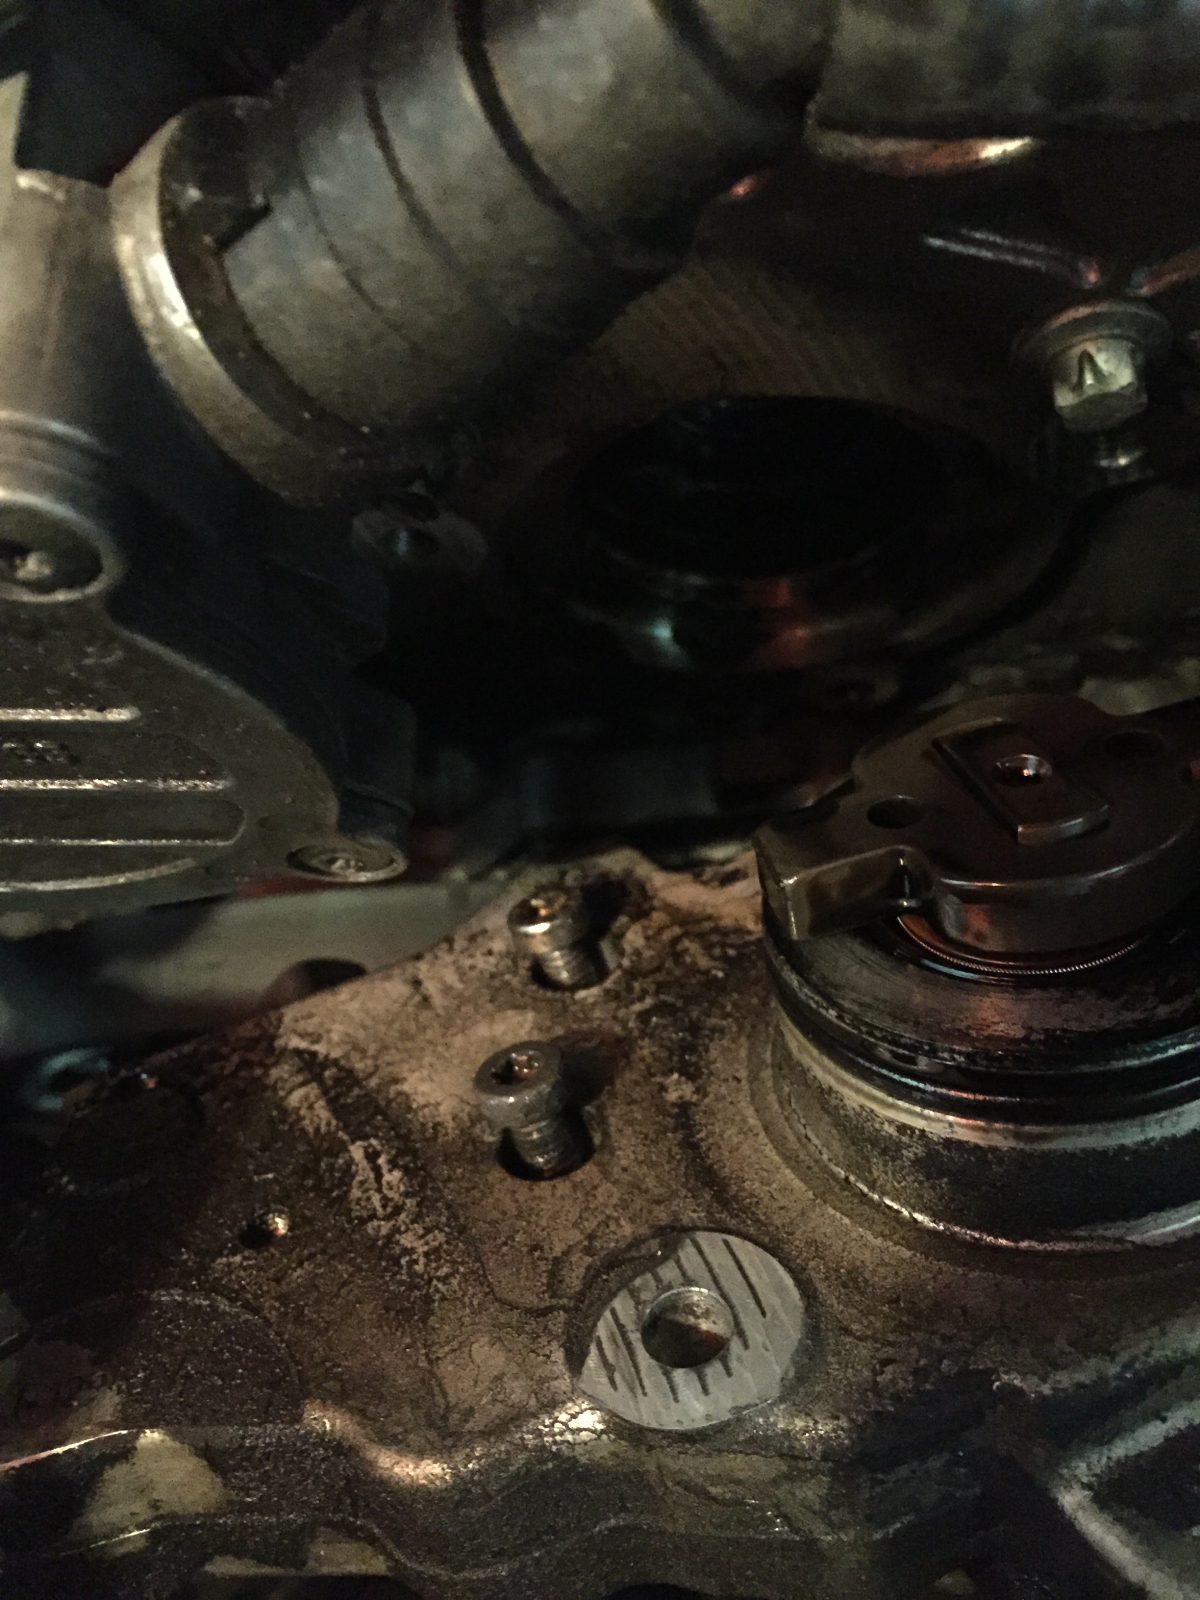
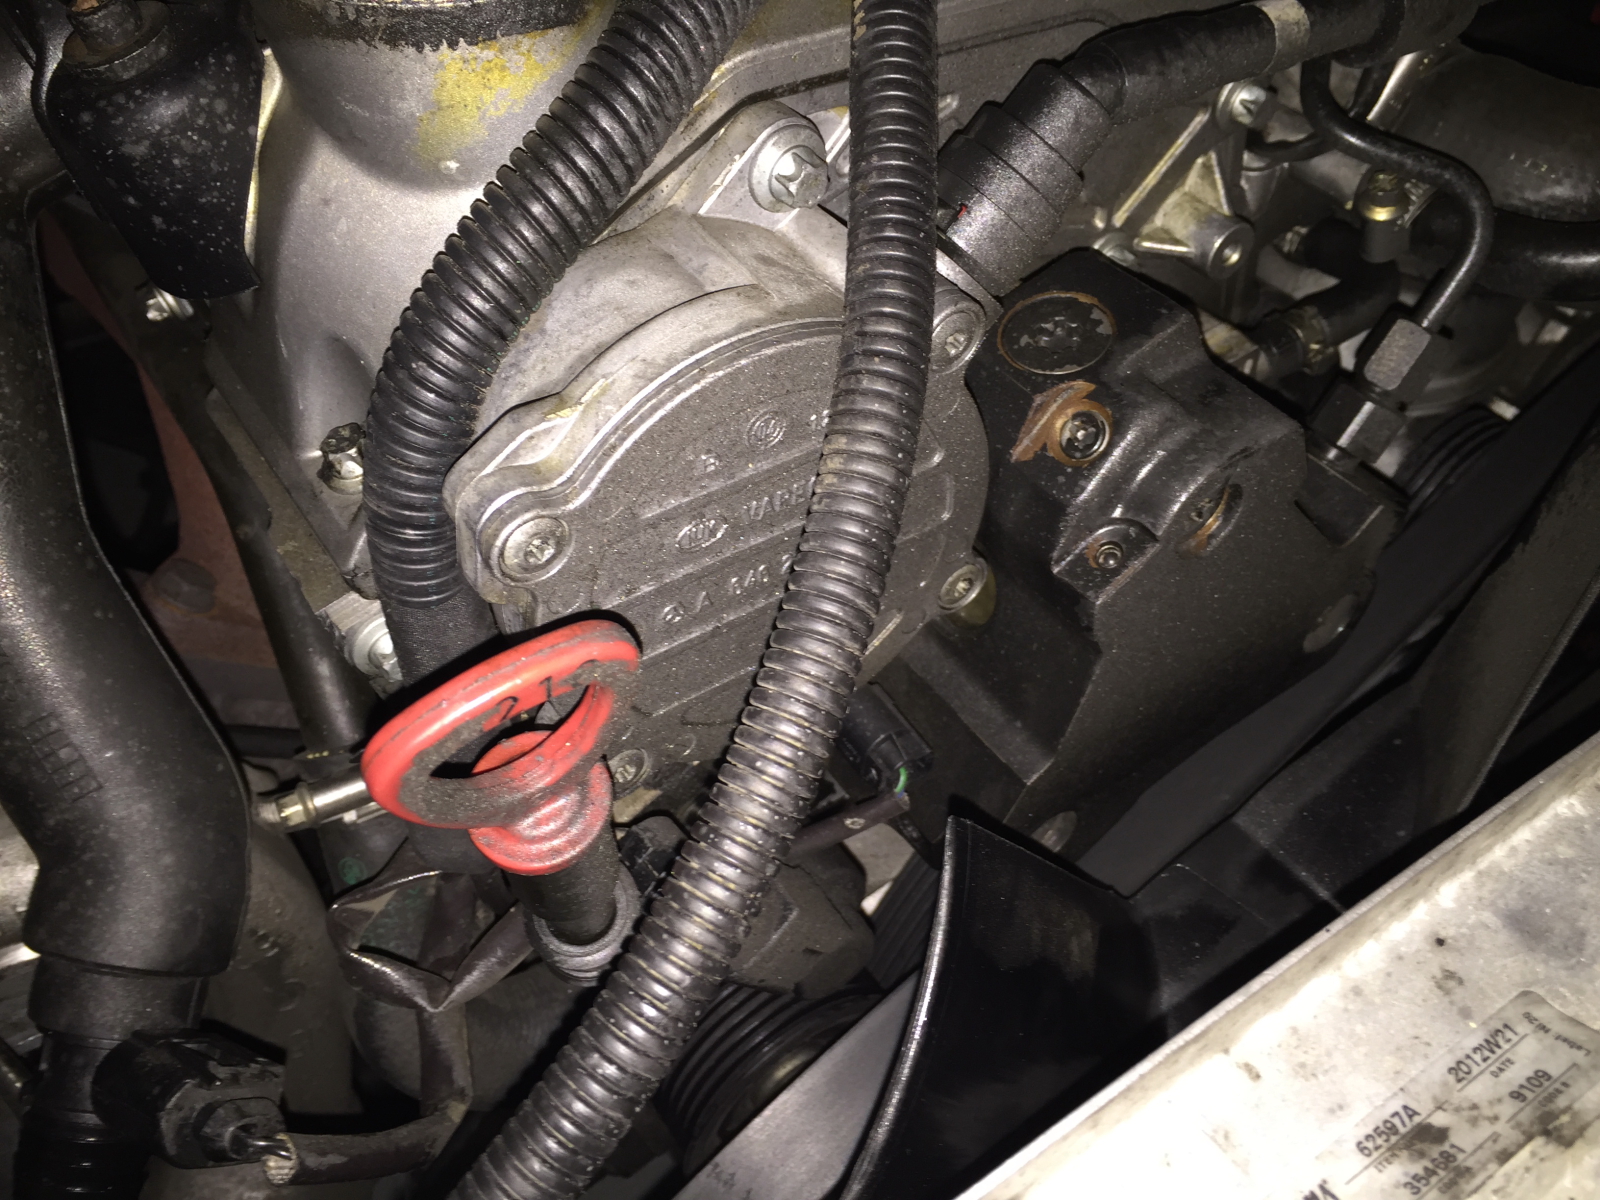
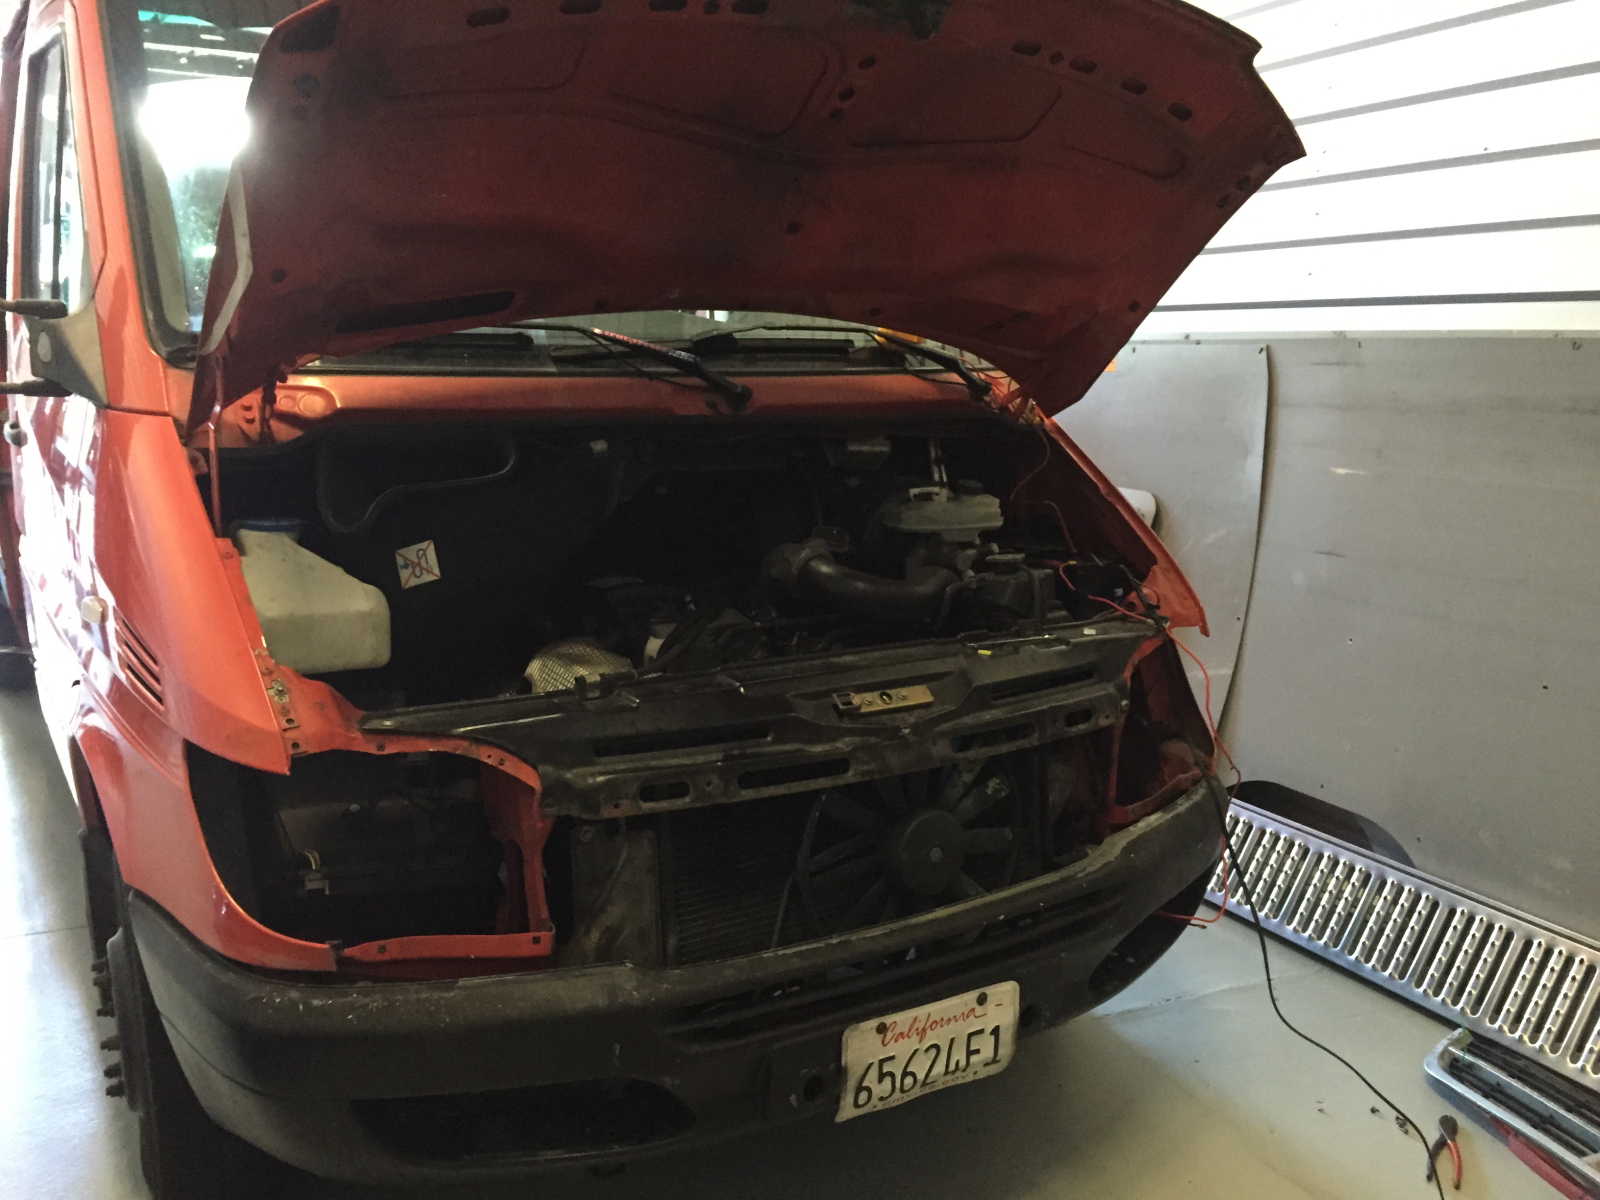
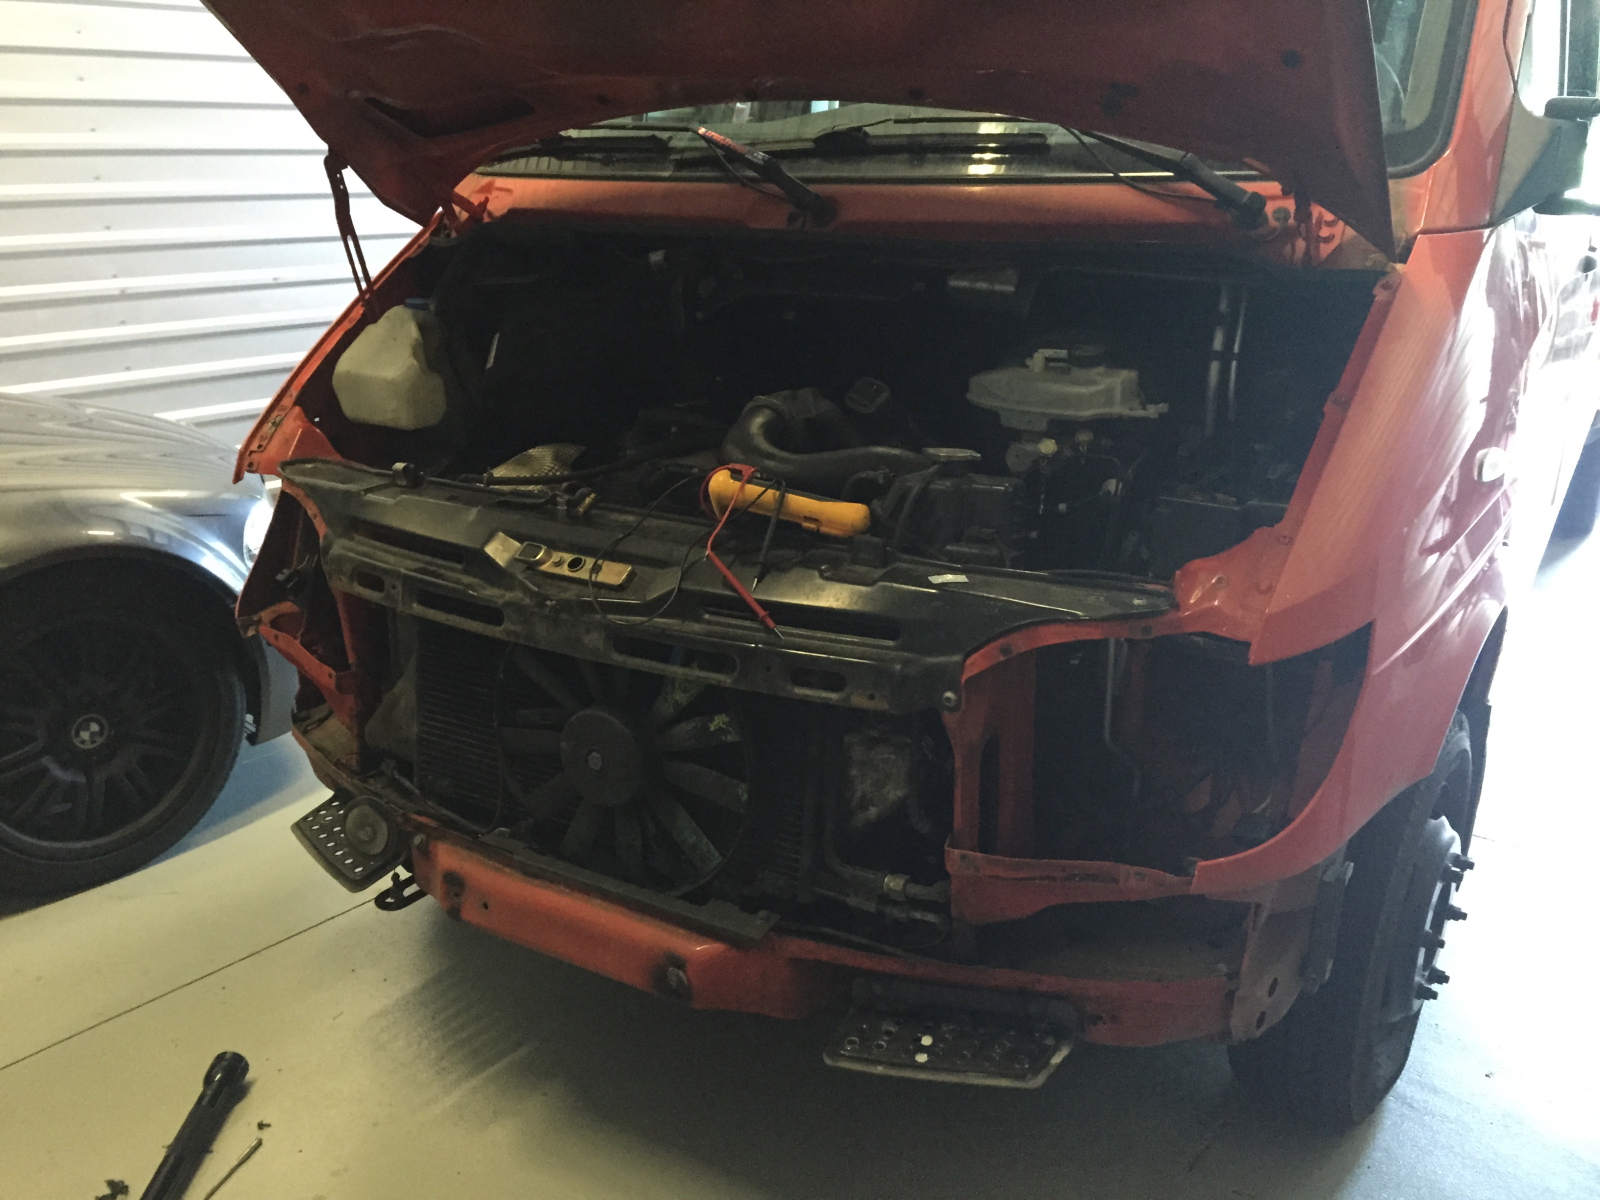
One done with the wheel wells, I popped back onto the internet to look at possible causes for the failure, the most ominous of which is a possible failure in the High Pressure injector pump (large black assembly on the right).

It does not look like a fun thing to remove and look for problems. I’m generally of the mind that if it’s not clearly broken or in need of refurbishing, I don’t want to mess with it. Some more investigation is underway.
Sprinter_2015_01_18_13

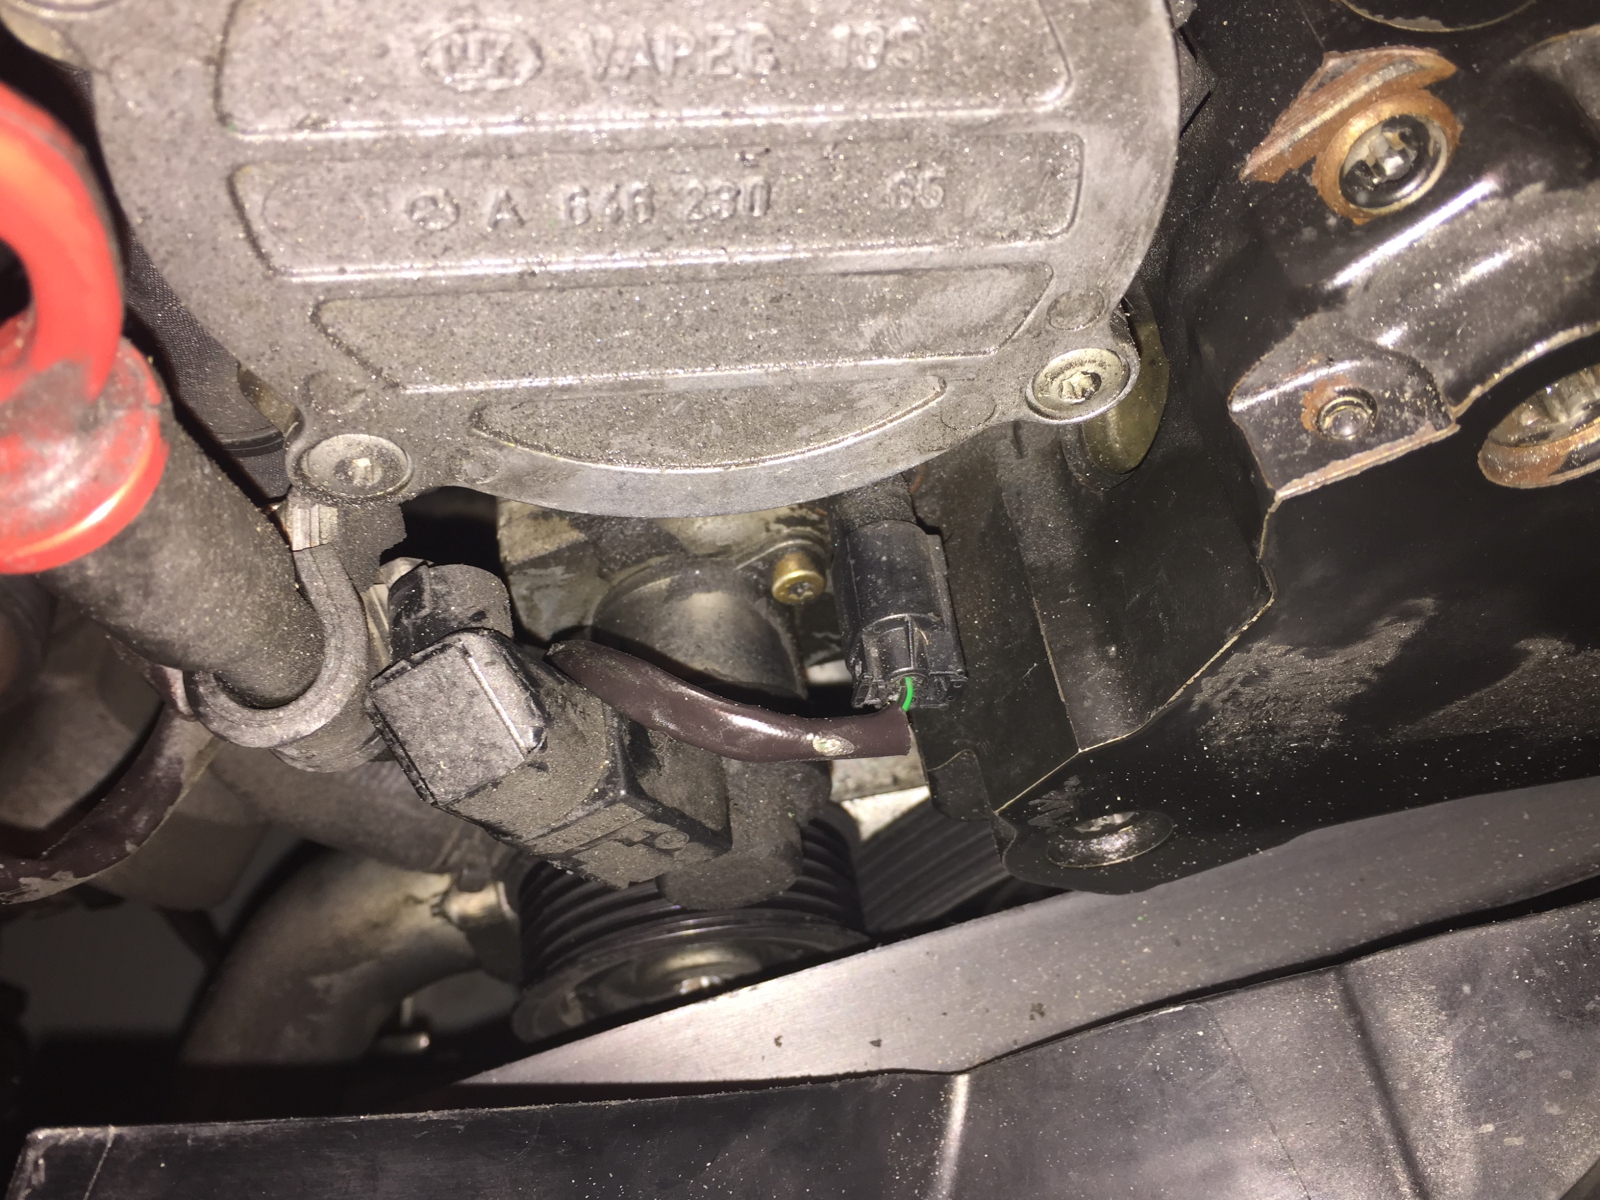
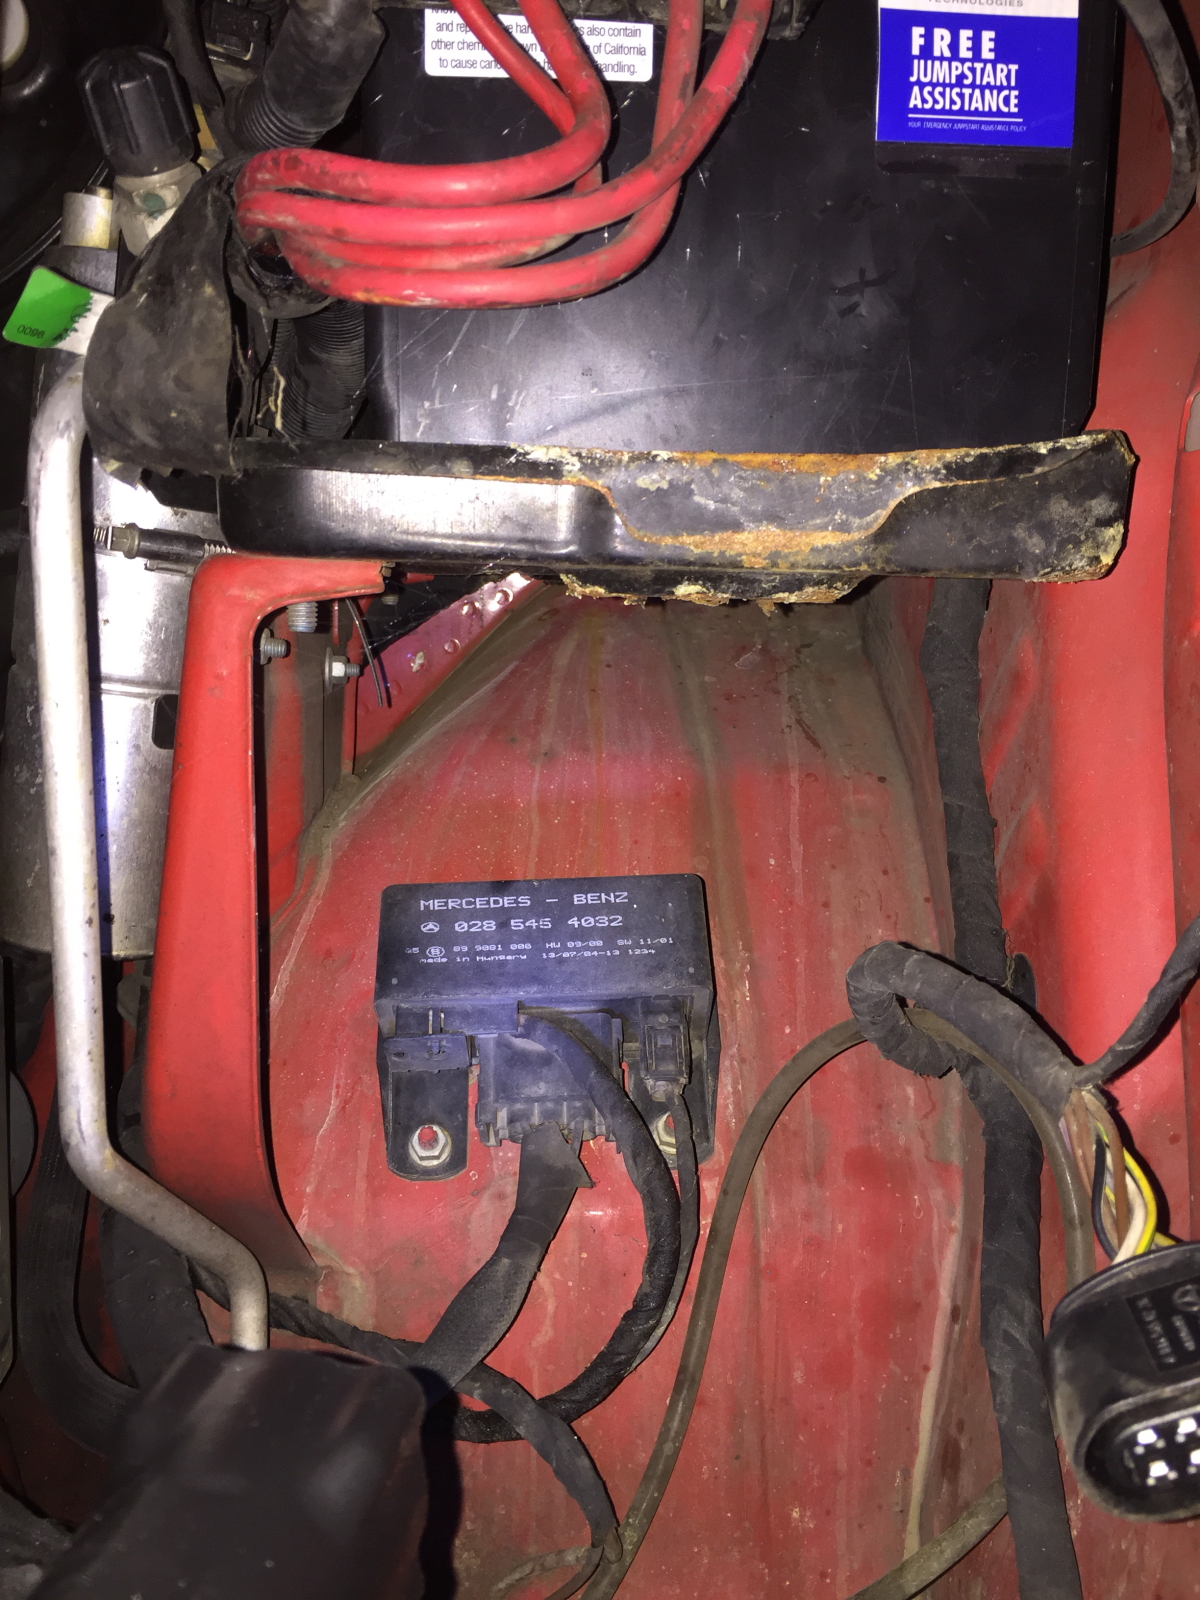
Below and to the left of the pump is the turbo charger. The intake hose as been removed and the high-pressure cold-side routing, which includes the turbo resonator has also been removed. Both the resonator and the pump are above the alternator and could possible cause it to fail should they leak fuel or high-pressure intake gasses.
Sprinter_2015_01_18_14

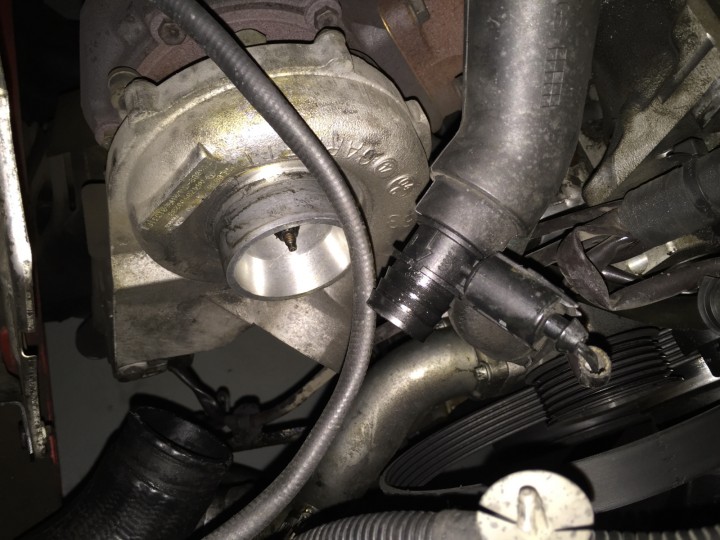
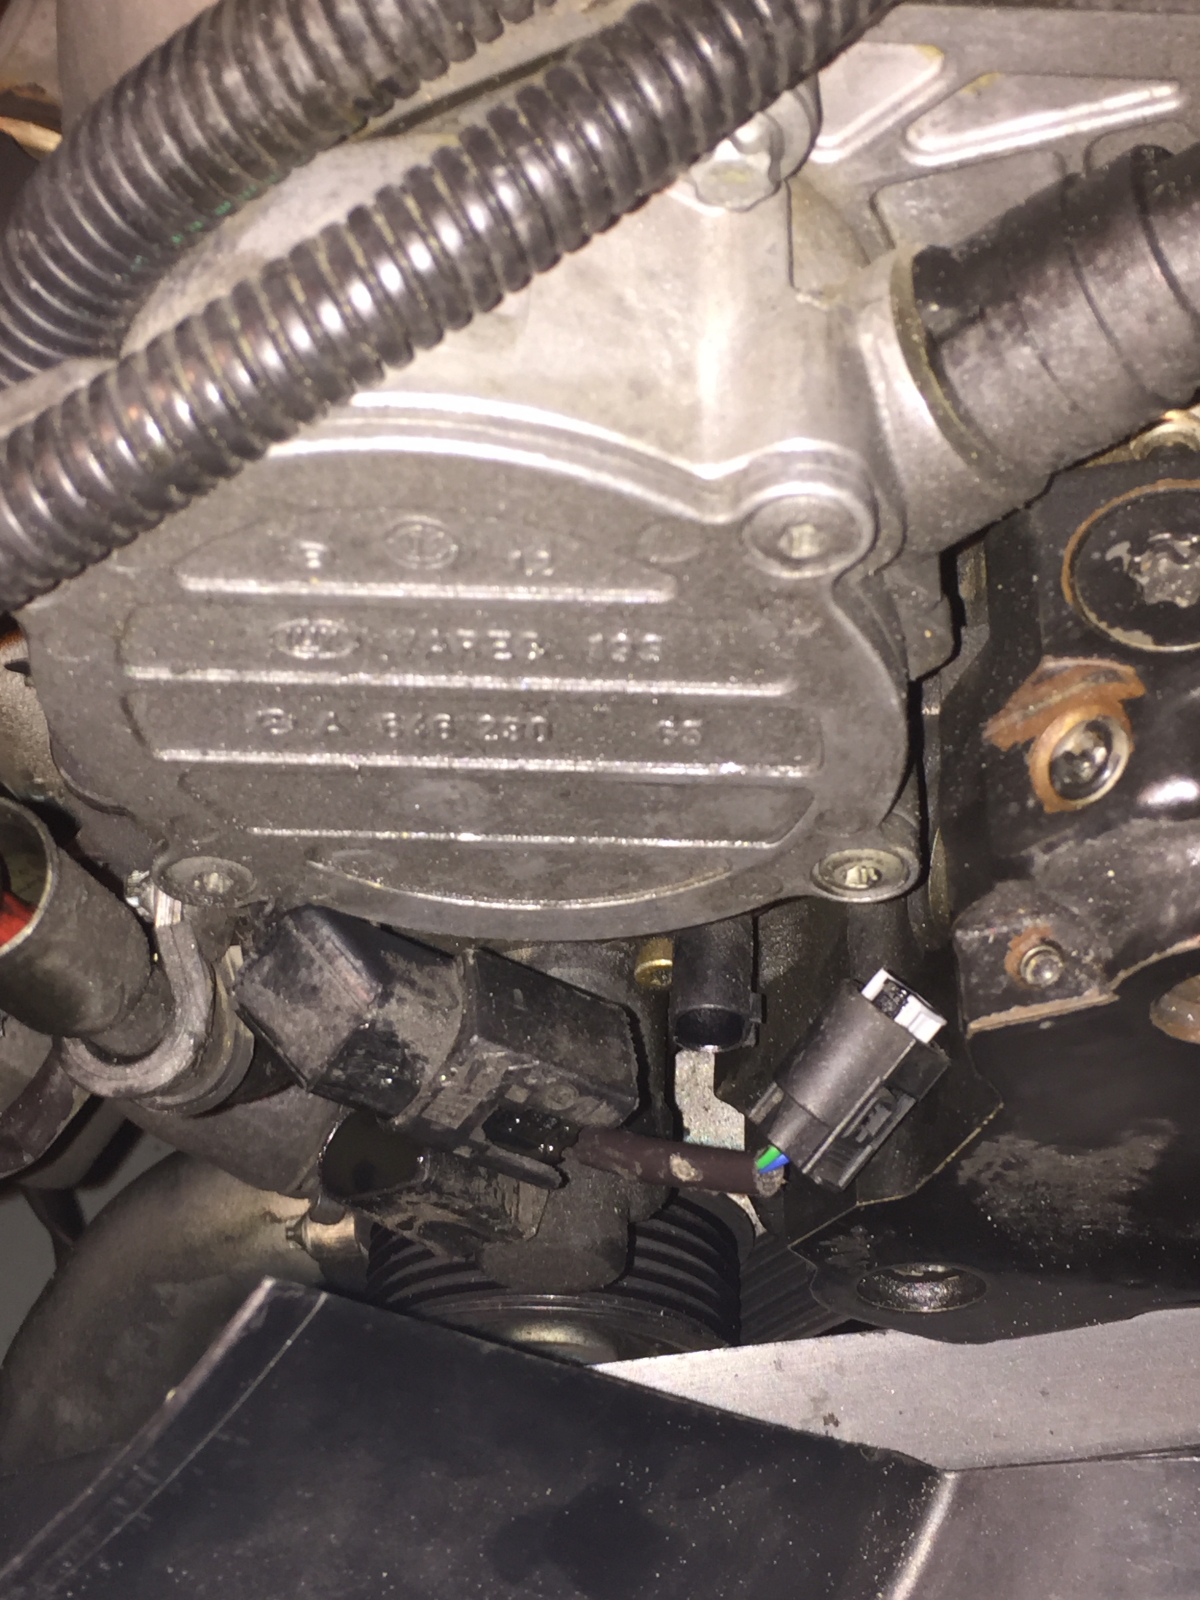
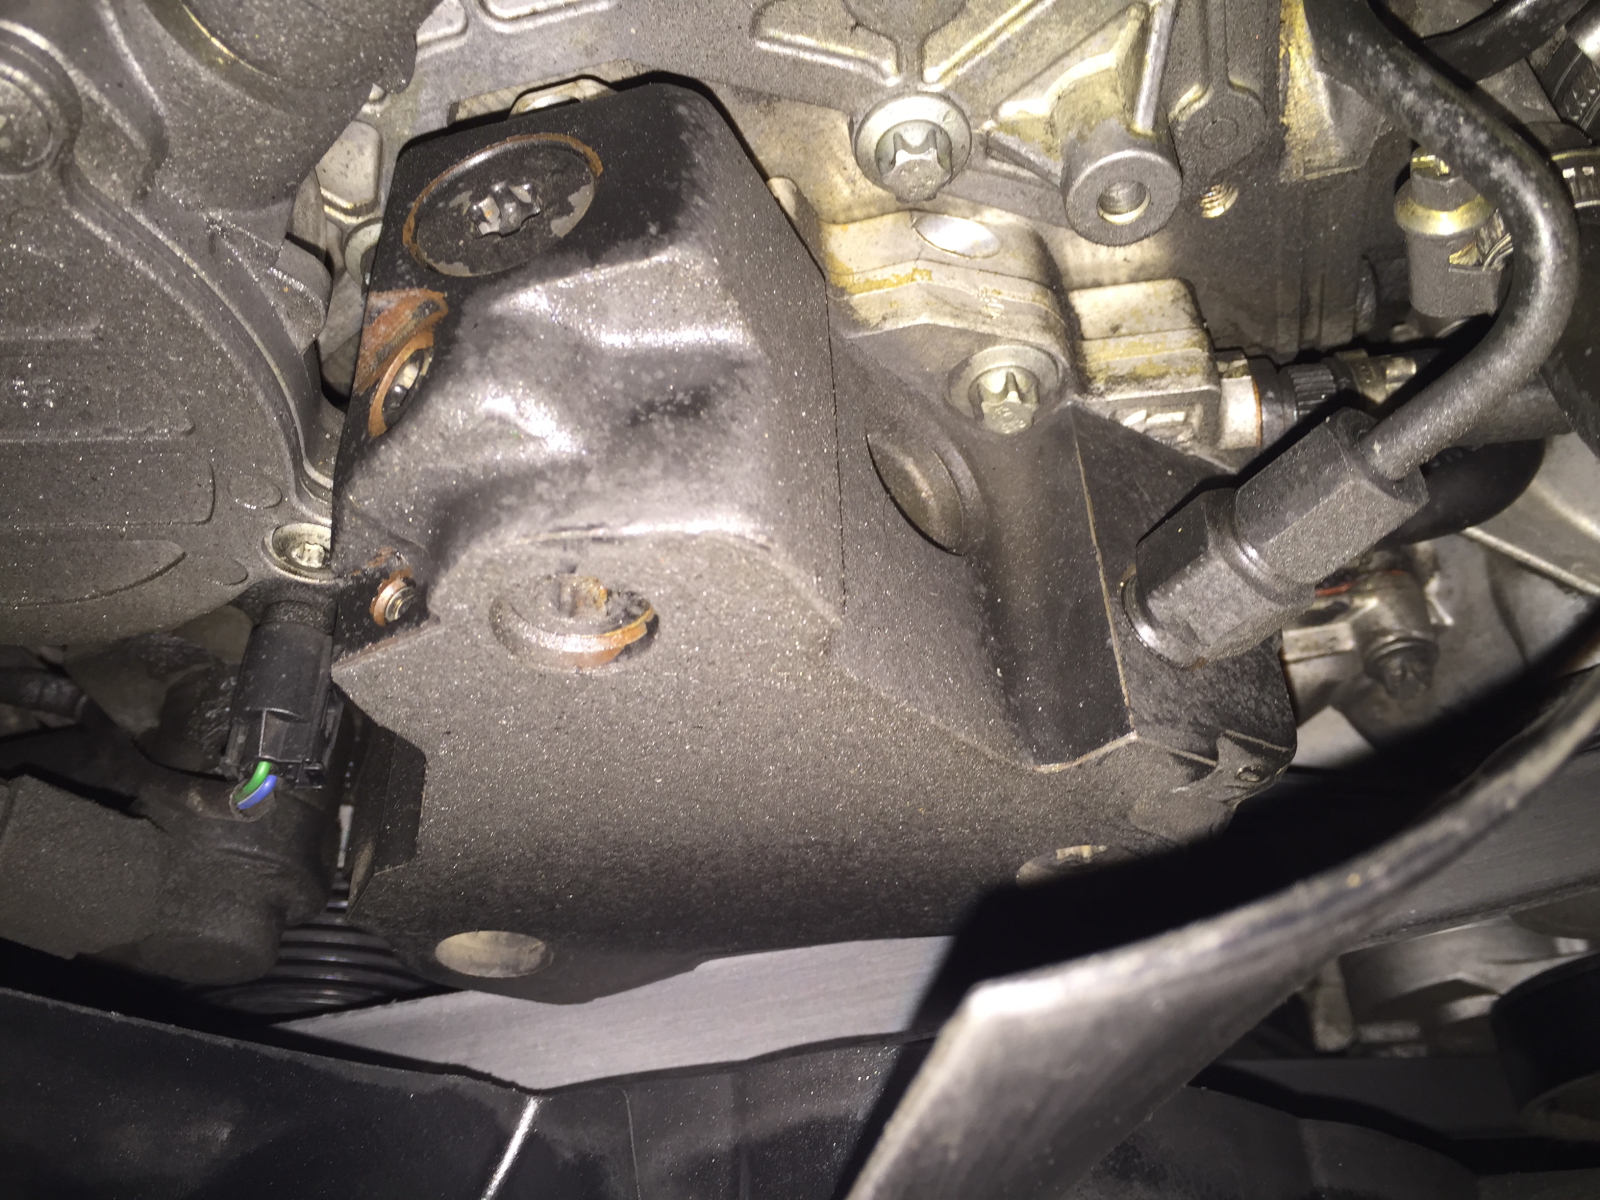
High pressure pump in close up. The black part is the front block, which bolts to a larger raw aluminum block with the drive assembly. It’s said that the pump can leak between the two plates if the bolts that hold it together, internally, begin to loosen. This is a known issue with the 2004-2006 model year.
Sprinter_2015_01_18_17

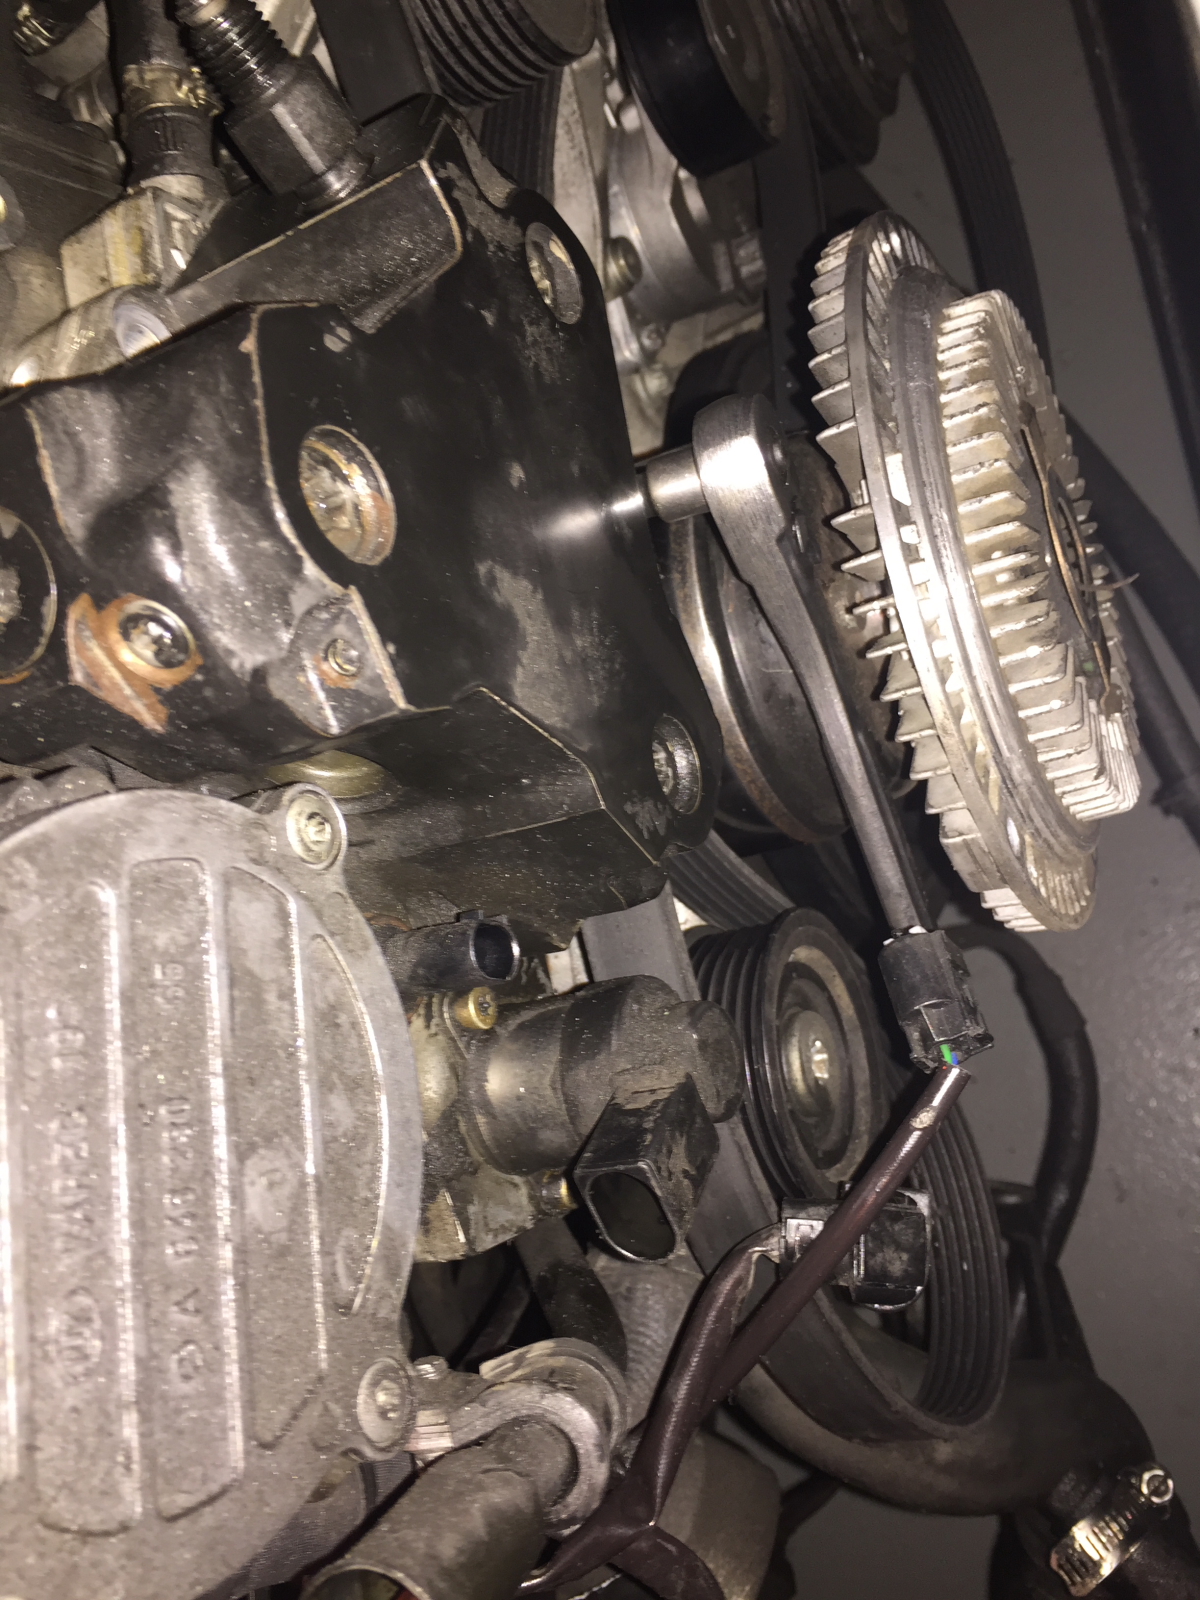
Next effort will be to consider removal of the high pressure pump. At least the front end is mostly stripped down and access will not be horribly difficult.

Track Truck: Diagnosing the illness

While doing some research on the problem and waiting for parts, I decided to pull out the headlamps to work on them.
Removed from the truck, they are easier to work on.

T1N Dodge Sprinter headlamps

One diagnostic task, is to look for unusual current loads in the system. First stop was the headlamps, looking for evidence that some clown hat put in 100w bulbs or some other nonsense. What I found was just that sort of… nonsense. Luckily they didn’t over-watt the lamps, but at some point someone put in those inane blue headlamps (but they looks so cool.. no!). I didn’t detect this because the blue one was burned out. All the better. A pair of 55w H7 replacements will be procured.
T1N Dodge Sprinter headlamps

With the lamps out, I’m going to do some sanding and polishing on them to return some of the original clarity. Right now, they are much better after that first attempt, but they are not where I want them to be.

T1N Dodge Sprinter headlamps

Some sanding with 800, 1500 and 2000 grit wet-sand, then a light polish with Mequires… they don’t look too bad. But I know they can be better.

T1N Dodge Sprinter headlamps

To fully diagnose the electrical gremlins that are plaguing me, getting unrestricted access to all the grounds and the glow plug relay pack, goes a long way. So.. I started to take apart the front bodywork.
T1N Dodge Sprinter 3500

Neat Sprinter tidbit… this is the air intake (other side does not have this vent). This is a true cold-air intake. Air box is right there behind the headlamp (or where it would normally reside). Also, it’s possible to get at the grounds behind and under the headlamp with those parts out of the way.
T1N Dodge Sprinter 3500

After re-checking and cleaning all the ground table locations, and there are plenty, I focused on the glow plug relay. Typically the relay itself does not fair hideously, but what more commonly happens is a glow plug (or 5) will short out, causing a heavy drain (more than 20A) on the electrical system. 5 glow plugs shorted out is over 100A of current and would easily kill the 90A stock alternator.
Sprinter_2015_01_17_07

Based on information obtained from the various Sprinter forums, I fabricated (term used loosely) a jumper cable that can be used to test glow plugs for a shorted condition.
Sprinter_2015_01_17_08

Because the simplest place to test it from the glow plug relay harness, I unplued the 5 wire connector (1 for each GP).
Sprinter_2015_01_17_09

On one end of the wire is a spade connector that is screwed to the battery. I didn’t want to have to mess with holding both ends of the wire. On the other end, I crimped on a small finish nail. This is useful when testing the glow plugs from the glow plug harness.
Sprinter_2015_01_17_10

Poking the wire into each of these connectors here, I was able to determine that none of the 5 glow plugs are exhibiting the signs of a short. When I bought the vehicle the owner assured me the glow plugs had all be replaced in the last 2 years. It seems very likely that was a truthy statement. All good in this arena. But that also means I must continue to look for the cause of my woes.
Sprinter_2015_01_17_11

Since the bumper on this thing was in pretty bad cosmetic shape, I decided to remove it too for a little refurbishing at some point down the road.
Sprinter_2015_01_17_12

This little LED light really came in handy when working on things under the beast. Takes 3 C-cells and provides a pretty good amount of light, even if they LEDs are not the wide angle type. It was much easier than the conventional flashlights (due to built-in stand) and not hot and tangly like an old-school drop light (I really do have a heavy dislike for them).
Sprinter_2015_01_17_13

To keep the new battery charged up while I sorted out this mess, I re-purposed one of the 25′ charging cables from the MV Agusta, added the charging lugs to the Sprinter’s battery, and plugged it into this gem I picked up last month. Love having the computerized 1.25 AMP computer controlled charger.
Sprinter_2015_01_17_14

With the Glow Plugs eliminated as the likely cause of my troubles.. the next step is more drastic… checking the turbo system and fuel system components. Good times ahead.