The number 1 suspected cause of the alternator failures, according to the Sprinter People I’ve queried, is a leaking high pressure fuel pump. So, even though I’m not identifying a clear indicator of a problem, it just seemed prudent to take the time to investigate it while everything else was apart.
There were a lot of steps not shown to get to this point. They all seem pretty straight forward, so I’ve skipped ahead to the part where I actually remove the pump.
There are three E10 torx head bolts that secure the pump to the engine block. Two are fairly easy to access and are located on the upper half of the pump assembly.
Here is one of the bolts being removed.
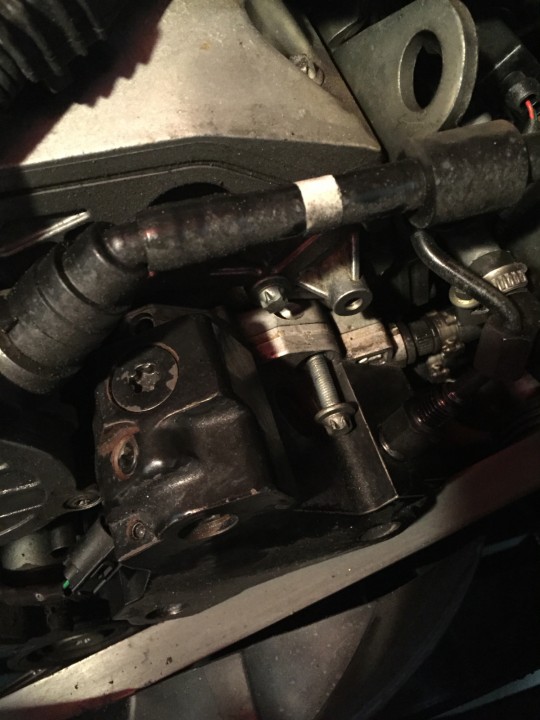
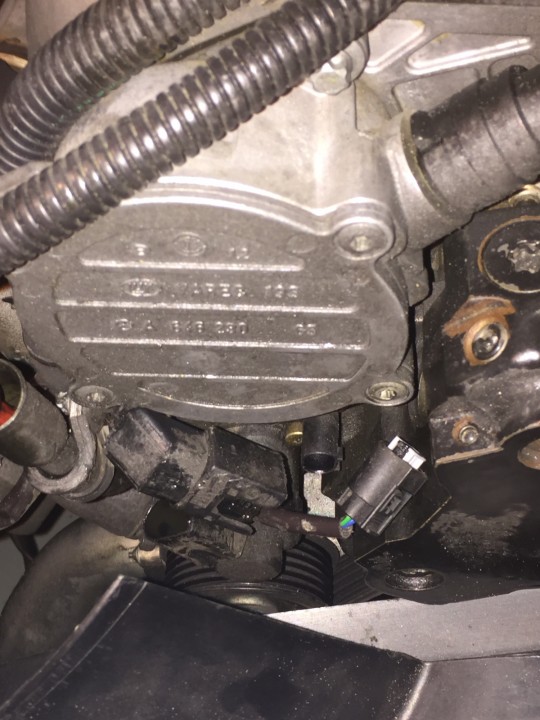
The next bolt is located to the left, about mid-pump, very close to the connector you see removed in this photo.
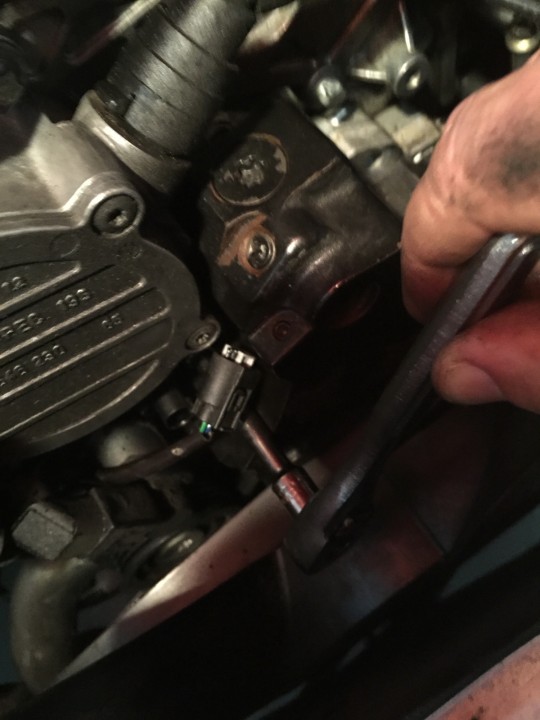
Here is a slightly better angle showing where the bolt is located.
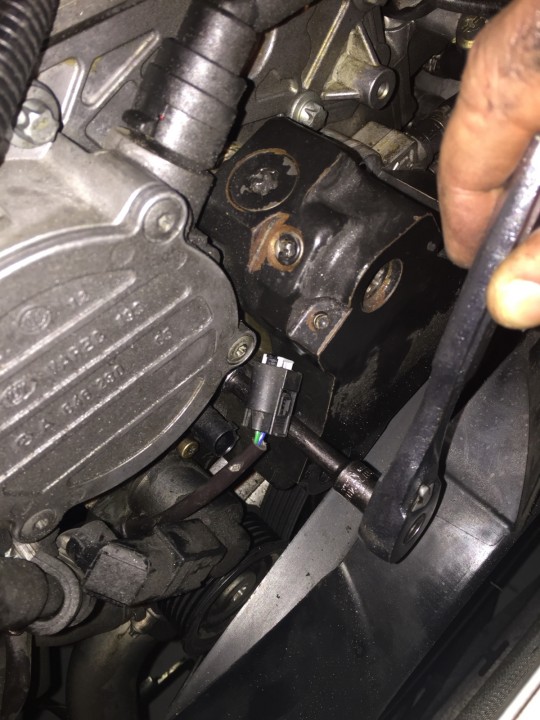
There are two electrical plugs that need to be removed. The one on the right slides out forward. The one on the left slides upwards. The left one is a bit of a pain to removed. I used some channel lock pliers to get an even pressure on the rear clips and gently wiggle it upwards until it came off. Take your time, breaking more parts while doing a repair is not a good plan.
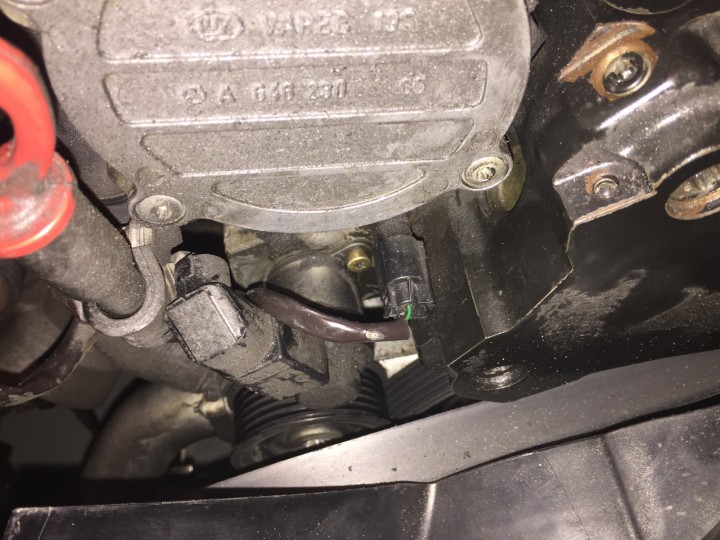
Plugs disconnected and ready to move onto the last steps. NOTE: The high pressure outlet has already been disconnected (top of pump). You can see the threads of the connector at top of photo. To removed these I needed an 18mm open wrench to hold the lower fitting in the pump, and a 14mm flare nut wrench to remove the coupling on the high pressure line feeding the injectors. That’s an important step. You won’t be able to remove the pump with them connected. What I didn’t remove when I was working on mine (maybe a bad choice) were the two lower pressure feed and return lines about mid-pump on the right (not seen here).
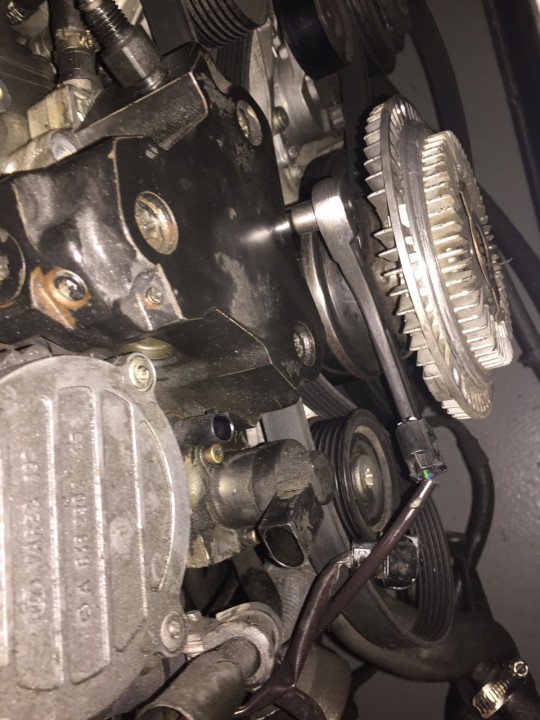
Last of the three bolts is bottom center. As much as I’d like to do as little removal of parts as possible, I don’t really see a practical way to get at this bolt without removing the fan blades from the clutch. You just have to do it. I found the 3 bolts on the fan to be 5mm HEX socket (not torx). They were torqued pretty tight. They are a normal right-hand thread, nothing tricky there.
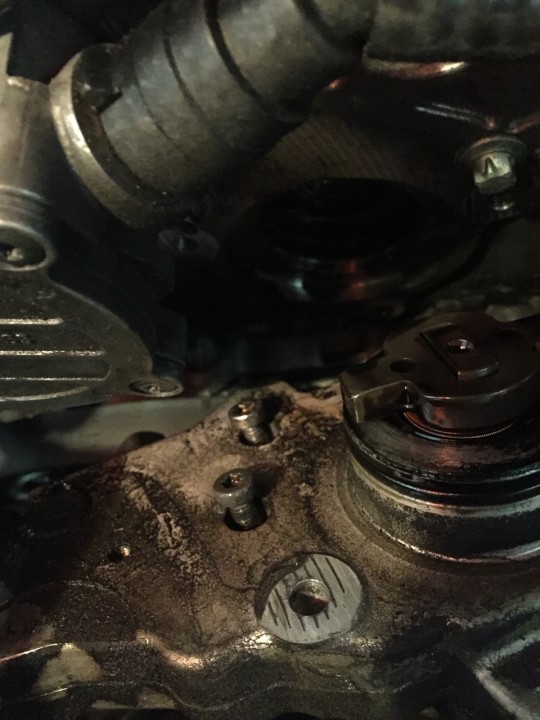
And what did I find on the back of the pump? 2 of the 6 bolts had completely backed out. You can also see that there is diesel fuel on the back of the pump. This matches up with the failure mode described by others, and is the smoking gun (along with the turbo resonator) that I believe was killing my alternators.
All 6 bolts were thread-locked with blue and re-torqued, and pump re-installed.
With the pump re-installed, next step is to re-install the alternator, turbo resonator, intake charge system and get a volt meter installed for diagnostics.
Progress is being made!