Category Archives: automotive

Sprinter: Getting parts, and getting towed

Absolutely a day of ups and downs… so.. let’s start off where the day did.

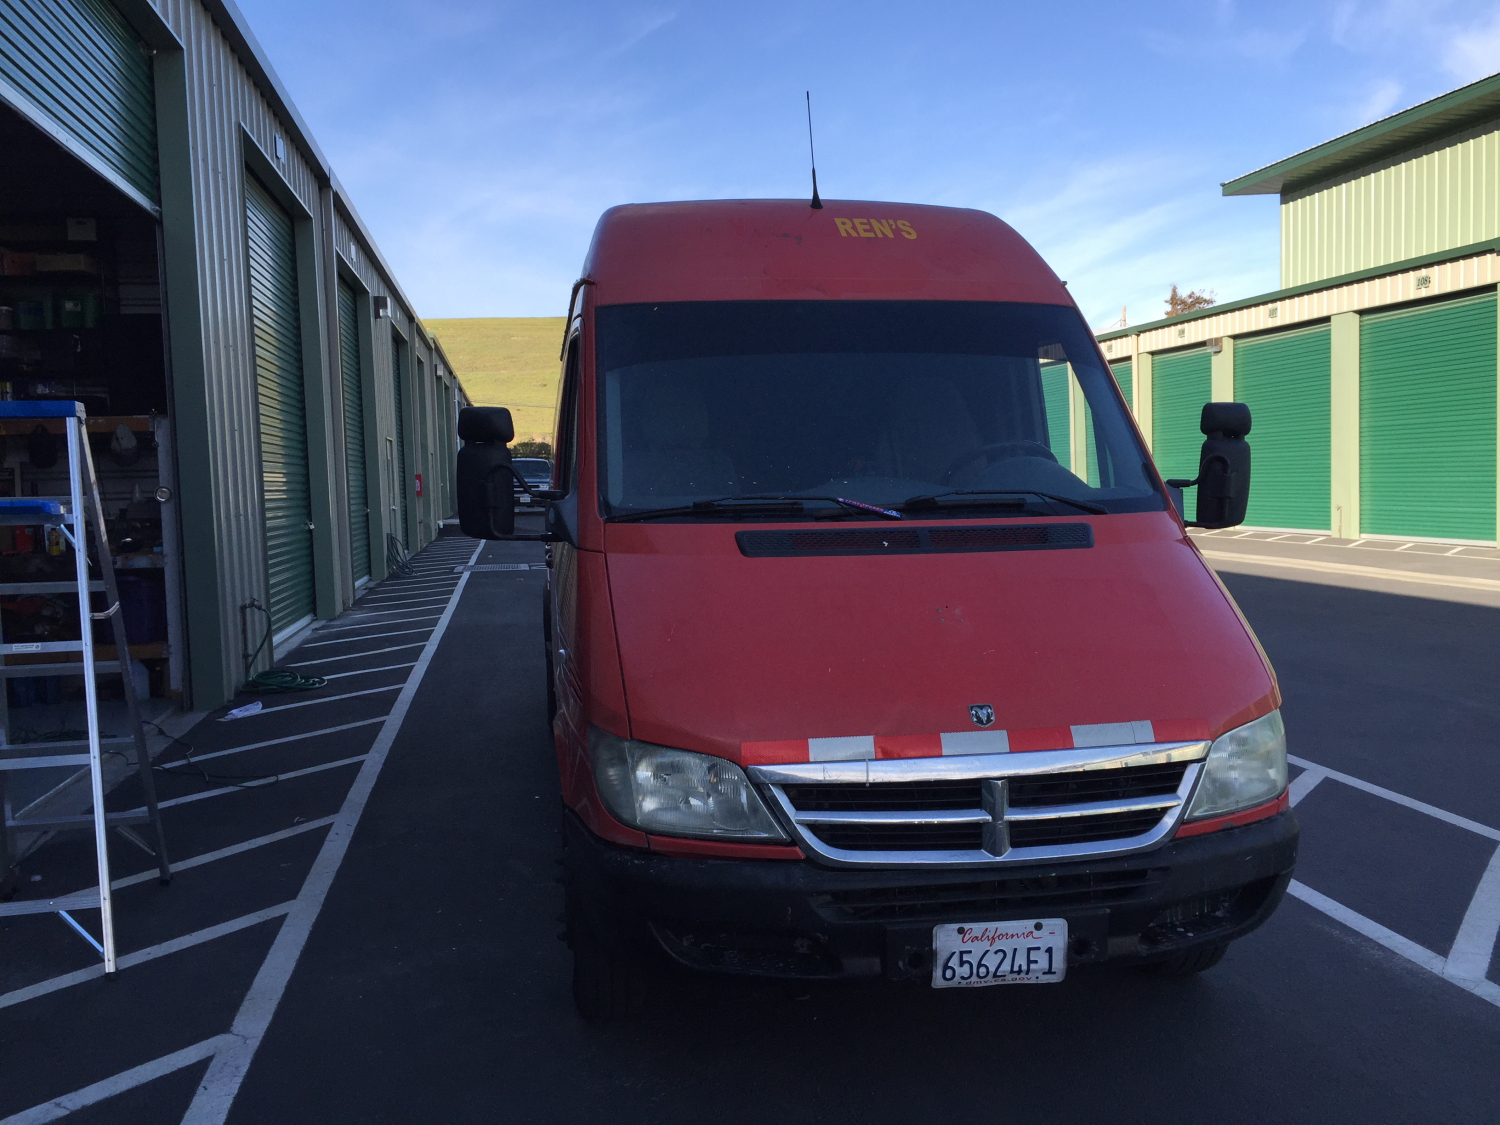
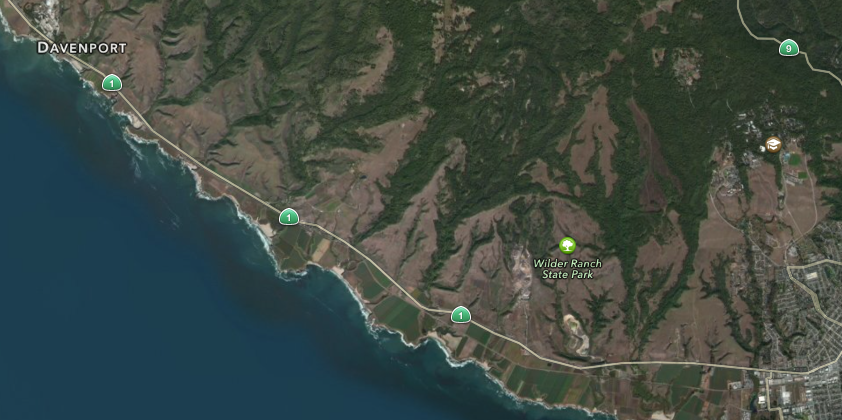
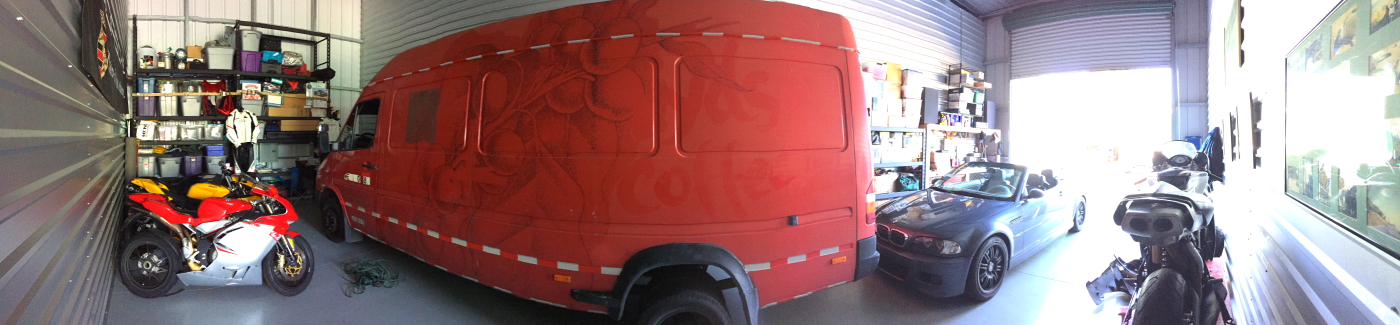
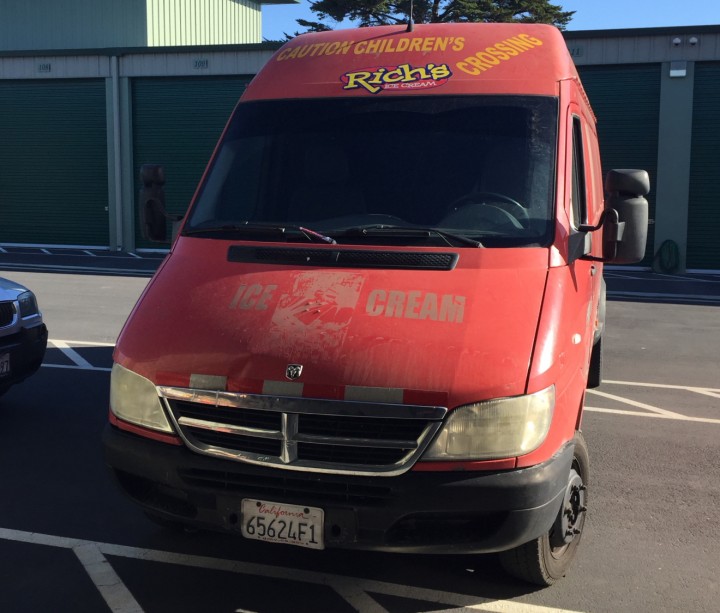
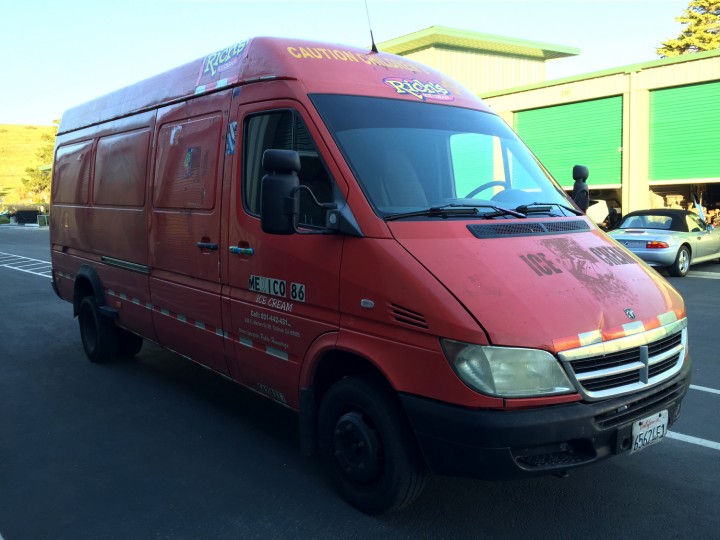
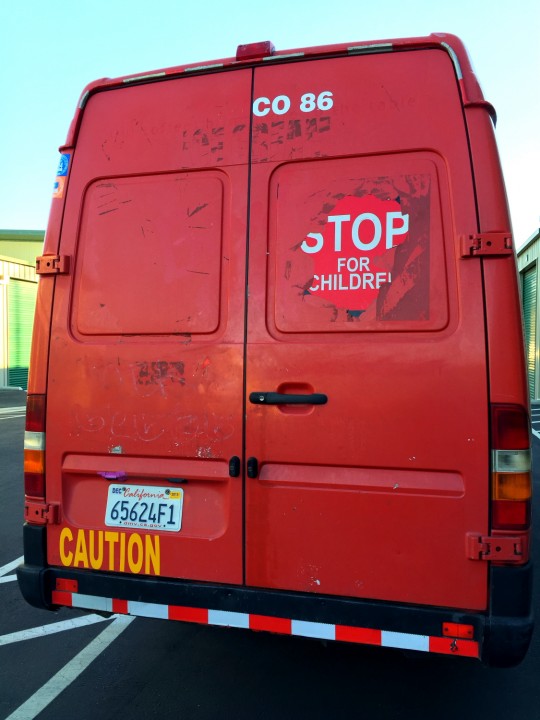
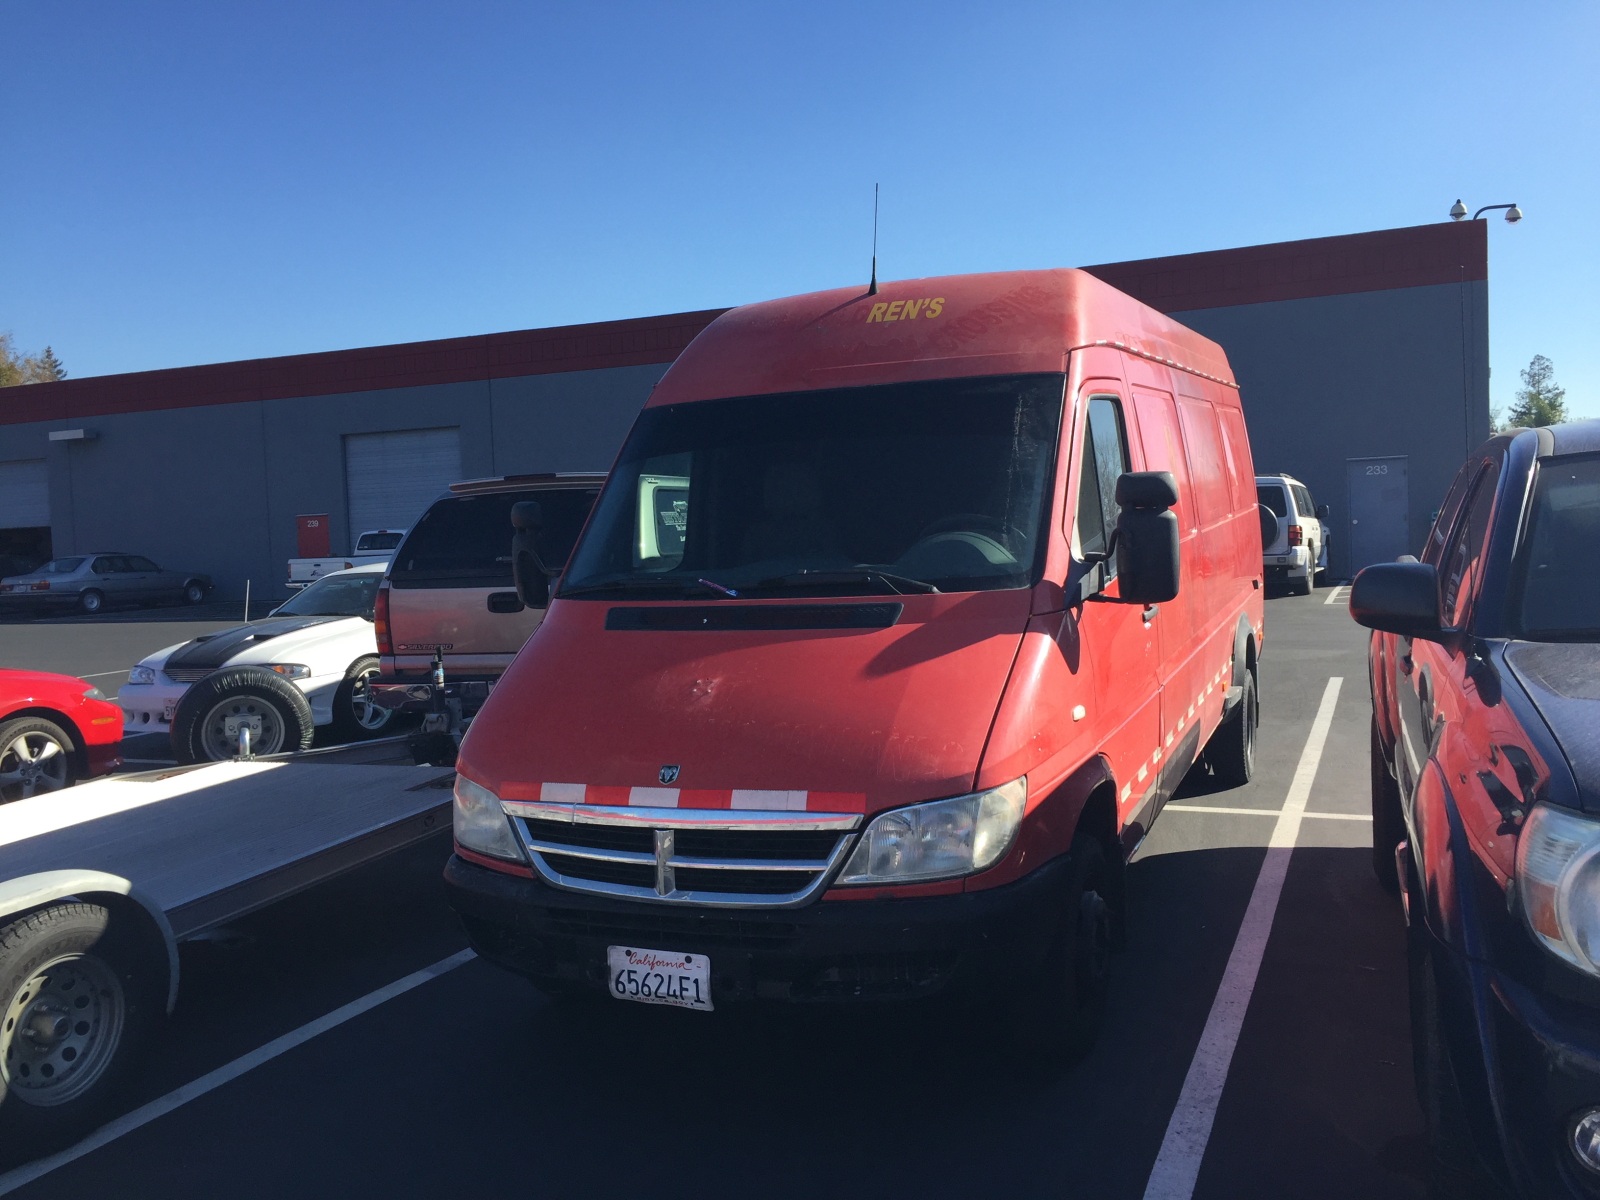
Having just finished putting the truck back together again, it was time for a really good test drive. This time I picked Hwy 17. A 16 miles windy trek over the 1,814ft. Patchen Pass in the Santa Cruz Mountains (the epicenter of the 1989 World Series Earth Quake, mistakenly associated with San Francisco, 40+ miles to the North).

Hwy 17 displayed on Google Earth

The old dog handled the mountain with ease. Passing slower vehicles on the steep climb was a non-event. Considering the type of vehicle, it handled the curves quite confidently.

Once in San Jose, first top was Club Auto Sport, where my trainer Isaac has his facility (Fit for Speed). Had a great workout, then headed out into the sun to start running some errands while in The Valley.
Sprinter_2015_01_1301

First stop was Harbor Freight to check out the finest in Chinese manufactured crap for American consumption.

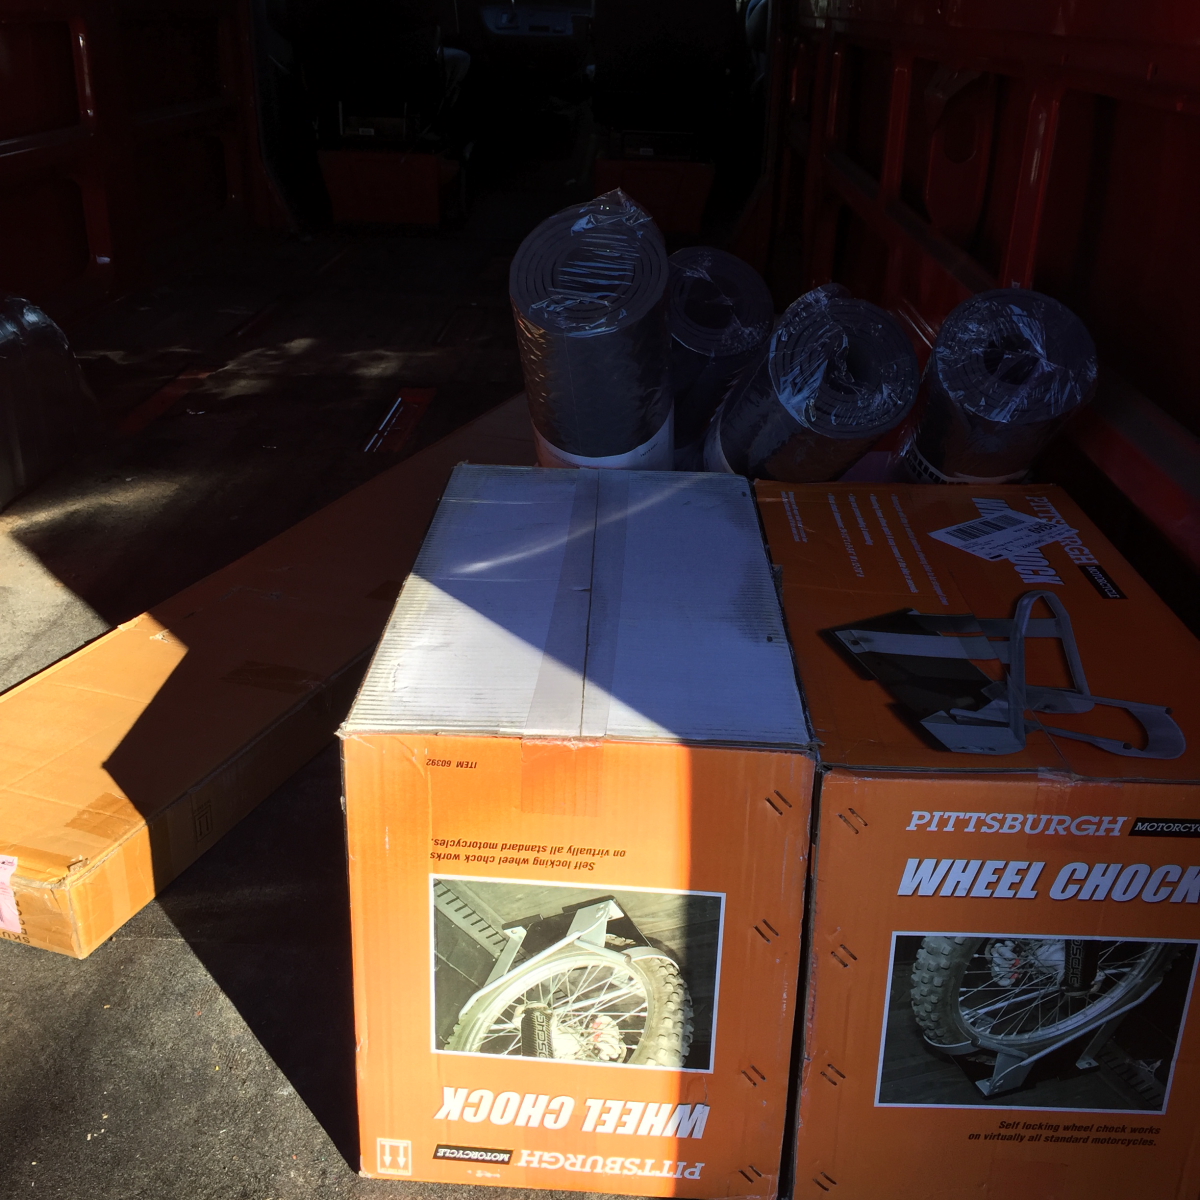
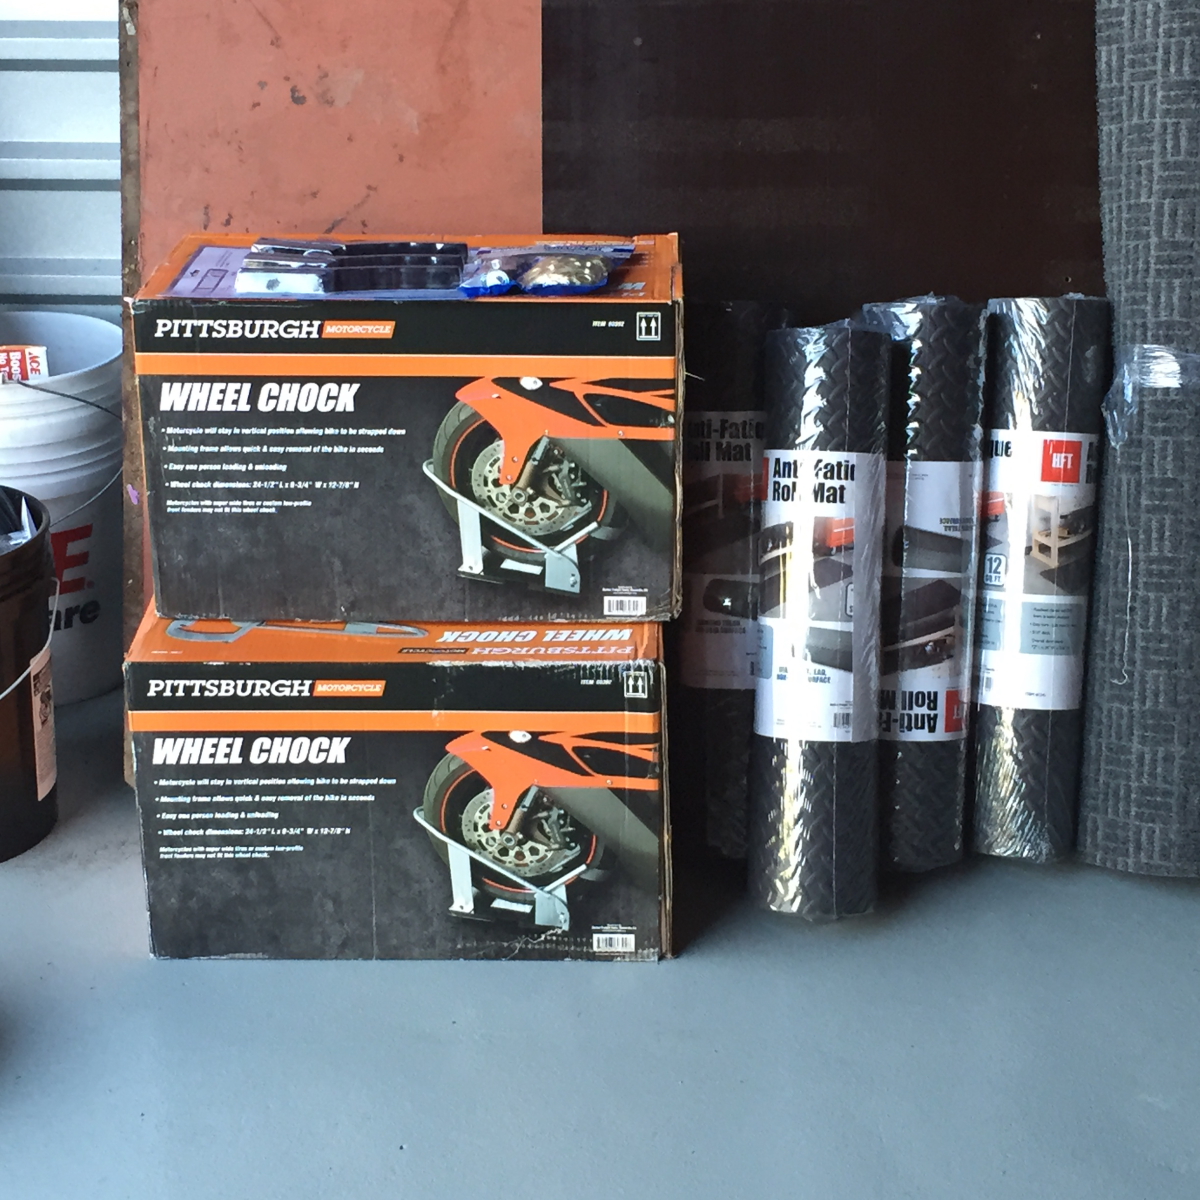
The truck will need a set of wheel chocks, and these were on sale for $40 each, so I grabbed a pair. Don’t know much about them, but hopefully they are not complete crap.
Sprinter_2015_01_1303

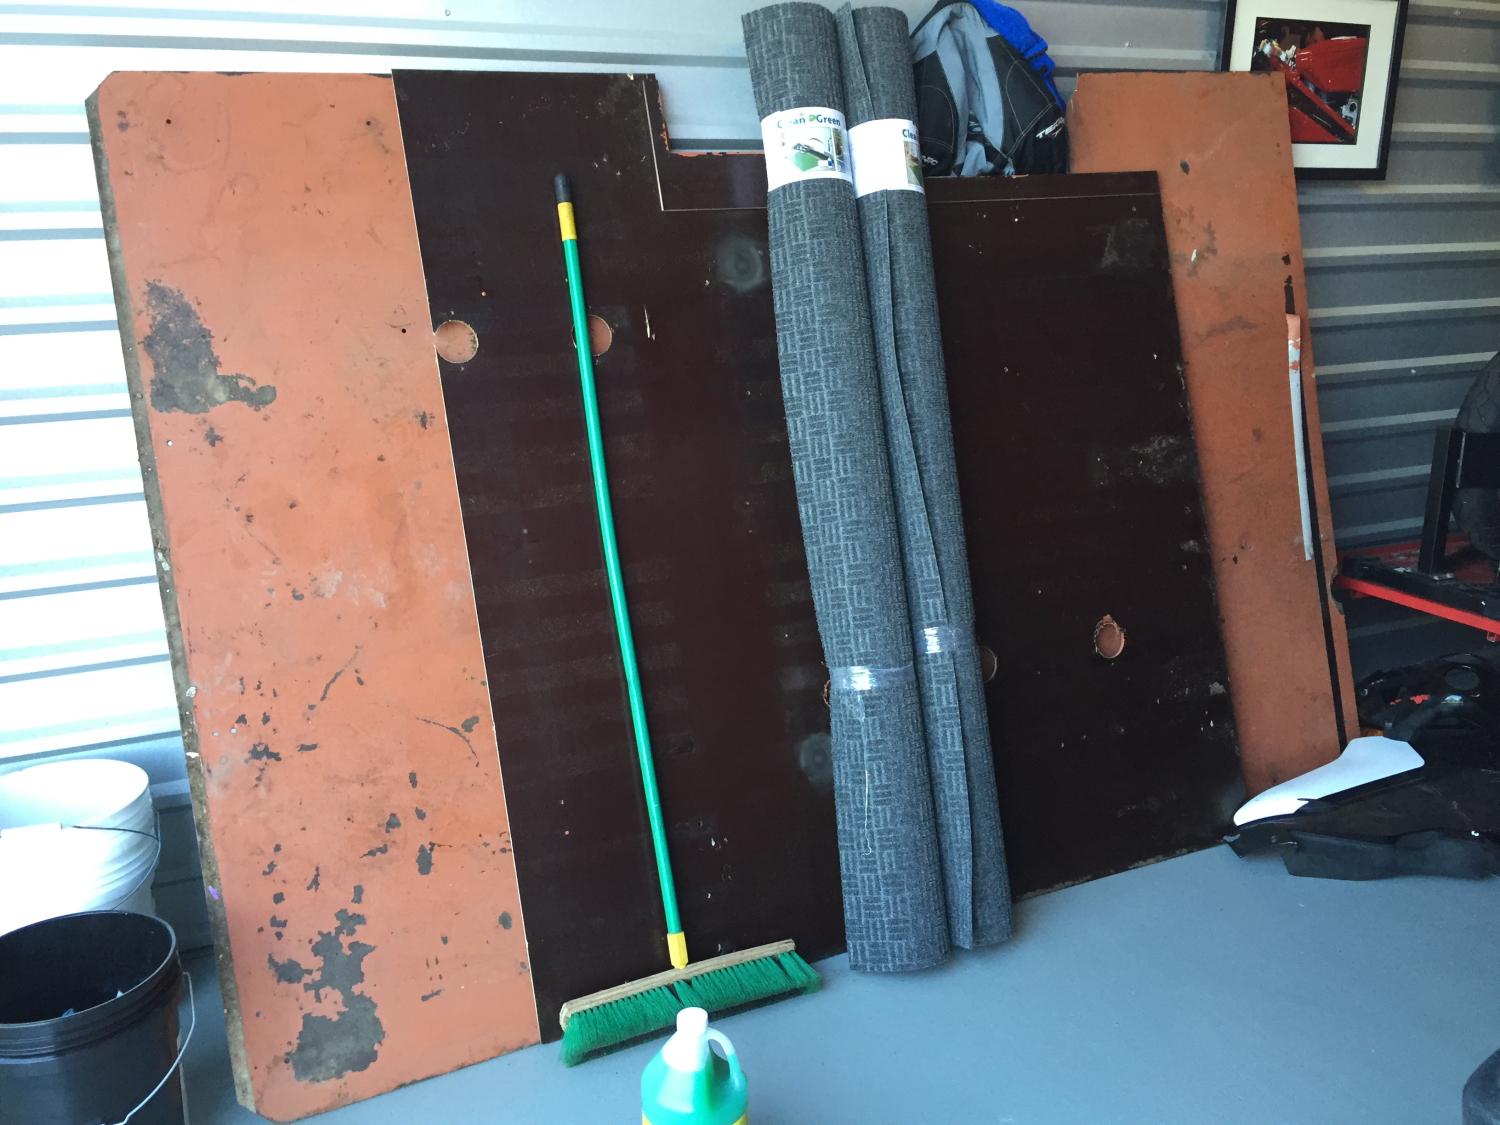
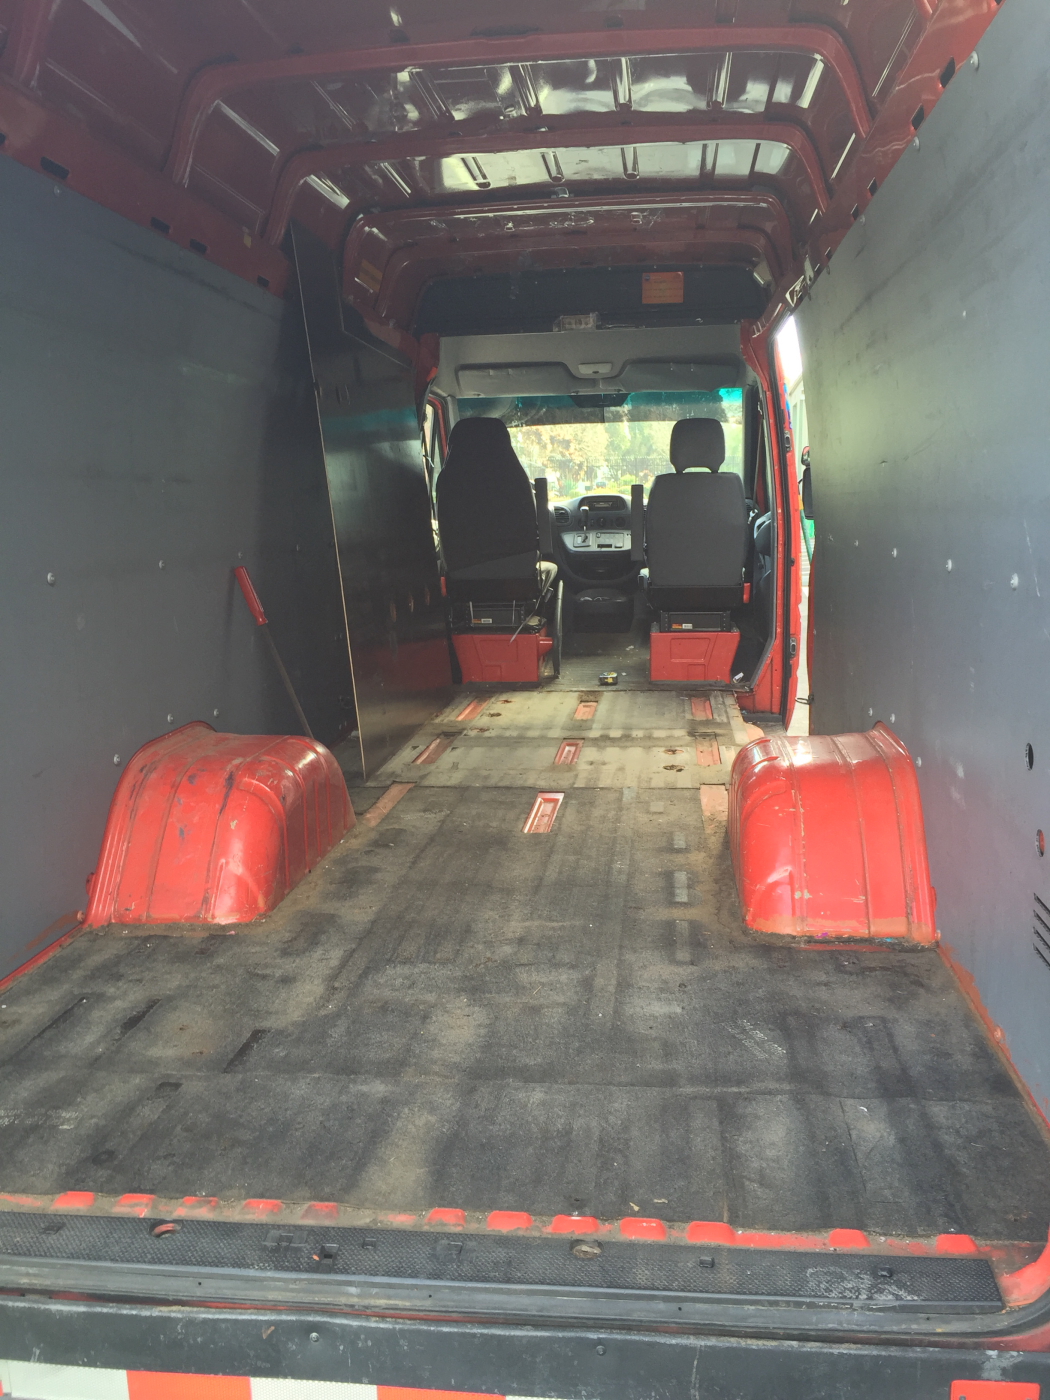
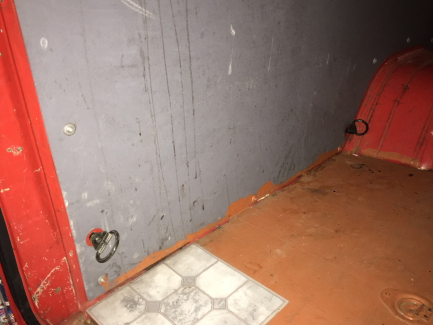
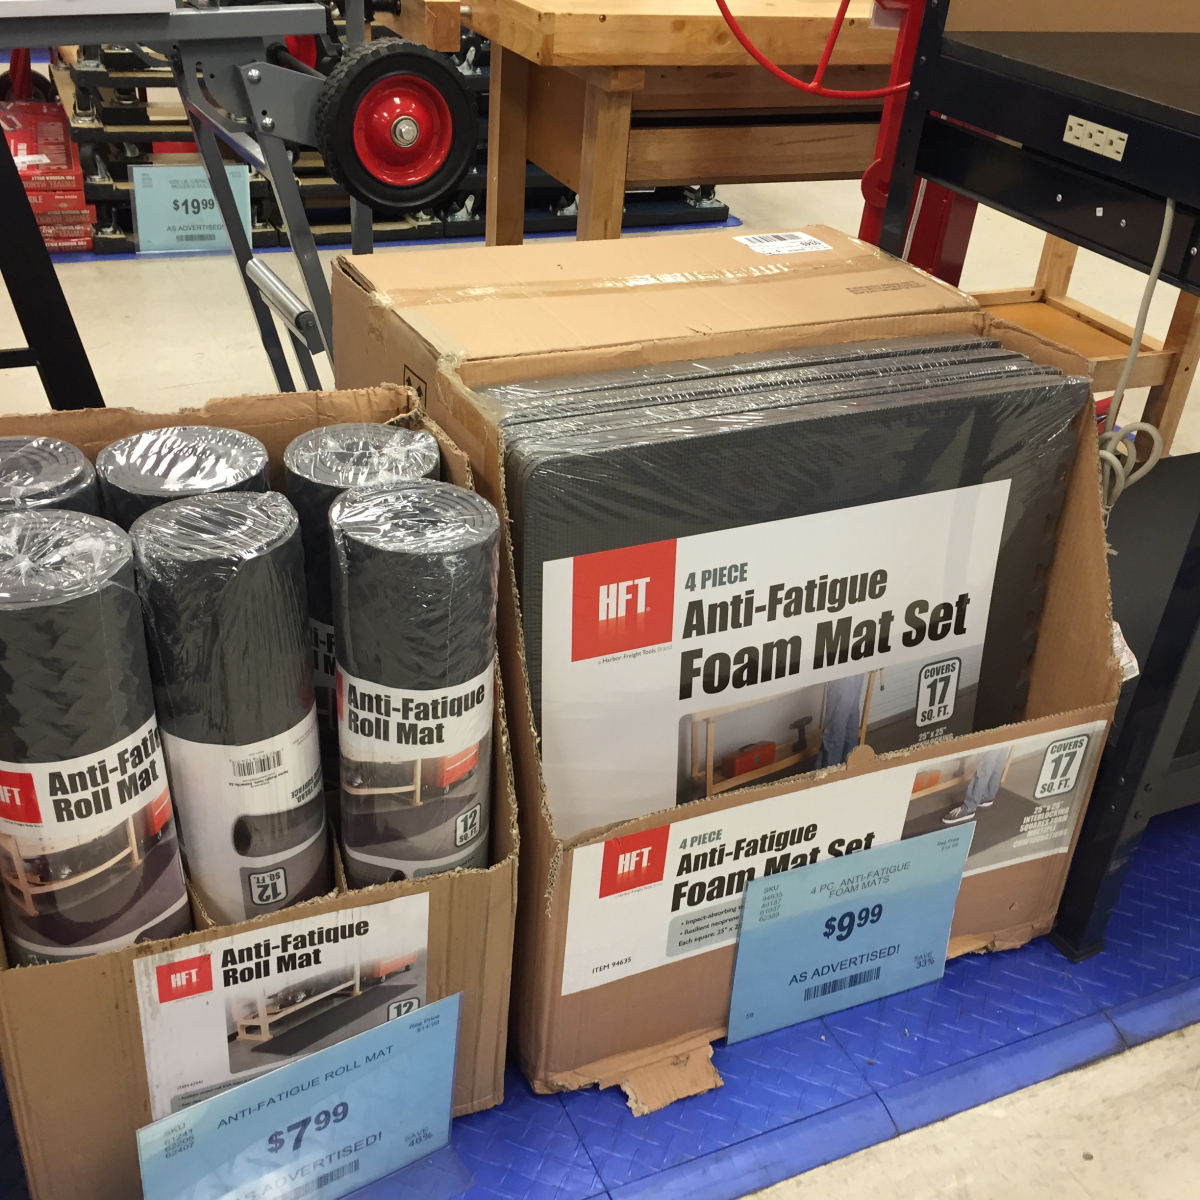
Also needed was some rubber flooring for the back. The original plan (as you might have seen in the previous post) was to carpet all 14′ of the van. After some discussion with some other track junkies I know, a change of specification to rubber flooring was made. This stuff was not very expensive, so I picked up 4 rolls (enough to cover 6′ x 8′) of the stuff on the left ($38 total).
Sprinter_2015_01_1304

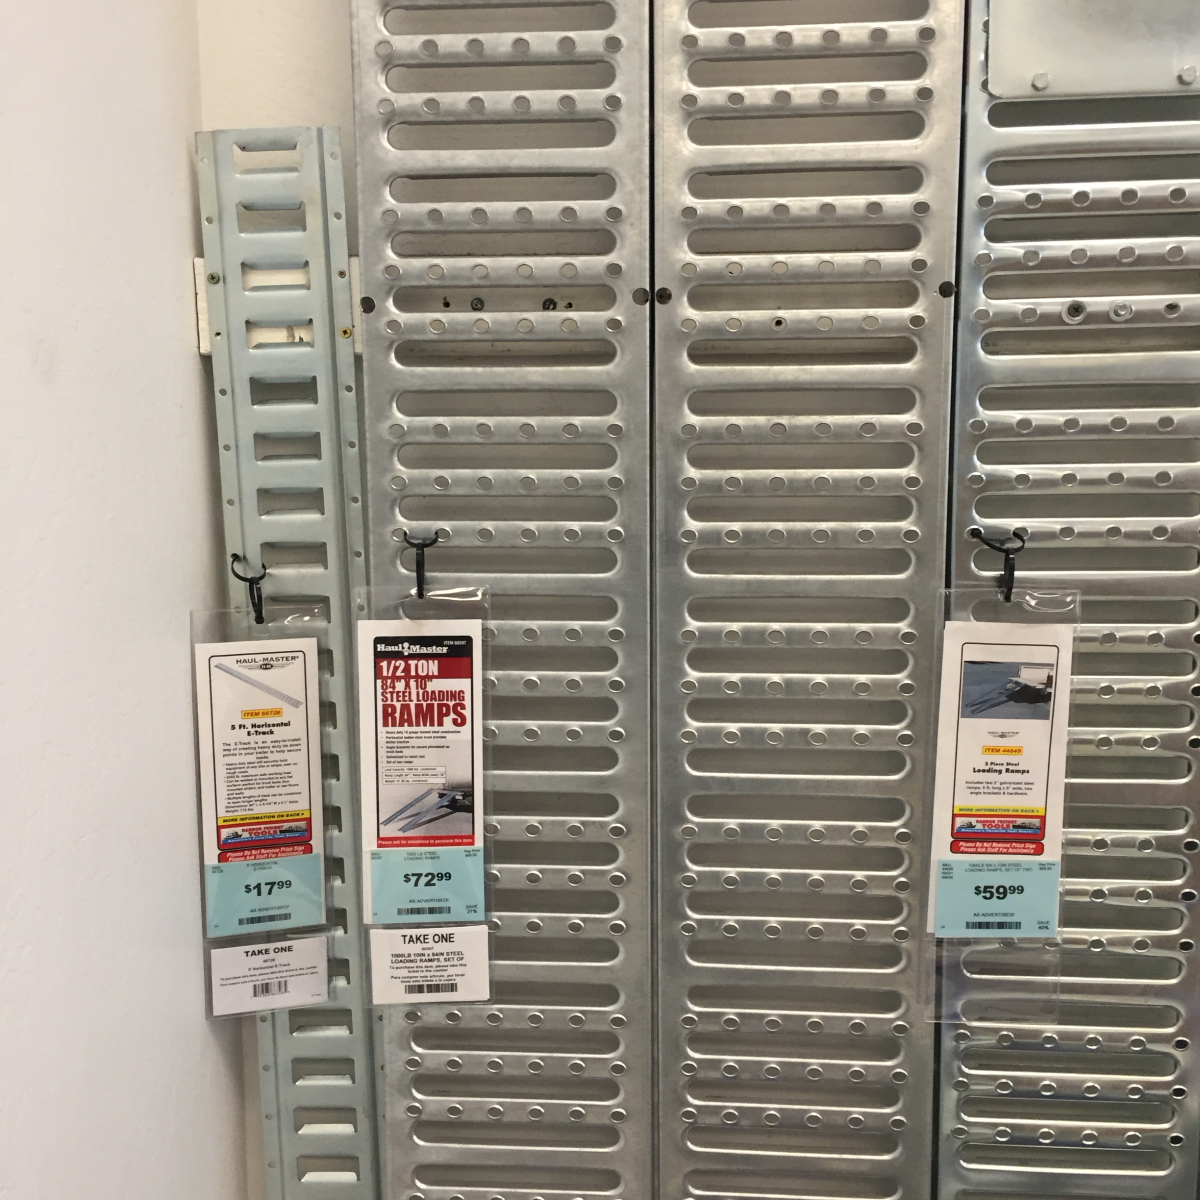
Next up are some ramps. These on the left are 8′ long and rated at 500 lb each. Nothing I own weighs more than that, and made in steel, they seemed stout enough for my purposes. A pair is $72, and that fits the budget nicely.
Sprinter_2015_01_1305

Ramps, rubber and sundries loaded up and ready for the next stop. However I spent so much time in Harbor Frieght, I needed to get rolling back home to complete some software projects. So.. heading to the dealer for a spare key and the RV shop to look for lighting, will have to wait.
Sprinter_2015_01_1306

Sprinter_2015_01_1307

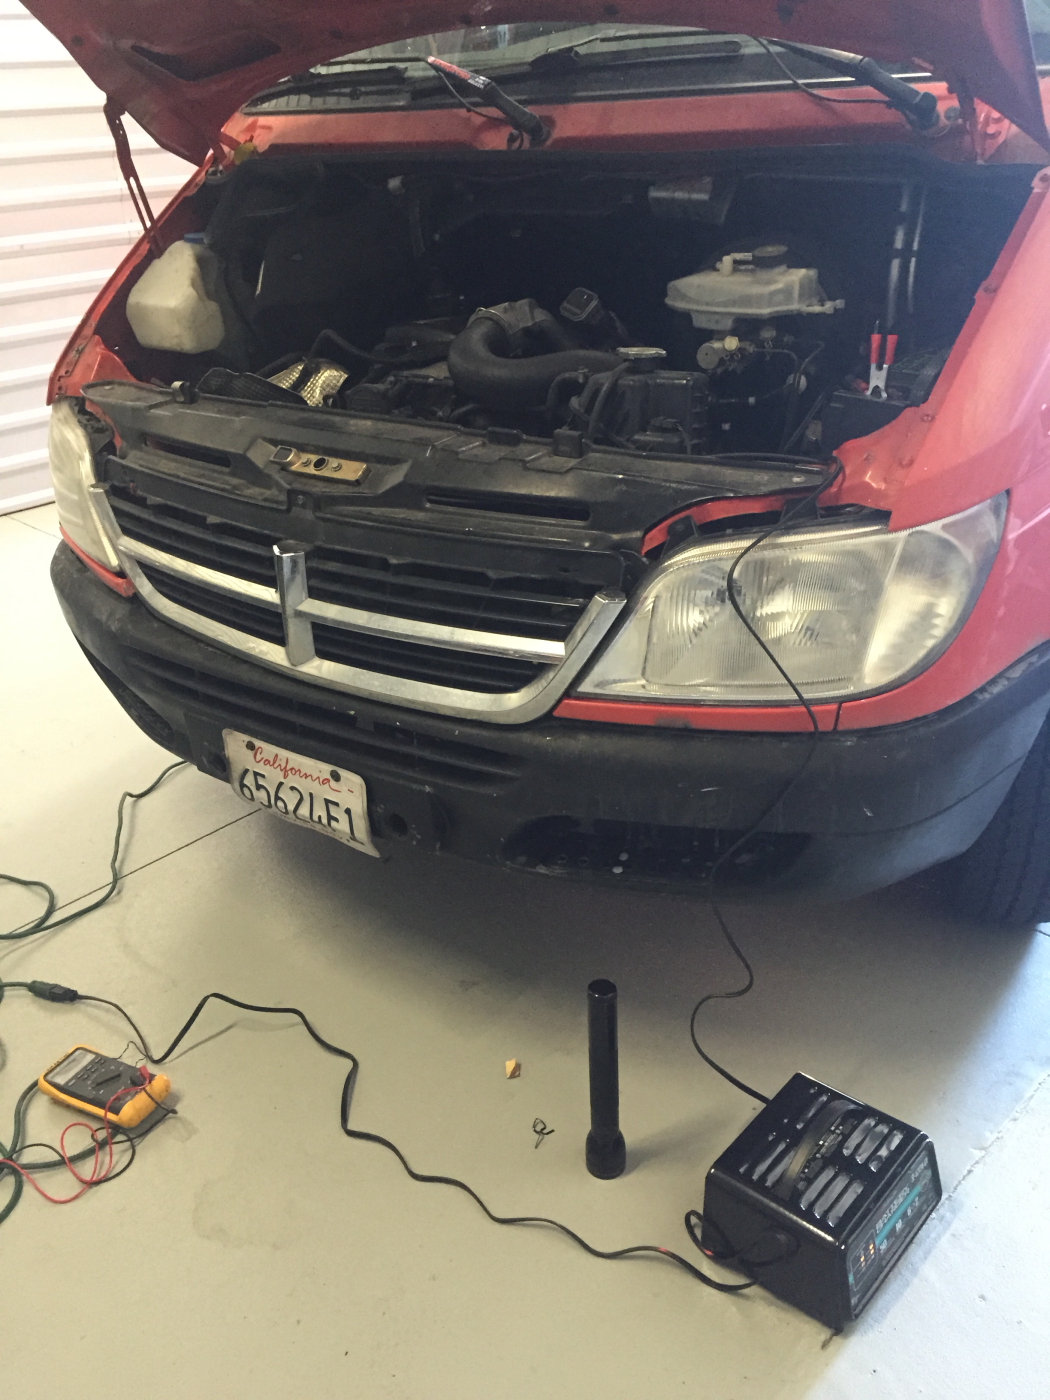
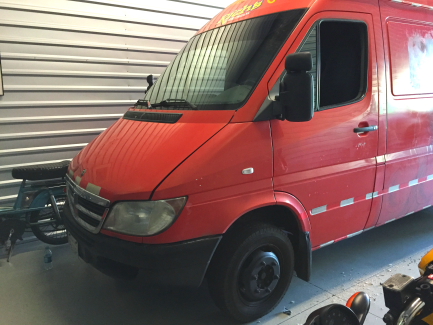
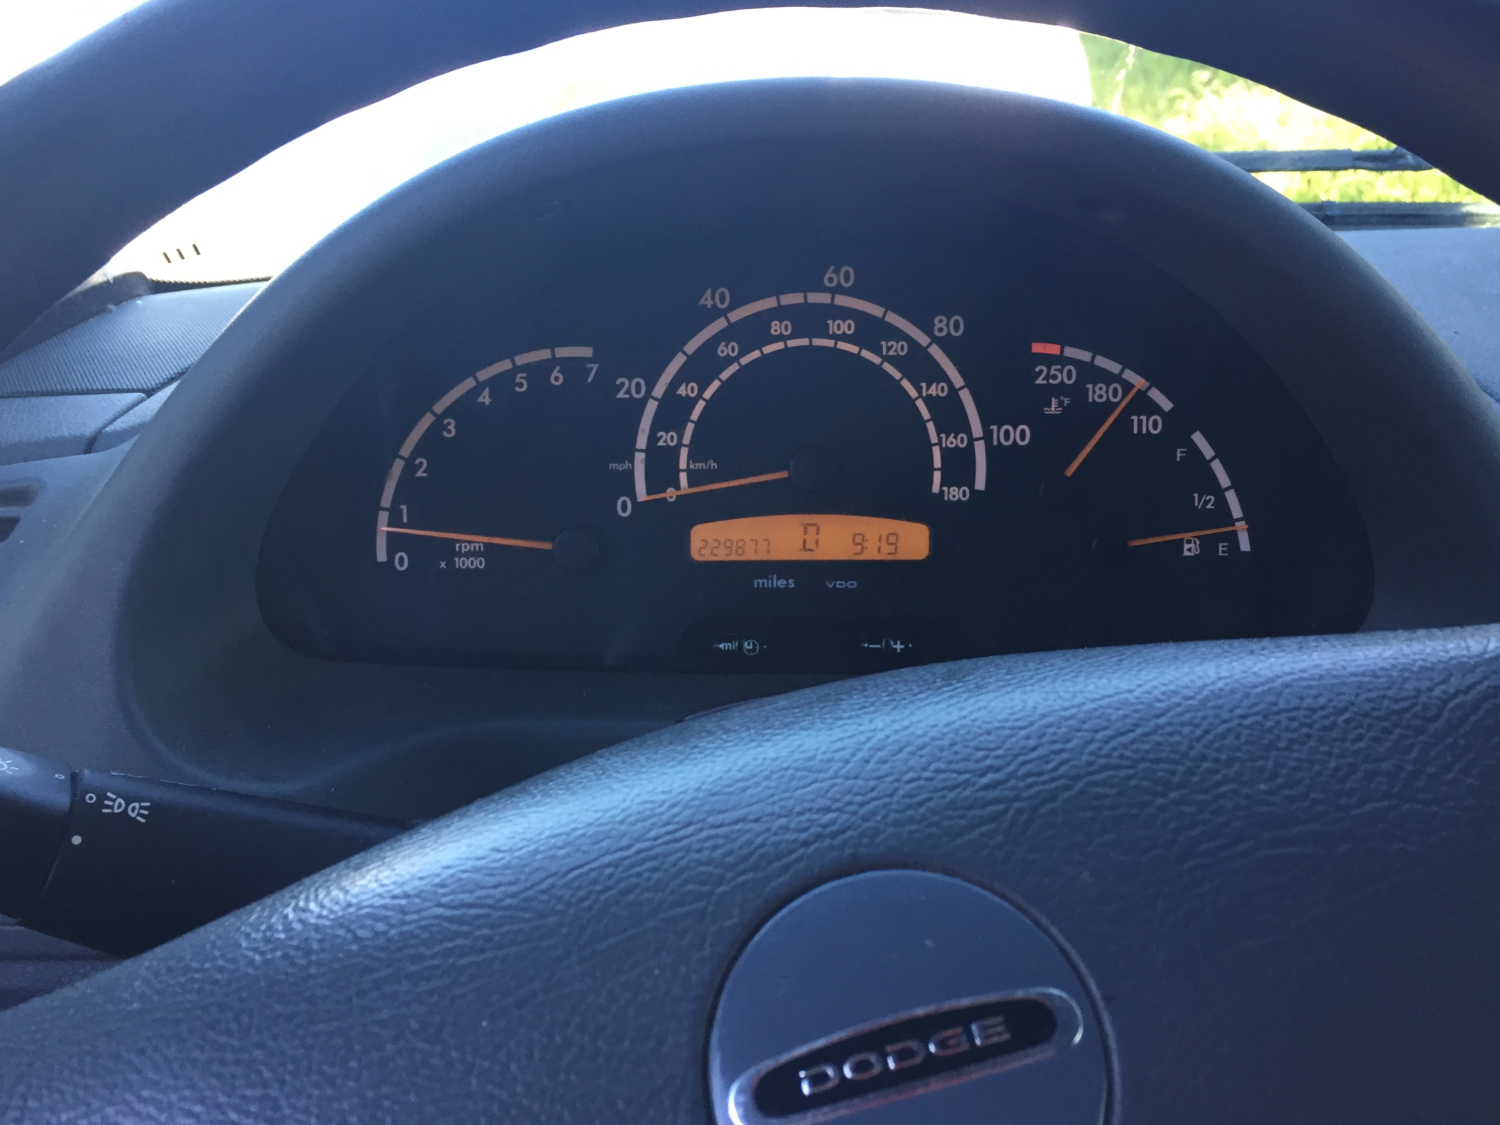
And waiting I would be doing. A lot of it as a matter of fact. Not far out of Los Gatos I began to lose power, followed quickly by a batter light and a vivid reminder of my breakdown on Hwy 1. Recalling how suddenly, and with little warning it died last time, I found the first decent turnoff on the little mountain highway I could find, shut it down and… just felt pretty damn deflated.
Sprinter_2015_01_1308

Having just a few days before upgraded my insurance policy on the van to something called “Full Roadside Coverage” I ran up my insurance company and for the first time in my 50 years of life, tried out Road Side Assistance.

Very long day/story short.. they dispatched a flat bed heavy-duty tow rig from Santa Cruz, and said that the distance to back to town (about 22 miles) was ALL COVERED. I asked the operator if I could get it towed to my personal shop, and she said I’m covered for up to 26 miles, the distance to the nearest Mercedes Dealership that can service the rig. Excellent (considering I’m getting towed).
Sprinter_2015_01_1309

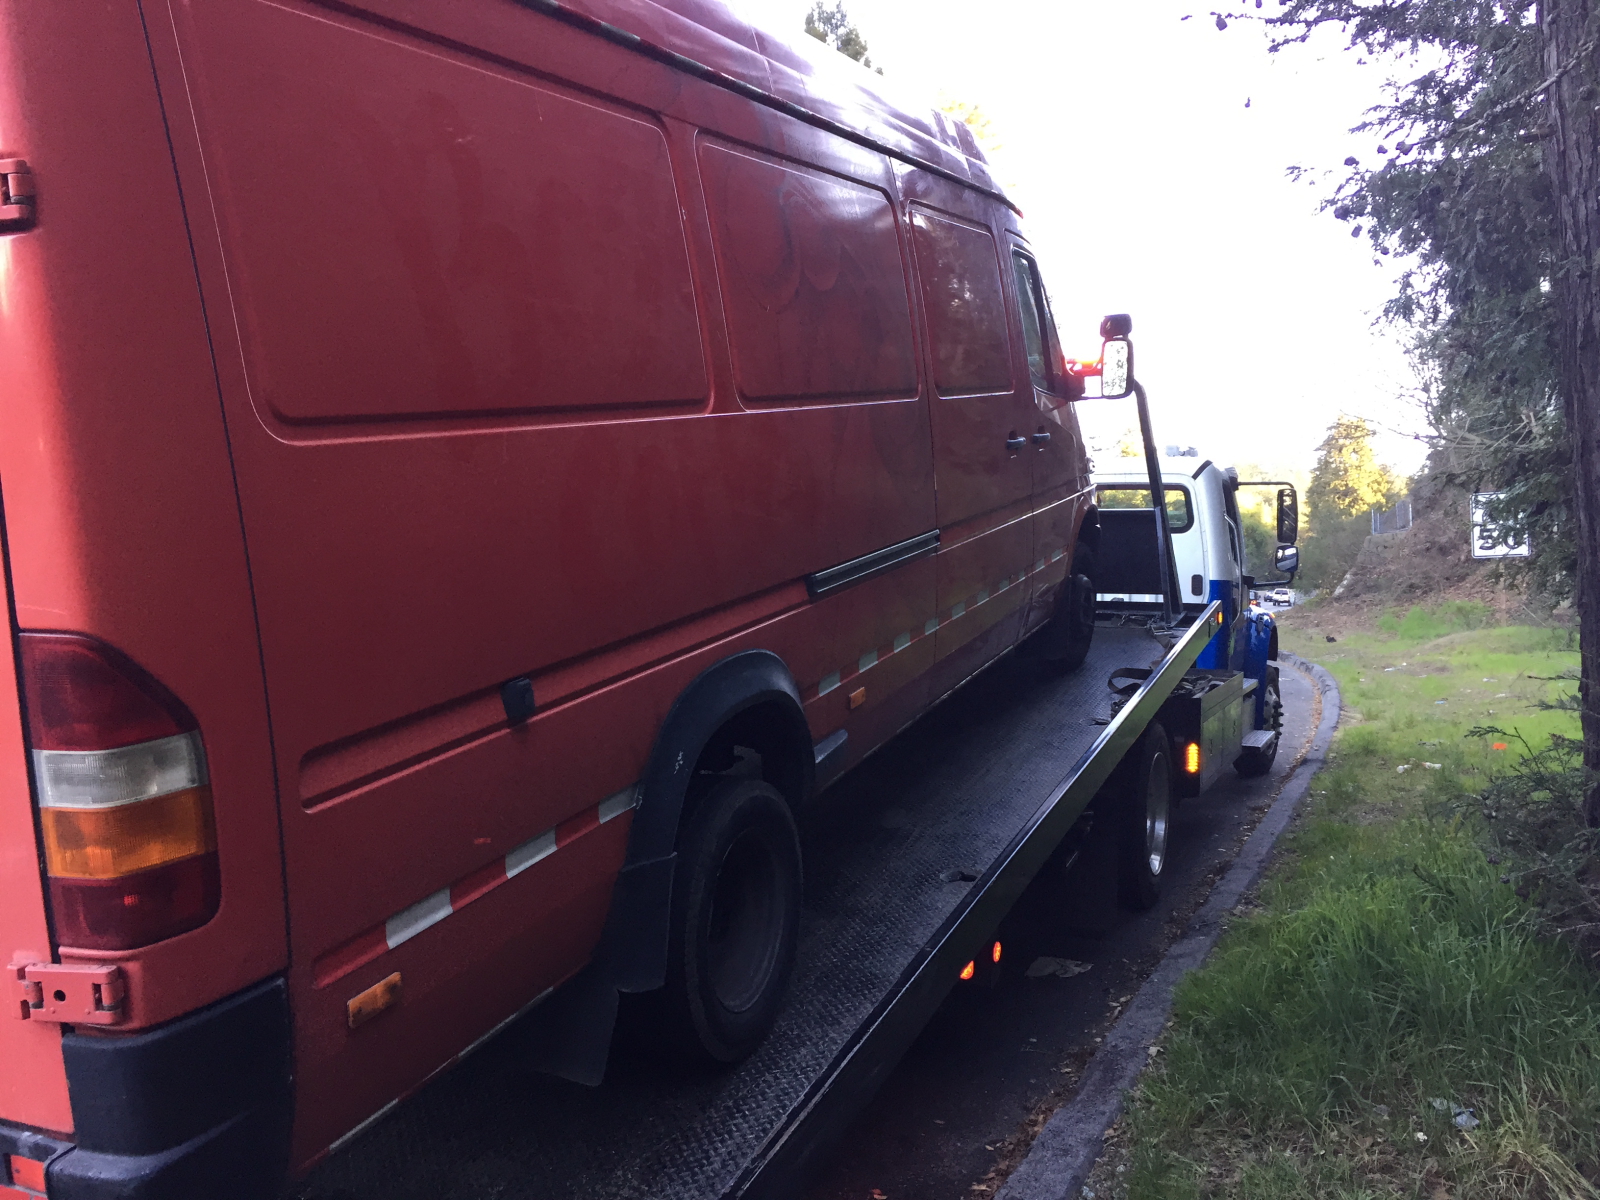
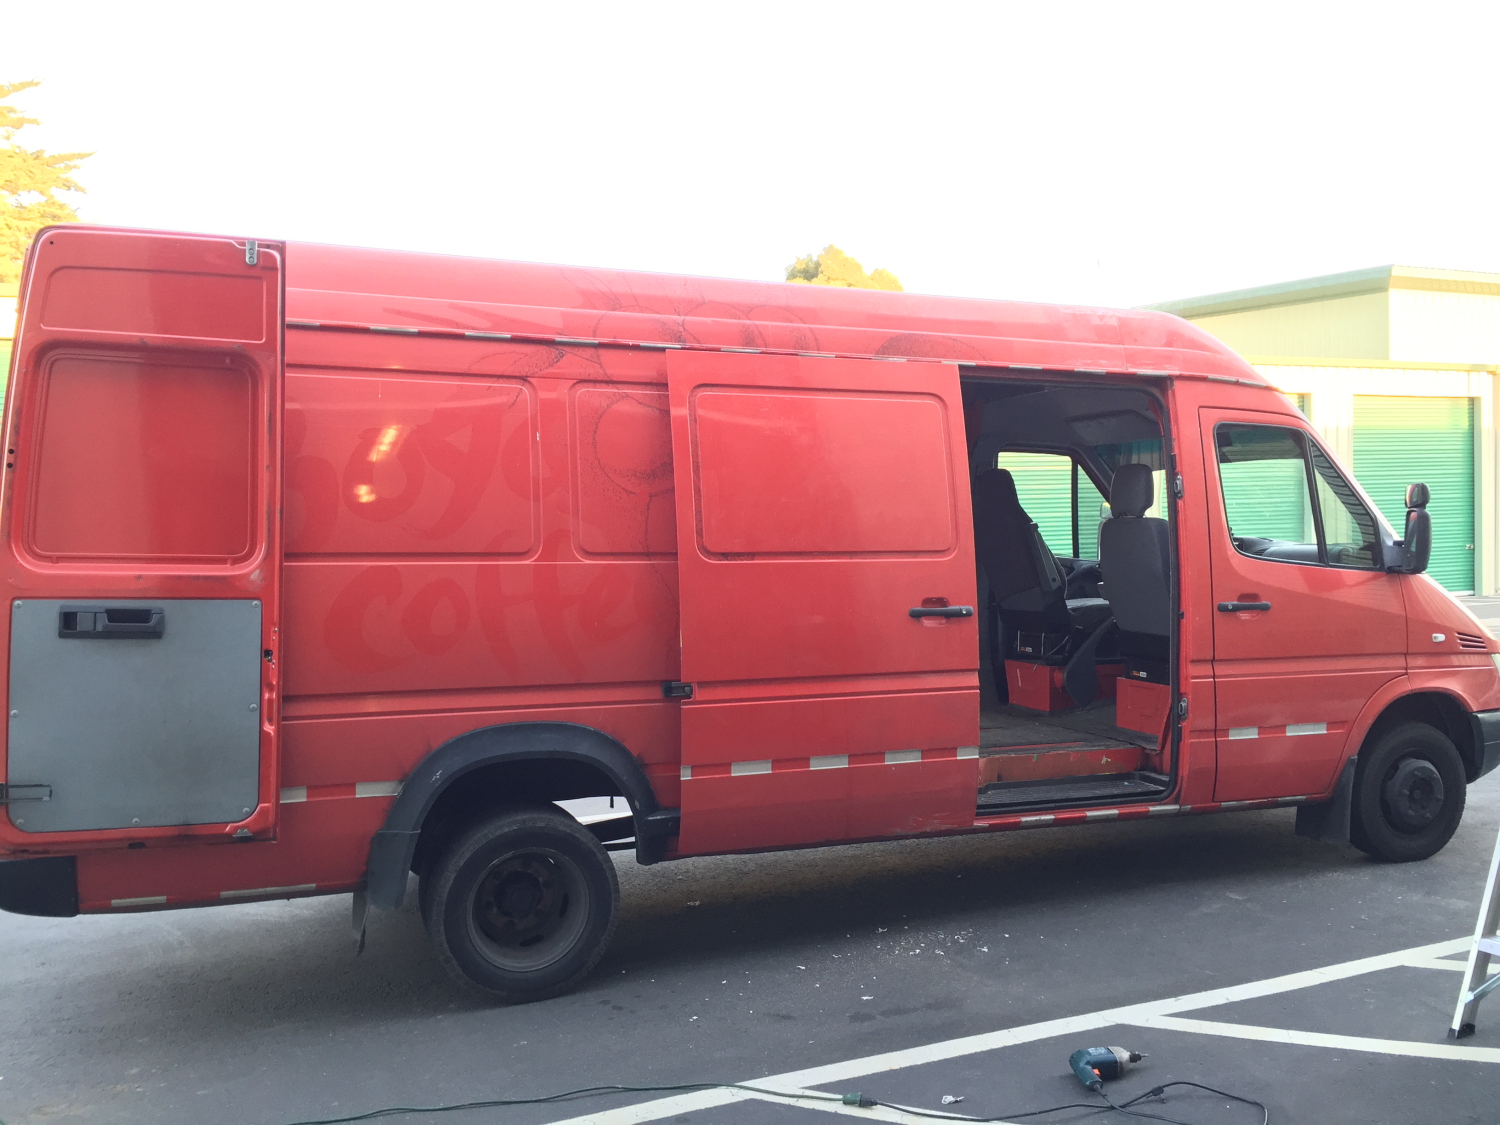
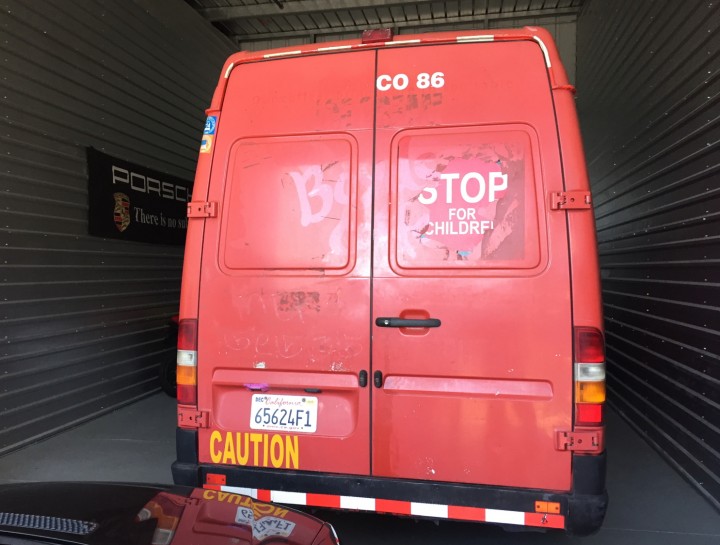
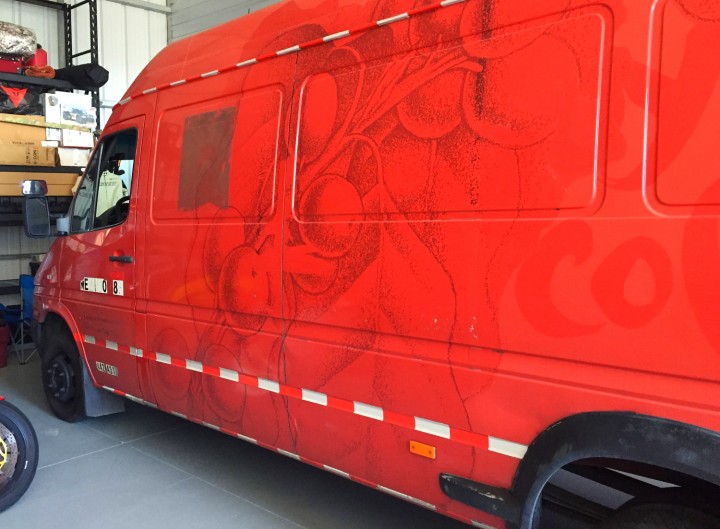
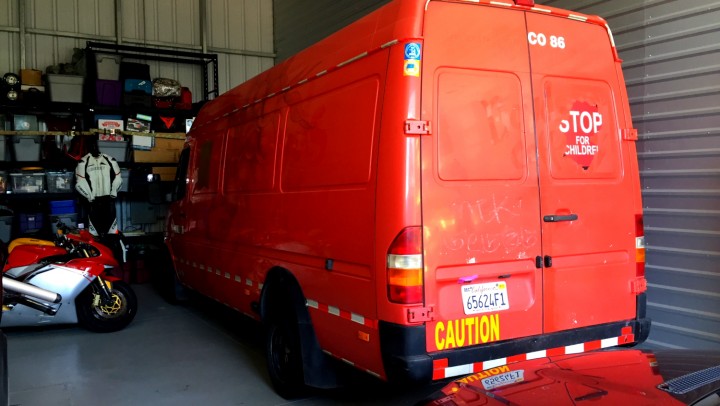
The tow truck driver was a nice enough guy. We talked cars and trucks all the way back through the hellish commute traffic (It was 3:00PM by the time we started rolling up the hill). As stated, they transported me all the way to my West Side garage, we unloaded and I put the van way for the next round of repairs.. :/
Sprinter_2015_01_1310

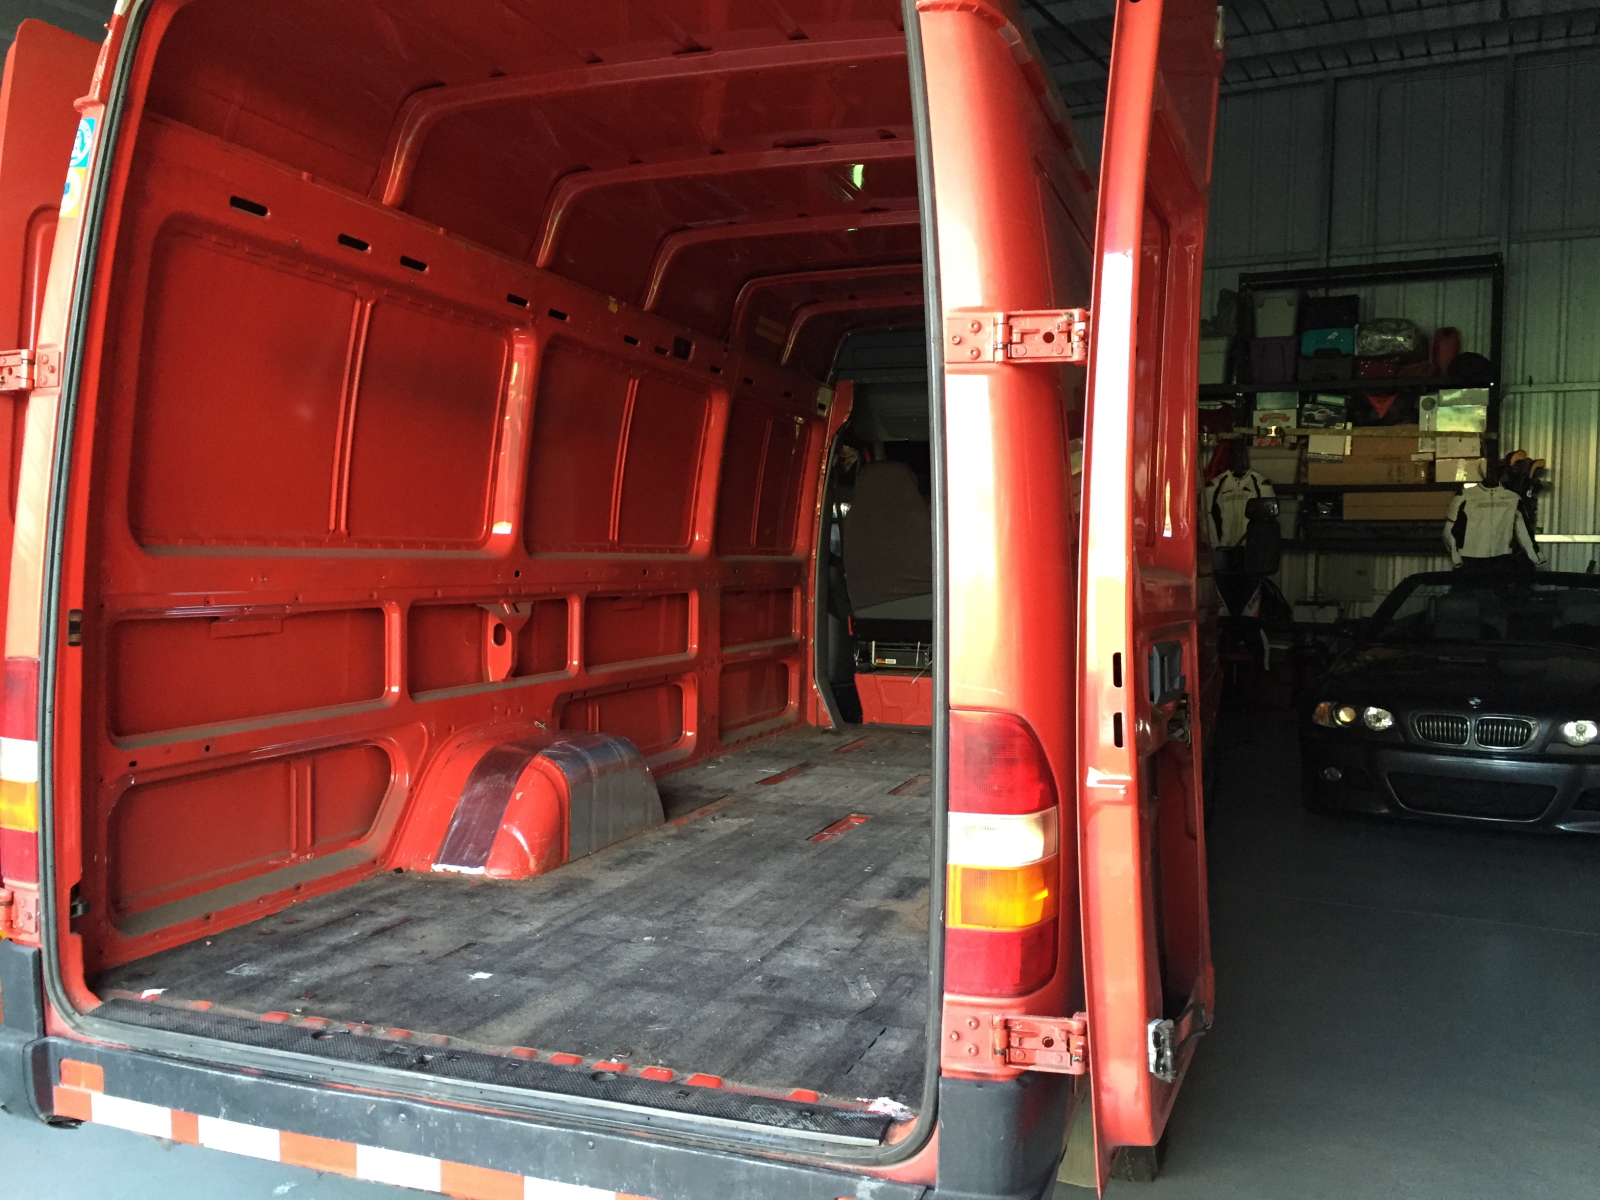
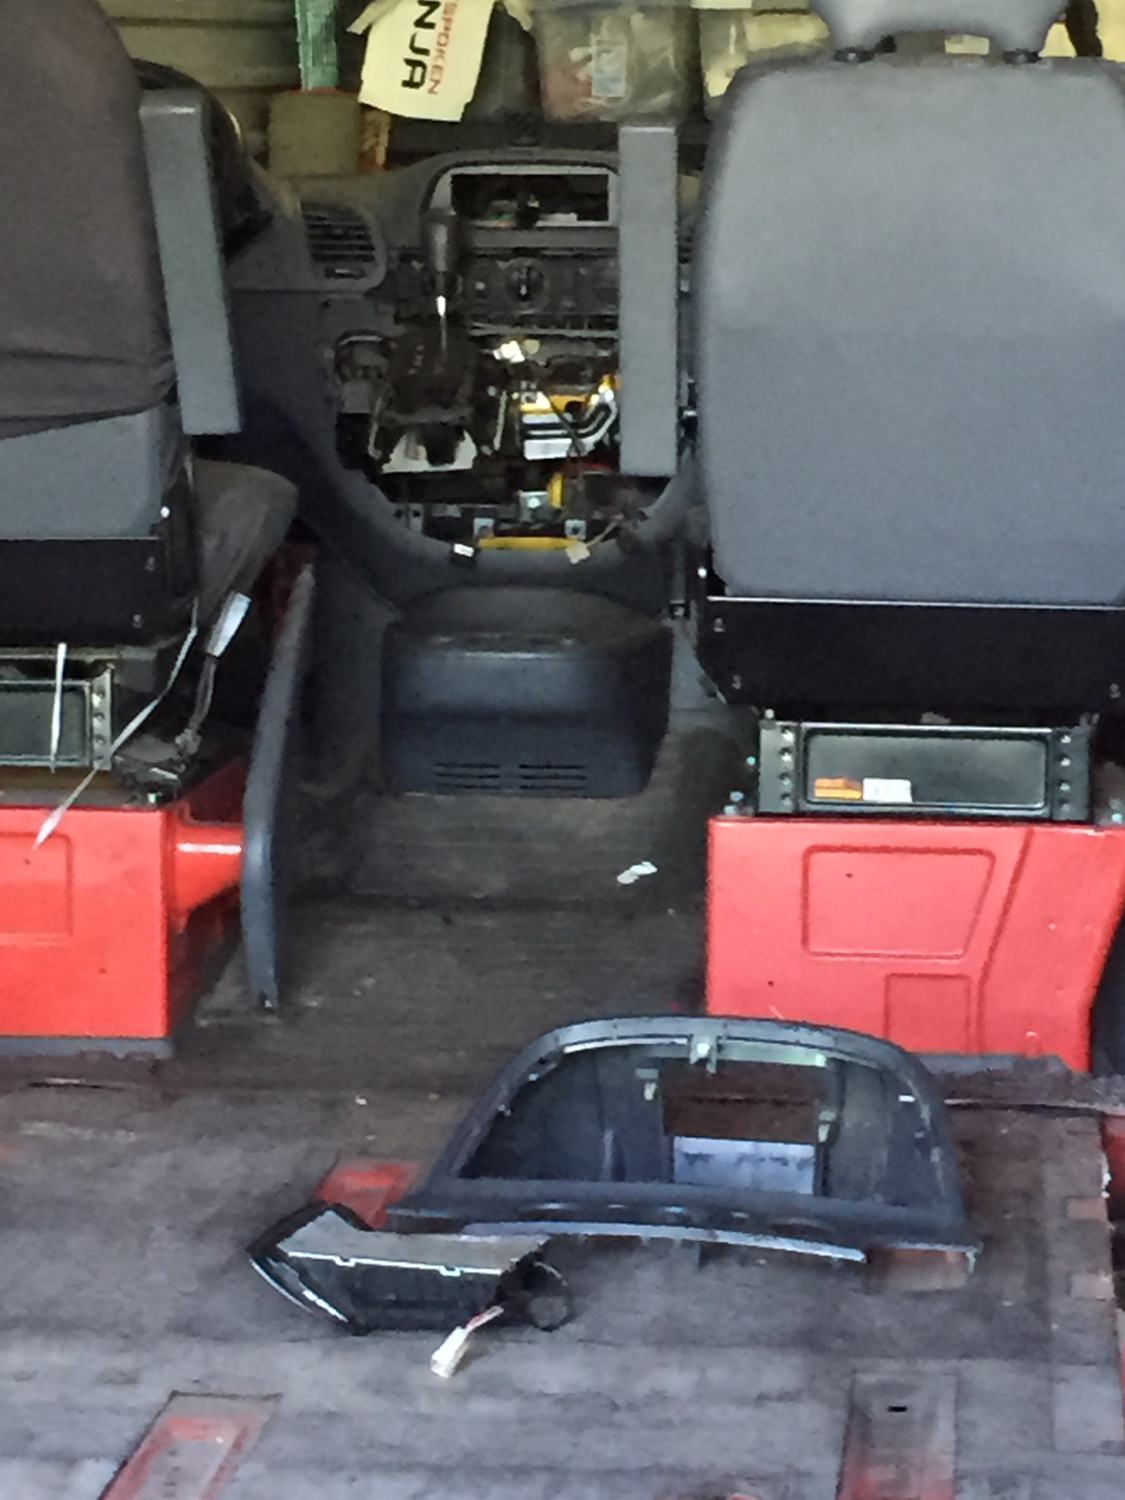
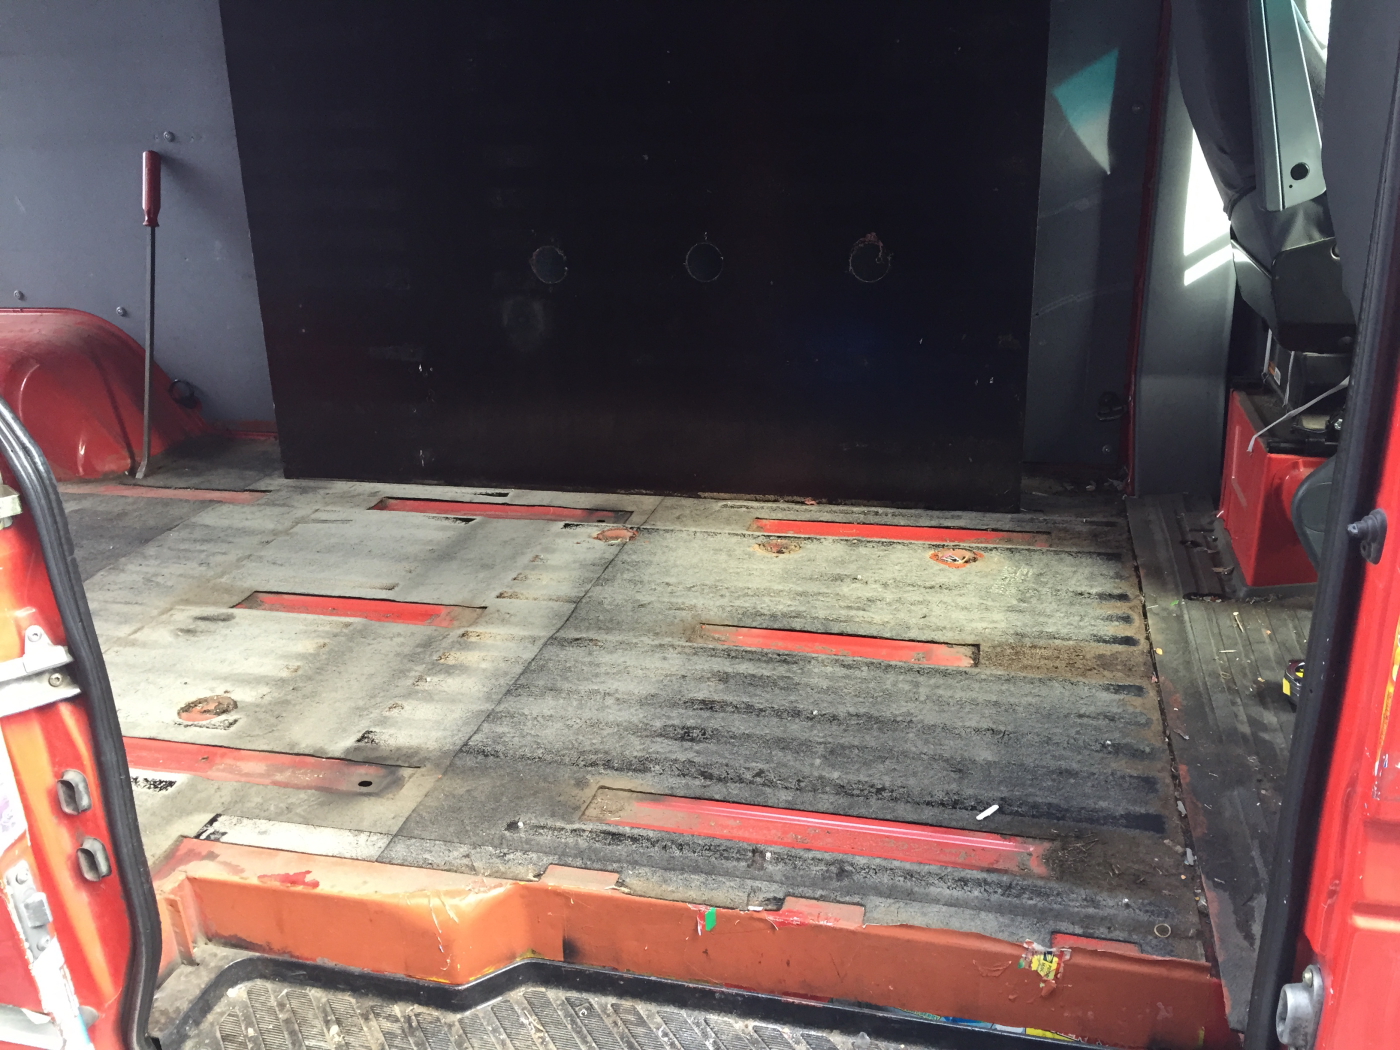
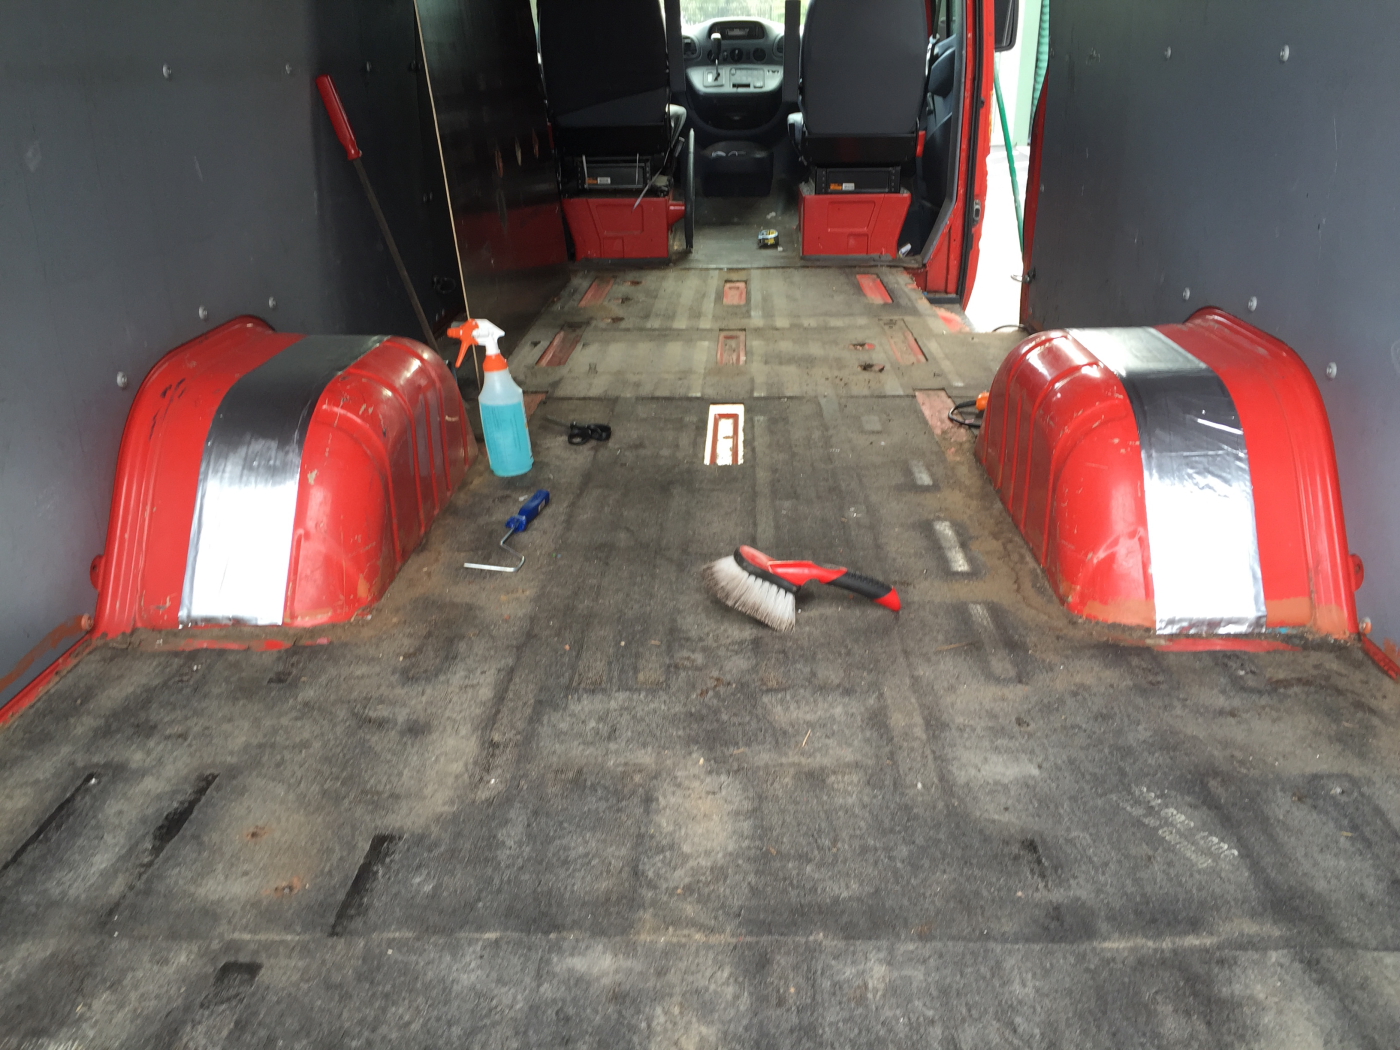
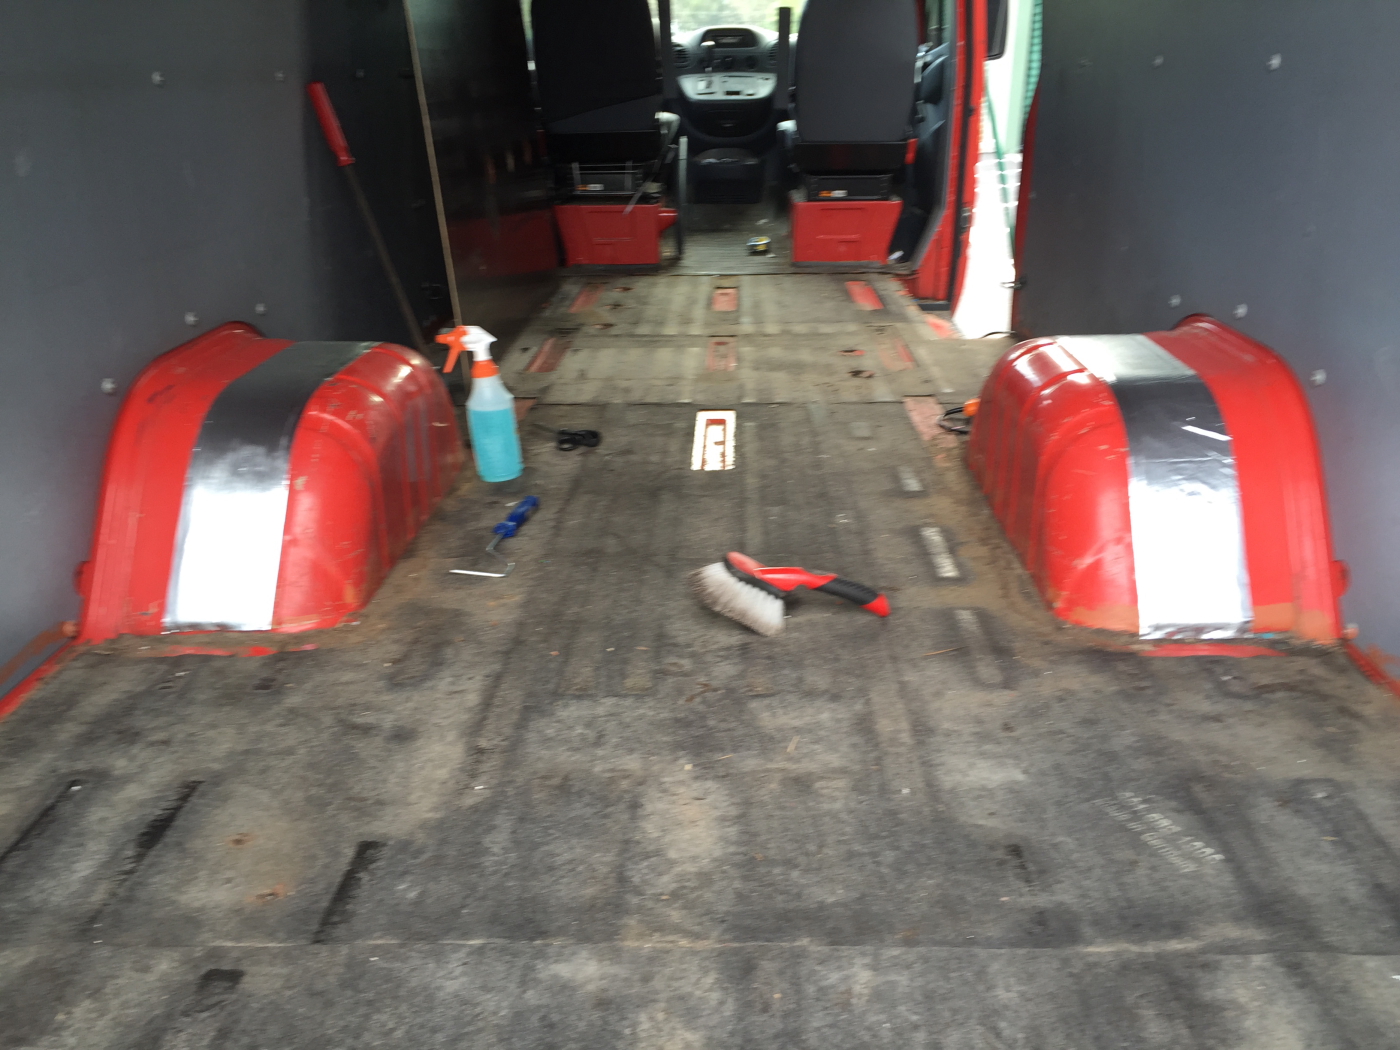
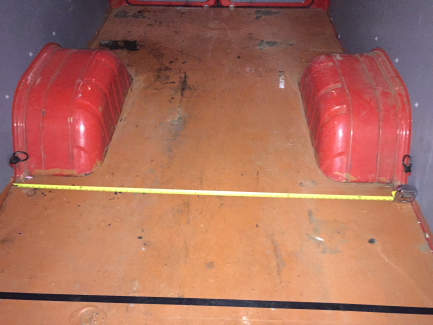
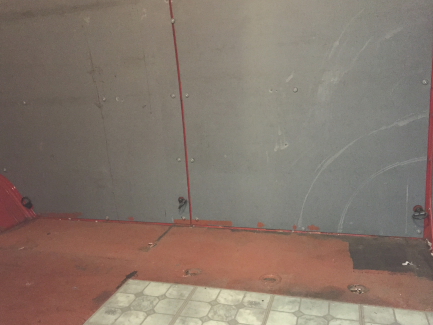
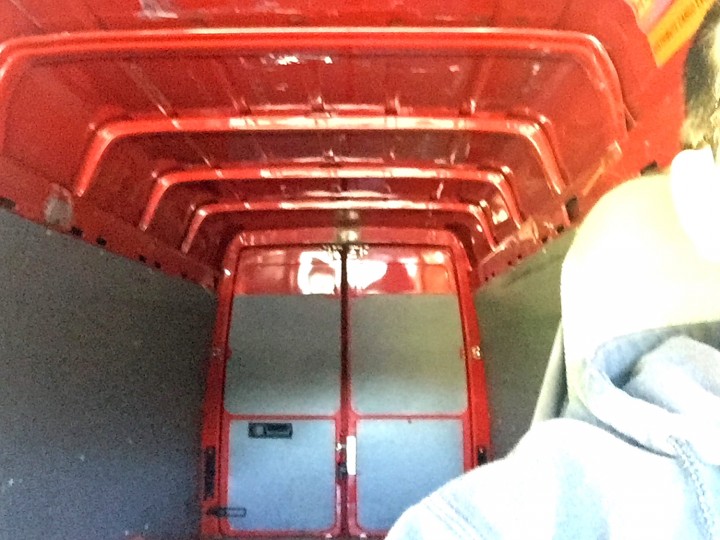
Unloaded all my stuff from the back….
Sprinter_2015_01_1311

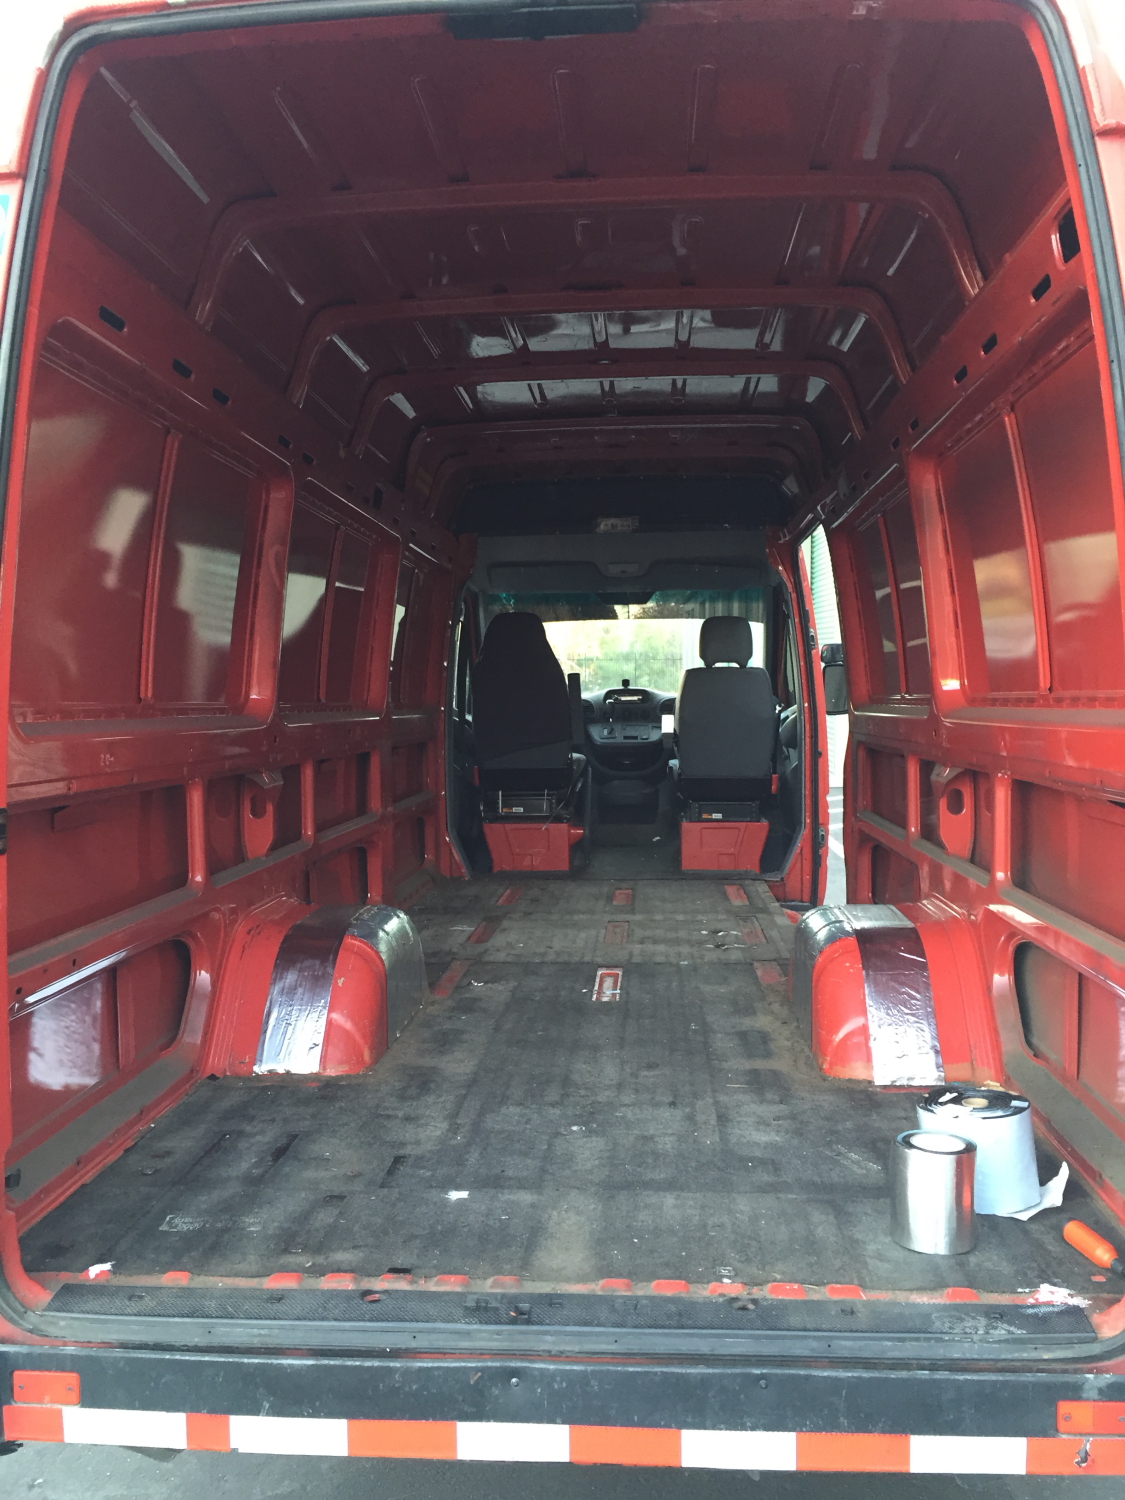
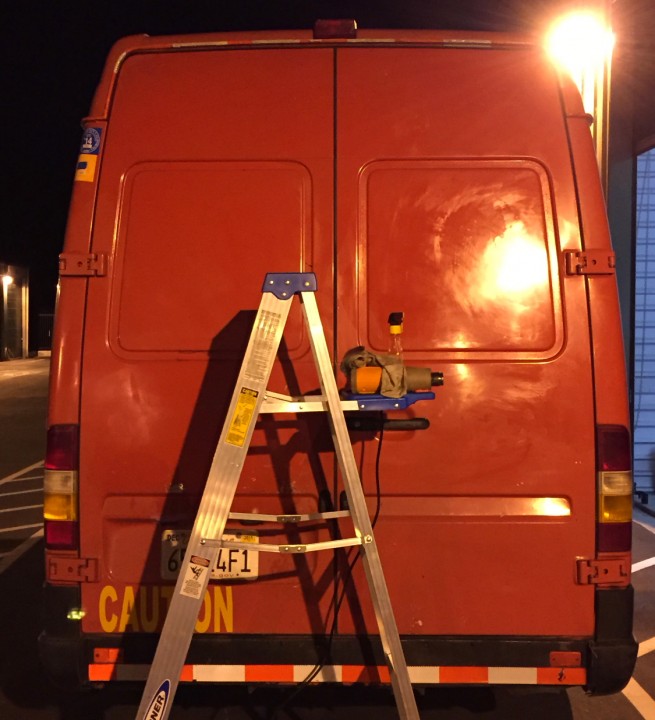
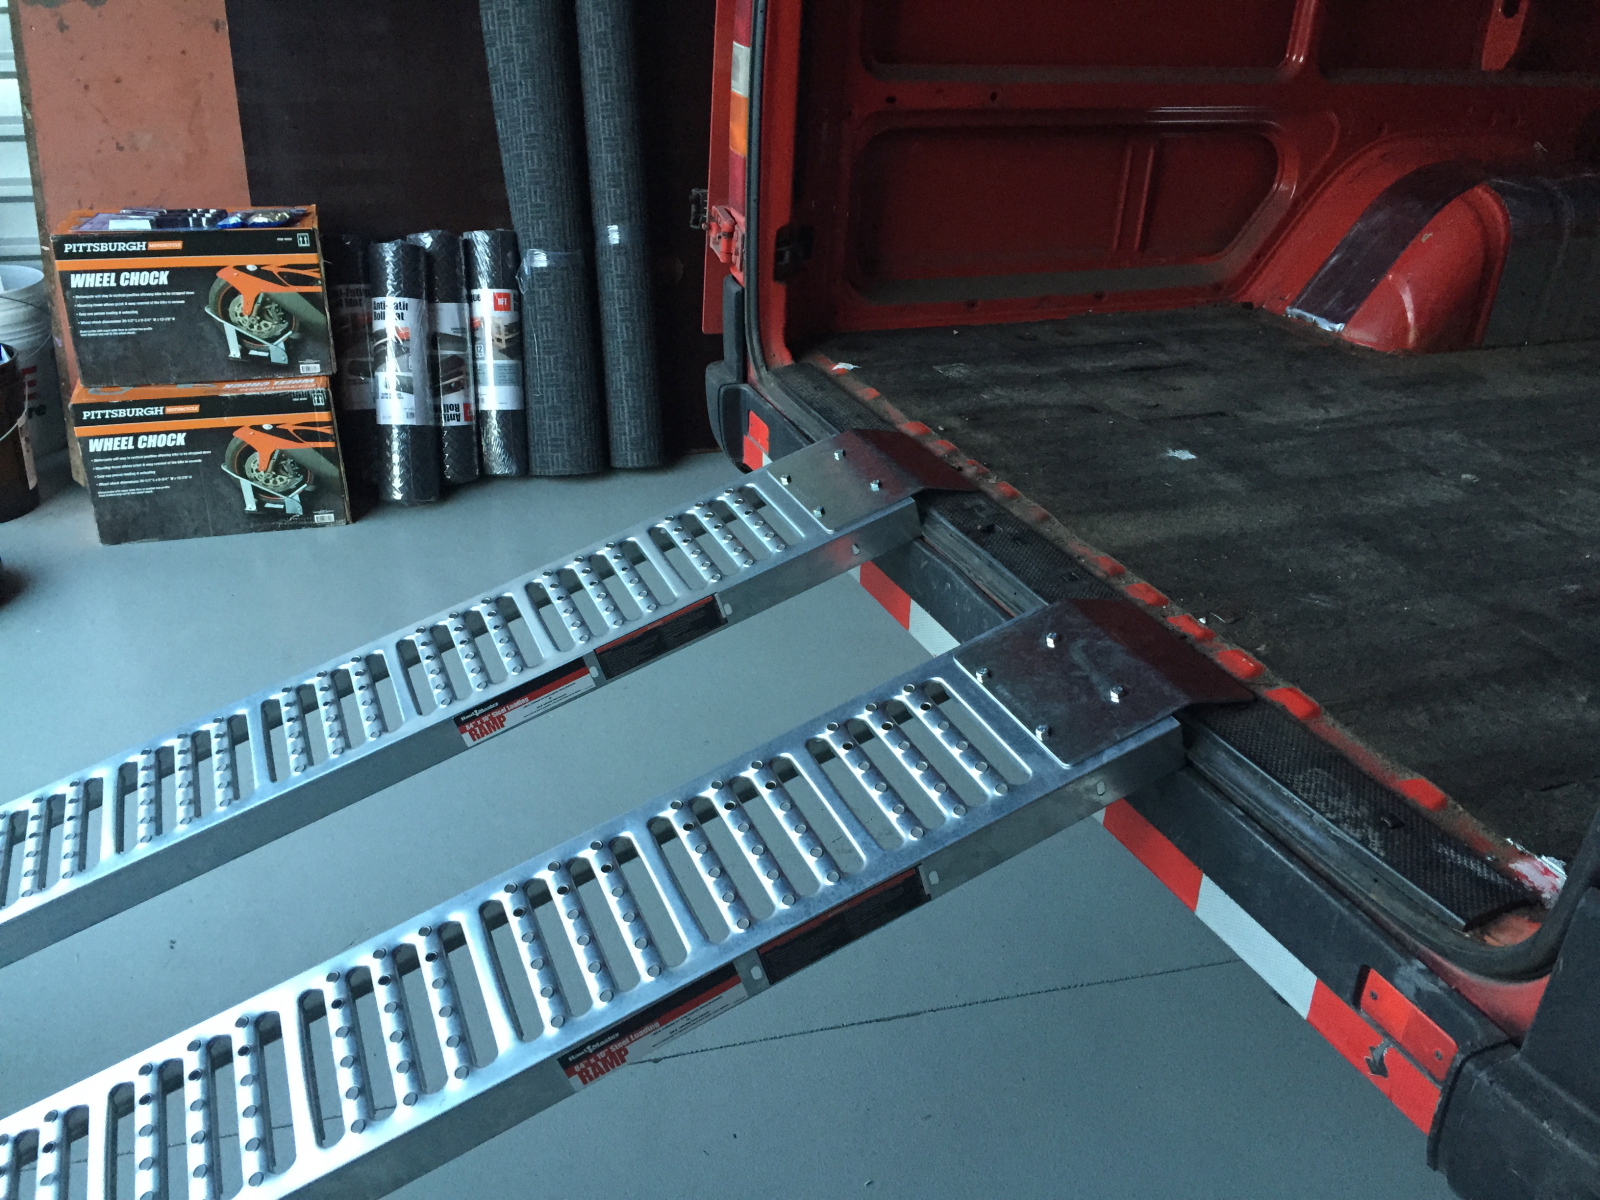
Then unpacked the ramps to give check out the length and angle.
Sprinter_2015_01_1312

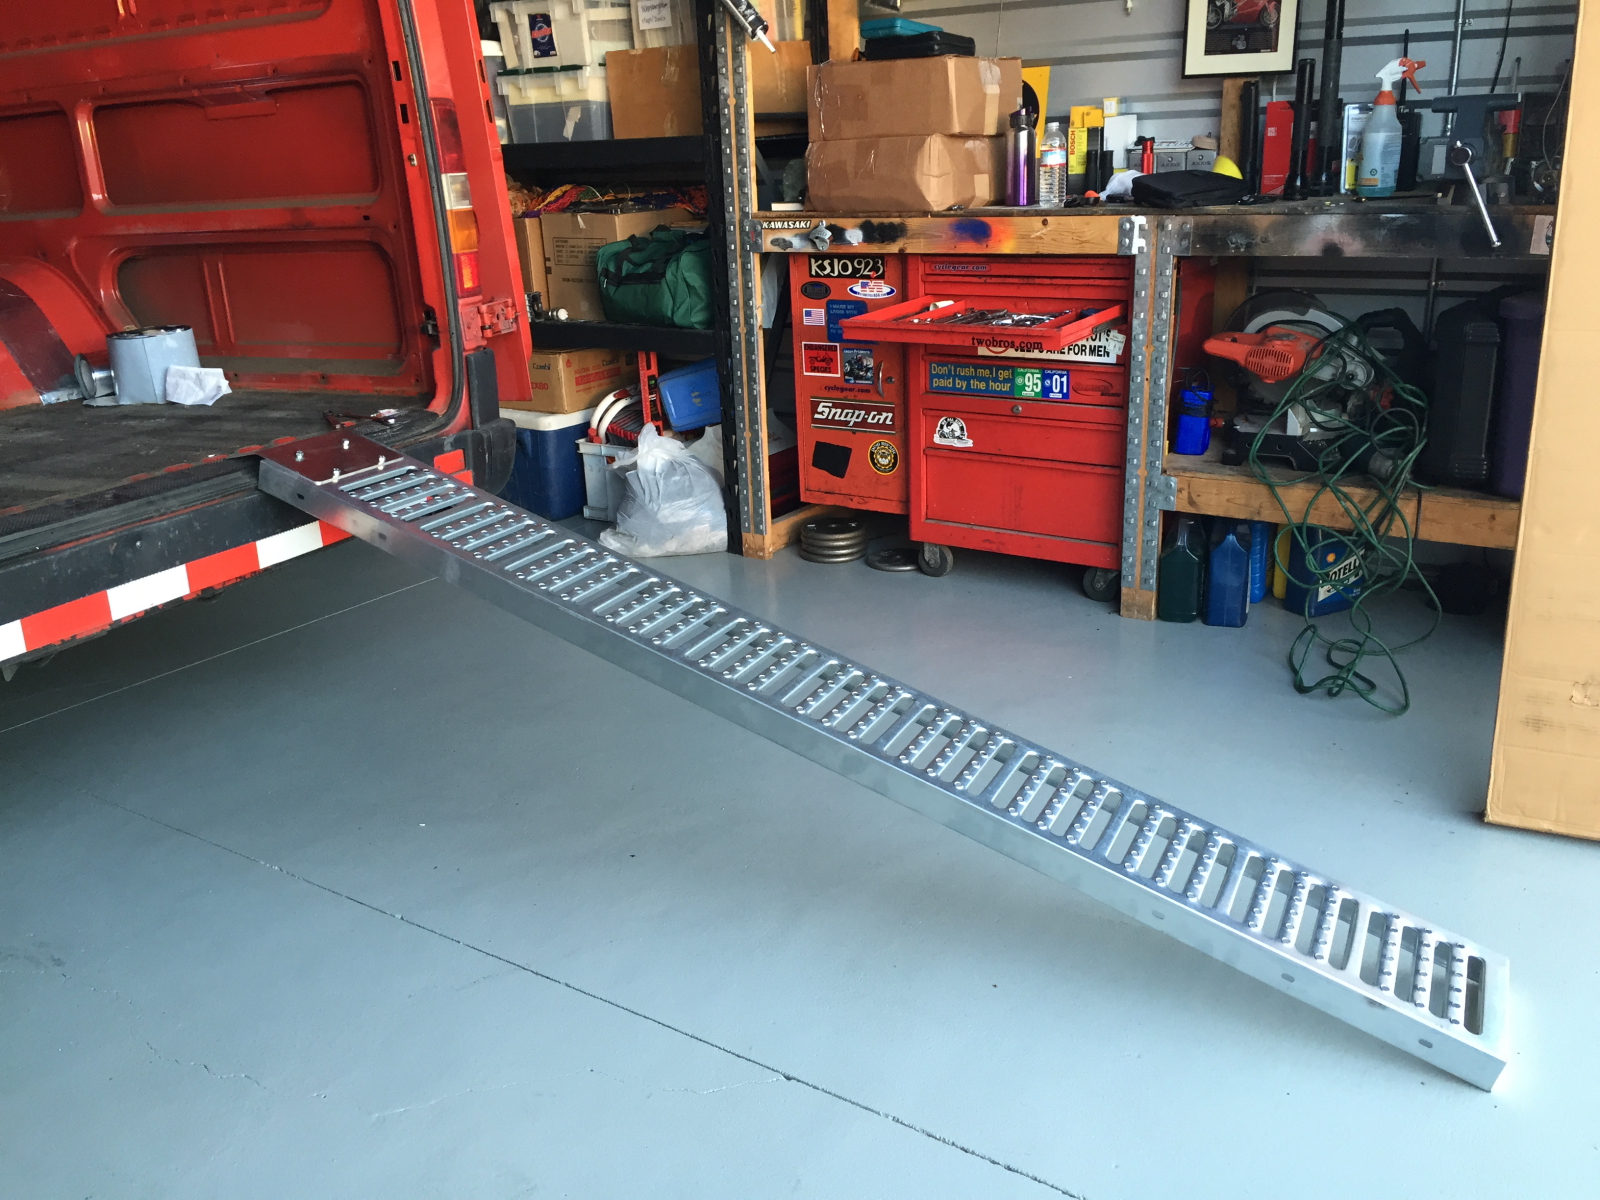
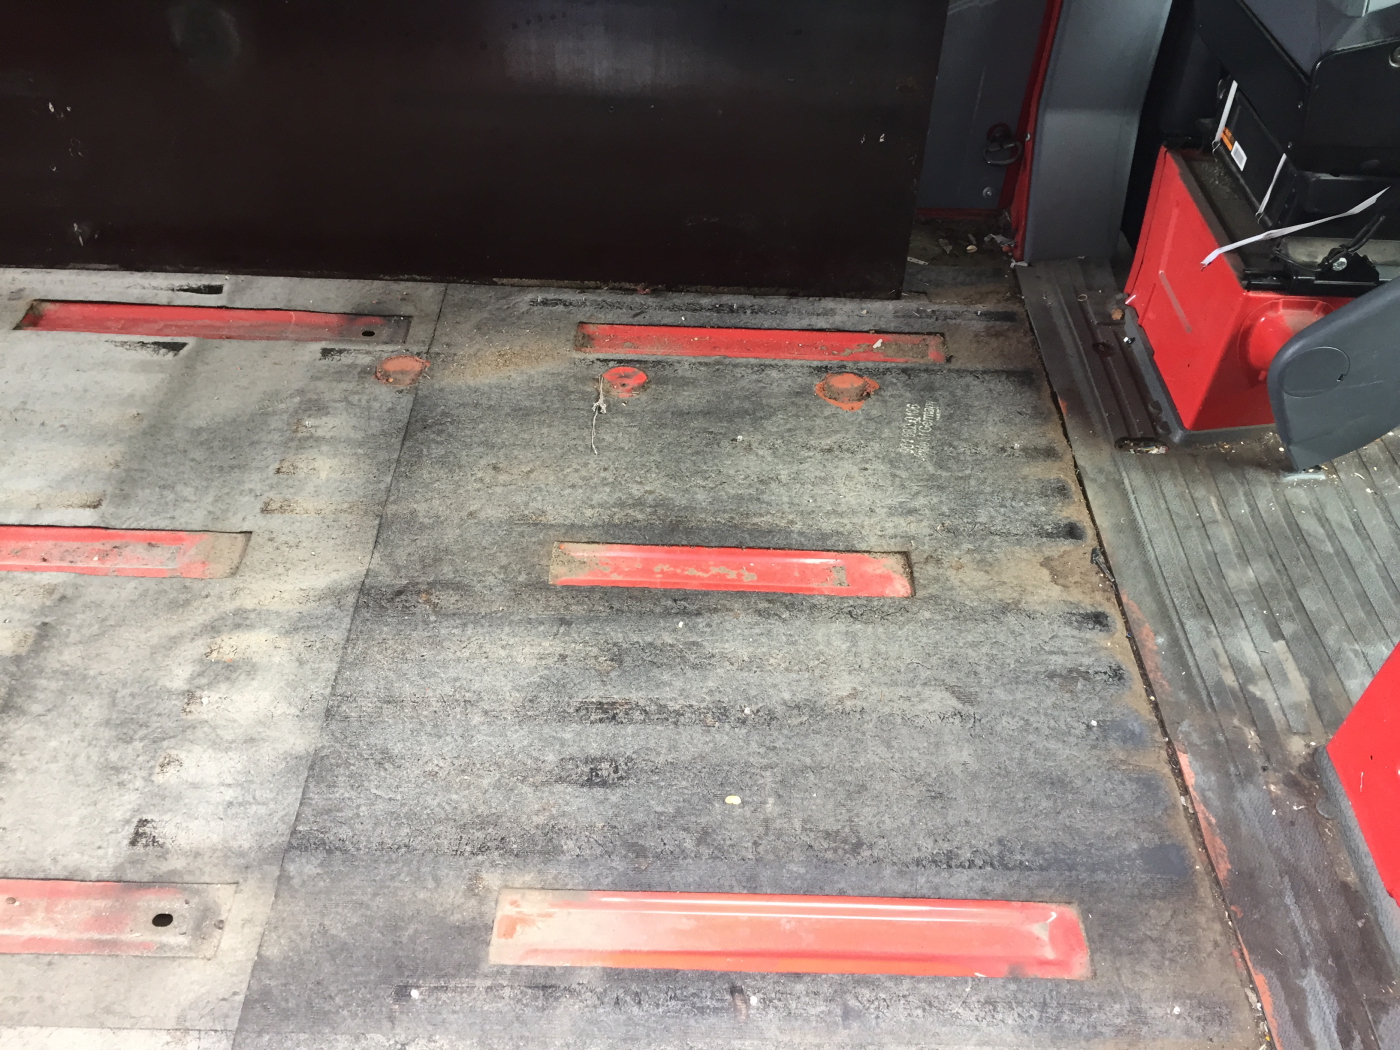
The deck height on the sprinter is 2′ 3″… which.. is pretty darn low for a vehicle capable of carrying 5000 lb. of cargo. I might have liked to have 10′ ramps, I’m not 100% sure I’m strong enough to reliably get the bike into the truck solo… (perhaps a winch is in my future?). But I’m going to go with these for now. The ramps also have holes in the sides and top that I could use to bring them together and make a nice solid platform for getting two bikes up into the truck, walking along side them.
Sprinter_2015_01_1313

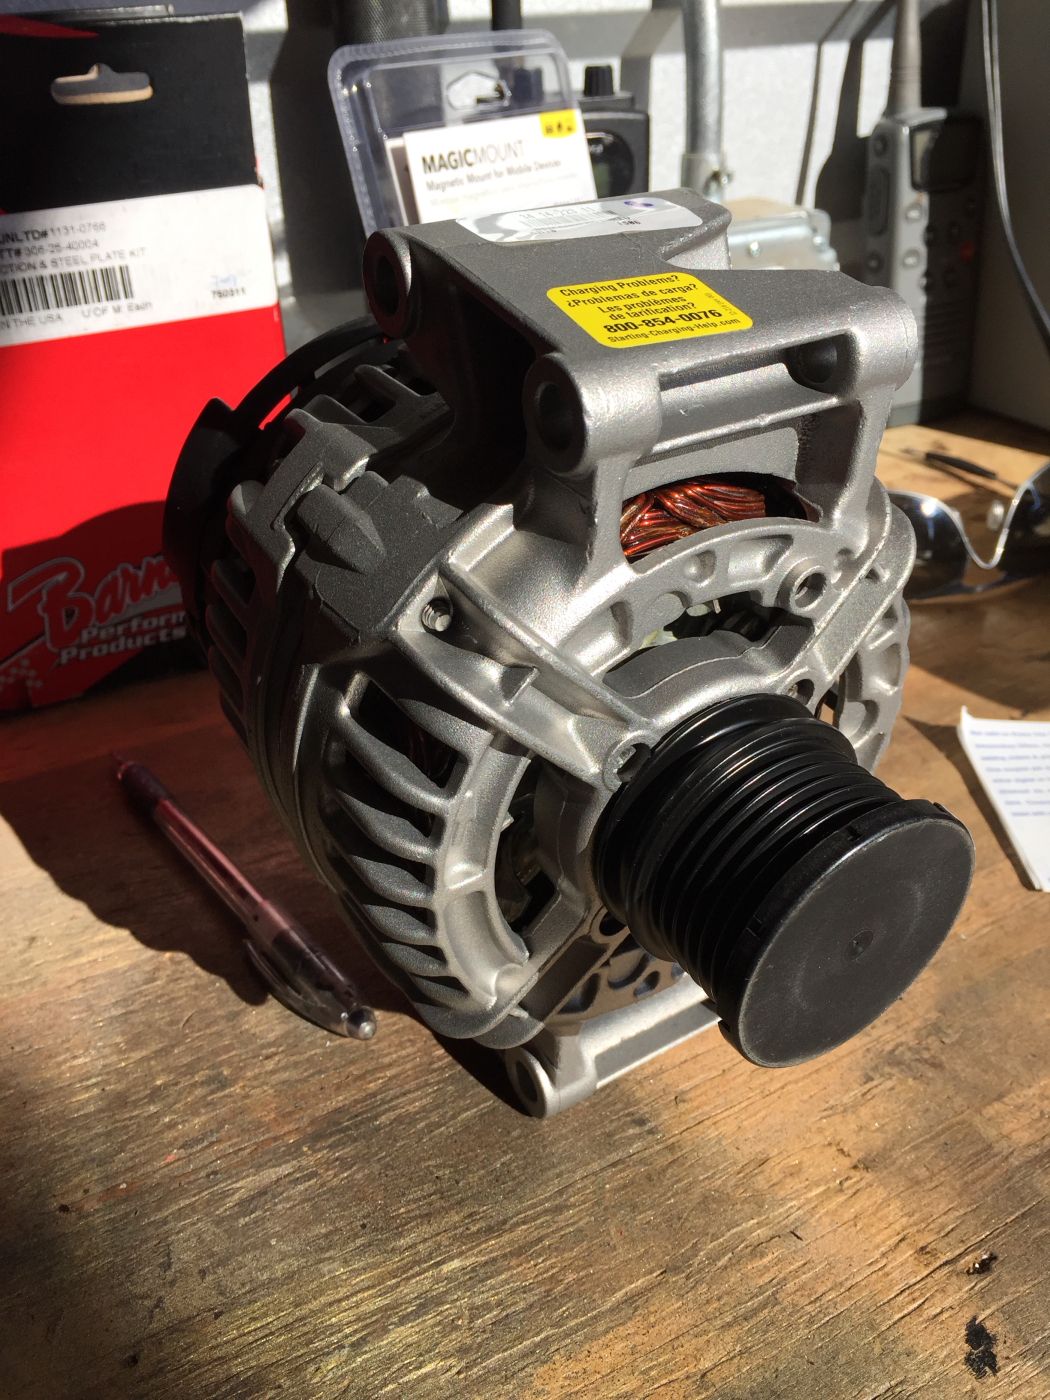
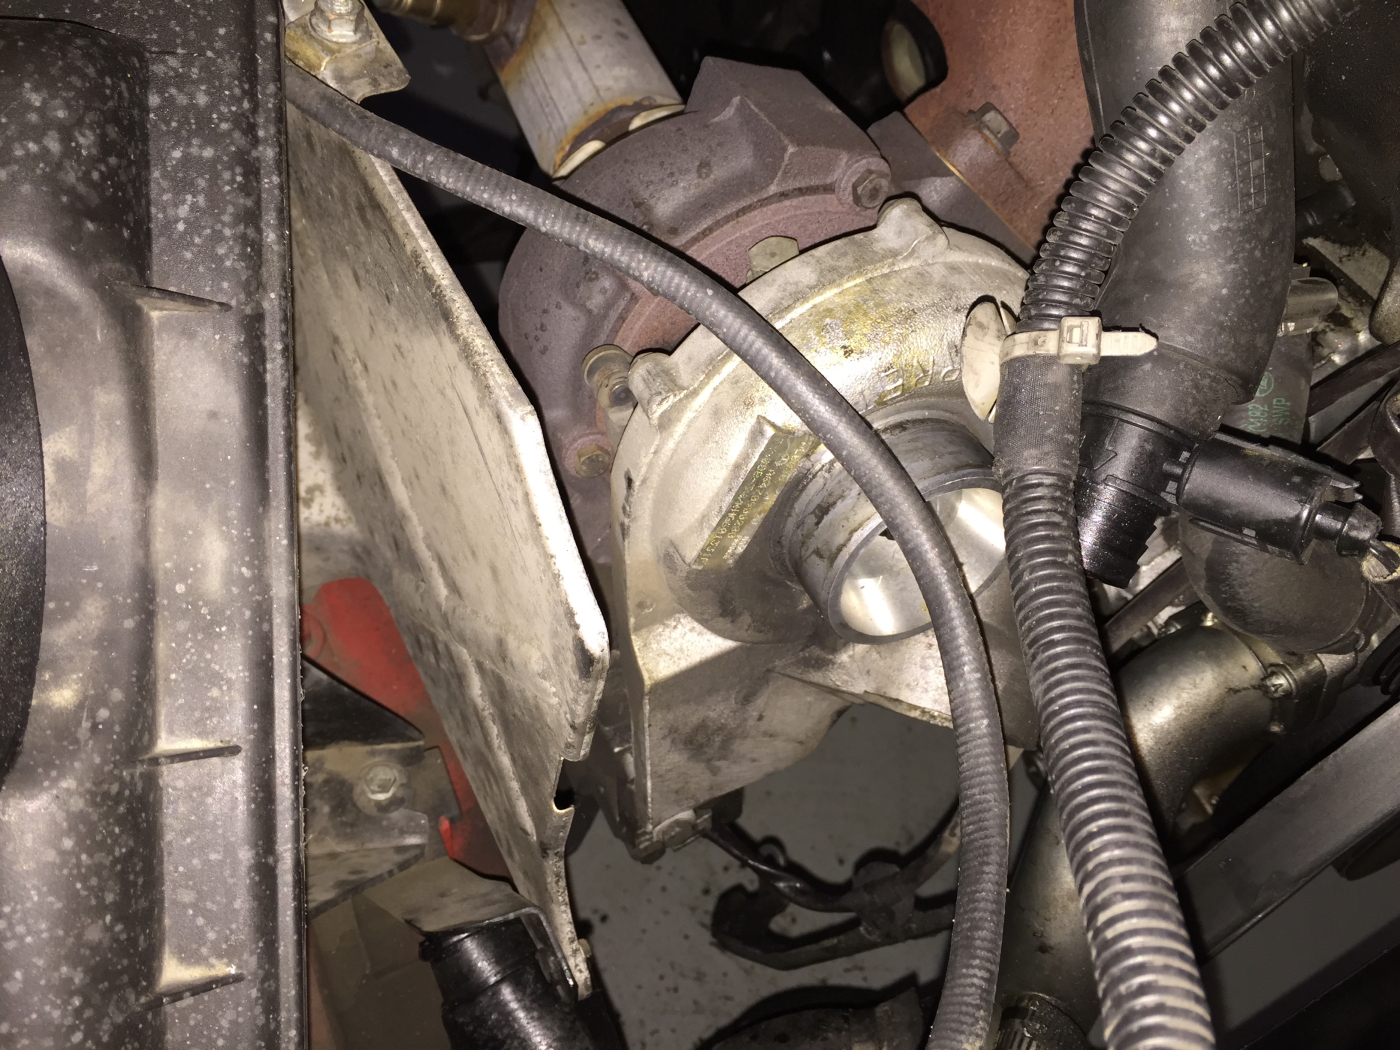
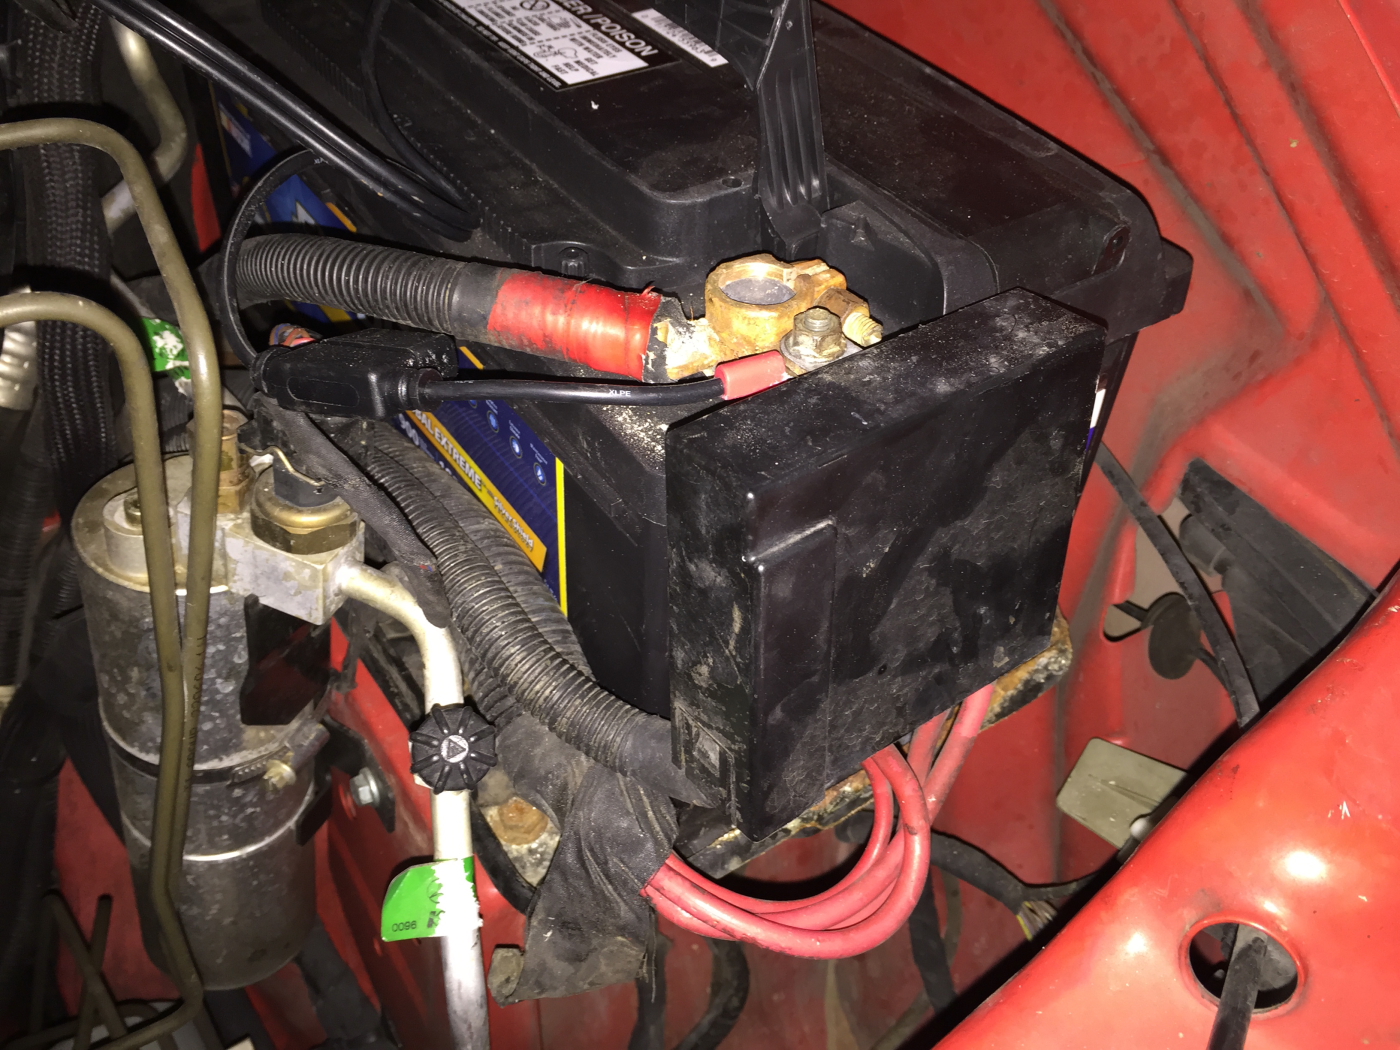
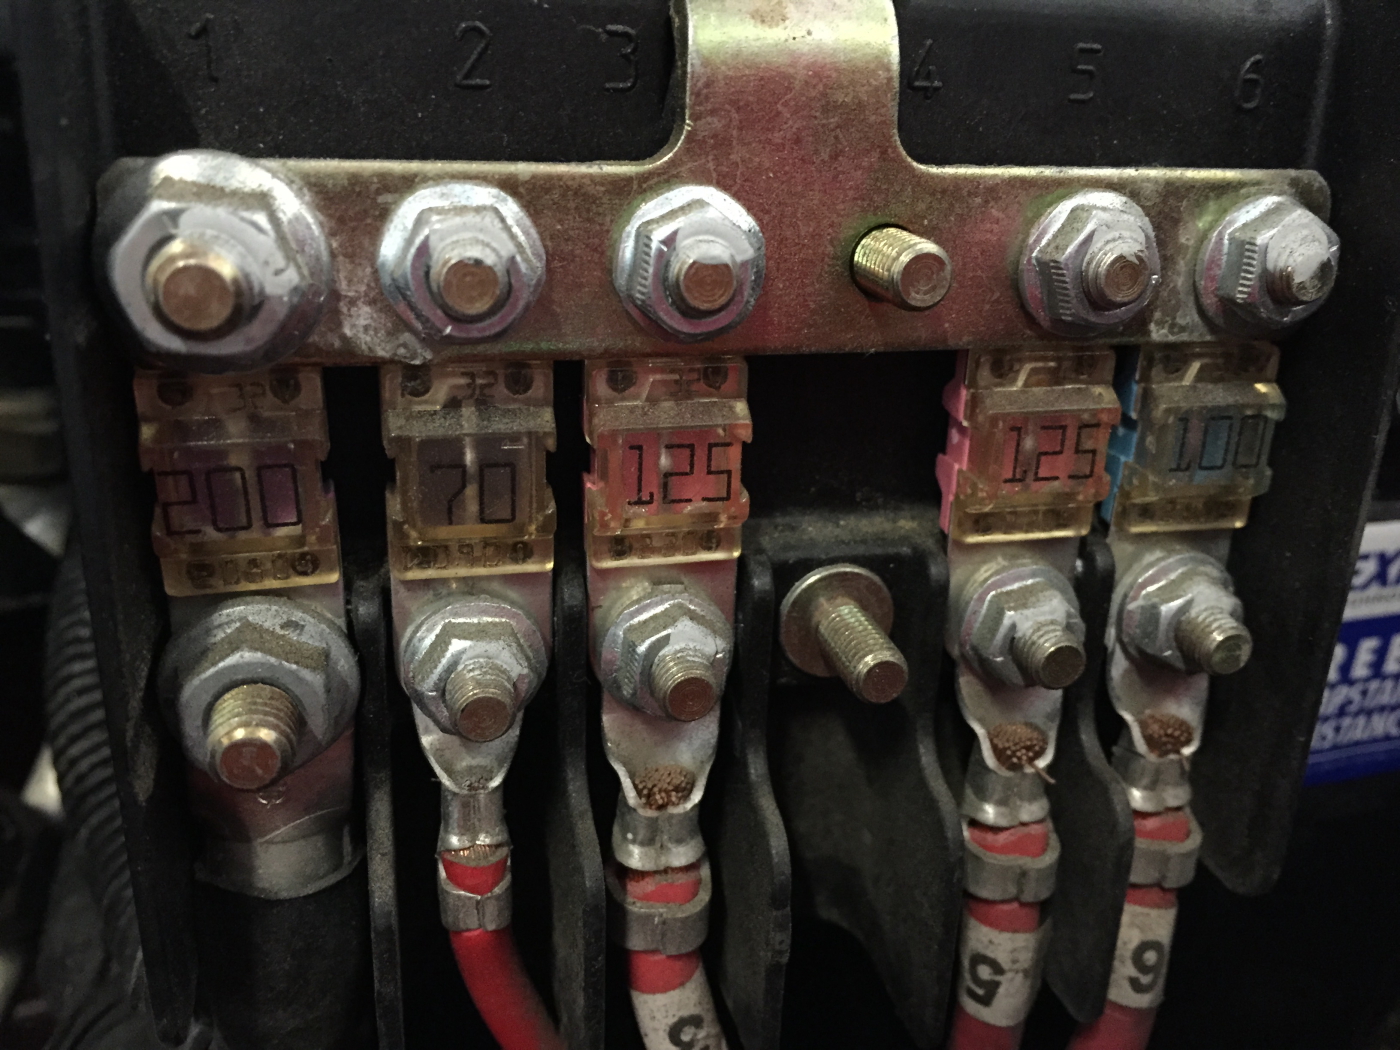
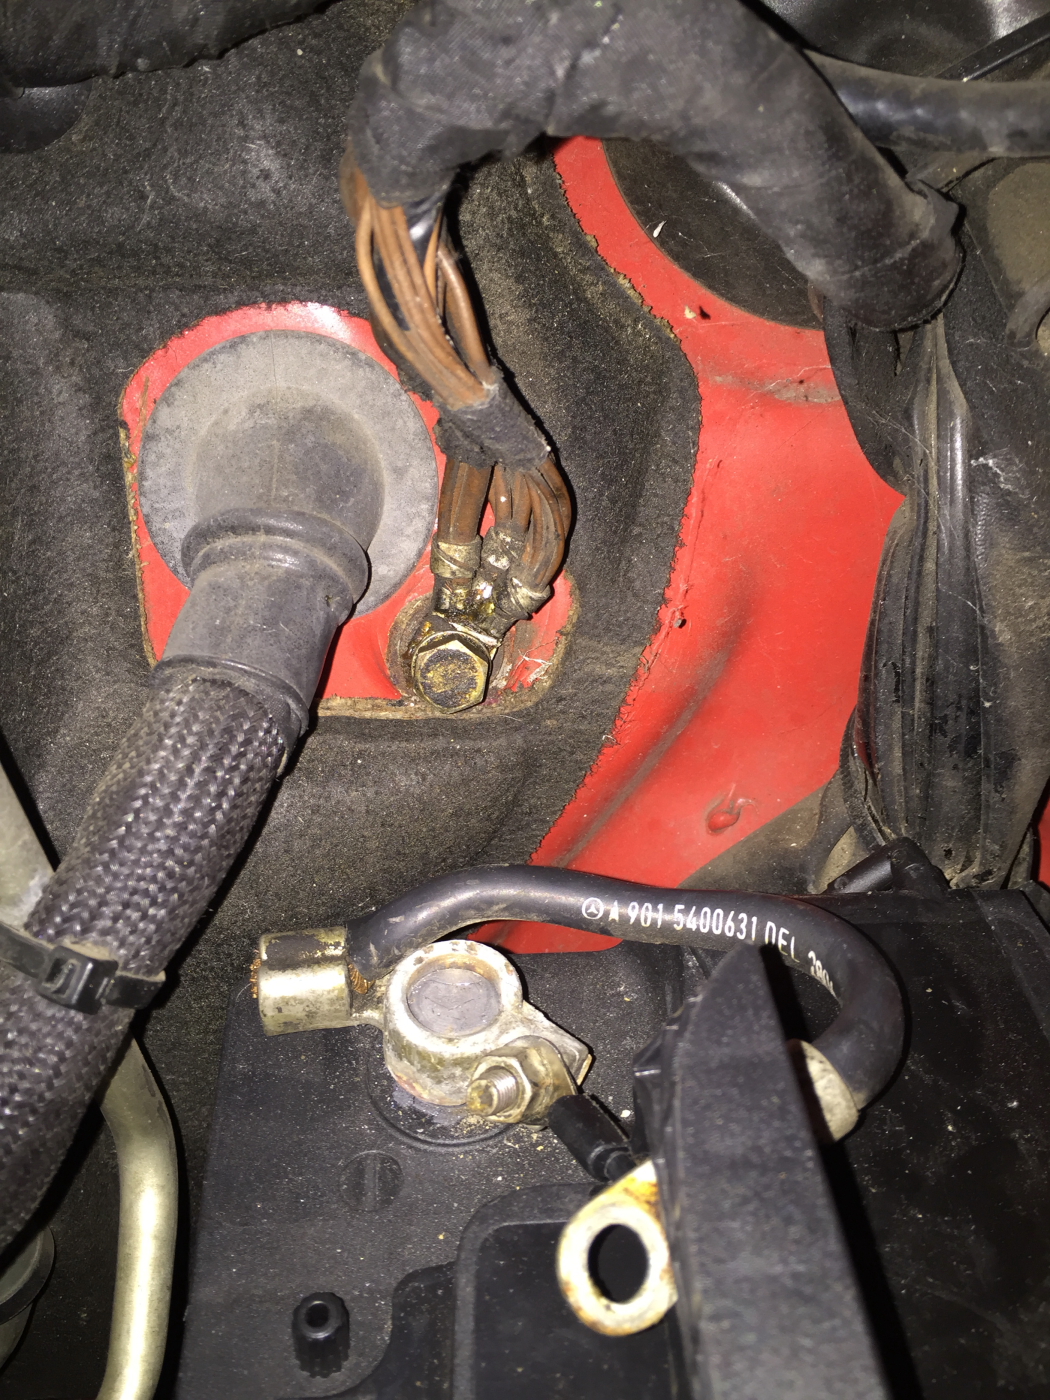
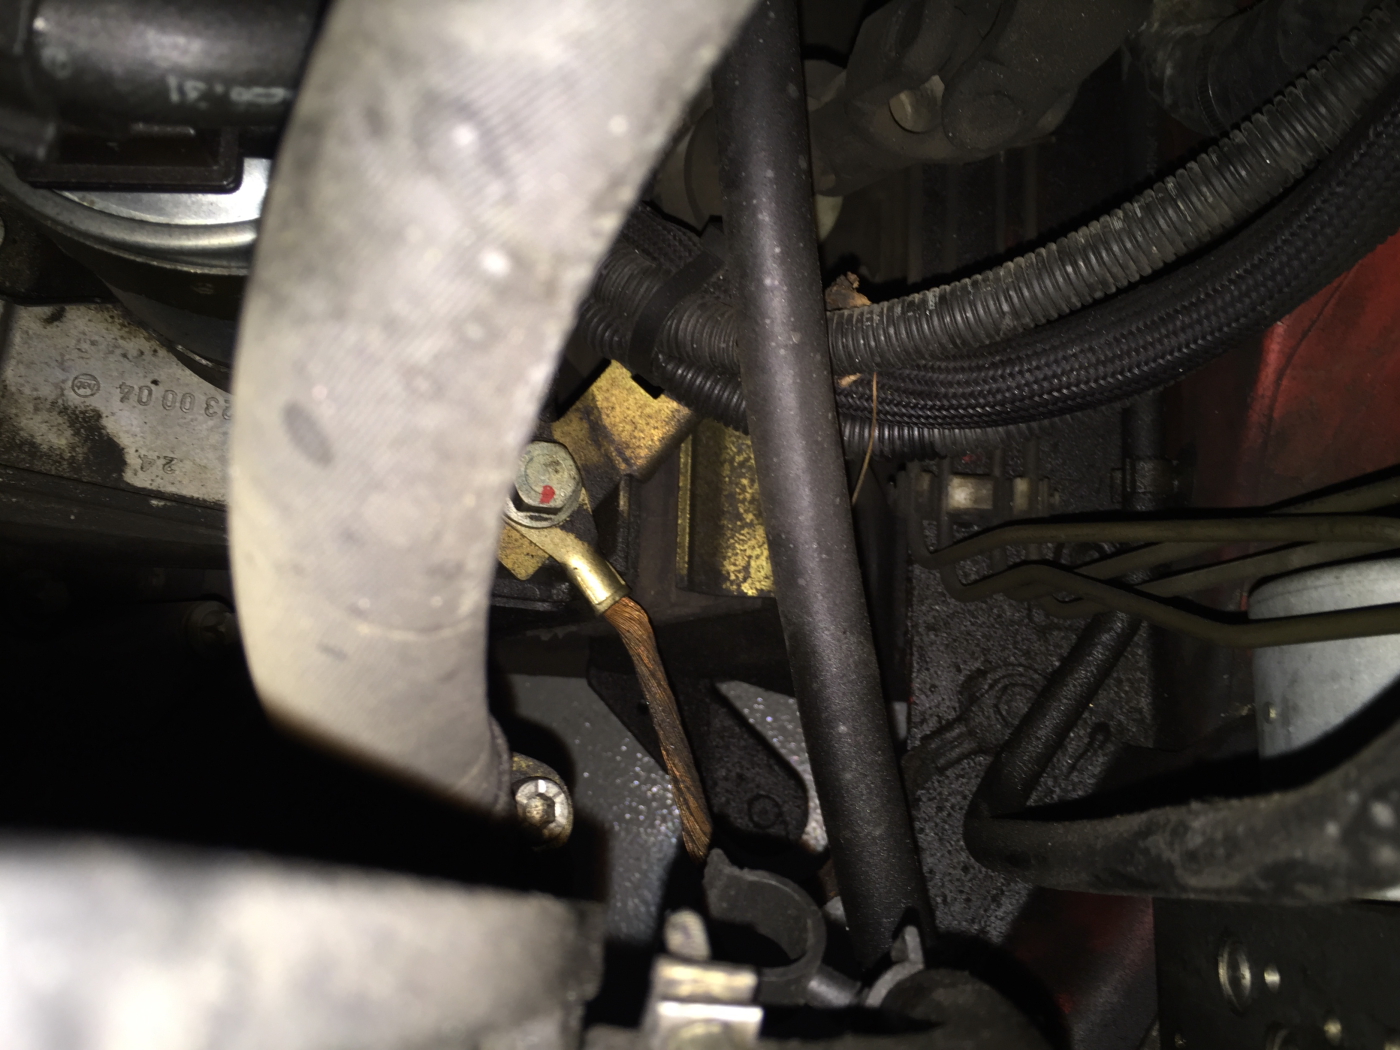
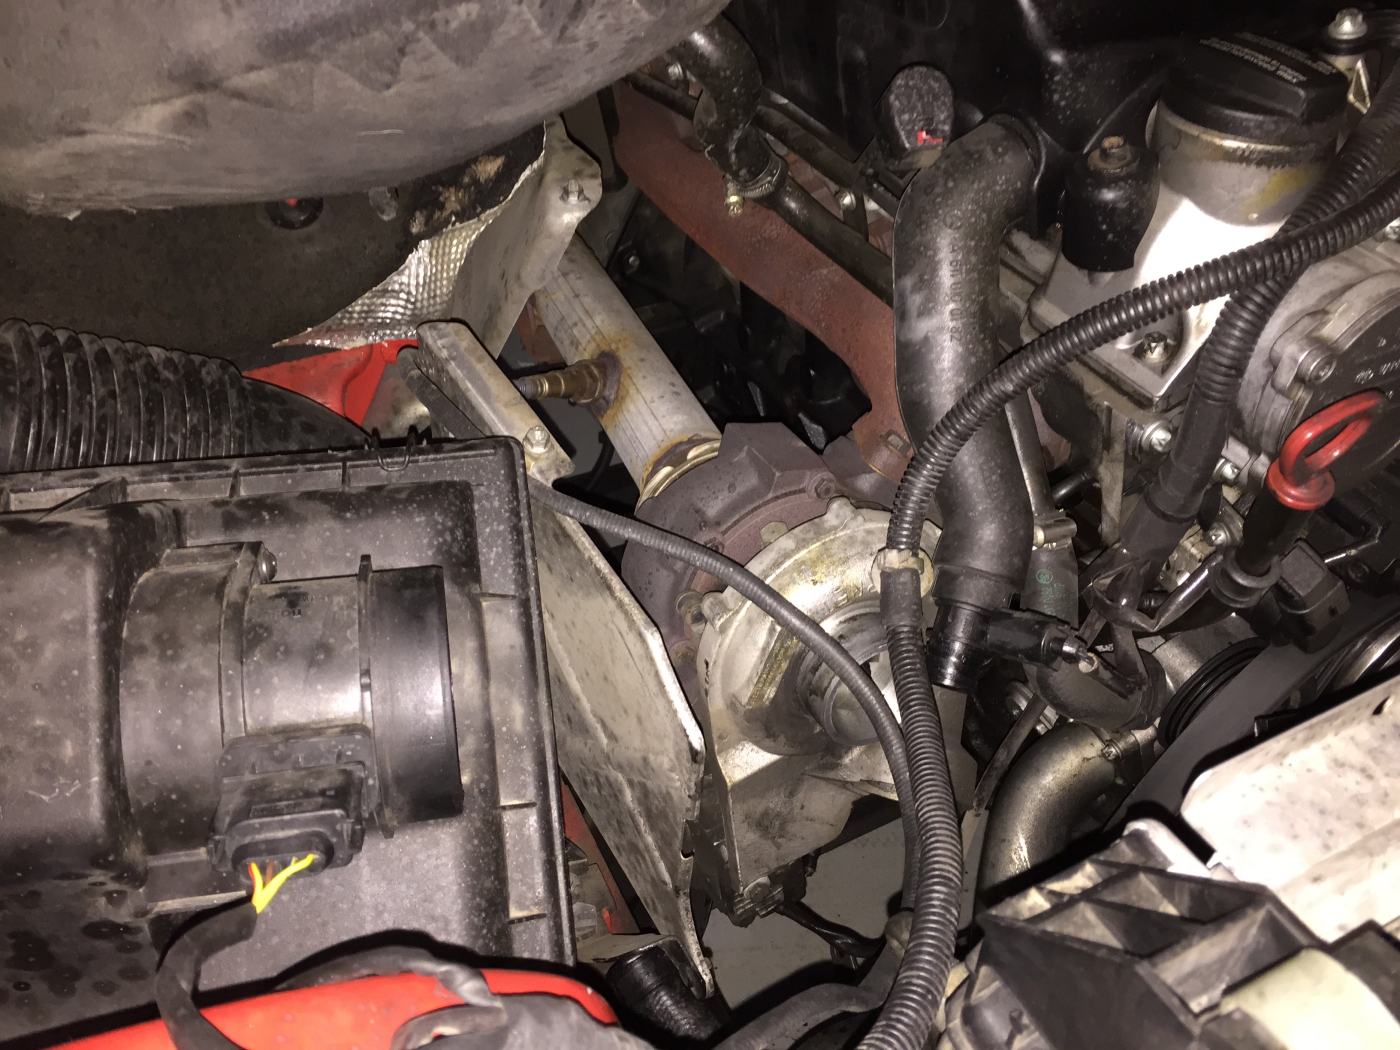
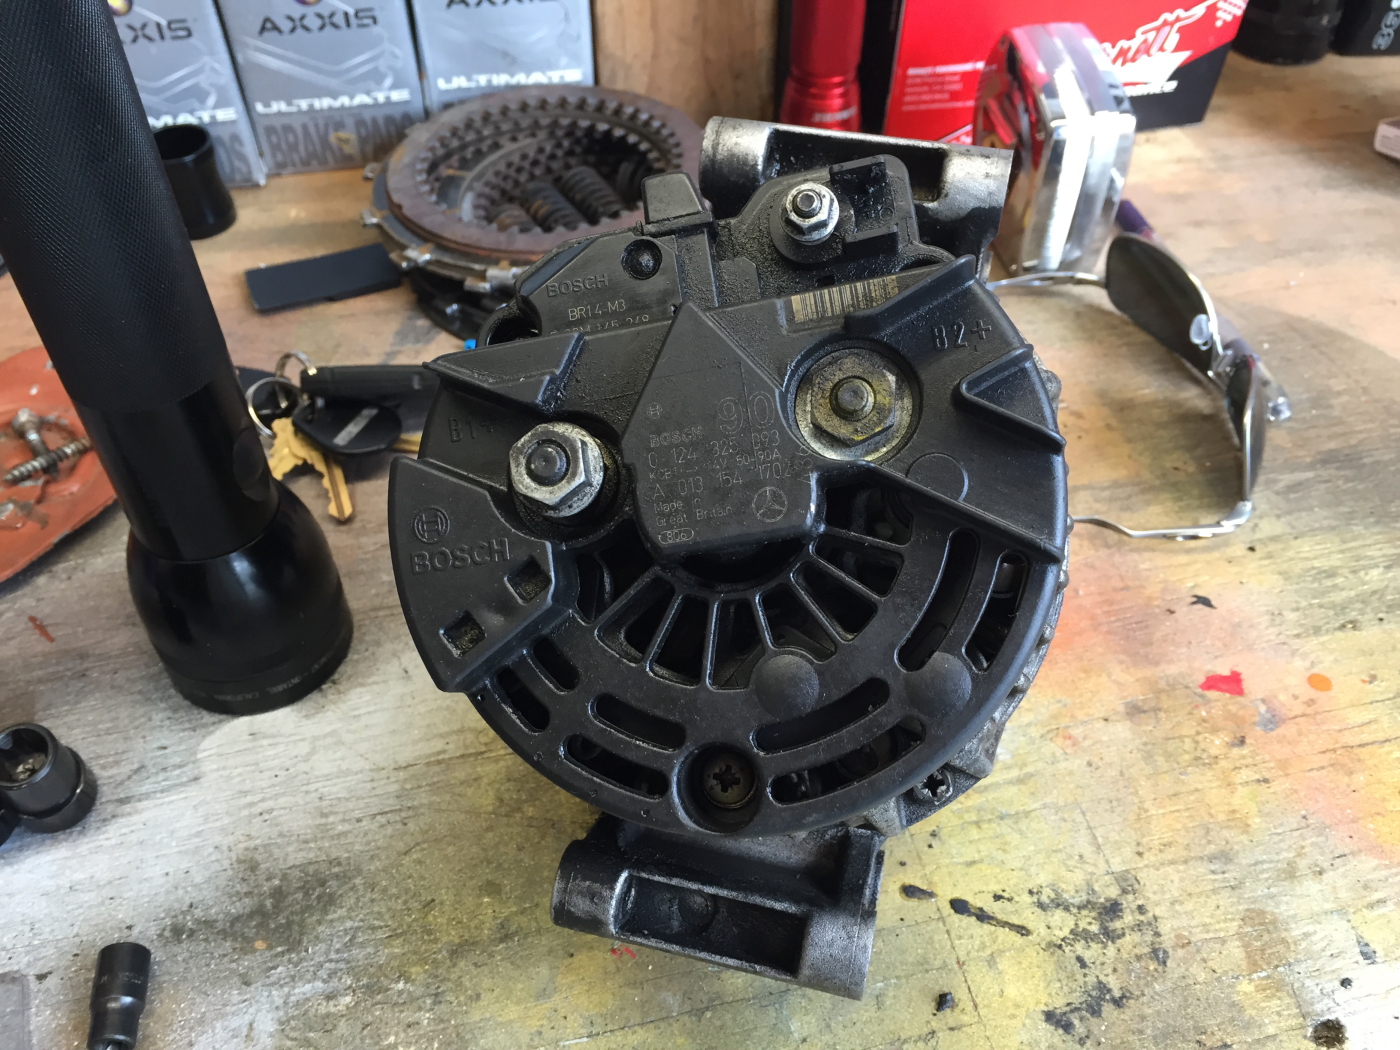
There is a lot more experimentation to do, but for now.. I have to do some research and figure out WHY this things seems to be eating alternators like a kid loose in a candy shop after hours. Something just aint Right.

Track Truck – repairs done, now the mods start.

With the required repairs to make it run complete, now the work on mods to get it from a former runner of illegal immigrants, to functional (if not nice) micro toy-hauler can begin.

Flooring

After doing some research at the San Jose International Car Show, I’m now more convinced the flooring found in the van is a factory original. As such, I’ve decided to re-use it.
Sprinter_Project_024
Next to the flooring are two rolls of recycled industrial No-VOC carpets (6’x9′) that are enough to carpet the floor of the van, probably all the way to the firewall if I decided to go that far with it.

Audio / Communications

Having used the existing stereo briefly, I quickly found it’s navigation horribly complicated and it’s general performance underwhelming. Plus, it has a CD player in it.. might as well have an 8-track too. So that was removed, and a new (and very INexpensive Kenwood head with built-in Blutooth, and both Apple and Android music interface capabilities.
Sprinter_Project_025

Having found the unit jammed in there fairly tightly, I ended up going a little medieval on the dash:
Sprinter_Project_026

Having pulled all these parts off ended up making it MUCH simpler to route the Blutooth microphone (required for drivers making phone calls here in Nanny-State Kalifornica). I also noticed that the framework under the dash was painted a bright yellow, not at all like the read the rest of the van is painted.
Sprinter_Project_027

Instructions for mounting the microphone were not at all clear, in fact there was only a single small diagram showing it mounted on top of the steering column. Huh? Screw that I said.. and ripped the left side A pillar cover off and mounted the microphone up at the top of the window, pointing at the driver. I hope that was not a big mistake. I’m sure I’ll test this soon and find out!
Sprinter_Project_029

Running wires down the A-pillar and through the dash was easy enough, but getting from the lower section of the dash up to the top was not exactly obvious. Using a tool not at all designed for the job, often makes things simpler. 🙂 Here I used it to fish the microphone wire up and over the pedal box and long another wire loom, eventually appearing under the HVAC environmental controls.
Sprinter_Project_028

One there, the wrong tool was once again used to fish the wire up to the top section of the dash (removing the cover around the dash vents makes like a lot easier). Viola… easy as cake.
Sprinter_Project_030

Not being a fan of rattles, and especially in the dash area, the wire loom was tightly bundled, and once inserted into the dash, the head unit’s rear section was zip-tied to the dash structure as seen. Probably should have used grey or black wraps but…. I’m going to call this a design test.. yeah, that’s the ticket.. This radio is much tighter in the dash that the other install, and that’s OK by me.
Sprinter_Project_031

Decal Removal

This is nearly complete. There are patches of left over adhesive I need to remove, but the nasty and ugly decals (save a couple that I just might leave) are GONE!! Thank you Magic Eraser!!
Sprinter_Project_032

Sprinter_Project_033

Sprinter_Project_034

Sprinter_Project_035

Sprinter_Project_036

More Interior Cleanup

With some help from the family, we removed A LOT of USPS shipping tape stuck to the ceiling of the truck. Purpose? WHO KNOWS!??! but it was all over the place and Debby just couldn’t stand it.
Sprinter_Project_037

So while she was busy peeling the tape, A.J. and I unscrewed all of the interior panels and removed them from the van. Once able to inspect the the bodywork from the inside, I’m even more convinced that a diamond in the rough is what I have here. No signs of rust or any type of body work / repairs. If it wasn’t so loud, I’d be tempted to just leave the interior just like this!
Sprinter_Project_038

iPhone Integration

One of the features of the head unit, is iPhone (and Android) integration. This I wanted to test out. Thankfully it just worked. One press of the button to change input to USB, about 60 seconds to sync with the phone and store it’s ID, and bang.. music starts playing.

Here I have WAZE up and running on the screen while the music app drops the bass.
Sprinter_Project_039

That was enough for one day… many more days of work on this to come.

Track Truck LIVES – Alternator replacement completed

This really shows it all:

The work was not difficult, but it was a little time consuming to get to the upper most rear bolt, and also to remove the turbo resonator. To do so actually required a 1/4″ spanner wrench to operate on the small E8 TORX head bolts.

To properly address the repair, intake tract has to be removed from the passenger (right) side of the engine. Here you see the parts removed, which include the intake hose, turbo resonator and output hose to intercooler, along with the heat shield.
Sprinter_Project_013

Here is the intake hose and turbo resonator that were removed.
Sprinter_Project_014

Replacement rebuilt alternator, ready to install!

BOSCH Alternator ready to be installed.

Close up of the “fiddly bolts” you will encounter doing this work. The larger of the two (there are 4 of these to deal with) use and E12 TORX Socket (seen below the bolt). The smaller of them (there are 2 of these) use an E6 TORX socket, however a 1/4″ wrench works better due to the confined space.

Fiddly TORX head bolts

A little closer picture of the turbo sands intake hoses.

Turbo, topside.
Turbo, topside.

To easily move the belt tensioner, I found it simplest to just disconnect this hose at the intake (don’t lose the locking clip!), making the turning of the socket wrench on tensioner stud much less of a hassle.

Intake tract and post-intercooler high-pressure hose.

Another part of the system that can fail, are the high-AMP fuses that are located in a black box next to the battery. Here is that box.

Location of high-AMP fuses for T1N Dodge Sprinter

Inside the high-AMP box are a set of specialty fuses. It’s generally reported that the dealership is the only source of these fuses, and they are not commonly stocked, so it might be a good idea to order a few ahead of time “just in case” as this is not an rare failure point.

High-AMP fuses for Dodge Sprinter (T1N)

Grounds are also an issue on these trucks. This is a main body ground, located right above the battery. In this photo the negative ground is still disconnected from the Alternator replacement service.

Chassis groun; one of the many possible causes of a failing electrical system.

Another of the highly suspect grounds can be found (again on the driver side) down at the engine mount, and connecting back to the chassis. Both of these grounding points should be carefully examined.

Engine ground strap; one of the various possible causes of Dodge Sprinter electrical maladies.

Track Truck – first repair attempts

At the beginning of the week, the new truck broke down outside of town. After some fighting we got it back to the garage for diagnostics.

Once running again after purchasing a new battery charger and hours of fiddling, it was clear the battery was junk.

Testing battery and charging system performance.

It looked like a cheapo battery, and it had no date indicators on it to clue me in to it’s age. Regardless…

It's dead, Jim.
It’s dead, Jim.

Once a new battery was obtained, it was then possible to truly test the remainder of the charging system, namely the alternator.

Having started up the van easily with the new battery, checking voltage across the terminals showed that the rest of the charging system was in failure. This could have killed the battery during our repeated jump-starts to get it back home. Might have just been cheaper to tow it (note to self).

Lack of charging can be result of multiple issues other than a bad alternator in the Sprinters. The most common culprit are bad grounds. There are several on the driver (left in USA) side of the engine room that need to be checked.

  • main chassis ground just above the battery negative terminal
  • engine main ground on the left side engine mount, connected to the frame rail in the same area
  • control system and accessory points below the battery near the headlamp

Having checked all those and cleaned them for good measure, the next easy win is checking the alternator fuse. On the sprinter there is a large plastic block bolted to the battery cable lead connector. From that block runs several high-amp wires (red) and one very large black wire, which heads to the alternator (this is the main charging feed). Inside this block there are plastic fuses of various amperage, high amperage, including a 200A fuse on the charging system side. This fuse is next checked for continuity to ensure that it is not open, and thus causing the charging system to fail.

Having inspected that, and seeing that it is in tact, the next avenue of investigation is the alternator itself.

Following the acquisition of some TORX Sockets (female, not male), sizes E12 and E6 where required, and about 1 hour of pulling parts to access top and bottom of the alternator, the item was removed.

Turbo charger as seen from top in Dodge 3500 Sprinter (intake and outflow piping removed).
Dodge 3500 Sprinter intake and turbo outflow parts
Dodge Sprinter 2500 90Amp alternator

Tomorrow I will be picking up a rebuilt alternator for around $210. Hopefully that brings the fun-van back to life!

Track Truck Breakdown — failure #1

I guess it was bound to happen, but after only 4 days? This might not bode well for my project.

While out making this test video…

I lost the electrical system out in the boondocs of Hwy1, with not a 2×4 of civilization in sight.
Screen Shot 2015-01-07 at 8.48.03 AM

By the time rescue (wife) arrived, it was dark. Having lost my jumper cables during the last move (how do such things disappear, my battery charger went MIA as well) we had a quick scramble to acquire another set! Lucky for me, Ace hardware was still open at 5:30PM on Sunday and they had a bad-ass set of 4ga 20′ “Mechanics Grade” jumper cables. 🙂

Back up Hwy1 we went for what turned out to be a rather hair raising series of events to get it back into town. Long and short of it.. here are the highlights:

  • required three road-side jumpstarts
  • van lost all lighting, and got stuck in 2nd gear on a 2-lane section of Hwy1, in the dark (max speed 30 MPH)
  • there are NO lights on Hwy1, so if you have no headlights are 7:00 PM, it’s pretty freaking dark out there
  • Sprinters do all sorts of weird things when the voldage drops below 10v, including many warning lights, things turning themselves on and off on whim, and locking the shifter into park, just to name a few
  • pushing a 5000 lb Sprinter is mostly a no-op

Back at the shop, some diagnostics were attempted, but without a way to charge the battery, it too was a rather hopeless affair. I’d need to get a proper battery charger and work on this again another day.
Sprinter_Project_011

Sprinter 3500 Track Project – Day 3

Another day, another pile of pictures. Today was more of a ‘get things done’ day than the rest. Here is how things are looking:

Removing the flooring

Having already removed the rear 8′ section, to find that the van’s floor already has sound damping material laid out upon it. Awesome! 😀 This means a lot less expense in re-doing the floor, since that won’t have to be done.
Sprinter_Project_001

Sprinter_Project_002

It was quite a mess under the flooring, so some multi-purpose cleaner and brush were put to work cleaning things up.
Sprinter_Project_003

Starting the application of the sound deadening material to the wheel wells. First sections were easy enough, the sides, not so easy though.
Sprinter_Project_004

In the following image, you can see the channels where passenger seat brackets would bolt to the floor. A cargo van this is, obviously those parts are not in place. They are on my list of things to do when converting this to my version of a Toy Hauler.
Sprinter_Project_005

Next up was a mounting system for a navigation solution. I was shown this cool system at a local car audio shop, so I bought 3 (one for each car)!
Sprinter_Project_006

I’m not ready to pony up for dedicated GPS, and I had this Android table with celluare LTE that cost me 99cents… and it was just looking for a good home. Now it will have one.
Sprinter_Project_007

Below is what the mount looks like. Just a magnetic pad with a rubber fact to keep the device from moving around too much.
Sprinter_Project_008

For now, the Android phablet thingy will be powered from a 12v lighter adapter. When I get a new head unit installed with USB power, this cable will be hard-wired into the dash, or some other more suitable solution. As is, it’s within reach, has power, and is ready to nav!
Sprinter_Project_009

Adding one of the little steel plates by my iPhone, it too can serve as navigation, audio source, entertainment, whatever need be. This is the coolest product for using mobile devices in a car that I’ve seen yet!
Sprinter_Project_010

Sprinter 3500 Track Project – Day 2

If it fit’s you must use it!

Sprinter_FirstPics_014
Barely, but it does fit. Now to paraphrase Quinn “You’re going to need a bigger garage.”. It would seem so… or external storage lot (there are a few around).

Bought this fancy Magic Eraser thing to try and remove the plethora of hideous graphics on the van. It was $14 at the local auto parts store, I bought both of the ones they had. Sorry, didn’t take a photo of it, yet.

After a few hours of grinding off decals from the driver’s door.. it’s looking just a tiny bit better!
Sprinter_FirstPics_019

Taking a break from vinyl / decal / sticker removal, I started to measure out the interior of the van for how things are might fit. First was measuring off the back doors to see how far the track bikes will intrude into the cargo area (7′ 6″ minimum). The black line is where it will likely end.
Sprinter_FirstPics_026

Van has a cargo floor with several anchor points. Good for hauling gear, bad for adding a 2nd seat row as I’m currently planning.
Sprinter_FirstPics_022

Sprinter_FirstPics_023

Sprinter_FirstPics_024

With a lot of 10 year old halogen lighted vehicles, the plastic lenses age, yellow and during into little more than a diffuser. Not good for night time driving. A kit was “On Sale” at a chain auto parts store (I later saw it for the exact same product at another locally owned parts store for the same daily price).
Sprinter_FirstPics_018

About an hour of sanding on both lights and polishing netted a decent result. I think I need to spend more time working on these lights, it’s still not a like-new effect.
Sprinter_FirstPics_017

Sprinter_FirstPics_019

Much more work to be done to bring this thing back to a more presentable condition.

Sprinter 3500 Track Project- Day 1

It’s January 1, 2015. Not only is it a new day, and a new year, but a new project.

It’s Project Track Truck. Prepping for the next season of track days begins now, with the end of a 3 month search for the desired track vehicle. After much deliberation, waffling, searching (including writing software to find these elusive beasts at less than insane prices), missing out deals…. I finally (think) I have it.

A 2004 Dodge Sprinter 3500 Long WB, High Roof, Extended Box. Yeap, it’s as big as big and heavy duty as they came in 2004.

With a GVW Rating of 9990 lb., this is just a couple of happy meals shy of a commercial vehicle. Powered by a 154 HP, 5-cylinder diesel engine (yes, it’s forced induction by way of turbocharger). It’s no sports car, and it’s also not very pretty. In fact, I believe the first words out of the Mrs. mouth were: “Holy crap, that thing is ugly. Have you lost your mind?”

Perhaps… but it’s my mind to lose (I think), and this is how I plan to do it.

2004 Dodge Sprinter 3500

Sprinter_FirstPics_002

Sprinter_FirstPics_003

Sprinter_FirstPics_004

Sprinter_FirstPics_005

Sprinter_FirstPics_006

Sprinter_FirstPics_007

Sprinter_FirstPics_008

Sprinter_FirstPics_009

Sprinter_FirstPics_010

Sprinter_FirstPics_011

Cleaning it up

Later in the day, I assembled a crack cleaning crew, consisting of myself and my 12 y.o. son. We embarked upon a clean-up effort to remove the gruesome letting from the van.

After nearly 4 hours of labor, a trip to the hardware store, and some failed ideas.. we were able to mostly clean up the passenger door and the two rear doors.

It might not seem like much, but it was some progress, and even though I might still shudder when visible in daylight, for now, at the moment, at night… with poor lighting.. it almost looks OK.
Sprinter_FirstPics_012

Sprinter_FirstPics_013

The Most Outrageous Car I Ever Owned

It was a 1966 Mustang notchback, powered by a 1970 BOSS 302. In a word, outrageous.

The year was 1986. Not long out of high school, and starting up my first software “company” (sold a few copies of this and that, but it never got off the ground). I’d been driving some of the worst cars on the planet, and I happened to spy and add in the Mercery News for a 1964 V8 Mustang for $3000. I went to look, and I just HAD to have it!

The Car

Following some creative financing (i.e. loan from my Grandparents), I made the deal and brought home this red beast. An early 1966 FORD Mustang (no backup lamps in rear valance):
64_Mustang_01

The machine was really, something else. Those that drove it were blown away at it’s raw speed, acceleration, and most notably it’s drum brakes. It’s about as close to a “Fuel Injected Suicide Machine” as I’ve ever helmed. Despite this short-coming; I, nor anyone else that drove it crashed, despite some less than responsible driving this thing was know to induce.

The Power

I’m guessing more than a few of you are saying “No.. it’s not a true BOSS 302, it’s a Windsor 302 with a 4bbl carb, and people are just saying it’s BOSS“. Well, let me assure that it was not some cobbled together 351C + 289W Frankenblock. Really, the only way to know for SURE if you’re dealing with a BOSS 302, is to pull the motor and check the casting numbers. So.. that’s what I did:
64_Mustang_03

It’s a true 4-bolt main block with forged crankshaft. Notice the screw-in freeze plugs. That’s the easist way to externally ID an authentic BOSS block. After checking the numbers I found that it was a 1970 “small valve” (and I say that as relative to the 69 “big valve”)
motor. Here are the specifications (as was common at the time for these special edition cars, the HP was grossly under-rated):

FORD BOSS 302 Engines
1969 1970
Bore: 4.004″
Stroke: 3.0028″
Compression: 10:5:1
Horsepower: 290 BHP @ 5800 RPM
Torque: 290 ft./lb. @ 4300 RPM
Redline: 7800 RPM
Intake Valve: 2.23″ 2.19″
Exhaust Valve: 1.72″ 1.72″
Carburation: Holly 780 cfm. 4bbl

In fact, the valves where so large, the tops of the cylinder blocks were notched at the factory to keep them from hitting the top of the cylinder block at lift. The canting of the valves allowed this little trick to be employed. Another unique aspect to the BOSS 302 engine.

NOTE:At the time Hot Rod Magazine tested the motor in the 1970 BOSS 302 and found: “It produced a solid 372 hp @ 6,800rpm and 325 lb-ft of torque @ 4,200rpm.”.

The motor was a screamer. But I knew there was a lot more in there to be extracted, so I started doing some research on how these motors were built for Trans AM Racing. It took a little while but I located an engine builder in Santa Clara named Frey Racing, that specialized in building motors for the Trans AM racing series. These are the guys I wanted to work on my mill.

After discussion, we found that only 1 manufacture still made pistons for this beast; TRW. The downside is that these were true track pistons that would give the motor a 12.5:1 compression ratio. Far too high for the fuel available to peasants. They would have to be milled down. I performed volume calculations on the cylinder head chamber and the piston displacement (these were heavily domed), and we came up with the proper milling to get the motor to the 11:1 ratio.
64_Mustang_TRW_Piston

To let them breath, I’d need a new camshaft, and again, not many parts where still available, however I did locate a part in the FORD SVO catalog for the BOSS 302 (which uses a solid-lifter camshaft, requiring frequent valve adjustments). The camshaft featured a .620″ lift with 300 degree of duration and a 92 degree overlap. Idling below 2500 RPM was simply not possible. 🙂

Finishing off the drivetrain was a close-ratio top-loader 4speed manual transmission (virtually bullet-proof) and a custom 5 link 9″ nodular rear end (it too should have been basically bullet proof but it blew up under the power of the re-worked 302).

Now all of this, as many surmised, simply could not fit in the very cramped engine compartment of the early mustangs. Designed to hold a straight 6 engine, when FORD shoe-horned in the 260 and 289 V8’s thee was little room to spare. The massive heads on the BOSS 302 were so much larger, it would seem impossible without cutting back the shock towers, or using a custom built set of headers that would snake through the very limited space. Basically, little on this car, was off the shelf.

Here is what it looked like back home inside the little notch-back
64_Mustang_02

I eventually sold this car in 1989 to purchase a new FORD Mustang GT (red of course). I was sad to see it go, but it was really a very dangerous car to drive, and I just didn’t have the money at the time to resolve the issue of the drum brakes. If I still had this car today, it would be a VERY different story. It would be interesting to see what became of this beast. If I could find the VIN number somewhere, I might be able to track it down, but I suspect those records are long lost. Regardless, I had GREAT memories of cursing, street racing, and other activities best left off the interwebs.

Startup Launch – thoughts

Big things happening on July 13!
Banner.Vert.web1
Bootstrapping a start-up is hard, expensive work. But when you hear the call, it simply must be done. This was the case with OutspokenNinja. Balancing life and business is sometimes a tricky tight-rope affair. I believe it can only be done with an understanding and supporting partnership with the family. I’m blessed to have such a partnership.

For those embarking on the road to starting up, or even re-inventing your business, having buy-in from your family is critical, for they are the true support system when the road gets bumpy, and it will.

I’m looking forward to sharing more about this experience, once we’ve come out of semi-stealth mode, so I hope you follow me and the team on this new adventure.

Ciao!